Home>Production & Technology>MIDI>How To Use A MIDI Keyboard On MPK Mini
MIDI
How To Use A MIDI Keyboard On MPK Mini
Modified: March 9, 2024
Learn how to connect and use a MIDI keyboard on MPK Mini to enhance your music production and performance. Discover tips and techniques for seamless integration.
(Many of the links in this article redirect to a specific reviewed product. Your purchase of these products through affiliate links helps to generate commission for AudioLover.com, at no extra cost. Learn more)
Table of Contents
Introduction
So, you've got your hands on a MIDI keyboard and an MPK Mini controller, and you're ready to embark on a musical journey that combines the tactile experience of playing a traditional keyboard with the boundless possibilities of digital music production. Whether you're a seasoned musician or a budding producer, mastering the art of using a MIDI keyboard on an MPK Mini can elevate your creative process and open up a world of sonic exploration.
In this comprehensive guide, we'll delve into the intricacies of setting up and configuring your MIDI keyboard, specifically the MPK Mini, and explore how you can seamlessly integrate it into your digital audio workstation (DAW) for a seamless music-making experience. Additionally, we'll provide valuable tips for optimizing the performance of your MIDI keyboard, ensuring that you can unleash its full potential and bring your musical visions to life with precision and flair.
By the end of this journey, you'll not only have a firm grasp on the technical aspects of using a MIDI keyboard with an MPK Mini but also a newfound sense of empowerment to express your musical ideas with finesse and creativity. So, without further ado, let's embark on this enlightening exploration of the MIDI keyboard and MPK Mini, where the realms of analog and digital converge to ignite your musical passion.
Setting Up the MIDI Keyboard
Setting up your MIDI keyboard is the crucial first step towards unlocking its full potential and integrating it seamlessly into your music production setup. Whether you're a beginner or a seasoned musician, understanding the setup process is essential for harnessing the expressive capabilities of your MIDI keyboard. Here's a detailed guide to walk you through the setup process and ensure that you're ready to unleash the musical magic of your MIDI keyboard:
-
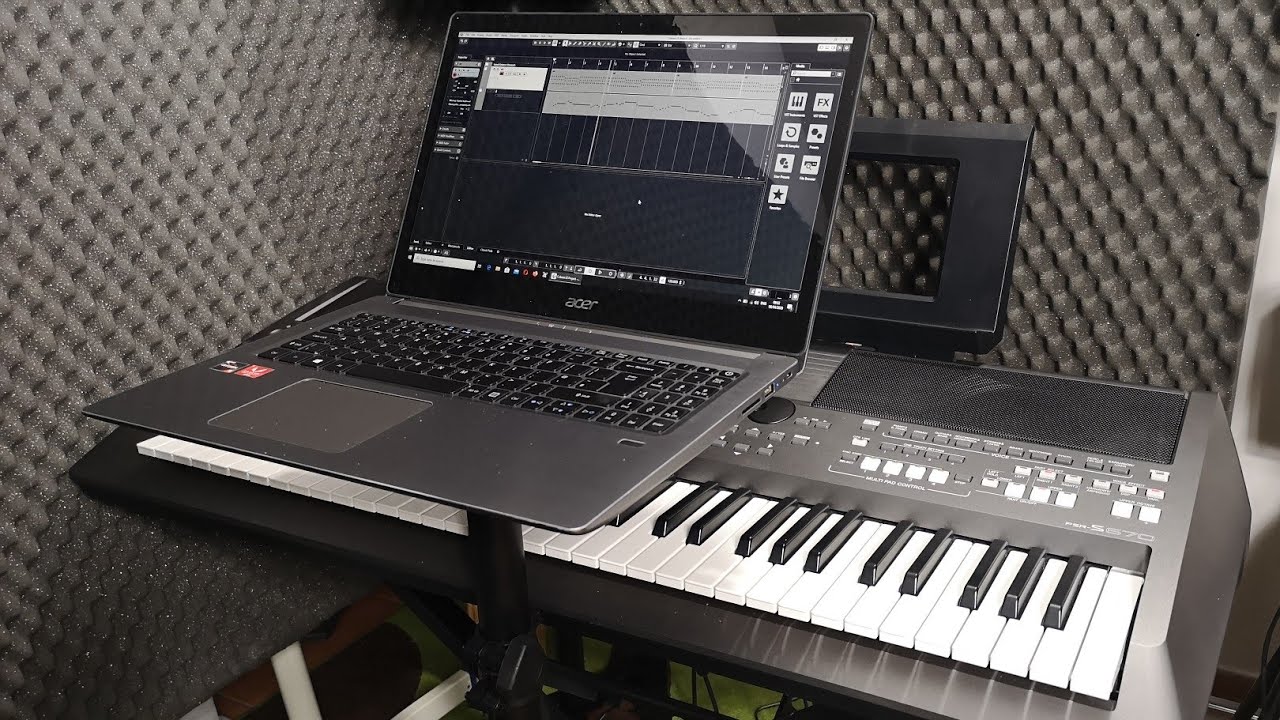
Connectivity: Begin by connecting your MIDI keyboard to your computer or audio interface using a USB cable. Most modern MIDI keyboards, including the MPK Mini, utilize USB connectivity, making it convenient to establish a reliable connection without the need for additional hardware. Once connected, your computer should recognize the MIDI keyboard as a MIDI input device, paving the way for seamless communication between the two.
-
Power On: After establishing the physical connection, power on your MIDI keyboard. Many MIDI keyboards, including the MPK Mini, draw power directly from the USB connection, eliminating the need for separate power adapters. Upon powering on, the MIDI keyboard should illuminate, indicating that it's ready to interface with your digital audio workstation (DAW) and translate your musical inputs into digital signals.
-
Driver Installation: In some cases, your computer may prompt you to install specific drivers for the MIDI keyboard. If this occurs, follow the on-screen instructions to install the necessary drivers, ensuring that your MIDI keyboard is recognized by your computer and DAW without any compatibility issues.
-
DAW Integration: Once the MIDI keyboard is connected and powered on, launch your preferred DAW and navigate to the MIDI settings. Most DAWs feature intuitive interfaces for configuring MIDI devices, allowing you to select your MIDI keyboard as the primary input device. By designating your MIDI keyboard as the input source, you establish a direct link between your physical keystrokes and the digital realm of your DAW, enabling you to play virtual instruments, trigger samples, and record MIDI data with precision.
-
Testing and Calibration: After configuring the MIDI keyboard within your DAW, it's advisable to test the connectivity and responsiveness of the keys, pads, and knobs. Play a few notes on the keyboard to ensure that the MIDI signals are accurately transmitted to your DAW, and verify that the pads and knobs on the MPK Mini trigger the intended functions within your music production software.
By following these steps, you can effectively set up your MIDI keyboard, such as the MPK Mini, and lay the foundation for a seamless and immersive music-making experience. With the technical aspects in place, you're now poised to delve into the creative realms of music production, where your MIDI keyboard becomes a conduit for your artistic expression and musical innovation.
Configuring the MPK Mini
Configuring the MPK Mini is a pivotal step that empowers you to harness the full potential of this versatile MIDI controller, customizing its functionality to suit your unique musical workflow. With its compact form factor and an array of pads, knobs, and keys, the MPK Mini offers a wealth of creative possibilities, provided you configure it effectively. Let's embark on a comprehensive exploration of the configuration process, unlocking the myriad capabilities of the MPK Mini and integrating it seamlessly into your music production setup.
Software Integration
The MPK Mini is designed to interface seamlessly with a range of digital audio workstations (DAWs) and music production software. To begin the configuration process, install the MPK Mini Editor software, which provides a user-friendly interface for customizing the controller's parameters. This intuitive software allows you to map the pads and knobs to specific functions within your DAW, ensuring that the MPK Mini aligns with your preferred workflow. Whether you're triggering drum samples, adjusting synth parameters, or controlling effects, the MPK Mini Editor empowers you to tailor the controller's behavior to your exact specifications.
Pad Sensitivity and Assignments
One of the defining features of the MPK Mini is its dynamic pads, which offer responsive touch sensitivity for expressive drum programming and sample triggering. Within the MPK Mini Editor, you can fine-tune the pad sensitivity to suit your playing style, ensuring that each tap and gesture translates seamlessly into your music production software. Additionally, you can assign specific MIDI notes or control messages to each pad, effectively creating a custom drum pad layout that aligns with your preferred drum kit configuration or sample assignments. This level of customization enhances your creative freedom, allowing you to sculpt rhythmic patterns with precision and nuance.
Knob and Control Assignments
The MPK Mini's array of knobs presents a wealth of sonic manipulation possibilities, enabling you to control parameters such as filter cutoff, resonance, and envelope settings with tactile precision. Through the MPK Mini Editor, you can assign specific MIDI CC (continuous controller) messages to each knob, establishing direct control over various parameters within your DAW or virtual instruments. Whether you're sculpting synth textures, automating effects, or fine-tuning mix parameters, the ability to customize knob assignments empowers you to sculpt your sonic landscape with fluidity and finesse.
Preset Management
As you configure the MPK Mini to align with your musical vision, the ability to save and recall presets becomes invaluable. The MPK Mini Editor facilitates seamless preset management, allowing you to store multiple configurations tailored to different musical contexts or production workflows. Whether you're transitioning between live performance setups, studio sessions, or genre-specific projects, the ability to switch between presets effortlessly ensures that the MPK Mini adapts to your evolving creative needs with ease.
Seamless Integration
Once you've tailored the MPK Mini to your exact specifications using the MPK Mini Editor, seamlessly integrate it into your music production setup. Connect the MPK Mini to your computer via USB, ensuring that it's recognized by your DAW as a MIDI input device. With the configuration settings in place, the MPK Mini becomes a dynamic extension of your musical expression, offering tactile control over virtual instruments, drum programming, and parameter manipulation within your DAW. Whether you're crafting intricate melodies, shaping compelling beats, or performing live, the configured MPK Mini serves as a versatile and intuitive tool for realizing your musical aspirations.
By navigating the intricacies of configuring the MPK Mini, you unlock a realm of creative possibilities, where the tactile nature of the controller converges with the boundless potential of digital music production. As you embark on this journey of customization and integration, the MPK Mini transcends its physical form to become an extension of your musical imagination, empowering you to sculpt sonic landscapes with finesse and ingenuity.
Using the MIDI Keyboard with DAWs
Integrating a MIDI keyboard with your digital audio workstation (DAW) heralds a transformative synergy, bridging the tactile artistry of traditional keyboard playing with the expansive realm of digital music production. Whether you're a pianist seeking to transpose your virtuosity into the digital domain or an electronic music producer sculpting intricate soundscapes, the seamless integration of your MIDI keyboard with your DAW unlocks a world of creative possibilities. Let's delve into the intricacies of using a MIDI keyboard, such as the MPK Mini, with your DAW and explore the myriad ways in which it elevates your music-making experience.
Real-time Performance and Recording
The MIDI keyboard serves as a conduit for translating your musical expressions into digital signals, allowing you to perform and record intricate melodies, expressive chords, and dynamic performances with precision. By leveraging the MIDI capabilities of your keyboard within the DAW, you can record MIDI data in real-time, capturing the nuances of your playing style and infusing your compositions with a human touch. Whether you're layering lush orchestral arrangements, crafting evocative piano ballads, or unleashing blistering synth solos, the MIDI keyboard empowers you to channel your musicality directly into your DAW, preserving the organic essence of your performances.
Virtual Instrument Integration
One of the defining advantages of using a MIDI keyboard with a DAW lies in its seamless integration with virtual instruments. Within your DAW, you can access an array of virtual pianos, synthesizers, orchestral ensembles, and exotic sound libraries, harnessing the sonic palette of an entire symphony or electronic studio at your fingertips. The MIDI keyboard becomes a gateway to these virtual realms, allowing you to play, manipulate, and orchestrate virtual instruments with the familiarity and expressiveness of a traditional keyboard, transcending the limitations of static mouse-clicking and MIDI programming.
Expressive Control and Automation
The MIDI keyboard's velocity-sensitive keys, responsive aftertouch, and assignable modulation wheels offer a nuanced means of shaping and sculpting sound within your DAW. Whether you're modulating the filter cutoff of a synth patch, controlling the dynamics of an orchestral arrangement, or automating the spatial parameters of a cinematic score, the MIDI keyboard empowers you to infuse your music with expressive gestures and dynamic articulations. Through MIDI mapping and parameter assignments, you can imbue your performances with a sense of organic fluidity, breathing life into your compositions with nuanced control over every sonic element.
Seamless Workflow and Creative Exploration
Beyond its technical prowess, the integration of a MIDI keyboard with your DAW fosters a seamless and intuitive workflow, catalyzing your creative exploration and musical innovation. The tactile nature of the keyboard engenders a natural, hands-on approach to music production, allowing you to improvise, experiment, and compose with fluidity and immediacy. Whether you're sketching out melodic motifs, exploring harmonic progressions, or crafting intricate arrangements, the MIDI keyboard becomes an extension of your musical intuition, catalyzing a dynamic dialogue between your creativity and the boundless possibilities of your DAW.
Harmonious Fusion of Analog and Digital Realms
In essence, using a MIDI keyboard with your DAW represents a harmonious fusion of analog and digital realms, where the timeless allure of traditional keyboard playing converges with the limitless potential of modern music production. As you navigate the interface of your DAW with the tactile finesse of your MIDI keyboard, you embark on a transformative journey that transcends technicalities, resonating with the essence of musical expression and artistic exploration. Thus, the integration of your MIDI keyboard with your DAW becomes a testament to the enduring synergy between human creativity and technological innovation, where the art of music flourishes in the seamless convergence of analog and digital domains.
By harnessing the expressive capabilities of your MIDI keyboard within your DAW, you embark on a musical odyssey that transcends conventional boundaries, empowering you to sculpt sonic landscapes with finesse, passion, and boundless creativity. As you navigate this symbiotic relationship between the analog allure of your MIDI keyboard and the digital prowess of your DAW, you embark on a transformative journey of musical expression and innovation, where the boundaries between tradition and technology dissolve, giving rise to a vibrant tapestry of musical possibilities.
Tips for Optimizing MIDI Keyboard Performance
Optimizing the performance of your MIDI keyboard, such as the MPK Mini, is essential for ensuring a seamless and immersive music-making experience. By implementing a few strategic tips and techniques, you can elevate the responsiveness, versatility, and overall functionality of your MIDI keyboard, empowering you to express your musical ideas with precision and finesse. Here are invaluable tips for optimizing the performance of your MIDI keyboard:
-
Firmware Updates: Stay attuned to firmware updates released by the manufacturer of your MIDI keyboard. These updates often include performance enhancements, bug fixes, and new features that can augment the functionality and stability of your MIDI keyboard. By regularly updating the firmware, you ensure that your MIDI keyboard operates at its optimal capacity, leveraging the latest advancements in software and hardware integration.
-
Velocity Sensitivity Calibration: Many MIDI keyboards feature velocity-sensitive keys, which respond to the dynamics of your playing. Calibrating the velocity sensitivity settings within the MIDI keyboard or your DAW allows you to tailor the key response to your playing style, ensuring that soft passages and forceful accents are accurately translated into expressive MIDI data.
-
Assignable Controls Mapping: Explore the capabilities of your MIDI keyboard's assignable controls, such as knobs, sliders, and pads. By mapping these controls to specific parameters within your DAW or virtual instruments, you gain tactile manipulation over various sonic elements, facilitating real-time adjustments and creative exploration. Customizing the control assignments empowers you to sculpt sounds, trigger samples, and modulate effects with intuitive precision.
-
Latency Optimization: Minimizing latency, the delay between pressing a key and hearing the sound, is crucial for a responsive and immersive playing experience. Adjust the buffer settings within your DAW to optimize the latency performance, striking a balance between low latency and stable audio processing. Additionally, ensure that your computer's hardware and audio drivers are optimized for low-latency performance, mitigating any perceptible delays in MIDI input responsiveness.
-
Sustain Pedal Calibration: If your MIDI keyboard supports a sustain pedal, calibrate its response to align with your playing dynamics. By adjusting the pedal's sensitivity and release characteristics, you can imbue your performances with nuanced sustain and release behaviors, capturing the expressive subtleties inherent in traditional piano playing.
-
Dynamic Playing Techniques: Embrace dynamic playing techniques to extract the full emotive potential of your MIDI keyboard. Explore the nuances of velocity layers, utilizing the full spectrum of soft to loud playing to imbue your performances with natural dynamics. Additionally, experiment with aftertouch, an expressive control feature available on many MIDI keyboards, to modulate parameters such as vibrato, filter cutoff, and modulation depth with nuanced finger pressure.
By implementing these tips for optimizing MIDI keyboard performance, you can elevate your musical expression and technical proficiency, ensuring that your MIDI keyboard becomes a seamless extension of your creativity and musical vision. As you delve into the realm of MIDI keyboard optimization, you embark on a journey of sonic refinement and expressive mastery, where the tactile allure of the keyboard converges with the boundless potential of digital music production, transcending technicalities to resonate with the essence of musical expression and innovation.