Home>Devices & Equipment>Yamaha>How To Use Yamaha Keyboard As Midi
Yamaha
How To Use Yamaha Keyboard As Midi
Modified: March 5, 2024
Learn how to use your Yamaha keyboard as a MIDI controller to unlock endless possibilities for music production and performance. Take advantage of Yamaha's powerful features and expand your creative horizons today.
(Many of the links in this article redirect to a specific reviewed product. Your purchase of these products through affiliate links helps to generate commission for AudioLover.com, at no extra cost. Learn more)
Table of Contents
- Introduction
- Step 1: Connecting your Yamaha keyboard to your computer
- Step 2: Installing necessary drivers and software
- Step 3: Configuring the MIDI settings on your Yamaha keyboard
- Step 4: Setting up your MIDI software
- Step 5: Using your Yamaha keyboard as a MIDI controller
- Step 6: Troubleshooting common issues
- Conclusion
Introduction
Welcome to the world of Yamaha keyboards! Whether you’re a professional musician, a budding artist, or just a casual enthusiast, Yamaha keyboards offer a versatile and dynamic platform to express your musical creativity. But did you know that your Yamaha keyboard can also double as a MIDI controller? In this article, we will explore how to use your Yamaha keyboard as a MIDI device, allowing you to unlock a whole new range of possibilities in your music production.
MIDI (Musical Instrument Digital Interface) is a technical standard that enables electronic musical instruments, computers, and other devices to communicate and synchronize with each other. By connecting your Yamaha keyboard to your computer and configuring it as a MIDI device, you can use it to control virtual instruments, record MIDI data, and even manipulate various parameters in your digital audio workstation (DAW).
Whether you’re a producer, composer, or performer, incorporating your Yamaha keyboard as a MIDI controller can greatly enhance your productivity and creative workflow. Not only does it provide a more tactile and expressive way to interact with your software instruments, but it also opens up a world of possibilities for live performances, studio recordings, and music production.
So, if you’re ready to take your Yamaha keyboard to the next level and harness its full potential as a MIDI device, let’s dive into the step-by-step process of connecting it to your computer, installing the necessary drivers and software, and configuring the MIDI settings to unleash the true power of your Yamaha keyboard.
Step 1: Connecting your Yamaha keyboard to your computer
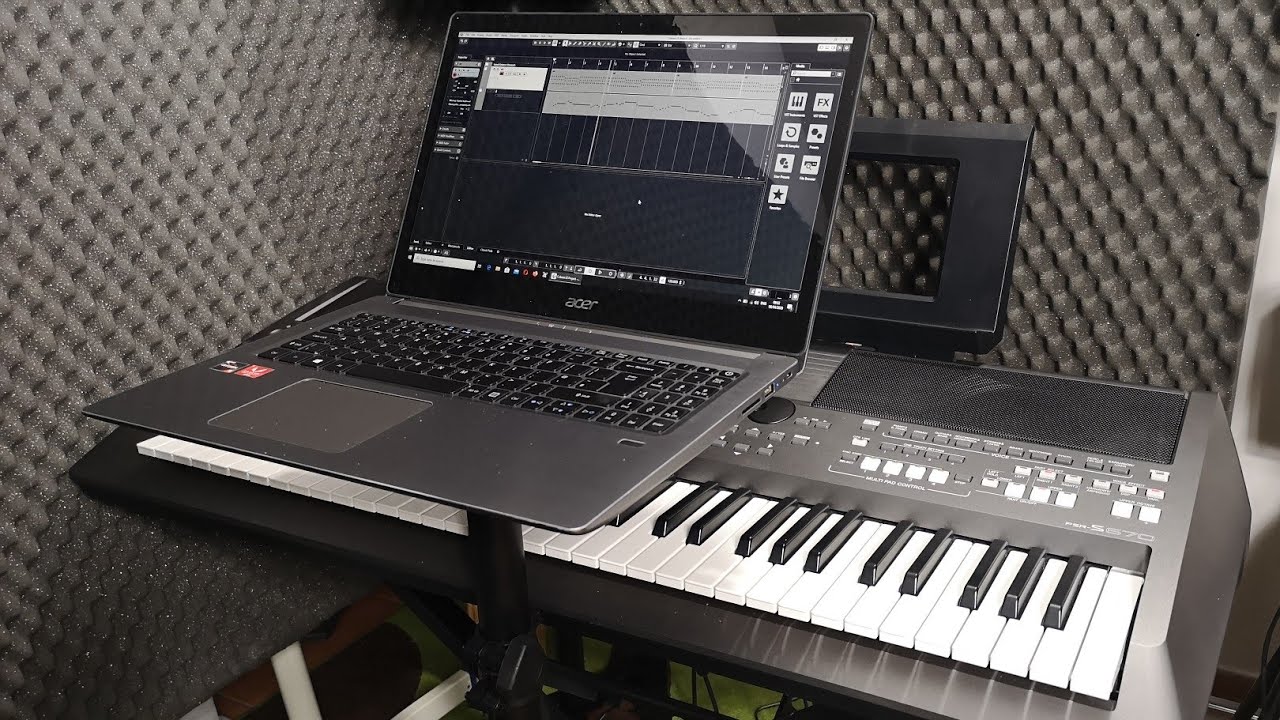
The first step in using your Yamaha keyboard as a MIDI controller is to establish a physical connection between the keyboard and your computer. Most Yamaha keyboards have a USB port that allows for direct connection, making the process simple and convenient.
Here’s how to connect your Yamaha keyboard to your computer:
- Locate the USB port on your Yamaha keyboard. It is usually found on the back panel of the keyboard.
- Take one end of the USB cable and plug it into the USB port on your Yamaha keyboard.
- Connect the other end of the USB cable to an available USB port on your computer.
Once you have successfully connected your Yamaha keyboard to your computer, you’re ready to move on to the next step. It’s important to note that some older models of Yamaha keyboards may require the use of a MIDI-to-USB interface if they don’t have a built-in USB port. In that case, you will need to connect the MIDI OUT port on your keyboard to the MIDI IN port on the MIDI-to-USB interface using standard MIDI cables, and then connect the MIDI-to-USB interface to your computer via USB.
Now that your Yamaha keyboard and computer are physically connected, you can proceed to the next step of installing the necessary drivers and software to ensure proper communication between the two devices.
Step 2: Installing necessary drivers and software
In order for your computer to recognize and communicate with your Yamaha keyboard as a MIDI device, you will need to install the necessary drivers and software. These drivers and software are specific to your Yamaha keyboard model and can be downloaded from the official Yamaha website.
Here’s how to install the necessary drivers and software for your Yamaha keyboard:
- Visit the Yamaha website and navigate to the support section.
- Select your Yamaha keyboard model from the list of available options.
- Locate the “Downloads” or “Drivers” section and download the appropriate driver for your operating system.
- Once the driver has finished downloading, double-click on the installer file and follow the on-screen instructions to install the driver on your computer.
- After the driver installation is complete, you may need to restart your computer for the changes to take effect.
- Next, check if there is any additional software that needs to be installed for your Yamaha keyboard. This software may include a MIDI utility or a dedicated application for configuring MIDI settings.
- Download and install the required software following the same steps as mentioned above.
Once you have installed the necessary drivers and software, your computer will be able to recognize your Yamaha keyboard as a MIDI device. This will enable communication between your keyboard and MIDI software, allowing you to control virtual instruments and record MIDI data.
Please note that the installation process may vary slightly depending on your specific Yamaha keyboard model and operating system. It’s always recommended to refer to the user manual or documentation provided by Yamaha for detailed instructions.
With the drivers and software installed, you’re all set to move on to the next step of configuring the MIDI settings on your Yamaha keyboard.
Step 3: Configuring the MIDI settings on your Yamaha keyboard
Now that you have connected your Yamaha keyboard to your computer and installed the necessary drivers and software, it’s time to configure the MIDI settings on your keyboard. This will ensure that your keyboard is properly recognized and can communicate with your MIDI software.
Here’s how to configure the MIDI settings on your Yamaha keyboard:
- Power on your Yamaha keyboard and make sure it is connected to your computer.
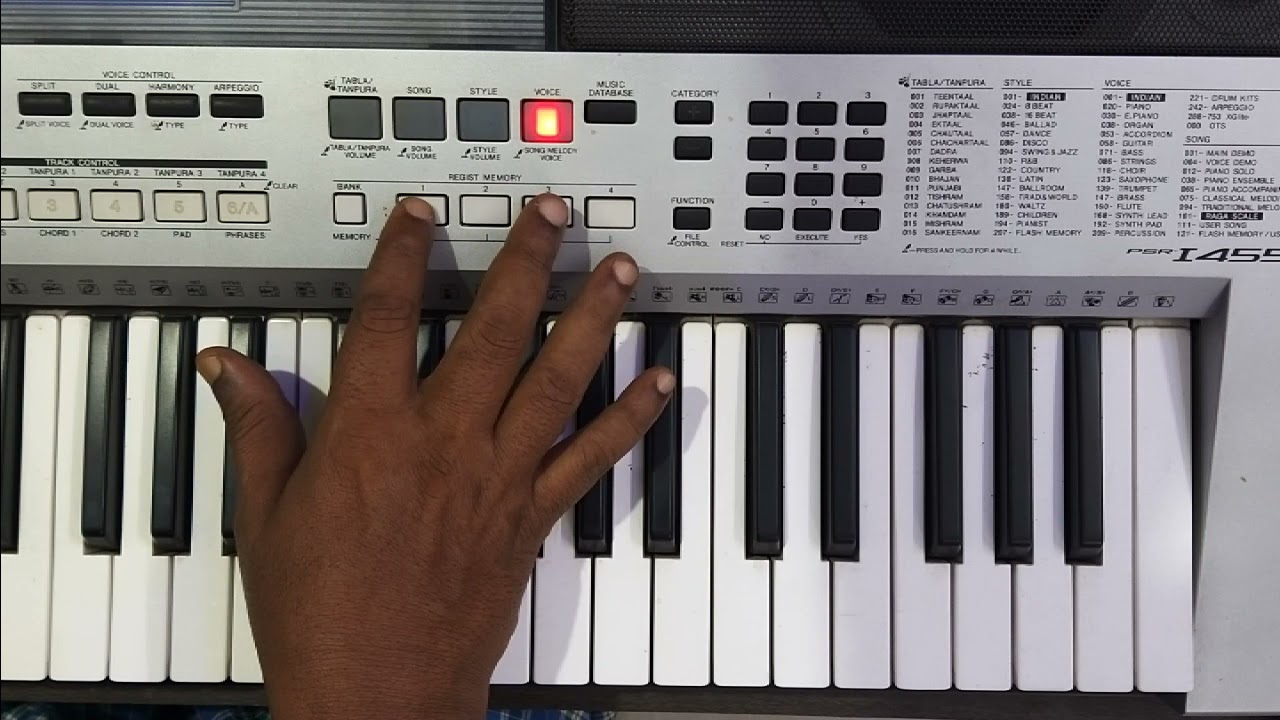
- Press the “Function” or “Utility” button on your keyboard. The exact button may vary depending on your keyboard model.
- Using the arrow keys on your keyboard, navigate through the menu options until you find the MIDI settings.
- Select the MIDI settings option and enter the submenu.
- Within the MIDI settings submenu, you may find options such as “MIDI channel,” “Local control,” and “MIDI output.” Adjust these settings according to your preferences or as recommended by your MIDI software documentation.
- Ensure that the MIDI channel on your keyboard matches the MIDI channel settings in your MIDI software. This will ensure proper communication between the two.
- Save your MIDI settings and exit the menu. Your Yamaha keyboard is now configured to function as a MIDI controller.
It’s important to note that the exact steps and menu options may vary depending on your Yamaha keyboard model. Refer to the user manual or documentation provided by Yamaha for specific instructions tailored to your keyboard.
With the MIDI settings configured on your Yamaha keyboard, you’re now ready to move on to the next step and set up your MIDI software to work with your keyboard.
Step 4: Setting up your MIDI software
Now that you have your Yamaha keyboard connected to your computer, and the MIDI settings on your keyboard configured, it’s time to set up your MIDI software. This will allow you to fully utilize your keyboard as a MIDI controller and access the wide range of features and functionalities offered by your MIDI software.
Here’s how to set up your MIDI software:
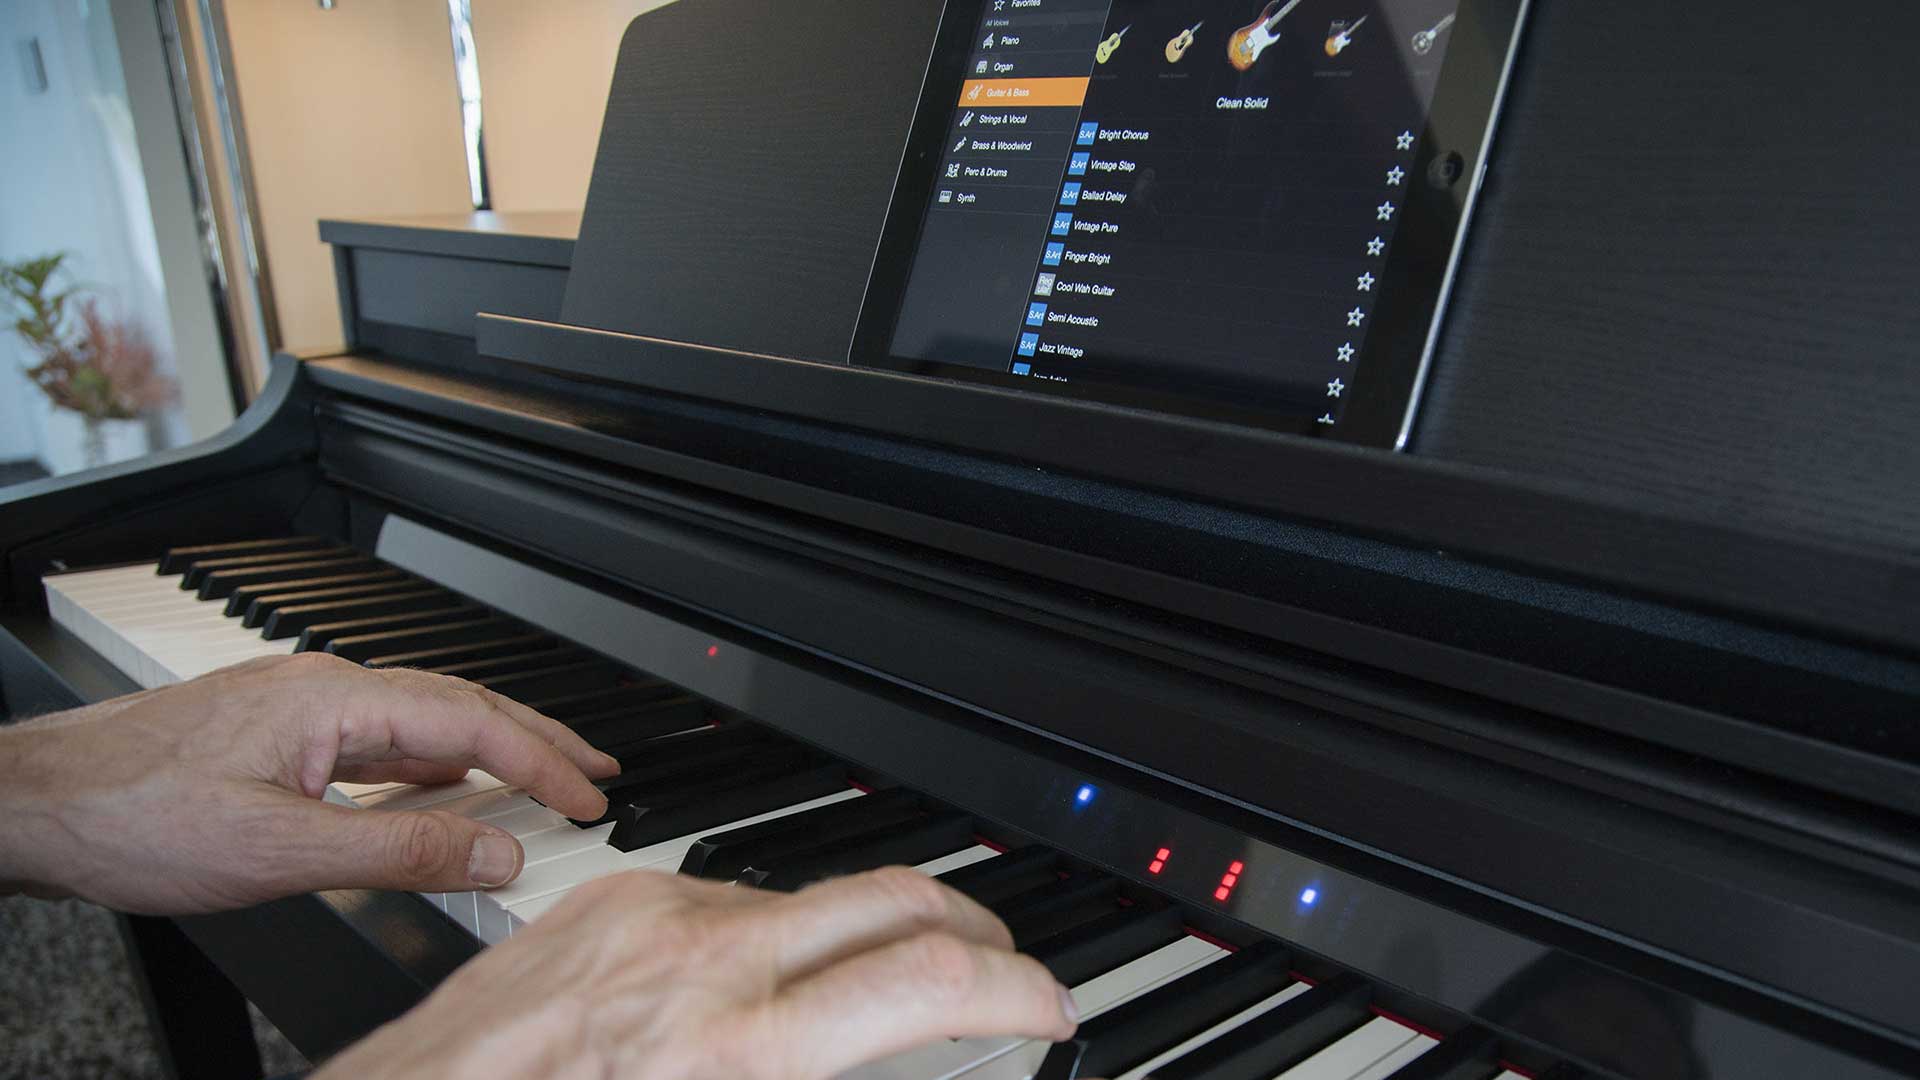
- Launch your MIDI software application on your computer. This can be a digital audio workstation (DAW) such as Ableton Live, Logic Pro, or FL Studio, or a standalone MIDI software like Propellerhead Reason or Native Instruments Kontakt.
- Access the MIDI settings or preferences within your software. This can usually be found in the preferences menu or settings panel.
- Select the MIDI input option and choose your Yamaha keyboard from the list of available MIDI devices.
- Ensure that the MIDI channels on your software match the MIDI channels set on your keyboard. This will ensure proper communication and control between your keyboard and the software.
- If your MIDI software supports mapping or assigning MIDI messages to specific functions or parameters, take advantage of this feature to customize your keyboard’s controls to suit your needs.
- Test the communication between your Yamaha keyboard and the MIDI software by playing a few notes on the keyboard. You should see MIDI data being received and registered in your software.
- Save your MIDI settings within the software to ensure that they are stored for future use.
It’s important to explore the various features and capabilities of your MIDI software and experiment with different settings to fully utilize your Yamaha keyboard as a MIDI controller. This will allow you to create expressive performances, record intricate MIDI sequences, and control a wide array of virtual instruments and effects.
Remember to consult the documentation provided with your MIDI software for specific instructions on setting up MIDI devices and configuring MIDI settings.
With your MIDI software properly set up, you’re now ready to start using your Yamaha keyboard as a MIDI controller and delve into the world of music production, composition, and performance.
Step 5: Using your Yamaha keyboard as a MIDI controller
Now that you have successfully connected and configured your Yamaha keyboard as a MIDI device, and set up your MIDI software, it’s time to take advantage of its capabilities as a powerful MIDI controller. By using your Yamaha keyboard as a MIDI controller, you can unleash your creativity and elevate your music production and performance to new heights.
Here are some ways to use your Yamaha keyboard as a MIDI controller:
- Playing virtual instruments: Your Yamaha keyboard can now be used to play and control a wide range of virtual instruments within your MIDI software. Simply select a virtual instrument or plugin in your software, and as you play the keys on your keyboard, you’ll trigger the corresponding notes in the virtual instrument, just like playing an actual instrument.
- Recording MIDI sequences: With your Yamaha keyboard acting as a MIDI controller, you can easily record MIDI sequences and performances directly into your MIDI software. This allows you to capture your musical ideas and create intricate compositions by laying down multiple tracks, adjusting velocities, and experimenting with different sounds and effects.
- Controlling parameters and effects: Many MIDI software applications allow you to map MIDI messages from your keyboard to control various parameters and effects within your software. This gives you the ability to manipulate filters, adjust volume and panning, apply modulation and pitch-bend, and much more, using the physical controls and knobs on your Yamaha keyboard.
- Live performances: If you’re a live performer, using your Yamaha keyboard as a MIDI controller opens up new possibilities for your stage setup. You can trigger backing tracks, control virtual instruments, and even switch between different presets or patches on the fly, all from the convenience of your keyboard.
By exploring and experimenting with the features and functionalities of your Yamaha keyboard and MIDI software, you’ll discover endless possibilities for creativity and expression. Take the time to familiarize yourself with the various controls, modes, and settings on your keyboard, and learn how to integrate them seamlessly into your workflow.
Remember, practice makes perfect. Spend time honing your skills and becoming familiar with the different techniques and capabilities of your Yamaha keyboard as a MIDI controller. With time and dedication, you’ll be able to unlock your full potential and create music that truly resonates with your artistic vision.
Now that you’re armed with the knowledge and tools to use your Yamaha keyboard as a MIDI controller, it’s time to start exploring, experimenting, and unleashing your musical creativity like never before!
Step 6: Troubleshooting common issues
While using your Yamaha keyboard as a MIDI controller can greatly enhance your music production experience, it’s not uncommon to encounter some issues along the way. Here are some common problems that you may encounter and possible solutions to troubleshoot them:
- No sound from virtual instruments: If you’re not hearing any sound from the virtual instruments in your MIDI software, check the MIDI channel settings on both your keyboard and software. Ensure that they are set to the same MIDI channel to establish proper communication.
- Incorrect notes triggering: If the notes you play on your Yamaha keyboard do not correspond correctly to the virtual instrument, double-check the MIDI channel settings and ensure that they match between your keyboard and software. Additionally, make sure there are no conflicting MIDI assignments or mappings that could be causing issues.
- Latency or delay: If you’re experiencing noticeable latency or delay between pressing a key on your Yamaha keyboard and hearing the sound, adjust the audio buffer size in your MIDI software’s settings. A smaller buffer size typically reduces latency but may require more processing power from your computer.
- Unresponsive controls: If the knobs, sliders, or other controls on your Yamaha keyboard are not responding within your MIDI software, check if you need to assign or map those controls manually. Ensure that the MIDI messages sent from the keyboard are correctly recognized by the software.
- Driver or software compatibility issues: If you’re experiencing issues with the drivers or software, make sure you have the latest version installed. Check the Yamaha website for any updates or patches that may resolve compatibility issues with your operating system.
- No connection or recognition: If your Yamaha keyboard is not being recognized by your computer or MIDI software, verify that the USB cable is securely connected. If using a MIDI-to-USB interface, ensure it is properly connected as well. Try using a different USB cable or port, and make sure the drivers are installed correctly.
If you’re still unable to resolve the issues with your Yamaha keyboard as a MIDI controller, refer to the user manual or contact Yamaha customer support for further assistance. They will be able to provide specific troubleshooting steps and guidance based on your keyboard model and software setup.
Remember, troubleshooting is a normal part of the process, and with some patience and persistence, you’ll be able to overcome any obstacles and fully enjoy the benefits of using your Yamaha keyboard as a MIDI controller.
With the troubleshooting tips in mind, you’re now equipped to tackle any common issues that may arise during your MIDI journey. Don’t let obstacles hinder your creativity – embrace the challenges and continue to explore the vast possibilities of music creation with your Yamaha keyboard!
Conclusion
Congratulations! You have successfully learned how to use your Yamaha keyboard as a MIDI controller, unlocking a whole new realm of possibilities in your music production and performance. By following the steps outlined in this article, you have gained the skills to connect your keyboard to your computer, install the necessary drivers and software, configure MIDI settings, set up your MIDI software, and troubleshoot common issues.
Using your Yamaha keyboard as a MIDI controller allows you to play virtual instruments, record MIDI sequences, control parameters and effects, and elevate your music production and performances to new heights. The tactile experience of playing a physical instrument combined with the versatility and flexibility of MIDI technology provides an enriching creative experience.
Remember, as you explore and experiment with your Yamaha keyboard as a MIDI controller, don’t be afraid to push boundaries and think outside the box. Customize your keyboard’s controls, experiment with different sounds and effects, and discover your unique musical style.
Continue to refine your skills, experiment with new techniques, and stay up-to-date with the latest MIDI software updates to make the most of your Yamaha keyboard as a MIDI controller. Take advantage of online communities, forums, and tutorials to learn from others and share your own experiences.
Whether you’re a professional musician, a music producer, or just a hobbyist, integrating your Yamaha keyboard as a MIDI controller will bring a new level of creativity and expression to your music. So, grab your keyboard, fire up your MIDI software, and let your imagination run wild.
Now that you have the knowledge and tools to harness the power of your Yamaha keyboard as a MIDI controller, it’s time to dive into the world of music production, creation, and performance like never before. Embrace the possibilities, explore your musical journey, and let your talent shine through!