Home>Production & Technology>MP3>How Do You Download Songs Onto An MP3 Player
MP3
How Do You Download Songs Onto An MP3 Player
Modified: January 22, 2024
Learn how to easily download songs onto an MP3 player in a few simple steps. Enhance your music experience with our MP3 player download guide.
(Many of the links in this article redirect to a specific reviewed product. Your purchase of these products through affiliate links helps to generate commission for AudioLover.com, at no extra cost. Learn more)
Table of Contents
- Introduction
- Step 1: Check Your MP3 Player Compatibility
- Step 2: Choose the Right Download Platform
- Step 3: Locate and Download Songs
- Step 4: Connect Your MP3 Player to Your Computer
- Step 5: Transfer Songs to Your MP3 Player
- Step 6: Safely Disconnect Your MP3 Player
- Step 7: Enjoy Your Downloaded Music
- Conclusion
Introduction
Downloading songs onto an MP3 player allows you to take your favorite music wherever you go. Whether you’re headed on a road trip, hitting the gym, or simply lounging at home, having your music library readily available can enhance your experience. With the advent of digital music and online platforms, downloading songs onto an MP3 player has become easier than ever before.
In this article, we will guide you through the process of downloading songs onto an MP3 player. Whether you’re a novice or have some experience in the digital music world, we’ve got you covered. By following a few simple steps, you’ll be able to fill your MP3 player with all the songs you love.
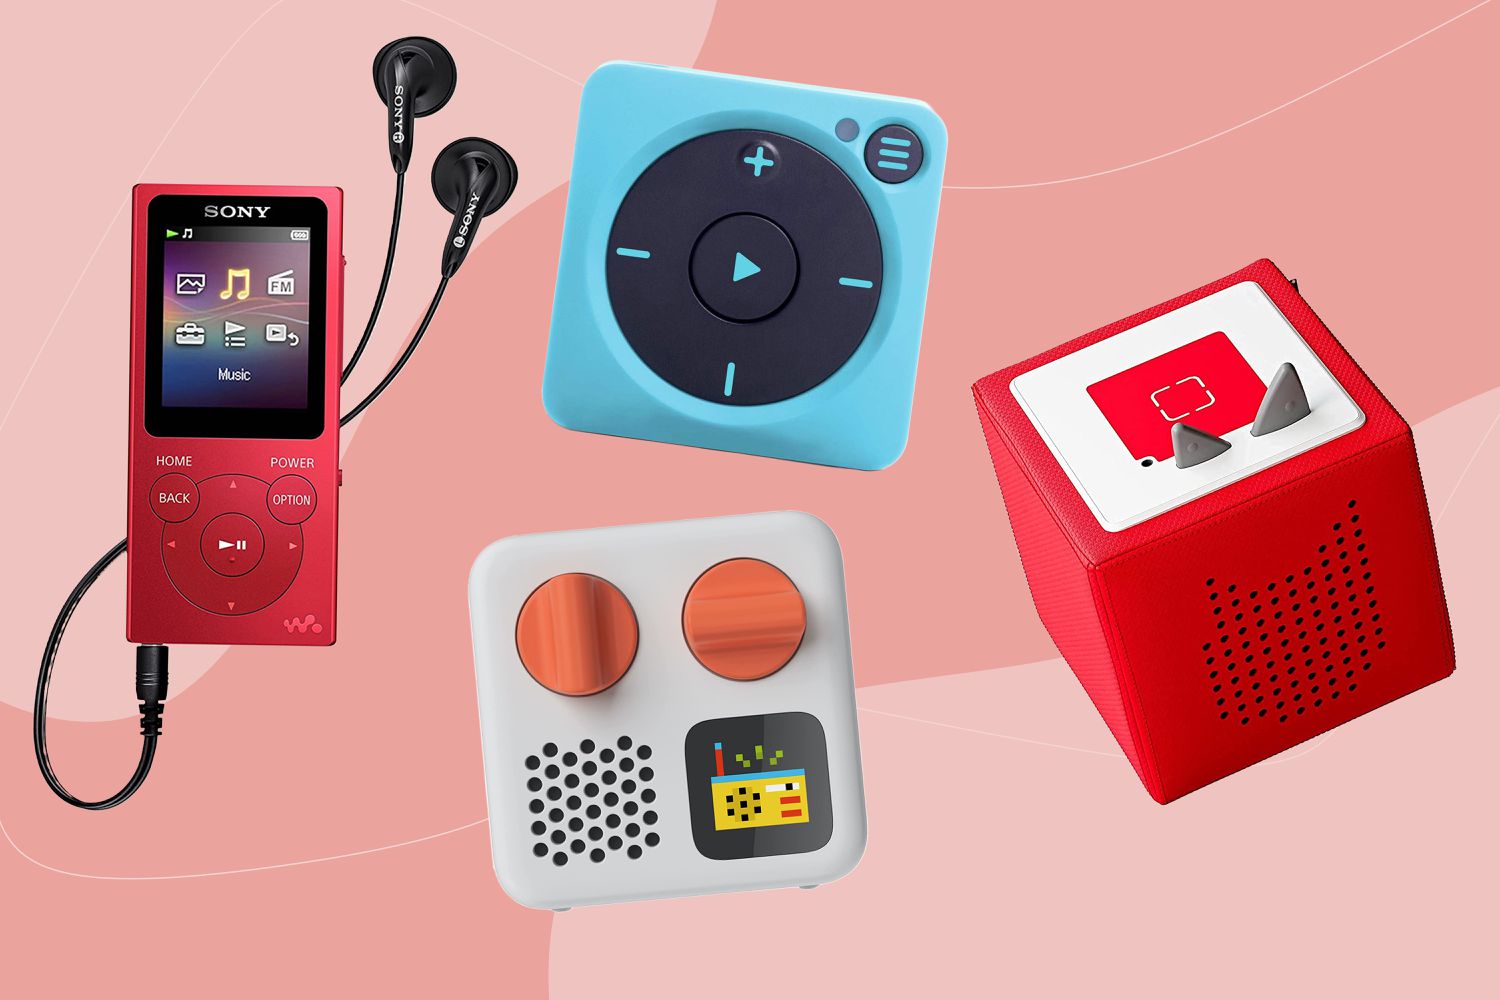
But before we dive into the process, it’s important to note that not all MP3 players are created equal. Different MP3 players have varying capabilities and compatibility with different download formats. Before you start downloading songs, make sure to check your MP3 player’s user manual or specifications to ensure that it supports the format you plan to use.
Once you’ve confirmed your MP3 player’s compatibility, it’s time to choose the right download platform. There are countless websites and applications available, each with its own features and offerings. Some are free, while others require a subscription or purchase. In the next section, we will explore the options and help you select the best platform for your needs.
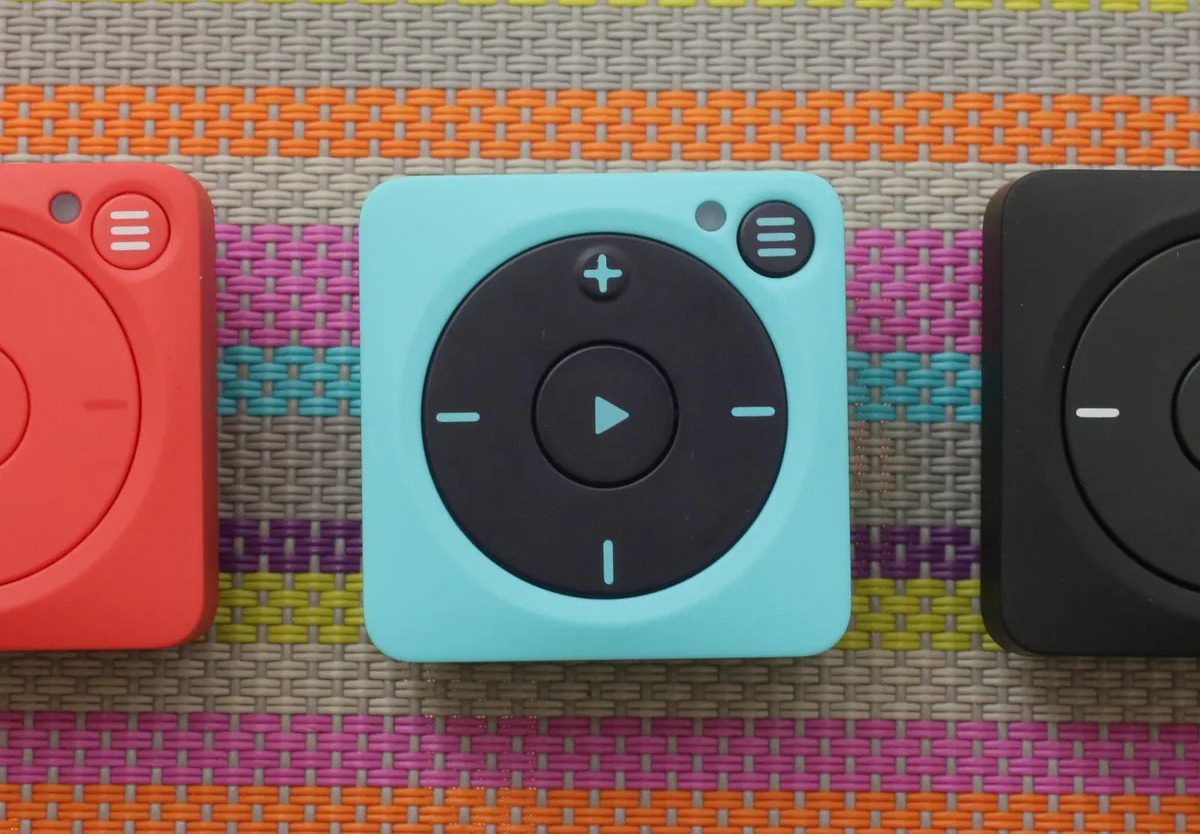
Step 1: Check Your MP3 Player Compatibility
Before you start downloading songs onto your MP3 player, it’s essential to ensure that your device is compatible with the files you plan to download. Not all MP3 players support the same file formats, so it’s important to check your device’s user manual or specifications to determine the supported formats.
Commonly supported audio file formats include MP3, WAV, WMA, and AAC. However, some MP3 players may also support additional formats like FLAC or OGG. It’s crucial to know the supported formats to ensure that the downloaded songs can be played on your MP3 player without any compatibility issues.
If you’re unsure about the supported formats, you can connect your MP3 player to your computer and check its storage. Most MP3 players will display a list of folders or file formats that can be played. Make note of the supported formats, as you’ll need this information when choosing the right download platform and while downloading songs.
Once you have confirmed the supported formats, you can now proceed to the next step, which is selecting the right download platform.
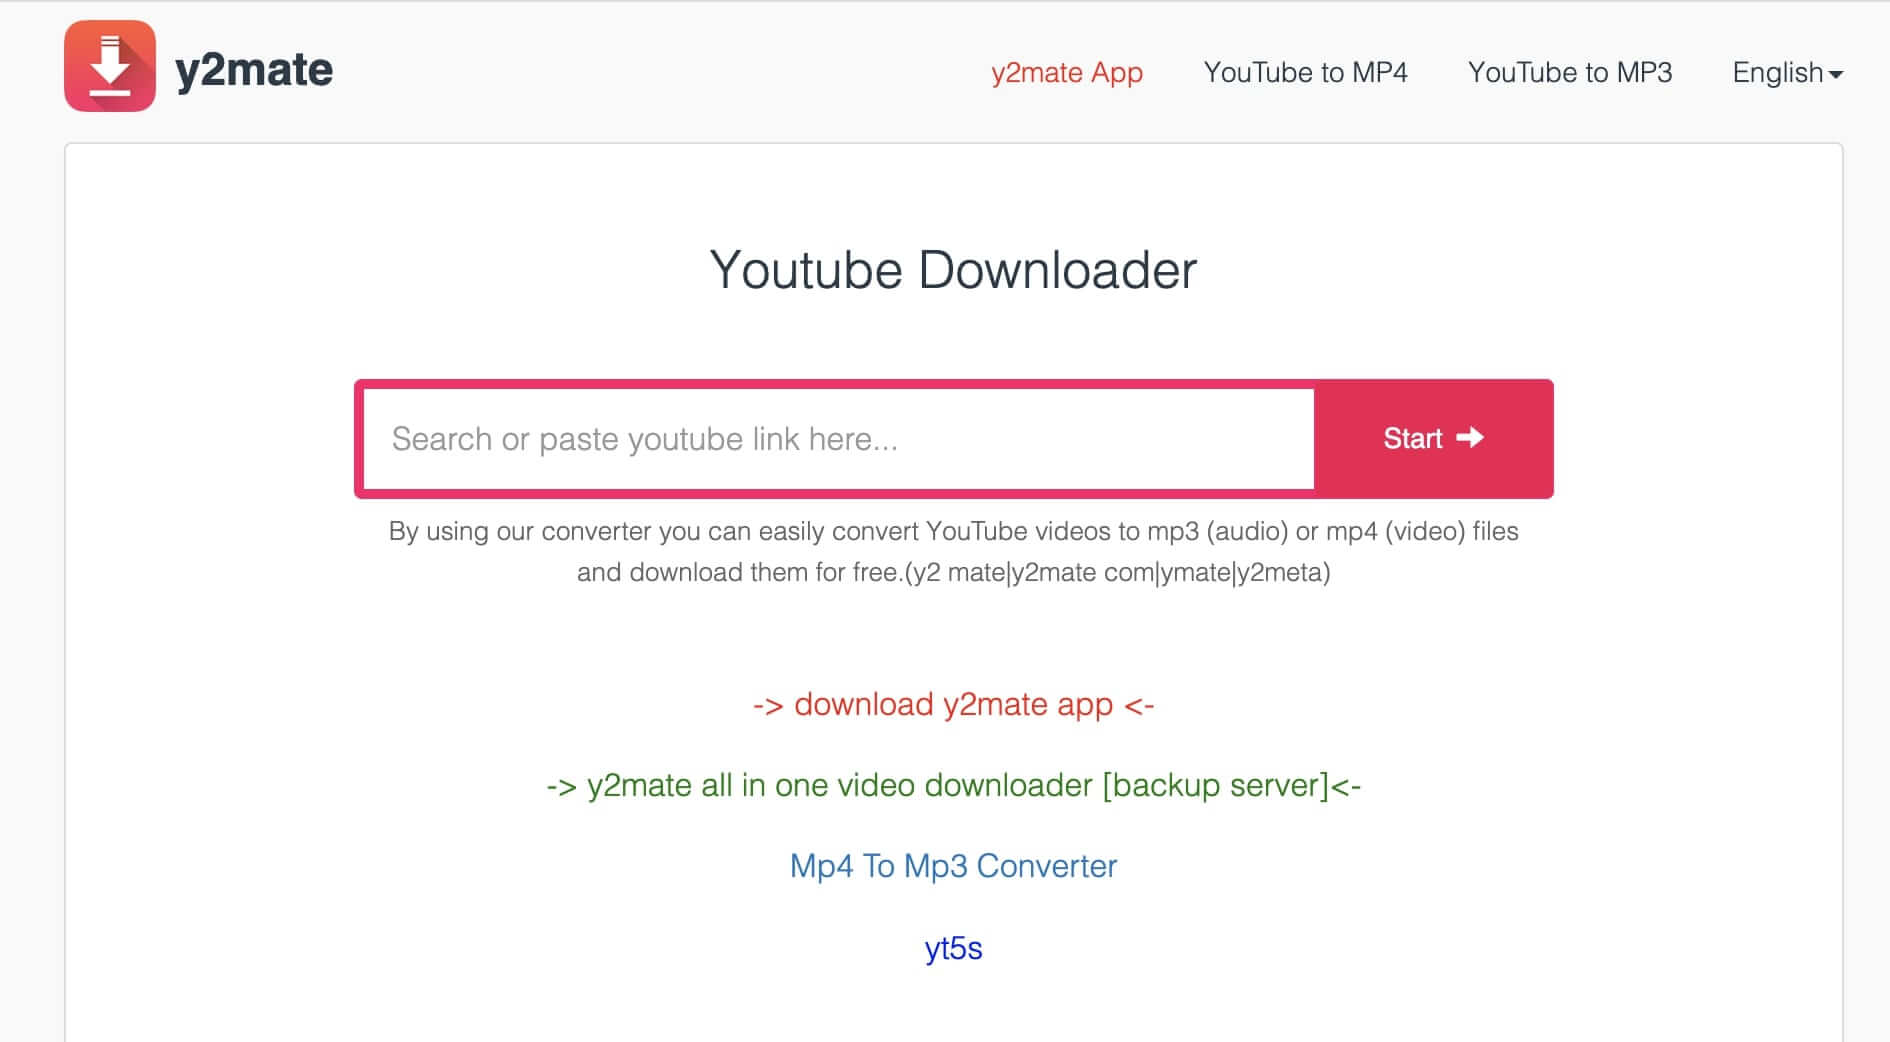
Step 2: Choose the Right Download Platform
Choosing the right download platform is crucial in ensuring a seamless and enjoyable experience when downloading songs onto your MP3 player. With numerous options available, it’s important to consider factors such as the platform’s legality, ease of use, and available music library.
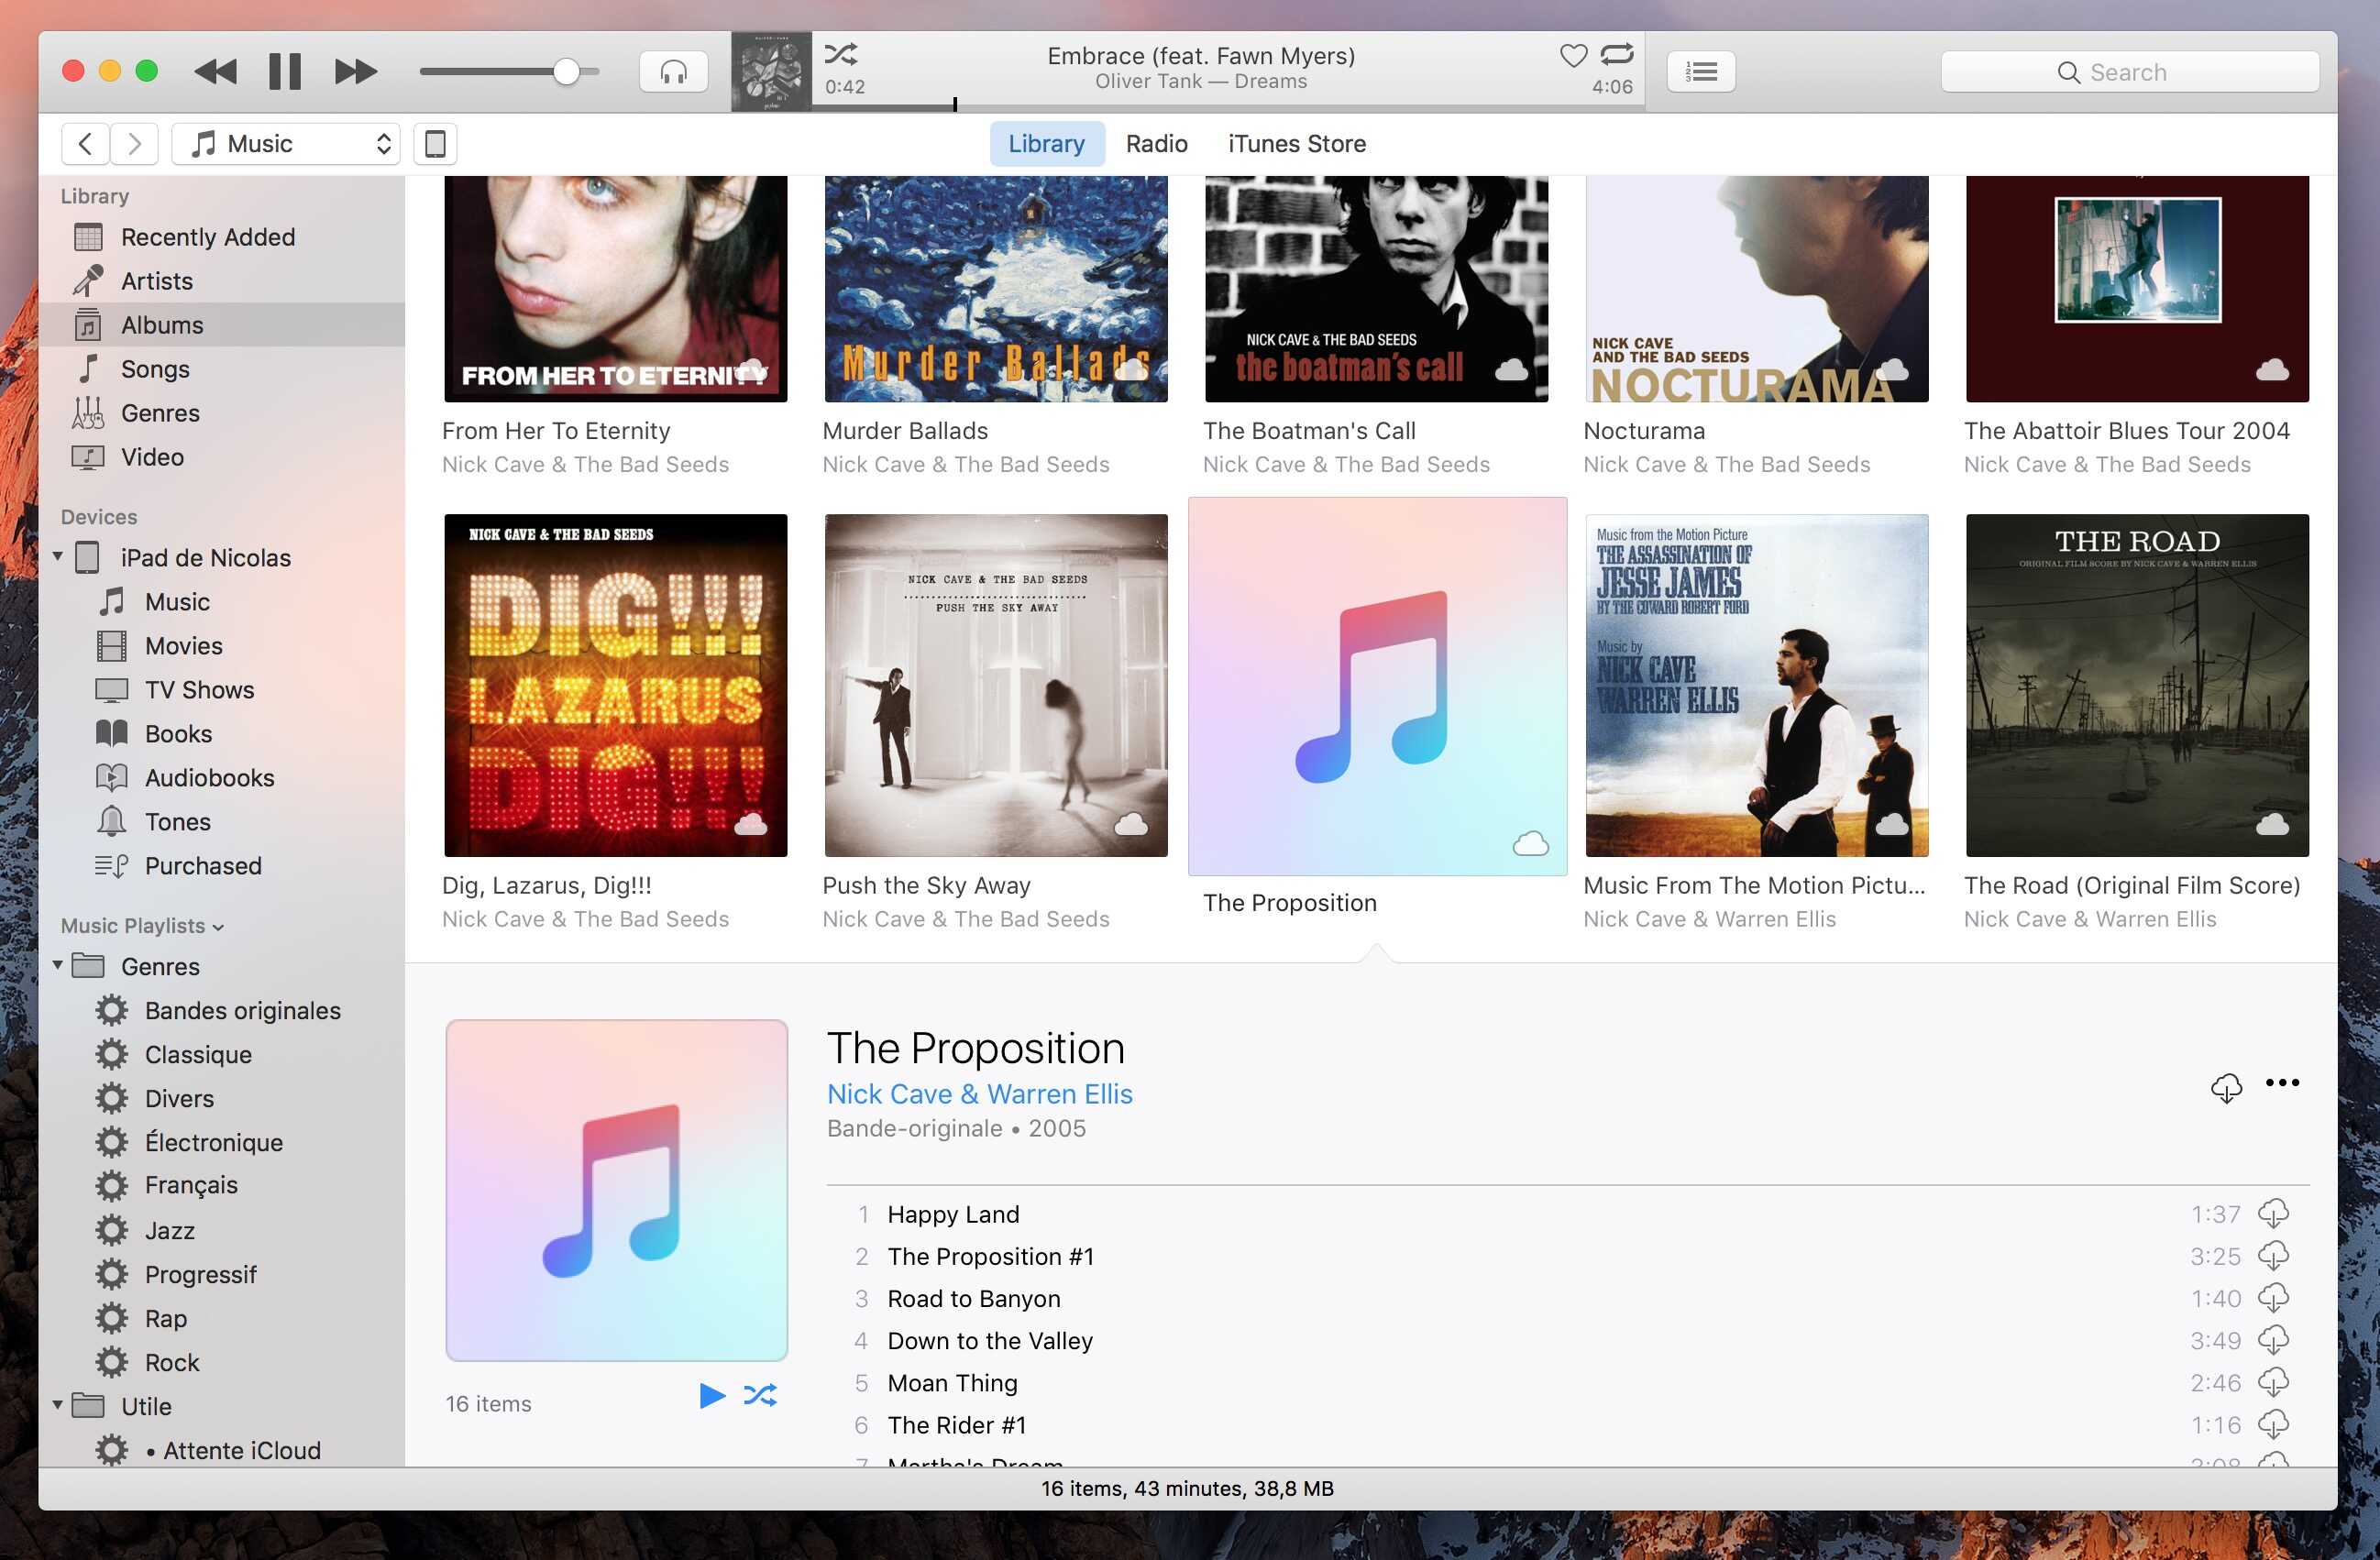
One of the most popular download platforms is iTunes, which offers a vast collection of songs, albums, and playlists for purchase. It also provides a seamless integration with Apple devices, making it an ideal choice for those who own an iPod or iPhone. However, keep in mind that iTunes mostly supports the AAC format, so ensure that your MP3 player is compatible with it.
If you’re looking for a subscription-based service, consider popular streaming platforms like Spotify or Apple Music. While these platforms typically require a monthly fee, they offer an extensive music library that can be downloaded for offline listening. However, be aware that the downloaded files may be DRM-protected, which means they can only be accessed through the associated app.
For those who prefer free options, there are various websites and applications that offer legal and free music downloads. Some popular choices include Jamendo, SoundCloud, and Free Music Archive. These platforms allow independent artists to share their music, providing a diverse range of songs across different genres.
When selecting a download platform, be cautious of illegal file-sharing websites or peer-to-peer networks. While these platforms may offer a vast selection of music for free, downloading copyrighted material without permission is illegal and can result in penalties.
Consider your preferences, budget, and the types of music you enjoy when choosing the right download platform. Once you’ve selected a platform, it’s time to locate and download your favorite songs, which we’ll explore in the next step.
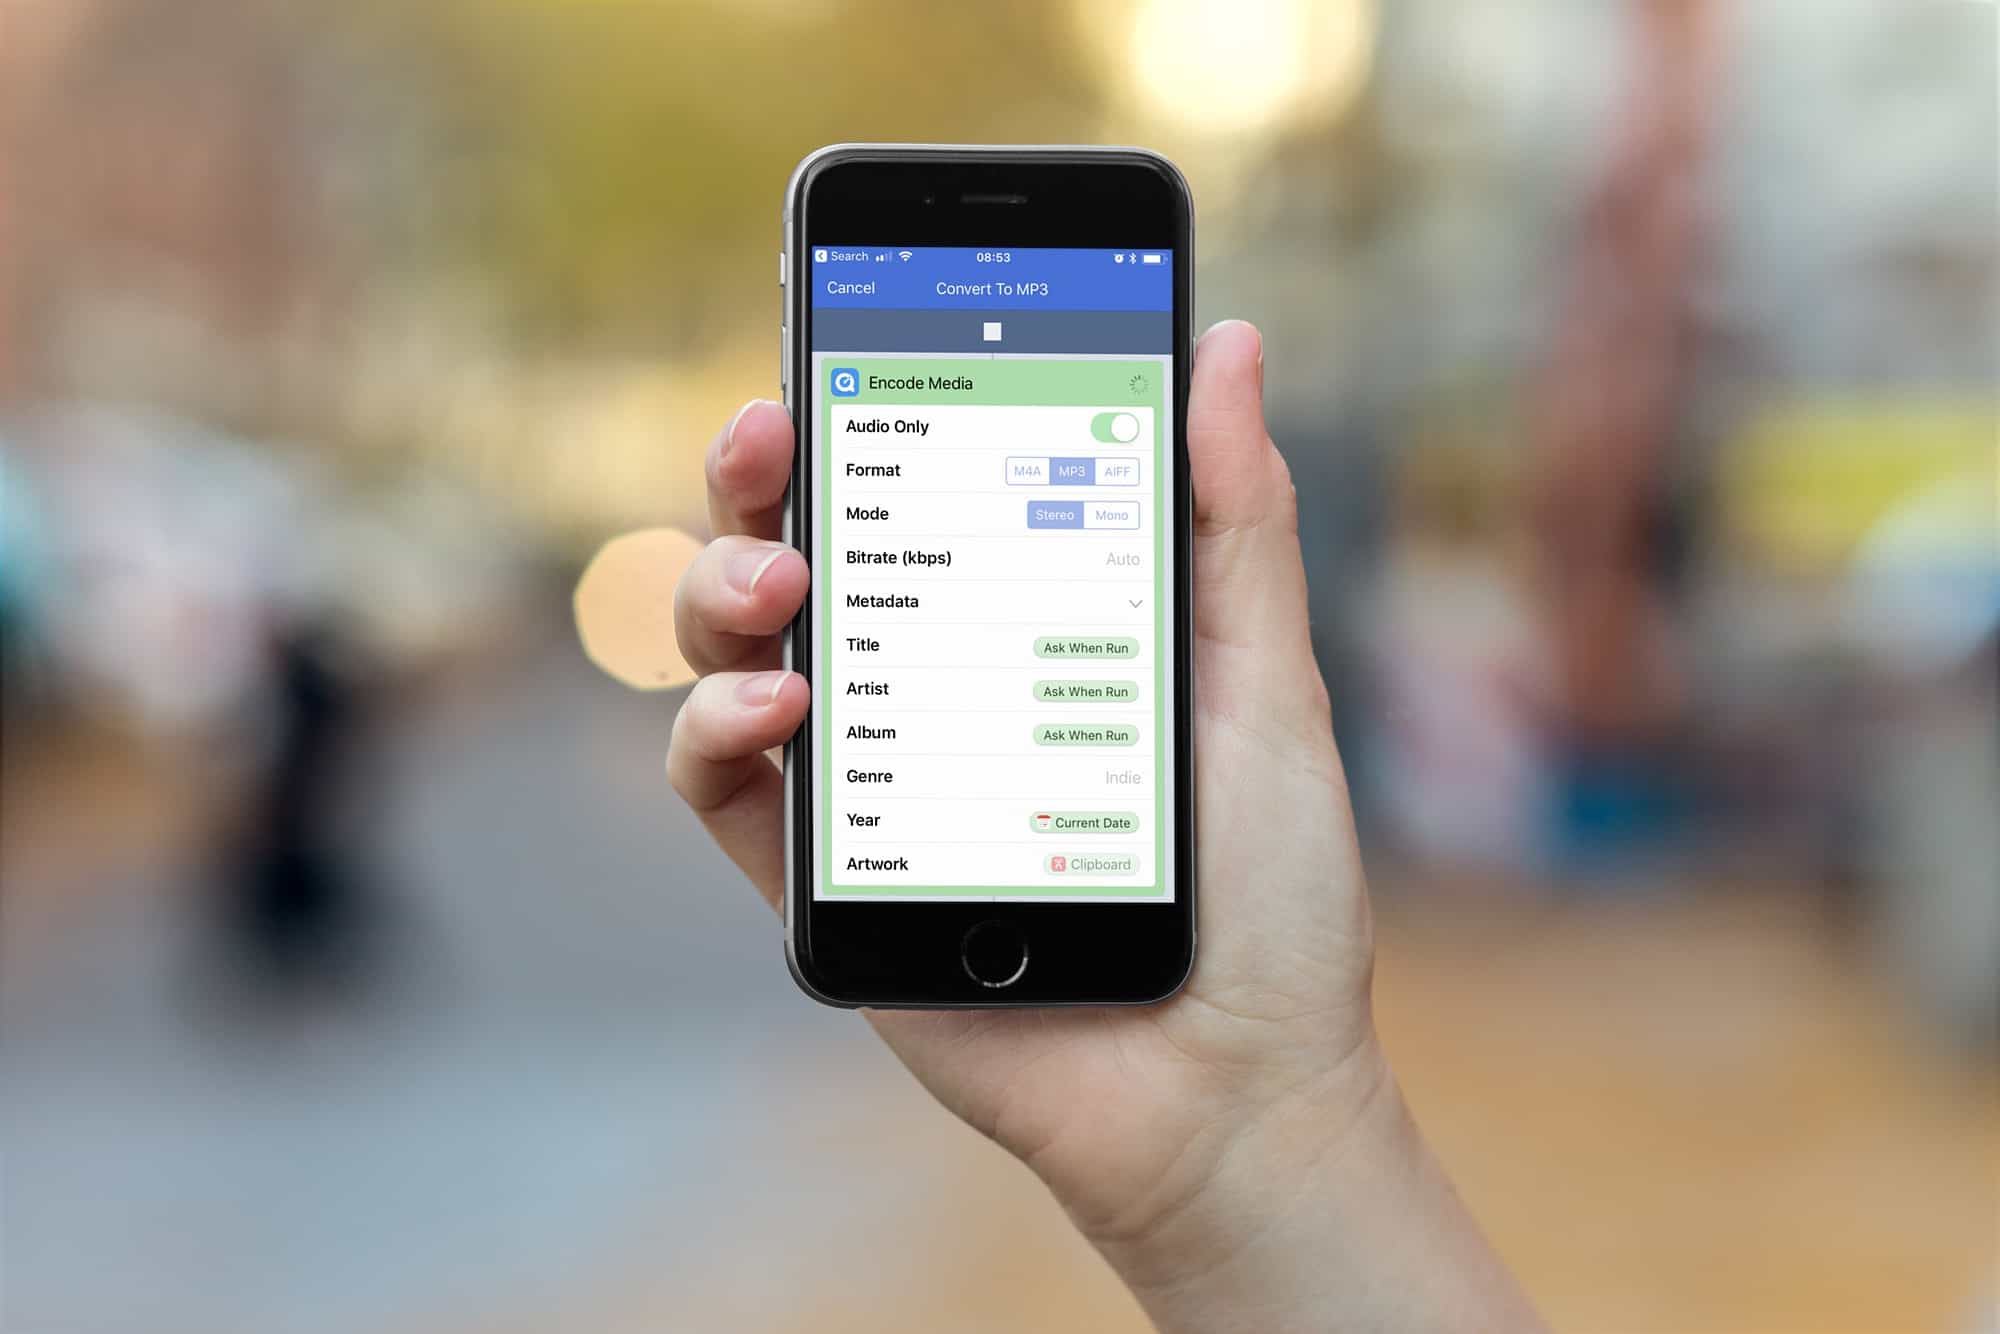
Step 3: Locate and Download Songs
Now that you’ve chosen the right download platform, it’s time to start locating and downloading songs onto your MP3 player. The process may vary depending on the platform you’ve selected, but the general steps remain similar.
Begin by launching the download platform or website on your computer or mobile device. Sign in to your account, if required, or create a new account if you haven’t already. Explore the platform’s search or browse features to find the songs you want to download.
When searching for songs, you can use specific keywords, such as the song title, artist name, or album name, to narrow down your results. Some platforms also provide curated playlists or recommendations based on your music preferences, making it easier to discover new songs.
Once you’ve found a song you want to download, check if it’s available for download. On some platforms, you may be able to download songs directly, while others may require you to add them to a designated playlist or library before initiating the download.
Click on the download button or select the option to save the song to your device. Choose the destination folder where you want the downloaded song to be saved. You can create a new folder specifically for your MP3 player to keep your downloaded songs organized.
Depending on the file size and your internet connection speed, the download process may take a few seconds or minutes. Once the download is complete, you’re ready to transfer the songs to your MP3 player, which is covered in the next step.
Repeat these steps for each song you want to download, building up your music library with your favorite tunes. Remember to respect the platform’s terms of use and copyright laws while downloading songs.
With your songs downloaded, it’s time to connect your MP3 player to your computer and transfer the music files. This brings us to the next step in the process.
Step 4: Connect Your MP3 Player to Your Computer
After successfully downloading songs onto your computer, it’s time to connect your MP3 player and transfer the music files. To do this, you will need a USB cable that is compatible with your MP3 player’s charging and data transfer port.
Start by locating the USB port on your MP3 player. It is usually located on the side or bottom of the device. Once you’ve found it, connect one end of the USB cable to the MP3 player’s port.
Next, locate a USB port on your computer. It can be found on either the front or back of the computer tower, or on the side of a laptop. Insert the other end of the USB cable into the computer’s USB port.
Once the MP3 player is connected to the computer, it should be recognized as a removable storage device. The computer may automatically open a window displaying the contents of the MP3 player, or you may need to access it manually.
If the window does not open automatically, navigate to “This PC” or “My Computer” on your computer and look for the MP3 player under the list of connected devices. Click on the MP3 player’s icon to open its storage folder.
Before transferring the music files, it’s a good idea to create a new folder on your MP3 player’s storage to keep your music organized. Right-click in the MP3 player’s window, select “New,” and choose “Folder.” Give the folder a name such as “Music” or “Songs.”
Once the folder is created, open the folder on your computer where you saved the downloaded music files. Select the songs you want to transfer to the MP3 player and drag them into the newly created folder on the MP3 player’s storage.
The transfer process may take a few moments, depending on the size of the files and the speed of your computer. Once the transfer is complete, safely disconnect the MP3 player from your computer to ensure that the files are properly saved.
With the songs successfully transferred to your MP3 player, it’s time to move on to the final step of the process: enjoying your downloaded music.
Step 5: Transfer Songs to Your MP3 Player
With your MP3 player connected to your computer and the music files ready for transfer, it’s time to start the process of transferring the songs to your device. Follow the steps below to ensure a smooth transfer:
- Open the folder on your computer where the music files are stored.
- Select the songs or folders you want to transfer to your MP3 player. You can use Ctrl + click or Shift + click to select multiple files.
- Right-click on the selected files and choose “Copy” from the options menu.
- Locate the folder on your MP3 player where you want to transfer the songs. This could be the “Music” folder or any other designated folder.
- Right-click in the MP3 player’s folder and choose “Paste” from the options menu. The selected songs will begin transferring to your MP3 player.
- Wait for the transfer to complete. This may take some time depending on the size of the files and the speed of your computer.
- Once the transfer is complete, safely disconnect your MP3 player from your computer. This is an important step to ensure that the files are properly saved and prevent any potential data corruption.
It’s worth noting that some MP3 players may require additional software or drivers to be installed on your computer for successful file transfer. Check the user manual or the manufacturer’s website for any specific instructions related to your MP3 player model.
After safely disconnecting your MP3 player from the computer, you can now enjoy your downloaded music on the go. Simply navigate through your MP3 player’s menu or interface and locate the songs you transferred. You’ll be able to play them through your headphones or any connected audio device.
Remember to regularly update and manage your music library on your MP3 player by adding new songs or removing old ones. This will ensure that you always have a fresh collection of music to enjoy.
Congratulations! You have successfully transferred your favorite songs to your MP3 player. Now it’s time to sit back, relax, and enjoy the music.
Step 6: Safely Disconnect Your MP3 Player
Once you have successfully transferred your music to your MP3 player, it is important to safely disconnect the device from your computer. Safely disconnecting ensures that the files are properly saved and prevents any potential data corruption.
Follow the steps below to safely disconnect your MP3 player:
- Verify that all file transfers have been completed. Check to ensure that the progress bar or transfer indicator on your computer has finished transferring the files.
- Close any open windows or applications that are accessing the MP3 player’s storage or files.
- Locate the “Safely Remove Hardware” icon on your computer. This can usually be found in the system tray near the clock.
- Click on the “Safely Remove Hardware” icon to open the menu.
- A list of devices connected to your computer will be displayed. Locate your MP3 player from the list.
- Click on your MP3 player to select it for removal.
- Wait for a notification or message indicating that it is safe to remove the device.
- Once you receive the confirmation, gently disconnect the USB cable from your MP3 player.
It is important not to abruptly disconnect the USB cable or remove the MP3 player while file transfer is in progress. Doing so can lead to data loss or corruption.
By following these steps to safely disconnect your MP3 player, you can ensure that all the transferred songs are properly saved and maintain the integrity of your device. This will help you enjoy your music without any unexpected issues.
Now that your MP3 player is safely disconnected, you are ready to enjoy your downloaded music wherever you go. Grab your headphones, choose your favorite song, and immerse yourself in a world of musical bliss.
Step 7: Enjoy Your Downloaded Music
Now that you have successfully downloaded and transferred your favorite songs to your MP3 player, it’s time to sit back, relax, and immerse yourself in the joy of your music collection. Follow these steps to fully enjoy your downloaded music:
- Ensure your MP3 player is fully charged or has enough battery life to last for your desired listening session.
- Connect your headphones or an external audio device to your MP3 player.
- Power on your MP3 player and navigate through its menu or interface to find the music section.
- Browse through your music library, organized by artists, albums, genres, or playlists.
- Select a song or album to play. You can use the playback controls on your MP3 player to pause, play, skip, or adjust the volume.
- Explore different features on your MP3 player, such as creating playlists, shuffling songs, or adjusting equalizer settings, to enhance your listening experience.
- Take your MP3 player with you wherever you go, whether it’s during a workout, a commute, or leisure time. Enjoy the freedom of having your favorite songs at your fingertips.
- Regularly update your music library by downloading new songs and removing old ones to keep your collection fresh and exciting.
Remember to take care of your MP3 player by storing it in a safe and dry place when not in use, avoiding extreme temperatures or exposure to water, and regularly cleaning the device according to the manufacturer’s instructions. This will help prolong the lifespan and performance of your MP3 player.
Music has the power to uplift your mood, bring back memories, and transport you to different emotions. With your downloaded songs on your MP3 player, you have a constant companion that can enhance your everyday experiences.
Enjoy the beat, lyrics, and melodies that resonate with your soul. Let the music be your companion during your daily activities, and allow it to fuel your creativity, energize your workouts, or simply help you relax and unwind.
Congratulations on successfully downloading and enjoying your music on your MP3 player. Now, let the rhythm guide you on your musical journey!
Conclusion
Downloading songs onto an MP3 player opens up a world of music that you can carry with you wherever you go. By following the step-by-step guide outlined in this article, you can easily and safely download your favorite songs onto your MP3 player.
Remember to check your MP3 player’s compatibility, choose the right download platform, locate and download your desired songs, connect your MP3 player to your computer, transfer the songs, safely disconnect your device, and finally, enjoy your downloaded music.
From legal platforms like iTunes, Spotify, or free music archives, there are numerous options available to suit your preferences and budget. By utilizing the right download platform and adhering to copyright laws, you can build an extensive music library that brings you joy and entertainment.
With your MP3 player connected, you can immerse yourself in the world of music at any time and in any place. Enjoy the freedom of having your favorite songs at your fingertips, whether you’re jogging, studying, or relaxing at home.
Remember to regularly update your music library, keeping it fresh and dynamic by adding new songs and removing older ones. This way, you’ll always have a diverse collection that reflects your evolving tastes and moods.
By following the steps outlined in this article and exercising caution throughout the process, you can download and enjoy your favorite songs on your MP3 player hassle-free. So, grab your headphones, hit play, and let the power of music transport you to a world of rhythm and melody.
Now, go forth and embark on your personal music journey, armed with your cherished MP3 player and a library of downloaded songs that will accompany you on every adventure.