Home>Production & Technology>MP3>How To Add MP3 To Google Slides

MP3
How To Add MP3 To Google Slides
Modified: January 22, 2024
Learn how to easily add MP3 files to your Google Slides presentations for a more dynamic and engaging experience. Enhance your slides with music in just a few simple steps.
(Many of the links in this article redirect to a specific reviewed product. Your purchase of these products through affiliate links helps to generate commission for AudioLover.com, at no extra cost. Learn more)
Table of Contents
Introduction
Welcome to a comprehensive guide on how to add MP3 files to your Google Slides presentations. Google Slides is a powerful and versatile tool for creating visually appealing and interactive presentations. While it offers a wide range of features, including text, images, and videos, adding audio can help further engage your audience and make your presentation more impactful.
MP3 files, as a popular audio format, allow you to add background music, sound effects, or even incorporate recorded speeches or interviews into your Google Slides. By following the steps outlined in this guide, you’ll be able to seamlessly integrate MP3 files into your presentations and create a dynamic and immersive experience for your viewers.
Whether you’re using Google Slides for educational purposes, business presentations, or any other creative project, the addition of audio can elevate your content and leave a lasting impression. So, without further ado, let’s dive into the step-by-step process of adding MP3 files to Google Slides.
Step 1: Prepare your MP3 file
The first step in adding an MP3 file to your Google Slides presentation is to ensure that your audio file is properly prepared. Here are a few things to consider:
- Choose the right MP3 file: Select an MP3 file that is suitable for your presentation. It could be background music to set the mood, sound effects to highlight key points, or a recorded narration to accompany your slides.
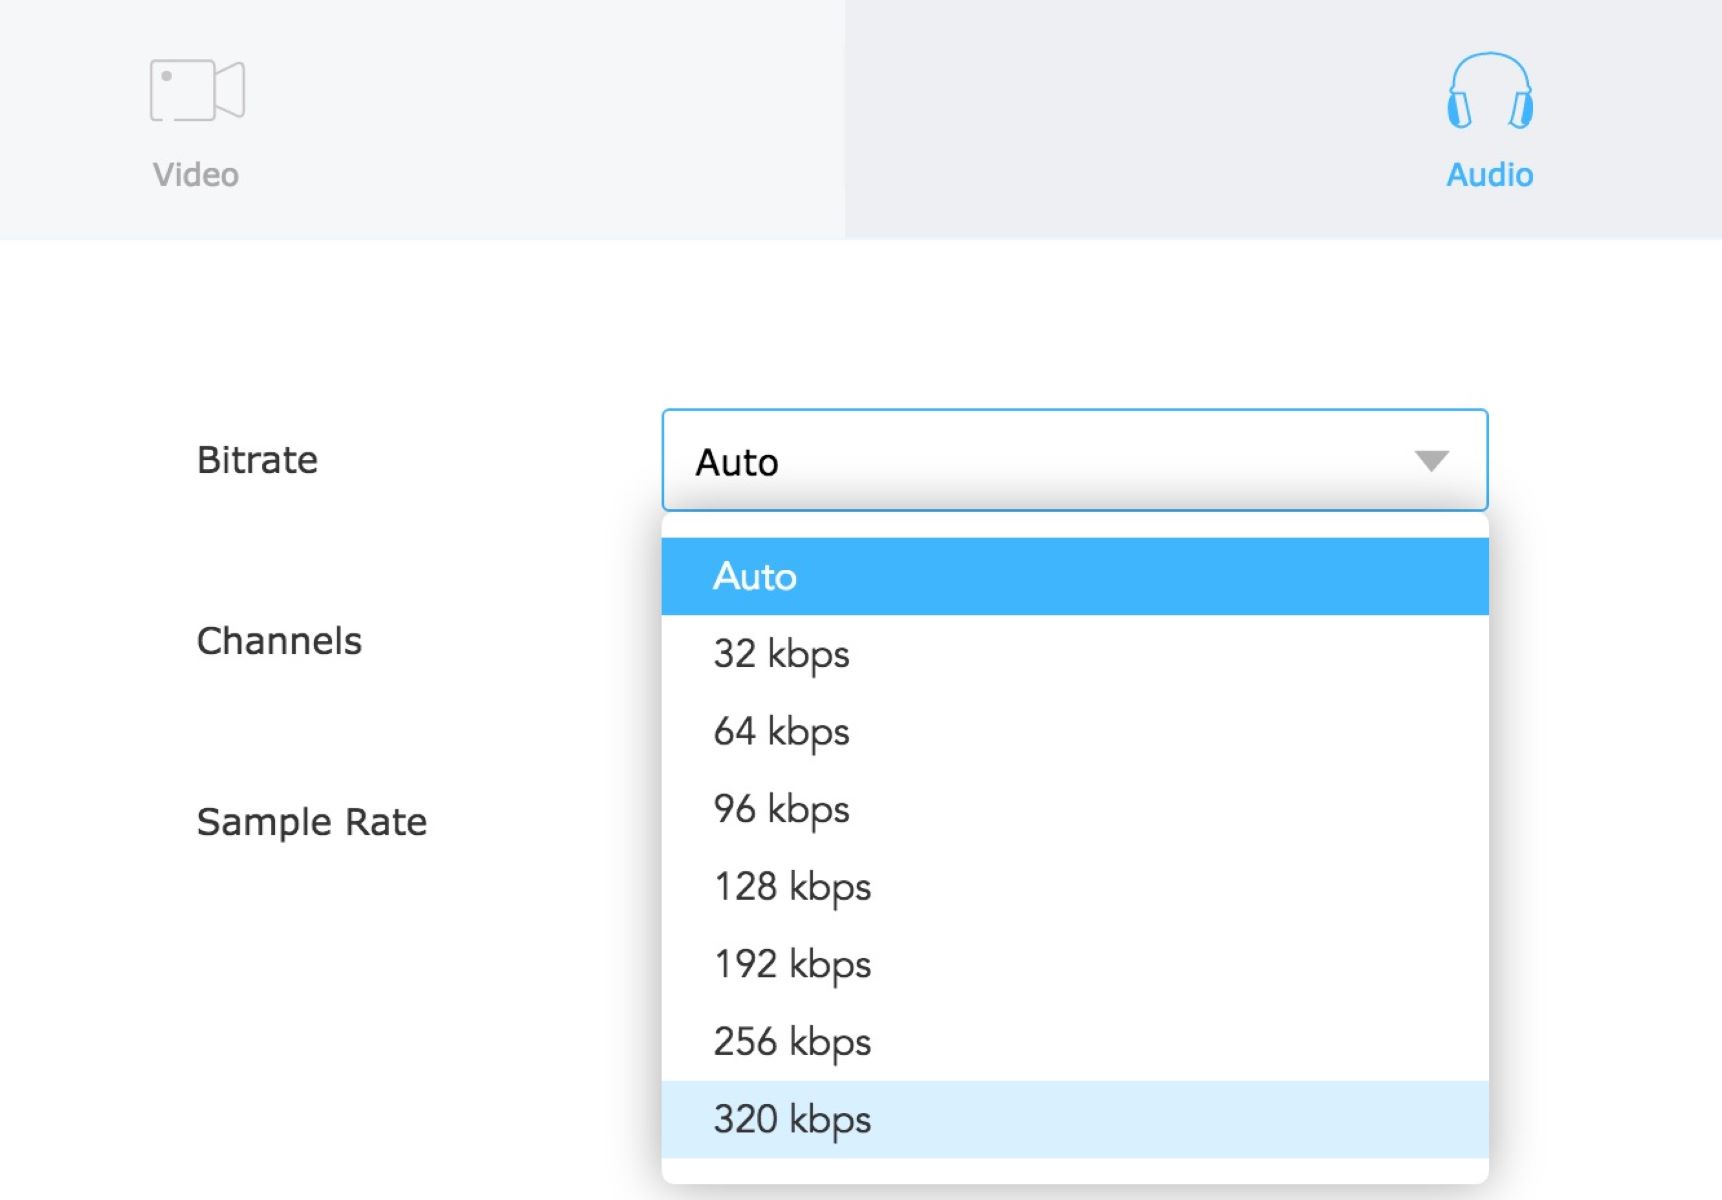
- Keep the file size in check: Large audio files can slow down the loading time of your presentation. Compress your MP3 file if necessary, ensuring that it strikes a balance between audio quality and file size.
- Consider copyright and licensing: If you’re using copyrighted music or audio content, make sure you have the necessary permissions to use it in your presentation. Alternatively, you can explore royalty-free music websites or create your own audio.
Once you have your MP3 file ready, you’re all set to move on to the next step: converting it to a compatible format for Google Slides.
Step 2: Convert MP3 to a compatible format
To ensure seamless playback of your MP3 file in Google Slides, it’s important to convert it to a compatible format. Google Slides supports the following audio formats:
- MP3
- WAV
- M4A (AAC)
- FLAC
- OGG
If your MP3 file is already in one of the supported formats, you can skip this step and move on to the next. However, if your file is in a different format, you’ll need to convert it using a reliable audio conversion tool. There are several online converters available that offer free and easy conversion of audio files.
Simply upload your MP3 file to the converter, select the desired format (such as WAV or M4A), and initiate the conversion process. Once the conversion is complete, download the converted audio file to your computer.
By converting your MP3 file to a compatible format, you ensure that it can be seamlessly integrated into your Google Slides presentation without any issues or playback errors.
Step 3: Upload the MP3 file to Google Drive
In order to insert an MP3 file into your Google Slides presentation, you’ll need to upload the audio file to your Google Drive. Here’s how you can do it:
- Open Google Drive: Go to drive.google.com and sign in to your Google account if you’re not already logged in.
- Create a new folder (optional): If you want to keep your audio files organized, you can create a new folder specifically for your presentation. Click on the “New” button, select “Folder,” and give it a relevant name.
- Upload the MP3 file: Inside the desired folder (or directly in your Drive if you’re not organizing them in folders), click on the “New” button, select “File upload,” and choose the MP3 file from your computer. Alternatively, you can simply drag and drop the file into Google Drive.
- Wait for the upload: The time it takes for the upload to complete will depend on the size of the MP3 file and your internet connection speed. Once the upload is finished, you’ll see the MP3 file listed in your Google Drive.
By uploading the MP3 file to your Google Drive, you ensure that it’s easily accessible and ready to be inserted into your Google Slides presentation. Now that the audio file is ready, let’s proceed to the next step to insert it into your presentation.
Step 4: Insert the MP3 file into Google Slides
Now that you have uploaded the MP3 file to your Google Drive, it’s time to insert it into your Google Slides presentation. Follow these steps:
- Open your Google Slides presentation: Go to slides.google.com and sign in to your Google account. Locate the presentation where you want to add the MP3 file or create a new presentation.
- Navigate to the slide: Go to the slide where you want to insert the MP3 file. Click on the slide thumbnail on the left-hand side to select it.
- Insert the audio: From the top menu, click on “Insert” and then select “Audio.” In the drop-down menu, choose “Google Drive.” A window will appear with your Google Drive files.
- Select the MP3 file: In the Google Drive window, locate the folder where you uploaded the MP3 file or search for the file by name. Click on the MP3 file to select it.
- Click “Insert”: After selecting the MP3 file, click on the “Insert” button in the bottom-right corner of the window. The audio file will be inserted onto the slide.
Great! You have successfully inserted the MP3 file into your Google Slides presentation. However, there are additional settings you can adjust to customize the playback and appearance of the audio file. Let’s move on to the next step to learn more.
Step 5: Adjust the settings for the MP3 file
After inserting the MP3 file into your Google Slides presentation, you have the option to adjust various settings to customize the playback and appearance of the audio file. Here’s what you can do:
- Resize and reposition the audio file: Click on the audio file to select it and then use the resizing handles to adjust its size. You can also click and drag the audio file to reposition it on the slide.
- Change the start and end times: If you only want to play a specific portion of the MP3 file, you can set the start and end times. Right-click on the audio file, select “Format options” from the menu, go to the “Audio” tab, and enter the desired start and end times.
- Autoplay the audio: By default, the audio file won’t play automatically when you reach the slide. If you want it to start playing as soon as you reach that slide, click on the audio file, go to the “Format options” menu, and check the “Autoplay when presenting” option.
- Enable looping: If you want the MP3 file to repeat continuously, right-click on the audio file, select “Format options,” go to the “Audio” tab, and check the “Loop after playback” option.
- Change the appearance: You can also change the appearance of the audio icon or hide it altogether. Right-click on the audio file, select “Format options,” go to the “Audio” tab, and use the available options to customize the appearance.
By adjusting these settings, you can fine-tune the MP3 file’s playback behavior and ensure it matches your desired presentation style. Now that you’ve customized the settings, let’s move on to the final step: testing and playing the MP3 file in your Google Slides presentation.
Step 6: Test and play the MP3 file in your Google Slides presentation
Before finalizing your Google Slides presentation, it’s important to test and ensure that the MP3 file is playing correctly. Follow these steps to test and play the audio file:
- Enter presentation mode: Click on the “Present” button in the top-right corner of the Google Slides interface. Alternatively, you can use the shortcut key “Ctrl + F5” (Windows) or “Command + Shift + Enter” (Mac).
- Navigate to the slide: Use the arrow keys or click on the slide to navigate to the slide where you inserted the MP3 file.
- Play the audio file: Once you reach the slide, the audio file should be ready to play. Click on the audio icon to start the playback. If you’ve enabled autoplay, the audio will start playing automatically.
- Test the playback options: While the audio is playing, test the settings you’ve applied, such as start and end times, looping, and autoplay. Ensure that the audio behaves as expected and complements your presentation effectively.
- Exit presentation mode: Once you’ve tested the audio on the slide, exit the presentation mode by pressing the “Esc” key on your keyboard or clicking on the “X” icon in the top-right corner of the presentation window.
Congratulations! You have successfully tested and played the MP3 file in your Google Slides presentation. Make any necessary adjustments based on the playback outcome and fine-tune the overall presentation to ensure a smooth and engaging experience for your audience.
Remember to save your Google Slides presentation to preserve all the changes made. Now you’re ready to captivate your audience with an immersive and dynamic presentation that includes MP3 audio.
Conclusion
Adding MP3 files to your Google Slides presentations can greatly enhance the impact and engagement of your content. By following the step-by-step process outlined in this guide, you have learned how to seamlessly integrate MP3 files into your presentations.
Starting with the preparation of your MP3 file, including choosing the right file and ensuring compatibility, you proceeded to upload the file to Google Drive. From there, you learned how to insert the MP3 file into your Google Slides presentation and customize its settings to suit your preferences. Finally, you tested and played the MP3 file in presentation mode to ensure a seamless playback experience.
With audio now incorporated into your Google Slides, you have the ability to create more dynamic and engaging presentations for various purposes, such as education, business, or creative projects. Whether it’s background music, sound effects, or narrations, the addition of MP3 files can elevate your presentation to new heights.
Remember to respect copyright and licensing when using audio files, and ensure you have the necessary permissions to use them in your presentations. If you don’t have access to suitable audio files, consider exploring royalty-free music websites or creating your own recordings.
Now that you have acquired the knowledge and skills to add MP3 files to your Google Slides presentations, it’s time to apply them and unleash your creativity. Engage your audience, tell compelling stories, and deliver unforgettable presentations with the power of MP3 audio in Google Slides.

