Home>Production & Technology>MP3>How To Use MP3 Rocket


MP3
How To Use MP3 Rocket
Published: December 7, 2023
Learn how to effectively use MP3 Rocket to download and convert MP3 files. Enhance your music experience with this user-friendly software.
(Many of the links in this article redirect to a specific reviewed product. Your purchase of these products through affiliate links helps to generate commission for AudioLover.com, at no extra cost. Learn more)
Table of Contents
Introduction
Welcome to the world of MP3 Rocket, a highly popular software that allows you to download and convert your favorite music and videos effortlessly. With MP3 Rocket, you can easily expand your music library and enjoy your favorite songs anytime, anywhere.
In this article, we will guide you step-by-step on how to use MP3 Rocket to enhance your music experience. Whether you are a music enthusiast or someone who simply wants to have the latest tunes on their devices, MP3 Rocket is the perfect tool for you. So, let’s get started.
MP3 Rocket is a free and user-friendly software that offers a wide range of features to make your music downloading and converting process simple and enjoyable. It allows you to search and download music from various sources, convert files into different formats, manage your music library, and access additional features to enhance your music experience.
Before we dive into the specific steps, it’s important to note that MP3 Rocket is compatible with Windows operating systems, including Windows 7, 8, and 10. Now, let’s move on to the first step – downloading MP3 Rocket.
Step 1: Downloading MP3 Rocket
The first step to using MP3 Rocket is to download the software onto your computer. Follow these simple steps to begin the download process:
- Open your preferred web browser and go to the official MP3 Rocket website. You can easily find the website by conducting a quick search with keywords like “MP3 Rocket download.”
- Once you have accessed the website, navigate to the download section. Look for a prominent button or link that says “Download MP3 Rocket” or something similar.
- Click on the download button, and a small window or dialog box will appear, asking you to confirm the download. Check the system requirements to ensure compatibility with your computer, and if everything looks good, proceed with the download.
- The download process will begin, and you may be prompted to choose a location on your computer to save the installation file. Choose a location that is easily accessible, such as your desktop or downloads folder.
- Once the download is complete, locate the installation file on your computer. It will typically have a name similar to “MP3RocketInstaller.exe.”
- Double-click on the installation file to launch the setup wizard. The wizard will guide you through the installation process, including accepting the terms and conditions and choosing the installation location.
- After you have made your selections, click the “Install” button to begin the installation. The process may take a few minutes to complete.
- Once the installation is finished, you will see a confirmation message indicating that MP3 Rocket has been successfully installed on your computer.
Now that you have downloaded and installed MP3 Rocket, you are ready to explore its features and start downloading your favorite music. In the next step, we will guide you on how to launch the software.
Step 2: Installing MP3 Rocket
Now that you have successfully downloaded the MP3 Rocket installation file, it’s time to install the software on your computer. Follow these steps to complete the installation process:
- Locate the downloaded installation file on your computer. It is usually saved in the location you specified during the download process or in your default downloads folder.
- Double-click on the installation file to start the installation process. You may be prompted to confirm the installation by your computer’s user account control. Click “Yes” to proceed.
- The MP3 Rocket installation wizard will launch. Read and review the license agreement carefully. If you agree with the terms, select the checkbox to indicate your acceptance.
- Next, you will be asked to choose the installation location for MP3 Rocket. By default, it will be installed in the recommended location. If you wish to change the installation directory, click on the “Browse” button and navigate to the desired location.
- Once you have selected the installation location, click on the “Install” button to begin the installation process. The installer will extract the necessary files and install MP3 Rocket on your computer.
- Wait for the installation to complete. This process may take a few minutes, depending on the speed of your computer. You may see a progress bar or other indicators to track the installation progress.
- After the installation is complete, you will see a confirmation message informing you that MP3 Rocket has been successfully installed on your computer. You may also be given options to launch the program immediately or create a desktop shortcut.
- Click “Finish” to exit the installation wizard.
Congratulations! You have now installed MP3 Rocket on your computer. In the next step, you will learn how to launch the software and get started with searching and downloading music.
Step 3: Launching MP3 Rocket
Now that you have installed MP3 Rocket on your computer, it’s time to launch the software and get ready to explore its features. Follow these simple steps to start using MP3 Rocket:
- Locate the MP3 Rocket icon on your desktop or in your program files. It is usually represented by a rocket symbol or the text “MP3 Rocket.”
- Double-click on the icon to launch MP3 Rocket. Alternatively, you can right-click on the icon and select “Open” from the context menu.
- After launching MP3 Rocket, you will see the main interface of the software. Take a moment to familiarize yourself with the different sections and features available.
- At the top of the interface, you will find a search bar where you can enter keywords to search for specific songs, artists, or albums.
- On the left side of the interface, you will find different tabs that allow you to navigate through the various features of MP3 Rocket, such as downloading, converting, managing your library, and accessing extra features.
- Below the search bar, you will see a list of trending songs and popular downloads, which can serve as a great starting point if you’re not sure what music to search for.
- At the bottom of the interface, you will find playback controls that allow you to play, pause, skip, and control the volume of your downloaded music.
- You are now ready to start using MP3 Rocket. Take some time to explore the different features and get comfortable with the interface before moving on to the next steps.
Launching MP3 Rocket is as easy as that. In the next step, we will guide you on how to search for music using MP3 Rocket’s powerful search feature.
Step 4: Searching for Music
One of the key features of MP3 Rocket is its powerful search functionality that allows you to find and download music from various sources. Follow these steps to search for your favorite music:
- Launch MP3 Rocket on your computer by double-clicking on the desktop icon or selecting it from your program files.
- In the main interface, you will see a search bar at the top of the window. Click on the search bar and enter the name of the song, artist, or album you want to find.
- As you type in the search bar, MP3 Rocket will start displaying relevant search results in real-time. You can either click on one of the suggested results or press the Enter key to see the full search results.
- MP3 Rocket will display a list of search results based on your query. Each result will include the song title, artist name, album name, duration, and other relevant information.
- You can further refine your search results by using the filters provided. These filters allow you to narrow down your search by genre, year, quality, and other criteria.
- Once you have found the music you want to download, click on the corresponding result. This will open a new window or dialog box with more information about the selected song.
- In the song details window, you may have the option to listen to a preview of the song before downloading it. Take this opportunity to ensure it is the correct version or arrangement you are looking for.
- If you are satisfied with the selected song, click on the “Download” button to initiate the download process. MP3 Rocket will start downloading the music file to your specified location on your computer.
- Depending on the size of the file and your internet connection speed, the download process may take a few moments to complete. You can monitor the progress of the download in the Downloads tab of MP3 Rocket.
- Repeat the above steps to search and download more music as desired. MP3 Rocket allows you to build an extensive music library with just a few clicks.
With the powerful search functionality of MP3 Rocket, you can easily find and download your favorite music. In the next step, we will guide you on how to download the music files you have searched for.
Step 5: Downloading Music
Now that you have successfully searched for your favorite music using MP3 Rocket, it’s time to download the songs to your computer. Follow these steps to download music using MP3 Rocket:
- Once you have found the music you want to download from the search results, click on the corresponding result to open the song details window.
- In the song details window, you will see a “Download” button. Click on the button to initiate the download process.
- MP3 Rocket will start downloading the music file to the specified location on your computer. You can monitor the download progress in the Downloads tab of MP3 Rocket.
- Depending on the size of the file and your internet connection speed, the download process may take some time to complete. Be patient and allow the software to finish downloading the music.
- Once the download is complete, you can locate the downloaded music file in the specified location on your computer. By default, MP3 Rocket saves the downloaded files in the “Music” folder of your user directory.
- You can now enjoy the downloaded music on your computer or transfer it to your portable devices to listen to on the go. MP3 Rocket allows you to build an extensive music library with ease.
- Repeat the above steps to download more music as desired. With MP3 Rocket, you have the freedom to expand your music collection and discover new artists and songs.
Downloading music with MP3 Rocket is a simple and straightforward process. In the next step, we will guide you on how to convert your downloaded music files into different formats if needed.
Step 6: Converting Files
MP3 Rocket not only allows you to download music, but it also offers a convenient feature for converting your downloaded music files into different formats. Follow these steps to convert music files using MP3 Rocket:
- Launch MP3 Rocket on your computer by double-clicking on the desktop icon or selecting it from your program files.
- In the main interface of MP3 Rocket, navigate to the “Converter” tab by clicking on it. This will open the conversion section of the software.
- Click on the “Add Files” button to browse and select the music files you want to convert. You can select multiple files at once by holding down the Ctrl key (or Command key on a Mac) while selecting the files.
- Once you have selected the files, click on the “Choose” button to add them to the conversion queue in MP3 Rocket.
- Under the “Output” section, choose the desired output format for the converted files. MP3 Rocket supports a variety of formats, including MP3, WAV, AAC, WMA, and more.
- Next, select the output folder where you want to save the converted files. You can create a new folder or choose an existing one on your computer.
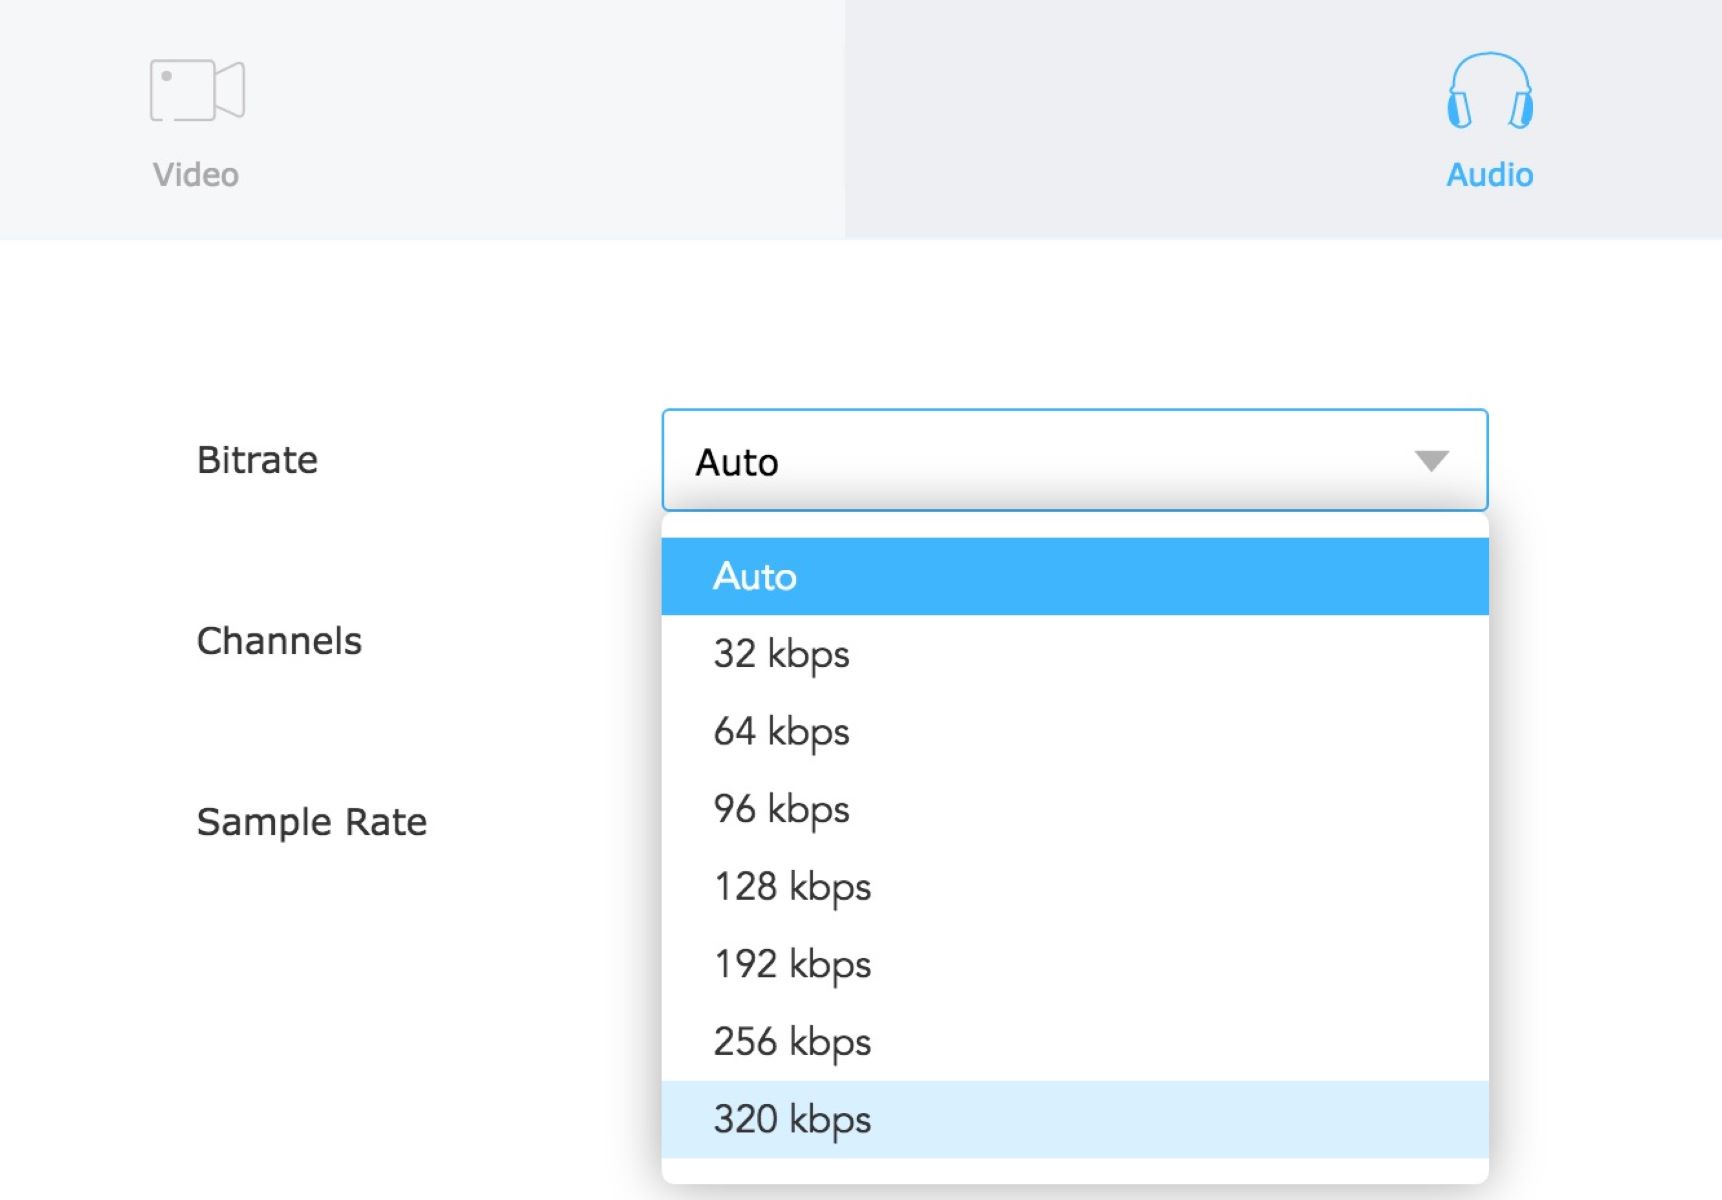
- Before starting the conversion process, you can further customize the settings such as the audio quality and bitrate. Adjust these settings according to your preferences.
- Once you have made all the necessary selections, click on the “Convert” button to initiate the conversion process. MP3 Rocket will start converting the selected music files into the chosen format.
- Depending on the number and size of the files, as well as the processing power of your computer, the conversion process may take some time. You can monitor the progress in the Conversion tab of MP3 Rocket.
- Once the conversion is complete, you will find the converted files in the specified output folder. They are now ready to be enjoyed or transferred to your preferred devices.
With the file conversion feature of MP3 Rocket, you can easily convert your downloaded music files into different formats to suit your needs. In the next step, we will explore some of the additional features and capabilities offered by MP3 Rocket.
Step 7: Accessing Extra Features
MP3 Rocket offers several extra features and capabilities beyond music downloading and file conversion. These additional features can enhance your music experience and provide even more functionality. Here’s how to access these extra features:
- Launch MP3 Rocket on your computer by double-clicking on the desktop icon or selecting it from your program files.
- In the main interface of MP3 Rocket, you will find various tabs on the left side. These tabs represent different features and sections of the software.
- Navigate through the tabs to discover and access the additional features:
- YouTube Downloader: This feature allows you to download videos from YouTube and automatically convert them to audio files.
- Ringtones: With this feature, you can create personalized ringtones for your mobile devices using your favorite music.
- Burning CDs: MP3 Rocket enables you to create audio CDs from your downloaded music and convert them into playable formats for CD players.
- Radio & TV: Explore various radio stations and TV channels available within MP3 Rocket. Listen to your favorite music genres and watch TV shows and live broadcasts.
- Social Share: Share your favorite songs and music videos on social media platforms directly from MP3 Rocket.
- Extras: This section provides additional tools and utilities, such as a video player, file organizer, and music player, to enhance your overall media experience.
- Click on the desired tab to access the corresponding feature. Each feature will have its own set of instructions and options, allowing you to further explore and utilize MP3 Rocket’s capabilities.
- Take some time to experiment with the extra features and discover the functionalities that best suit your needs and preferences. MP3 Rocket offers a range of tools to enrich your music library and entertainment experience.
By accessing the extra features of MP3 Rocket, you can take your music experience to the next level. In the next step, we will guide you on how to manage your music library within MP3 Rocket.
Step 8: Managing Music Library
MP3 Rocket provides convenient tools for managing your music library, allowing you to organize and categorize your downloaded music files. Follow these steps to efficiently manage your music library within MP3 Rocket:
- Launch MP3 Rocket on your computer by double-clicking on the desktop icon or selecting it from your program files.
- In the main interface of MP3 Rocket, navigate to the “Library” or “My Music” tab. This tab is where you can manage and organize your music files.
- From the library view, you will see a list of all the downloaded music files in MP3 Rocket. The files are generally sorted by title, artist, album, or date of download.
- To organize your music, you can create playlists. Click on the “Create Playlist” button or right-click in the library view to create a new playlist.
- Give your playlist a name and add the desired music files to it. You can drag and drop files from the library view into the playlist or use the “Add Files” button.
- Once you have created playlists, you can easily play them by selecting them from the playlist section on the left side of the interface. This allows for easy access to your favorite songs and customized listening experiences.
- Managing your music library also involves editing metadata such as song titles, artist names, album names, and cover art. Right-click on a music file in the library and select “Edit Metadata” to make changes.
- In addition to editing metadata, you can also delete unnecessary or duplicate music files from your library. Right-click on a file and choose the “Delete” option to remove it from your library. Be cautious when deleting files, as they will be permanently removed from your computer.
- As you continue using MP3 Rocket, be sure to regularly organize and update your music library to keep it neat and easily accessible. Creating playlists and removing unwanted files will help you maintain a well-curated collection of music.
By managing your music library within MP3 Rocket, you can easily organize your downloaded music files and create personalized playlists for an enhanced listening experience. In the next step, we will guide you on how to troubleshoot common issues that may arise while using MP3 Rocket.
Step 9: Troubleshooting Common Issues
While using MP3 Rocket, you may encounter certain issues or errors that can hinder the smooth functioning of the software. Here are some common issues you may encounter and how to troubleshoot them:
- Slow Download Speed: If you are experiencing slow download speeds, check your internet connection. Make sure you have a stable and reliable internet connection. You can also try pausing and resuming the download to see if it improves the speed. If the issue persists, contact your internet service provider for assistance.
- Conversion Errors: If you encounter errors during the file conversion process, check if you have selected a valid output format for the conversion. Ensure that you have the necessary codecs installed on your computer to support the chosen output format. You can also try converting the file using a different format or adjusting the conversion settings.
- Search Function Not Working: If the search function in MP3 Rocket is not working, make sure you have an active internet connection. Sometimes, server issues can affect the search functionality. Wait for a while and try again. If the problem persists, contact MP3 Rocket support for further assistance.
- Playback Issues: If you encounter playback issues with the downloaded music files, ensure that you have a compatible media player installed on your computer. Some music files may require specific codecs or player settings. Try playing the files on a different media player or update your current player to the latest version.
- Software Crashes or Freezes: If MP3 Rocket crashes or freezes frequently, check if you have the latest version of the software installed. Outdated versions may have compatibility issues with your operating system. Consider updating MP3 Rocket to the latest version or reinstalling it if the problem continues.
- File Corruptions: In rare cases, downloaded files may become corrupted during the download process. If you encounter corrupted files, try redownloading them. Make sure to have a stable internet connection and avoid interrupting the download process. If the issue persists, try downloading the files from a different source or contact MP3 Rocket support for assistance.
If you encounter any other issues or errors while using MP3 Rocket, consult the software’s documentation or contact their customer support for further guidance. Remember to keep your software and computer system updated to prevent compatibility issues and ensure smooth performance.
Congratulations! You have now completed all the steps to effectively use MP3 Rocket and overcome common issues. Enjoy your downloaded music and enhanced music experience.
Disclaimer: It is important to use MP3 Rocket responsibly and within the boundaries of copyright laws. Make sure to only download and share music that you own the rights to or that is available for free public use.
Conclusion
Congratulations! You have successfully learned how to use MP3 Rocket to enhance your music experience. With its powerful features and user-friendly interface, MP3 Rocket allows you to effortlessly download, convert, and manage your favorite music files.
We started by downloading and installing MP3 Rocket, ensuring that you have the software ready to use on your computer. We then moved on to launching MP3 Rocket and searching for music, guiding you through the process of finding your favorite songs.
Downloading music was made easy with MP3 Rocket’s intuitive interface, allowing you to download your desired music files quickly. We also explored the file conversion feature, enabling you to convert your downloaded files into different formats for compatibility and convenience.
To further enhance your music experience, we delved into the extra features provided by MP3 Rocket. From downloading YouTube videos to creating personalized ringtones and accessing radio stations and TV channels, MP3 Rocket offers a range of functionalities to enrich your musical journey.
Managing your music library within MP3 Rocket was another important aspect we covered. By creating playlists, editing metadata, and removing unwanted files, you can keep your music collection organized and easily accessible.
In the event of encountering issues, we provided troubleshooting techniques to help you resolve common problems. By following the steps outlined, you can overcome slow download speeds, conversion errors, search function issues, playback problems, software crashes, and file corruptions.
Remember to use MP3 Rocket responsibly and abide by copyright laws. Only download and share music that you have the rights to or that is freely available for public use.
Now that you have mastered the usage of MP3 Rocket, it’s time to dive in and enjoy your extensive music library. Explore new artists, create personalized playlists, and embrace the convenience of having your favorite songs at your fingertips.

