Home>Production & Technology>MP3>How To Use MP3 As A Ringtone Iphone
MP3
How To Use MP3 As A Ringtone Iphone
Published: December 8, 2023
Learn how to use MP3 as a ringtone on your iPhone with our step-by-step guide. Set your favorite MP3 songs as personalized ringtones and stand out from the crowd!
(Many of the links in this article redirect to a specific reviewed product. Your purchase of these products through affiliate links helps to generate commission for AudioLover.com, at no extra cost. Learn more)
Table of Contents
Introduction
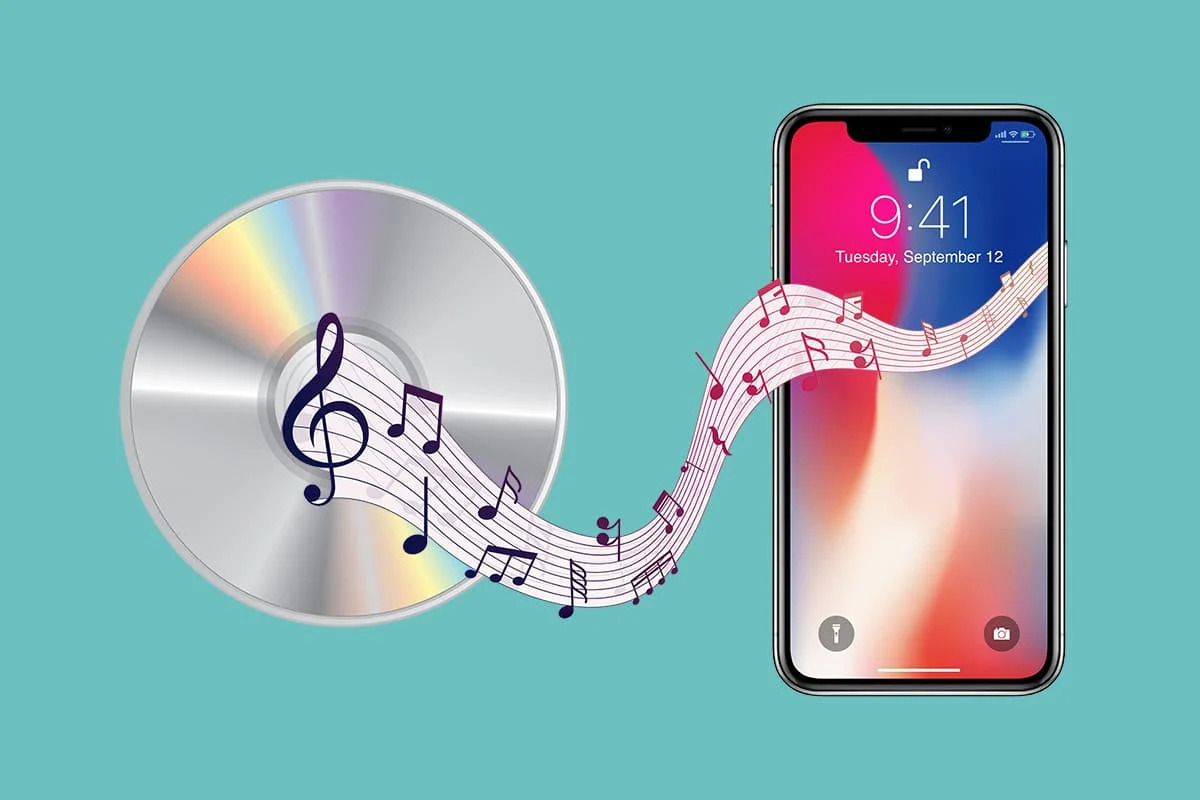
MP3 files have revolutionized the way we listen to music, allowing us to carry our favorite songs with us wherever we go. But did you know that you can also use MP3 files as ringtones on your iPhone? That’s right – you can personalize your iPhone’s ringtone with your favorite song or a catchy tune that reflects your individuality.
In this article, we will guide you through the process of using MP3 files as ringtones on your iPhone. We will cover everything from converting the MP3 file to an iPhone-compatible format to setting it as your ringtone. So, let’s get started and make your iPhone stand out from the crowd!
Before we begin, it’s important to note that the process of using MP3 files as ringtones on an iPhone may vary depending on the version of iOS you are using. However, the general steps covered in this article should be applicable to most iOS versions.
Now, let’s dive into the step-by-step process of using MP3 files as ringtones on your iPhone. Don’t worry, it’s easier than you might think!
Step 1: Convert MP3 to iPhone-compatible format
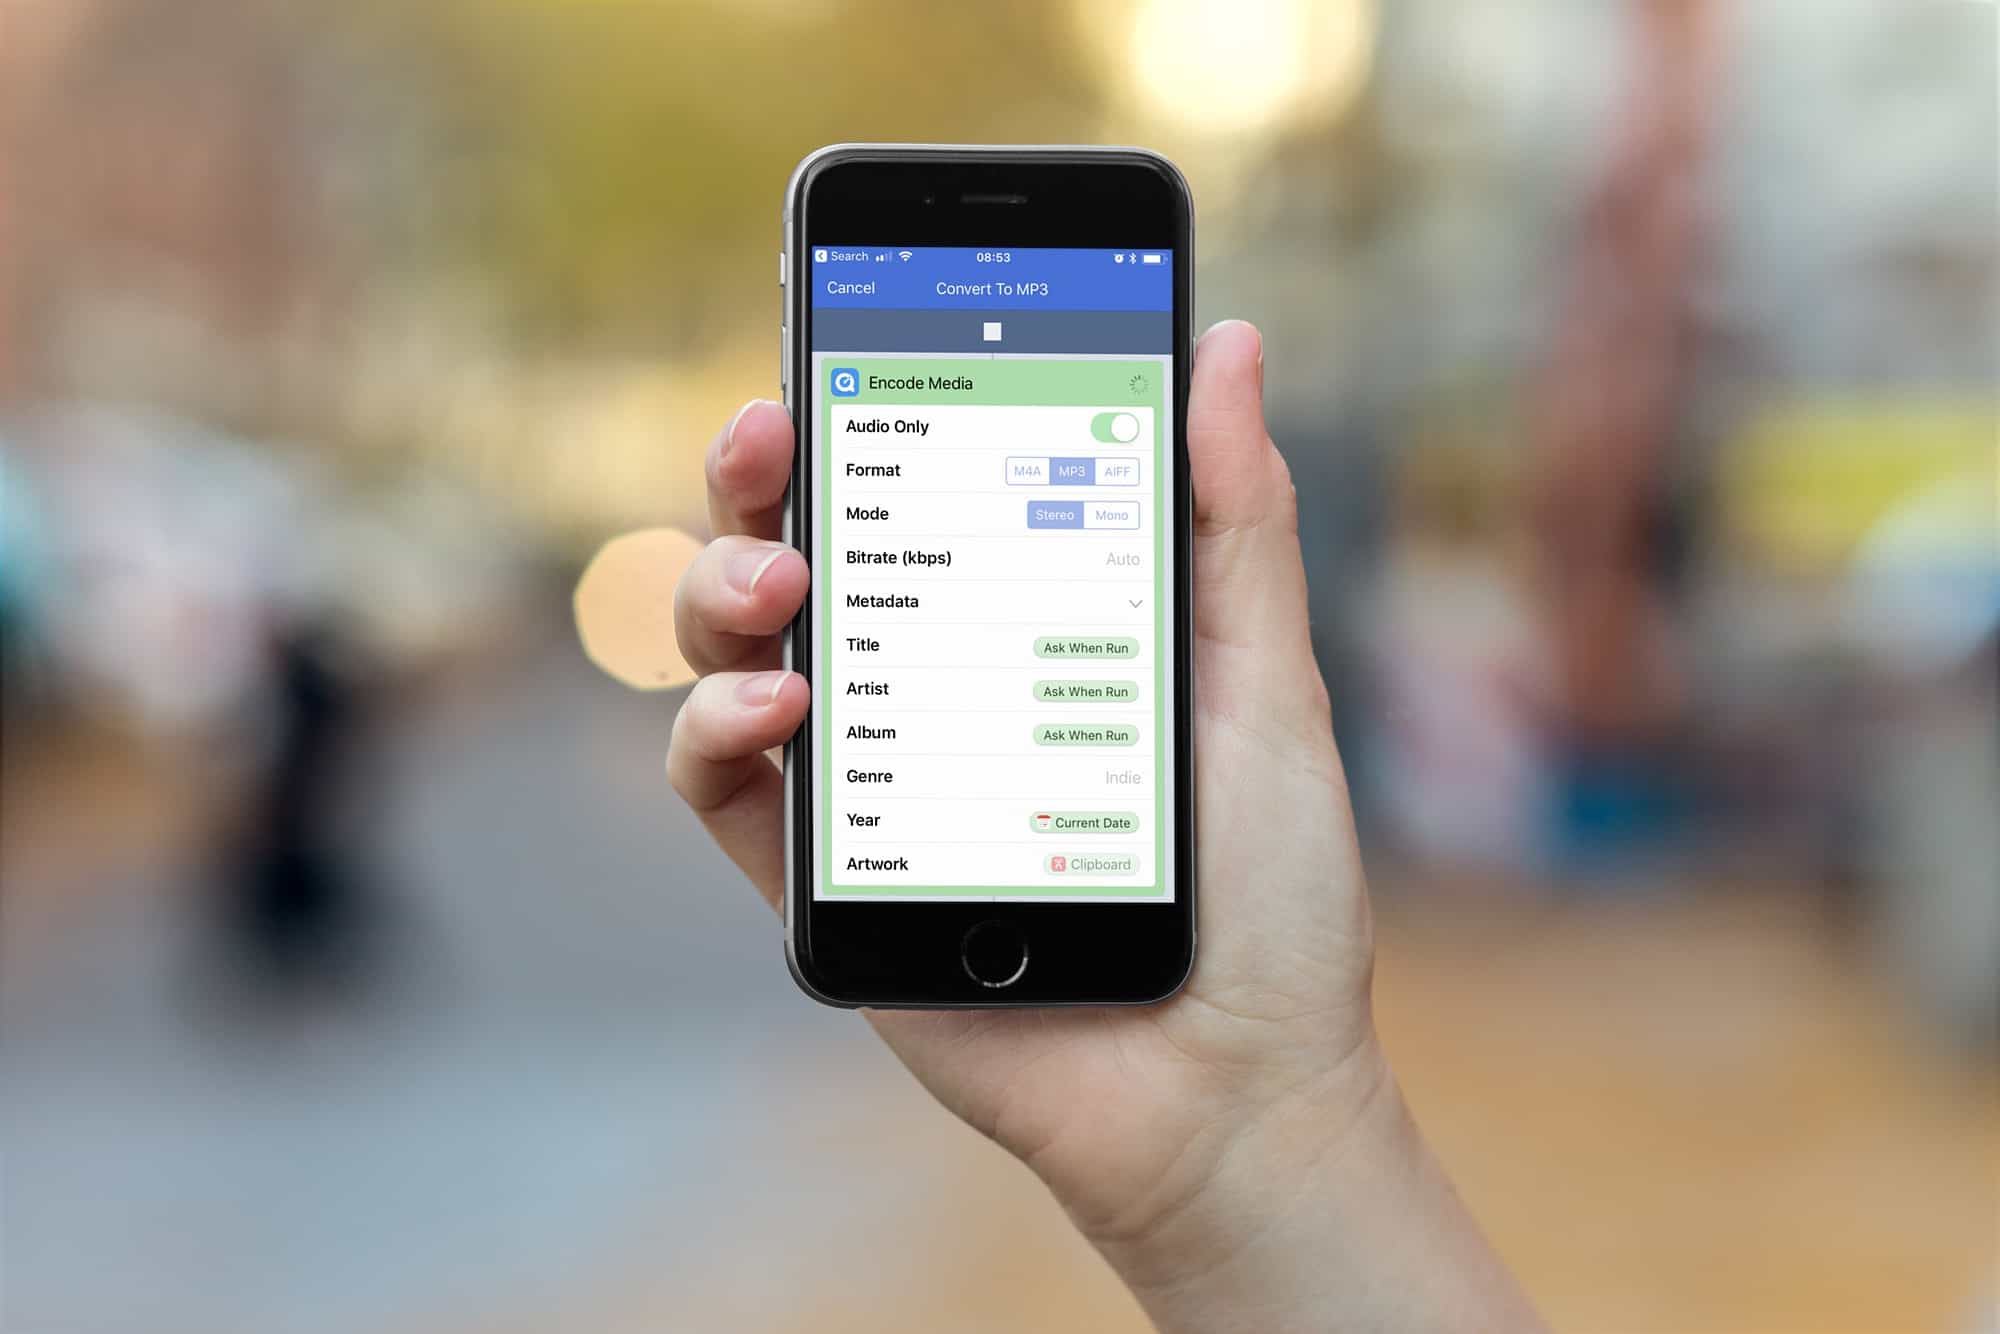
In order to use an MP3 file as a ringtone on your iPhone, you first need to convert it to a format that is compatible with iOS. The iPhone requires ringtones to be in the M4R format, which is an AAC audio file with the extension .m4r. Fortunately, there are several methods you can use to convert your MP3 to the iPhone-compatible format. Here are a few options:
- Using iTunes: One of the easiest ways to convert an MP3 file to the M4R format is by using iTunes. Simply follow these steps:
- Open iTunes on your computer and import the MP3 file into your library.
- Right-click on the MP3 file and select “Create AAC Version”. This will create a new version of the file in the M4A format.
- Locate the newly created M4A file in your iTunes library and change its file extension from .m4a to .m4r.
- Drag and drop the modified M4R file from iTunes to your desktop.
- Using Online Converters: If you prefer a web-based solution, there are several online converters available that can convert your MP3 file to the M4R format. Simply upload your MP3 file to the converter, select the M4R format as the output, and wait for the conversion to complete. Once the conversion is done, download the converted file to your computer.
- Using Dedicated Software: There are also dedicated software programs available that specialize in converting audio files, including MP3 to M4R conversions. These programs often offer additional features and customization options, such as editing the length of the ringtone or adding fade-in/fade-out effects. Simply download and install the software, import your MP3 file, and choose the M4R format as the output.
Whichever method you choose, make sure to save the converted M4R file to a location on your computer where you can easily access it in the next steps. Now that you have your MP3 file converted to the iPhone-compatible format, it’s time to transfer it to your iPhone. Continue reading the next step for detailed instructions.
Step 2: Transfer the Converted MP3 to Your iPhone
After successfully converting your MP3 file to the iPhone-compatible M4R format, the next step is to transfer the converted file to your iPhone. Here are a few methods you can use to transfer the file:
- Using iTunes: One of the most common methods to transfer files to an iPhone is through iTunes. Follow these steps to transfer your converted M4R file to your iPhone:
- Connect your iPhone to your computer using a USB cable.
- Open iTunes on your computer and select your iPhone from the device menu.
- Go to the “File” menu in iTunes and select “Add File to Library” or “Add Folder to Library”, depending on where your converted M4R file is located.
- Navigate to the location where the converted M4R file is saved and select it. Click “Open” to add the file to your iTunes library.
- Once the file is added to your library, go to the “Tones” section in iTunes and locate the M4R file.
- Finally, click and drag the M4R file from the “Tones” section to your iPhone’s icon in the device menu.
- Using iCloud Drive or Dropbox: If you prefer a wireless transfer method, you can upload the converted M4R file to a cloud storage service like iCloud Drive or Dropbox. Once the file is uploaded, install the corresponding app on your iPhone and sign in to your account. Locate the M4R file and download it to your device. The file will now be available in your iPhone’s storage.
- Using Third-Party Transfer Apps: There are also third-party transfer apps available that allow you to transfer files from your computer to your iPhone wirelessly. These apps often provide a user-friendly interface and make the transfer process quick and simple. Install a file transfer app on your computer and the corresponding app on your iPhone, and follow the instructions to transfer the converted M4R file to your device.
Whichever method you choose, ensure that the transferred M4R file is saved in a location on your iPhone where it can be easily accessed in the next step. Congratulations! You have successfully transferred the converted MP3 file to your iPhone. Continue reading the next step to learn how to set it as your ringtone.
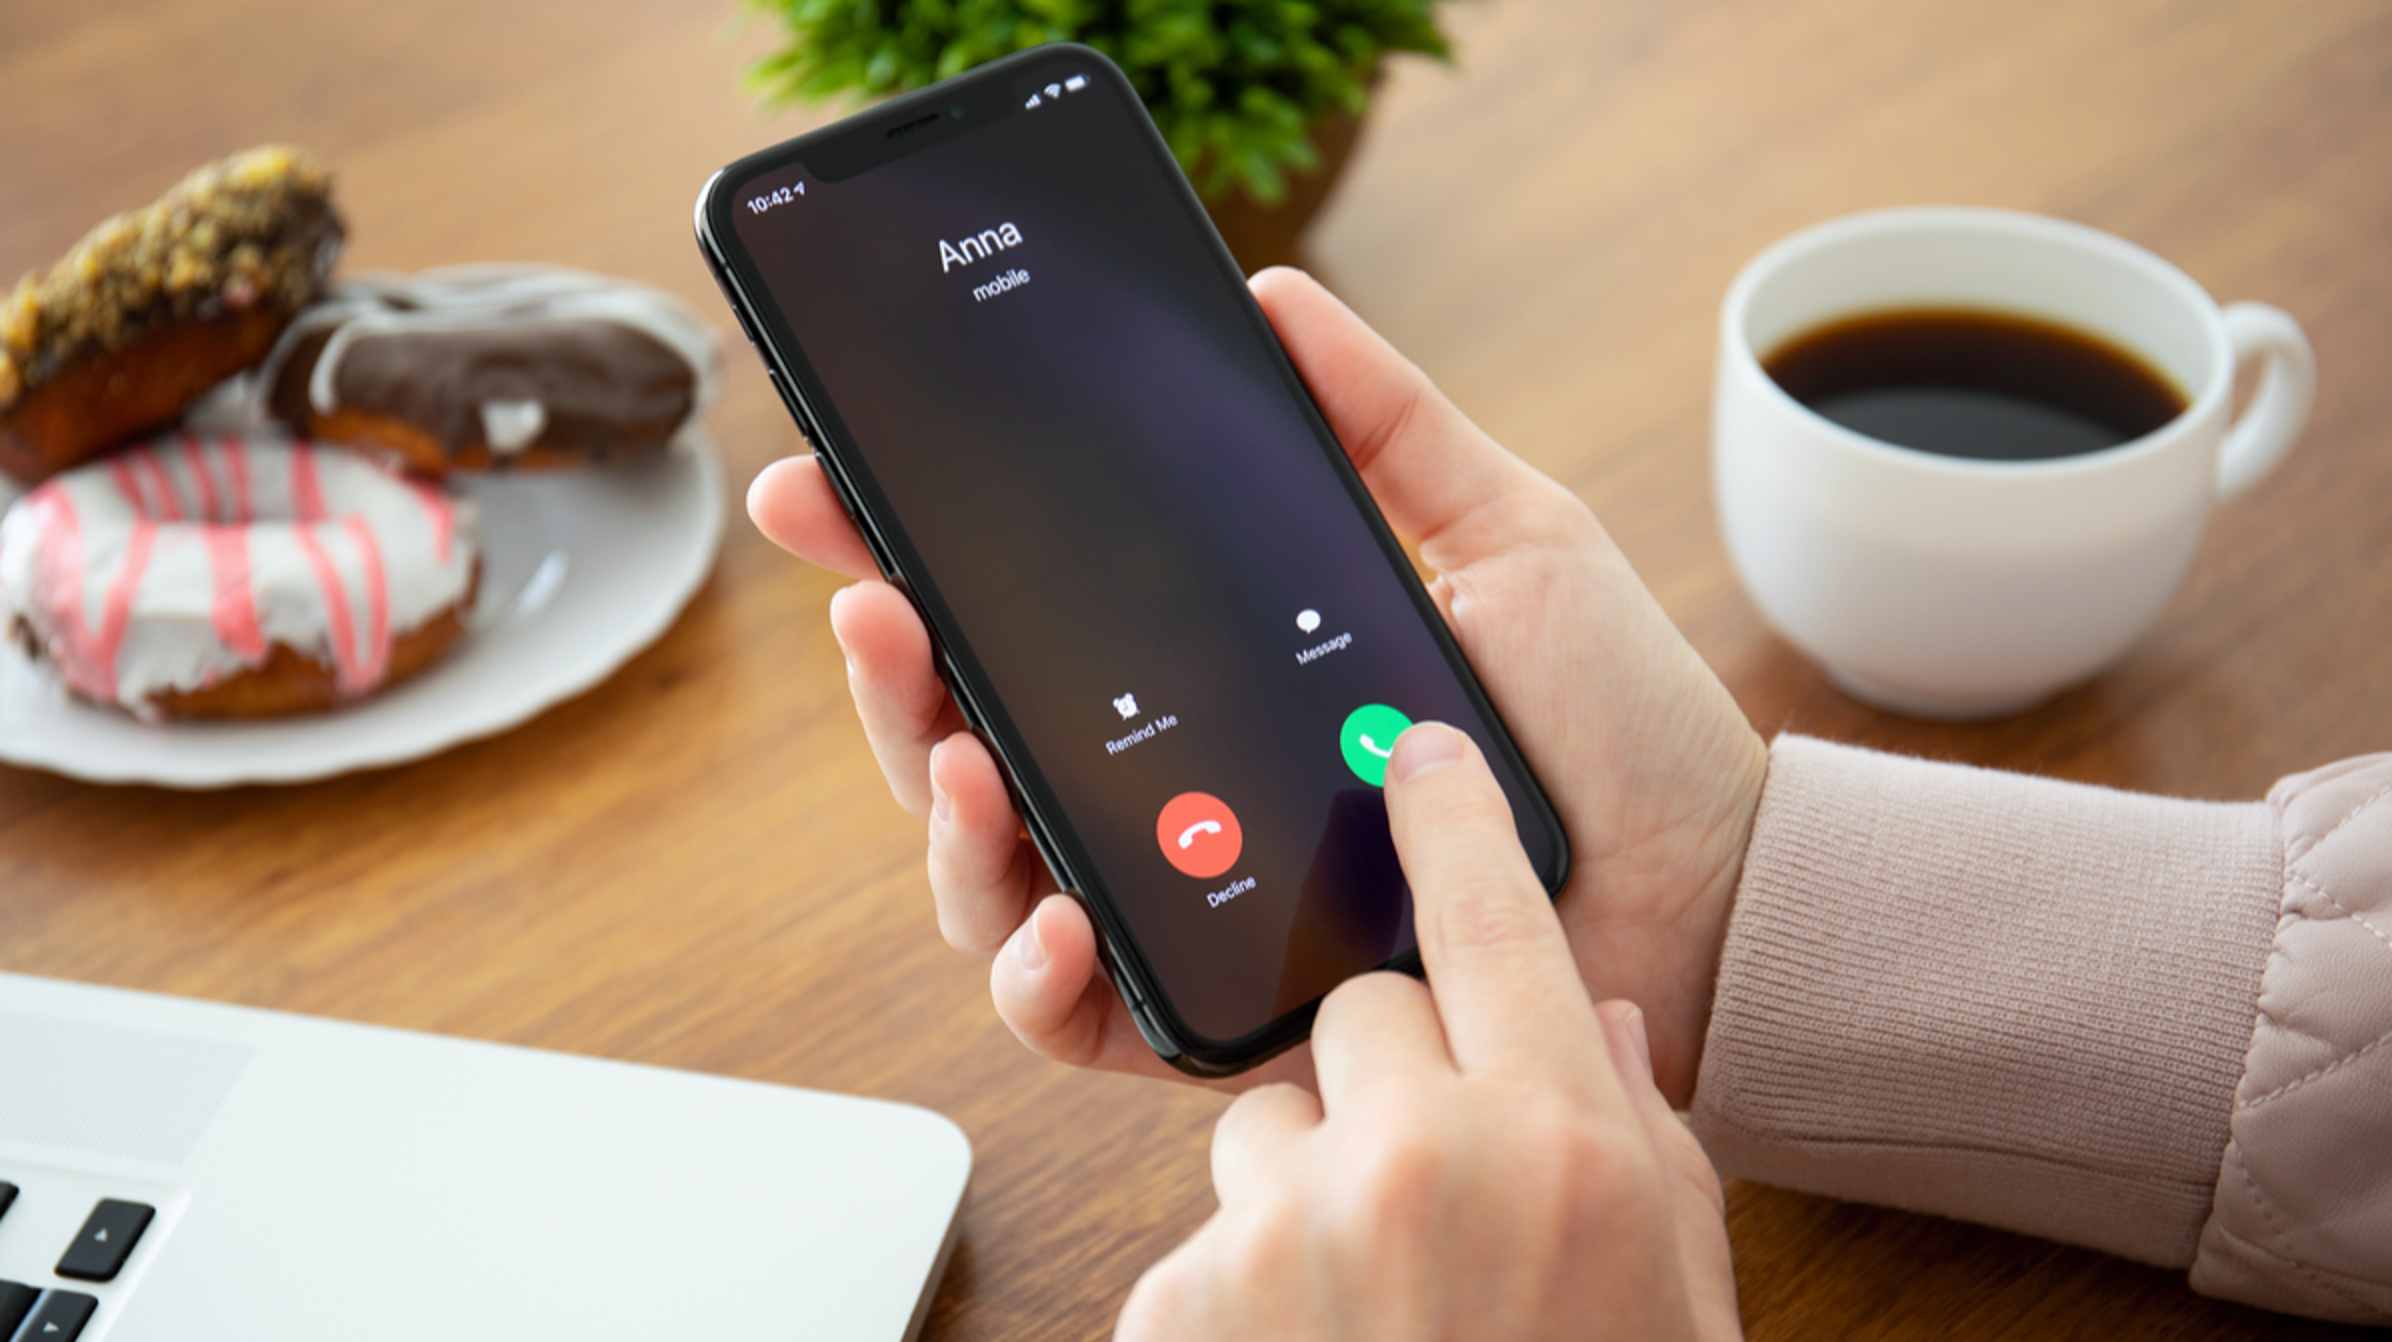
Step 3: Set the MP3 as Your Ringtone on iPhone
Now that you have successfully transferred the converted MP3 file to your iPhone, it’s time to set it as your ringtone. Follow these simple steps to customize your iPhone’s ringtone:
- Open the Settings app: Locate the Settings app on your iPhone’s home screen and tap on it to open.
- Select “Sounds & Haptics”: Scroll down the settings menu and select “Sounds & Haptics”.
- Tap on “Ringtone”: Under the “Sounds and Vibration Patterns” section, you will find the “Ringtone” option. Tap on it to proceed.
- Browse for your custom ringtone: Scroll through the list of available ringtones until you reach the “Custom” section. Your transferred MP3 file should be listed here.
- Select your custom ringtone: Tap on the name of your transferred MP3 file to select it as your ringtone. A checkmark will appear next to it, indicating that it is now your chosen ringtone.
- Test your new ringtone: To make sure everything is set up correctly, tap on the “Sound” icon next to your custom ringtone. Your iPhone will play a preview of the selected ringtone.
- Exit the settings: Once you are satisfied with your new ringtone, simply exit the settings. Your custom ringtone will now be set as the default for incoming calls on your iPhone.
Congratulations! You have successfully set your MP3 file as your ringtone on your iPhone. Now, whenever you receive a call, your personalized ringtone will play, adding a touch of uniqueness to your device.
It’s worth noting that you can also assign different ringtones to specific contacts on your iPhone, allowing you to further customize your device. Simply open the Contacts app, select a contact, tap on “Edit”, and choose your desired ringtone from the options available.
Enjoy your new ringtone and let it reflect your personality every time your iPhone rings!
Conclusion
Using MP3 files as ringtones on your iPhone is a fantastic way to personalize your device and make it truly your own. By following the simple steps outlined in this article, you can convert your favorite MP3 songs into iPhone-compatible M4R files and set them as your ringtone in just a few minutes.
Whether you choose to convert your MP3 files using iTunes, online converters, or dedicated software, the key is to ensure that the final M4R file is compatible with your iPhone. Once you have the converted file, transferring it to your iPhone can be done through iTunes, cloud storage services, or third-party transfer apps.
Finally, setting your MP3 file as your ringtone on your iPhone is a breeze. Just navigate to the Sounds & Haptics section in your iPhone’s Settings app, select the Ringtone option, and choose your custom ringtone from the Custom section. With a few taps, you can enjoy a unique and personalized ringtone every time your iPhone rings.
Remember, you can further customize your device by assigning different ringtones to specific contacts, allowing you to recognize who’s calling without even looking at your iPhone screen.
So why settle for the default ringtone when you can express your individuality with your favorite songs? Follow these steps and add a touch of personality to your iPhone today!