Home>Production & Technology>MP3>How To Convert Songs To MP3

MP3
How To Convert Songs To MP3
Published: December 7, 2023
Learn how to easily convert songs to MP3 format with our step-by-step guide. Convert your favorite tracks for maximum compatibility and convenience.
(Many of the links in this article redirect to a specific reviewed product. Your purchase of these products through affiliate links helps to generate commission for AudioLover.com, at no extra cost. Learn more)
Table of Contents
- Introduction
- Step 1: Choose a Conversion Method
- Step 2: Download and Install Conversion Software
- Step 3: Import Songs into the Conversion Software
- Step 4: Select Output Format as MP3
- Step 5: Customize Conversion Settings (optional)
- Step 6: Start the Conversion Process
- Step 7: Save Converted MP3 Files
- Step 8: Test the Converted MP3 Files
- Conclusion
Introduction
Welcome to the world of MP3s, where you can enjoy your favorite music anytime and anywhere. MP3 is a popular audio format that offers high-quality sound and efficient file compression, making it ideal for storing and playing music on various devices.
Whether you’re a music lover, a content creator, or an audio enthusiast, knowing how to convert songs to MP3 is a valuable skill. Converting songs to MP3 allows you to create your own digital music library, share music with friends, or listen to your favorite tunes on portable devices.
In this article, we’ll guide you through the process of converting songs to MP3, providing you with step-by-step instructions and helpful tips along the way. By the end, you’ll be able to convert your songs into the widely supported MP3 format, enabling you to enjoy your music collection in a format that suits your needs.
Before we dive into the conversion process, it’s essential to understand the basics of MP3. Short for MPEG-1 Audio Layer 3, MP3 is a lossy audio compression format that significantly reduces the file size of a song without compromising its audio quality. This compression technique works by removing frequencies that are often imperceptible to the human ear, resulting in smaller file sizes while retaining the essence of the original audio.
Converting songs to MP3 is particularly useful when you want to transfer music from CDs, vinyl records, or other audio formats to a digital format. It allows for easy storage, playback, and sharing of your music files, making it a versatile option for music enthusiasts.
Now that you have a clear understanding of what MP3 is and why it’s a popular format for audio, let’s move on to the step-by-step process of converting your songs to MP3. Get ready to unleash the potential of your music library!
Step 1: Choose a Conversion Method
Before you can begin converting your songs to MP3, you need to choose a conversion method that suits your needs and preferences. There are several ways to convert songs to MP3, each with its own advantages and considerations. Here are a few common methods:
- Using Conversion Software: One of the easiest and most reliable ways to convert songs to MP3 is by using dedicated conversion software. There are numerous software options available, both free and paid, that offer a user-friendly interface and advanced features for efficient and high-quality conversions. Some popular conversion software includes Freemake Audio Converter, MediaHuman Audio Converter, and iTunes.
- Online Conversion Tools: If you prefer a hassle-free and online approach, you can utilize online conversion tools to convert your songs to MP3. These web-based tools allow you to upload your audio files, select the desired output format (MP3), and convert them without the need for any software installation. Keep in mind that the speed and quality of online conversion tools may vary, so it’s essential to choose a reputable and reliable tool.
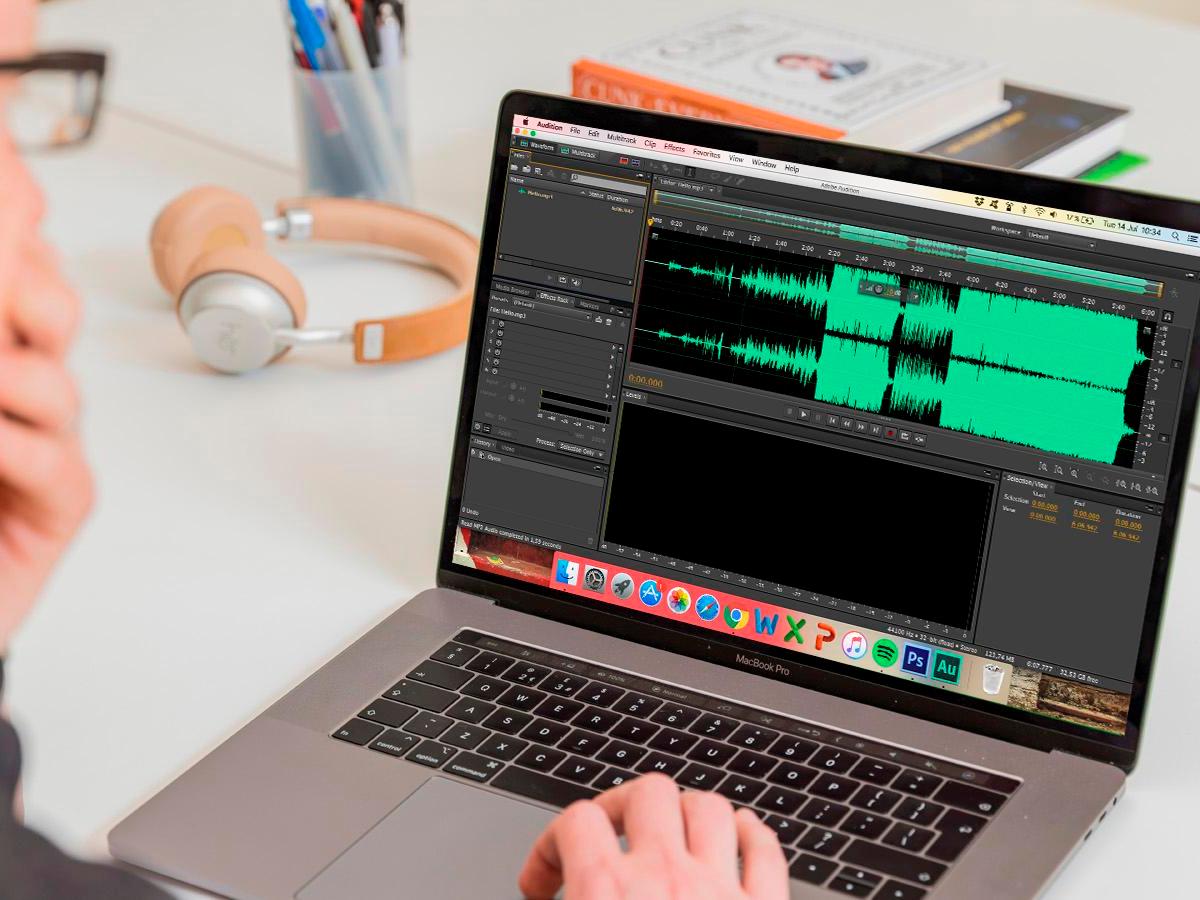
- Audio Editing Software: For users who require more control over the conversion process or need to make additional edits to their songs, using audio editing software can be an excellent choice. Programs like Audacity, Adobe Audition, and GarageBand not only allow you to convert songs to MP3 but also offer advanced editing features, such as trimming, adjusting volume levels, and adding effects.
Consider the level of control and convenience that each method provides and select the one that best matches your requirements. If you’re new to song conversion or simply want a straightforward process, using conversion software or online tools can be the most convenient options. However, if you need more advanced editing capabilities alongside conversion, audio editing software may be the way to go.
Now that you’ve chosen a conversion method, let’s move on to the next step, which involves downloading and installing the necessary software for the conversion process.
Step 2: Download and Install Conversion Software
Once you’ve decided on the conversion method that suits your needs, it’s time to download and install the necessary conversion software onto your computer. This software will provide you with the tools and features to convert your songs to the MP3 format seamlessly. Follow these steps to get started:
- Research and Choose the Software: Conduct a quick online search or ask for recommendations to find the best conversion software for your needs. Consider factors such as user-friendly interface, compatibility with your operating system, and available features.
- Visit the Software’s Official Website: Once you’ve selected the software you want to use, visit the official website of the software developer. Look for a “Download” or “Get Started” button on the website.
- Check System Requirements: Before downloading the software, double-check the system requirements to ensure compatibility with your computer. Note the supported operating systems, available storage space, and required RAM specifications.
- Download the Software: Click on the provided download link to start downloading the software package. The file size can vary, so it may take a few minutes depending on your internet connection speed.
- Install the Software: Once the download is complete, locate the downloaded file on your computer and double-click on it to initiate the installation process. Follow the on-screen instructions provided by the software installer to complete the installation.
- Launch the Software: After the installation is complete, locate the software icon on your desktop or in your installed applications folder. Double-click on it to launch the software.
Now that you have successfully downloaded and installed the conversion software, you are one step closer to converting your songs to the MP3 format. In the next step, we’ll discuss how to import your songs into the conversion software to begin the conversion process.
Step 3: Import Songs into the Conversion Software
With the conversion software installed and ready to use, it’s time to import your songs into the software’s interface. This step allows the software to recognize and process the audio files for conversion. Follow these steps to import your songs:
- Launch the Conversion Software: Double-click on the software icon to open the conversion software on your computer.
- Navigate to the Import/Upload Section: Look for an option or button within the software that allows you to import or upload files. This is usually prominently featured on the main interface of the software or listed in the menu bar.
- Select the Songs to Import: Use the file explorer window that appears to navigate to the location where your songs are stored. Select the songs you want to convert to MP3 format. You can usually select multiple songs by holding down the Ctrl (Windows) or Command (Mac) key while clicking on each file.
- Click Open or Import: Once you have selected the songs, click on the “Open” or “Import” button within the software to start the importing process.
- Wait for the Songs to Import: The software will now import the selected songs into its interface. The time it takes for this process can vary depending on the number and size of the songs.
Once the importing process is complete, your songs will be ready for conversion to the MP3 format. Take a moment to ensure that all the desired songs have been successfully imported into the software before proceeding to the next step.
In the next step, we’ll explore how to select the output format as MP3 within the conversion software.
Step 4: Select Output Format as MP3
Now that your songs are successfully imported into the conversion software, it’s time to select the desired output format, which in this case, is MP3. Follow these steps to choose MP3 as the output format:
- Locate the Output Format Options: Look for a section within the software’s interface that allows you to specify the output format. This is typically labeled as “Output Format,” “Conversion Format,” or something similar.
- Select MP3 as the Output Format: Within the output format options, locate the option for MP3. It may be listed in a drop-down menu or as a separate button/icon.
- Configure MP3 Settings (Optional): Depending on the software you’re using, you may have the option to customize certain MP3 settings, such as bitrate, sample rate, or channel mode. These settings determine the quality and file size of the converted MP3 files. If you’re not familiar with these settings, it’s generally safe to leave them at their default values.
- Save the MP3 Output Selection: Once you have selected MP3 as the output format and configured any optional settings, save your selection or apply the changes. This ensures that the software knows to convert your songs to the MP3 format.
By choosing MP3 as the output format, you’re ensuring that the software will convert your songs into the widely supported and compatible MP3 format. This allows you to enjoy your music on various devices and platforms without any compatibility issues.
In the next step, we’ll explore optional customization settings that you can apply to further enhance the conversion process or adjust the output MP3 files according to your preferences.
Step 5: Customize Conversion Settings (optional)
While the default settings of the conversion software usually provide satisfactory results, you may have the option to customize certain settings to fine-tune the conversion process or adjust the output MP3 files according to your preferences. Follow these steps to customize the conversion settings (if available):
- Access the Customization Options: Look for a “Settings,” “Options,” or “Preferences” menu within the conversion software. This is where you’ll find the customization settings.
- Explore Available Options: Once you’re in the customization settings section, take a look at the various options available. The specific settings may vary depending on the software you’re using, but common customization options include audio bitrate, sample rate, channel mode, and file naming conventions.
- Adjust the Settings: Customize the settings according to your preferences. For example, you can increase the audio bitrate to improve the audio quality at the cost of a slightly larger file size, or you can adjust the channel mode to convert stereo audio to mono if desired.
- Preview or Apply the Changes: Some software may provide a preview option that allows you to listen to a sample of the converted file using the custom settings. If available, take advantage of this feature to ensure that the changes meet your expectations. Once you’re satisfied, apply the changes to save the customization settings.
Customizing the conversion settings is optional, and it depends on your specific preferences and requirements. If you’re unsure about the settings or unfamiliar with their effects, it’s generally safe to stick with the default settings provided by the software. However, if you have a good understanding of audio quality and file size trade-offs, customizing the settings can help you achieve the desired results.
In the next step, we’ll dive into the actual conversion process and start converting your songs to the MP3 format.
Step 6: Start the Conversion Process
Now that you have imported your songs and customized the necessary settings, it’s time to kick off the conversion process and transform your songs into the MP3 format. Follow these steps to start the conversion:
- Review the Conversion Settings: Before initiating the conversion process, double-check the selected output format (MP3) and any customized settings you have applied. It’s important to ensure that everything is set according to your preferences.
- Start the Conversion: Look for a “Convert,” “Start,” or “Convert to MP3” button within the software’s interface. Click on this button to begin the conversion process. Depending on the size and number of songs, the conversion may take a few moments or several minutes.
- Monitor the Progress: While the conversion is in progress, some software may provide a progress bar or a status indicator that shows the percentage of completion. Use this visual cue to track the progress and estimate the remaining time for the conversion to finish.
- Avoid Interruptions: To prevent any potential issues or interruptions during the conversion, avoid closing the software or turning off your computer until the conversion is complete. Allow the software to run in the foreground or background as needed.
- Conversion Completion: Once the conversion process is finished, the software will notify you, either with a pop-up message or a visual indication. At this point, your songs are successfully converted to the MP3 format and are ready for the next step.
Please note that the actual steps and terminology may vary slightly depending on the conversion software you’re using. However, the general concept remains the same: selecting the songs, starting the conversion, and monitoring the progress until completion.
In the next step, we’ll explore how to save the converted MP3 files onto your computer or designated folder for future use.
Step 7: Save Converted MP3 Files
After successfully converting your songs to the MP3 format, it’s crucial to save the converted files in a location of your choice. This step ensures easy access and allows you to organize your music library effectively. Follow these steps to save your converted MP3 files:
- Locate the Converted Files: The conversion software will typically provide a default save location for the converted files. Look for an option or setting within the software to determine the output folder.
- Choose a Save Location: If you prefer to save the converted files in a specific folder, navigate to that folder using the file explorer window provided by the software. Alternatively, you can create a new folder dedicated to your MP3 files for better organization.
- Select the Converted MP3 Files: Within the conversion software’s interface, locate the converted MP3 files. Depending on the software, they may be listed individually or as a batch. Select all the converted MP3 files that you want to save.
- Move or Copy the Files: Once you have selected the converted MP3 files, use the file explorer window to either move or copy the files to the desired save location. The “Move” option will remove the files from their current location and place them in the new folder, while the “Copy” option will duplicate the files in the new folder without removing them from their original location.
- Confirm the Save Process: Depending on the software, you may receive a prompt to confirm the save process. Ensure that you have selected the correct save location and click on the appropriate button (e.g., “Save,” “Move,” or “Copy”) to complete the process.
By saving the converted MP3 files in a designated folder, you’ll have easy access to your music library and can enjoy your favorite songs anytime. It’s also a good idea to consider organizing the files into subfolders or using a naming convention that makes it easier to search and browse through your collection.
In the final step, we’ll cover how to test the converted MP3 files to ensure they are working correctly and sound as expected.
Step 8: Test the Converted MP3 Files
After saving your converted MP3 files, it’s important to test them to ensure they have been successfully converted and sound as expected. This step allows you to identify any potential issues or errors before fully relying on the converted files. Follow these steps to test your converted MP3 files:
- Locate the Saved MP3 Files: Open the folder where you have saved the converted MP3 files. You can navigate to this folder using the file explorer or by accessing the designated save location within the conversion software.
- Choose a Media Player: Ensure that you have a media player installed on your computer or device capable of playing MP3 files. Popular media players include VLC Media Player, Windows Media Player, iTunes, and Foobar2000, among others.
- Open the Media Player: Launch your preferred media player and navigate to the location of the saved MP3 files. Use the media player’s file explorer or library function to browse to the folder containing the converted files.
- Select and Play the MP3 Files: In the media player, select one of the converted MP3 files and click on the play button or double-click on the file to start playback. Listen to the audio and make sure it sounds clear, without any distortions or anomalies.
- Test Multiple MP3 Files: Repeat the process for multiple converted MP3 files to ensure consistency in audio quality. Pay attention to any variations in the audio or any files that may not play correctly.
- Check File Information (optional): If desired, you can also check the file information of the MP3 files in your media player. This includes details like file size, bit rate, duration, and any additional metadata associated with the file.
By testing your converted MP3 files, you can confirm that the conversion process was successful and that the audio is intact. Additionally, it allows you to identify any errors or issues that might require further attention.
If you notice any problems during the testing process, double-check the conversion settings and reconvert the songs if necessary. It’s also worth considering other factors such as the quality of the original source files and the compatibility of your media player.
With your converted MP3 files passing the test, you can confidently enjoy your music collection in the widely supported and versatile MP3 format!
Congratulations! You have now successfully converted your songs to MP3 and are ready to embark on a delightful musical journey!
Conclusion
Congratulations! You have now learned how to convert songs to the popular MP3 format. By following the step-by-step process outlined in this article, you can take full control of your music library and enjoy your favorite songs in a format that suits your needs.
We began by introducing the concept of MP3, highlighting its advantages as a widely supported audio format that offers high-quality sound and efficient file compression. We then explored various methods for converting songs to MP3, including using conversion software, online conversion tools, and audio editing software.
Throughout the conversion process, we emphasized the importance of choosing the right conversion method, downloading and installing the necessary software, importing songs into the software, and selecting MP3 as the output format. We also discussed optional customization settings that allow you to fine-tune the conversion process according to your preferences.
Once the conversion was complete, we guided you on how to save the converted MP3 files in a designated folder for easy access and organization. We also emphasized the significance of testing the converted files by playing them in a media player to ensure their quality and integrity.
By successfully completing these steps, you now have a digital music library filled with your favorite songs in the MP3 format, ready to be enjoyed on various devices and platforms. Whether you’re creating your own music collection, sharing songs with friends, or simply wanting to listen to your favorite tunes on the go, the MP3 format offers the perfect solution.
Remember to always respect copyright laws and ensure that you have the necessary rights to convert and use the songs in your library. Additionally, keep in mind that the conversion process and software options may evolve over time, so it’s essential to stay updated and adapt to new technologies and methods.
Now that you’re equipped with the knowledge and skills to convert songs to MP3, it’s time to immerse yourself in the world of music and enjoy the melodies that bring you joy and inspiration!