Home>Production & Technology>Music Video>How To Make An AI Music Video
Music Video
How To Make An AI Music Video
Published: November 18, 2023
Learn how to create captivating AI music videos with expert tips and step-by-step tutorials. Unleash your creativity and make stunning music videos that will leave your audience wanting more.
(Many of the links in this article redirect to a specific reviewed product. Your purchase of these products through affiliate links helps to generate commission for AudioLover.com, at no extra cost. Learn more)
Table of Contents
Introduction
Welcome to the fascinating world of music videos! Music videos have been a prominent form of artistic expression ever since the advent of television, and they continue to captivate audiences with their blend of visuals and music. In recent years, with the advancement of technology and artificial intelligence (AI), it has become even more exciting to create music videos that push the boundaries of creativity.
In this article, we will explore the process of making an AI-generated music video. Harnessing the power of AI algorithms, we can now create stunning visuals that are synchronized perfectly with the music. Whether you’re an aspiring musician or a music enthusiast looking to embark on a creative journey, this article will provide you with a step-by-step guide on how to bring your musical vision to life.
Throughout the article, we will cover various aspects of creating an AI music video, including gathering resources, choosing the right music, collecting visual assets, preparing the AI model, training the model, generating the video, and editing the final product. By following these steps, you’ll be able to create a professional-looking music video that will capture the essence of your music and engage your audience.
So, let’s dive into the world of AI music videos and unleash our creativity. Get ready to blend music and visuals in a unique and mesmerizing way!
Step 1: Gathering Resources and Materials
Before diving into the creation process, it’s important to gather all the necessary resources and materials. This step lays the foundation for your AI music video and ensures that you have everything you need to bring your vision to life.
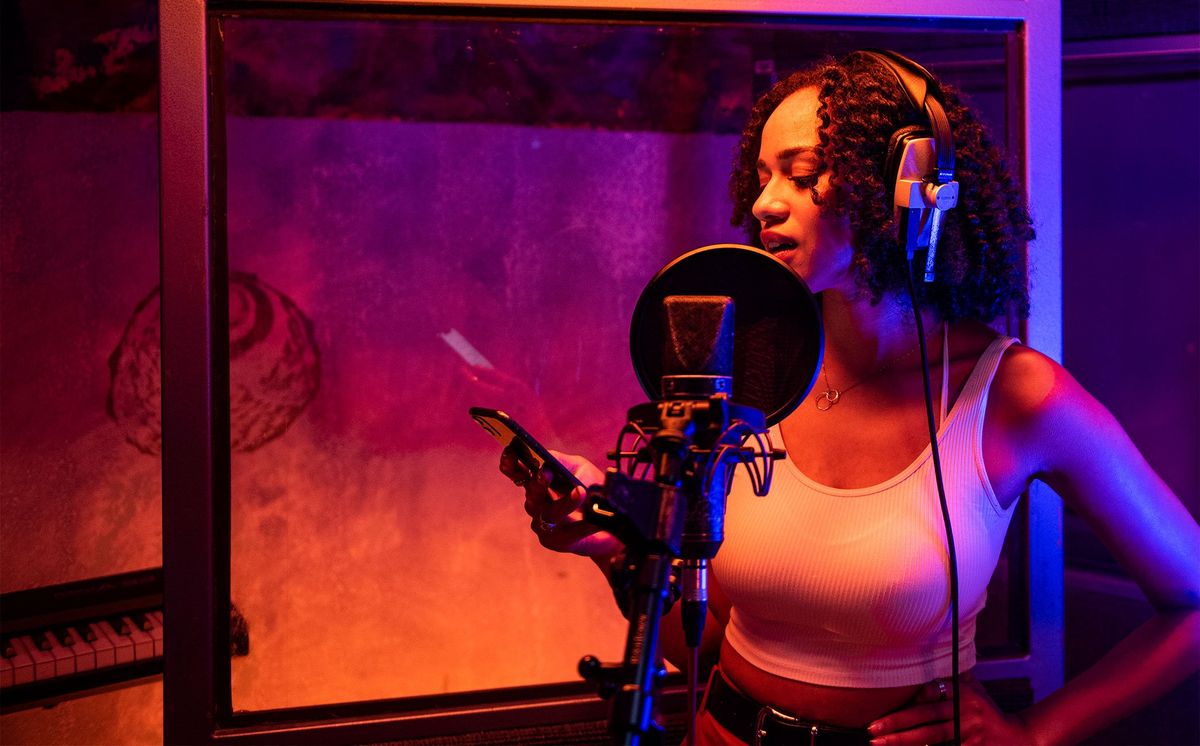
The first thing you’ll need is the song or music track that will serve as the backbone of your music video. Choose a track that resonates with the message or mood you want to convey. It could be an original composition or a licensed track from a music library. Take the time to explore different genres and styles to find the perfect fit for your vision.
Once you have the music, it’s essential to secure the necessary permissions and licenses, especially if you’re using copyrighted content. Make sure to obtain the appropriate licenses or seek permission from the copyright owner to avoid any legal issues down the line.
Next, gather visual assets that will complement your music. These can include video clips, images, animations, or graphics. You can source these assets from stock libraries, royalty-free websites, or even create your own if you have the required skills. Consider the theme, atmosphere, and aesthetics you want to convey in your music video and select visuals that align with your vision.
In addition to visual assets, gather any other materials you may need, such as props, costumes, or special effects. These elements can add depth and creativity to your video, helping you capture your audience’s attention.
As you gather your resources, keep in mind the technical specifications of the platforms where you plan to share your music video. Consider the aspect ratio, resolution, and file format requirements to ensure your video looks its best.
By taking the time to gather the necessary resources and materials, you set yourself up for success in creating an engaging and visually appealing AI music video. With your song, visual assets, and other materials in hand, you’re ready to move on to the next step: choosing the right music.
Step 2: Choosing the Music
Choosing the right music for your AI music video is crucial, as it sets the tone, mood, and energy of the entire visual experience. The music you select should align with the story or message you want to convey and evoke the desired emotions in your audience.
Start by analyzing the genre and style of your music. Is it a fast-paced, energetic track or a slow, introspective melody? Consider the lyrics, if any, and the overall feel of the song. This will help you determine the visual direction you want to take and influence the visual assets you choose to include.
It’s also important to consider the target audience of your music video. Who are you trying to reach with your music? Understanding your audience’s preferences and tastes can help you select music that will resonate with them and capture their attention.
While it’s tempting to use popular or trending songs, don’t be afraid to think outside the box and explore lesser-known tracks or up-and-coming artists. This can give your music video a unique edge and help you stand out from the crowd.
If you’re an artist creating your own music, this step becomes even more exciting, as you have the opportunity to showcase your own creative work. Consider the story or message behind your composition and select visuals that enhance and amplify that narrative.
Remember to consider the length of the music as well. Ideally, your AI music video should be a suitable length that keeps viewers engaged without feeling too long or too short. This might require you to edit the track or create a shorter version specifically for your video.
Ultimately, the music you choose should be a reflection of your artistic vision and complement the visuals you’ve selected. Take the time to listen to different options, experiment with different combinations of visuals and music, and trust your instincts.
Once you’ve chosen the perfect music for your AI music video, you’re one step closer to bringing your vision to life. The next step is to collect the visual assets that will enhance and synchronize with the music. Let’s explore that in the next section!
Step 3: Collecting Visual Assets
In this step, we will focus on gathering the visual assets that will bring your AI music video to life. Visual assets include video clips, images, animations, and graphics that will complement and enhance your chosen music.
Start by brainstorming the overall concept and theme of your music video. Think about the story you want to tell or the emotions you want to evoke. This will guide you in selecting the appropriate visual elements.
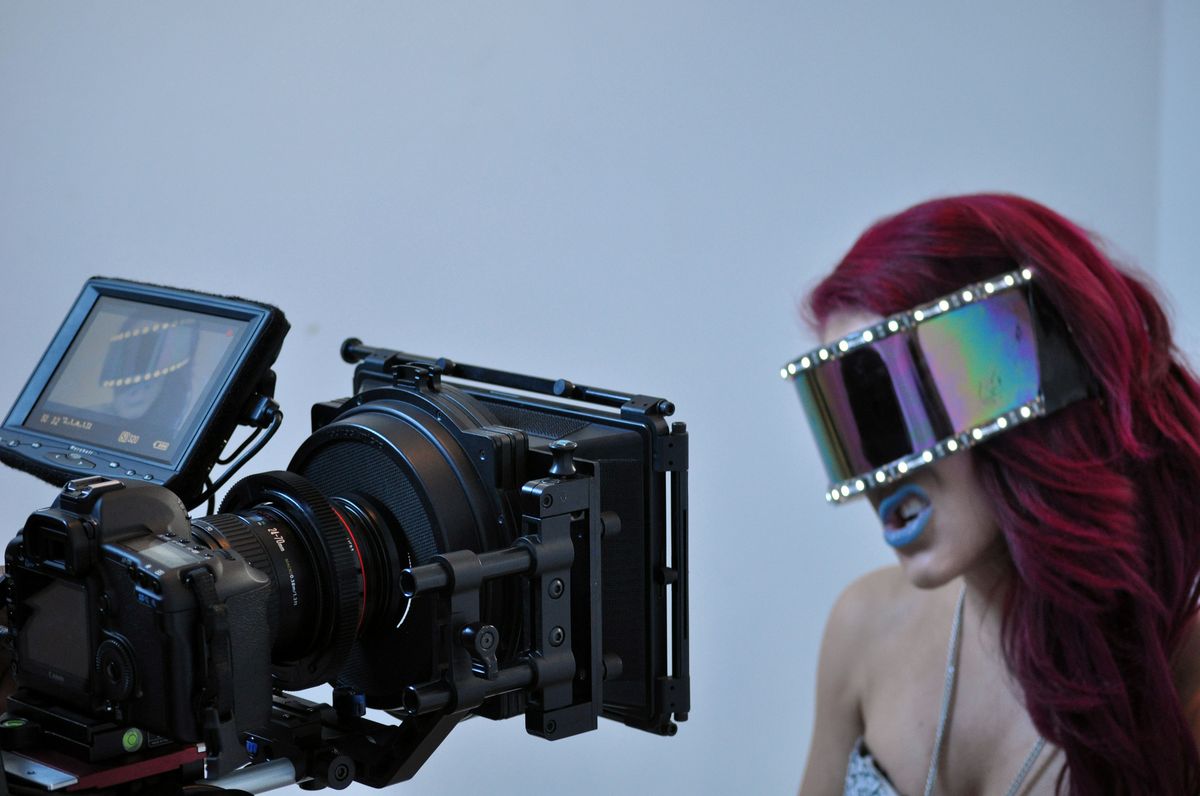
There are various ways to source visual assets. One option is to shoot your own footage using a high-quality camera or even a smartphone with a good video recording capability. This gives you full control over the visuals and allows you to capture specific shots or scenes that align with your music and concept.
If you don’t have access to a camera or prefer not to shoot your own footage, you can explore stock libraries or royalty-free websites. These platforms offer a wide range of video clips and images that you can use legally in your music video. Make sure to read and adhere to the licensing terms and conditions to avoid any copyright issues.
Consider using animations or motion graphics to add visual interest and creativity to your music video. You can create these yourself if you have the necessary skills or enlist the help of professional animators. Animated elements can bring dynamic visuals and enhance the overall impact of your video.
When selecting visual assets, pay attention to the visual flow and coherence. Ensure the visuals align with the tempo, rhythm, and mood of the music. Experiment with different combinations of clips, images, and animations to create a seamless and visually captivating experience for your audience.
Remember that less can sometimes be more. Don’t feel compelled to use every visual asset you have. Sometimes, a simple and focused approach can have a more powerful impact. Select visuals that support and enhance the central theme of your video and eliminate any distractions.
As you collect your visual assets, organize them in a way that makes it easy for you to access and work with during the video creation process. This will save you time and ensure a smooth workflow as you move on to the next step of preparing the AI model.
With your chosen music and visual assets in hand, you’re now ready to proceed to the exciting step of preparing the AI model. It’s time to delve into the technical side of creating an AI music video!
Step 4: Preparing the AI Model
Preparing the AI model is a critical step in the creation of your AI music video. The AI model will analyze the music and generate the corresponding visual elements that will synchronize with the beats, melodies, and overall audio cues.
The first thing you need to do is select an AI model or software that specializes in generating visuals based on music. There are several options available, ranging from standalone software to online platforms. Research and explore different tools to find the one that best suits your needs and budget.
Once you have chosen the AI model, it’s important to familiarize yourself with its user interface and settings. Understand how to input the music and adjust the parameters to achieve the desired visual output.
Before feeding the music into the AI model, it’s crucial to ensure that the audio quality is optimal. Clean and clear audio will result in better analysis and synchronization with the generated visuals. Consider using audio editing software to enhance the audio quality if necessary.
Organize your music and visual assets in a way that facilitates the AI model’s analysis. Name your files according to their corresponding sections or elements in the music to make it easier for the AI model to synchronize them appropriately.
Depending on the AI model you’re using, you may have the option to customize or fine-tune the visual output. This can involve adjusting parameters such as color schemes, motion effects, or intensity levels. Experiment with these settings to achieve the desired visual style and aesthetics.
Consider the overall duration of your AI music video and how you want the visuals to progress throughout. If there are specific moments in the music that you want to emphasize or highlight, you may be able to provide cues or markers to guide the AI model’s analysis and generation.
Lastly, make sure you have adequate computational resources to run the AI model smoothly. Some AI models require significant processing power, so ensure that your computer or server can handle the workload. This will help minimize delays and ensure an efficient generation process.
By properly preparing the AI model and optimizing the input audio and visual assets, you set the stage for a successful generation of visuals that complement and enhance your music. With the AI model ready to go, it’s time to move on to the exciting step of training the model and creating the AI-generated music video.
Step 5: Training the AI Model
Training the AI model is a crucial step in the creation of your AI-generated music video. This step involves feeding the AI model with your prepared music and visual assets, allowing it to analyze the audio and generate the corresponding visuals that synchronize with the music.
Before proceeding with the training, ensure that your AI model is properly installed and configured. Follow the instructions provided by the software or platform to set up the necessary environment for training.
Start by uploading your music into the AI model. Depending on the model you’re using, you may need to upload the entire song or break it into sections for analysis. Make sure the music files are properly labeled and organized according to their corresponding visual assets.
Once the music is uploaded, you will also need to input the visual assets that you collected in the earlier step. This can include video clips, images, animations, or graphics. Ensure that the visual assets are properly aligned with the sections or elements in the music to ensure accurate synchronization.
Before initiating the training process, select the desired settings and parameters for the AI model. This may include adjusting the intensity of visual effects, choosing color palettes, or defining motion patterns. Experiment with different settings to achieve the desired visual aesthetics.
Training the AI model requires computational power and time. Depending on the complexity of your music and visual elements, the training process can take anywhere from a few minutes to several hours or even days. Ensure that you have sufficient resources to accommodate the training duration.
During the training process, the AI model will analyze the music and generate the visuals based on its understanding of the audio patterns. This involves mapping beats, melodies, and other audio cues to visual effects, transitions, and other elements. The model will learn from the inputs and improve its ability to synchronize the visuals with the music over time.
Once the training is complete, review the generated visuals to ensure they align with your artistic vision. Make any necessary adjustments or fine-tuning by retraining the model if needed. It’s important to iterate and experiment with different training runs to achieve the desired results.
Training the AI model is an iterative process that involves refining and perfecting the visual output. Take the time to experiment, analyze, and revise the generated visuals until you’re satisfied with the synchronization and overall quality.
With the AI model trained and the visuals generated, you’re now ready to move on to the exciting step of creating the AI music video itself. It’s time to bring the music and visuals together into a captivating and seamless visual experience.
Step 6: Generating the Music Video
Generating the music video is where the magic happens as you combine the AI-generated visuals with the synchronized music. In this step, you will bring together the trained AI model’s output and assemble it into a cohesive and visually engaging music video.
Start by exporting the generated visuals from the AI model. Depending on the software or platform you’re using, you may have the option to export the visuals as individual video clips, image sequences, or even as a fully rendered video.
If the generated visuals are in separate files, organize them according to their timeline in the music. This will make it easier to assemble the video with accurate synchronization later on.
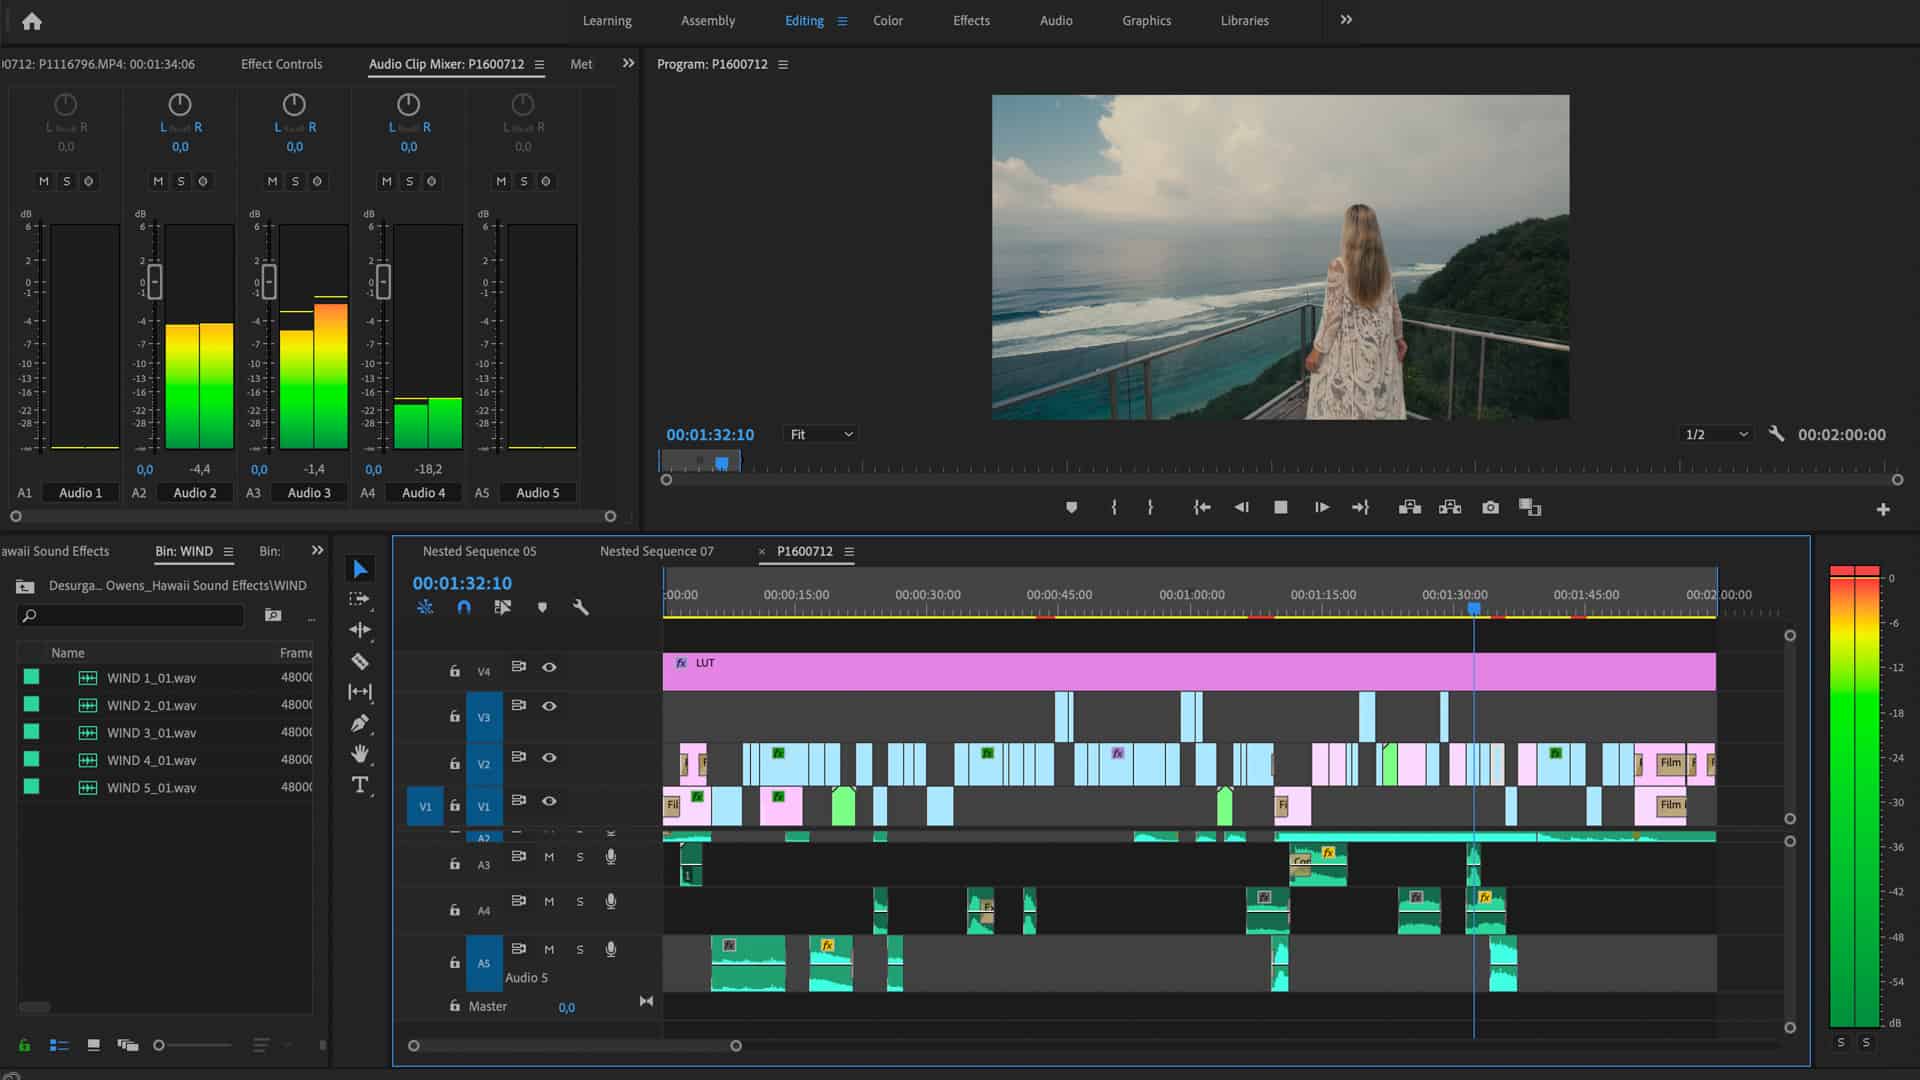
Next, import the visuals and the corresponding music into video editing software. This software will allow you to arrange the visual elements, trim or edit the music, and further enhance the overall video presentation.
Assemble the visuals in a way that flows naturally with the music. Consider the rhythm, beats, and other audio cues to create a seamless synchronization between the visuals and the music. Experiment with different transitions, effects, and timing adjustments to enhance the impact of the visuals.
During this process, you might also want to add additional effects or graphics to further enhance the video. This could include text overlays, color grading, or other visual enhancements that align with your artistic vision.
While the AI-generated visuals provide a solid foundation, don’t be afraid to exercise your creative control. Adjust and refine the visuals as needed to ensure they perfectly complement the music and emphasize the desired themes or emotions.
When editing the video, pay attention to the overall length and pacing. Ensure that the video maintains the viewer’s interest throughout without feeling too rushed or dragged out. Make any necessary cuts or adjustments to maintain a balanced and engaging viewing experience.
As you finalize the music video, don’t forget to also consider the technical aspects. Ensure the video meets the desired resolution and aspect ratio for the intended platforms, whether it’s YouTube, social media, or other streaming platforms.
Finally, review and scrutinize the video multiple times to ensure everything is synchronized and aligned as intended. Make any necessary tweaks or changes until you are fully satisfied with the final result.
Your AI-generated music video is now complete! Congratulations on bringing your vision to life through the power of AI and creative editing. In the next and final step, we’ll cover the importance of editing and finalizing the video to ensure a polished and professional presentation.
Step 7: Editing and Finalizing the Video
In the final step of creating your AI music video, it’s time to focus on editing and finalizing the video to ensure a polished and professional presentation. This step involves fine-tuning the details, adding finishing touches, and optimizing the video for maximum visual impact.
Start by reviewing the entire video from start to finish, paying attention to any inconsistencies or areas that need improvement. Look for any visual glitches, audio synchronization issues, or transitions that don’t flow smoothly. Make adjustments as necessary to create a seamless viewing experience.
Consider seeking feedback from trusted friends or collaborators. It can be valuable to get an outside perspective on the video to catch any potential errors or areas for improvement that you might have missed.
During the editing process, you may also want to add additional visual effects or enhancements to make the video more engaging. This could include color grading adjustments, motion graphics, or additional overlays that enhance the overall visual appeal.
Ensure that the video has a clear structure and narrative flow. This can involve reorganizing or rearranging certain sections to improve coherence and storytelling. Maintain a balance between showcasing the visuals and allowing the music to shine.
Pay attention to the pacing of the video. Avoid abrupt cuts or transitions that disrupt the viewing experience. Smoothly transition between different visual elements to create a cohesive and engaging video.
While editing, also optimize the audio quality. Ensure that the music is clear, balanced, and in sync with the visuals. Consider adjusting volume levels, applying equalization, or adding sound effects to enhance the overall audio experience.
Consider adding subtitles or captions if applicable. This can be especially useful if your music video includes lyrics or if you want to provide additional context or accessibility for your viewers.
As you finalize the video, make sure it meets technical specifications and requirements for the platforms where you plan to share it. This includes resolution, aspect ratio, file format, and any other guidelines set by the platform.
Once you are satisfied with the final edit of the video, export it in the desired format and quality. Save a high-resolution version for archiving purposes, while also creating compressed versions suitable for online sharing.
Before sharing the video, take one final pass to ensure there are no errors or glitches. Watch the video in its entirety once again to confirm that everything is perfect and ready for publishing.
Now that your AI music video is edited and finalized, it’s time to share it with the world. Upload it to your preferred platforms and promote it through your social channels, website, or other distribution channels. Sit back and enjoy the fruits of your creative labor!
Remember, creating an AI music video is an iterative process, and each project presents an opportunity to refine your skills and experiment with new techniques. Embrace the journey and continue exploring the exciting possibilities that AI and music video creation offer.
Good luck, and cheers to your stunning AI music video!
Conclusion
Congratulations on completing your AI music video! Through the steps of gathering resources, choosing the music, collecting visual assets, preparing the AI model, training the model, generating the video, and editing the final product, you have brought your vision to life in a captivating and synchronized way.
The combination of music and visuals is a powerful tool for artistic expression, and with the advent of AI, the possibilities are endless. AI-generated music videos allow for a seamless blending of audio and visual elements, creating a unique and immersive experience for your audience.
Throughout the process, you’ve learned the importance of selecting the right music to convey the desired emotions and messages. You’ve explored various ways to source visual assets and create a coherent visual narrative that complements your music.
Preparing the AI model and training it allowed you to create stunning visuals that synchronize perfectly with the music. The iterative nature of training and refining the model helped you achieve the desired output and visual aesthetics.
During the editing and finalizing process, you polished the video, paying attention to details, and optimizing the audio-visual experience. The result is a professional and visually captivating music video that showcases your artistic vision.
Remember, creating an AI music video is not only about the end product but also about the journey of exploring your creativity and pushing the boundaries of what’s possible. Embrace the combination of human artistry and technological innovation to create unique and memorable experiences for your audience.
With your AI music video completed, it’s time to share it with the world. Whether you’re promoting your music as an artist or simply expressing your creative vision, utilize social media, online platforms, and other distribution channels to reach a broader audience.
Continue to refine your skills and experiment with new techniques and tools as you create additional music videos in the future. The world of AI and music video creation is ever-evolving, and there are endless possibilities waiting to be explored.
So, seize the opportunity, let your creativity soar, and create mesmerizing AI music videos that captivate and engage your audience. The stage is yours!