Home>Production & Technology>Audio Cable>How Do I Connect My Optical Digital Audio Cable To My LG TV?
Audio Cable
How Do I Connect My Optical Digital Audio Cable To My LG TV?
Modified: January 22, 2024
Learn how to connect your optical digital audio cable to your LG TV for high-quality audio. Follow our step-by-step guide for a seamless setup.
(Many of the links in this article redirect to a specific reviewed product. Your purchase of these products through affiliate links helps to generate commission for AudioLover.com, at no extra cost. Learn more)
Table of Contents
Introduction
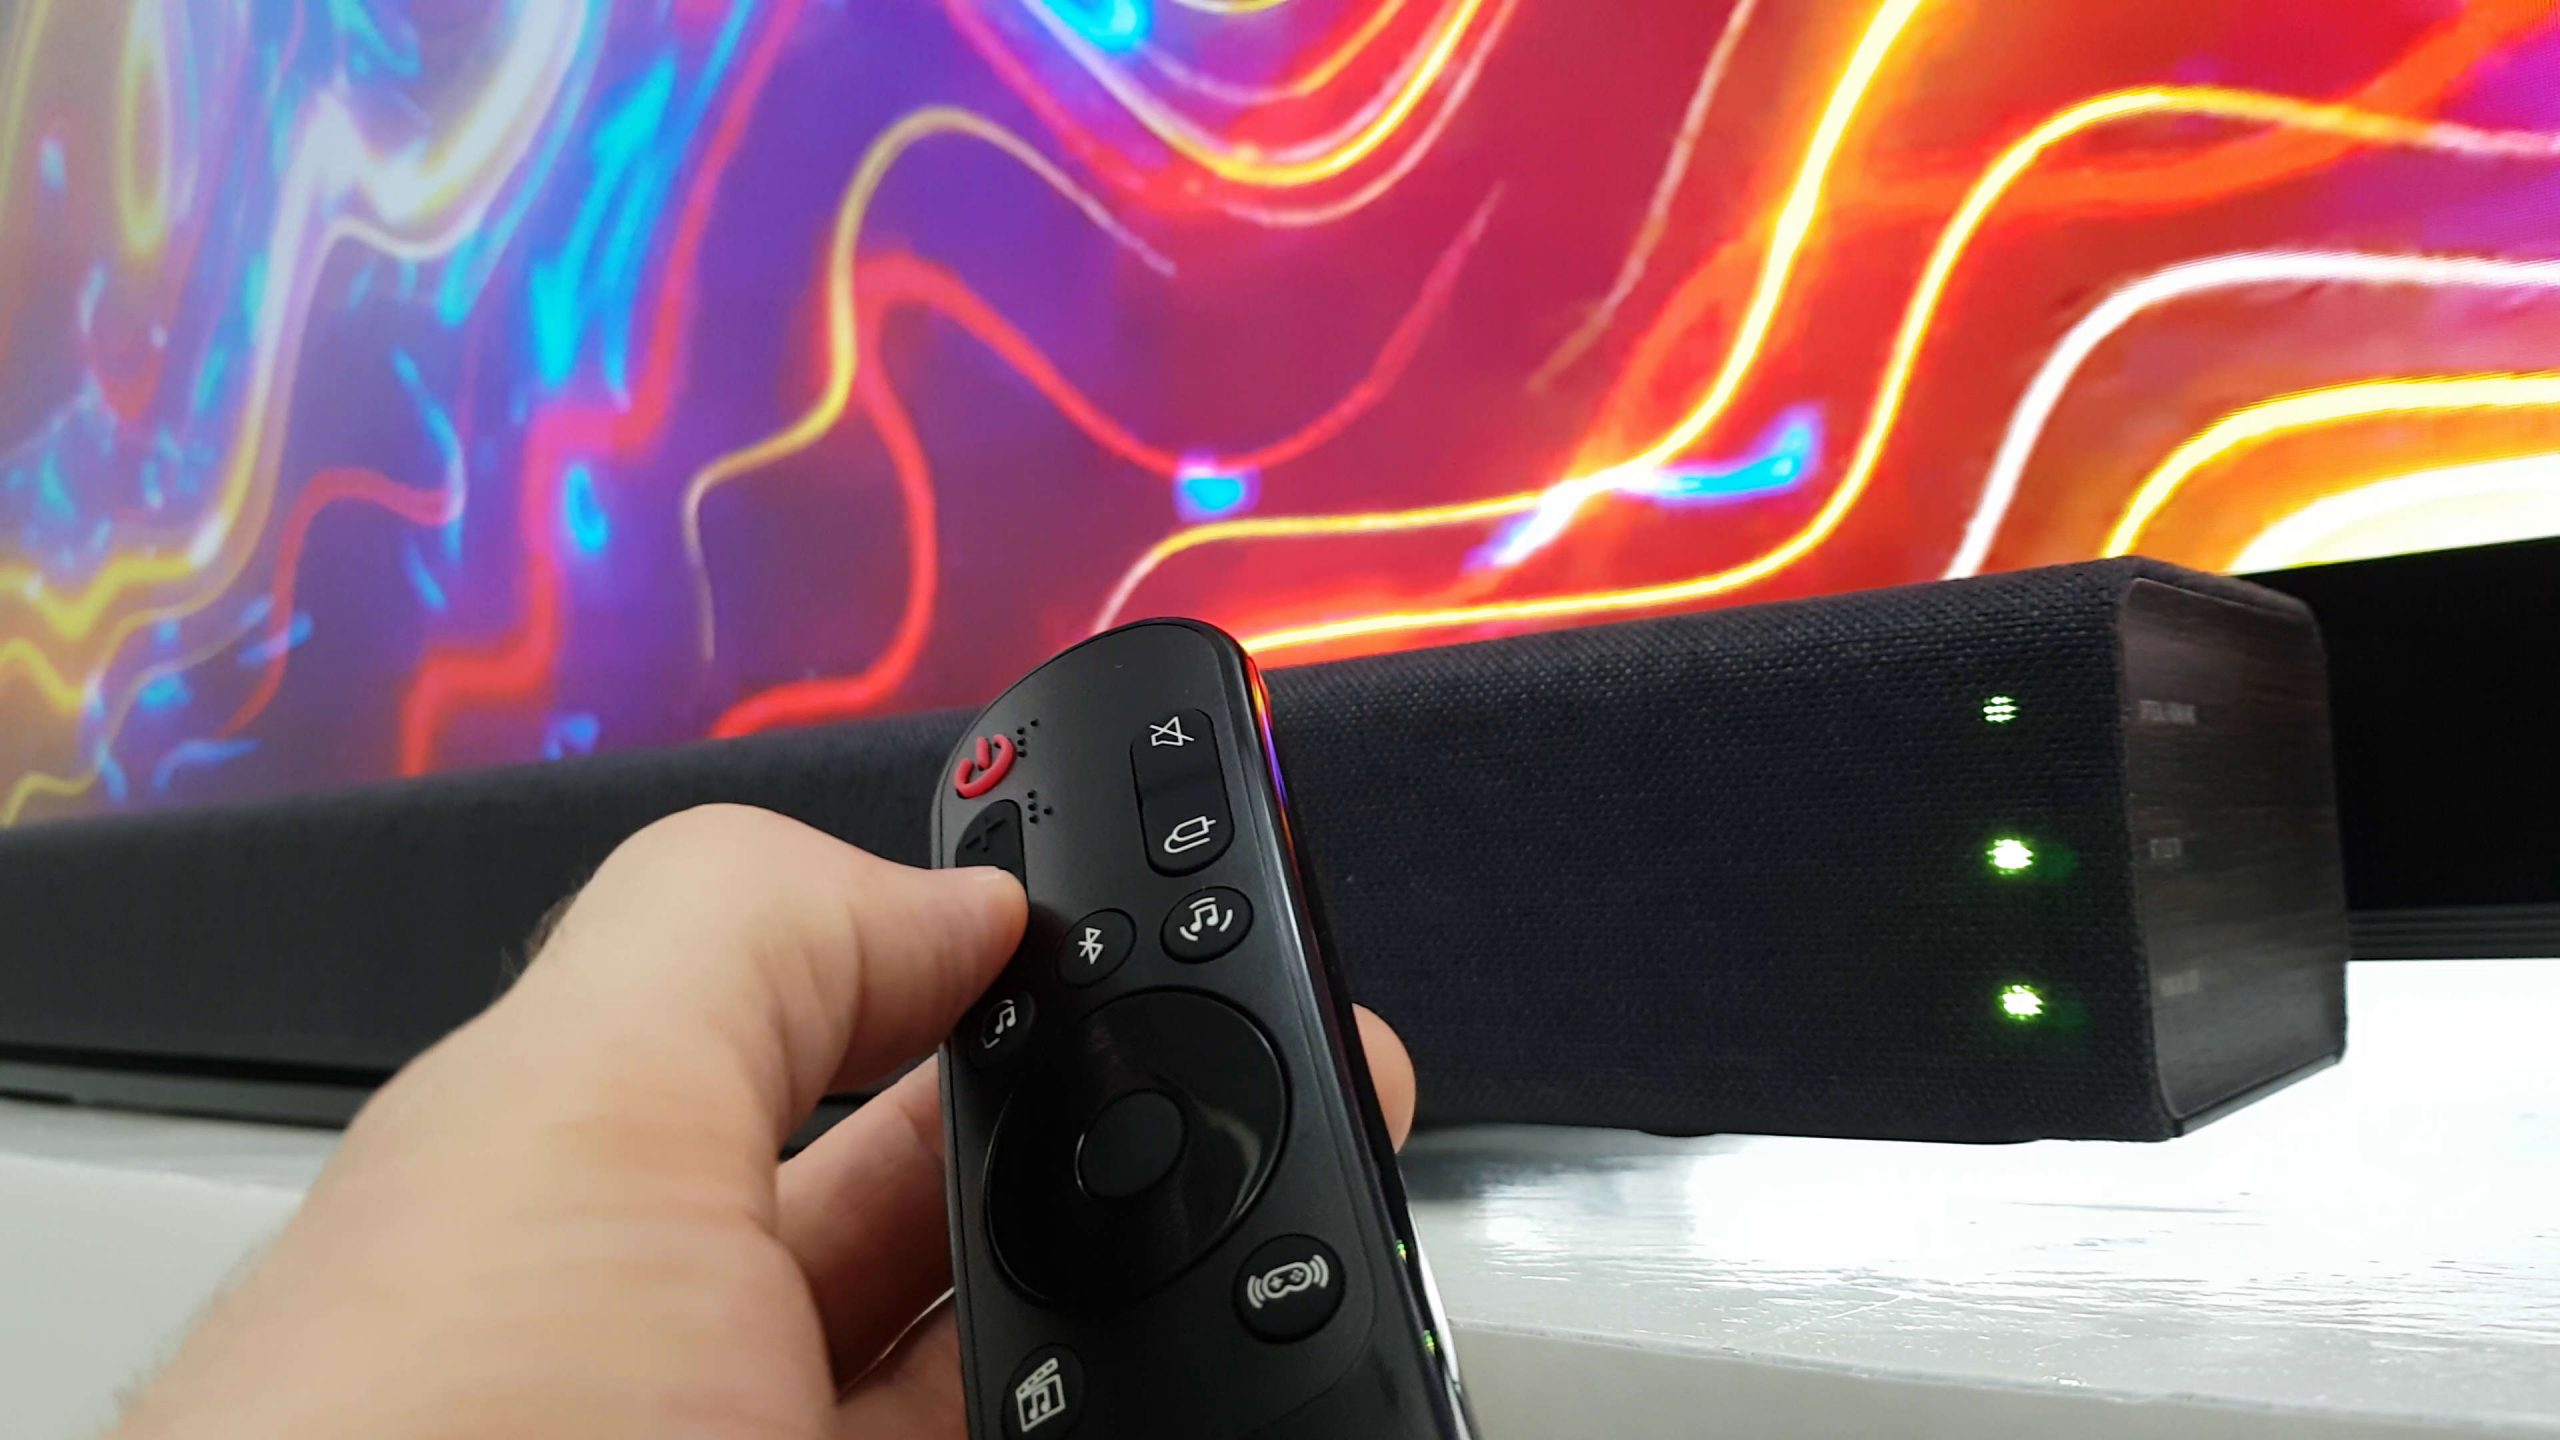
Welcome to the world of audio cables, where the right connection can make all the difference in your audio experience. If you’re the proud owner of an LG TV and want to take your audio setup to the next level, connecting an optical digital audio cable is a great option.
An optical digital audio cable, also known as a TOSLINK or SPDIF cable, allows for high-quality digital audio transmission between your LG TV and audio devices such as soundbars, receivers, or home theater systems. Unlike traditional analog cables, optical digital audio cables use light signals to transmit audio data, resulting in cleaner and more precise sound reproduction.
Whether you’re a beginner or a seasoned audio enthusiast, this guide will walk you through the process of connecting your optical digital audio cable to your LG TV, ensuring that you can enjoy immersive sound for your favorite movies, TV shows, and music.
Before we dive into the steps, it’s important to note that not all LG TVs come with an optical audio output. So, make sure to check if your specific model has this feature before proceeding. Keep your remote control, audio devices, and optical digital audio cable handy as we embark on this audio-visual journey.
Understanding Optical Digital Audio Cables
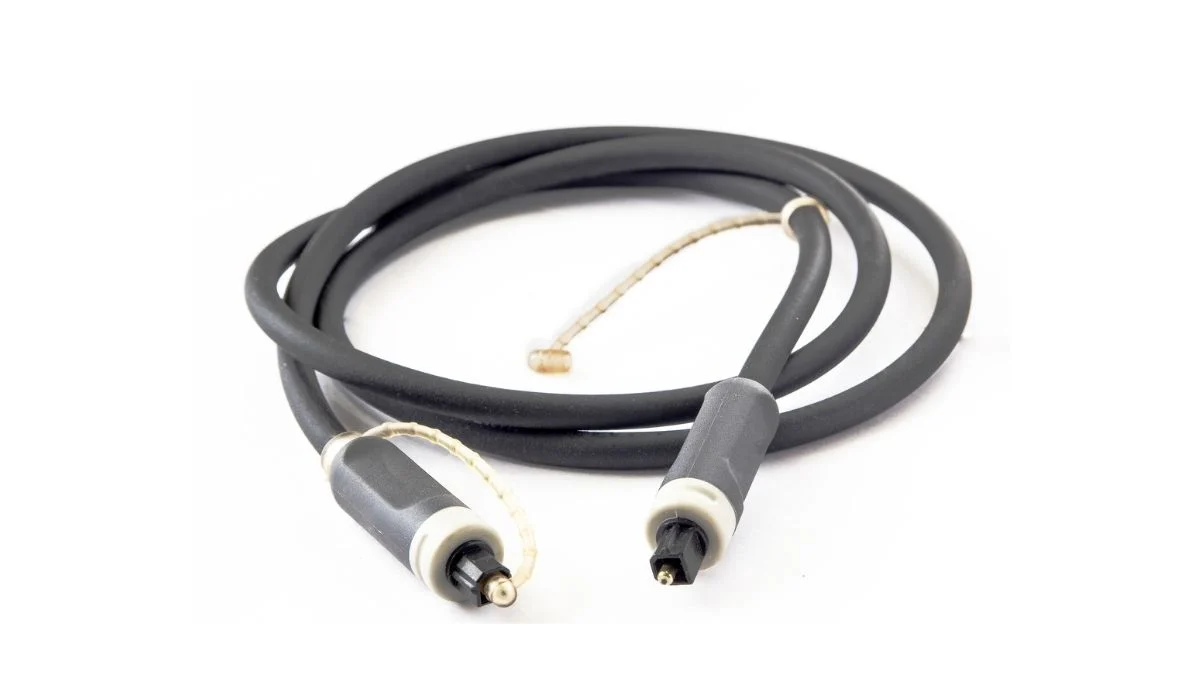
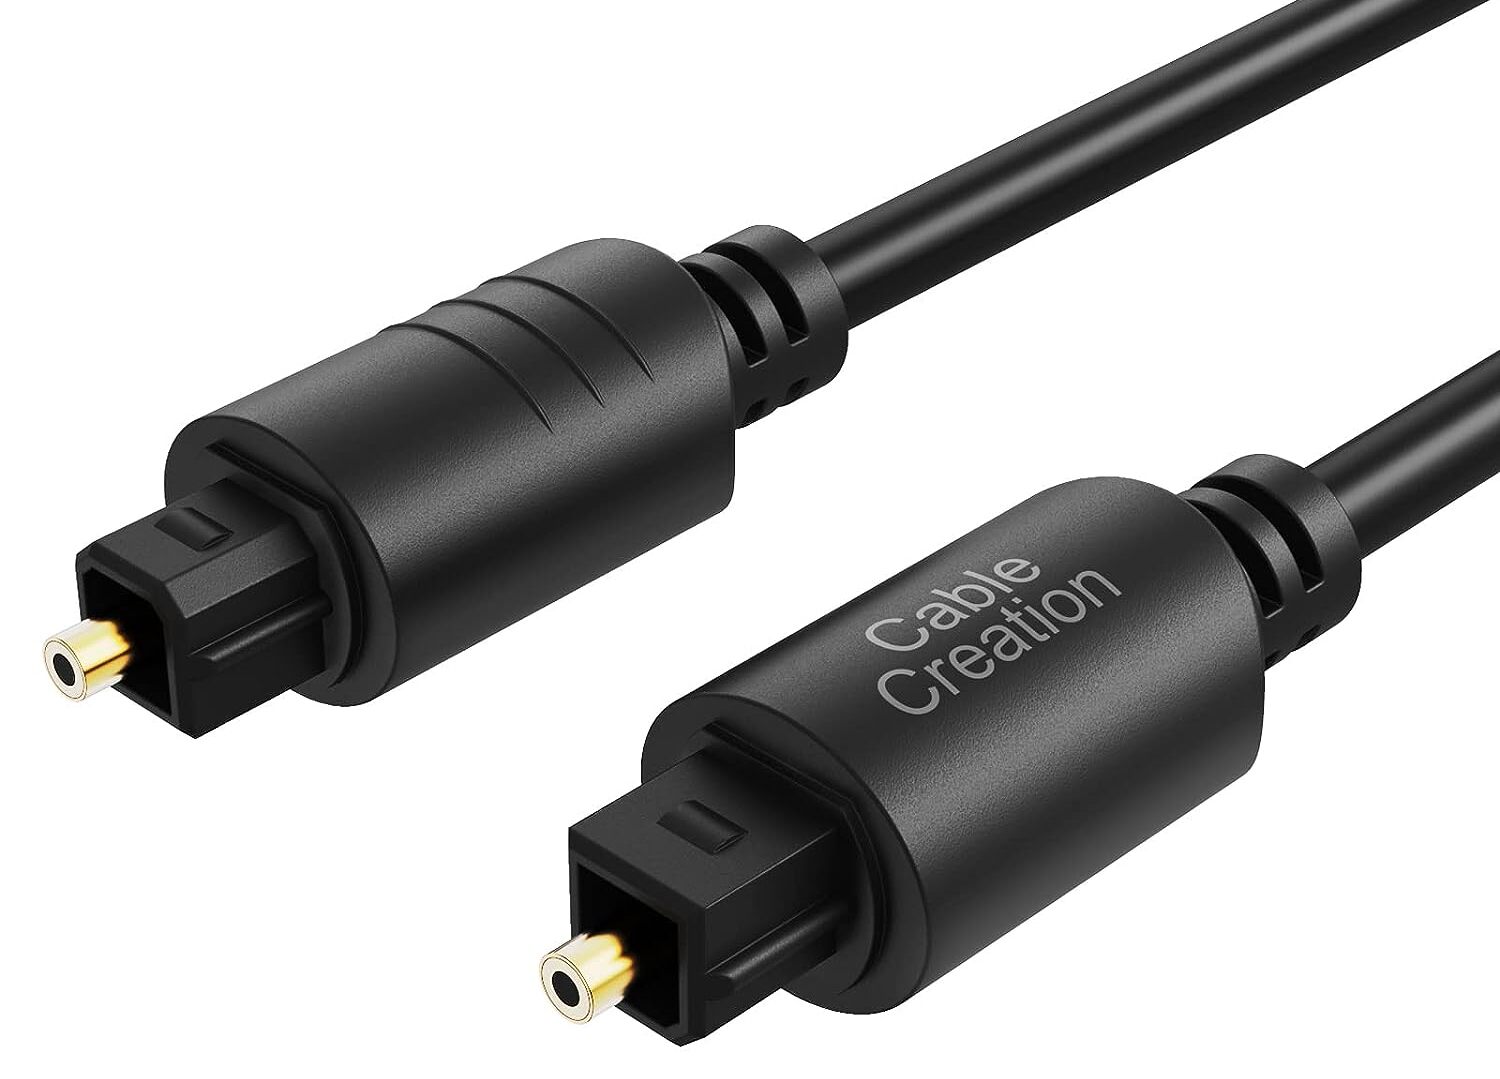
Optical digital audio cables, also known as TOSLINK or SPDIF cables, are designed to transmit digital audio signals in the form of light pulses. This technology ensures a high-quality audio experience by eliminating interference and delivering a clean, clear sound.
These cables are made up of a thin fiber optic wire surrounded by a protective layer. At the ends of the cable, you’ll find plugs that are fitted into optical audio ports. One end of the cable connects to your LG TV’s optical audio output, while the other end connects to your audio device’s optical input.
When it comes to audio quality, optical digital audio cables can support various audio formats, including stereo, Dolby Digital, DTS, and even high-resolution formats like Dolby TrueHD and DTS-HD Master Audio. This makes them ideal for connecting your LG TV to a soundbar, receiver, or surround sound system.
One of the key advantages of optical digital audio cables is their ability to transmit sound without any loss in quality. Unlike analog cables, which may suffer from degradation and interference, optical cables maintain a consistent signal throughout the entire transmission. This results in a cleaner audio signal and a more immersive listening experience.
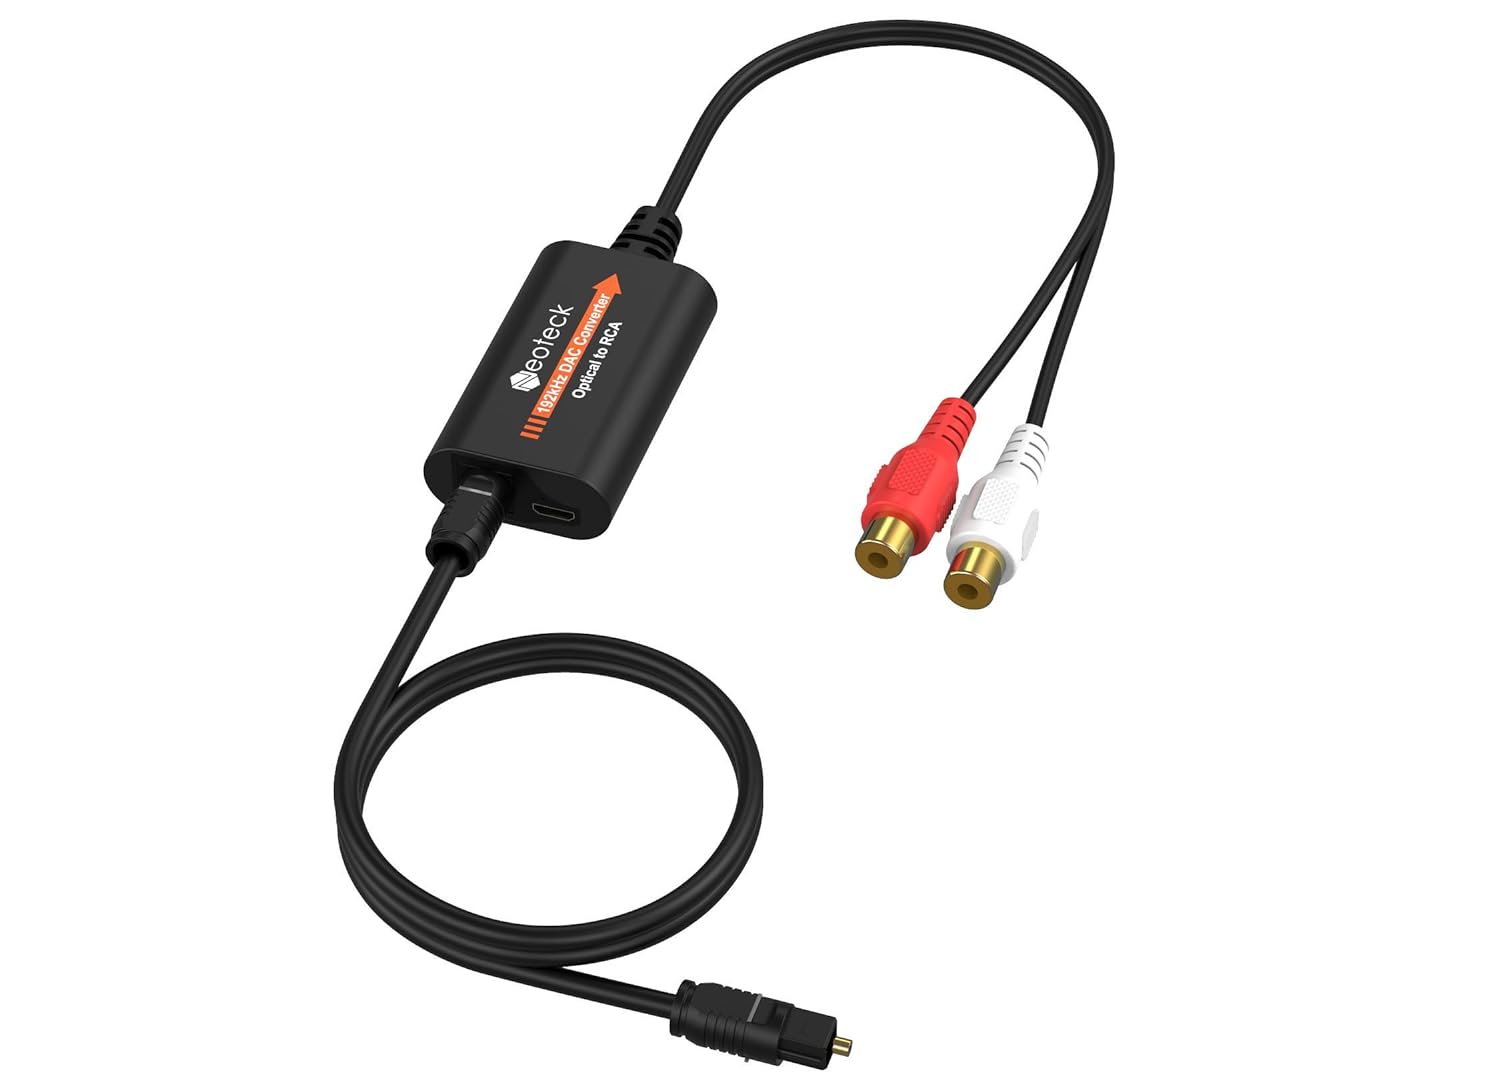
It’s important to note that optical digital audio cables can only transmit audio signals, not video. So, if you’re looking to connect your LG TV to an audio device, such as a soundbar, while also transmitting the video signal, you would need to use additional HDMI or RCA cables.
Overall, opting for an optical digital audio cable is a reliable and versatile solution for connecting your LG TV to external audio devices. Now that we have a better understanding of these cables, let’s move on to the next step: checking if your LG TV has an optical audio output.
Checking for Optical Audio Output on Your LG TV
Before you can connect an optical digital audio cable to your LG TV, you need to ensure that it has an optical audio output. While most LG TVs have this feature, it’s always a good idea to double-check.
To check for an optical audio output on your LG TV, follow these steps:
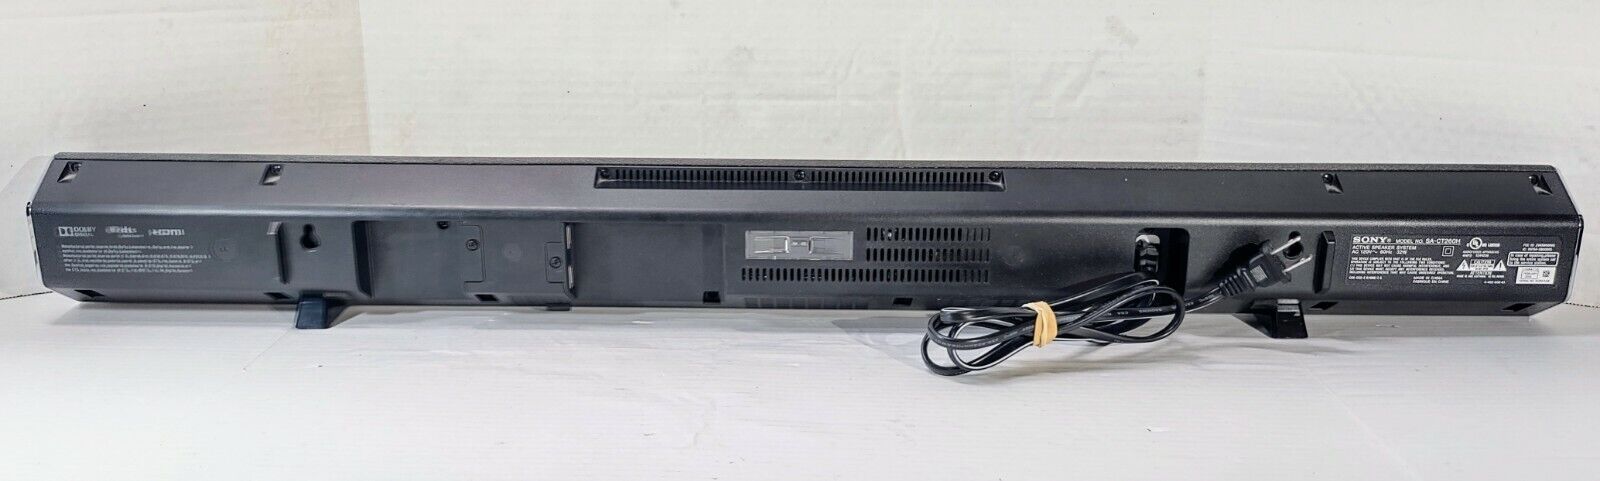
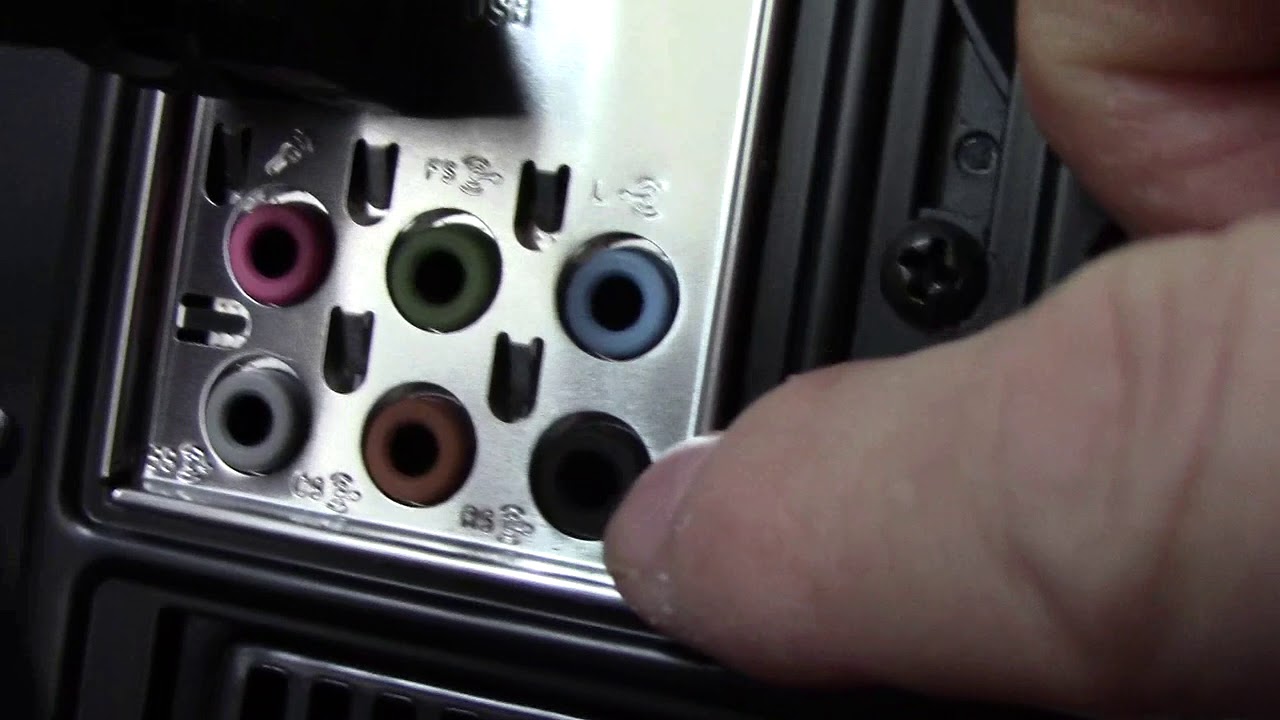
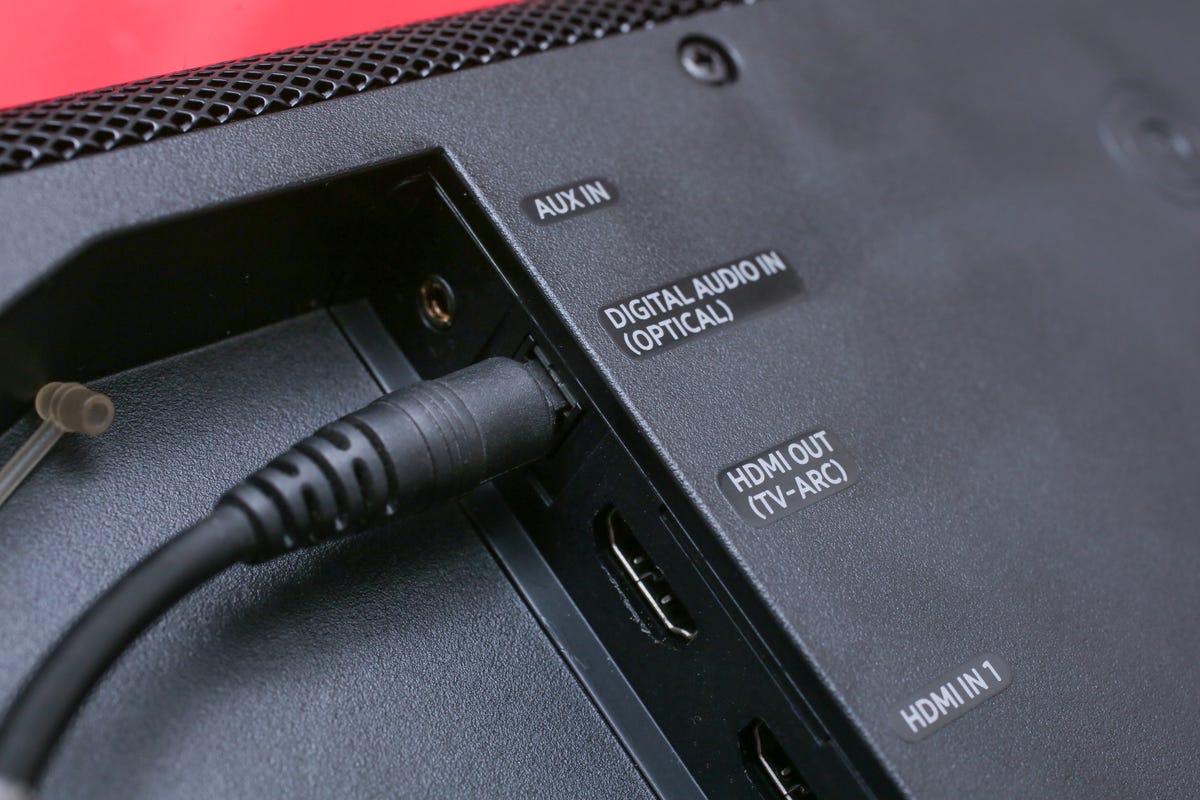
- Locate the audio ports on the back or side of your LG TV. The optical audio output is typically labeled as “Optical,” “TOSLINK,” or “Digital Audio Out.”
- Inspect the port to ensure it matches the shape and size of the plug on your optical digital audio cable. It should have a square or rectangular shape with a small light opening in the center.
- If you can’t find the optical audio output port, consult your LG TV’s user manual or visit the LG website for specific information about your TV model.
Once you have confirmed that your LG TV has an optical audio output, you’re ready to proceed to the next step: preparing the optical digital audio cable.
Preparing the Optical Digital Audio Cable
Before connecting the optical digital audio cable to your LG TV, it’s important to prepare the cable to ensure a secure and reliable connection. Here are the steps to follow:
- Inspect the optical digital audio cable for any visible damage, such as cuts or frayed edges. If you notice any issues, it’s recommended to use a new cable to ensure optimal performance.
- Remove any protective caps or covers from the cable ends. These are typically found on the plugs that connect to the optical audio ports.
- Gently clean the cable ends using a soft, lint-free cloth. This will remove any dust or debris that may interfere with the connection.
- Make sure the cable is fully untangled and free from any knots or kinks. A straight, unobstructed cable ensures a smooth and uninterrupted signal transmission.
- Double-check that you are using the correct end of the cable for your LG TV. One end should have a plug that matches the shape and size of the optical audio output port on your TV.
By properly preparing the optical digital audio cable, you can minimize the risk of signal loss or interference and ensure a solid connection between your LG TV and the audio device you’ll be connecting to.
Now that the cable is ready, let’s move on to the next step: connecting the optical digital audio cable to your LG TV.
Connecting the Optical Digital Audio Cable to Your LG TV
Now that you have prepared the optical digital audio cable, it’s time to connect it to your LG TV. Follow these steps to ensure a successful connection:
- Locate the optical audio output port on your LG TV. It is usually labeled as “Optical,” “TOSLINK,” or “Digital Audio Out.”
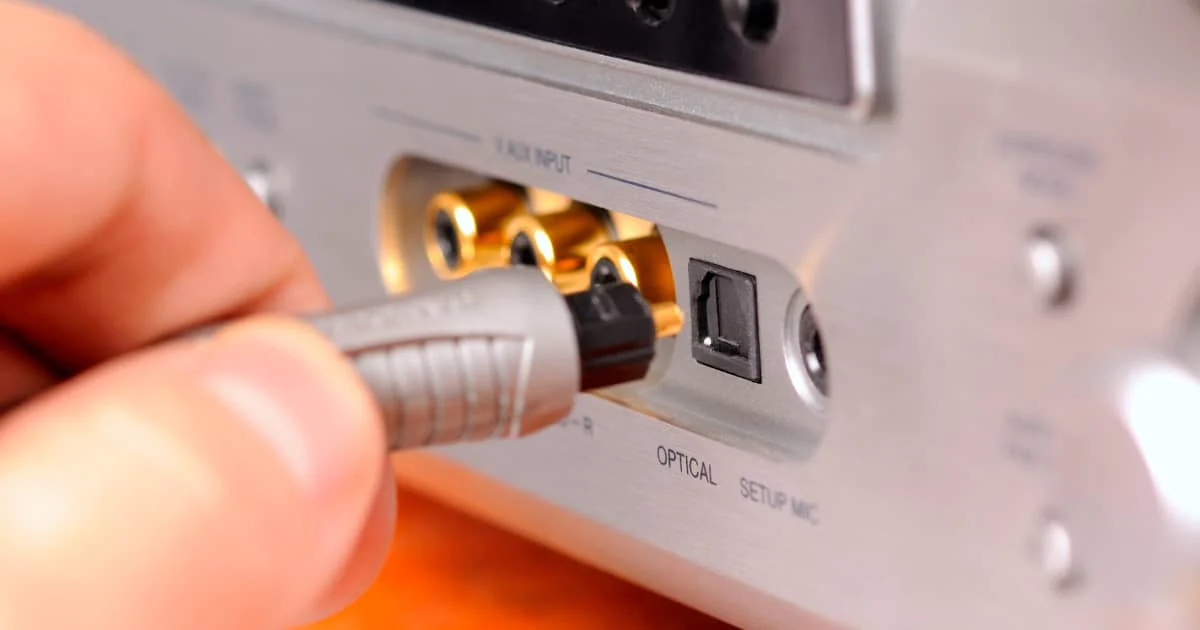
- Take one end of the optical digital audio cable and align the plug with the optical audio output port on your TV.
- Gently insert the plug into the port, making sure it fits securely and snugly. Be careful not to force the plug, as it should slide in smoothly without any resistance.
- Tighten the cable connection by securing it with the provided screws or clips, if applicable. This ensures a stable connection and prevents accidental disconnection.
- Repeat the previous steps on the other end of the optical digital audio cable, connecting it to the optical audio input of your audio device, such as a soundbar or receiver.
Once the cable is securely connected to both your LG TV and the audio device, you have successfully established the optical digital audio connection. The next step is to adjust the audio settings on your LG TV to ensure the audio is routed through the optical output.
Before we explore the audio settings, it’s worth noting that some LG TVs may have multiple optical audio output ports. In such cases, consult your TV’s user manual or on-screen menu to select the appropriate optical audio output source.
Now that the cable is connected, let’s proceed to the next step: adjusting the audio settings on your LG TV.
Adjusting Audio Settings on Your LG TV
After connecting the optical digital audio cable to your LG TV, it’s important to adjust the audio settings to ensure that the audio is routed through the optical output. Here’s how you can do it:
- Turn on your LG TV and go to the settings menu. You can usually access the settings by pressing the “Settings” or “Menu” button on your remote control.
- Navigate to the “Audio” or “Sound” settings. The location may vary depending on your LG TV model, so refer to your TV’s user manual if you need assistance.
- In the audio settings, look for an option related to audio output or audio format. It may be labeled as “Audio Output,” “Sound Output,” or “Digital Audio Out.” Select this option.
- Choose the optical audio output as the preferred audio output source. This may be listed as “Optical,” “Digital Audio Out,” or “TOSLINK.”
- Make sure to save the changes and exit the settings menu.
By selecting the optical audio output as the preferred audio source, you are instructing your LG TV to route the audio signals through the optical digital audio cable. This ensures that you can enjoy high-quality sound from your connected audio device, such as a soundbar or receiver.
If you encounter any difficulties while adjusting the audio settings, refer to your LG TV’s user manual or consult the LG support website for further assistance specific to your TV model.
Now that the audio settings are adjusted, you’re ready to experience enhanced audio quality while enjoying your favorite movies, TV shows, and music on your LG TV.
In the rare event that you experience issues with the audio playback, refer to the troubleshooting tips in the next section to help diagnose and resolve any potential problems.
Troubleshooting Tips
While connecting and setting up an optical digital audio cable to your LG TV is generally straightforward, sometimes issues may arise. If you encounter any problems with the audio playback, try these troubleshooting tips to resolve common issues:
- Ensure that both ends of the optical digital audio cable are securely connected. Check for loose connections and make sure the plugs are properly inserted into the optical audio ports.
- Inspect the optical digital audio cable for any visible damage. If you notice any cuts or frayed edges, replace the cable with a new one to ensure a reliable connection.
- Verify that the audio settings on your LG TV are correctly configured. Make sure the audio output is set to the optical option and that the volume levels are adjusted accordingly.
- Power cycle your LG TV and audio device. Turn off both devices, unplug them from the power source, wait for a few minutes, and then plug them back in. Powering on the devices again may help reset any temporary glitches.
- Try using a different optical digital audio cable. Sometimes, the cable itself can be the cause of audio issues. Switching to a different cable can help determine if the problem lies with the cable or other components.
- Check for any firmware updates for your LG TV. Sometimes, firmware updates can address compatibility issues and improve overall performance. Consult your TV’s user manual or the manufacturer’s website for instructions on updating the firmware.
- If using an external audio device, such as a soundbar or receiver, ensure that it is properly configured to receive audio from the optical input. Consult the audio device’s manual for guidance on selecting the optical audio input source.
- If all else fails, consider consulting the official LG support website or contacting their customer support for further assistance. They have knowledgeable representatives who can help troubleshoot specific issues with your LG TV.
By following these troubleshooting tips, you should be able to resolve most common audio-related issues when using an optical digital audio cable with your LG TV. Enjoy your enhanced audio experience and immerse yourself in the world of high-quality sound.
With that, we conclude our guide on how to connect an optical digital audio cable to your LG TV. We hope this information has been helpful, and you can now enjoy enhanced audio quality for your favorite content!
Conclusion
Connecting an optical digital audio cable to your LG TV is a simple yet effective way to enhance your audio experience. By using this high-quality cable, you can enjoy crisp and clear sound when watching movies, TV shows, or listening to music.
In this guide, we covered the essential steps to connect an optical digital audio cable to your LG TV. We started by understanding the basics of optical digital audio cables and their advantages over analog cables. We then learned how to check if your LG TV has an optical audio output and how to prepare the cable for connection.
We walked through the process of connecting the optical digital audio cable to your LG TV and adjusting the necessary audio settings. Additionally, we provided troubleshooting tips to help resolve any common audio issues you may encounter.
By following these steps and tips, you can ensure a successful connection and enjoy superior audio quality on your LG TV.
If you have any specific questions or encounter difficulties during the setup process, refer to your LG TV’s user manual or contact their customer support for further assistance.
Now that you’re armed with the knowledge to connect an optical digital audio cable to your LG TV, it’s time to sit back, relax, and immerse yourself in your favorite content with enhanced audio!