Home>Production & Technology>Sound Bar>How To Make My Sound Bar Work Wy Cable And Xbox
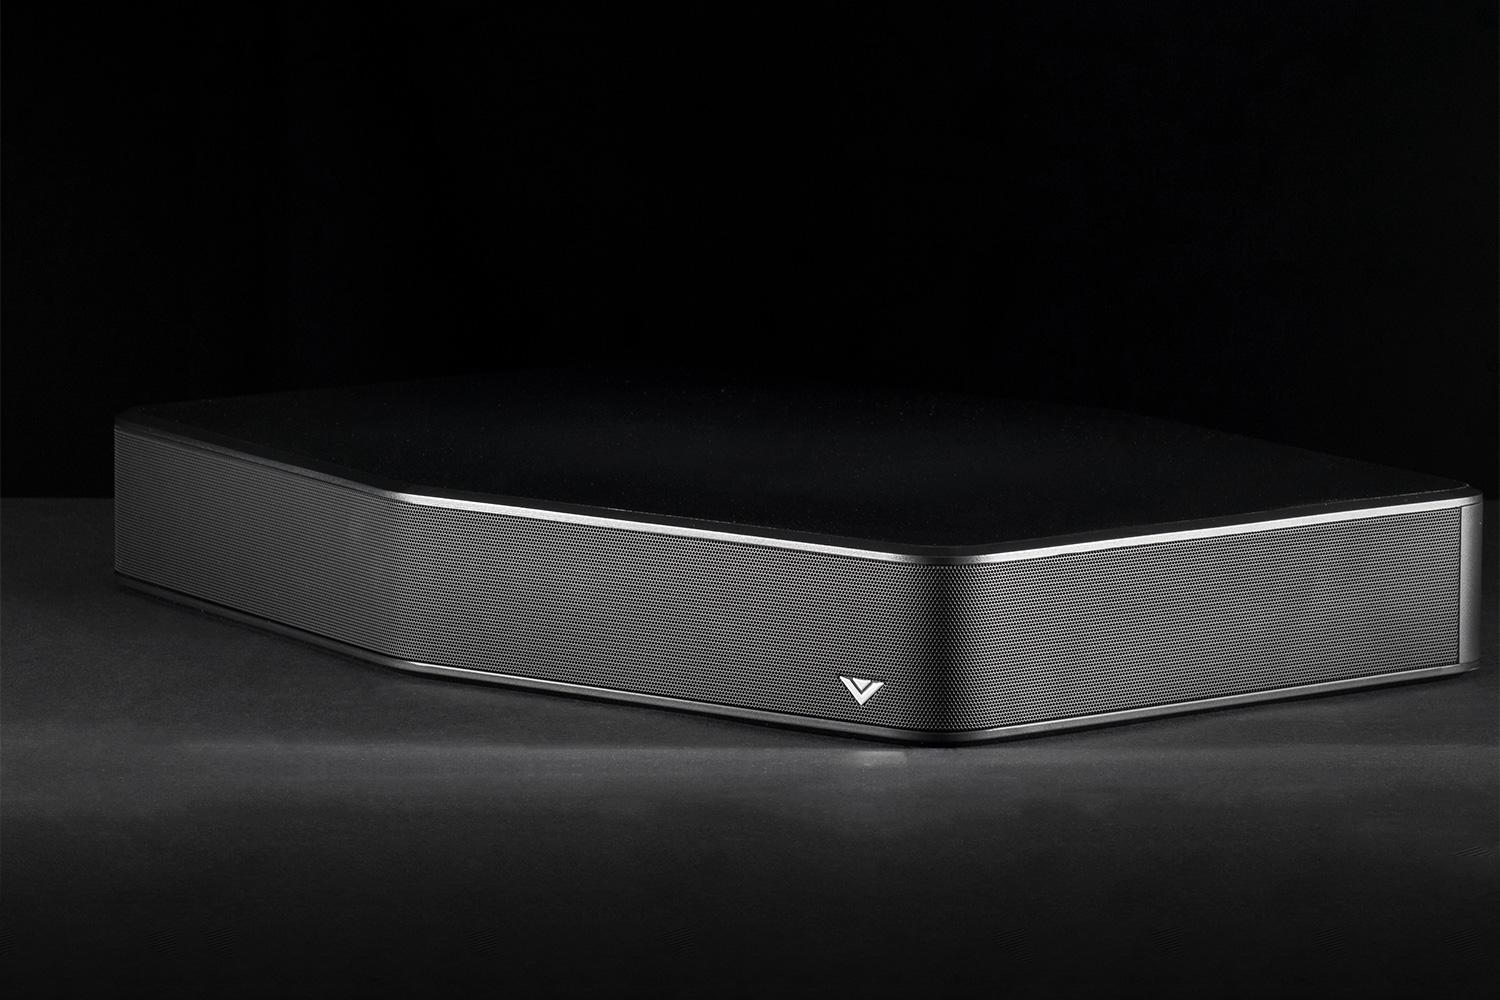
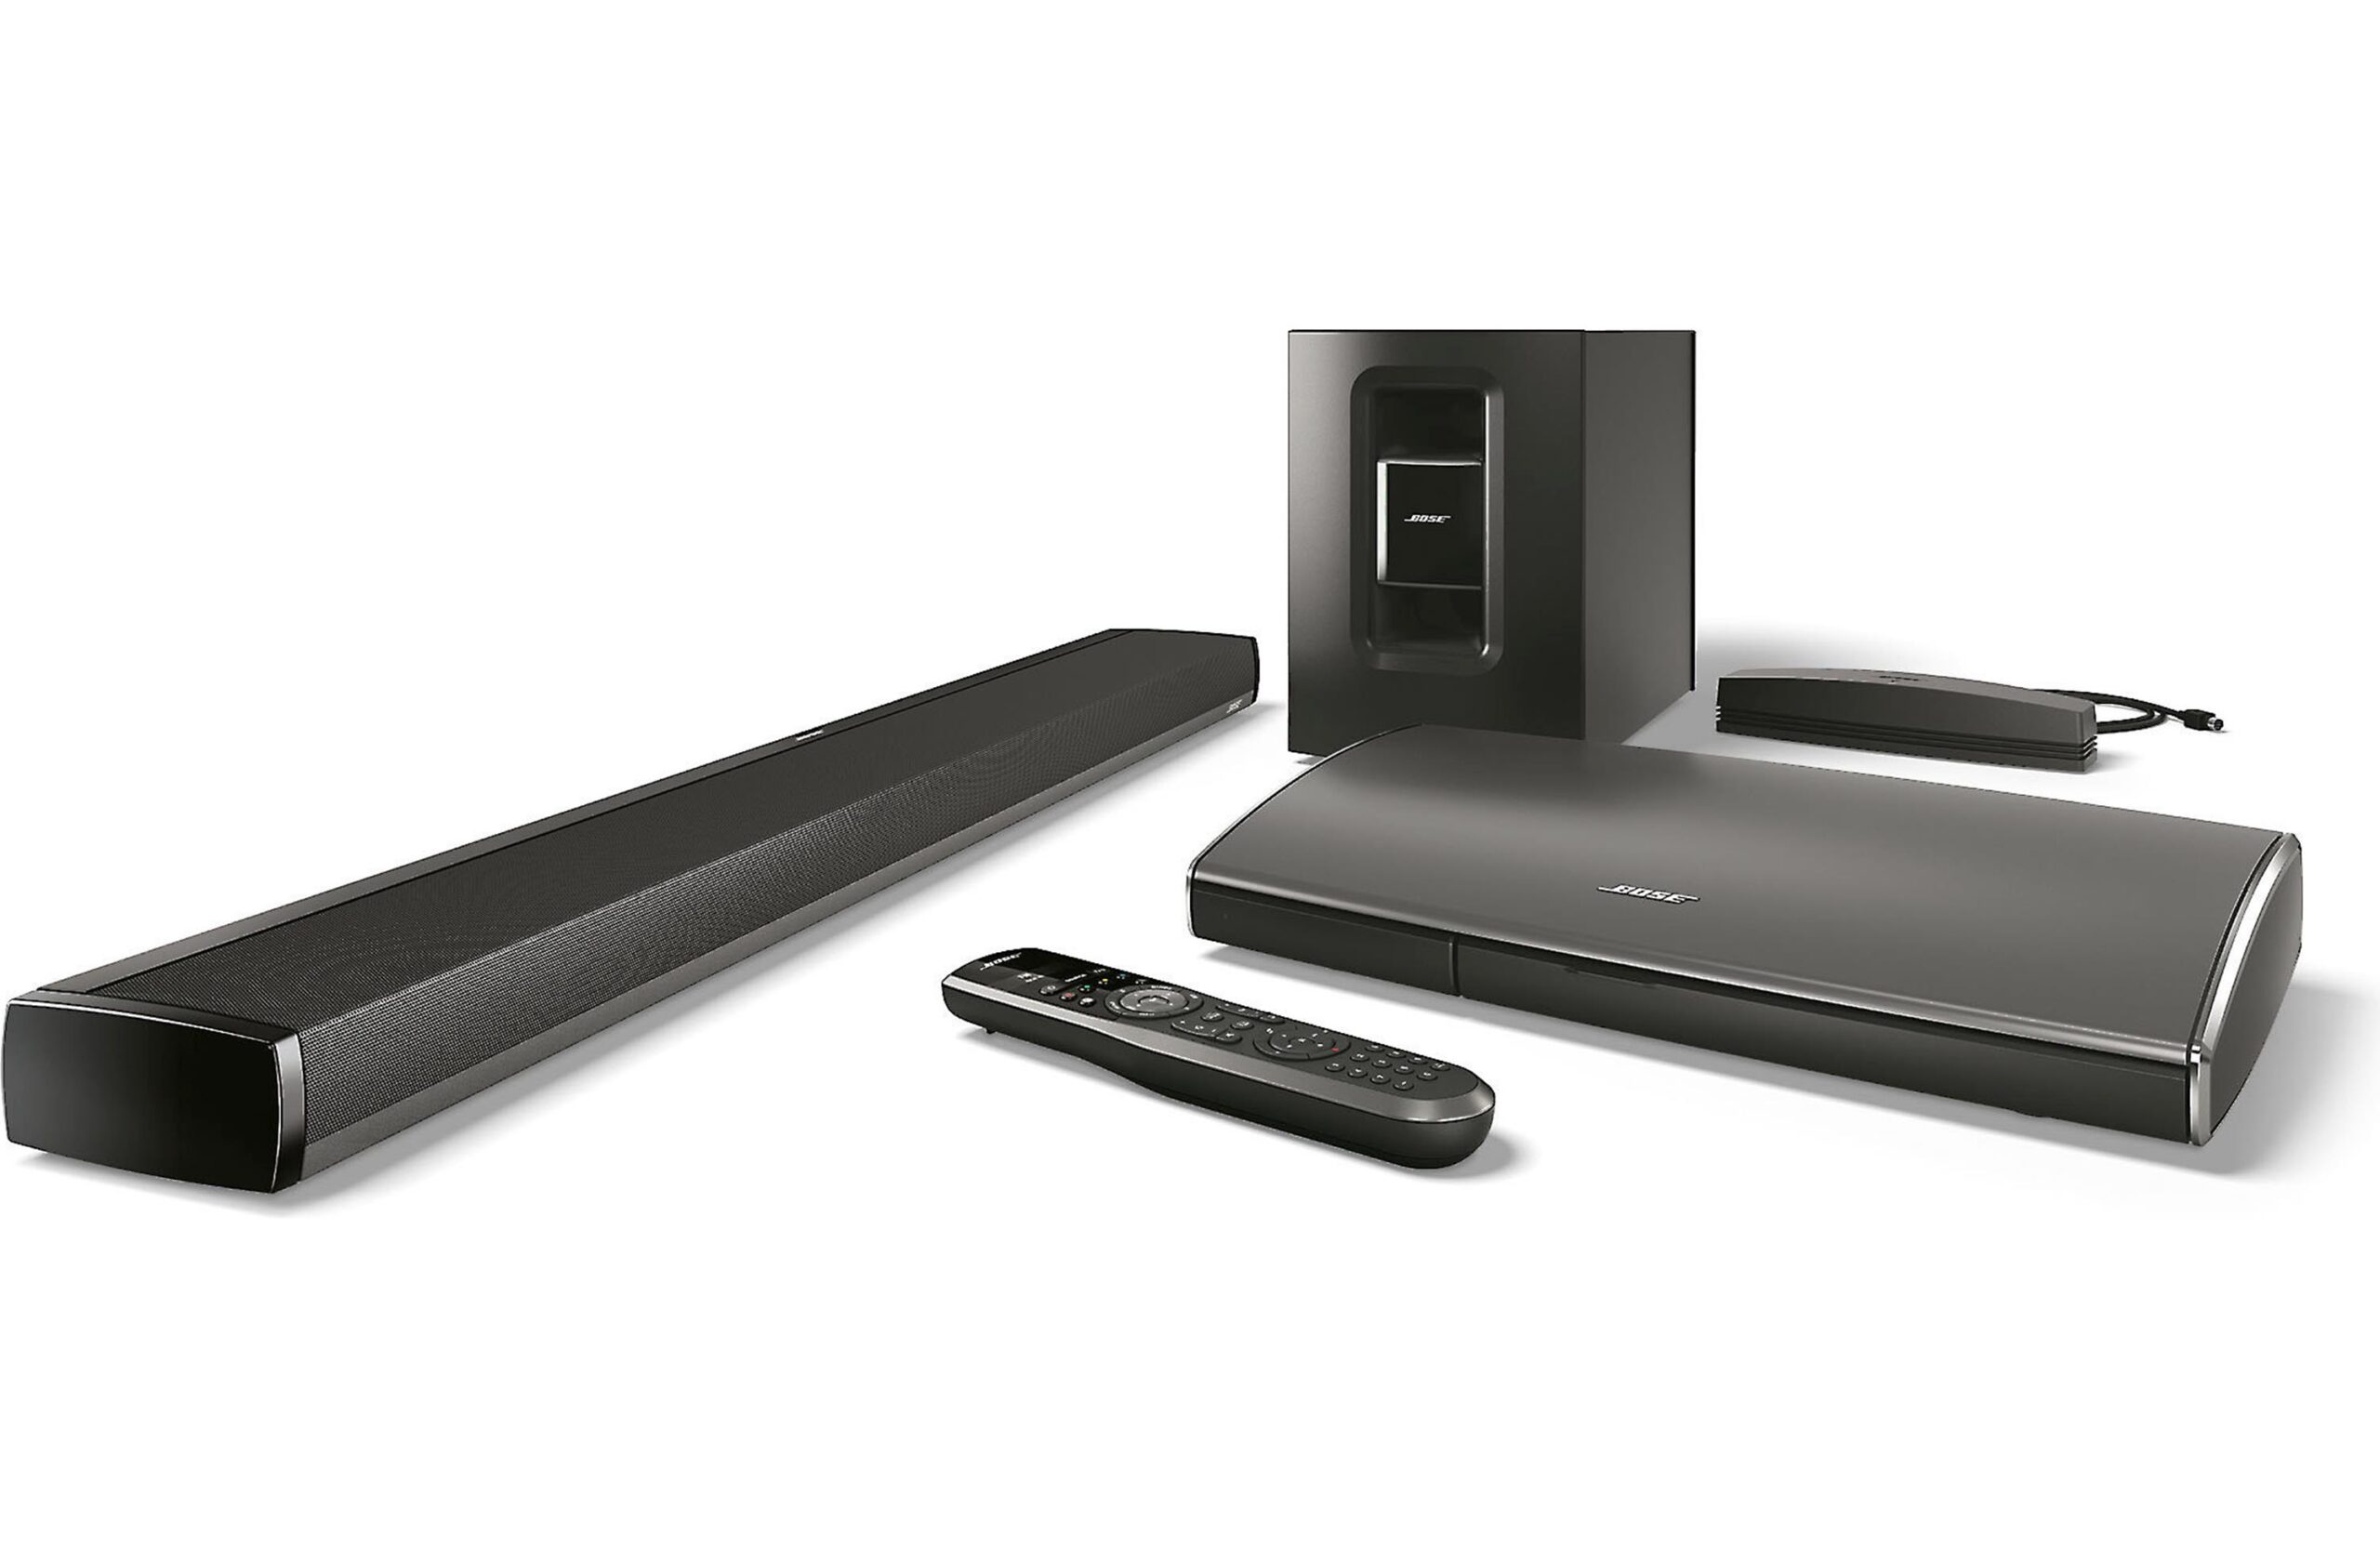
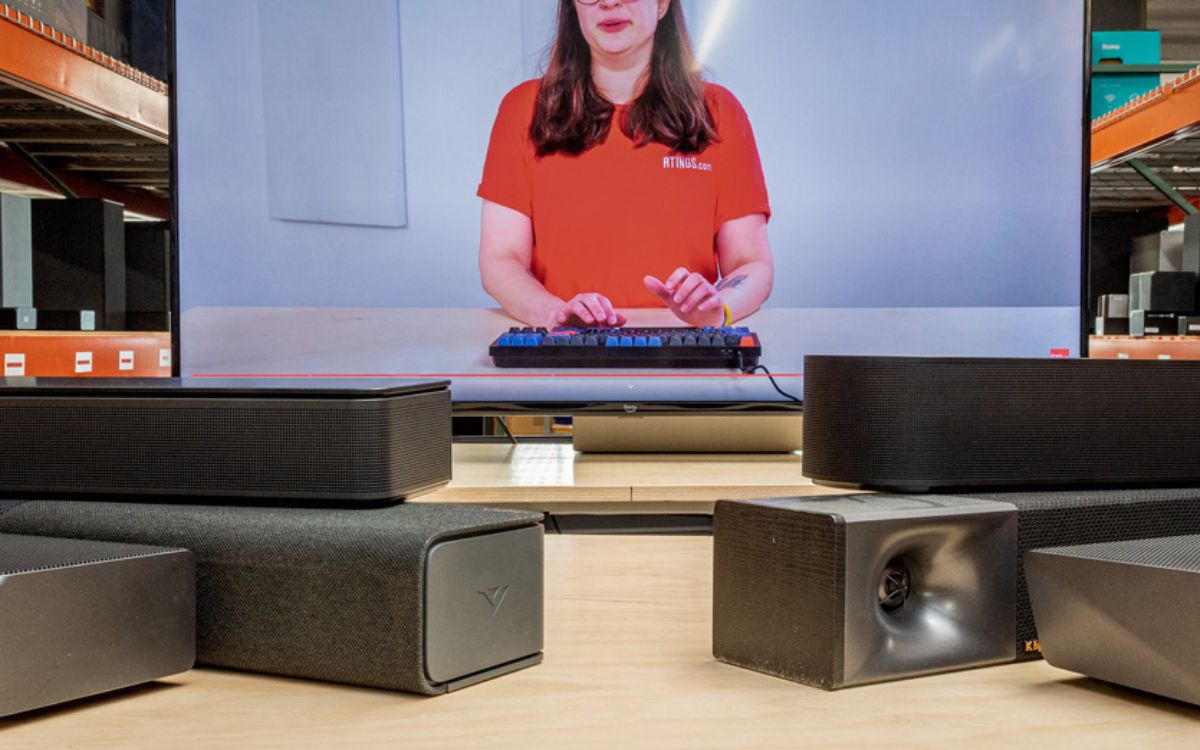
Sound Bar
How To Make My Sound Bar Work Wy Cable And Xbox
Modified: January 22, 2024
Learn how to make your sound bar work seamlessly with your cable and Xbox. Enhance your audio experience with the Sound Bar for immersive gaming and entertainment.
(Many of the links in this article redirect to a specific reviewed product. Your purchase of these products through affiliate links helps to generate commission for AudioLover.com, at no extra cost. Learn more)
Table of Contents
Introduction
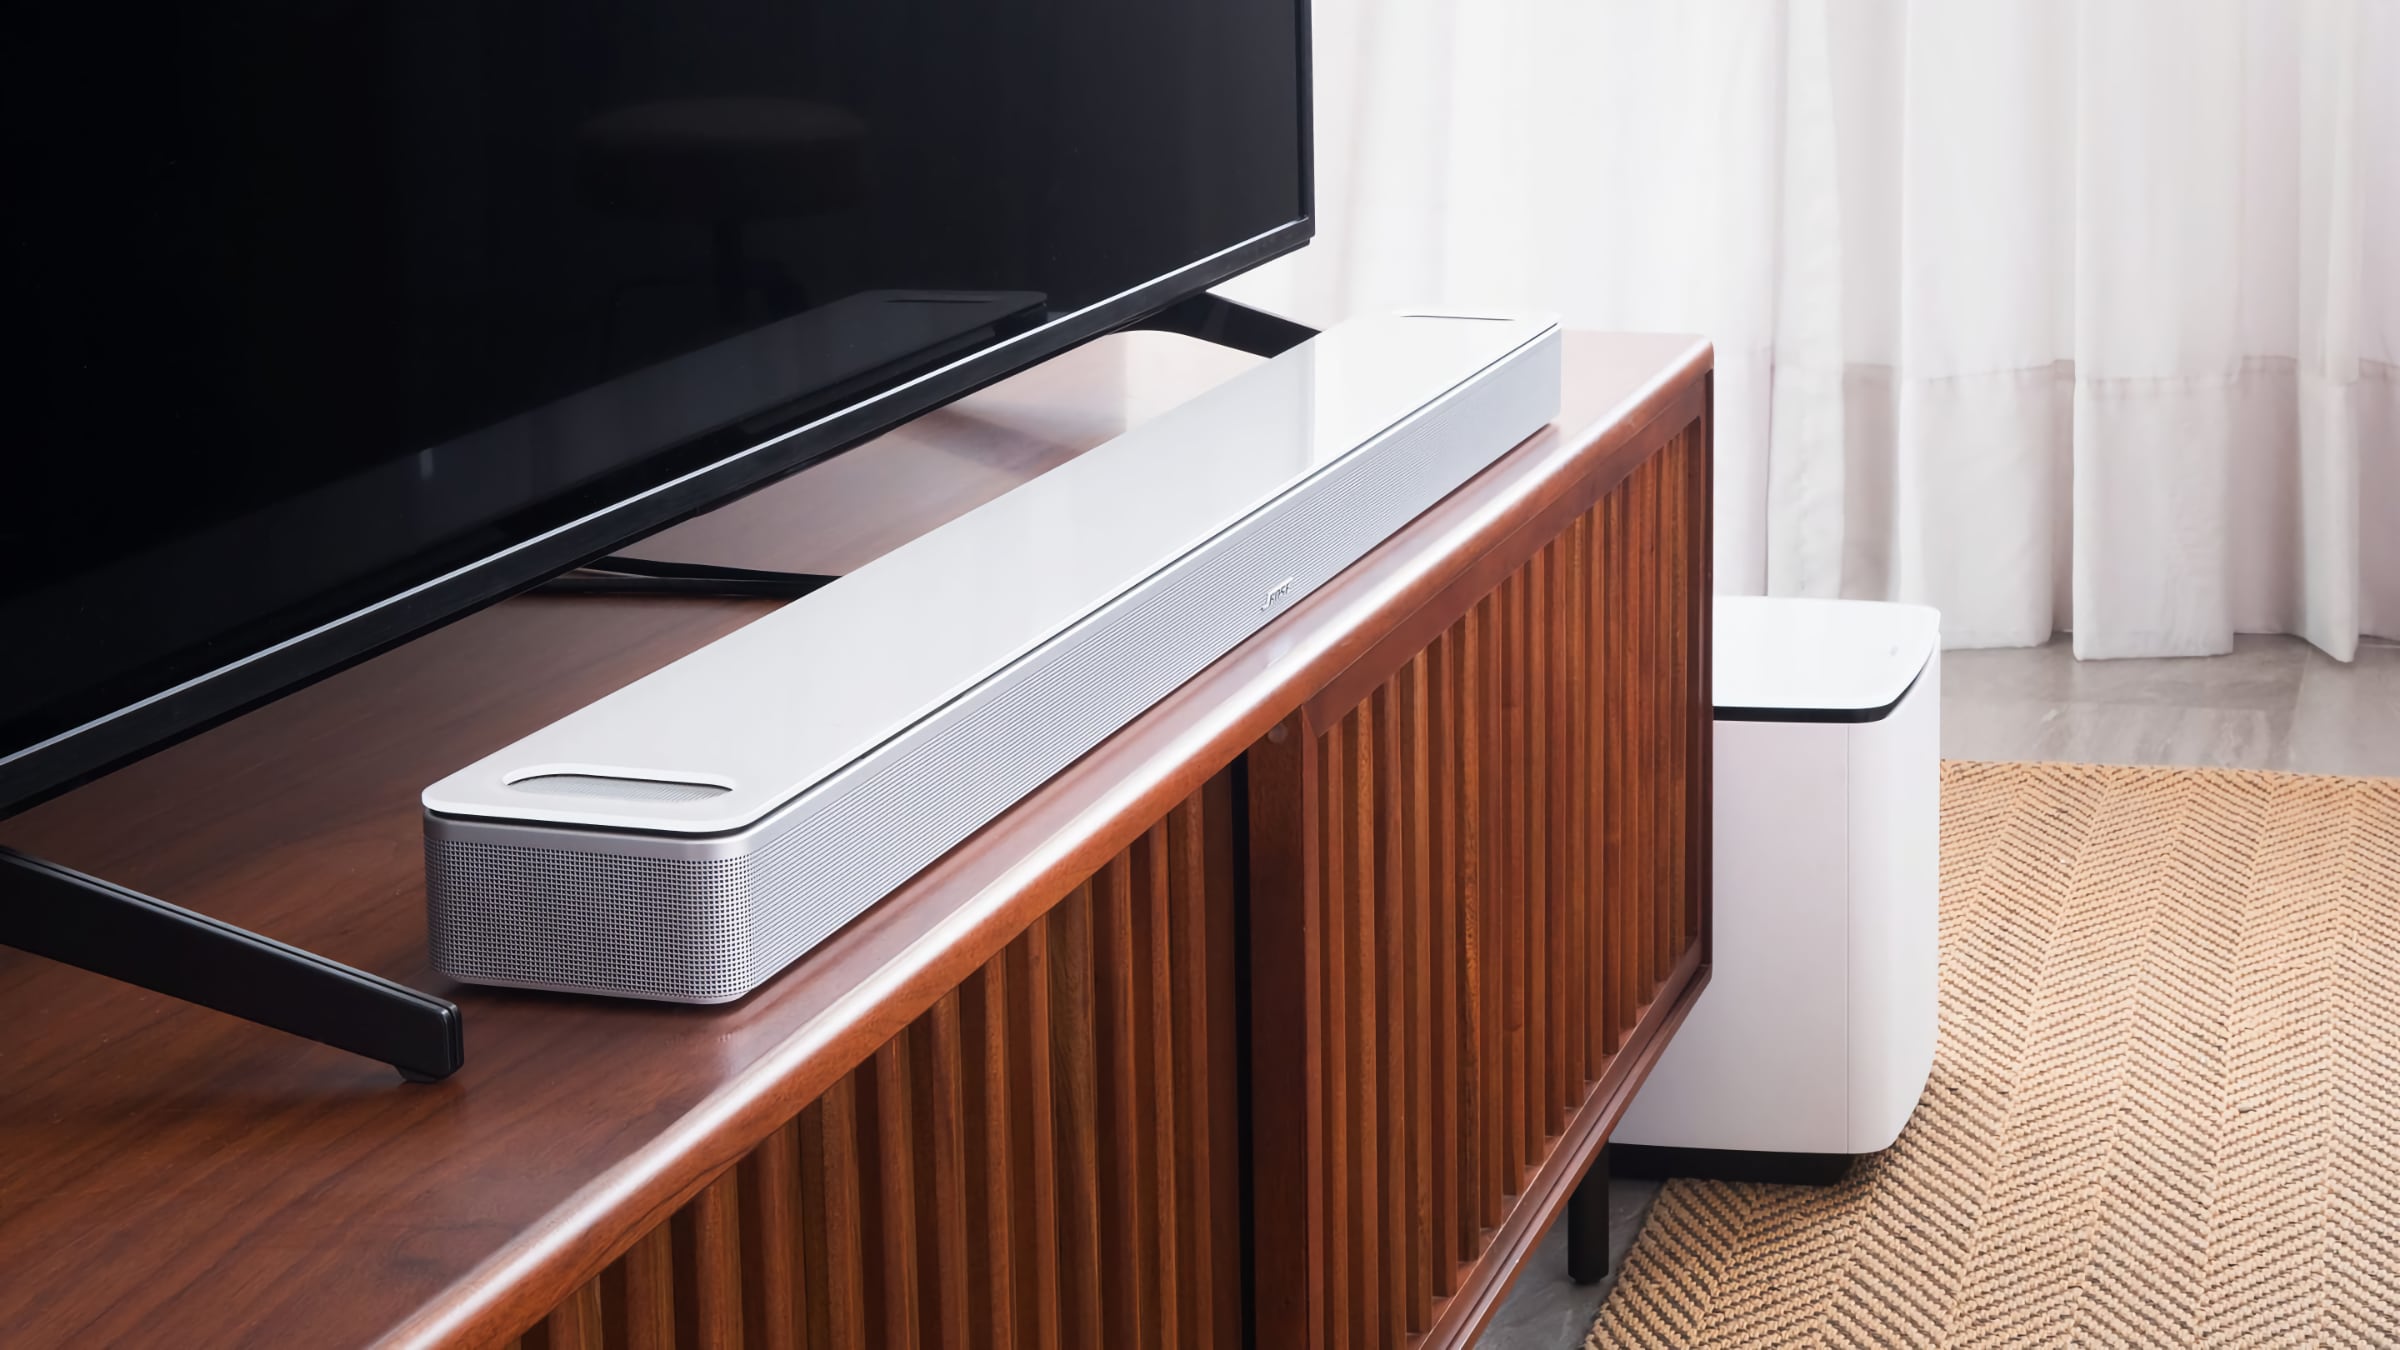
Welcome to the world of immersive audio with a sound bar! A sound bar is a compact, all-in-one speaker system that delivers high-quality sound for your entertainment setup. Whether you’re watching movies, playing video games, or listening to music, a sound bar can greatly enhance your audio experience.
In this article, we will guide you through the process of making your sound bar work with your cable box and Xbox. By following a few simple steps, you’ll be able to enjoy crystal-clear audio and surround sound while you watch your favorite shows and play your favorite games.
Before we begin, it’s important to ensure that you have the necessary cables and equipment. You will need an HDMI or optical cable to connect your sound bar to your cable box and Xbox. Additionally, make sure your sound bar is powered on and properly connected to your TV or display.
Now, let’s dive into the steps to seamlessly integrate your sound bar with your cable and Xbox so you can experience the best audio performance possible.
Step 1: Connecting the Sound Bar to the Cable Box
The first step in making your sound bar work with your cable box is to establish a physical connection between the two devices. Follow these steps:
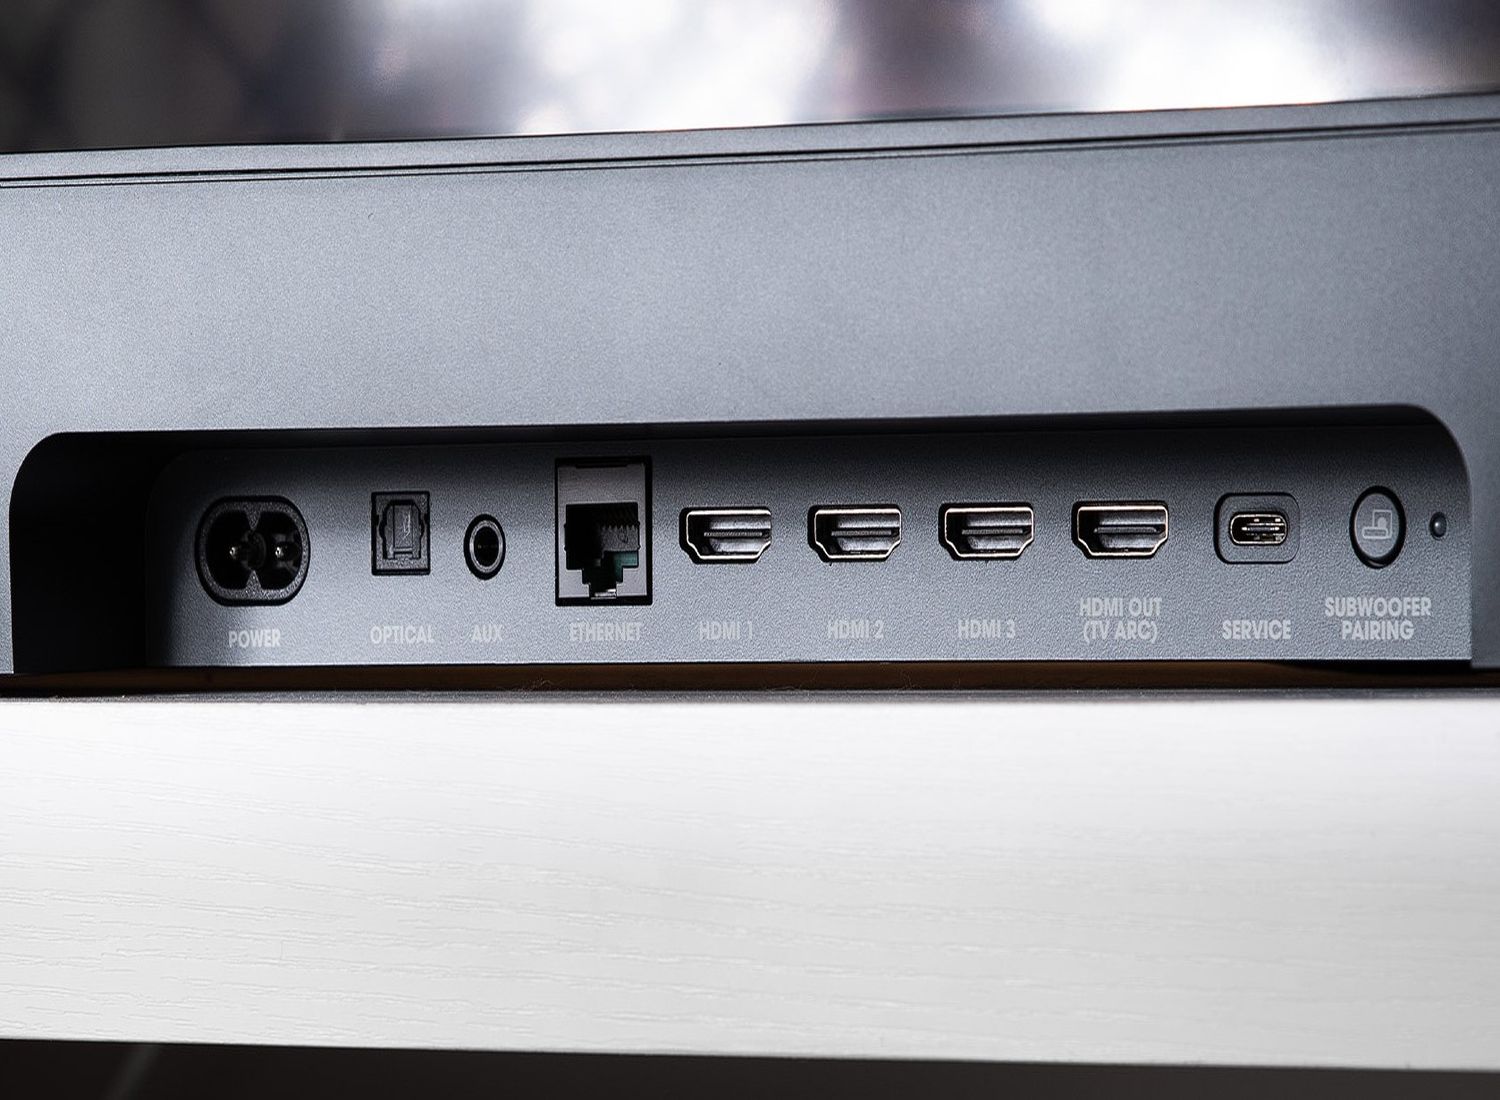
- Locate the HDMI or optical output on your cable box. Most modern cable boxes have both HDMI and optical outputs, so you can choose the one that suits your soundbar’s input options.
- Take the corresponding HDMI or optical cable and connect one end to the output port on the cable box.
- Now, locate the HDMI or optical input on your sound bar. It is usually labeled “HDMI In” or “Optical In.”
- Connect the other end of the cable to the input port on the sound bar. Ensure a secure connection by pushing the connector firmly into the port.
- Power on both the cable box and the sound bar. Use the remote control that came with your sound bar to turn it on.
- On your TV remote, change the input source to the HDMI or optical input you connected the sound bar to. Consult your TV’s user manual if you’re unsure how to do this.
- Once the correct input source is selected, you should hear audio coming from your sound bar when you play content on your cable box.
That’s it! You have successfully connected your sound bar to the cable box. You should now be able to enjoy enhanced audio while watching TV shows, movies, or any other content from your cable service provider.
Note: If you encounter any issues with the audio or if there’s no sound coming from the sound bar, please refer to the troubleshooting section at the end of this article.
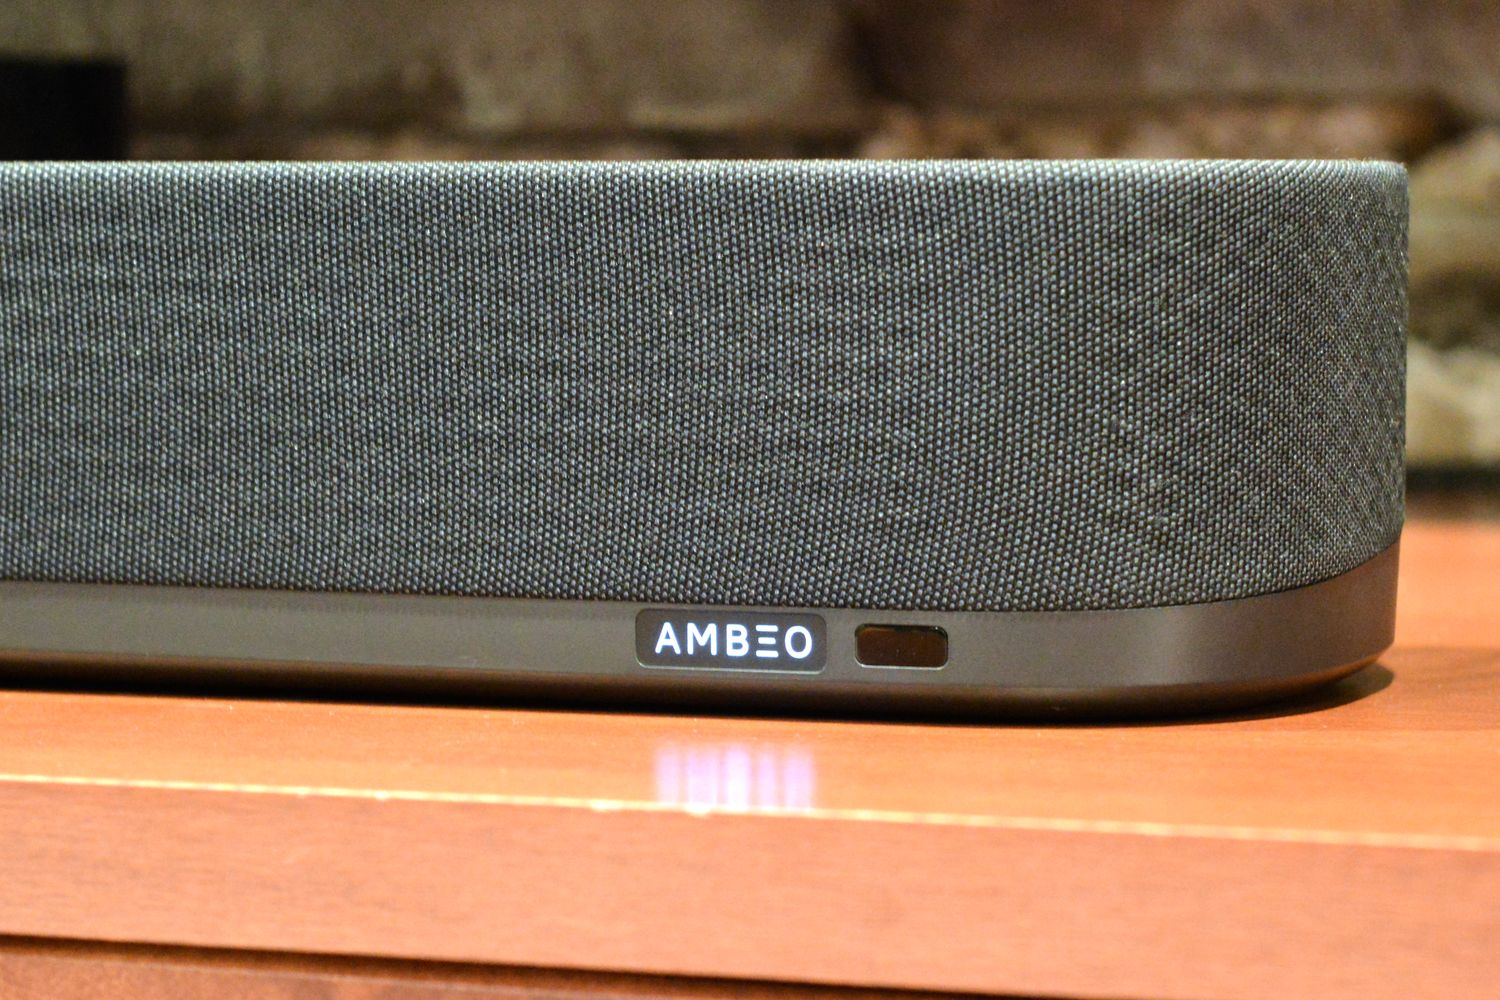
Step 2: Configuring the Sound Bar Settings
Once you have successfully connected your sound bar to the cable box, the next step is to configure the sound bar settings for optimal audio performance. Follow these steps:
- Access the sound bar’s settings menu. This can usually be done using the remote control that came with the sound bar. Look for a button labeled “Settings” or “Menu.”
- In the settings menu, navigate to the audio and sound options. Depending on the model of your sound bar, this section may be called “Audio Settings,” “Sound Modes,” or something similar.
- Adjust the sound settings according to your preferences. You can typically customize options such as bass, treble, and balance to achieve the desired audio output.
- Explore the sound modes available on your sound bar. These modes are designed to enhance specific types of audio, such as movies, music, or sports. Select the appropriate sound mode based on what you’re watching or listening to for an optimized audio experience.
- Some sound bars offer additional features like virtual surround sound or dialogue enhancement. If these options are available, experiment with them to find the setting that suits your preferences.
- Once you have made the desired adjustments, exit the settings menu and test the sound output by playing different types of content through your cable box. This will give you an idea of how the sound bar is performing and allow you to make further adjustments if needed.
By taking the time to configure the sound bar settings, you can ensure that the audio output is tailored to your liking and delivers the best possible sound quality for your cable box content.
Note: Keep in mind that the specific steps and options may vary depending on the model and brand of your sound bar. Refer to the user manual that came with your sound bar for more detailed instructions if needed.
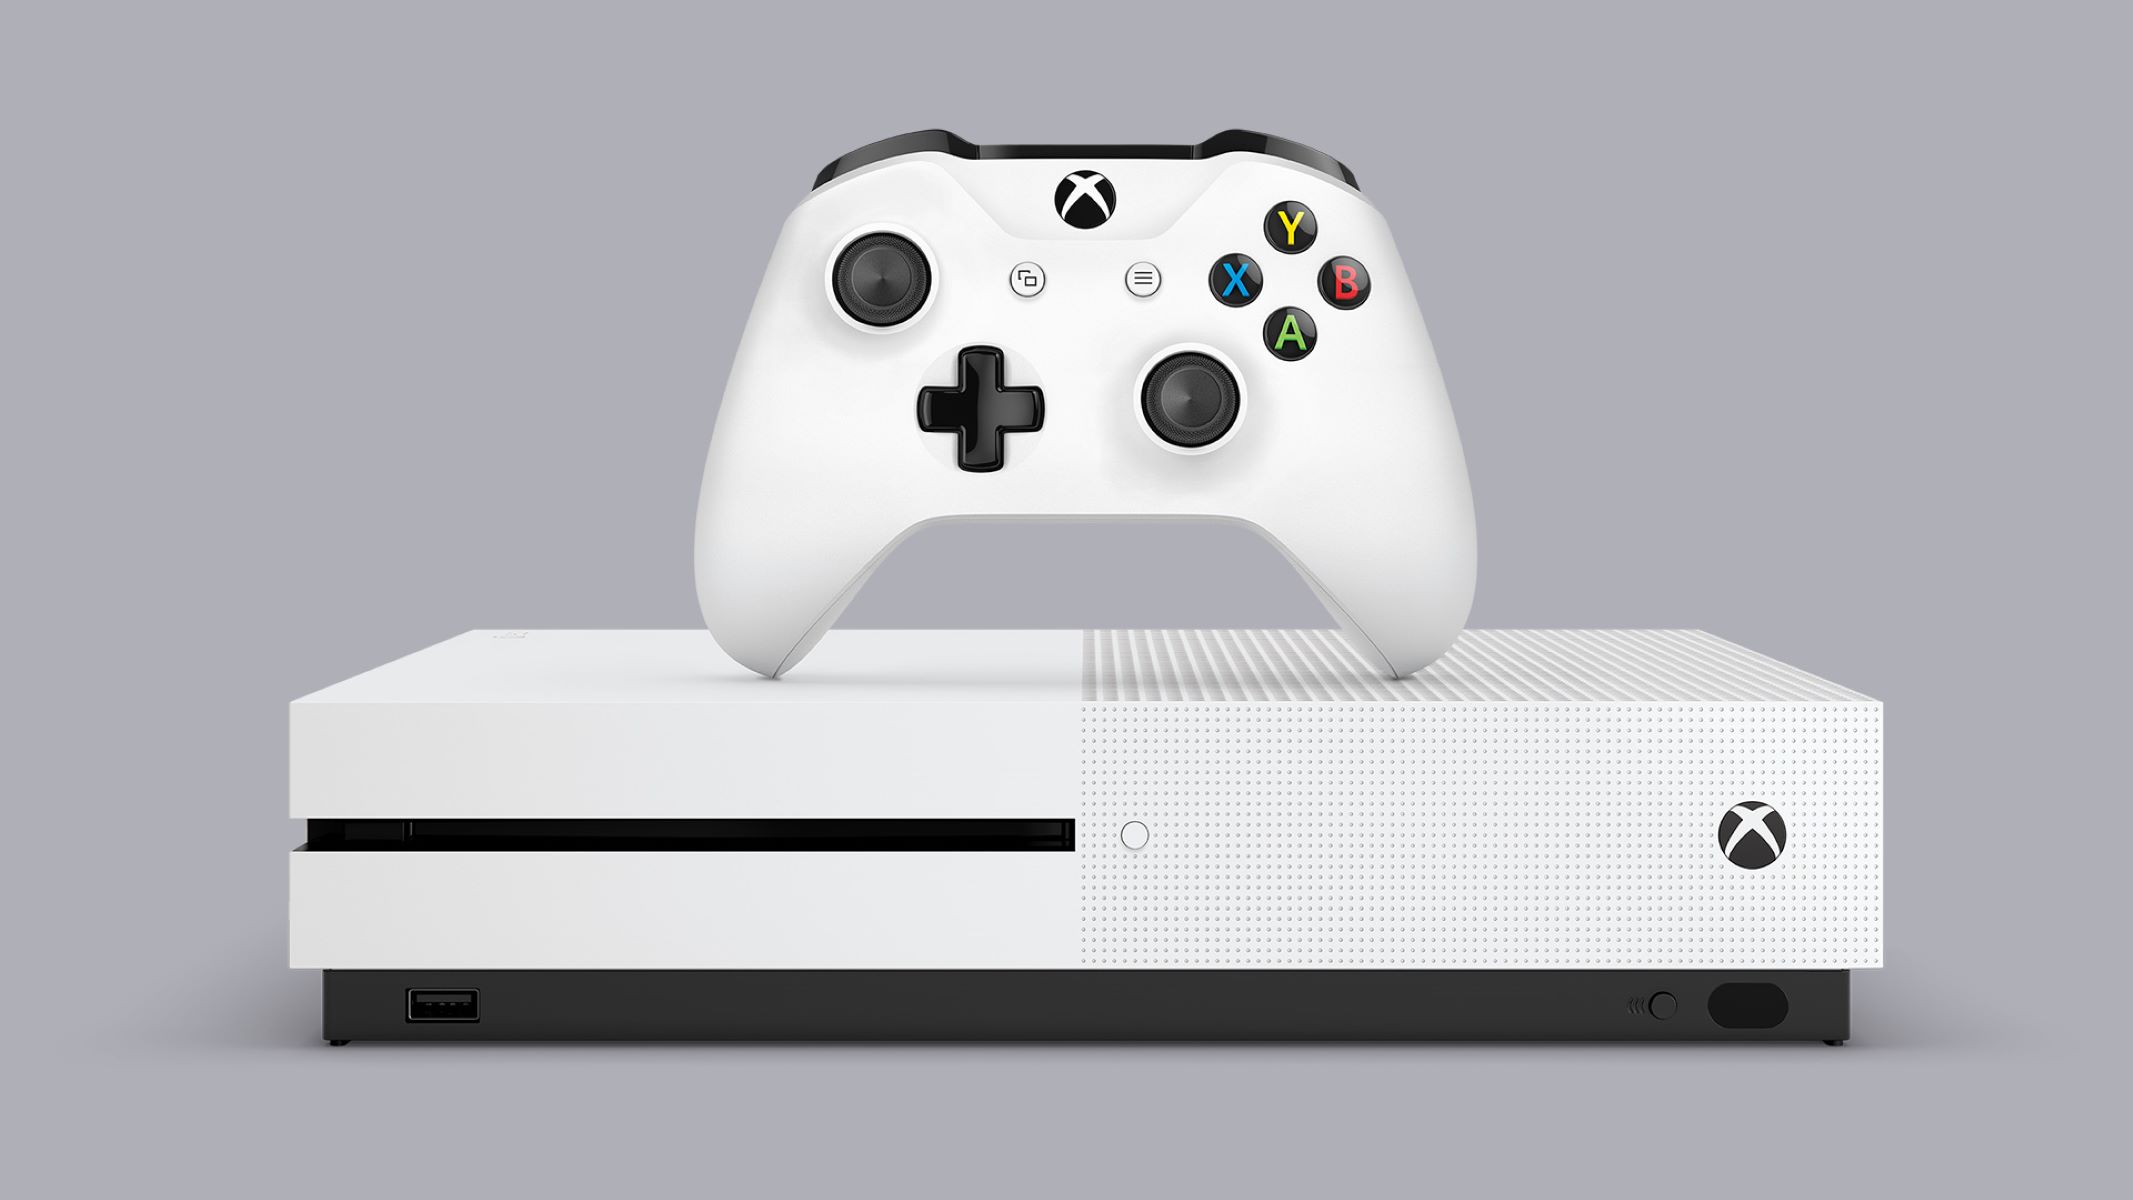
Step 3: Connecting the Sound Bar to the Xbox
Now that you have your sound bar set up with your cable box, let’s move on to connecting it to your Xbox for an immersive gaming experience. Follow these steps:
- Locate the HDMI output on your Xbox. It is usually labeled “HDMI Out” or “TV.”
- Take an HDMI cable and connect one end to the HDMI output on your Xbox.
- Now, find an available HDMI input on your sound bar. It may be labeled “HDMI In” or something similar.
- Connect the other end of the HDMI cable to the HDMI input on your sound bar. Ensure a secure connection.
- Power on both the Xbox and the sound bar. Use the remote control for the sound bar to ensure it is turned on.
- On your TV remote, change the input source to the HDMI input you connected the sound bar to. This will allow you to see the Xbox output on your TV.
- Once the correct input source is selected, you should now have audio from your Xbox coming through the sound bar. You can now enjoy games with enhanced surround sound and audio clarity.
That’s it! Your sound bar is now successfully connected to your Xbox. Get ready to immerse yourself in a whole new level of gaming audio.
Note: If you’re using an Xbox One X or Xbox Series X, you may have the option to connect the sound bar directly to the console through an optical audio cable. Follow the same steps as above, but instead of using an HDMI cable, use an optical cable to connect the sound bar to the optical audio output on the console.
Step 4: Adjusting the Audio Settings on the Xbox
Now that your sound bar is connected to the Xbox, it’s time to optimize the audio settings on the console for the best gaming experience. Follow these steps:
- On your Xbox console, navigate to the “Settings” menu. You can access this by pressing the Xbox button on your controller and selecting “Settings” from the side menu.
- In the “Settings” menu, go to “Display & Sound” and select “Audio Output.”
- Under “Audio Output,” you’ll find various options that you can adjust according to your preferences.
- Set the “HDMI audio” to “Bitstream Out” to ensure that the audio signal is sent to your sound bar in its original format.
- Select the appropriate audio format based on the capabilities of your sound bar. Common options include Dolby Digital, DTS, and PCM. Check the specifications of your sound bar to determine the supported formats.
- Enable the “Bitstream Format” option and choose the format that matches the capabilities of your sound bar. This ensures that the audio is encoded correctly for optimal playback.
- Adjust the volume and chat mixer settings to find the right balance between game audio and chat volume.
- Once you have made the necessary adjustments, exit the settings menu and start playing games. You should now experience enhanced audio through your sound bar while gaming on your Xbox.
By fine-tuning the audio settings on your Xbox, you can ensure that you get the most out of your sound bar’s capabilities and enjoy immersive gaming audio that enhances your gameplay experience.
Step 5: Troubleshooting Common Issues
While setting up and using your sound bar with your cable box and Xbox, you may encounter some common issues. Don’t worry, though, as most problems can be resolved with a few simple steps. Here are some troubleshooting tips:
- No Sound: If you’re not hearing any sound from the sound bar, double-check that all the cables are securely connected. Ensure that the cable box and Xbox are set to output audio through the sound bar. You may also need to adjust the volume settings on both the sound bar and your TV.
- Poor Sound Quality: If you’re experiencing low-quality audio or distortion, first ensure that the sound bar is set to the appropriate audio input mode (HDMI or optical). Check if there are any audio settings on your cable box or Xbox that need adjustment. Also, verify that your sound bar’s firmware is up to date, as manufacturers often release updates to improve performance.
- Audio Delay: If you notice a delay between the audio and video, it may be due to settings on the sound bar or your TV. Explore the audio delay or synchronization options in the sound bar’s settings menu. Additionally, check if your TV has any audio delay settings and make adjustments accordingly.
- Interference: If you notice buzzing or humming sounds coming from the sound bar, it may be due to interference from other devices. Try moving the sound bar away from other electronic devices and ensure that the power cords are separated from audio cables to minimize interference.
- Remote Control Issues: If you’re having trouble controlling the sound bar with its remote, check if there are any obstacles blocking the line of sight between the remote and the sound bar. Ensure that the remote has fresh batteries and try resetting the sound bar if necessary.
If you’ve tried the troubleshooting steps above and are still experiencing issues, refer to the user manual of your sound bar for more specific troubleshooting instructions. You can also reach out to the customer support of your sound bar’s manufacturer for further assistance.
Remember, troubleshooting can vary depending on the specific model and brand of your sound bar, cable box, and Xbox. It’s always a good idea to consult the respective user manuals and support resources for detailed troubleshooting guidance.
Conclusion
Congratulations! You have successfully made your sound bar work with your cable box and Xbox, elevating your entertainment experience to new heights. By following the steps outlined in this article, you have connected and configured your sound bar to deliver enhanced audio while watching TV shows, movies, and playing games.
Remember to ensure that all the necessary cables are securely connected, and that your sound bar is properly configured for optimal audio performance. Take advantage of the sound bar’s settings and sound modes to customize the audio output to your liking.
Should you encounter any issues along the way, refer to the troubleshooting section for helpful tips to resolve common problems. Sometimes a simple adjustment or cable check can make all the difference in restoring the audio experience.
Enjoy the immersive soundstage, detailed audio, and immersive gaming experience that your sound bar brings to your entertainment setup. Sit back, relax, and immerse yourself in the world of high-quality sound.
Thank you for choosing to enhance your audio experience with a sound bar. Now, sit back, relax, and enjoy the immersive soundstage that your sound bar brings to your entertainment setup. Happy viewing and gaming!