Home>Production & Technology>Sound Bar>How To Connect Sound Bar To TV With HDMI Cable
Sound Bar
How To Connect Sound Bar To TV With HDMI Cable
Published: December 24, 2023
Learn how to easily connect your sound bar to your TV using an HDMI cable. Enhance your audio experience and enjoy immersive sound with this simple setup guide.
(Many of the links in this article redirect to a specific reviewed product. Your purchase of these products through affiliate links helps to generate commission for AudioLover.com, at no extra cost. Learn more)
Table of Contents
Introduction
Sound bars have become increasingly popular in recent years as a way to enhance the audio experience of your television. If you’re tired of the lackluster sound coming from your TV’s built-in speakers, connecting a sound bar is a simple and effective way to upgrade your audio quality. One of the most common methods of connecting a sound bar to a TV is through an HDMI cable.
In this article, we will guide you through the process of connecting a sound bar to your TV using an HDMI cable. We will provide step-by-step instructions to ensure a seamless setup process.
Before we begin, it’s important to note that the specific steps may vary depending on the make and model of your sound bar and TV. However, the general process should be similar for most devices.
By the end of this article, you’ll have all the information you need to successfully connect your sound bar to your TV and start enjoying enhanced audio quality for your favorite movies, TV shows, and more.
Step 1: Gather the necessary equipment
Before you can connect your sound bar to your TV using an HDMI cable, you’ll need to gather a few essential items. Here’s what you’ll need:
- A sound bar: This is the main component that will deliver enhanced audio to your TV. Choose a sound bar that suits your audio needs and budget. There are various options available, ranging from basic models to high-end sound bars with advanced features.
- An HDMI cable: Look for a high-quality HDMI cable that supports the latest HDMI standards, such as HDMI 2.0 or higher. Ensure that the cable is long enough to comfortably reach from your sound bar to your TV’s HDMI ports.
- Your TV: Make sure you have your TV handy and it is powered off during the setup process. Familiarize yourself with the location of the HDMI ports on your TV, as you will need to connect the HDMI cable to these ports.
- A power source: Ensure that both your sound bar and TV are connected to a power source. This is necessary for both devices to work properly.
- An HDMI input selector (optional): If your TV has limited HDMI ports or you have multiple HDMI devices, you may consider using an HDMI input selector. This device allows you to connect multiple HDMI sources to your TV and easily switch between them.
- A remote control (optional): Some sound bars come with a remote control that allows you to adjust the volume, change settings, and perform other functions. If your sound bar includes a remote control, make sure it is within reach during the setup process.
Once you have gathered all the necessary equipment, you are ready to move on to the next step: locating the HDMI ports on your TV.
Step 2: Locate the HDMI ports
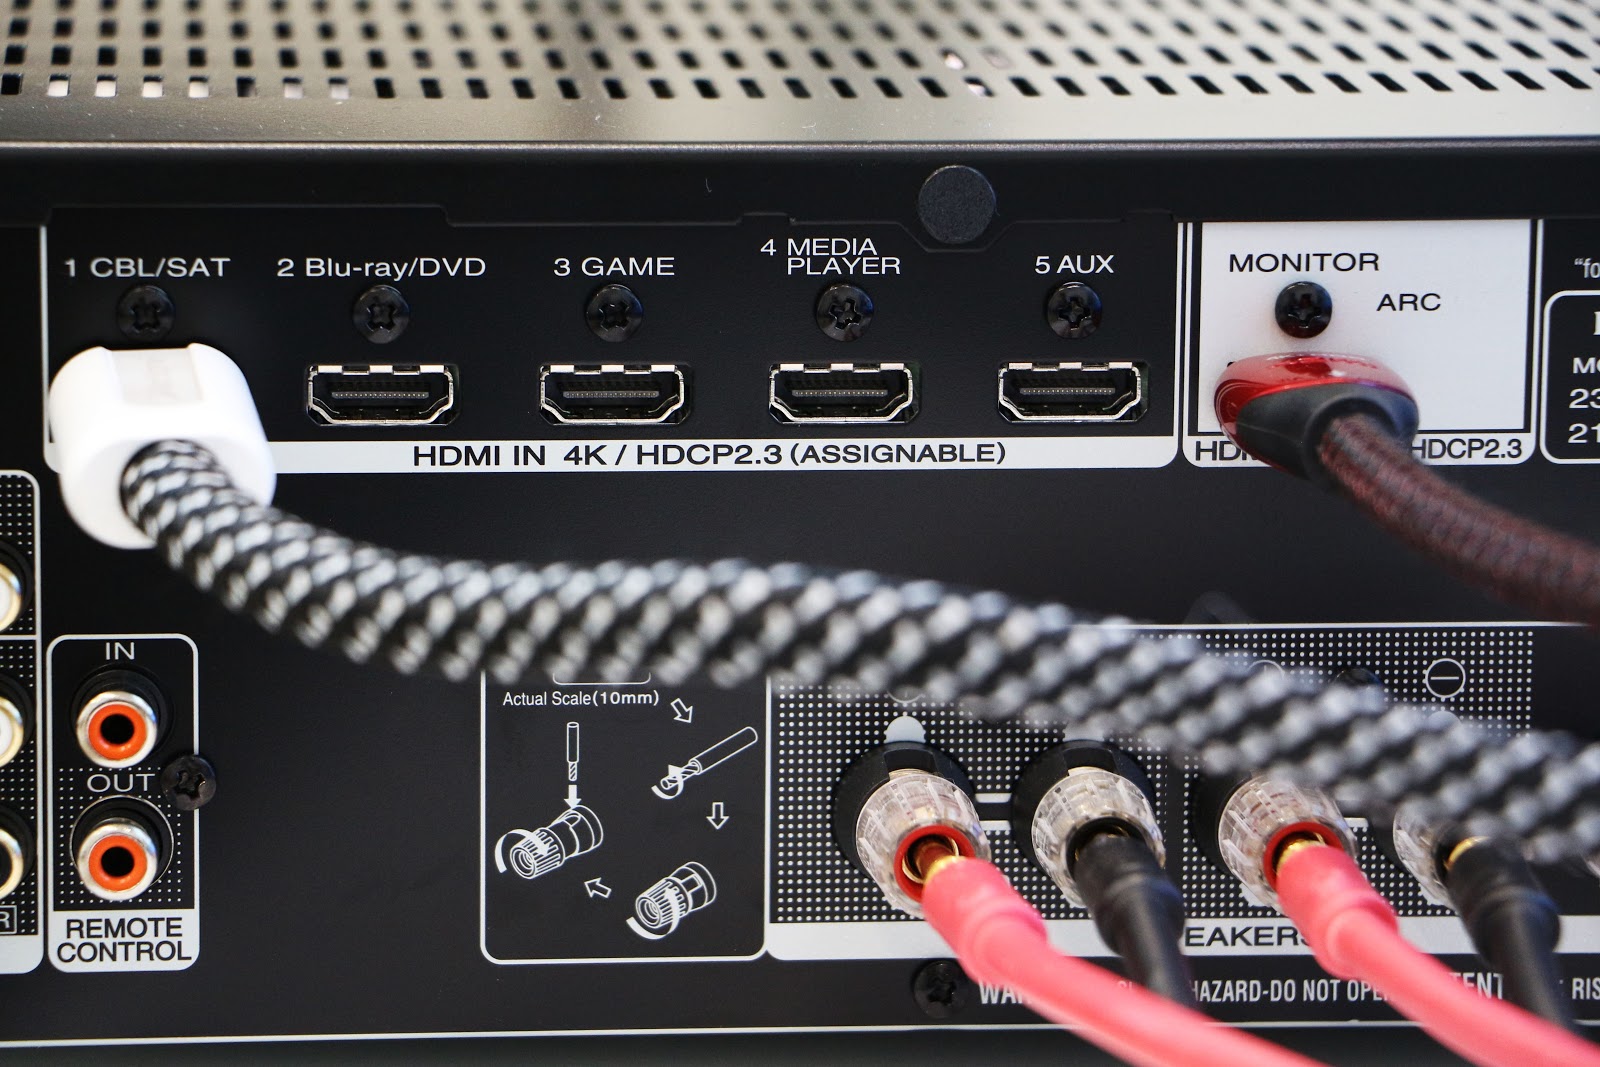
Before you can connect the HDMI cable between your sound bar and TV, you’ll need to locate the HDMI ports on both devices. The HDMI ports are typically located on the back or side panel of the TV and sound bar. Here’s how to find them:
- Locate the HDMI ports on your TV: Take a close look at the back or side panel of your TV. You should see several ports, including HDMI ports. These ports are usually labeled as “HDMI” followed by a number (e.g., HDMI1, HDMI2, etc.). Depending on the TV model, there may be multiple HDMI ports available.
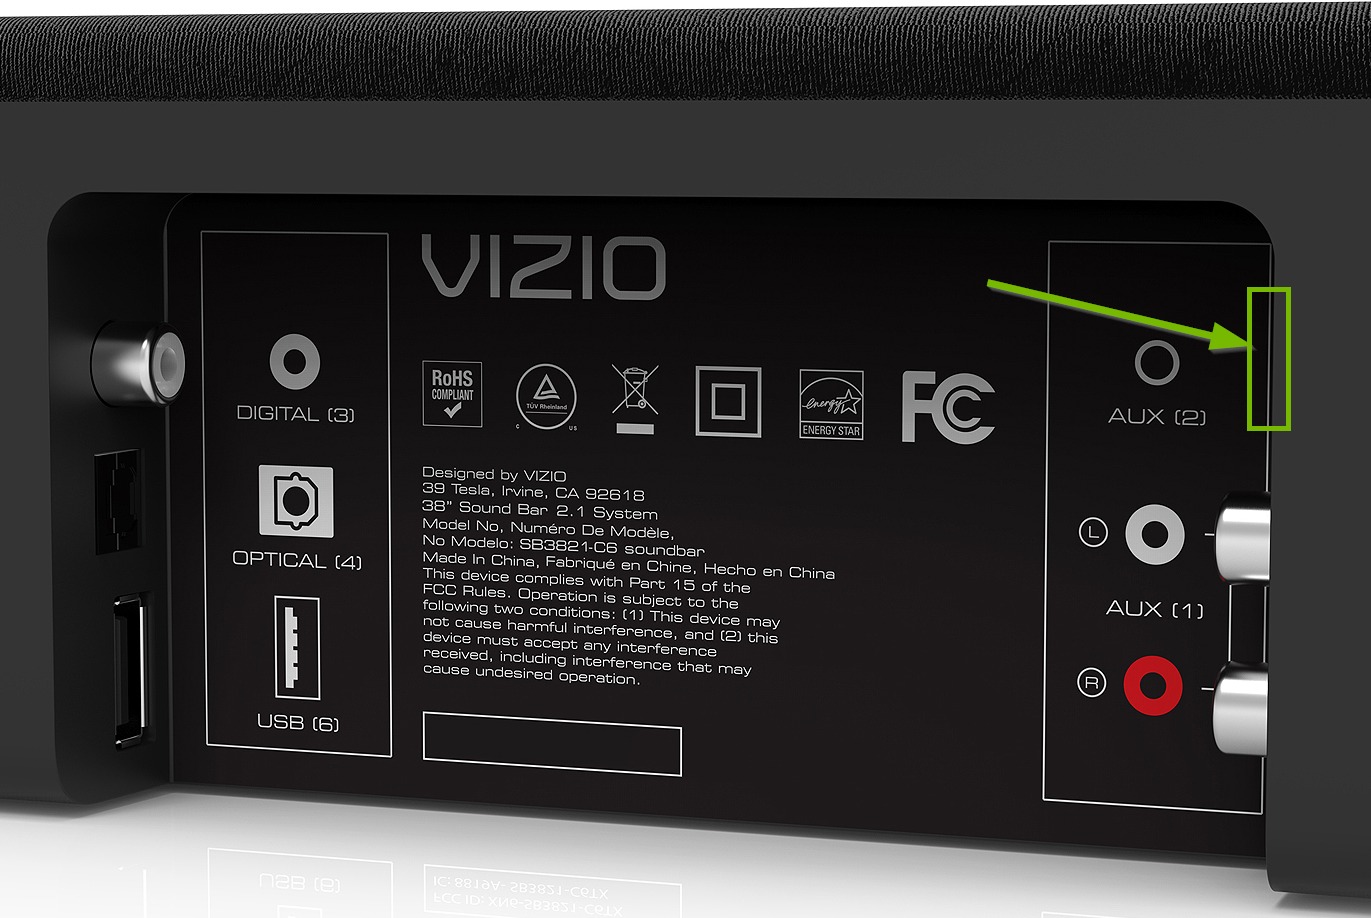
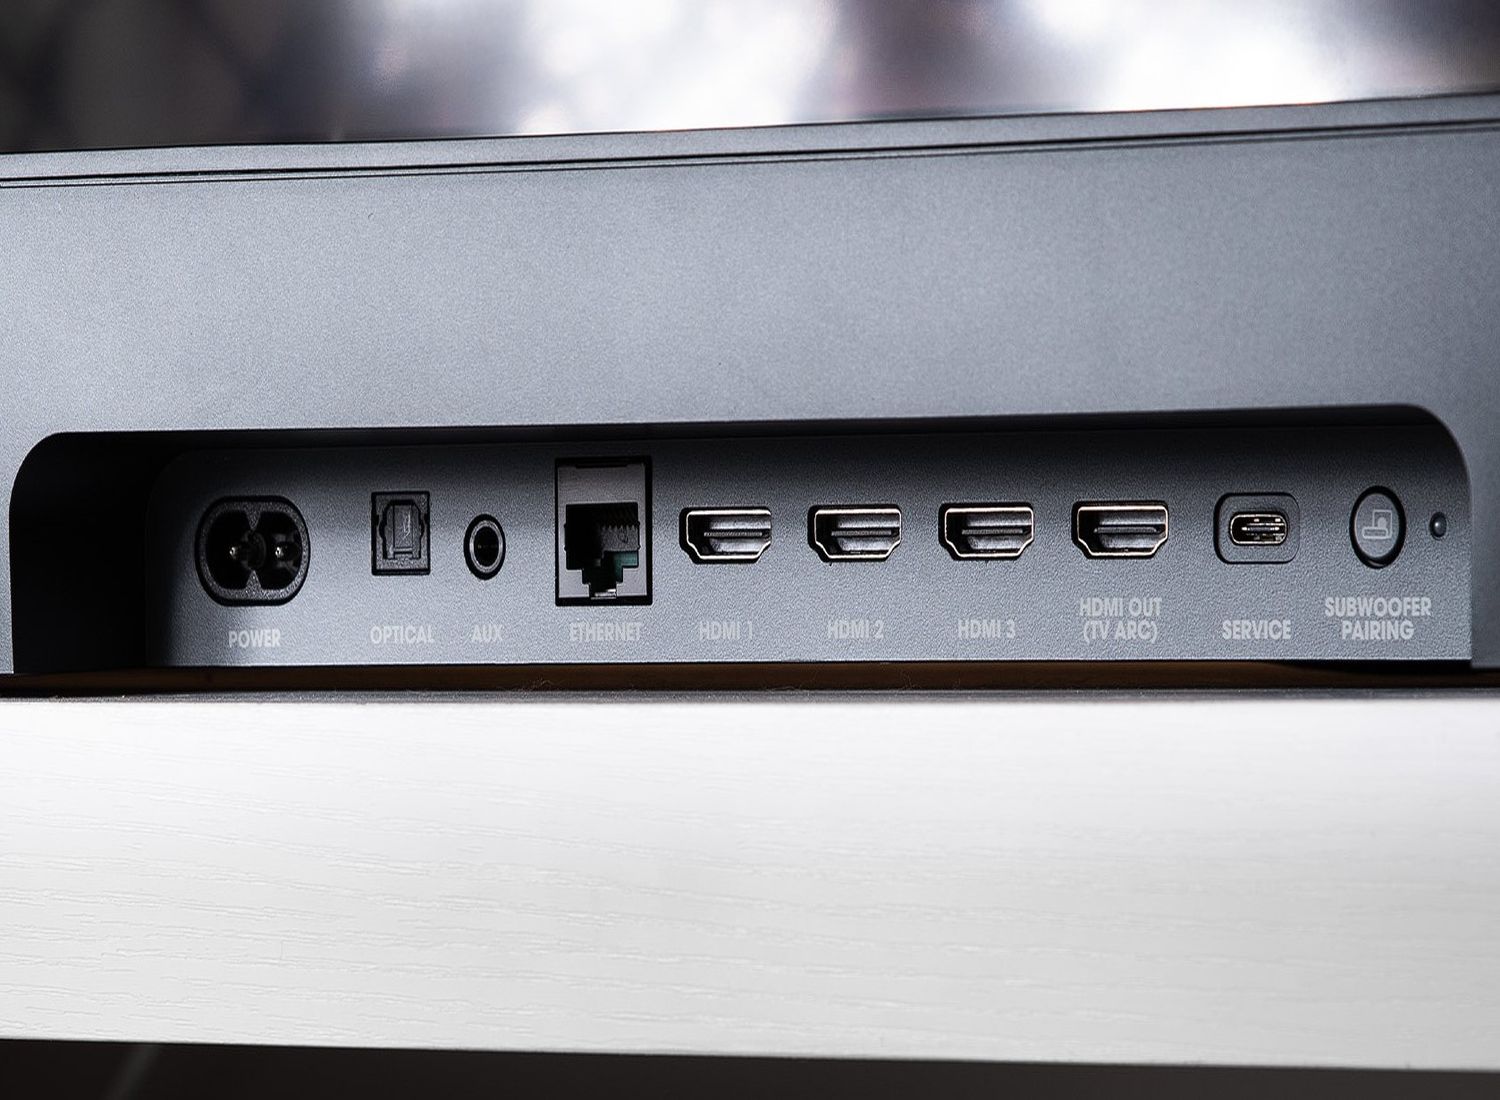
- Locate the HDMI ports on your sound bar: Examine the back or side panel of your sound bar. Look for the HDMI input ports. They may also be labeled as “HDMI” with a number or “HDMI In”. Most sound bars have at least one HDMI input port.
- Note the orientation of the HDMI ports: HDMI ports have a distinct rectangular shape with a row of small pins inside. Take note of the orientation of the ports, as you will need to align the HDMI cable correctly when connecting it.
Once you have located the HDMI ports on both your TV and sound bar, you can proceed to the next step: connecting the HDMI cable to the sound bar.
Step 3: Connect HDMI cable to the sound bar
Now that you have located the HDMI ports on your TV and sound bar, it’s time to connect the HDMI cable. Follow these steps to connect the HDMI cable to the sound bar:
- Ensure both your sound bar and TV are powered off: Before making any connections, make sure both devices are turned off to avoid any potential damage.
- Find the HDMI output port on your sound bar: Look for the HDMI output port on the back or side panel of your sound bar. It is usually labeled as “HDMI Out” or “TV”. This is where you will connect one end of the HDMI cable.
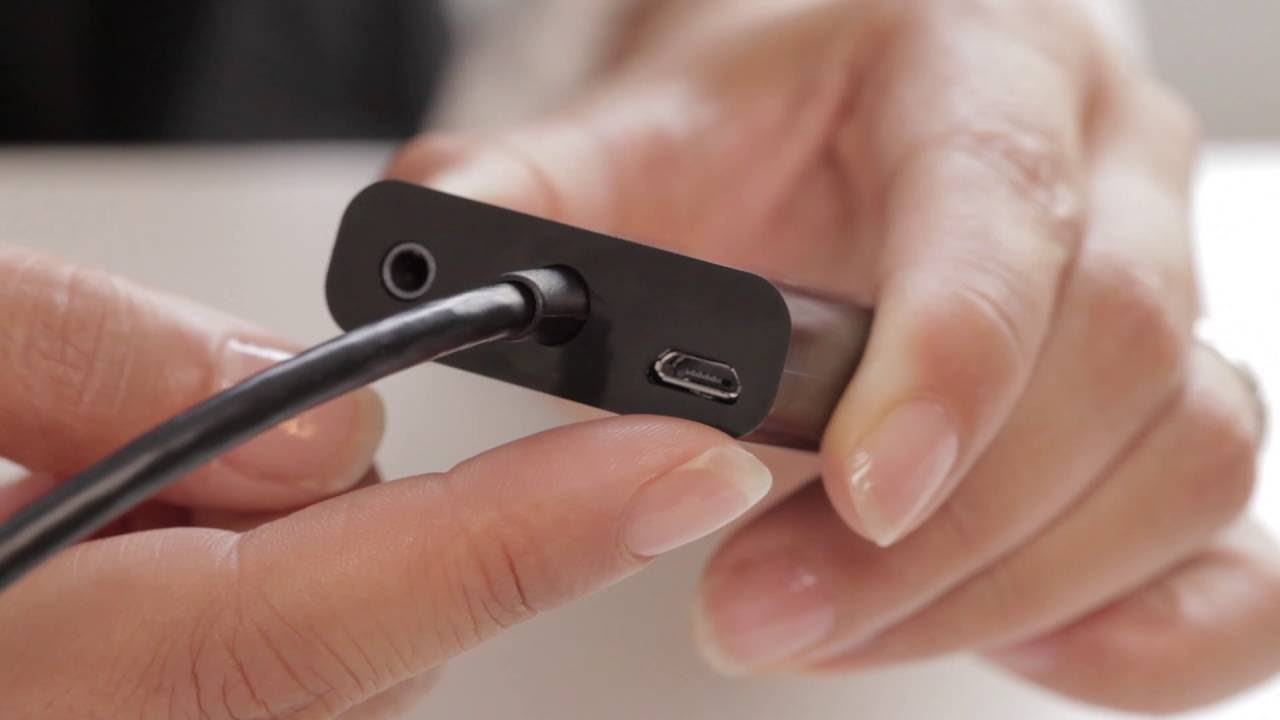
- Align the HDMI cable with the port: Take the HDMI cable and align it with the HDMI output port of the sound bar. Make sure the cable is inserted straight and aligned with the pins inside the port.
- Insert the HDMI cable into the sound bar: Gently push the HDMI cable into the HDMI output port of the sound bar until it is firmly connected. Ensure the cable is securely plugged in and there is no visible slack.
- Verify the connection: Double-check the connection to ensure the HDMI cable is securely connected to the sound bar. The cable should not be loose or easily disconnected.
Congratulations! You have successfully connected one end of the HDMI cable to the sound bar. In the next step, we will connect the other end of the HDMI cable to your TV.
Step 4: Connect HDMI cable to the TV
With one end of the HDMI cable securely connected to your sound bar, it’s time to connect the other end to your TV. Follow these steps to complete the HDMI cable connection:
- Locate the HDMI input ports on your TV: Look at the back or side panel of your TV to find the HDMI input ports. As mentioned earlier, they are usually labeled as “HDMI” followed by a number. Take note of which HDMI port you want to use for the connection.
- Align the HDMI cable with the port: Take the other end of the HDMI cable, align it with the HDMI input port on the TV, and make sure it matches the correct orientation.
- Insert the HDMI cable into the TV: Gently insert the HDMI cable into the HDMI input port on your TV. Ensure the cable is fully inserted and connected securely.
- Note the HDMI input port number: Remember which HDMI input port you used for the connection. This information will be important when configuring the audio settings on your TV.
- Verify the connection: Double-check the connection to ensure the HDMI cable is securely connected to the TV. The cable should be snugly inserted and should not easily come loose.
Great job! Now that you have successfully connected the HDMI cable to both your sound bar and TV, you’re one step closer to enjoying enhanced audio. In the next step, we will power on the devices and configure the audio settings on your TV.
Step 5: Power on the devices
Now that the HDMI cable is connected between your sound bar and TV, it’s time to power on the devices. Follow these steps to power on the devices:
- Ensure that both your sound bar and TV are plugged into a power source.
- Using the power buttons or remote controls, turn on your sound bar and TV. Allow both devices a few moments to power up.
- Once the sound bar and TV are powered on, check for any indicator lights or on-screen prompts to confirm that both devices are operational.
- If necessary, use the remote control of your sound bar to adjust the volume level and ensure it is not set too high or too low.
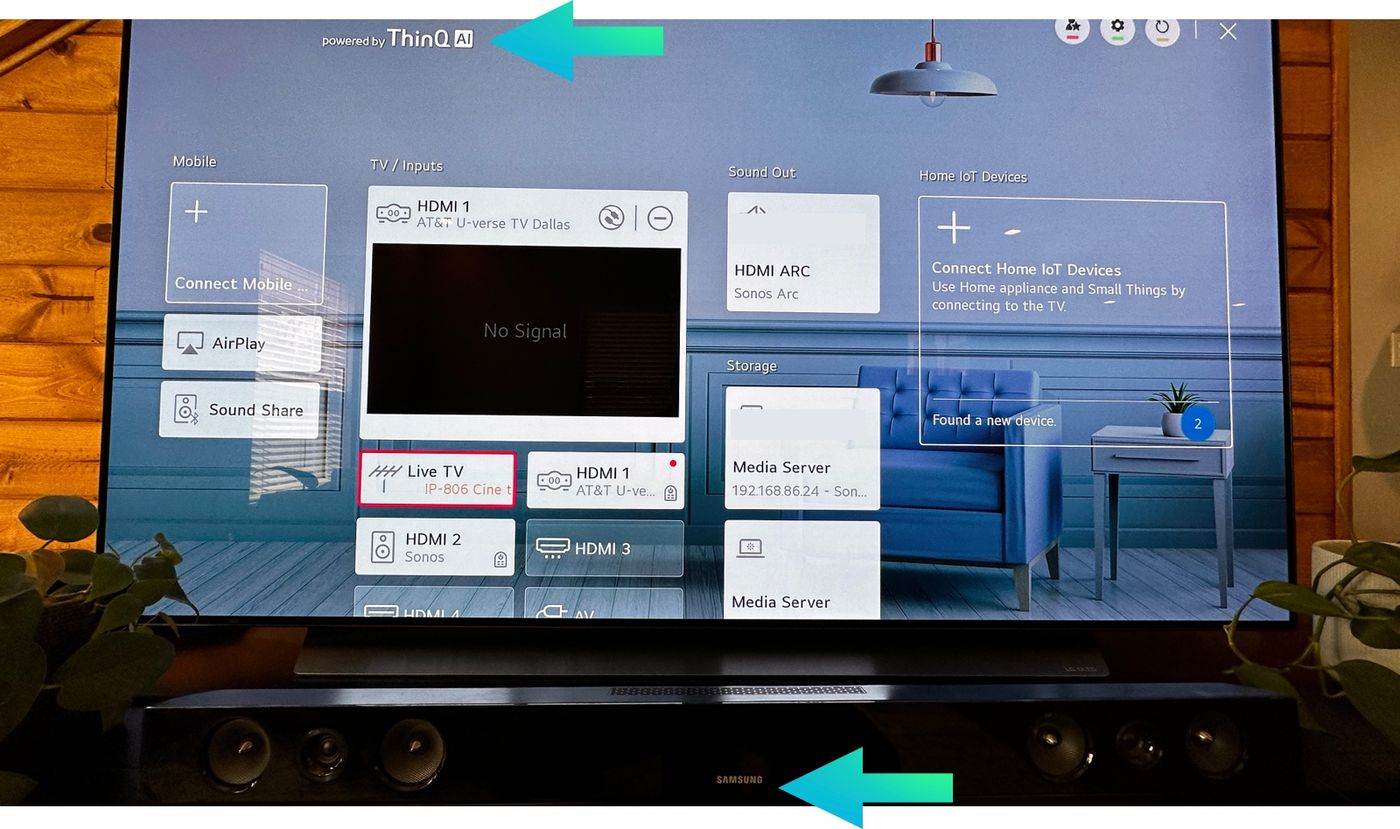
- On your TV, navigate to the input source where you connected the HDMI cable from the sound bar. Use your TV’s remote control and input/source button to cycle through the available inputs until you see the sound bar’s audio playing on your TV screen.
You have now successfully powered on both your sound bar and TV. In the next step, we will guide you on how to change the audio settings on your TV to ensure the sound is being output through the sound bar.
Step 6: Change audio settings on the TV
After powering on both your sound bar and TV, it’s important to adjust the audio settings on your TV to ensure that the sound is being output through the connected sound bar. Follow these steps to change the audio settings on your TV:
- Using your TV’s remote control, navigate to the “Settings” or “Menu” option on your TV. The location of these settings may vary depending on the brand and model of your TV.
- Look for the “Audio” or “Sound” settings. Once found, select it to access the audio settings menu.
- In the audio settings menu, locate the “Output” or “Sound Output” option. This setting determines where the audio is outputted.
- Select the option that corresponds to the HDMI input you connected the sound bar to. For example, if you connected the sound bar to HDMI 1, choose “HDMI 1” as the output source.
- Once you have selected the correct HDMI input as the sound output, save the settings and exit the menu.
- Test the audio output by playing a movie, TV show, or any other audio source on your TV. You should now hear the audio coming from your sound bar instead of the TV’s built-in speakers.
- Adjust the sound settings on your sound bar, if necessary, to further enhance your audio experience. Refer to your sound bar’s manual or remote control functions for adjusting the bass, treble, and other sound settings.
By changing the audio settings on your TV to route the sound through the sound bar, you have successfully completed the setup process. Now sit back, relax, and enjoy an enhanced audio experience with your favorite content!
Conclusion
Connecting a sound bar to your TV using an HDMI cable is a straightforward process that can greatly enhance your audio experience. By following the steps outlined in this article, you can easily set up your sound bar and enjoy immersive sound while watching movies, TV shows, and other content.
Throughout the setup process, it’s important to gather the necessary equipment, including a sound bar, HDMI cable, and remote control (if applicable). Locating the HDMI ports on both your TV and sound bar is crucial for making the physical connections.
Once the HDMI cable is connected, powering on both devices and adjusting the audio settings on your TV is essential. Selecting the correct HDMI input will ensure the sound is routed through the sound bar, delivering an optimum audio experience.
Remember to refer to the user manuals for your specific sound bar and TV models if you encounter any difficulties during the setup process. The manufacturers often provide detailed instructions specific to their devices.
Now that you have successfully connected your sound bar to your TV, it’s time to sit back, relax, and immerse yourself in high-quality audio. Enjoy the enhanced sound and let your entertainment experience reach new heights!