Home>Production & Technology>Sound Bar>How To Pair Ilive Sound Bar
Sound Bar
How To Pair Ilive Sound Bar
Modified: January 22, 2024
Learn how to pair your iLive sound bar easily and quickly. Enhance your home audio experience with our step-by-step guide.
(Many of the links in this article redirect to a specific reviewed product. Your purchase of these products through affiliate links helps to generate commission for AudioLover.com, at no extra cost. Learn more)
Table of Contents
Introduction
Welcome to our comprehensive guide on how to pair iLive sound bar! If you’re looking to elevate your audio experience and bring cinematic sound quality to your living room, a sound bar is a perfect choice. iLive offers a range of versatile and high-quality sound bars that can enhance your movie nights, gaming sessions, or simply amplify your favorite music. However, getting your sound bar up and running can sometimes be a bit confusing, especially when it comes to pairing it with your devices.
In this article, we will walk you through the step-by-step process of connecting and pairing your iLive sound bar, whether it’s with your TV or a mobile device. We will also provide tips and troubleshooting advice to ensure a seamless setup and optimal performance.
Before we delve into the detailed steps, let’s take a quick look at why a sound bar is a popular choice for enhancing your audio experience. A sound bar is a sleek and compact speaker system that is designed to deliver powerful and immersive sound, usually for your TV. It eliminates the need for multiple speakers and messy wiring, offering a convenient and space-saving solution.
iLive sound bars, in particular, are known for their superior audio quality and user-friendly features. Whether you’re a tech-savvy individual or a casual user, the pairing process is relatively straightforward with iLive products. So, let’s get started on setting up your iLive sound bar and enjoy an enhanced audio experience in no time!
Step 1: Unboxing and Setup
The first step in pairing your iLive sound bar is to unbox and set it up. Here’s what you need to do:
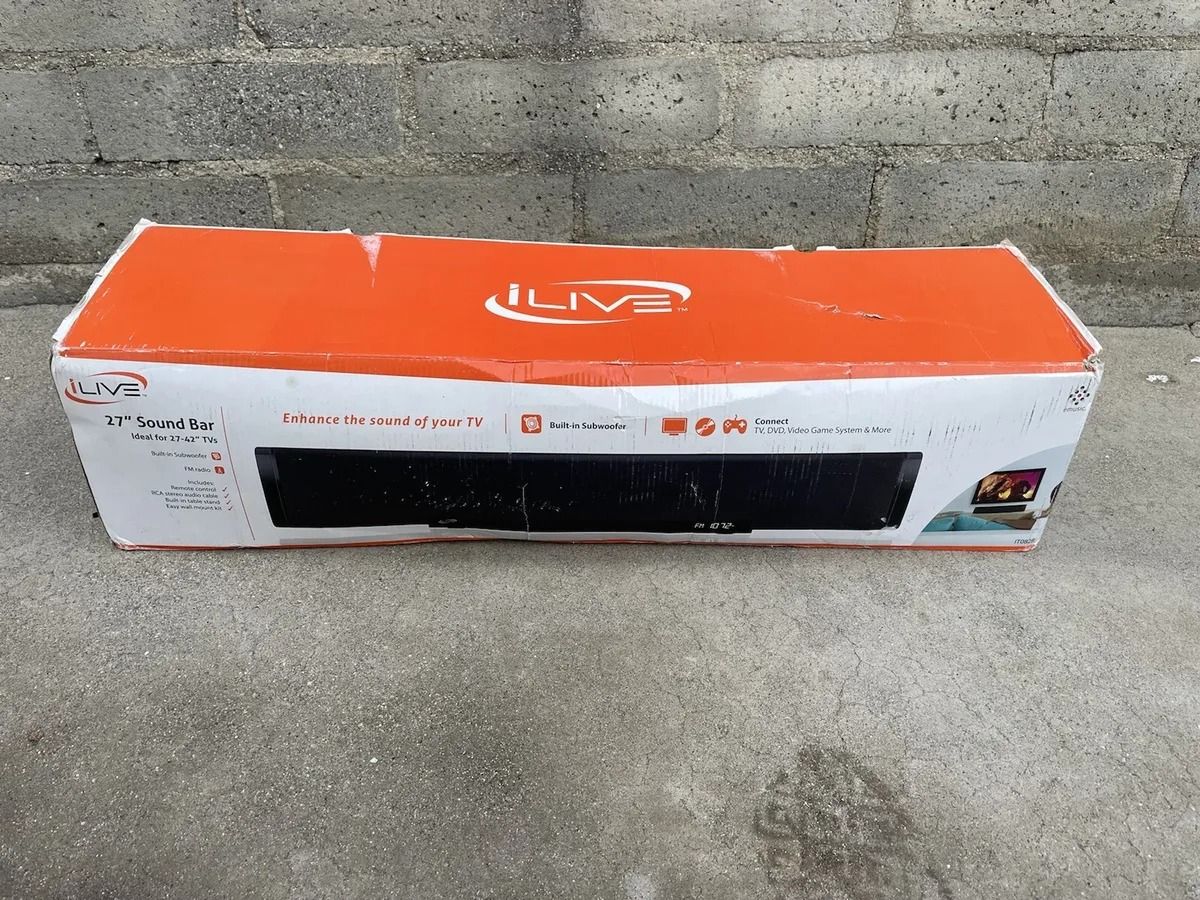
- Unbox the sound bar: Carefully remove the sound bar from its packaging. Check that all the components, such as the sound bar unit, remote control, power adapter, and any included cables, are present and undamaged.
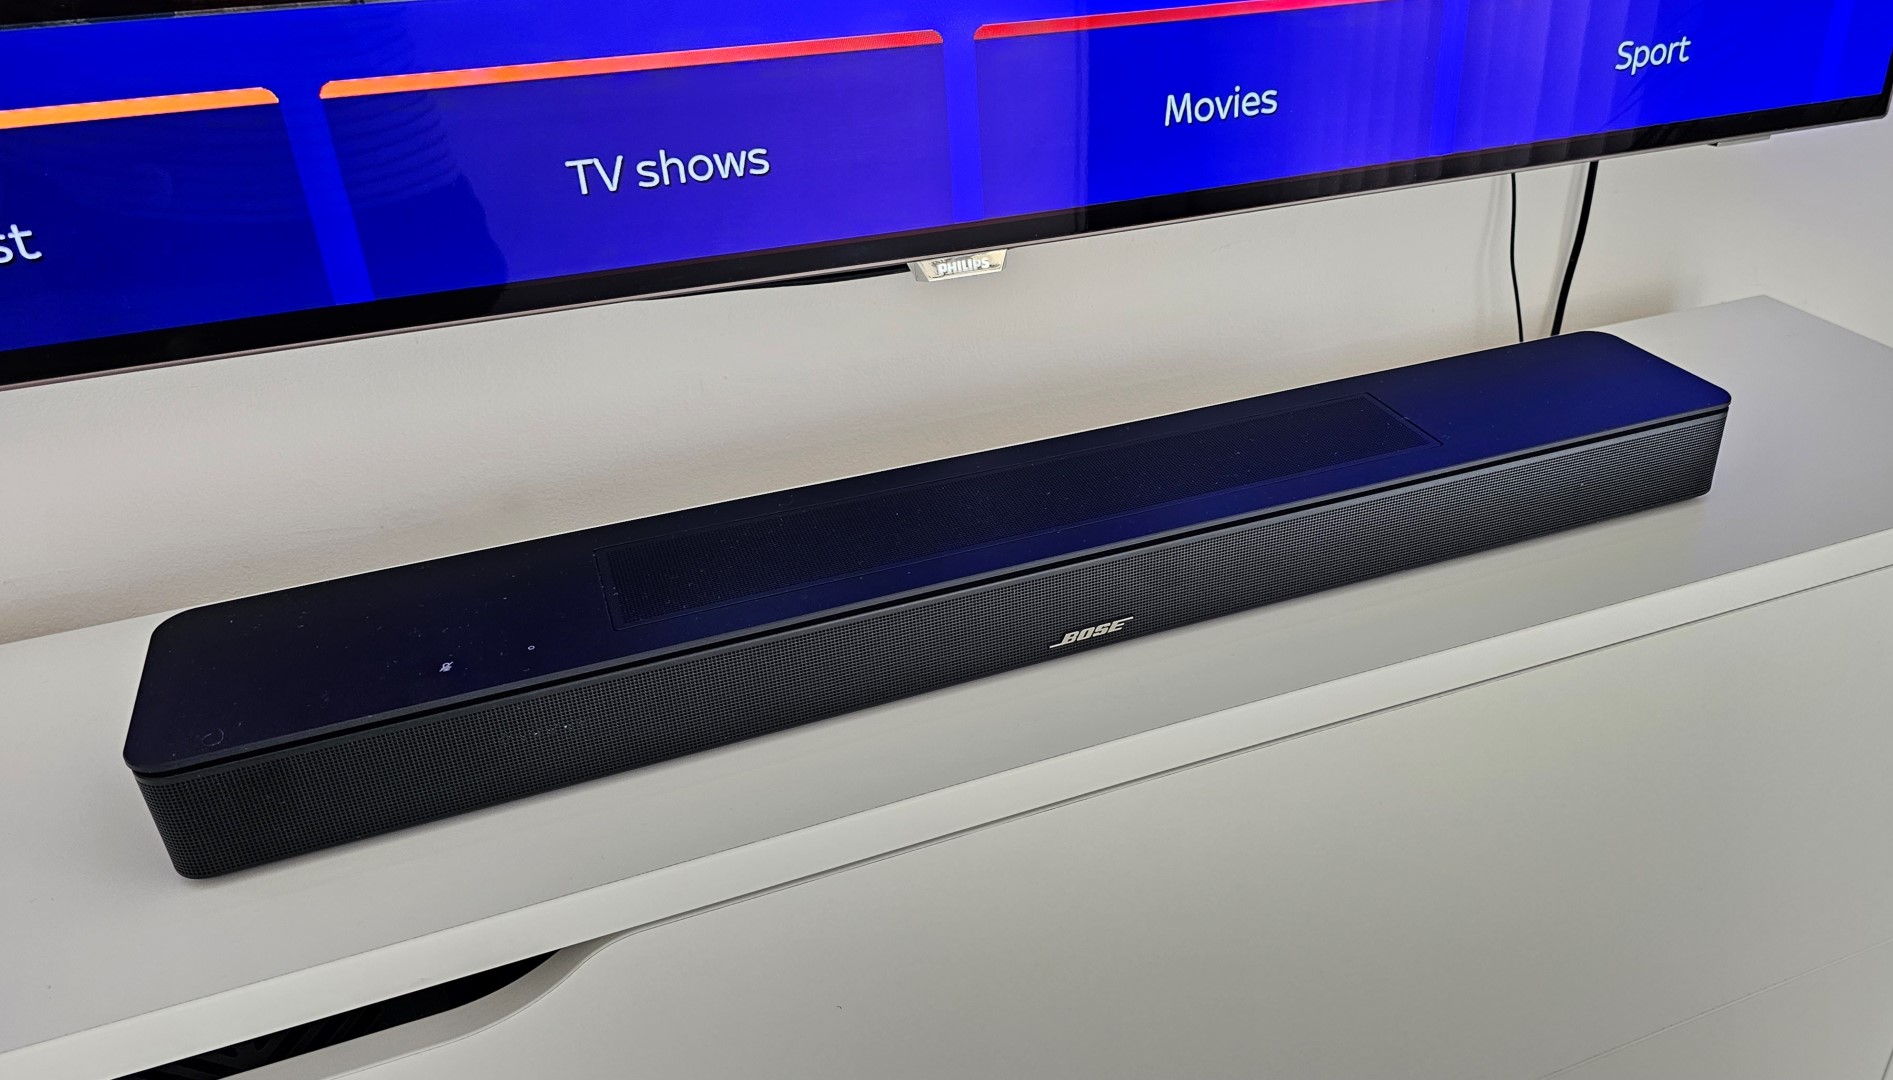
- Choose the setup location: Decide where you want to position your sound bar. Ideally, it should be placed directly under or above your TV for optimal audio projection. Ensure that there’s enough space and that the sound bar is not obstructing any vents or speakers on your TV.
- Mount or place the sound bar: Depending on the model, you can either mount the sound bar on the wall using the included mounting brackets or place it on a stable surface, such as a TV stand or shelf. Follow the manufacturer’s instructions for the specific installation method.
- Connect the power: Connect one end of the power adapter to the sound bar and the other end to a power outlet. Make sure the power connection is secure.
- Power on the sound bar: Use the power button on the sound bar or the remote control to turn it on. You should see a power indicator light or display on the sound bar.
At this point, your iLive sound bar is physically set up and ready to be connected to your devices. In the next step, we will guide you through the process of connecting the sound bar to your TV.
Step 2: Connecting the Sound Bar to Your TV
Now that your iLive sound bar is set up, it’s time to connect it to your TV for an immersive audio experience. Follow these steps:
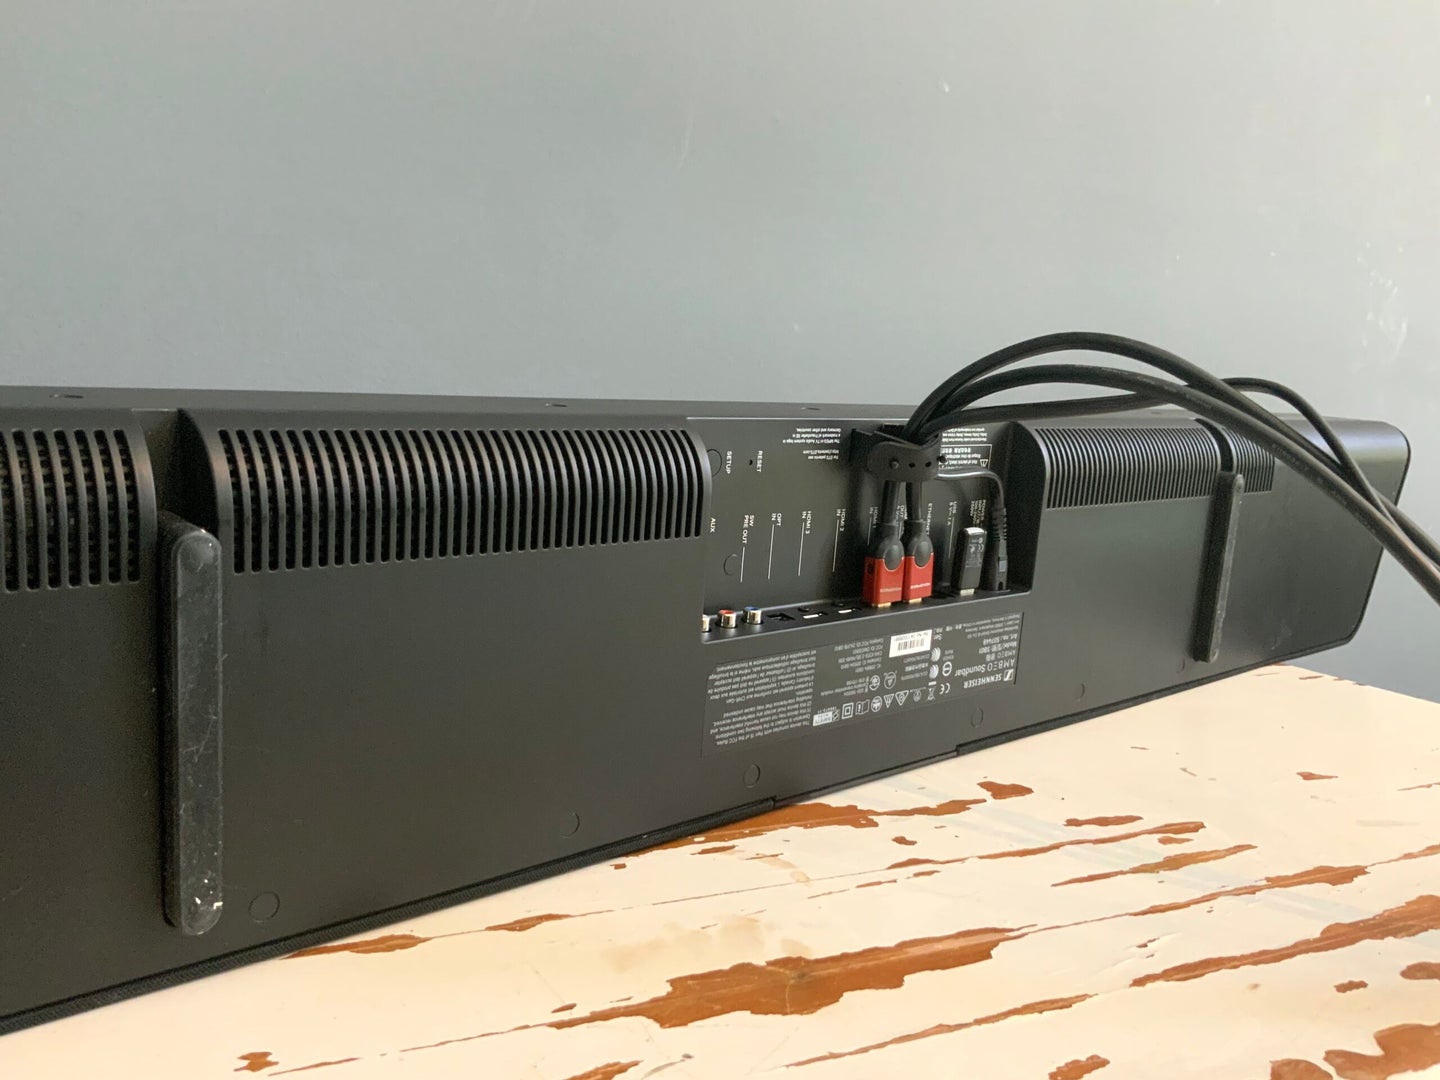
- Identify the audio output on your TV: Take a look at the back panel of your TV and locate the audio output options. Common options include HDMI ARC (Audio Return Channel), optical audio output, or a 3.5mm headphone jack.
- Choose the appropriate audio cable: Depending on the available audio output on your TV, select the corresponding audio cable. For HDMI ARC, use an HDMI cable. For optical audio output, use an optical cable. And for a 3.5mm headphone jack, use a 3.5mm AUX cable.
- Connect the audio cable to the sound bar: Plug one end of the audio cable into the corresponding audio input port on the back of your sound bar.
- Connect the audio cable to your TV: Plug the other end of the audio cable into the corresponding audio output port on your TV.
- Configure the audio settings on your TV: Using your TV’s remote control, access the audio settings menu or options. Select the appropriate audio output option to ensure the audio is routed through the sound bar.
- Test the audio connection: Play some audio or a video from your TV to confirm that the sound is coming through the sound bar. Adjust the volume using the sound bar’s remote control.
Once you have successfully connected your iLive sound bar to your TV, you can enjoy enhanced audio with your favorite movies, TV shows, and games. In the next step, we will guide you through the process of pairing the sound bar with your mobile device.
Step 3: Pairing the Sound Bar with a Mobile Device
Pairing your iLive sound bar with a mobile device allows you to stream music, podcasts, and other audio content directly to the sound bar. Follow these steps to complete the pairing process:
- Turn on Bluetooth: Make sure Bluetooth is enabled on your mobile device. You can typically find this option in the settings menu of your device.
- Put the sound bar in Bluetooth pairing mode: On your iLive sound bar, locate the Bluetooth pairing button. Press and hold the button until the Bluetooth indicator light starts flashing. This indicates that the sound bar is in pairing mode.
- Pair your mobile device: On your mobile device, go to the Bluetooth settings menu and scan for available devices. Look for the name of your iLive sound bar and select it to initiate the pairing process.
- Complete the pairing process: Once the connection is established, your mobile device will display a notification confirming the successful pairing with the sound bar.
- Test the connection: Play some audio or music on your mobile device and ensure that the sound is coming through the sound bar. Adjust the volume using the sound bar’s remote control or your mobile device’s volume controls.
Now you can enjoy your favorite music or podcasts wirelessly, streaming directly to your iLive sound bar from your mobile device. This provides the flexibility to control your audio playback from the comfort of your mobile device.
It’s worth noting that different iLive sound bar models may have slightly different pairing procedures. Always refer to the manufacturer’s instructions for your specific sound bar model to ensure a successful pairing process.
In the next step, we will explore how to optimize the sound bar settings for the best audio experience.
Step 4: Adjusting Sound Bar Settings
After you have successfully connected and paired your iLive sound bar, it’s time to fine-tune the settings to optimize your audio experience. Here are some key settings you can adjust:
- Sound modes: Most iLive sound bars offer various sound modes, such as Movie, Music, and Voice. These modes provide preset audio EQ settings that are tailored to different types of content. Experiment with different modes and choose the one that best suits your audio preferences.
- Audio balance: If you want to enhance certain audio frequencies or adjust the balance between the left and right channels, you can modify the audio balance settings. This can be useful for creating a more immersive audio experience.
- Bass and treble adjustments: Some iLive sound bars allow you to adjust the bass and treble levels to your liking. If you prefer a more pronounced bass or crisp treble, you can fine-tune these settings accordingly.
- Volume leveling: If you find that the volume levels between different audio sources or content vary widely, you can enable volume leveling. This feature helps to normalize and level out the volume, providing a consistent listening experience.
- Remote control settings: Take a moment to familiarize yourself with the features and functions of the sound bar’s remote control. Some models offer additional settings and customization options that can enhance your audio experience.
While these are some common settings found in many iLive sound bars, the specific options and functionalities may vary depending on the model you own. Refer to the user manual that accompanies your sound bar for detailed instructions on adjusting the settings.
Don’t be afraid to experiment and fine-tune the settings to suit your preferences. Take the time to find the perfect balance and audio profile that brings out the best in your sound bar.
In the final step, we will provide some troubleshooting tips to help you overcome any issues that may arise during the setup or usage of your iLive sound bar.
Step 5: Troubleshooting Tips
While setting up and using your iLive sound bar, you may encounter some common issues. Here are a few troubleshooting tips to help you resolve them:
- No sound or low volume: If you’re not hearing any sound or the volume is too low, check the audio connections to ensure they are securely plugged in. Also, verify that the sound bar is powered on and not muted. Adjust the volume levels on both the sound bar and your TV/mobile device.
- Poor audio quality: If you’re experiencing distorted or poor audio quality, ensure that the audio cables are not damaged or worn out. Also, check the audio settings on your devices and sound bar to ensure they are optimized for your content.
- Bluetooth connectivity issues: If you’re having trouble pairing your sound bar with a Bluetooth device, make sure that both the sound bar and the device are within close proximity. Restart both devices and try again. If the problem persists, check if there are any obstructions or interference sources near the sound bar that may affect the Bluetooth signal.
- Remote control not working: If the remote control is unresponsive, check the batteries to see if they need to be replaced. Ensure that there are no obstacles between the remote control and the sound bar. If the issue persists, try resetting the sound bar to factory settings as described in the user manual.
- Uneven sound distribution: If you notice that the sound is not evenly distributed or that certain audio channels are louder than others, verify if the sound bar is positioned correctly. Ensure that it is centered and aligned with your TV. You can also adjust the audio balance settings on the sound bar to fine-tune the sound distribution.
If you’ve tried these troubleshooting tips and are still experiencing issues, it’s best to consult the iLive customer support or refer to the user manual for further assistance. They will be able to provide specific solutions based on your sound bar model.
With these troubleshooting tips, you’ll be able to overcome common issues and enjoy a hassle-free audio experience with your iLive sound bar.
Now that you have successfully paired your iLive sound bar, adjusted the settings, and resolved any issues, you’re ready to immerse yourself in a rich and captivating audio experience.
Conclusion
Congratulations! You have successfully learned how to pair your iLive sound bar and optimize its settings for an enhanced audio experience. With our step-by-step guide, you can now enjoy crystal-clear sound and immersive audio whether you’re watching movies, playing games, or listening to music.
Remember, the first step is to unbox and set up your sound bar by following the manufacturer’s instructions. Then, you can connect it to your TV using the appropriate audio cables and adjust the audio settings to your liking. Pairing your sound bar with a mobile device allows for wireless streaming of your favorite music and audio content.
If you encounter any issues along the way, our troubleshooting tips can help you overcome common problems and ensure a smooth setup process. And if you need further assistance, don’t hesitate to consult the iLive customer support or refer to the user manual that accompanies your sound bar.
By following these steps and fine-tuning the settings, you can transform your entertainment space into a home theater experience. Immerse yourself in rich, powerful sound that brings your favorite movies, TV shows, and music to life.
So, get ready to elevate your audio experience with your iLive sound bar. Sit back, relax, and indulge in a captivating sound journey that will redefine how you enjoy your favorite content.