Home>Production & Technology>Sound Bar>How To Pair Yamaha Sound Bar Bluetooth Ats 1060
Sound Bar
How To Pair Yamaha Sound Bar Bluetooth Ats 1060
Published: December 26, 2023
Learn how to effortlessly pair your Yamaha sound bar (ATS-1060) with Bluetooth devices, creating an immersive audio experience. Enhance your home entertainment with our step-by-step guide.
(Many of the links in this article redirect to a specific reviewed product. Your purchase of these products through affiliate links helps to generate commission for AudioLover.com, at no extra cost. Learn more)
Table of Contents
Introduction
Welcome to our guide on how to pair a Yamaha Sound Bar with Bluetooth. If you’re looking to connect your Yamaha Sound Bar to a Bluetooth-enabled device such as a smartphone, tablet, or computer, you’ve come to the right place. Bluetooth pairing allows you to wirelessly stream audio from your device directly to the sound bar, providing a seamless and convenient audio experience.
Yamaha Sound Bars are known for their impressive audio quality and sleek design, making them a popular choice among audio enthusiasts. With Bluetooth connectivity, you can enjoy your favorite music, podcasts, or movies in high fidelity without the hassle of wires.
In this article, we will walk you through the step-by-step process of pairing your Yamaha Sound Bar via Bluetooth. Whether you’re a beginner or a tech-savvy user, our instructions will help you easily connect your sound bar to your device and start enjoying immersive audio.
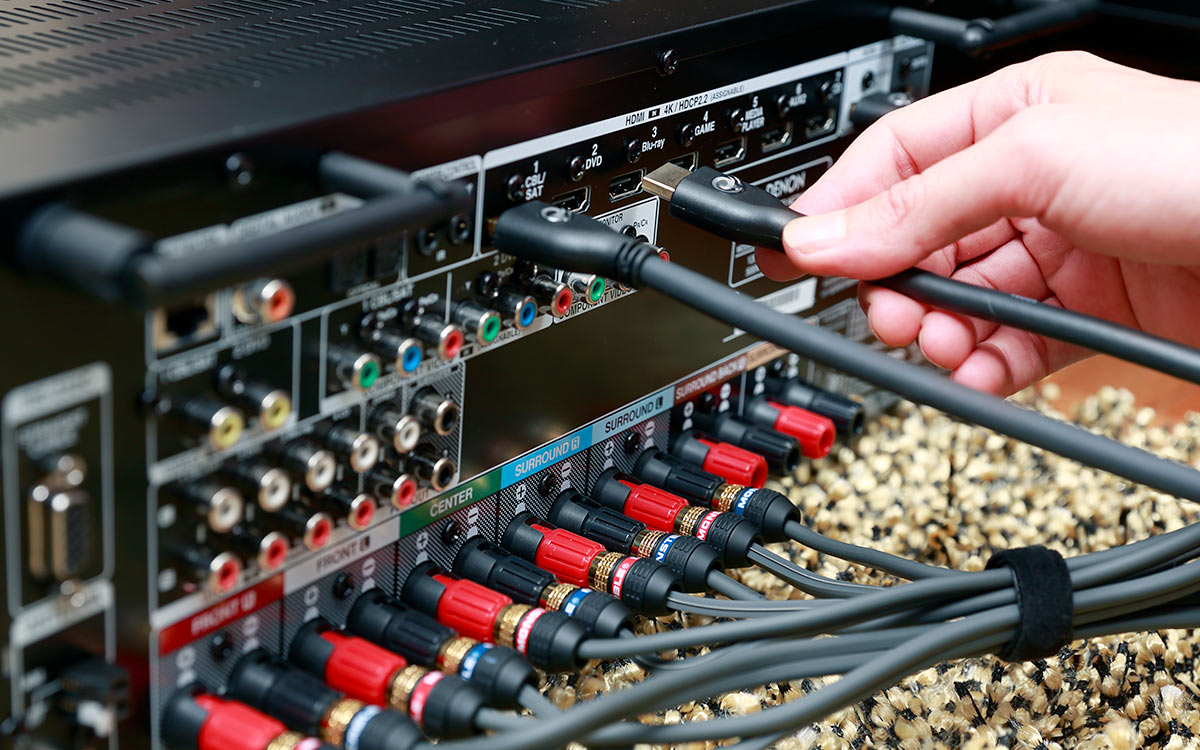
Before we begin, please ensure that both your Yamaha Sound Bar and the device you wish to pair it with have Bluetooth capabilities. It’s also essential to have the necessary cables and accessories handy for a smooth setup process.
Now, let’s dive into the steps to pair your Yamaha Sound Bar over Bluetooth.
Step 1: Turn on the Yamaha Sound Bar
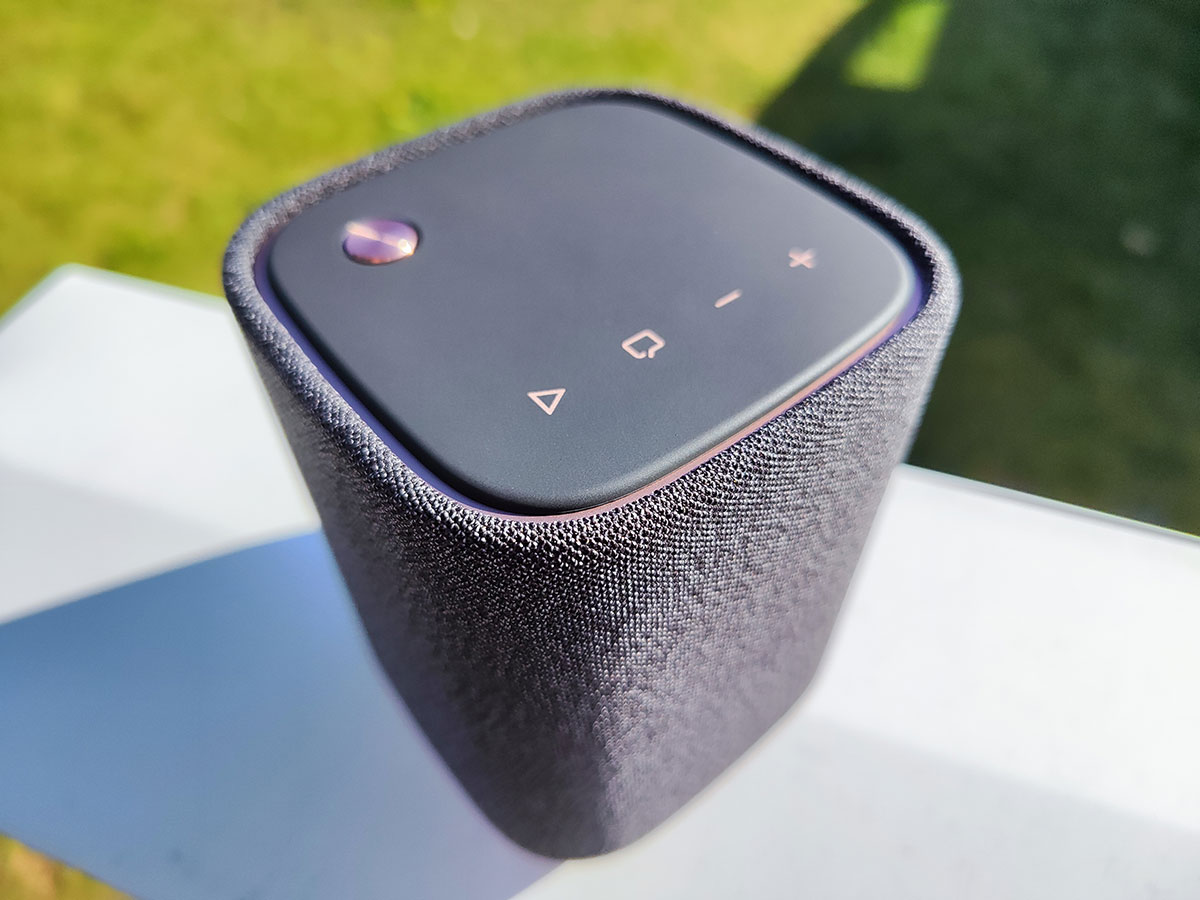
The first step in pairing your Yamaha Sound Bar with Bluetooth is to make sure it’s powered on. Locate the power button, usually located on the front or top panel of the sound bar, and press it to turn the device on. You may also need to plug in the power cord and connect it to a power outlet if the sound bar isn’t already connected.
Once the sound bar is powered on, you can verify its status by checking for any LED indicators on the front panel. Different models may have different indicator lights, but most commonly they will display a solid or blinking light to indicate that the sound bar is powered and ready to be paired.
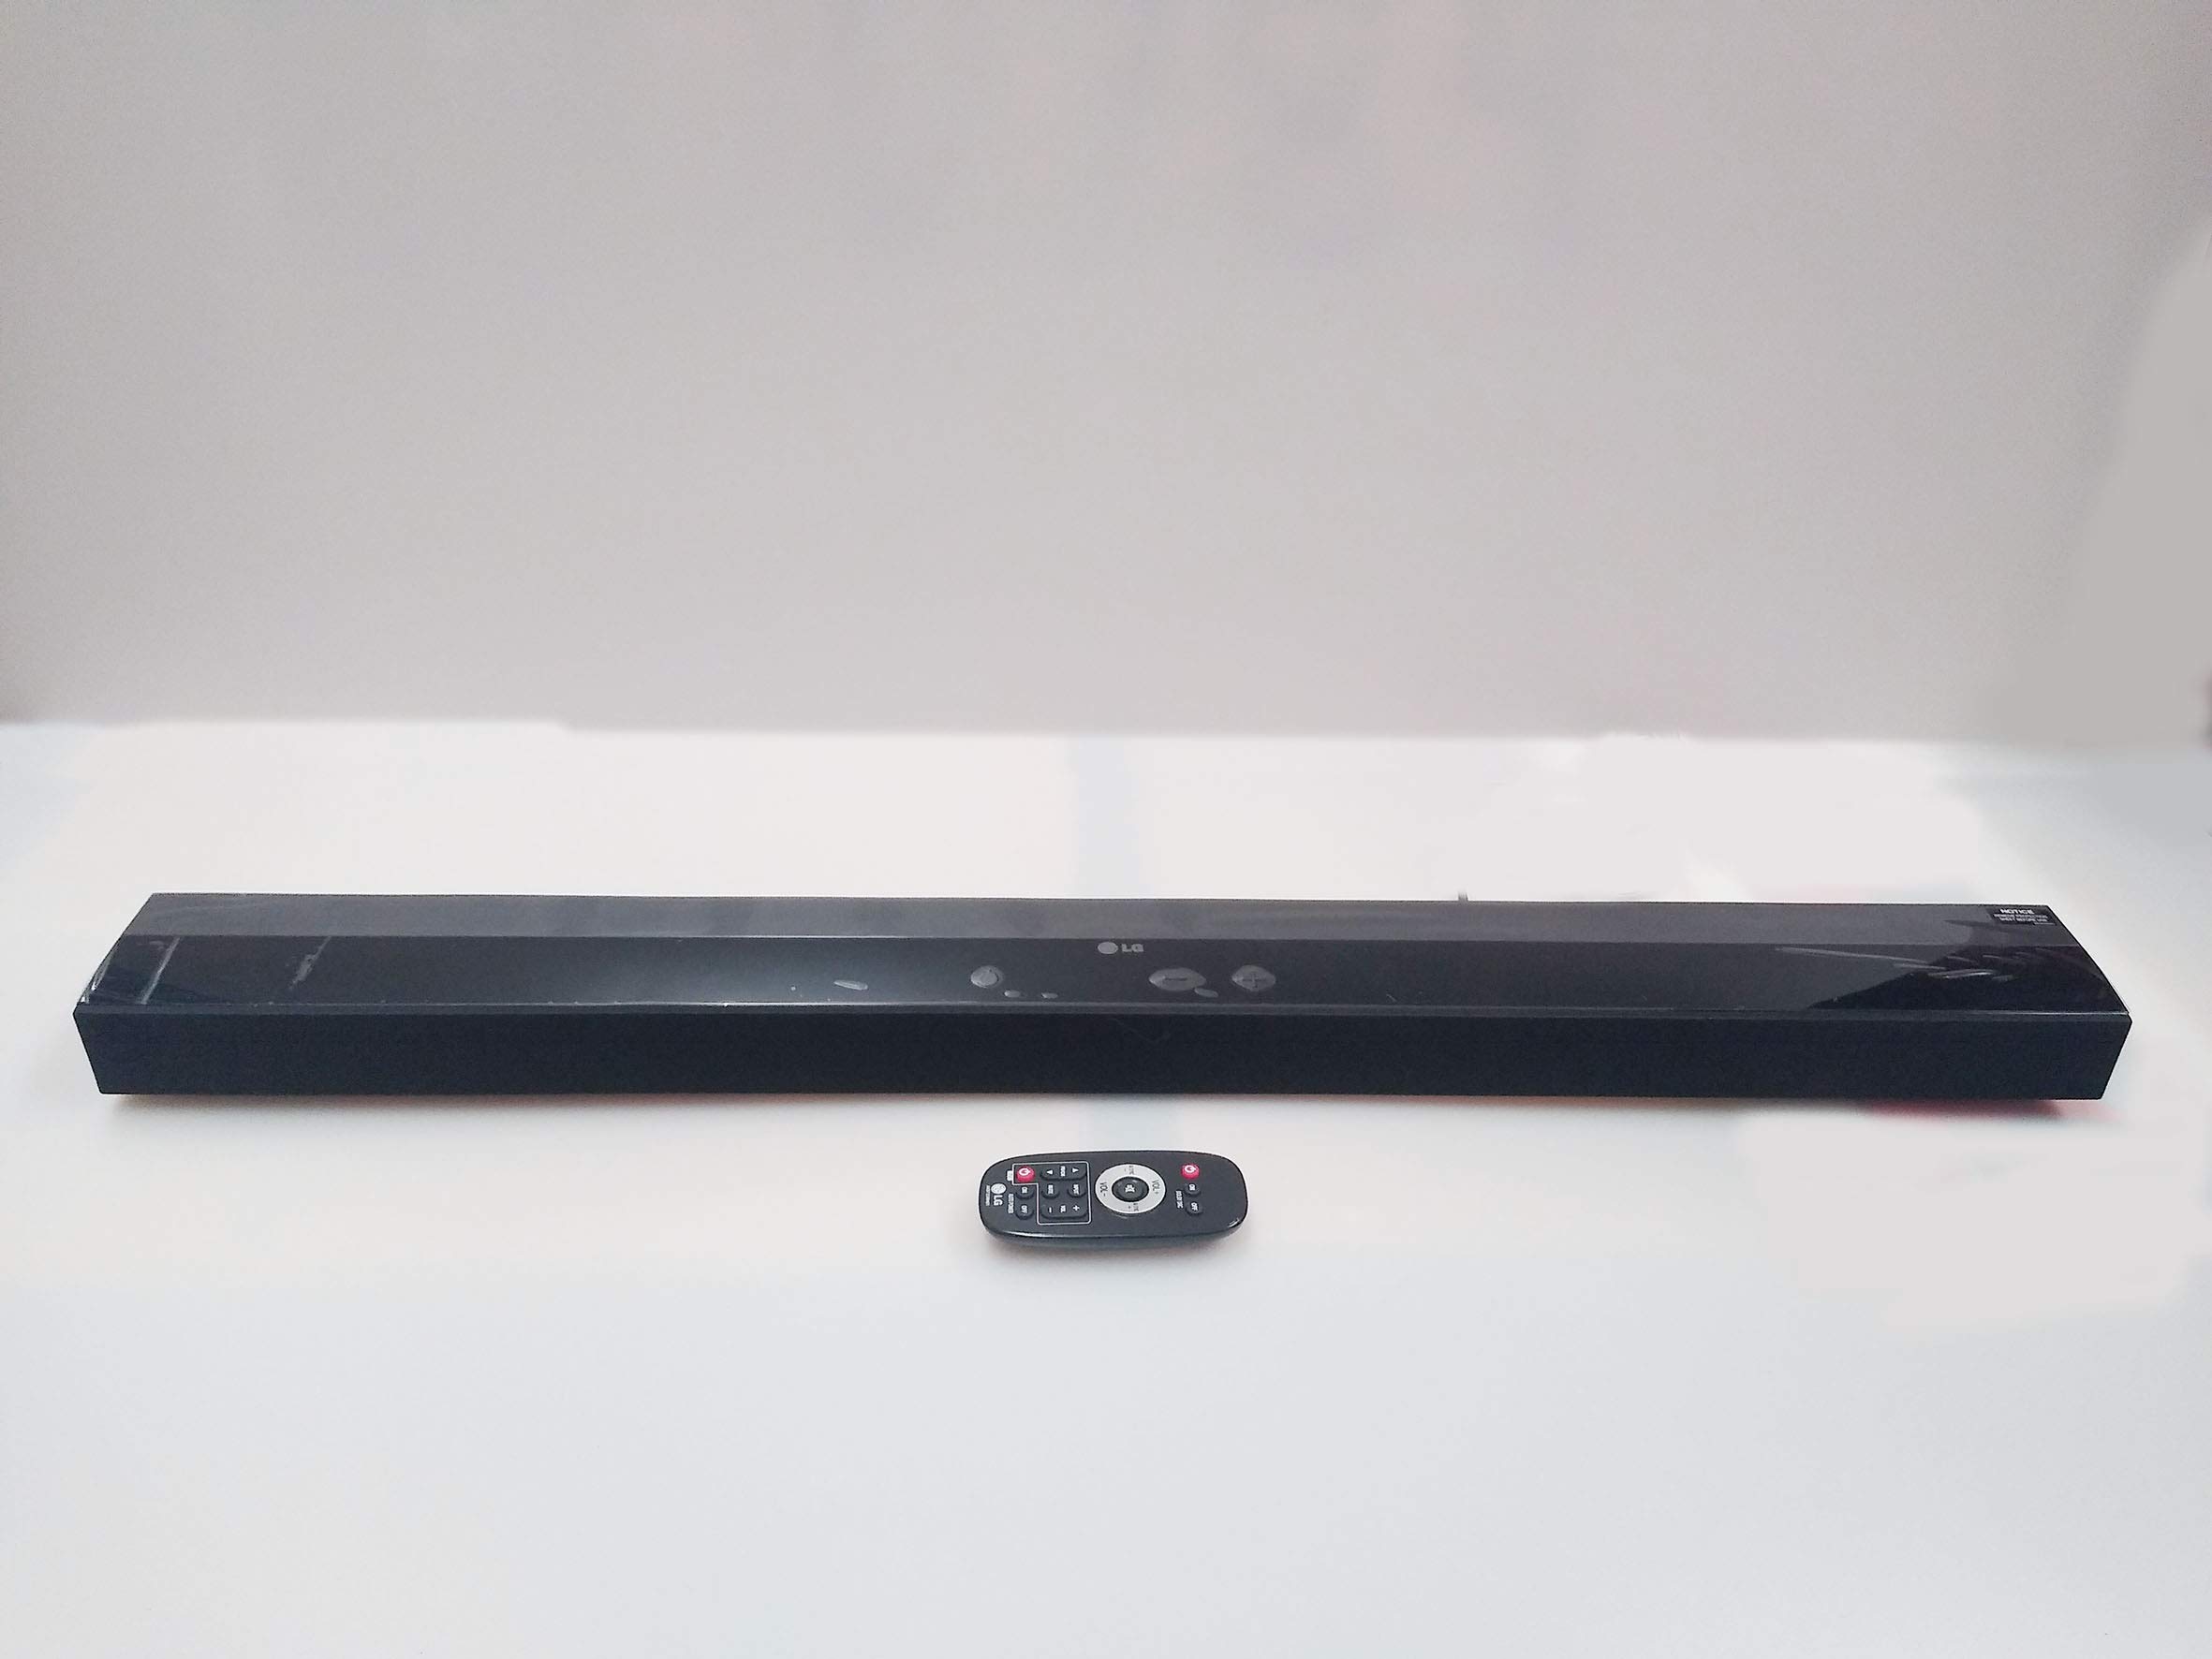
If your sound bar has a remote control, ensure that it’s within reach so you can easily navigate through the settings and pairing options.
Before moving on to the next step, it’s worth mentioning that some Yamaha Sound Bars may require a firmware update to ensure compatibility with Bluetooth devices. You can check the Yamaha support website for any available firmware updates for your specific model, and follow the provided instructions to update the firmware if necessary.
With the sound bar powered on and ready, let’s move on to the next step of the pairing process.
Step 2: Activate Bluetooth Pairing Mode
Now that your Yamaha Sound Bar is powered on, it’s time to activate the Bluetooth pairing mode. This allows your sound bar to be discoverable by your Bluetooth device, enabling them to establish a connection.
The method to activate Bluetooth pairing mode may vary depending on the model of your Yamaha Sound Bar. However, most commonly, you can follow these general steps:
- Using the remote control, navigate to the sound bar’s settings menu. Look for a button labelled “Settings” or “Menu” and press it.
- Within the settings menu, locate and select the “Bluetooth” or “Wireless” option. This is where you will find the Bluetooth pairing settings.
- Now, select the “Pairing” or “Bluetooth Pairing” option to activate Bluetooth mode. Some sound bars may automatically enter pairing mode when you access the Bluetooth menu.
- Once you’ve selected the pairing option, the sound bar’s LED indicators may start flashing or change color to indicate that it’s ready to pair with a device. Refer to your sound bar’s user manual for specific instructions on interpreting the LED indicators.
It’s important to note that some Yamaha Sound Bars have a dedicated Bluetooth pairing button located on the device itself. In this case, simply press and hold the Bluetooth pairing button until the LED indicators start flashing.
Now that you’ve activated Bluetooth pairing mode on your Yamaha Sound Bar, it’s time to move on to the next step and enable Bluetooth on your device.
Step 3: Enable Bluetooth on Your Device
In order to connect your device to the Yamaha Sound Bar, you need to ensure that Bluetooth is enabled on your device. This step may vary depending on the type of device you’re using, but the general process is relatively similar across different platforms.
Here’s how to enable Bluetooth on some common devices:
- Smartphone (iOS/Android): Go to the “Settings” menu on your device and look for the “Bluetooth” option. Tap on it to access the Bluetooth settings. Slide the toggle switch to turn on Bluetooth.
- Tablet (iOS/Android): Similar to smartphones, access the “Settings” menu and locate the “Bluetooth” option. Enable Bluetooth by toggling the switch to the “On” position.
- Windows PC: Click on the Windows start button and navigate to the “Settings” menu. Select “Devices” and click on “Bluetooth & other devices.” Toggle the switch under the “Bluetooth” section to turn it on.
- Mac PC: Click on the Apple menu and go to “System Preferences.” Select “Bluetooth” from the preferences menu and click on the checkbox to turn on Bluetooth.
Once Bluetooth is enabled on your device, it will start searching for available Bluetooth devices, including your Yamaha Sound Bar.
Keep your device within range of the sound bar to ensure a stable and uninterrupted Bluetooth connection. The typical Bluetooth range is around 30 feet, although it may vary depending on the environment and any potential obstructions.
With Bluetooth enabled on your device, it’s time to move on to the next step and locate and select the Yamaha Sound Bar on your device.
Step 4: Locate and Select the Yamaha Sound Bar on Your Device
Once you have enabled Bluetooth on your device, it’s time to search for the Yamaha Sound Bar and establish a connection. The process may slightly differ depending on the operating system and device you are using, but the general steps are as follows:
- Access the Bluetooth settings on your device. This can usually be found in the settings menu or by swiping down from the top of the screen and selecting the Bluetooth icon.
- Within the Bluetooth settings, your device will begin scanning for available devices. It may take a moment for the Yamaha Sound Bar to appear in the list of available devices. The sound bar is typically labeled with the model number or a name that includes “Yamaha.”
- When you see the Yamaha Sound Bar in the list, select it to initiate the pairing process. Some devices may prompt you to enter a passkey or confirm a PIN to establish the connection. Refer to your device’s instruction manual for specific details.
- After selecting the sound bar, wait for the pairing process to complete. This may take a few seconds. Once the pairing is successful, your device should display a confirmation message or the sound bar’s name under the list of connected devices in the Bluetooth settings.
It’s important to note that some Yamaha Sound Bars have a unique pairing process that involves pressing specific buttons on the sound bar and then confirming the pairing request on your device. Consult the user manual for your specific sound bar model for detailed instructions.
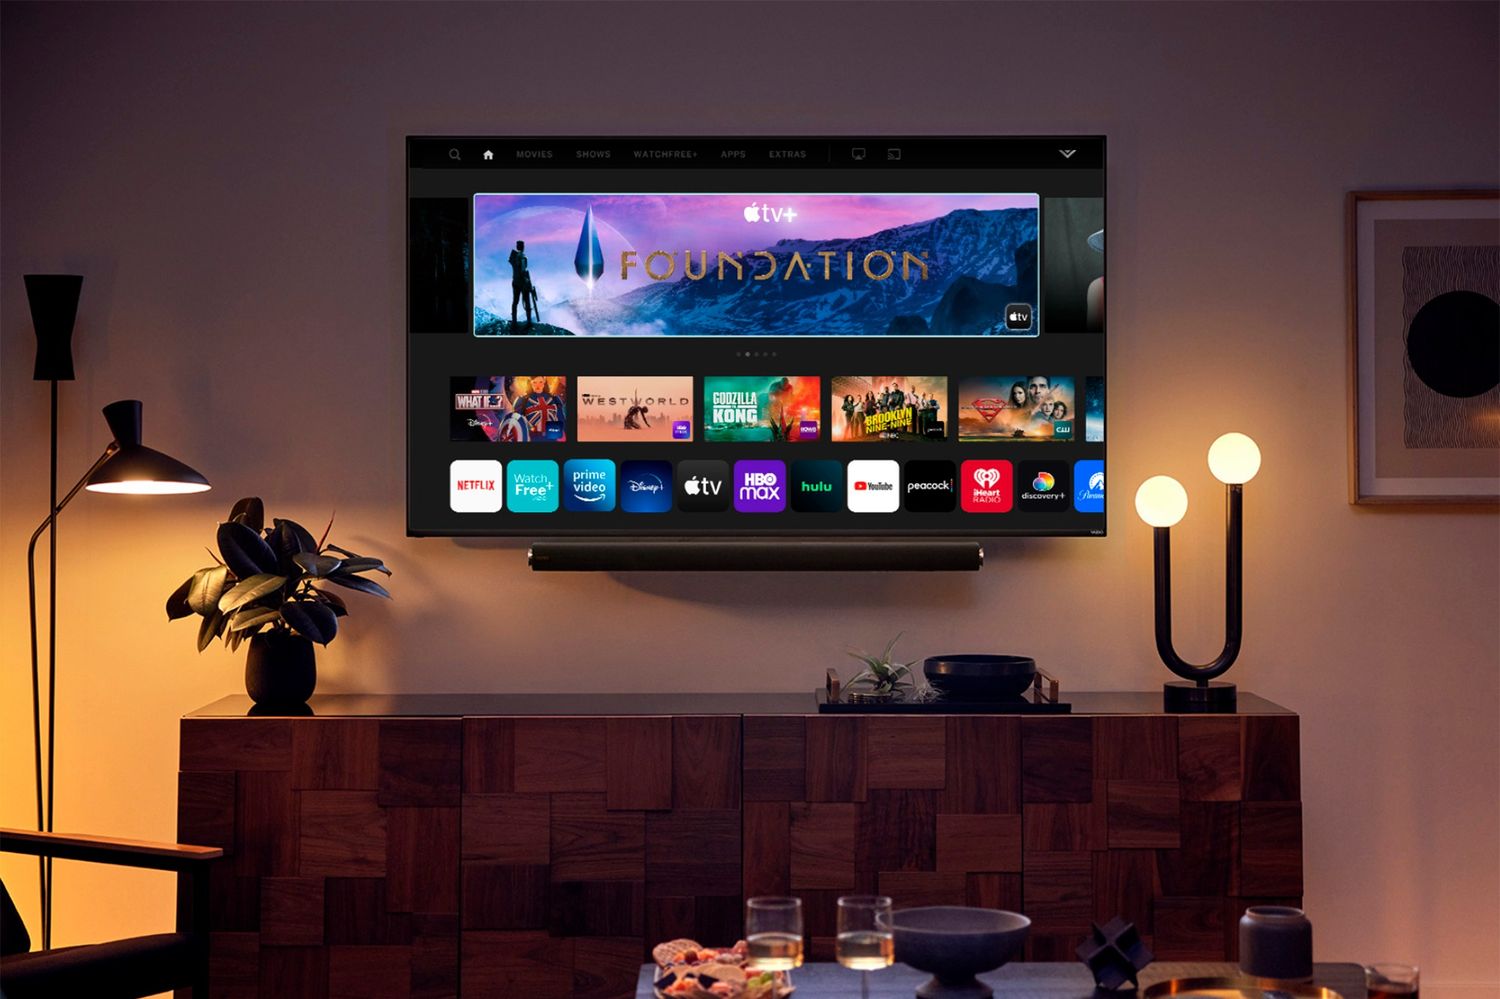
Once the Yamaha Sound Bar is successfully paired with your device, you can start streaming audio wirelessly to the sound bar. You can play your favorite music, watch movies, or enjoy any other audio content directly from your device with high-quality sound.
Now that the pairing process is complete, let’s wrap up with the final step.
Step 5: Complete the Pairing Process
Now that you have located and selected the Yamaha Sound Bar on your device, it’s time to complete the pairing process. This final step ensures that the connection between your device and the sound bar is established and ready for use.
The exact steps to complete the pairing process may vary depending on your device and the Yamaha Sound Bar model. However, here are some general guidelines to follow:
- After selecting the Yamaha Sound Bar on your device, wait for a confirmation message or indicator that the pairing process is complete. This may vary depending on your device’s interface.
- Once the pairing process is complete, you can test the connection by playing audio on your device. The sound should be routed to the Yamaha Sound Bar, providing an immersive audio experience.
- You can now control the audio playback through your device. Adjust the volume, pause/play, or skip tracks using the controls on your device, and the changes will be reflected on the Yamaha Sound Bar.
- If you encounter any issues with the pairing process or experience audio interruptions, try restarting both your device and the Yamaha Sound Bar. This can often resolve minor connectivity issues.
- It’s also recommended to keep your device’s Bluetooth firmware up to date, as manufacturers often release updates to improve stability and compatibility.
Once the pairing process is complete, you can enjoy the convenience and versatility of wireless audio playback through your Yamaha Sound Bar. Whether you’re watching movies, listening to music, or playing games, the high-quality sound from the sound bar will enhance your audio experience.
Remember, if you want to pair your Yamaha Sound Bar with another device in the future, simply repeat the above steps to establish a new Bluetooth connection.
With the pairing process completed, you’re now ready to enjoy the wireless capabilities of your Yamaha Sound Bar. We hope this guide has been helpful in assisting you with pairing your device. Happy listening!
Conclusion
Pairing your Yamaha Sound Bar with Bluetooth opens up a world of possibilities for enjoying wireless audio. With just a few simple steps, you can connect your sound bar to a Bluetooth-enabled device and stream your favorite music, movies, and more with outstanding sound quality.
In this guide, we walked you through the step-by-step process of pairing your Yamaha Sound Bar with Bluetooth. We covered the initial step of turning on the sound bar and activating Bluetooth pairing mode. Then, we guided you through the process of enabling Bluetooth on your device and locating and selecting the Yamaha Sound Bar. Finally, we discussed completing the pairing process to establish a stable and reliable connection between your device and the sound bar.
Remember, it’s important to refer to the specific user manual for your Yamaha Sound Bar model to ensure you follow any additional instructions or variations that may apply.
Now that your Yamaha Sound Bar is paired with your device, you can enjoy a seamless and immersive audio experience. Stream your favorite music playlists, watch movies with powerful sound, or enhance your gaming experience with crystal-clear audio.
If you encounter any issues during the pairing process or experience audio interruptions, don’t worry. Restarting your device and the Yamaha Sound Bar can often resolve minor connectivity issues.
Thank you for choosing Yamaha and for following our guide on how to pair a Yamaha Sound Bar with Bluetooth. We hope this guide has been informative and helpful. Now, sit back, relax, and enjoy the exceptional audio experience offered by your Yamaha Sound Bar!