Home>Production & Technology>Sound Bar>How To Hook Up Ilive Sound Bar

Sound Bar
How To Hook Up Ilive Sound Bar
Modified: January 22, 2024
Learn how to easily hook up your iLive sound bar to your TV and enjoy high-quality audio at home. Enhance your audio experience with this sleek and powerful sound bar.
(Many of the links in this article redirect to a specific reviewed product. Your purchase of these products through affiliate links helps to generate commission for AudioLover.com, at no extra cost. Learn more)
Table of Contents
Introduction
Sound bars have become increasingly popular over the years as a convenient and space-saving solution for enhancing the audio quality of your TV. Whether you’re a movie buff, a music lover, or simply enjoy immersive sound while watching your favorite shows, a sound bar can elevate your audio experience to a whole new level.
One popular option in the market is the iLive Sound Bar, known for its sleek design and exceptional sound quality. In this article, we will guide you through the process of setting up and connecting the iLive Sound Bar to your TV, ensuring that you can enjoy a powerful and immersive audio experience right in the comfort of your own home.
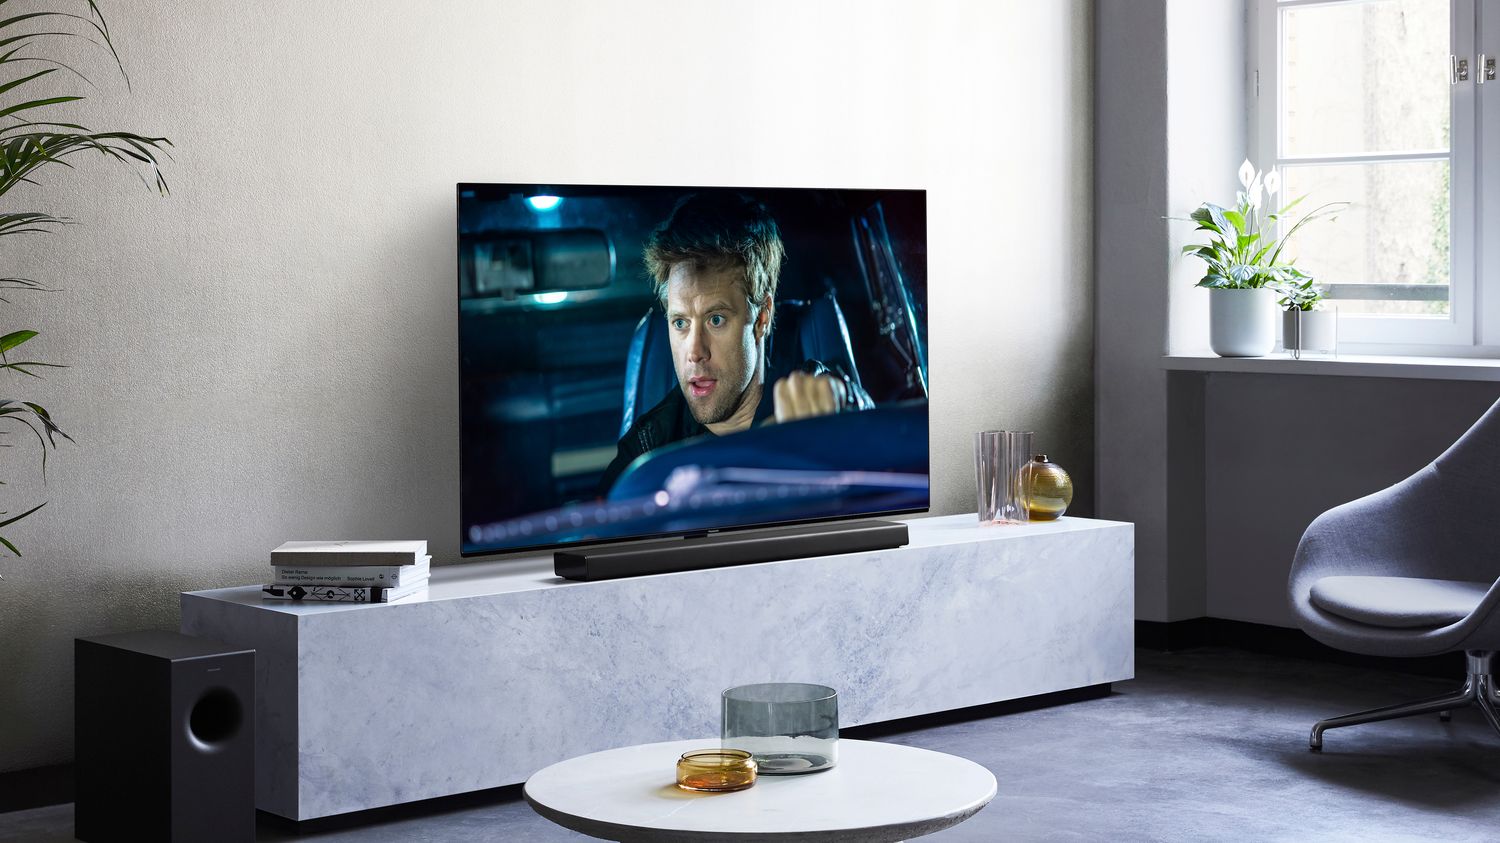
Before we dive into the steps, it’s important to understand the basics of a sound bar. Essentially, a sound bar is a slim, elongated speaker that can be mounted or placed directly below your TV. It is designed to provide a wider soundstage than regular TV speakers, often with built-in subwoofers and multiple speakers for a more immersive audio experience.
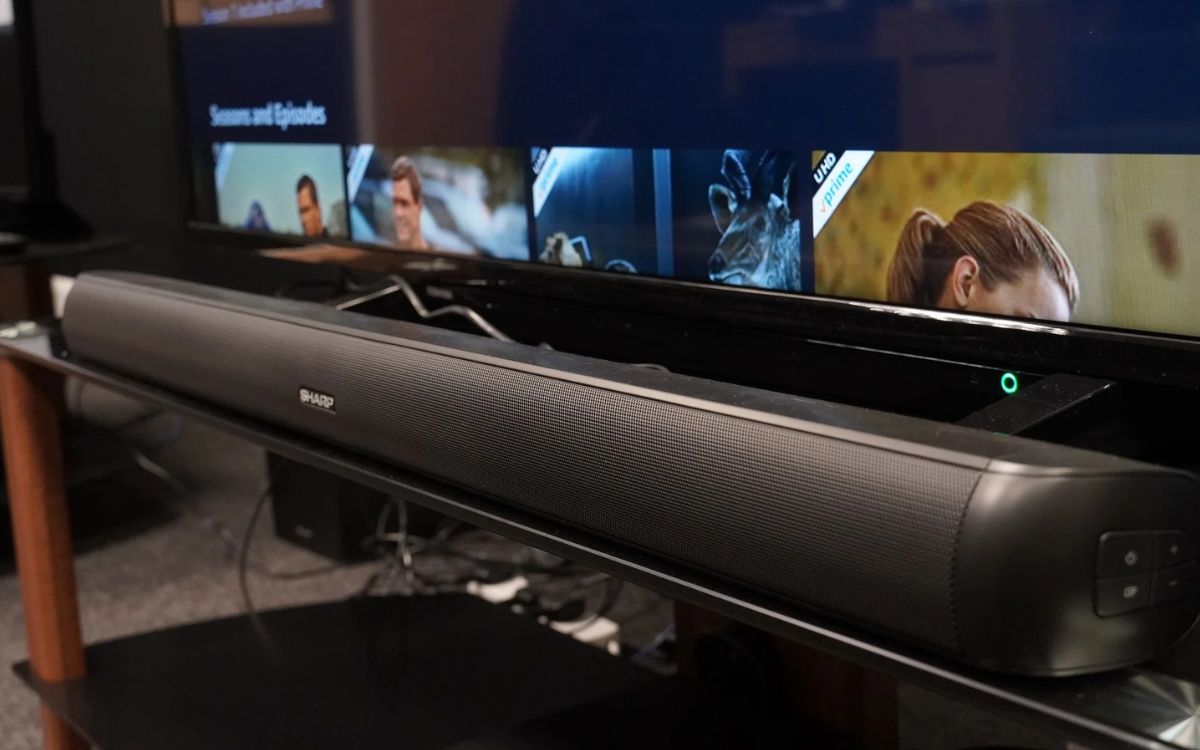
The iLive Sound Bar offers various connectivity options, allowing you to connect it to your TV using HDMI, optical, or RCA cables. Additionally, it provides Bluetooth connectivity for wireless streaming, enabling you to enjoy your favorite music from your phone or other Bluetooth-enabled devices.
Now that you have a basic understanding of what a sound bar is and what the iLive Sound Bar has to offer, let’s dive into the step-by-step process of setting it up and connecting it to your TV.
Step 1: Unpack and Set Up the iLive Sound Bar
The first step in enjoying the immersive sound experience of the iLive Sound Bar is to unpack and set it up properly. Follow these instructions to ensure a smooth setup process:
- Unpack: Carefully remove the iLive Sound Bar from its packaging, making sure to keep any included accessories and cables organized and easily accessible.
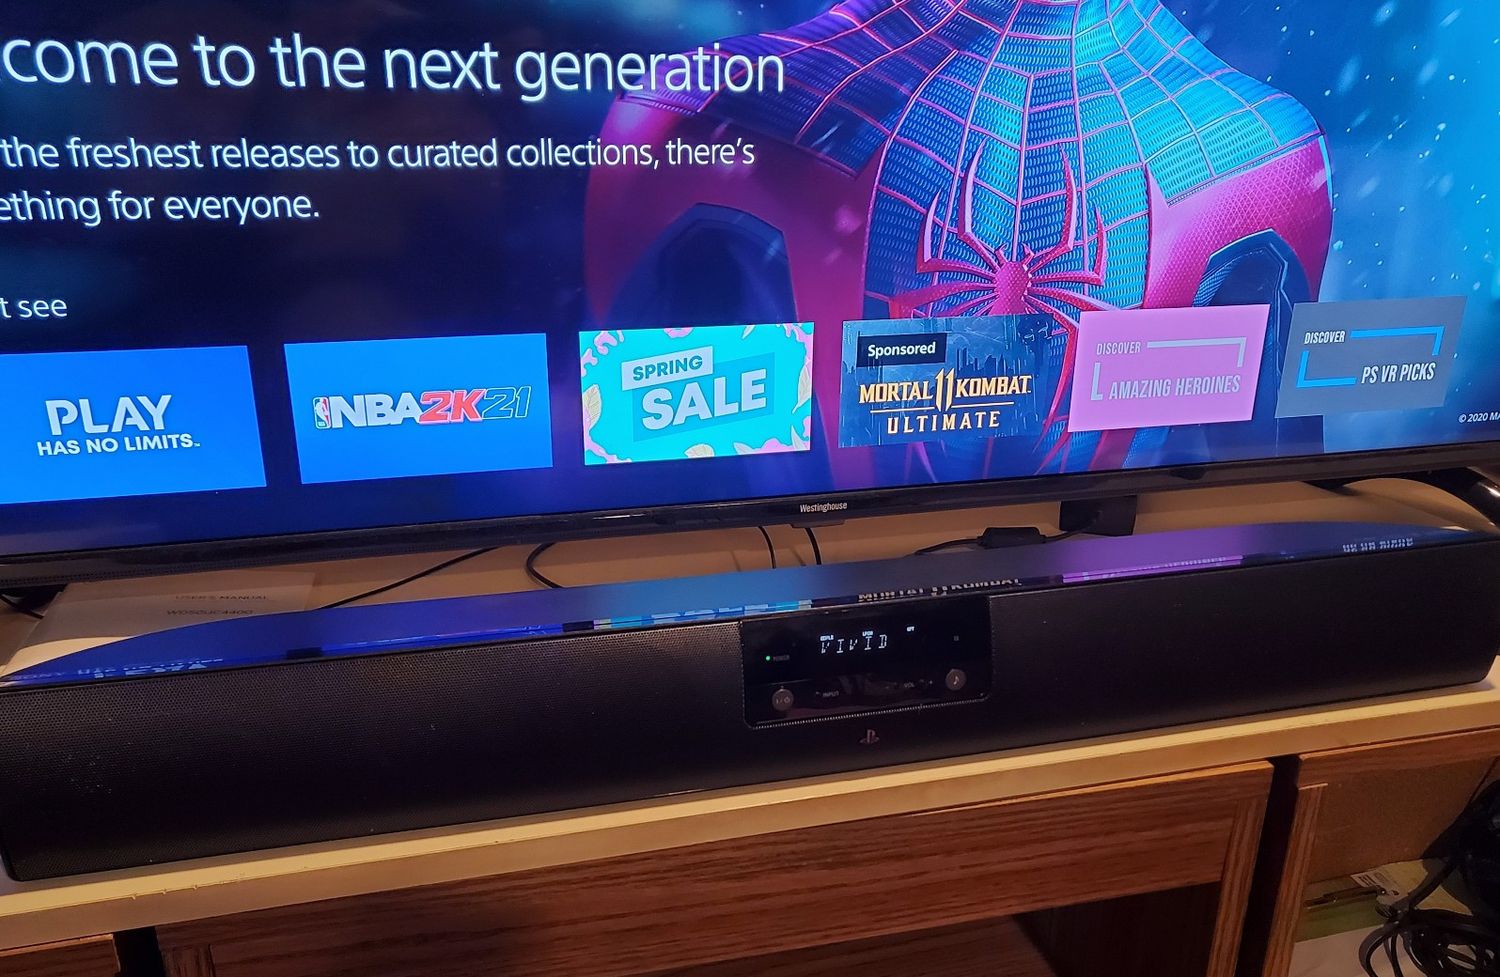
- Placement: Before setting up the sound bar, decide on the ideal placement. It is typically recommended to position the sound bar directly below your TV, either on a stand or mounted to the wall. Take into consideration the height and angle to optimize sound projection.
- Power Connection: Locate the power cord that came with the iLive Sound Bar and connect it to the power input on the sound bar. Plug the other end into a nearby power outlet. Ensure that you have a reliable power source for uninterrupted operation.
- Control Unit: If your iLive Sound Bar includes a separate control unit, connect it to the sound bar using the provided cable. This unit allows you to easily control the sound bar’s settings and features.
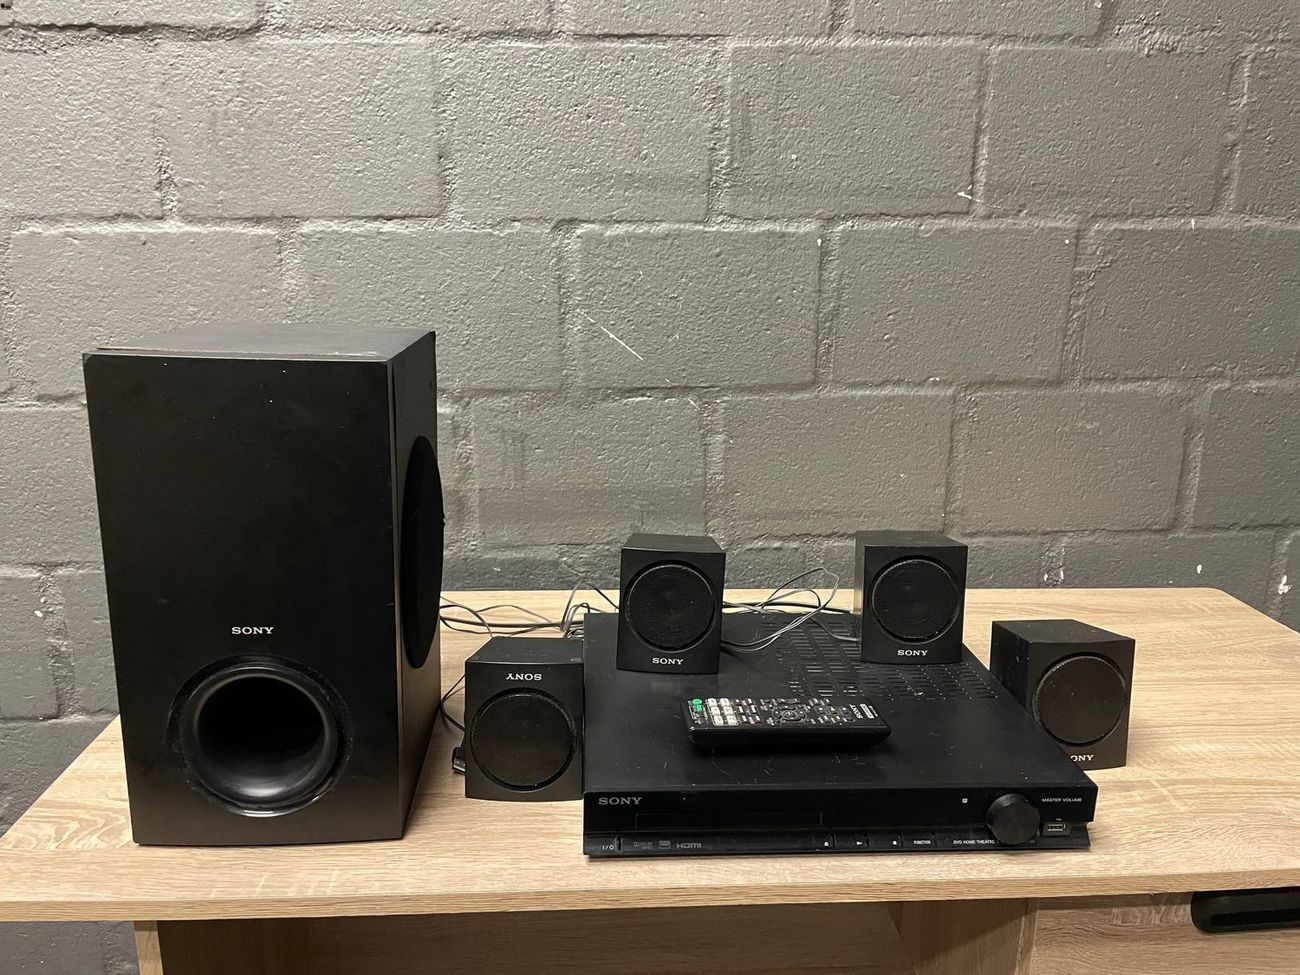
- Wireless Subwoofer (if applicable): Some models of the iLive Sound Bar come with a wireless subwoofer for enhanced bass. If you have this component, place it in your desired location within the recommended range of the sound bar, usually within 30 feet.
- Connection Options: Take note of the available connection options on the sound bar and select the most suitable one for your TV. The iLive Sound Bar typically offers HDMI, optical, and RCA inputs. HDMI is preferred for the best audio quality, while optical and RCA are alternatives if your TV only supports those connections.
By following these steps, you will have successfully unpacked and set up your iLive Sound Bar, preparing it for the next step: connecting it to your TV.
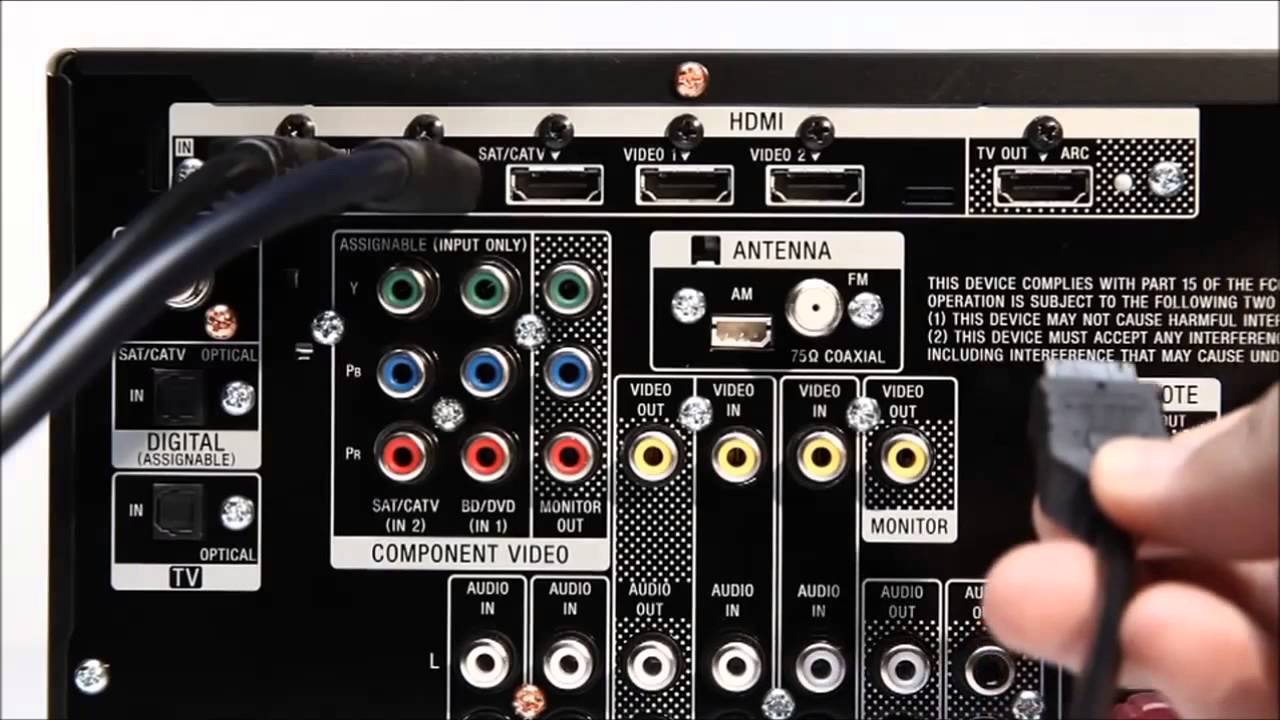
Step 2: Connect the iLive Sound Bar to the TV
Once you have unpacked and set up your iLive Sound Bar, the next step is to connect it to your TV. This will allow you to enjoy enhanced audio while watching your favorite movies, TV shows, or playing games. Follow these instructions for a seamless connection:
- HDMI Connection: If your TV and iLive Sound Bar both have HDMI ports, this is the preferred method of connection. Simply connect one end of an HDMI cable to the HDMI output port on the iLive Sound Bar and the other end to an available HDMI input port on your TV. Make sure to select the corresponding HDMI input on your TV.
- Optical Connection: If your TV does not have an HDMI port, you can use an optical cable for the connection. Connect one end of the optical cable to the optical output port on your TV and the other end to the optical input port on the iLive Sound Bar. Remember to set your TV’s audio output settings to “Optical” or “Digital Audio Out” for this connection.
- RCA Connection: For TVs that do not have HDMI or optical ports, you can use RCA cables. Connect the red and white RCA connectors to the corresponding audio output ports on your TV, and then connect the other end to the RCA input ports on the iLive Sound Bar. Again, ensure that your TV’s audio output settings are set to “Analog” or “RCA Out” for this connection.
- Bluetooth Connection: If your iLive Sound Bar supports Bluetooth connectivity, you can pair it wirelessly with your TV. Activate the Bluetooth function on both devices and follow the pairing instructions provided in the iLive Sound Bar’s user manual. Keep in mind that the range for Bluetooth connection may vary, so it’s recommended to have the sound bar in close proximity to the TV.
After making the appropriate connection between your iLive Sound Bar and TV, ensure that the sound bar is set to the correct input source to receive audio signals from your TV. You can typically do this by pressing the “Input” or “Source” button on the sound bar remote control until the correct input source is displayed.
With the iLive Sound Bar successfully connected to your TV, you’re now ready to move on to the next step: adjusting the audio settings on your TV.
Step 3: Adjust the Audio Settings on the TV
Now that you have connected your iLive Sound Bar to your TV, it’s time to adjust the audio settings on your TV to ensure optimal sound quality. Follow these steps to make the necessary adjustments:
- Access the Audio Settings: On your TV remote control, look for a button labeled “Menu” or “Settings.” Press this button to access the TV’s settings menu.
- Select Audio Settings: Within the settings menu, navigate to the audio or sound settings section. The exact location of these settings may vary depending on your TV brand and model.
- Choose Audio Output Type: In the audio settings, select the corresponding audio output type based on the connection method used to connect the iLive Sound Bar. If you connected the sound bar using HDMI, choose “HDMI” or “External Speakers.” For optical or RCA connections, select “Optical” or “Analog Audio Out.”
- Adjust Sound Settings: Once you have selected the audio output type, you can fine-tune the sound settings to your preference. This may include adjusting the volume level, bass, treble, and other equalizer settings. Experiment with these settings to achieve the desired audio balance.
- Enable Surround Sound (if applicable): Some TVs have a surround sound or virtual surround feature that can enhance the audio experience. Check if your TV has this feature and enable it if desired. This will further immerse you in the sound output from the iLive Sound Bar.
- Test Audio Output: Play a piece of audio or video content on your TV and listen to the sound output. Adjust the volume and other settings as needed to achieve the desired audio quality and clarity.
It’s important to note that the audio settings on your TV may vary depending on the brand and model. Refer to your TV’s user manual for specific instructions on adjusting the audio settings.
With the audio settings on your TV properly adjusted, you have now optimized the sound output from your iLive Sound Bar. Now, let’s move on to the next step: connecting additional devices to the sound bar.
Step 4: Connect Additional Devices to the iLive Sound Bar
One of the advantages of using a sound bar like the iLive Sound Bar is the ability to connect multiple devices to it, allowing you to enjoy enhanced audio from various sources. Follow these steps to connect additional devices to your iLive Sound Bar:
- Identify Available Ports: Take a look at the back or side of the iLive Sound Bar to identify the available input ports. Common input options include HDMI, optical, RCA, and auxiliary (3.5mm).
- Choose the Connection Method: Based on the device you want to connect, choose the appropriate connection method. If your device has an HDMI output, connect it using an HDMI cable. For optical or RCA outputs, use the respective cables. Alternatively, if your device has a headphone jack, you can use an auxiliary cable.
- Connect the Device: Plug one end of the chosen cable into the output port on your device and the other end into the corresponding input port on the iLive Sound Bar. Ensure a secure and proper connection.
- Switch the Input: On the iLive Sound Bar remote control, select the input corresponding to the connected device. This may be labeled as “HDMI,” “Optical,” “RCA,” or “Aux,” depending on your sound bar model.
- Test the Audio: Play audio from the connected device and listen to the sound output. Adjust the volume as needed using the sound bar remote control.
- Repeat for Other Devices: If you have multiple devices you want to connect, repeat the above steps for each device, ensuring that each one is connected to a separate input port on the iLive Sound Bar.
By following these steps, you can easily connect additional devices such as game consoles, Blu-ray players, streaming devices, or even a smartphone or tablet to your iLive Sound Bar. This allows you to enjoy high-quality audio from a variety of sources, all routed through your sound bar.
Now that you have successfully connected additional devices to the iLive Sound Bar, it’s time to move on to the final step: testing the sound output and making any necessary adjustments.
Step 5: Test the Sound Output and Make Necessary Adjustments
After setting up and connecting your iLive Sound Bar, it’s crucial to test the sound output and make any necessary adjustments to ensure the best audio experience. Follow these steps to fine-tune the sound output:
- Play Audio or Video Content: Start by playing your favorite audio or video content on your TV or connected device. This could be a movie, music, or any content that allows you to assess the sound quality.
- Listen and Evaluate: Pay close attention to the sound coming from the iLive Sound Bar. Evaluate the clarity, volume, and overall balance of the audio. Take note of any areas that may need improvement.
- Adjust Volume: Use the sound bar’s remote control to adjust the volume levels to your preference. Increase or decrease the volume to achieve a comfortable and immersive sound experience.
- Equalizer Settings: If your iLive Sound Bar offers equalizer settings, explore these options to customize the sound. Adjust the bass, treble, and other equalizer settings to enhance specific frequencies and achieve the desired audio profile.
- Positioning and Acoustics: Experiment with the positioning of the sound bar and other room elements to optimize the acoustics. Adjust the placement of the sound bar, subwoofer, and even furniture to minimize echo and maximize sound projection.
- Surround Sound Function (if applicable): If your iLive Sound Bar has a surround sound function, make sure it is enabled to enhance the spatial audio experience. Check the sound bar’s user manual for instructions on activating this feature.
- Revisit TV Settings: Double-check the audio settings on your TV and make any necessary adjustments. Pay attention to audio output levels, input settings, and any sound modes or enhancements provided by your TV.
During the testing process, remember to periodically listen to different types of content to ensure that the adjustments you make cater to a variety of audio sources.
By following these steps and fine-tuning the sound output, you can fully optimize the audio quality of your iLive Sound Bar, delivering an immersive and enjoyable audio experience for all your multimedia entertainment.
With the sound output tested and adjusted, you have successfully completed the setup and optimization process for your iLive Sound Bar. Congratulations! Now sit back, relax, and enjoy the enhanced audio experience it provides.
Conclusion
Setting up and connecting the iLive Sound Bar to your TV can greatly enhance your audio experience, immersing you in a world of high-quality sound. By following the steps outlined in this guide, you can ensure a seamless setup process and enjoy optimal audio performance.
Starting with the unpacking and placement of the sound bar, you learned how to connect it to your TV using HDMI, optical, RCA, or Bluetooth connections. Adjusting the audio settings on your TV allows you to fine-tune the sound output, optimizing the volume, bass, treble, and surround sound features to suit your preferences.
Moreover, the flexibility of connecting additional devices to the iLive Sound Bar opens up a world of possibilities. Whether you want to connect a gaming console, Blu-ray player, or smartphone, the sound bar delivers enhanced audio from all your devices.
After completing the setup, it’s crucial to test the sound output and make any necessary adjustments. This ensures that you achieve the desired audio quality and balance. Pay attention to volume levels, equalizer settings, and the positioning of the sound bar and other elements in your room to maximize the acoustics.
With everything properly set up and optimized, you can now sit back, relax, and enjoy a powerful and immersive audio experience with your iLive Sound Bar. Whether you’re watching movies, listening to music, or playing games, the enhanced sound quality will take your entertainment to new heights.
Remember, for specific instructions and features, refer to the user manual of your iLive Sound Bar. Take the time to explore its capabilities and experiment with different settings to truly personalize your audio experience.
With the iLive Sound Bar, you can transform your TV viewing and audio enjoyment, bringing cinematic sound to the comfort of your own home. So go ahead, set up your iLive Sound Bar, immerse yourself in the sound, and let your entertainment come alive with every note, dialogue, and explosion.