Home>Production & Technology>Sound Bar>How To Reset Definitive Technology Sound Bar

Sound Bar
How To Reset Definitive Technology Sound Bar
Modified: January 22, 2024
Learn how to reset your Definitive Technology Sound Bar with our step-by-step guide. Get your Sound Bar back to its optimal performance quickly and easily.
(Many of the links in this article redirect to a specific reviewed product. Your purchase of these products through affiliate links helps to generate commission for AudioLover.com, at no extra cost. Learn more)
Table of Contents
Introduction
Welcome to our guide on how to reset your Definitive Technology sound bar. Have you ever experienced issues with your sound bar, such as sound distortion, connectivity problems, or unresponsive controls? Sometimes, these issues can be resolved by performing a simple reset. Resetting your sound bar can help restore it to its original settings and resolve any glitches or conflicts that may be causing the problems.
Definitive Technology sound bars are known for their exceptional audio quality and immersive surround sound experience. They are designed to enhance your home theater system and deliver an exceptional audio performance for movies, music, and gaming. However, like any electronic device, they can occasionally encounter issues that require a reset.
Performing a reset on your Definitive Technology sound bar can help troubleshoot and resolve common issues without the need for technical assistance. It’s a simple process that you can do on your own, without any special tools or expertise. In this guide, we will walk you through the step-by-step process of resetting your sound bar to its factory settings.
Before we proceed, it’s important to note that resetting your sound bar will erase any custom settings you have made, such as audio adjustments or personalized sound modes. Make sure to take note of any preferred settings so that you can easily reconfigure them after the reset.
If you’re ready to get started, let’s dive into the steps for resetting your Definitive Technology sound bar.
Step 1: Power off the Sound Bar
The first step in resetting your Definitive Technology sound bar is to power it off. This ensures that the device is completely shut down before proceeding with the reset process.
To power off the sound bar, locate the power button on the device or the remote control. Press and hold the power button until the sound bar turns off. Some sound bars may have an indicator light that turns off when the device is powered down.
It’s important to ensure that the sound bar is unplugged from any power source during the reset process. This will prevent any potential electrical interference or damage and ensure a smooth reset.
If your sound bar is connected to other devices, such as a television or audio receiver, make sure to power off those devices as well. This will ensure a clean reset and prevent any potential conflicts during the process.
Once you have powered off the sound bar and any connected devices, you’re ready to proceed to the next step of the reset process.
Step 2: Disconnect from Power Source
The next step in resetting your Definitive Technology sound bar is to disconnect it from the power source. This step is crucial to ensure a complete power reset and allow the device’s internal components to reset themselves.
To disconnect the sound bar from the power source, locate the power cable that is connected to the device. Depending on the model of your sound bar, the power cable may be permanently attached or removable.
If the power cable is removable, gently unplug it from both the sound bar and the power outlet. Be careful not to tug on the cable or bend any of the connectors.
If the power cable is permanently attached, you will need to locate the power outlet or surge protector that the sound bar is connected to. Unplug the power cable from the outlet or surge protector to ensure a complete disconnection.
It’s essential to wait for a few minutes after disconnecting the power source. This allows any residual electrical charge to dissipate and ensures a clean reset when you reconnect the sound bar later.
While the sound bar is disconnected from the power source, you can take the opportunity to check the power cable for any damage or wear. If you notice any frayed wires or loose connections, it may be necessary to replace the cable to ensure proper power supply and avoid future issues.
Once you have successfully disconnected the sound bar from the power source, you’re ready to move on to the next step of the reset process.
Step 3: Reset the Sound Bar to Factory Settings
Resetting your Definitive Technology sound bar to its factory settings is the next step in the reset process. This will erase any custom settings or configurations you have made and restore the sound bar to its original state.
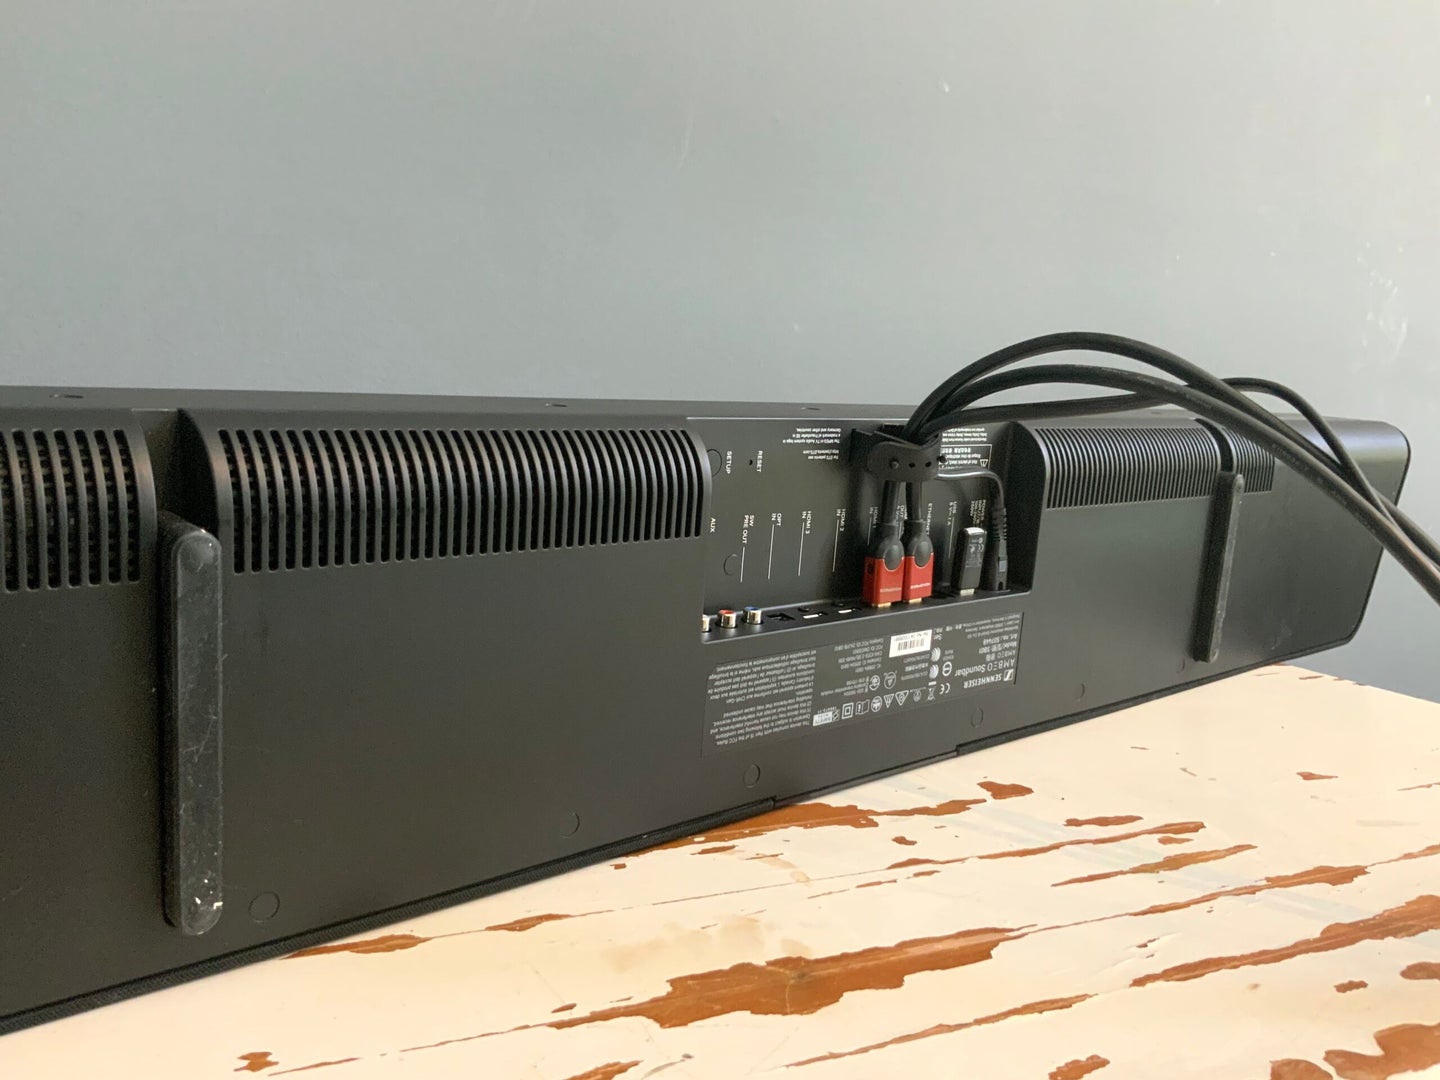
To reset the sound bar, locate the reset button on the device. The reset button is typically a small, recessed button that may require a paperclip or a similar tool to press.
Gently insert the paperclip or tool into the reset button and press and hold it for a few seconds. You may need to apply a bit of pressure to ensure the button is fully activated.
Keep in mind that the location of the reset button may vary depending on the model of your sound bar. Consult the user manual or the manufacturer’s website for the specific location of the reset button on your device.
After holding the reset button for a few seconds, you should see some indicators on the sound bar, such as lights flashing or the display panel showing a reset message. This confirms that the reset process has been initiated.
It’s important to note that the reset process may take a few seconds to complete. During this time, it’s crucial to avoid any interruptions or pressing any other buttons on the sound bar. Allow the device to reset itself fully.
Once the reset process is complete, you will see the sound bar return to its initial state, as if it were brand new. This means that any previous settings, such as input selections or audio configurations, will be cleared.
Now that you have successfully reset your sound bar to its factory settings, you can proceed to the next step of the reset process.
Step 4: Reconnect the Sound Bar to Power
After resetting your Definitive Technology sound bar to its factory settings, the next step is to reconnect it to the power source. This will provide the necessary power to turn on the device and allow you to proceed with the setup process.
To reconnect the sound bar to power, take the power cable that you disconnected in Step 2 and plug it back into the sound bar’s power input. Make sure it is securely inserted to ensure a proper connection.
If you had previously unplugged the power cable from the outlet or surge protector, now is the time to plug it back in. Ensure that the power source is switched on, and if you’re using a surge protector, make sure it is powered on as well.
Once the sound bar is connected to the power source, you may see some indicators on the device, such as lights turning on or a display panel showing signs of power. This indicates that the sound bar is receiving power and is ready to be set up again.
It’s important to be patient during this step and allow the sound bar a few moments to fully power on. Depending on the model and the device’s internal processes, it may take a few seconds or up to a minute for the sound bar to fully initialize.
After the device has powered on, you’re ready to move on to the final step of the reset process, which involves setting up the sound bar again.
Before moving forward, make sure you have any required cables, such as HDMI or optical cables, ready for the setup process. Also, double-check that any other devices, such as a television or audio receiver, are powered on and properly connected.
Now that your sound bar is reconnected to power, let’s proceed to the final step and set it up again.
Step 5: Set up the Sound Bar Again
After resetting and reconnecting your Definitive Technology sound bar, the final step is to set it up again. This involves configuring your sound bar’s settings, connecting it to other devices, and ensuring optimal audio performance.
Start by referring to the user manual or the manufacturer’s website for specific setup instructions for your particular model of sound bar. This will provide you with detailed guidance on connecting your sound bar to a television, audio sources, and adjusting settings.
If your sound bar requires a physical connection to a television or audio receiver, use the appropriate cables, such as HDMI or optical cables, and connect them securely to the corresponding ports on your sound bar and the external device.
Once the physical connections are made, power on your television or receiver and navigate to the audio settings. Select the appropriate input source for your sound bar. For example, if you connected your sound bar to the HDMI ARC (Audio Return Channel) port, choose the corresponding HDMI input on your television.
Next, access the sound bar’s settings menu using the remote control or the physical buttons on the device. Adjust the audio settings according to your preferences, such as bass and treble levels, sound modes, and surround sound options.
It’s also a good time to check for any firmware updates for your sound bar. Visit the manufacturer’s website or use the provided software to ensure that your sound bar is running the latest firmware version, as updates may enhance performance and resolve any known issues.
After configuring your sound bar’s settings, test the audio output by playing different types of content, such as movies, music, or games. Make sure the sound quality is to your satisfaction and that the sound bar is functioning correctly with other devices.
If you encounter any issues during the setup process or experience ongoing difficulties with your sound bar, consult the troubleshooting section of the user manual or contact the manufacturer’s customer support for further assistance.
With your sound bar properly set up and functioning, you can now enjoy your favorite movies, music, and games with immersive and high-quality audio.
As a final reminder, it’s a good practice to periodically update your sound bar’s firmware and perform routine maintenance to ensure optimal performance and longevity.
Congratulations! You have successfully reset and set up your Definitive Technology sound bar, and you can now enjoy its exceptional audio performance.
Conclusion
Resetting your Definitive Technology sound bar can often solve common issues and restore its performance to its original state. By following the step-by-step process outlined in this guide, you can easily reset your sound bar and enjoy an enhanced audio experience once again.
Remember, before performing a reset, make sure to note any customized settings or preferences that you may want to reconfigure after the reset process. This will help you personalize your sound bar’s settings quickly and easily.
Additionally, it’s important to consult your sound bar’s user manual or the manufacturer’s website for specific instructions and guidance that may be applicable to your particular model. This will ensure that you follow the correct steps and avoid any potential issues or complications.
If you encounter any difficulties during the reset process or have ongoing issues with your sound bar even after resetting, it’s recommended to reach out to the manufacturer’s customer support or consult a professional technician for further assistance.
By taking the time to reset and set up your sound bar properly, you can enjoy a superior audio experience with your home theater system, immersing yourself in movies, music, and games like never before.
We hope that this guide has been helpful to you in understanding how to reset your Definitive Technology sound bar. With these instructions and a little bit of patience, you can resolve common issues and enjoy the incredible sound quality and performance that Definitive Technology sound bars are known for.
Get ready to sit back, relax, and let the powerful sound of your reset sound bar envelop you in a captivating audio experience!

