Home>Production & Technology>Surround Sound>How To Turn On Surround Sound
Surround Sound
How To Turn On Surround Sound
Modified: January 22, 2024
Learn how to activate and enjoy the immersive experience of surround sound in your home. Follow our step-by-step guide to set up and turn on surround sound today.
(Many of the links in this article redirect to a specific reviewed product. Your purchase of these products through affiliate links helps to generate commission for AudioLover.com, at no extra cost. Learn more)
Table of Contents
Introduction
Welcome to the world of surround sound! If you’re looking to elevate your audio experience and immerse yourself in a captivating soundscape, then surround sound technology is the way to go. Whether you’re a music enthusiast, a movie buff, or a gaming fanatic, surround sound can take your entertainment to new heights by creating a multi-dimensional audio environment that fills the room.
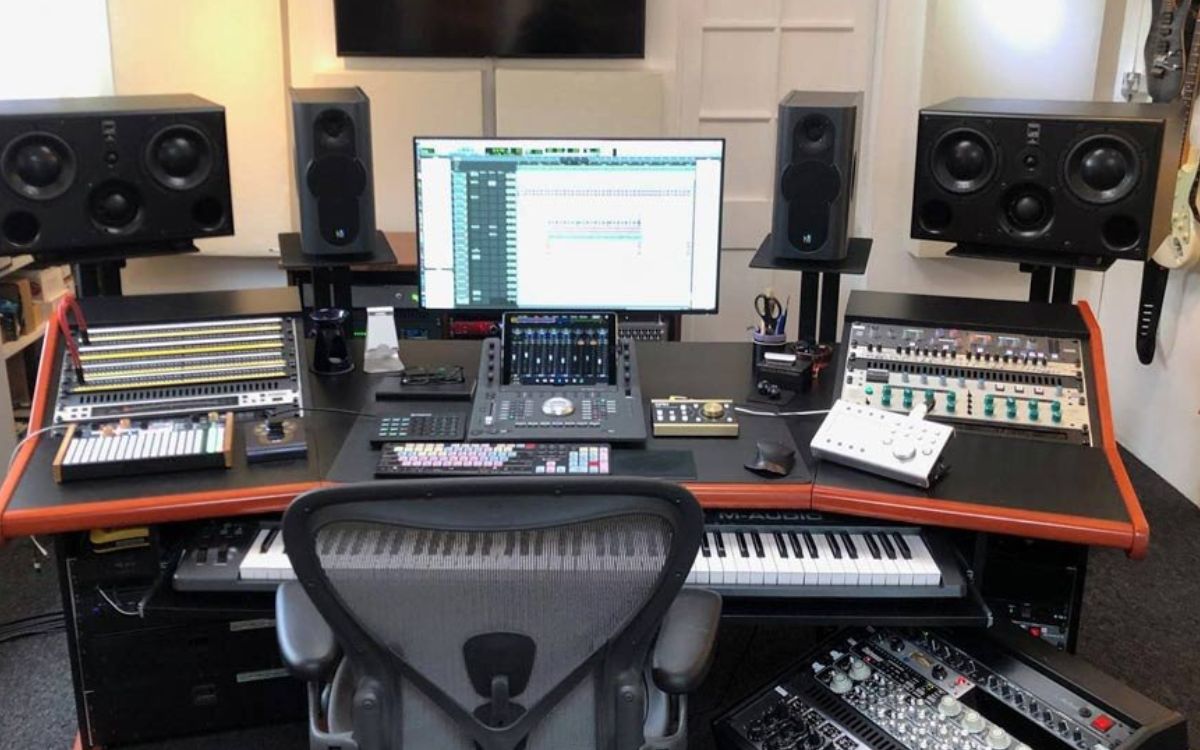
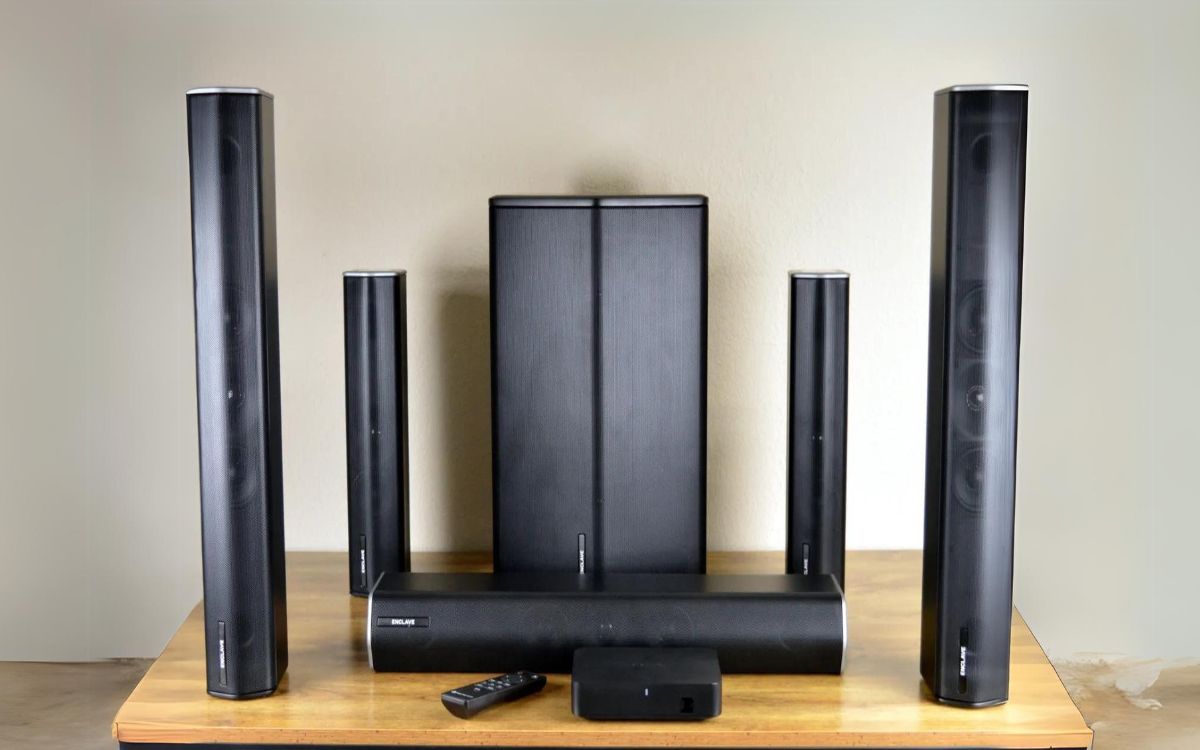
Surround sound systems utilize multiple speakers strategically positioned around the room to create an enveloping sound experience that mimics real-life audio. By placing speakers in different directions, surround sound systems can reproduce audio effects, like footsteps approaching from behind or helicopters soaring overhead, adding depth and realism to your audio content.
While the concept of surround sound may seem intimidating at first, fear not! In this comprehensive guide, we will walk you through everything you need to know about turning on and setting up your surround sound system. From checking your equipment to adjusting audio settings, we’ve got you covered. So, grab your popcorn, kick back, and let’s dive into the wonderful world of surround sound.
Getting Started
Before you begin setting up your surround sound system, there are a few things you’ll need to gather:
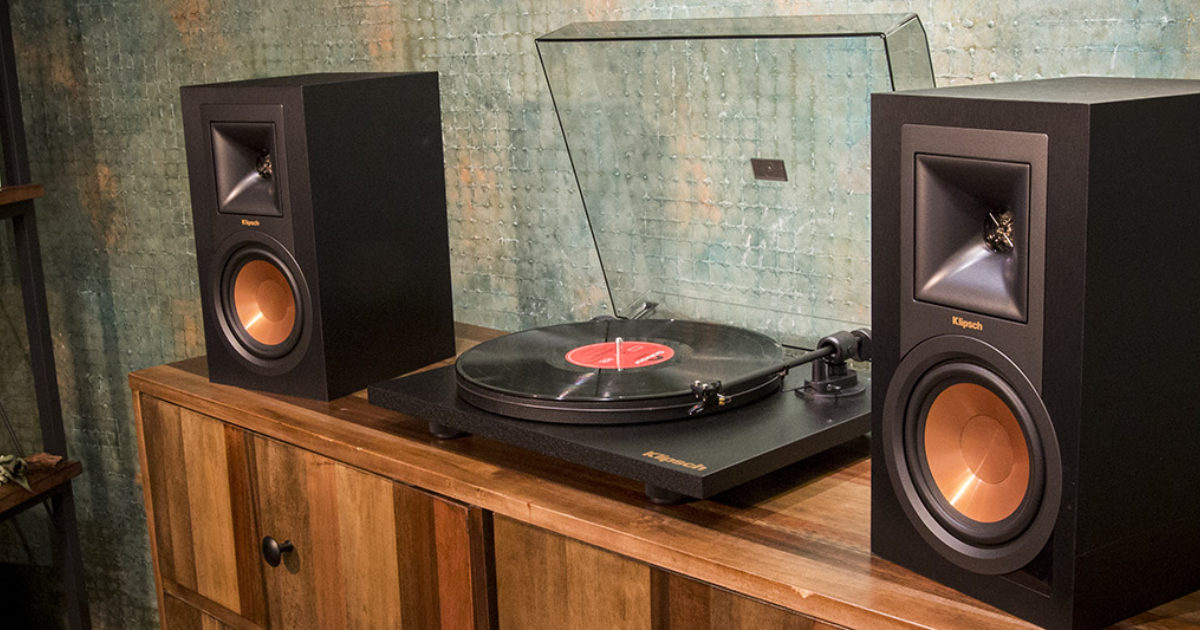
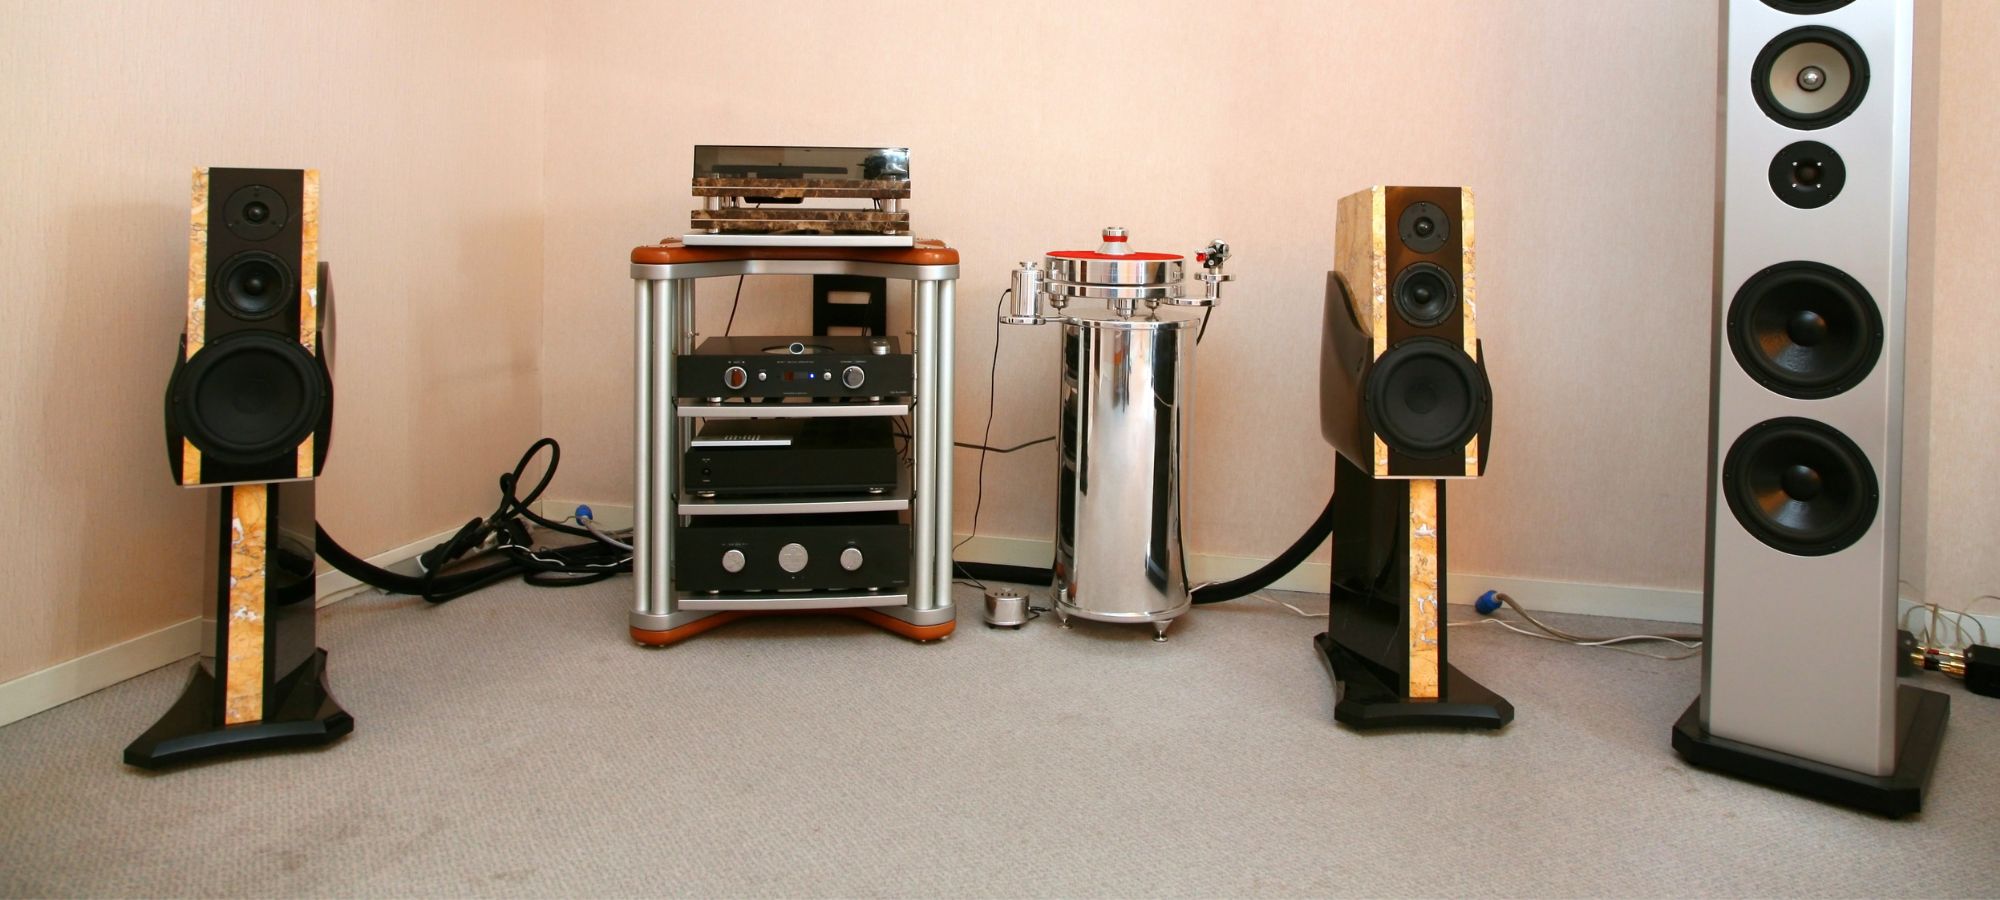
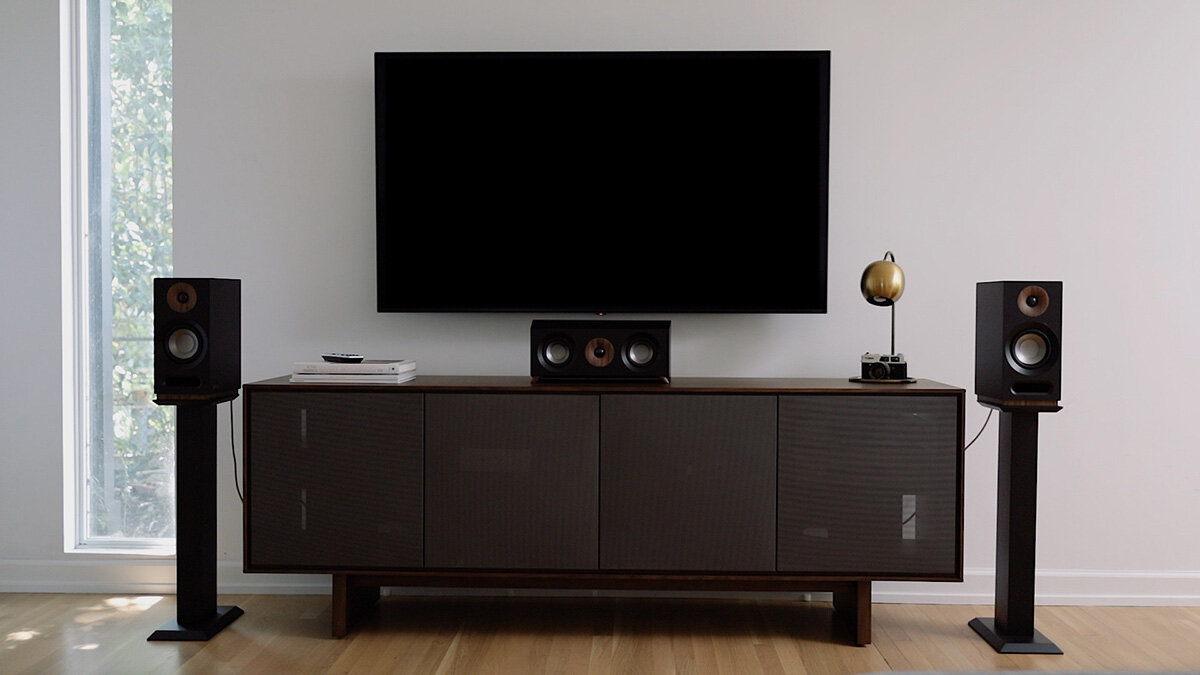
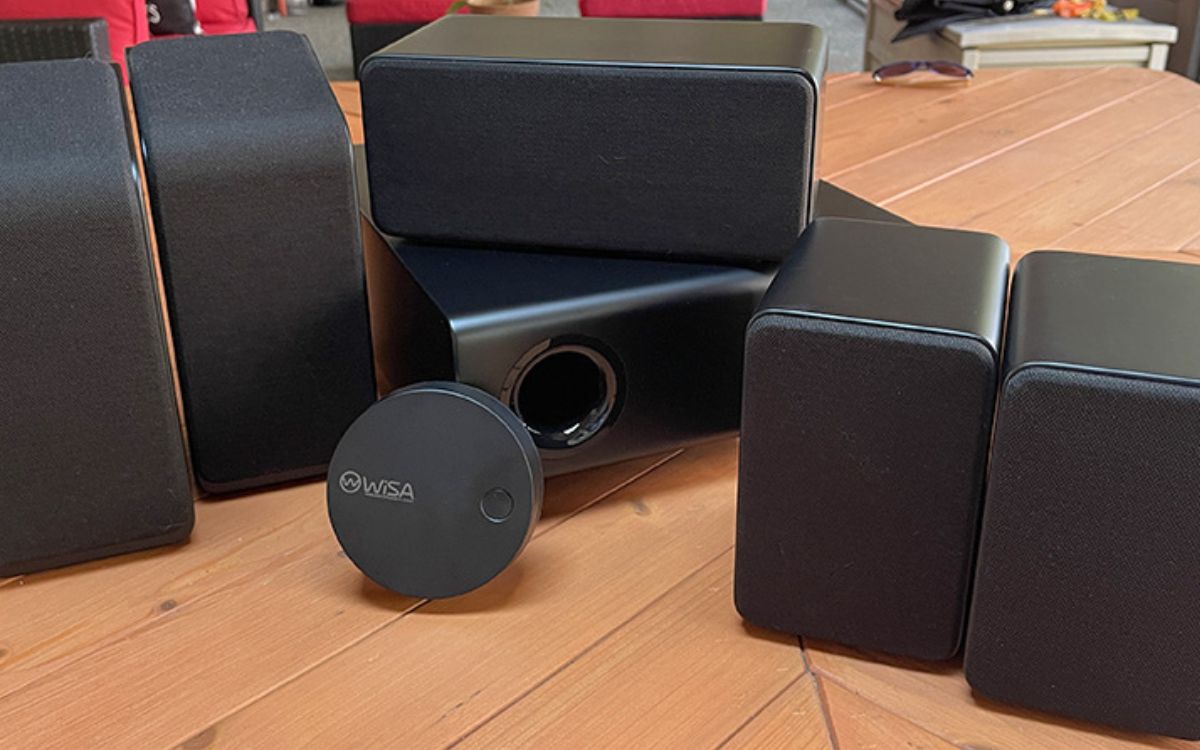
- A surround sound system: This includes a receiver, speakers, and a subwoofer.
- An audio source: This could be your TV, Blu-ray player, gaming console, or a dedicated media player.
- Audio cables: You’ll need cables to connect your audio source to the receiver and the receiver to the speakers.
- An HDMI cable (optional): If you’re using a digital audio source, such as a Blu-ray player or gaming console, an HDMI cable can provide both audio and video signals.
- A measuring tape: This tool will come in handy when determining the optimal placement of your speakers.
Once you have your equipment and tools ready, it’s time to move on to the next step: checking your existing equipment.
Note: Depending on the specific brand and model of your surround sound system, the setup process may vary slightly. Always refer to the manufacturer’s instructions for accurate guidance.
Checking Your Equipment
Before setting up your surround sound system, it is essential to ensure that all your equipment is in working order. This will help you avoid any hiccups during the setup process and ensure optimal performance.
Here are a few steps to check your equipment:
- Inspect the cables: Examine all the cables for any signs of wear and tear, such as frayed wires or bent connectors. If you find any damaged cables, replace them with new ones to prevent audio disruptions.
- Check the speaker placement: If you have already positioned your speakers, double-check their placement. Each speaker should be positioned correctly, according to the manufacturer’s recommendations, to ensure you get the best surround sound experience.
- Verify the power connections: Make sure all components of your surround sound system are properly connected to power outlets. Check that the power cables are securely plugged in and that there are no loose connections.
- Test the audio source: Connect your audio source to a different output device, like headphones or external speakers, to confirm that it is working correctly. If you encounter any issues, troubleshoot or replace the source device before proceeding further.
By performing these equipment checks, you can eliminate any potential issues that may arise from faulty cables or equipment and ensure a smooth setup process for your surround sound system.
Connecting Your Surround Sound System
Now that you’ve checked your equipment, it’s time to connect your surround sound system. Follow these steps to ensure proper connectivity:
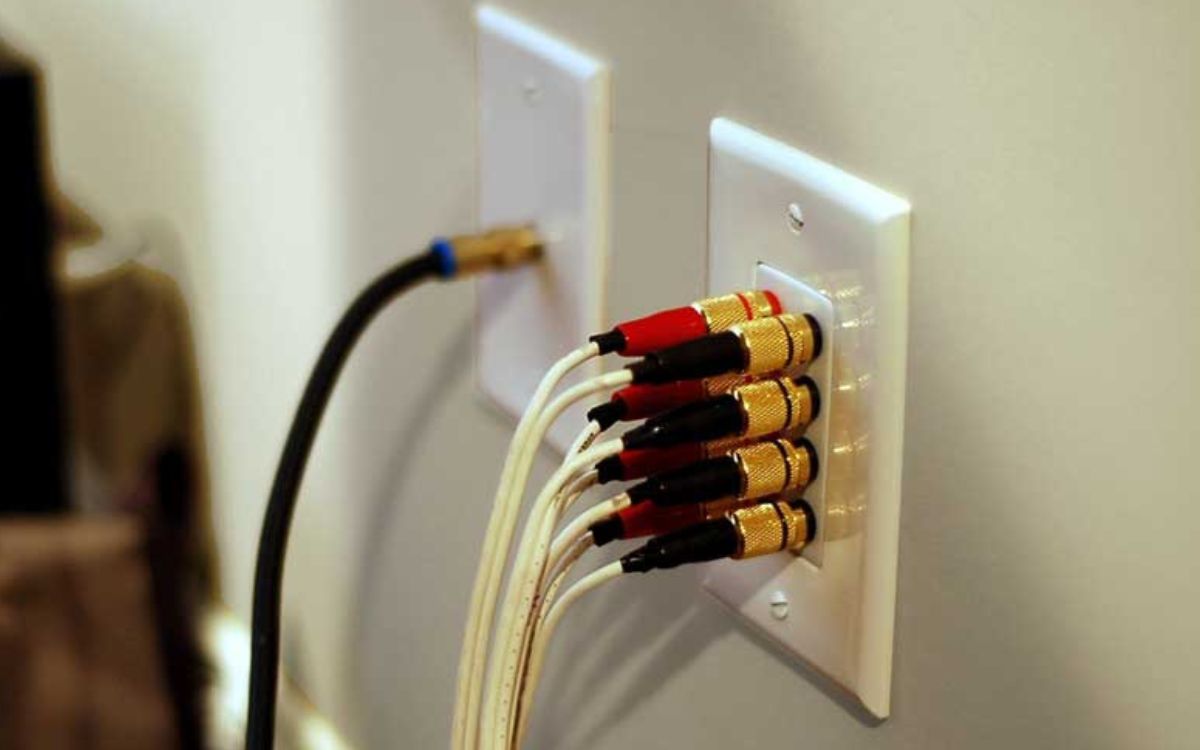
- Identify the audio inputs: Locate the audio input ports on your audio source device, such as your TV or Blu-ray player. Common audio input ports include HDMI, optical, RCA, or 3.5mm audio jacks.
- Connect the audio source to the receiver: Depending on the available connections, use the appropriate cables to connect the audio output of your source device to the audio input ports on the receiver. For digital sources like Blu-ray players, HDMI cables are recommended for both audio and video transmission.
- Connect the receiver to the speakers: Use speaker wires or cables to connect each speaker to the corresponding speaker output ports on the receiver. Ensure that the positive (+) and negative (-) terminals on the speakers match the respective terminals on the receiver.
- Connect the subwoofer: If your surround sound system includes a subwoofer, connect it to the designated subwoofer output port on the receiver using a subwoofer cable. In some cases, the subwoofer may connect wirelessly to the receiver.
- Plug in the power cords: Connect the power cords of the receiver, speakers, and subwoofer to the power outlets. Ensure that the power cords are securely plugged in and that the devices receive power.
After connecting all the components, refer to the user manual of your surround sound system to enable the proper audio settings and calibration. This may involve selecting the appropriate audio input source, adjusting speaker levels, and configuring any additional audio enhancements.
Once everything is connected and configured, you’re ready to experience the immersive world of surround sound!
Adjusting the Audio Settings
After connecting your surround sound system, it’s crucial to fine-tune the audio settings to ensure an optimal listening experience. Here are a few key settings to adjust:
- Audio mode selection: Most surround sound systems offer different audio modes, such as Stereo, Dolby Digital, DTS, or Pro Logic. Select the appropriate mode based on your audio source and personal preference. Movie enthusiasts may prefer surround modes, while music lovers might opt for stereo modes.
- Speaker configuration: Access the speaker configuration settings on your surround sound receiver to specify the size and placement of each speaker. This ensures that the audio is correctly distributed to each speaker for an immersive surround sound experience.
- Speaker distance and level calibration: Use the receiver’s calibration function to measure the distance and adjust the level of each speaker. This helps optimize the audio output by synchronizing the sound timing and ensuring balanced volume levels across all speakers.
- Equalizer settings: Many receivers offer equalizer options to adjust the audio frequency response. Experiment with the bass, treble, and mid-range levels to achieve the desired tonal balance for your listening preferences.
- Audio enhancements: Some surround sound systems may offer additional audio enhancements, such as virtual surround, dialogue enhancement, or dynamic range compression. Customize these settings to enhance clarity, dialogue intelligibility, or overall audio dynamics, according to your preferences.
It’s important to note that the audio settings may vary depending on the specific surround sound system you’re using. Refer to the user manual or consult the manufacturer’s website for detailed instructions tailored to your system.
Once you’ve adjusted the audio settings to your liking, sit back, relax, and enjoy the immersive audio experience that surround sound provides.
Testing the Surround Sound
Once you have set up and adjusted the audio settings of your surround sound system, it’s time to put it to the test. Testing the surround sound ensures that all the speakers are working correctly and that you are experiencing the intended immersive audio experience. Here’s how you can test your surround sound:
- Play a surround sound test video or audio: Look for test videos or audio files specifically designed for surround sound systems. These files are usually available online or can be found on Blu-ray discs that showcase the capabilities of surround sound technology. They often contain sound effects that pan between speakers, allowing you to hear the audio moving around the room.
- Pay attention to speaker placement: During the test, pay attention to the position and sound coming from each speaker. You should hear distinct audio coming from the different channels, such as front, rear, and center speakers. If there are any discrepancies or issues, ensure that the speakers are correctly positioned and the connections are secure.
- Listen for surround sound effects: The surround sound test will demonstrate the immersive effects that the system can reproduce. Listen for sounds that move from one speaker to another, creating a realistic and enveloping audio experience. It should feel as if the sound is coming from different directions, filling the room around you.
- Adjust settings if needed: If you notice any imbalance in the audio or if certain speakers appear to be louder or quieter than others, revisit the audio settings on your receiver. Make adjustments to the speaker levels or other configurations to achieve a well-balanced surround sound experience.
By conducting a thorough test, you can ensure that your surround sound system is functioning properly and that you are getting the most out of your audio setup.
Troubleshooting Common Issues
While setting up and using a surround sound system, you may encounter some common issues. Here are a few troubleshooting tips to help you resolve them:
- No sound from certain speakers: If you’re not hearing any audio from specific speakers, check the connections to ensure they are securely plugged in. Additionally, verify that the speaker settings on your receiver are correctly configured, specifying the correct speaker size, channel assignment, and distance.
- Inconsistent volume levels: If you experience uneven volume levels between speakers, use the level calibration feature on your receiver to adjust the output volume of each speaker. Ensure that the settings are balanced and aligned to achieve an even listening experience.
- No audio from subwoofer: If your subwoofer is not producing any sound, confirm that it is receiving power and that the cables are properly connected to the receiver. Additionally, check the subwoofer settings on your receiver to ensure it is activated and adjusted correctly.
- Poor sound quality: If you notice poor sound quality, such as distortion or muffled audio, check the audio cables for any damage or loose connections. Make sure they are securely connected to the correct input and output ports. Adjust the equalizer settings on your receiver to fine-tune the audio frequency response and improve overall sound quality.
- Audio delay: If you’re experiencing an audio delay, where the sound is out of sync with the visuals on your screen, check your receiver’s settings for an audio delay or lip-sync feature. Adjust the settings to match the audio and video timing for a synchronized viewing experience.
If troubleshooting these issues doesn’t resolve the problem, refer to the user manual of your surround sound system or contact the manufacturer’s customer support for further assistance.
Remember, patience and persistence are key when troubleshooting, and don’t hesitate to seek help if needed. Once you identify and resolve any issues, you can fully enjoy the immersive audio experience that surround sound provides.
Conclusion
Congratulations on successfully setting up your surround sound system! By following the steps outlined in this guide, you have taken a significant step towards enhancing your audio experience and immersing yourself in a world of captivating sound.
From checking your equipment to connecting the speakers and making audio adjustments, you’ve learned the essential steps to turn on and optimize your surround sound system. Remember to test your setup and troubleshoot any common issues that may arise along the way.
Now that your surround sound system is up and running, get ready to be amazed by the immersive audio experience it provides. Whether you’re watching movies, playing video games, or listening to your favorite music, surround sound adds depth, realism, and excitement to your entertainment.
Keep in mind that different audio sources and content may require specific settings adjustments, so continue to explore and fine-tune your system to suit your preferences and optimize the audio experience for each type of media.
Enjoy the rich, multi-dimensional sound and immerse yourself in the true power of surround sound technology. Sit back, relax, and let the sounds of your favorite content transport you to a whole new level of audio enjoyment.
Happy listening!