Home>Production & Technology>Sound>How To Stream Sound On Discord
Sound
How To Stream Sound On Discord
Modified: January 22, 2024
Learn how to stream sound on Discord with our step-by-step guide. Enhance your experience and enjoy crystal clear audio during your conversations.
(Many of the links in this article redirect to a specific reviewed product. Your purchase of these products through affiliate links helps to generate commission for AudioLover.com, at no extra cost. Learn more)
Table of Contents
Introduction
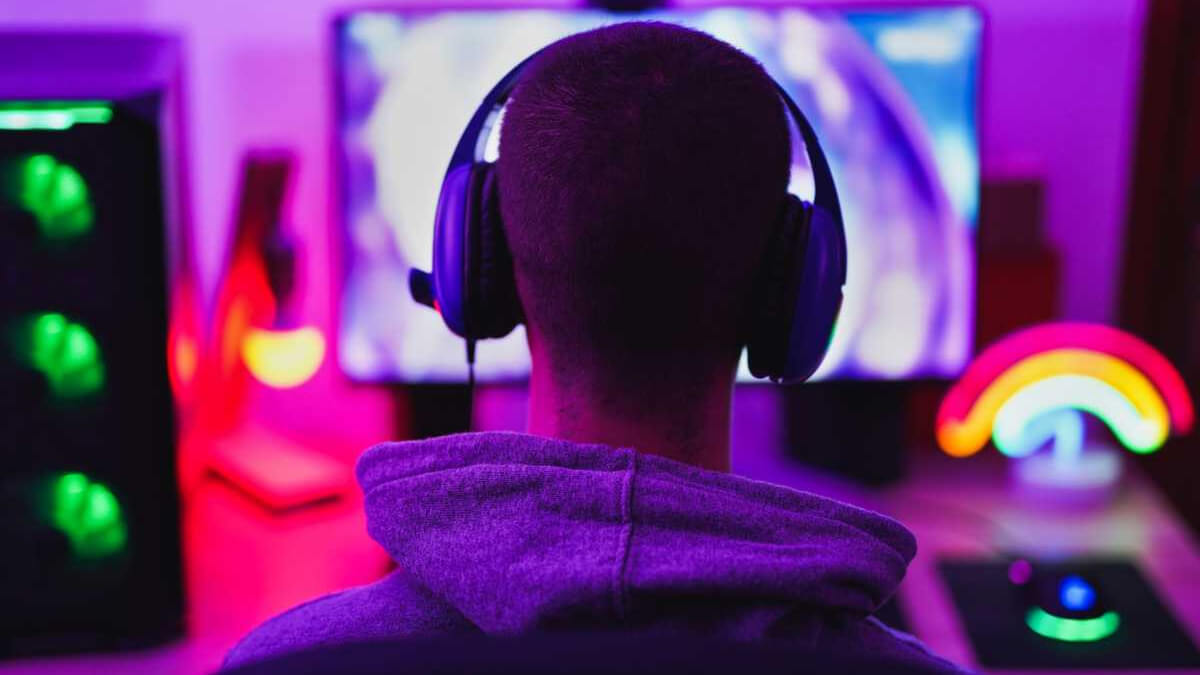
Welcome to a comprehensive guide on how to stream sound on Discord! Discord is a popular communication platform that allows users to chat via voice, video, and text. While it’s widely used for gaming, it’s also a great tool for various other purposes, including streaming sound.
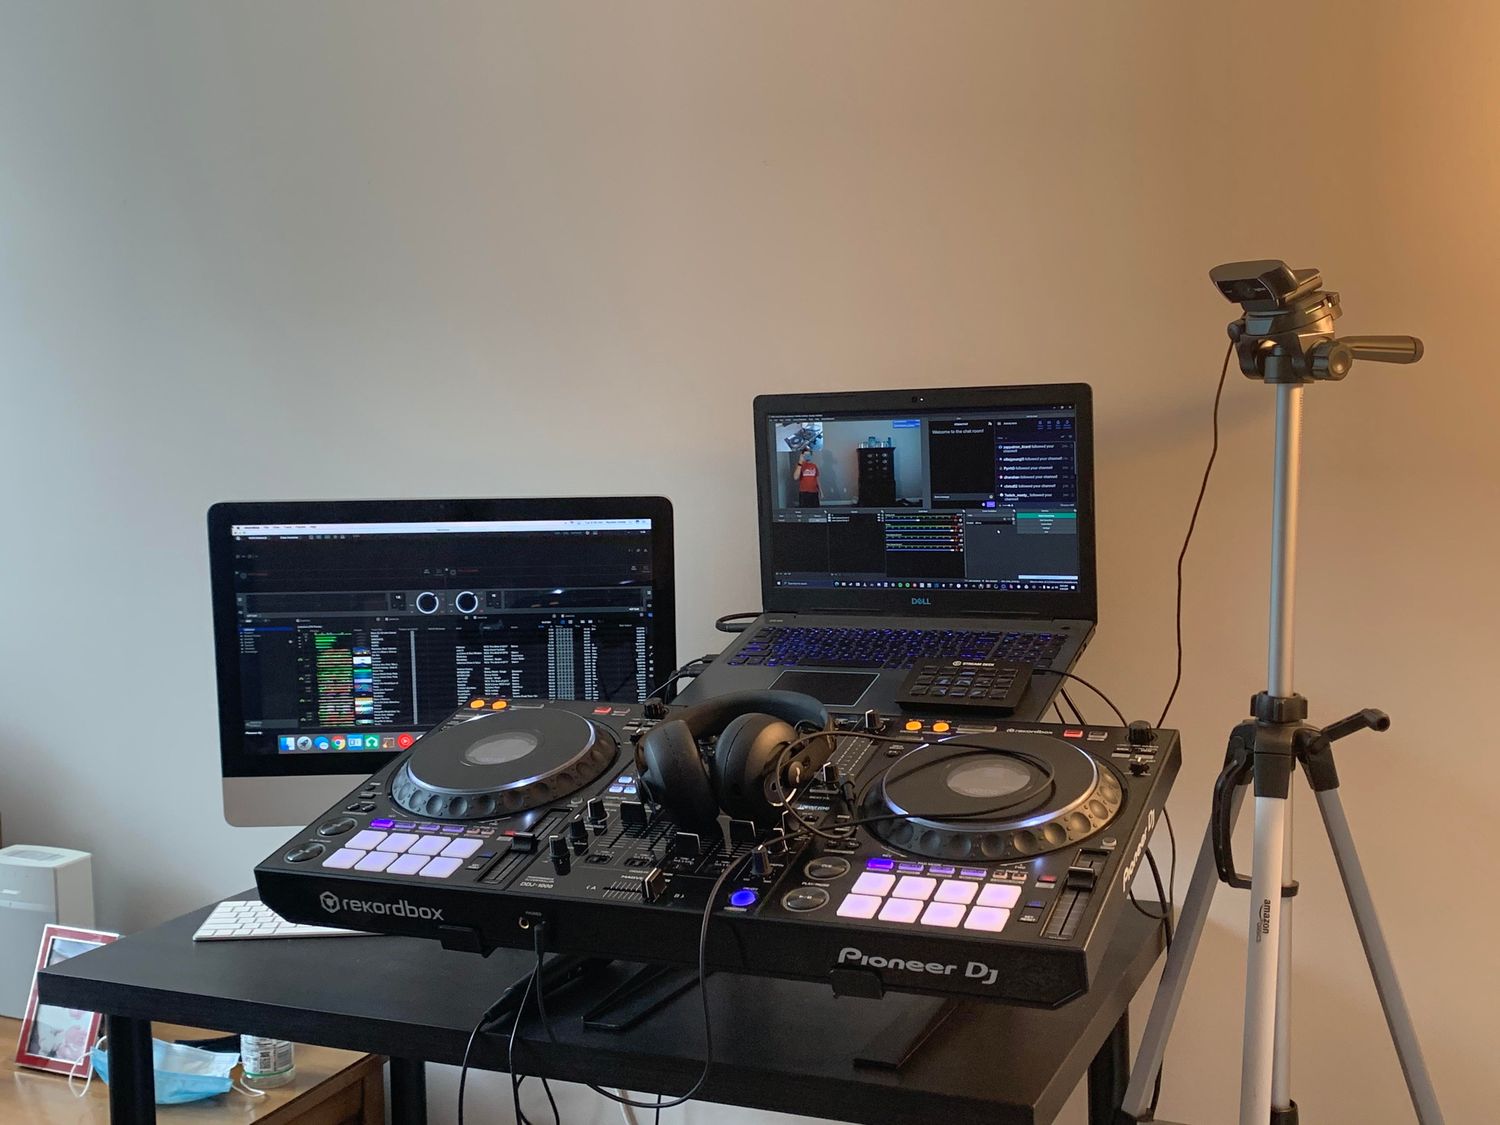
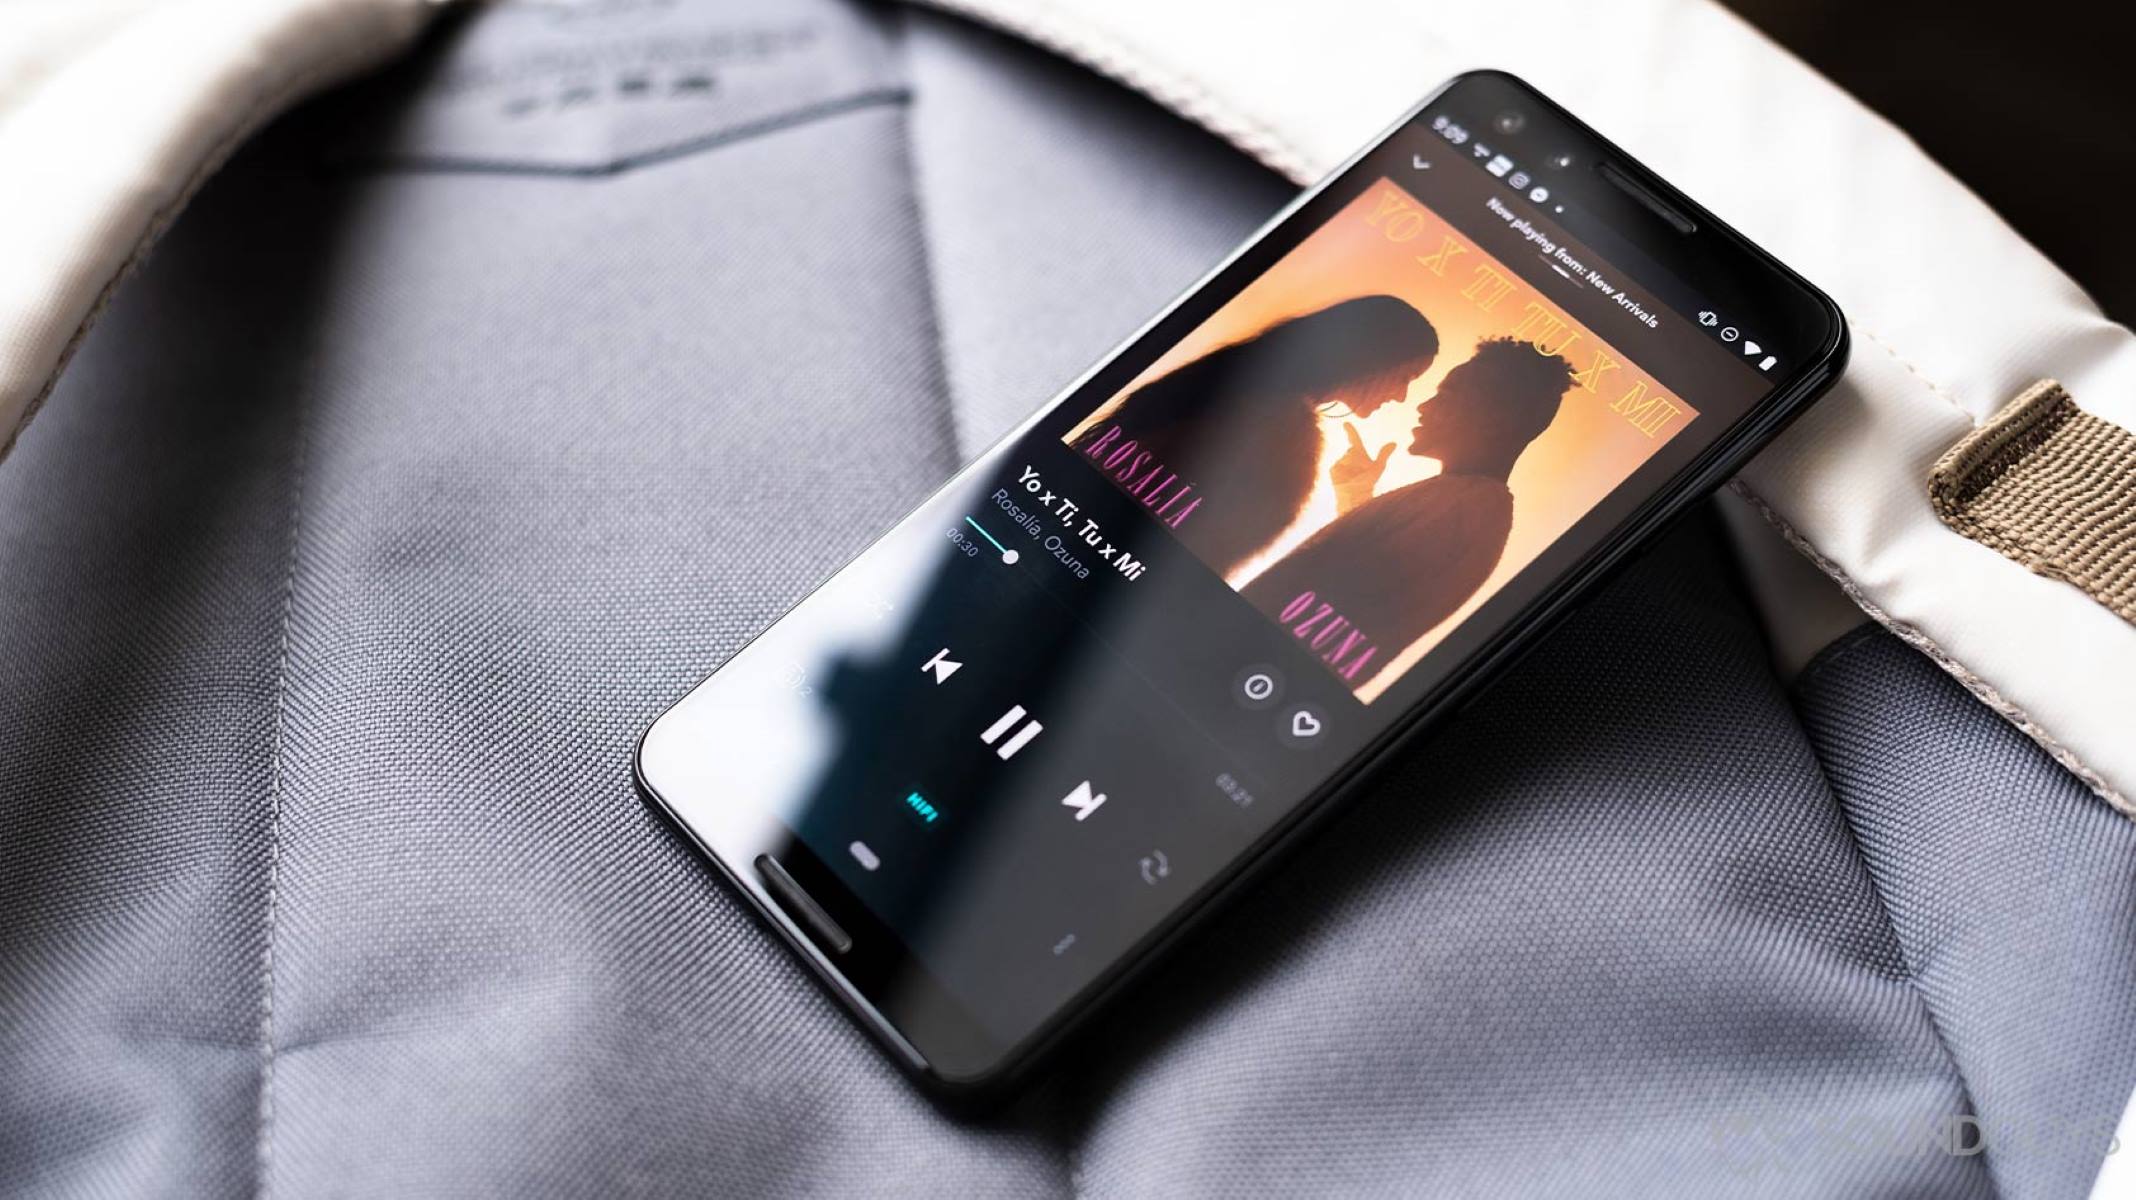
Streaming sound on Discord can be useful in multiple scenarios. Whether you want to share your favorite tunes with friends, perform a live DJ set, or present audio content to a larger audience, Discord provides the flexibility and features to make it happen. With the right setup, you can stream audio from your computer, microphone, or even other external devices.
In this guide, we’ll walk you through the steps to stream sound on Discord, from setting up your audio input to configuring the Discord settings and connecting to a voice channel. We’ll also provide troubleshooting tips for common issues that you may encounter along the way. So let’s jump in and get started!
Step 1: Setting up the Audio Input
Before you can start streaming sound on Discord, you’ll need to ensure that your audio input is properly set up. This involves configuring your computer’s audio settings and selecting the desired audio source that you want to stream.
Here are the steps to set up your audio input:
- Open your computer’s audio settings by right-clicking on the volume icon in the taskbar and selecting “Sounds” or by searching for “Sound Settings” in the Start menu.
- In the Sound Settings window, navigate to the “Input” tab. This is where you can manage your audio input devices.
- Make sure that the correct audio input device is selected. If you’re using a microphone, ensure that it is plugged in and recognized by your computer. You can test the microphone by speaking into it and checking if the input levels are moving.
- If you’re streaming audio from your computer, such as music or system sounds, select the appropriate audio source device. This could be your computer’s built-in speakers or an external audio interface.
- Adjust the input volume level to your desired setting. It’s recommended to test the sound levels by speaking into your microphone or playing audio from your computer to ensure optimal clarity without distortion.
- Once you’ve configured your audio input settings, click “Apply” or “OK” to save the changes.
It’s important to note that the specific steps may vary depending on your operating system. The instructions above are based on Windows, but similar settings can be found on macOS and Linux as well. Make sure to consult the documentation or support resources for your specific operating system if needed.
With your audio input properly set up, you’re ready to move on to the next step: configuring the Discord settings. Let’s dive in!
Step 2: Configuring Discord Settings
Configuring the Discord settings is crucial to ensure that your sound streaming experience is smooth and seamless. Discord provides various options for audio settings that can be customized according to your preferences and requirements.
Here are the steps to configure the Discord settings for sound streaming:
- Launch Discord on your computer and log in to your account.
- Click on the gear icon located at the bottom left corner of the Discord window. This will open the User Settings.
- Navigate to the “Voice & Video” tab. This is where you can manage your audio and video settings.
- In the “Input Device” section, select the audio input device that you configured in Step 1. This could be your microphone or the audio source device from your computer.
- Adjust the input sensitivity slider to set the threshold at which your microphone picks up sound. This helps prevent background noise from being transmitted while ensuring that your voice is captured effectively. You can use the input volume indicator to monitor the sensitivity levels in real-time.
- In the “Output Device” section, select the audio output device where you want to hear the sound from Discord. This could be your computer speakers, headphones, or any other connected audio device.
- Adjust the output volume slider to set the desired volume level for Discord audio. You can test the sound levels using the Test Output feature to ensure optimal clarity and volume.
- Explore other settings in the Voice & Video tab, such as the advanced settings for noise reduction, echo cancellation, and automatic gain control. These settings can help improve the overall sound quality during streaming.
- Once you’ve configured the desired settings, click “Save Changes” to apply the changes.
By configuring the Discord settings in this manner, you’ll have control over the audio input and output devices, ensuring that your sound streams are transmitted and received accurately.
Now that you’re done configuring the Discord settings, let’s move on to the next step: connecting to a voice channel and testing the sound streaming. Keep reading!
Step 3: Connecting and Testing the Sound
Now that you have set up your audio input and configured the Discord settings, it’s time to connect to a voice channel and test the sound streaming. Discord provides voice channels where you can join and communicate with other users in real-time. Here’s how you can connect and test the sound:
- Launch Discord and ensure that you are logged in to your account.
- In the Discord window, you’ll find a list of voice channels on the left-hand side. If you don’t see the voice channels, click on the three horizontal lines in the top left corner to expand the sidebar.
- Select the voice channel that you want to connect to by clicking on its name. This will join you to the channel with other users present.
- Once connected to the voice channel, you can start sharing sound by either speaking into your microphone or playing audio from your computer, depending on your desired setup.
- If you are using a microphone, make sure to enable the “Voice Activity” option in the bottom left corner of the Discord window. This allows your microphone to transmit sound when you speak.
- If you are streaming audio from your computer, make sure to enable the “Screen Share” option in the bottom left corner of the Discord window. This enables Discord to capture the audio from your computer and transmit it to the voice channel.
- Speak into your microphone or play audio from your computer to test the sound streaming. You should be able to hear the sound through the selected output device, and other users in the voice channel should be able to hear it as well.
- If there are any issues with the sound streaming, refer to the troubleshooting section below for common issues and solutions.
By following these steps, you can successfully connect to a voice channel on Discord and test the sound streaming functionality. Make sure to communicate with other users in the voice channel to ensure that they can hear the sound properly and adjust the volume levels if needed.
Now that you’re familiar with connecting and testing the sound on Discord, let’s move on to the next section: troubleshooting common issues that you may encounter during sound streaming.
Troubleshooting Common Issues
While streaming sound on Discord, you may encounter certain issues that prevent a smooth and uninterrupted experience. Let’s take a look at some common issues and their potential solutions:
- No sound: If you or other users in the voice channel are unable to hear any sound, first check your audio output settings in Discord and make sure the correct device is selected. Additionally, ensure that your computer’s volume is turned up and not muted. If using headphones, check if they are properly connected.
- Poor sound quality: If the sound quality is not up to the mark, consider adjusting the microphone/input sensitivity settings in Discord to filter out background noise. You can also try using a better quality microphone or audio source device.
- Sound distortion: If the sound is distorted or crackling, it could be due to high input volume levels. Lower the input volume or gain settings on your microphone or audio device to avoid distortion. Additionally, check for any loose connections or damaged cables.
- Echo or feedback: Echo or feedback can occur when the microphone input is being transmitted through speakers or other audio output devices. To mitigate this issue, use headphones to listen to the sound instead of relying on speakers. Also, consider adjusting the microphone position and distance from speakers to minimize echo.
- Other applications interfering: Sometimes, other applications or software on your computer can interfere with Discord’s sound streaming. Make sure to close or pause any other applications that might be accessing your audio input or output devices.
- Network connectivity: Sound streaming heavily relies on a stable internet connection. If you are experiencing frequent lag or interruptions, check your network connection and ensure that you have a strong and stable internet connection. Try connecting to a different network or restarting your router if needed.
If the above solutions do not resolve the issues, consider updating Discord to the latest version or reaching out to Discord support for further assistance. They have a dedicated support team to help troubleshoot and address any technical difficulties.
Remember, sound streaming on Discord should be an enjoyable and seamless experience. By following the troubleshooting steps and exploring the potential solutions, you can overcome common issues and enhance your overall streaming experience.
Now that you’re equipped with troubleshooting tips, you’re ready to stream sound on Discord like a pro!
Conclusion
Congratulations! You have now learned how to stream sound on Discord. By following the steps in this guide, you can easily configure your audio input, adjust the Discord settings, connect to a voice channel, and start streaming sound to share with friends or a larger audience.
Discord provides a versatile platform for communication, and sound streaming adds another layer of engagement and interaction. Whether you want to share music, perform live audio sessions, or present audio content, Discord’s features and settings allow you to tailor the sound streaming experience to your needs.
Remember to troubleshoot any common issues that may arise, such as sound quality, echo, or network connectivity. By addressing these issues, you can ensure a smooth and uninterrupted streaming session.
Now it’s time to unleash your creativity and explore the endless possibilities of sound streaming on Discord. Share your favorite tunes, engage in lively discussions, or entertain others with live audio performances.
Enjoy the seamless and immersive sound streaming experience on Discord, and let your voice be heard!