Home>Production & Technology>Audio Interface>How To Stream With Audio Interface
Audio Interface
How To Stream With Audio Interface
Modified: February 19, 2024
Learn how to easily stream with an audio interface. Enhance your sound quality and create professional streams with our step-by-step guide.
(Many of the links in this article redirect to a specific reviewed product. Your purchase of these products through affiliate links helps to generate commission for AudioLover.com, at no extra cost. Learn more)
Table of Contents
Introduction
Streaming has become a popular way for content creators to connect with their audience. Whether you’re a gamer, musician, podcaster, or live streamer, having high-quality audio is essential for a professional and engaging stream. That’s where an audio interface comes in.
An audio interface is a device that allows you to connect professional audio equipment, such as microphones and instruments, to your computer. It serves as the bridge between analog and digital signals, ensuring pristine sound quality and low latency. With an audio interface, you can capture crystal-clear audio and take your live streaming experience to the next level.
But with so many options available, how do you choose the right audio interface for streaming?
In this article, we’ll guide you through the process of selecting and setting up an audio interface for streaming. We’ll cover everything from the basics of audio interfaces to troubleshooting common issues that may arise. By the end of this article, you’ll have a solid understanding of how to streamline your streaming setup and deliver professional-grade sound to your audience.
What is an audio interface?
An audio interface is a device that serves as the middleman between your analog audio equipment and your computer. It converts analog audio signals into digital data that can be easily processed by your computer, and vice versa. In simpler terms, it allows you to connect professional microphones, instruments, and other audio equipment to your computer for recording, live streaming, or any other audio-related tasks.
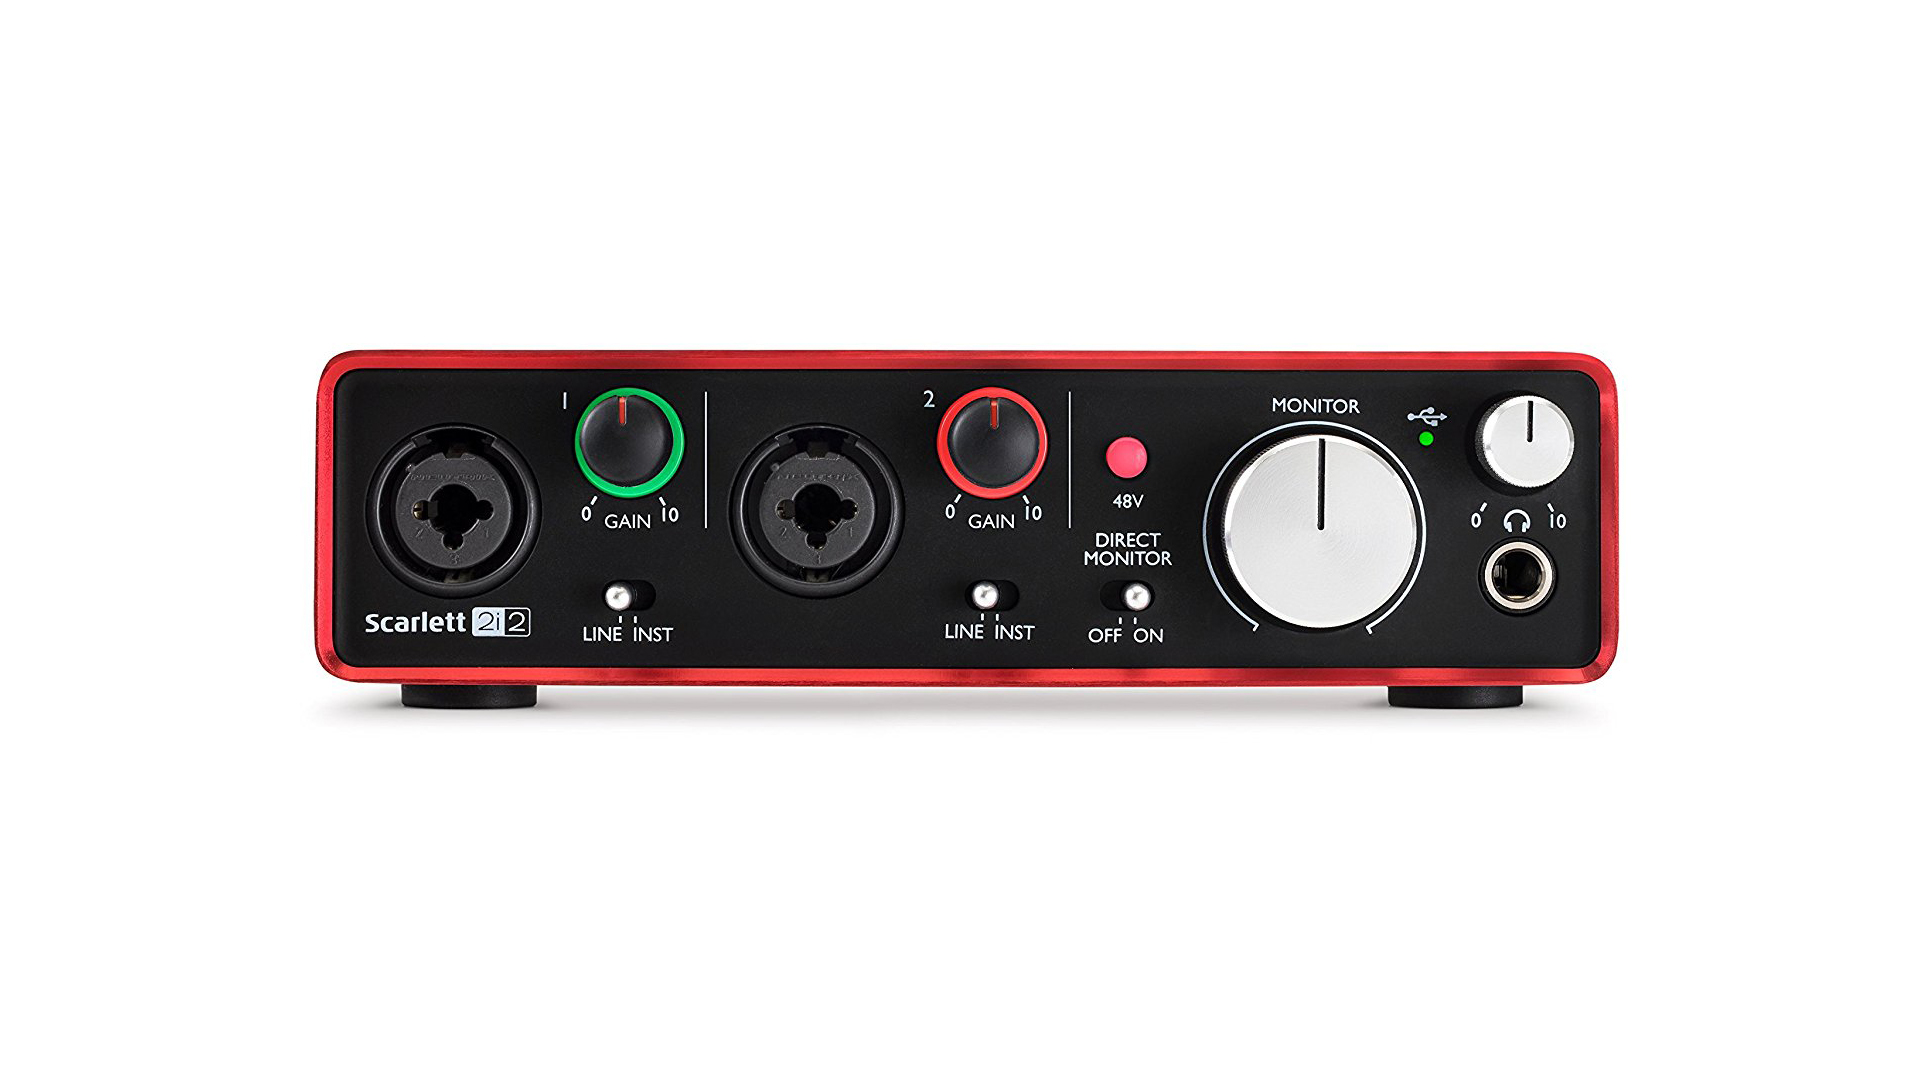
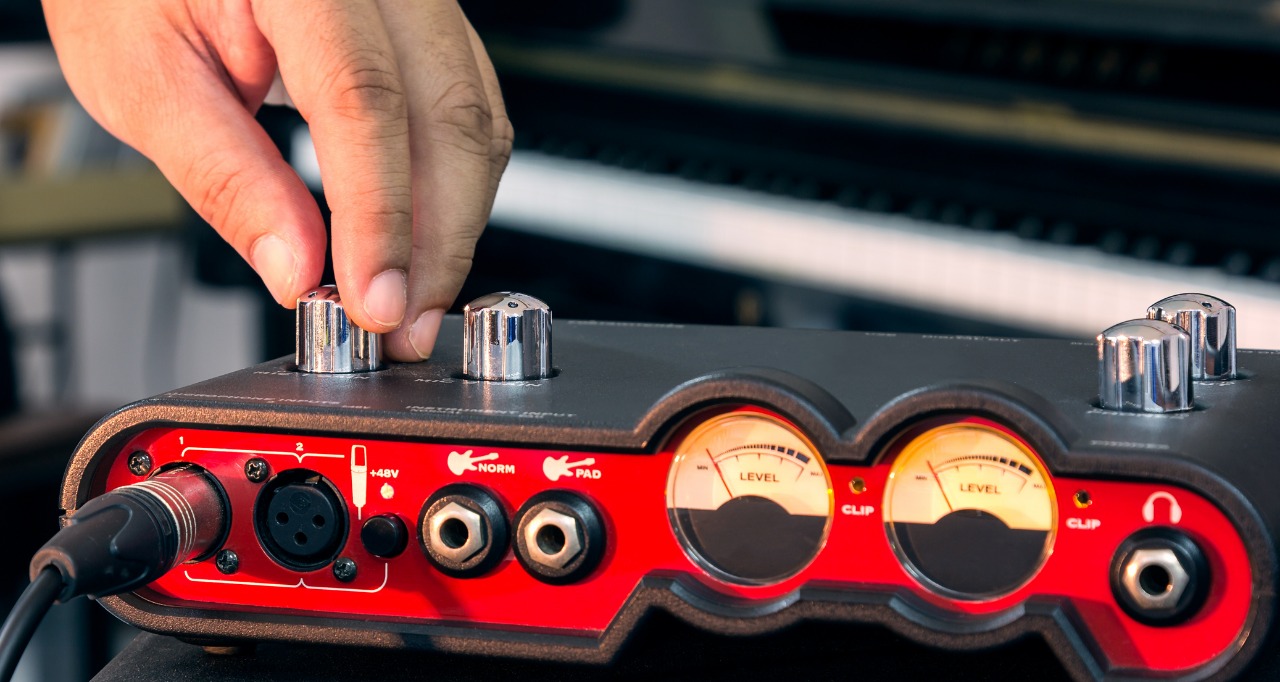
Audio interfaces come in various shapes and sizes, ranging from compact portable units to more elaborate rack-mounted systems. They usually feature a number of input and output ports, such as XLR, TRS, and MIDI, which accommodate different types of audio connections. Many audio interfaces also include preamps, which amplify and condition the incoming audio signals to ensure optimal sound quality.
One of the main advantages of using an audio interface is the ability to achieve professional-grade sound quality. Built-in sound cards found in most computers often lack the necessary components and circuitry to capture and reproduce audio accurately. An audio interface, on the other hand, is specifically designed to handle audio tasks, providing higher fidelity, lower latency, and greater control over the recording or streaming process.
Furthermore, an audio interface offers more flexibility and expandability than a built-in sound card. With multiple inputs and outputs, you can connect multiple microphones, instruments, or other audio sources simultaneously. This is particularly useful for live streaming setups or podcast recordings where multiple participants or audio sources are involved.
Overall, an audio interface is an essential tool for any content creator or musician looking to achieve professional audio quality. Whether you’re a gamer streaming your gameplay, a musician recording your latest song, or a podcaster conducting interviews, investing in a good audio interface can significantly enhance the overall audio experience for both you and your audience.
Choosing the right audio interface for streaming
When it comes to selecting the right audio interface for streaming, there are a few key factors to consider:
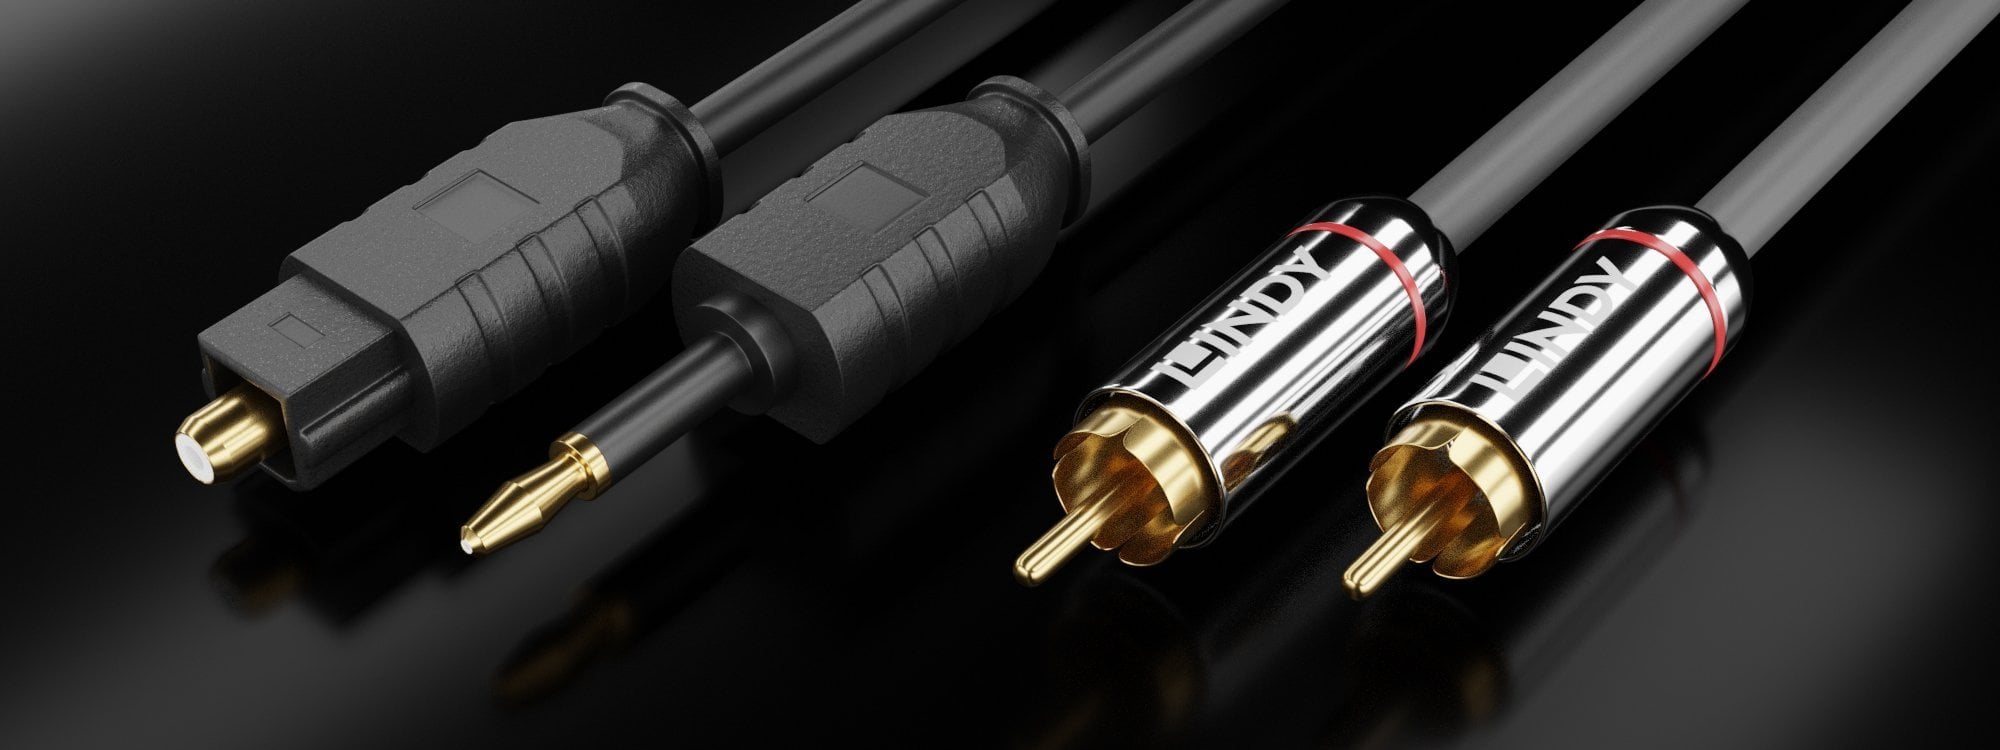
- Connection types: Determine what types of audio inputs and outputs you’ll need for your streaming setup. Common connections include XLR, TRS, RCA, and MIDI. Ensure that the audio interface you choose has the necessary ports to accommodate your equipment.
- Number of inputs and outputs: Consider how many microphones, instruments, or other audio sources you’ll be using simultaneously. If you plan on having multiple participants or require separate audio channels for different sources, opt for an audio interface with a sufficient number of inputs and outputs.
- Preamps and sound quality: Look for an audio interface that offers high-quality preamps. Preamps play a crucial role in amplifying and shaping the incoming audio signals, so having clean and transparent preamps can greatly improve the overall sound quality of your stream.
- Compatibility and drivers: Ensure that the audio interface you choose is compatible with your operating system, whether it’s Windows, macOS, or Linux. Check if the manufacturer provides reliable and up-to-date drivers to ensure smooth operation.
- Latency performance: Low latency is crucial for live streaming and real-time audio processing. Select an audio interface with low latency performance, as this will minimize delays between the audio signals and their playback through your computer. Look for interfaces with direct monitoring capabilities to monitor the audio inputs in real-time without any noticeable delay.
- Budget: Finally, consider your budget. Audio interfaces come in a wide price range, so assess your needs and set a budget accordingly. While it’s tempting to go for the most affordable option, remember that investing in a higher quality audio interface can significantly improve the sound quality of your stream.
Before making a purchase, it’s also helpful to read reviews, compare specifications, and consult with other content creators or musicians who have experience with audio interfaces. Ultimately, finding the right audio interface for your streaming needs will depend on your specific requirements and preferences. Take the time to research and choose wisely, as it can make a noticeable difference in the audio quality of your streams and enhance your overall broadcasting experience.
Setting up the audio interface
Once you’ve chosen the right audio interface for your streaming setup, it’s time to set it up and ensure it’s properly connected to your computer. Follow these steps to get started:
- Read the manual: Before diving into the setup process, familiarize yourself with the manual provided by the manufacturer. Different audio interfaces may have specific setup instructions, so it’s important to follow the guidelines provided.
- Power up the audio interface: Connect the power adapter or USB cable (depending on the interface) to the audio interface and plug it into a power outlet or your computer’s USB port. Make sure the power indicator light turns on to confirm that the device is receiving power.
- Connect your audio sources: Depending on your streaming needs, connect your microphones, instruments, or any other audio sources to the appropriate input ports on the audio interface. Use the appropriate cables (XLR, TRS, etc.) for the best results. Ensure that the connections are secure.
- Connect output devices: If you plan on monitoring or connecting your audio interface to external speakers or headphones, use the appropriate output ports on the interface. Connect the cables and double-check that they are properly plugged in.
- Configure audio settings: Once the physical connections are made, it’s time to configure the audio settings on your computer. Open the audio settings or sound control panel on your operating system and select the audio interface as the default input and output device. Adjust the volume and other settings as needed.
- Test the audio interface: To ensure that everything is working properly, play some audio through your streaming software or any other audio application while monitoring the output. Make sure you hear the audio clearly and check for any potential issues, such as distortion, noise, or latency.
- Update drivers and firmware: It’s always a good idea to check for any available driver or firmware updates for your audio interface. Visit the manufacturer’s website and download the latest updates if necessary. Keeping your software up to date can help resolve any compatibility issues and ensure optimal performance.
- Experiment and optimize: Once your audio interface is set up and working, take the time to experiment with different settings and configurations. Adjust the input gain levels, explore any built-in effects or monitoring options, and fine-tune the settings to achieve the best sound quality for your streams.
Remember, the setup process may vary slightly depending on the specific audio interface model and your streaming software. It’s always a good practice to consult the user manual and online resources provided by the manufacturer for detailed instructions and troubleshooting tips.
Connecting the audio interface to your computer
After setting up the audio interface, the next step is to connect it to your computer. Follow these steps to ensure a proper connection:
- Identify the connection type: Determine the type of connection your audio interface uses to communicate with the computer. Most audio interfaces connect via USB, Thunderbolt, or FireWire. Check the ports on both your audio interface and computer to ensure compatibility.
- Power off your computer: Before making any connections, it’s important to power off your computer to prevent any potential damage. This will also ensure a stable connection when you turn your computer back on.
- Connect the cable: Use the appropriate cable to connect the audio interface to your computer. Plug one end of the cable into the port on the back or side of the audio interface and the other end into an available USB, Thunderbolt, or FireWire port on your computer.
- Power on the audio interface: Once the cable is securely connected, power on your audio interface. Some interfaces may require you to press a power button or switch, while others may power on automatically when connected.
- Computer recognition: After powering on the audio interface, your computer should recognize it as a new hardware device. Depending on your operating system, a pop-up notification or a system tray icon may appear indicating the successful connection of the audio interface.
- Install drivers (if required): In some cases, your computer may require specific drivers to properly recognize and communicate with the audio interface. Check the manufacturer’s website for any available driver downloads, and follow the provided instructions to install them on your computer.
- Configure audio settings: Once the audio interface is connected and drivers (if necessary) are installed, access your computer’s audio settings or sound control panel. Select the audio interface as the default input and output device to ensure that the audio signals are routed through the interface.
- Test the connection: To verify that the audio interface is properly connected, play audio through your streaming software or any other audio application. Check that the audio is being routed through the audio interface and that you hear it through your connected speakers or headphones.
- Check for updates: It’s always a good idea to check for any available software updates for your audio interface. Visit the manufacturer’s website and download the latest drivers or firmware updates if necessary. Keeping your software up to date ensures optimal performance and compatibility.
Remember to consult the user manual or online resources provided by the manufacturer for specific instructions and troubleshooting tips related to connecting your audio interface to your computer. Properly connecting the audio interface is crucial to ensure that it functions correctly and delivers high-quality audio for your streaming needs.
Configuring the audio interface settings
Once your audio interface is connected to your computer, it’s important to configure the audio settings to ensure optimal performance and sound quality. Here are the steps to configure the audio interface settings:
- Access the audio settings: Open your computer’s audio settings or sound control panel. The method to access these settings may vary depending on your operating system. Look for options such as “Sound,” “Audio Devices,” or “Sound Preferences.”
- Set the sample rate and bit depth: The sample rate and bit depth determine the quality and resolution of your audio. Select a sample rate (usually 44.1kHz, 48kHz, or 96kHz) and an appropriate bit depth (typically 16-bit or 24-bit) for your streaming needs. Higher sample rates and bit depths provide better audio quality but may require more processing power.
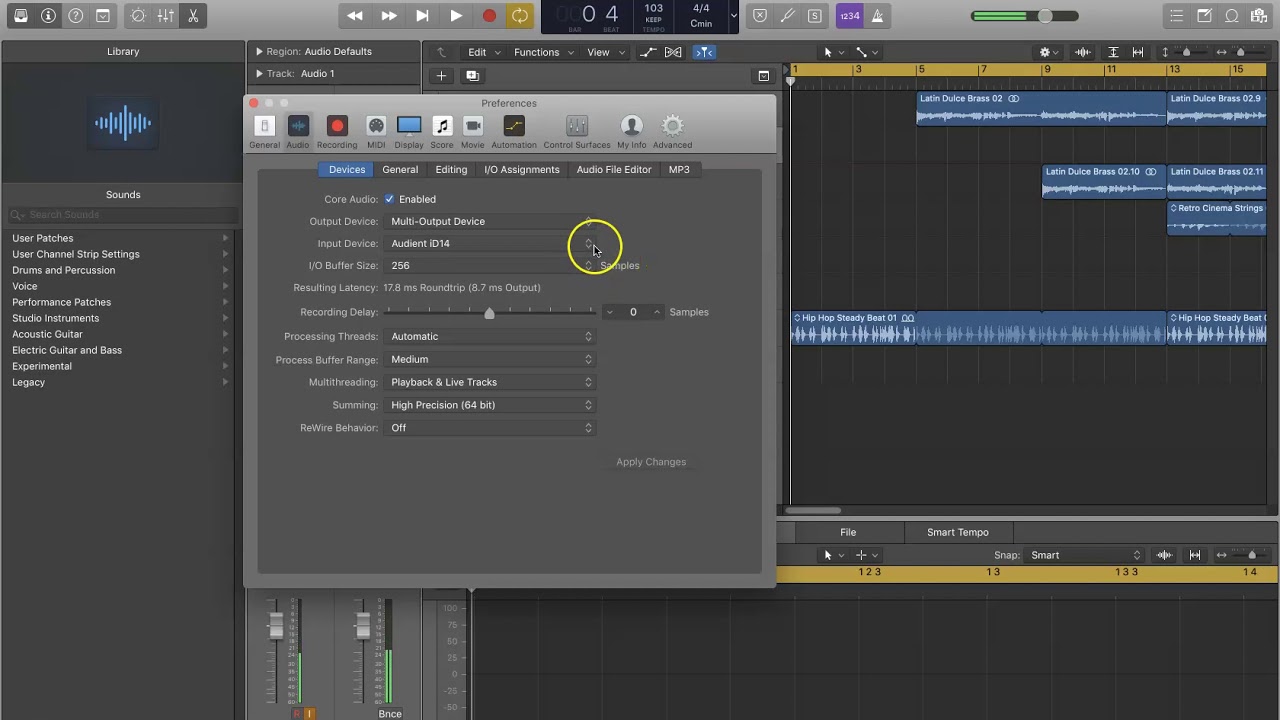
- Choose the audio input and output: In the audio settings, select your audio interface as the default input and output device. This ensures that the audio signals are routed through the interface for recording and monitoring.
- Adjust buffer size: The buffer size affects the latency of your audio interface. A smaller buffer size reduces latency but may increase the strain on your computer’s processing capabilities. Experiment with different buffer sizes to find the balance between low latency and smooth performance.
- Enable direct monitoring: Many audio interfaces have a direct monitoring feature that allows you to monitor the audio inputs in real-time without any latency. Enable this feature if available to hear yourself or other audio sources directly through your headphones or speakers.
- Adjust input gain levels: Use the gain controls on your audio interface to set the input levels for your microphones or instruments. Aim to achieve a good balance where the audio signal is strong enough without clipping or distorting. Test and adjust the input levels while monitoring the audio to ensure optimum sound quality.
- Explore additional features: Depending on the model and capabilities of your audio interface, you may have access to additional features such as built-in EQ, compression, or effects. Experiment with these features to enhance the sound of your stream and customize it to your liking.
- Test and fine-tune: Once you have configured the audio settings, test the audio interface by playing audio through your streaming software or any other audio application. Monitor the output and make any necessary adjustments to the settings to achieve the desired sound quality.
- Save and backup settings: After configuring the audio interface settings, check if your audio settings allow saving user presets or configurations. If possible, save your settings as a preset or backup the settings for future use or in case you need to restore the settings after a system update or reset.
Remember, the specific options and settings may vary depending on your audio interface model and streaming software. Consult the user manual or online resources provided by the manufacturer for more details on how to configure and optimize the audio interface settings for your specific setup.
Setting up your streaming software
Once your audio interface is connected and configured, the next step is to set up your streaming software to ensure that it recognizes and utilizes the audio interface for your streams. Here’s how to set up your streaming software:
- Download and install the streaming software: Choose a streaming software that best suits your needs, such as OBS Studio, Streamlabs OBS, or XSplit. Visit the official website of the software and download the latest version. Follow the installation instructions provided to set it up on your computer.
- Open the streaming software: Launch the streaming software once it’s installed on your computer. Take some time to familiarize yourself with the interface and the various features and settings available.
- Access the audio settings: Locate the audio settings or preferences within the streaming software. This is where you’ll configure the software to recognize and utilize your audio interface for the streams. Look for options related to audio devices or input/output settings.
- Select the audio interface: In the audio settings, choose your audio interface as the default audio input and output device. This will ensure that the streaming software routes the audio signals through the audio interface for recording or streaming.
- Set audio levels and preferences: Adjust the audio levels and preferences within the streaming software to optimize the sound quality during your streams. Experiment with the microphone and desktop audio levels to achieve the desired balance and clarity. Enable any necessary audio filters or effects to enhance the audio quality or remove background noise.
- Test the audio setup: Before going live, it’s essential to test the audio setup within the streaming software. Start a test stream or recording and review the audio playback to ensure that the audio is being properly captured and transmitted through your audio interface.
- Make adjustments as necessary: If you encounter any issues with the audio, such as distortion, latency, or low volume, go back to the audio settings within the streaming software and make the necessary adjustments. Fine-tune the audio levels and settings until you’re satisfied with the sound quality.
- Save the settings: Once you have configured and tested the audio setup, save the settings within the streaming software if possible. This way, you can easily load your preferred audio settings for future streams without having to reconfigure everything each time.
- Update the streaming software: Keep your streaming software up to date by regularly checking for any available updates. Software updates often include bug fixes, performance improvements, and new features that can enhance your streaming experience.
Remember to consult the documentation or online resources provided by your chosen streaming software for more specific instructions on setting up the audio interface and configuring the audio settings within the software. Optimizing the audio setup in your streaming software is crucial for delivering high-quality and professional-sounding streams to your audience.
Troubleshooting common audio interface issues
While audio interfaces are designed to provide reliable and high-quality audio, there may be situations where you encounter issues or problems. Here are some common audio interface issues and troubleshooting steps to resolve them:
- No audio signal: If you’re not getting any audio signal from your audio interface, check the physical connections first. Ensure that all cables are securely plugged into the appropriate ports and that the audio interface is powered on. Also, make sure the audio interface is selected as the default input and output device in your computer’s audio settings.
- Audio distortion or noise: If you’re experiencing distortion or noise in the audio signal, check the gain levels on your audio interface. Adjust the input gain to an appropriate level to avoid overloading the signal. Additionally, check for any faulty cables or connections that could be causing interference, and try using a different set of cables if necessary.
- Latency issues: Latency can cause noticeable delays between audio input and output. To reduce latency, try adjusting the buffer size in your audio settings. Increasing the buffer size can help reduce strain on your computer’s processing power but may add slight latency. Additionally, ensure that you’re using drivers and firmware updates provided by the manufacturer, as these often include optimizations for reducing latency.
- Driver or software compatibility issues: If you’re experiencing issues with driver or software compatibility, check that you have the latest drivers installed for your audio interface. Visit the manufacturer’s website and download any available updates. If the problem persists, try using a different USB port or connecting the audio interface to a different computer to isolate whether the issue is specific to your system.
- Power supply problems: If your audio interface is not receiving power or constantly disconnecting, check the power supply connections. Ensure that the power cable or USB cable is securely plugged in. If you’re using a USB hub or extension, try connecting the audio interface directly to the computer’s USB port to rule out potential power supply issues.
- Software configuration issues: In some cases, the issue may lie in the configuration of your streaming software or digital audio workstation (DAW). Double-check the audio settings within the software to ensure that the audio interface is selected as the correct input and output device. Restarting the software or reinstalling it may also help resolve any software-related configuration issues.
- Hardware malfunction: If none of the above troubleshooting steps resolve the issue, it’s possible that there may be a hardware malfunction with the audio interface. Contact the manufacturer’s support for further assistance, as they may be able to provide specific troubleshooting steps or arrange for repairs or replacements if necessary.
Remember, troubleshooting audio interface issues can sometimes be a process of trial and error. Patience and persistence are key to resolving any technical difficulties you may encounter. Don’t hesitate to reach out to the manufacturer’s support or seek help from online communities and forums dedicated to audio interfaces, as they can offer valuable insights and guidance in addressing specific issues.
Conclusion
An audio interface is an essential tool for content creators and musicians who want to elevate the sound quality of their streams. It serves as the bridge between your analog audio equipment and your computer, allowing you to capture high-quality audio and deliver professional-grade streams to your audience.
When choosing an audio interface, consider factors such as connection types, number of inputs and outputs, preamp quality, compatibility, latency performance, and your budget. Taking the time to research and invest in the right audio interface will greatly enhance the overall audio experience for both you and your audience.
Setting up the audio interface involves connecting it to your computer, configuring the audio settings, and ensuring proper integration with your streaming software. Following the manufacturer’s instructions, testing the setup, and making necessary adjustments will ensure optimal performance and sound quality.
In the event of common audio interface issues, troubleshooting steps such as checking connections, adjusting gain levels, updating drivers, and addressing software configuration problems can often resolve the problem. However, if issues persist, reaching out to the manufacturer’s support may be necessary.
By understanding the basics of audio interfaces, selecting the right one for your needs, and properly setting it up, you can significantly enhance the sound quality of your streams and create a more immersive experience for your audience. So, invest in a quality audio interface, follow the setup steps, and troubleshoot any issues that arise. Your viewers and listeners will appreciate the difference in audio quality, and it will help you establish a professional and engaging presence in the streaming world.