Home>Production & Technology>Stereo>How To Add Extra Speakers To Stereo
Stereo
How To Add Extra Speakers To Stereo
Modified: February 18, 2024
Learn how to enhance your stereo system by adding extra speakers for a more immersive audio experience. Follow our step-by-step guide to upgrade your stereo with ease.
(Many of the links in this article redirect to a specific reviewed product. Your purchase of these products through affiliate links helps to generate commission for AudioLover.com, at no extra cost. Learn more)
Table of Contents
Introduction
Welcome to the exciting world of stereo systems! Whether you are a music enthusiast or a fervent audiophile, there may come a time when you feel the need to add extra speakers to your existing stereo setup. Perhaps you want to create a more immersive audio experience in your living room, or you want to extend the sound coverage to multiple rooms in your house. Whatever the reason may be, this article will guide you through the process of adding extra speakers to your stereo system.
Expanding your stereo system with additional speakers can enhance the overall sound quality and create a more immersive listening environment. Imagine being able to enjoy your favorite music or movies with a surround sound setup right in your own home.
However, it’s important to approach this task with some careful consideration and planning. Adding speakers to your stereo system involves factors such as compatibility, speaker placement, wiring, and configuring the settings. Following the right steps will ensure that you achieve the best possible sound quality and avoid any potential issues.
In this article, we will walk you through the process of adding extra speakers to your stereo system, helping you make informed decisions along the way. From assessing your current setup to selecting the right type of speakers, and from speaker placement and wiring to configuring the settings, we’ve got you covered.
So, if you’re ready to take your stereo system to the next level, let’s dive into the step-by-step process of adding extra speakers and optimizing your audio experience!
Step 1: Assessing Your Stereo System
Before you begin adding extra speakers to your stereo system, it’s important to assess your current setup. By understanding your existing equipment and configuration, you can determine the best approach for adding additional speakers.
Start by identifying your stereo system components. Take note of the type of receiver or amplifier you have, the number of audio channels it supports, and the available outputs. This information will help you determine the maximum number of speakers your system can accommodate. For example, if your receiver has a 5.1 channel configuration, it can support up to five speakers and a subwoofer.
Next, consider the limitations of your room. Take measurements and consider the layout and acoustics of the space. Ensure that there is enough room for additional speakers and that they can be strategically placed for optimal sound distribution.
Another important aspect to consider is the power output of your amplifier or receiver. Adding extra speakers will require your equipment to power more channels, so ensure that your amplifier has sufficient power to drive the additional speakers effectively.
Lastly, think about your audio goals and preferences. Do you want a surround sound setup for an immersive movie experience? Or are you looking to have speakers in multiple rooms to enjoy music throughout your house? Understanding your desired audio setup will help you choose the right speakers and plan for their placement.
By assessing your stereo system and taking these factors into consideration, you will be well-prepared to proceed with adding extra speakers. This initial assessment will guide your decision-making process as you move forward with the steps to enhance your stereo system.
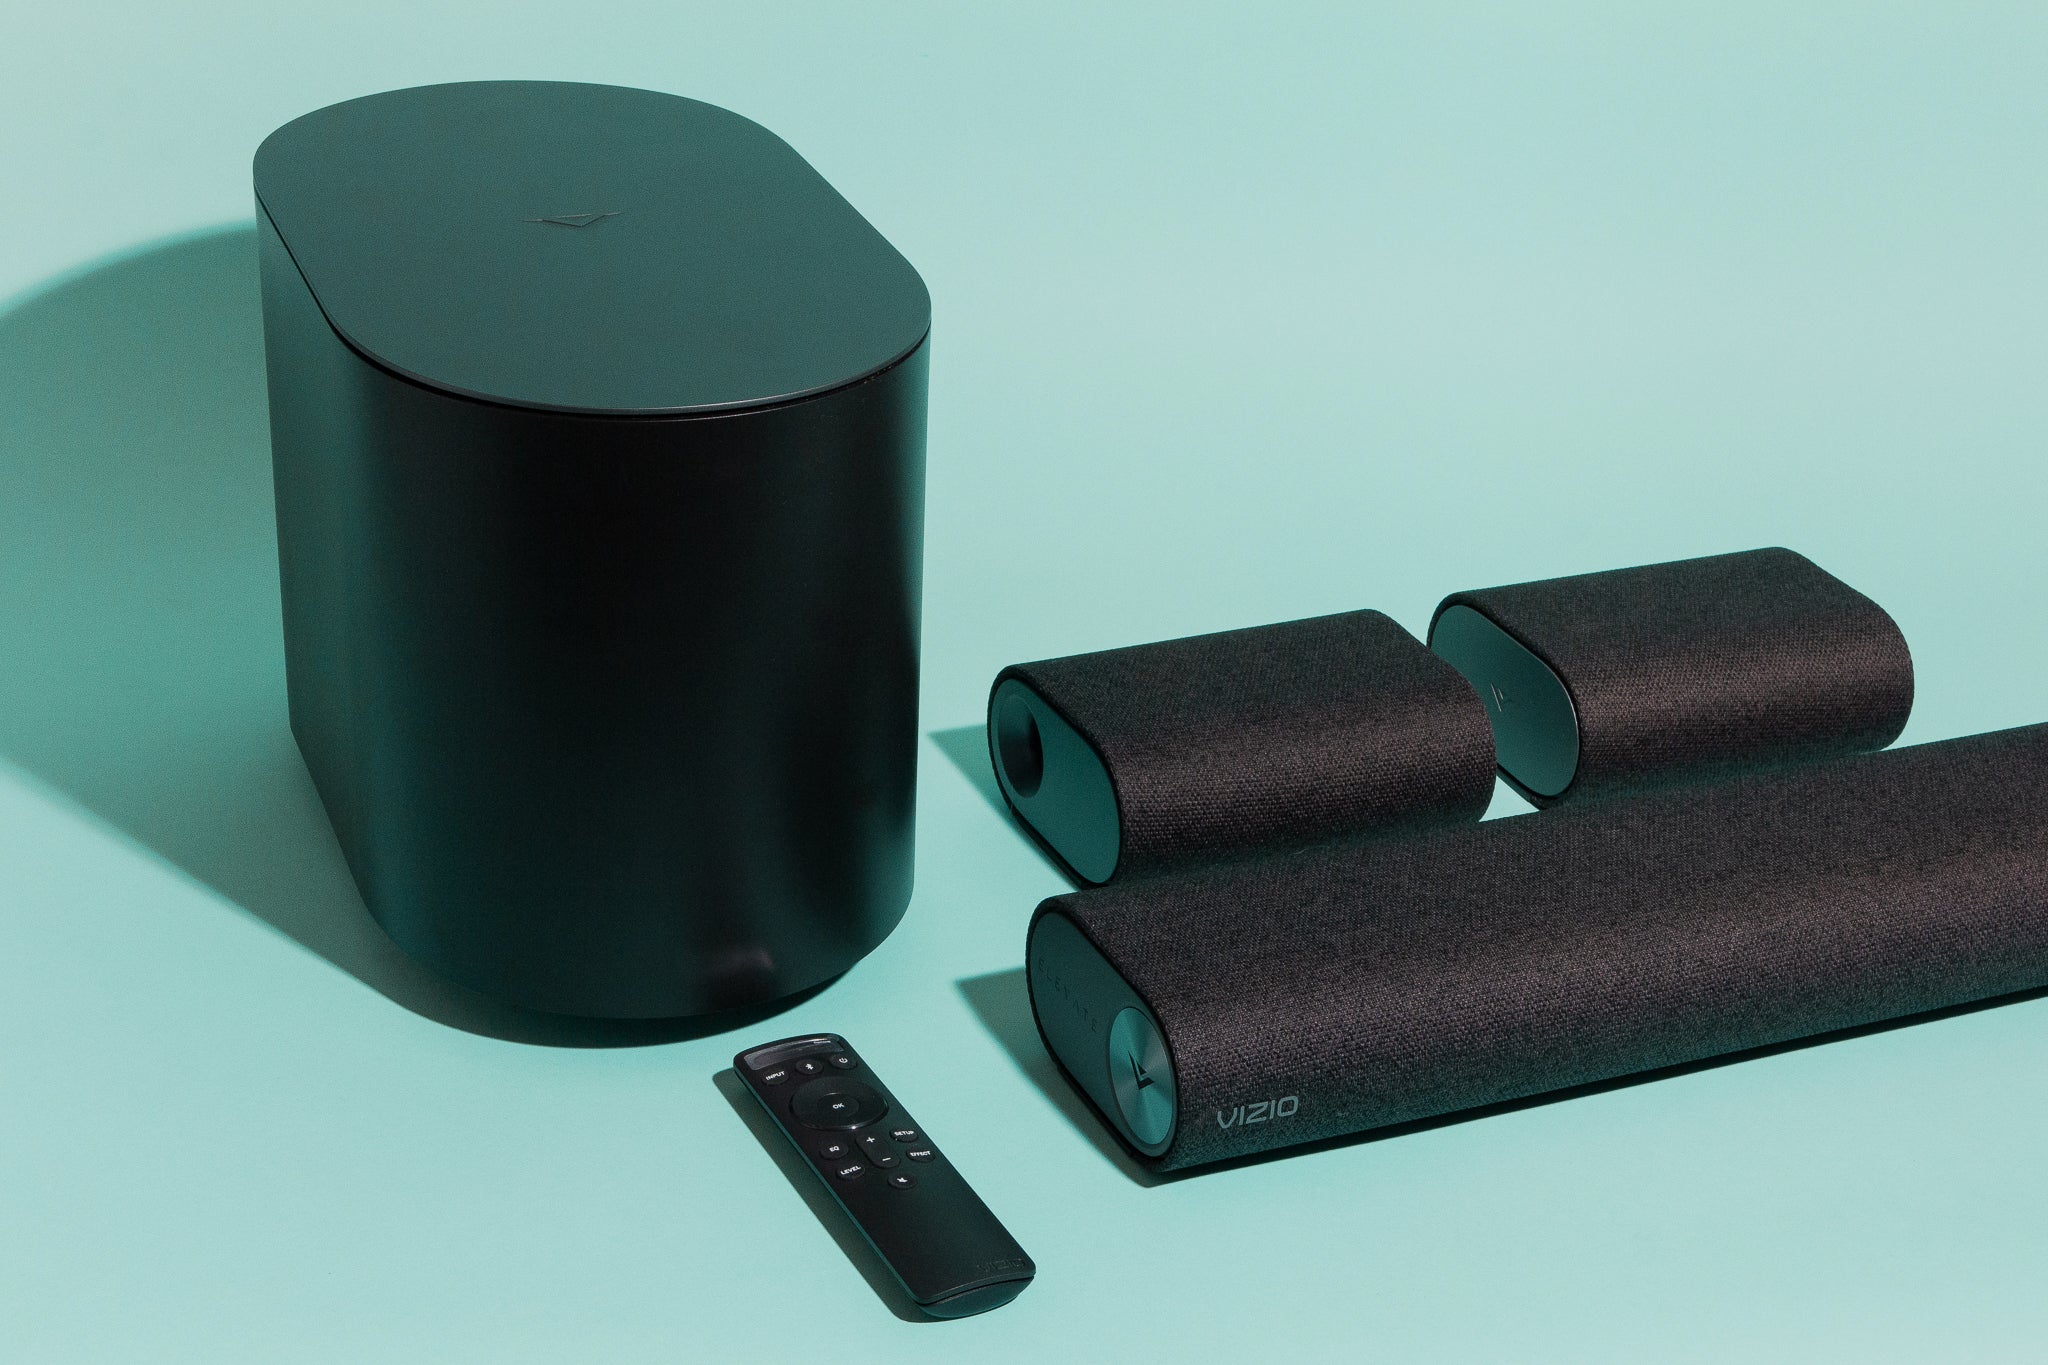
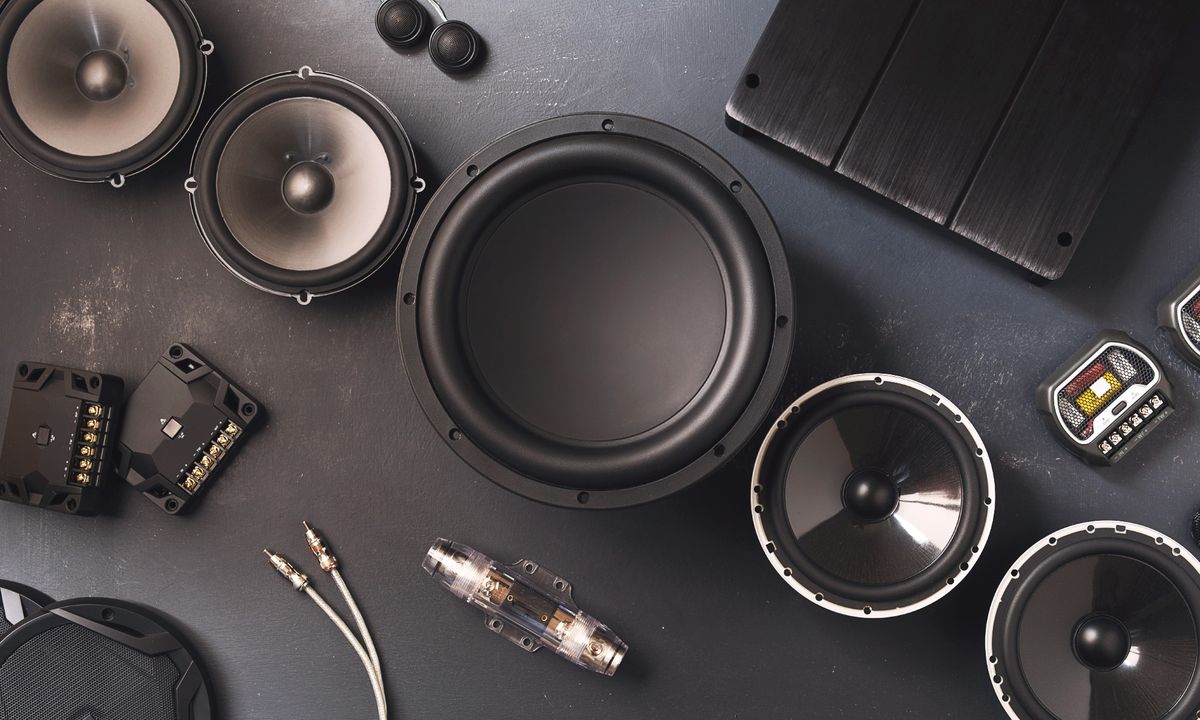
Step 2: Choosing the Right Type of Speakers
Choosing the right type of speakers is crucial for ensuring optimal sound quality and compatibility with your stereo system. With a wide variety of speakers available on the market, it’s important to consider your specific needs and preferences before making a decision.
Start by determining the number of speakers you want to add to your stereo system. Do you want to create a full surround sound setup with multiple speakers for a truly immersive audio experience? Or do you simply want to extend the sound coverage to another room or area?
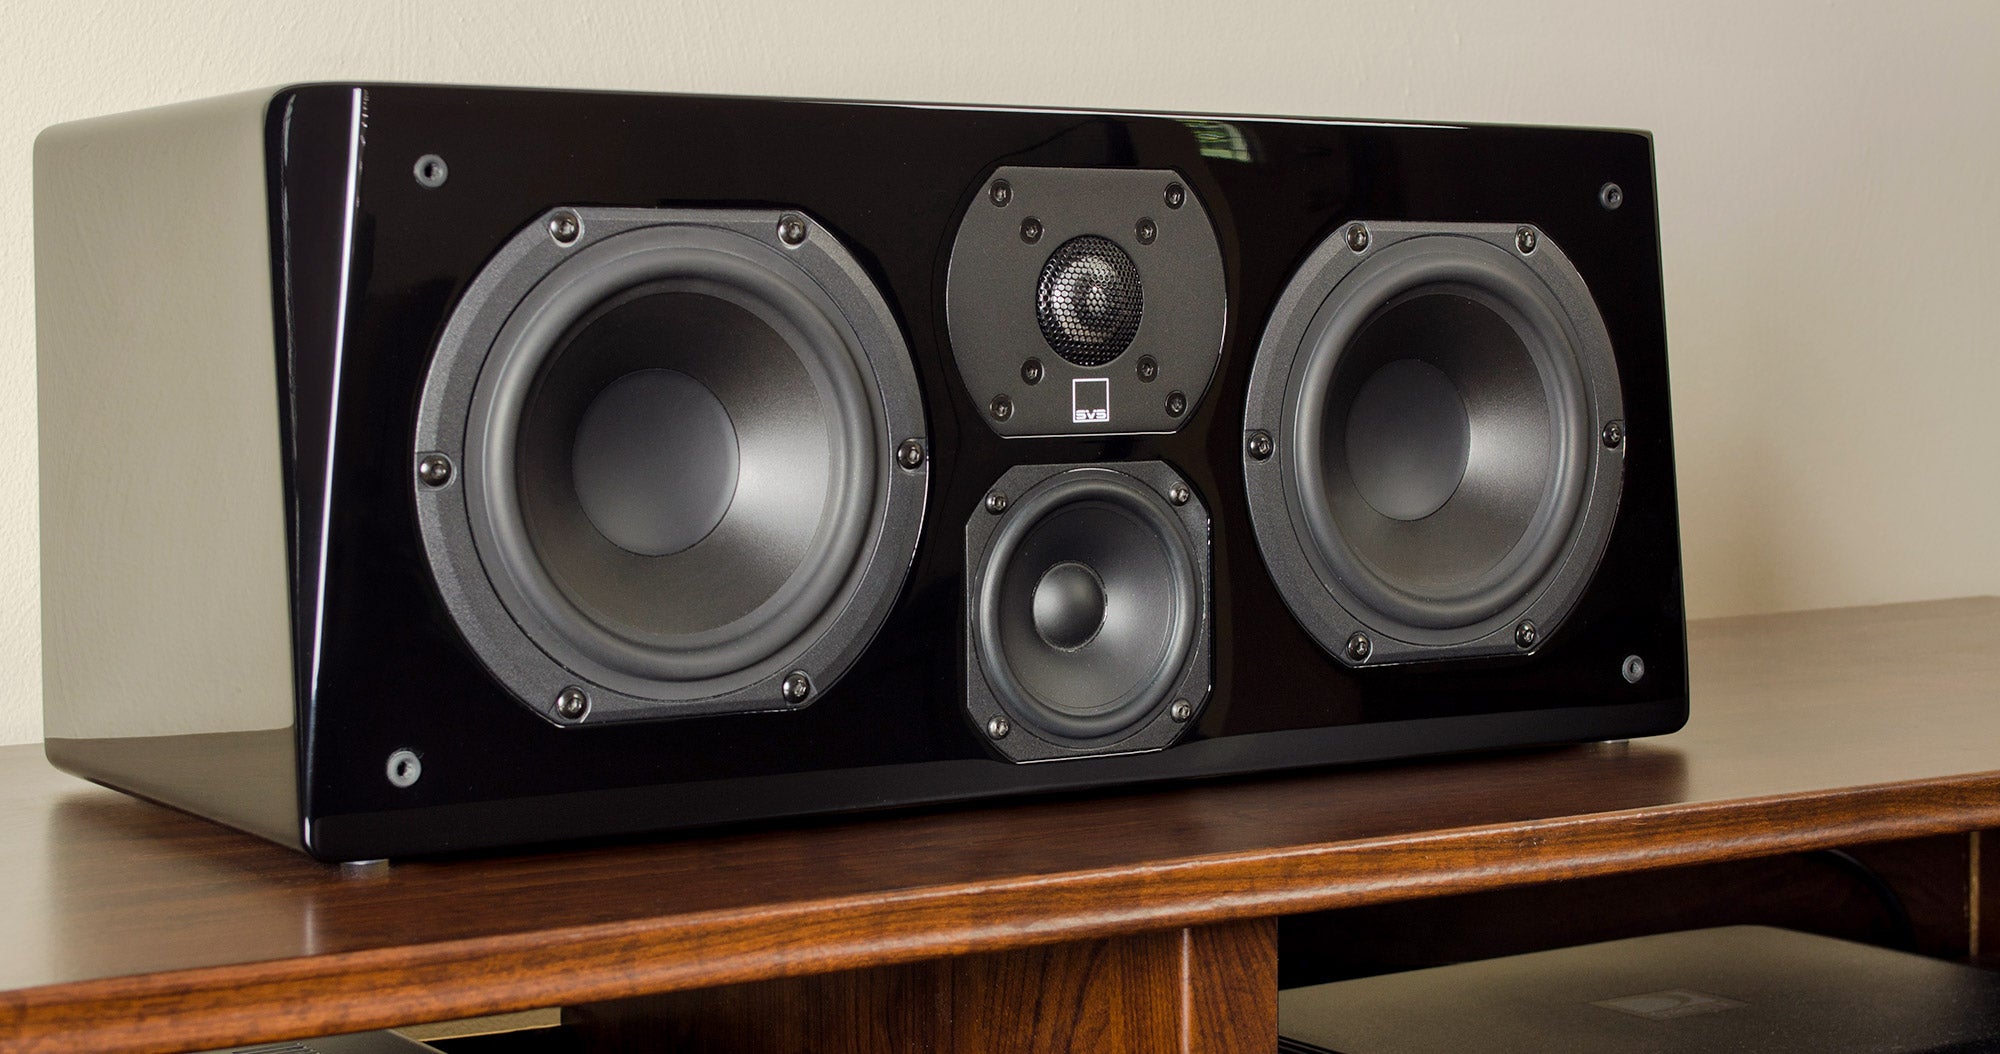
If you’re aiming for surround sound, consider a set of speakers that includes a center channel speaker, front left and right speakers, rear left and right speakers, and a subwoofer. This configuration will deliver a true surround sound experience, perfect for movies and gaming.
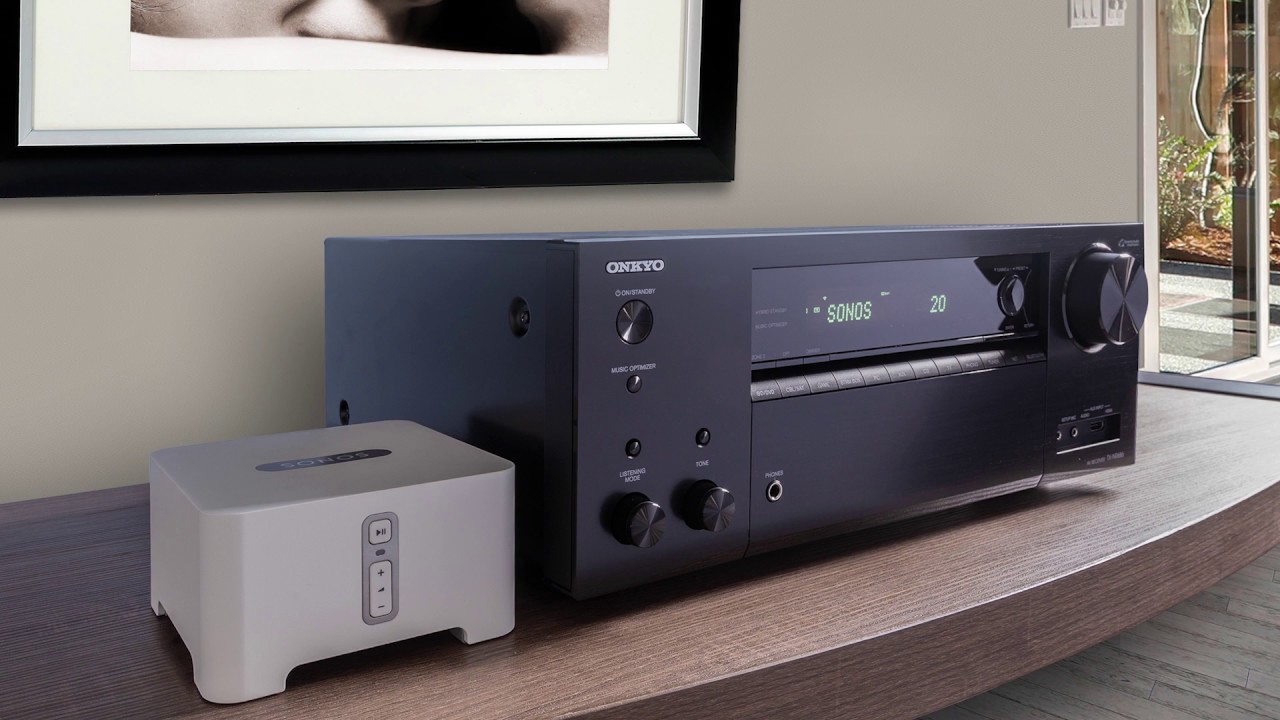
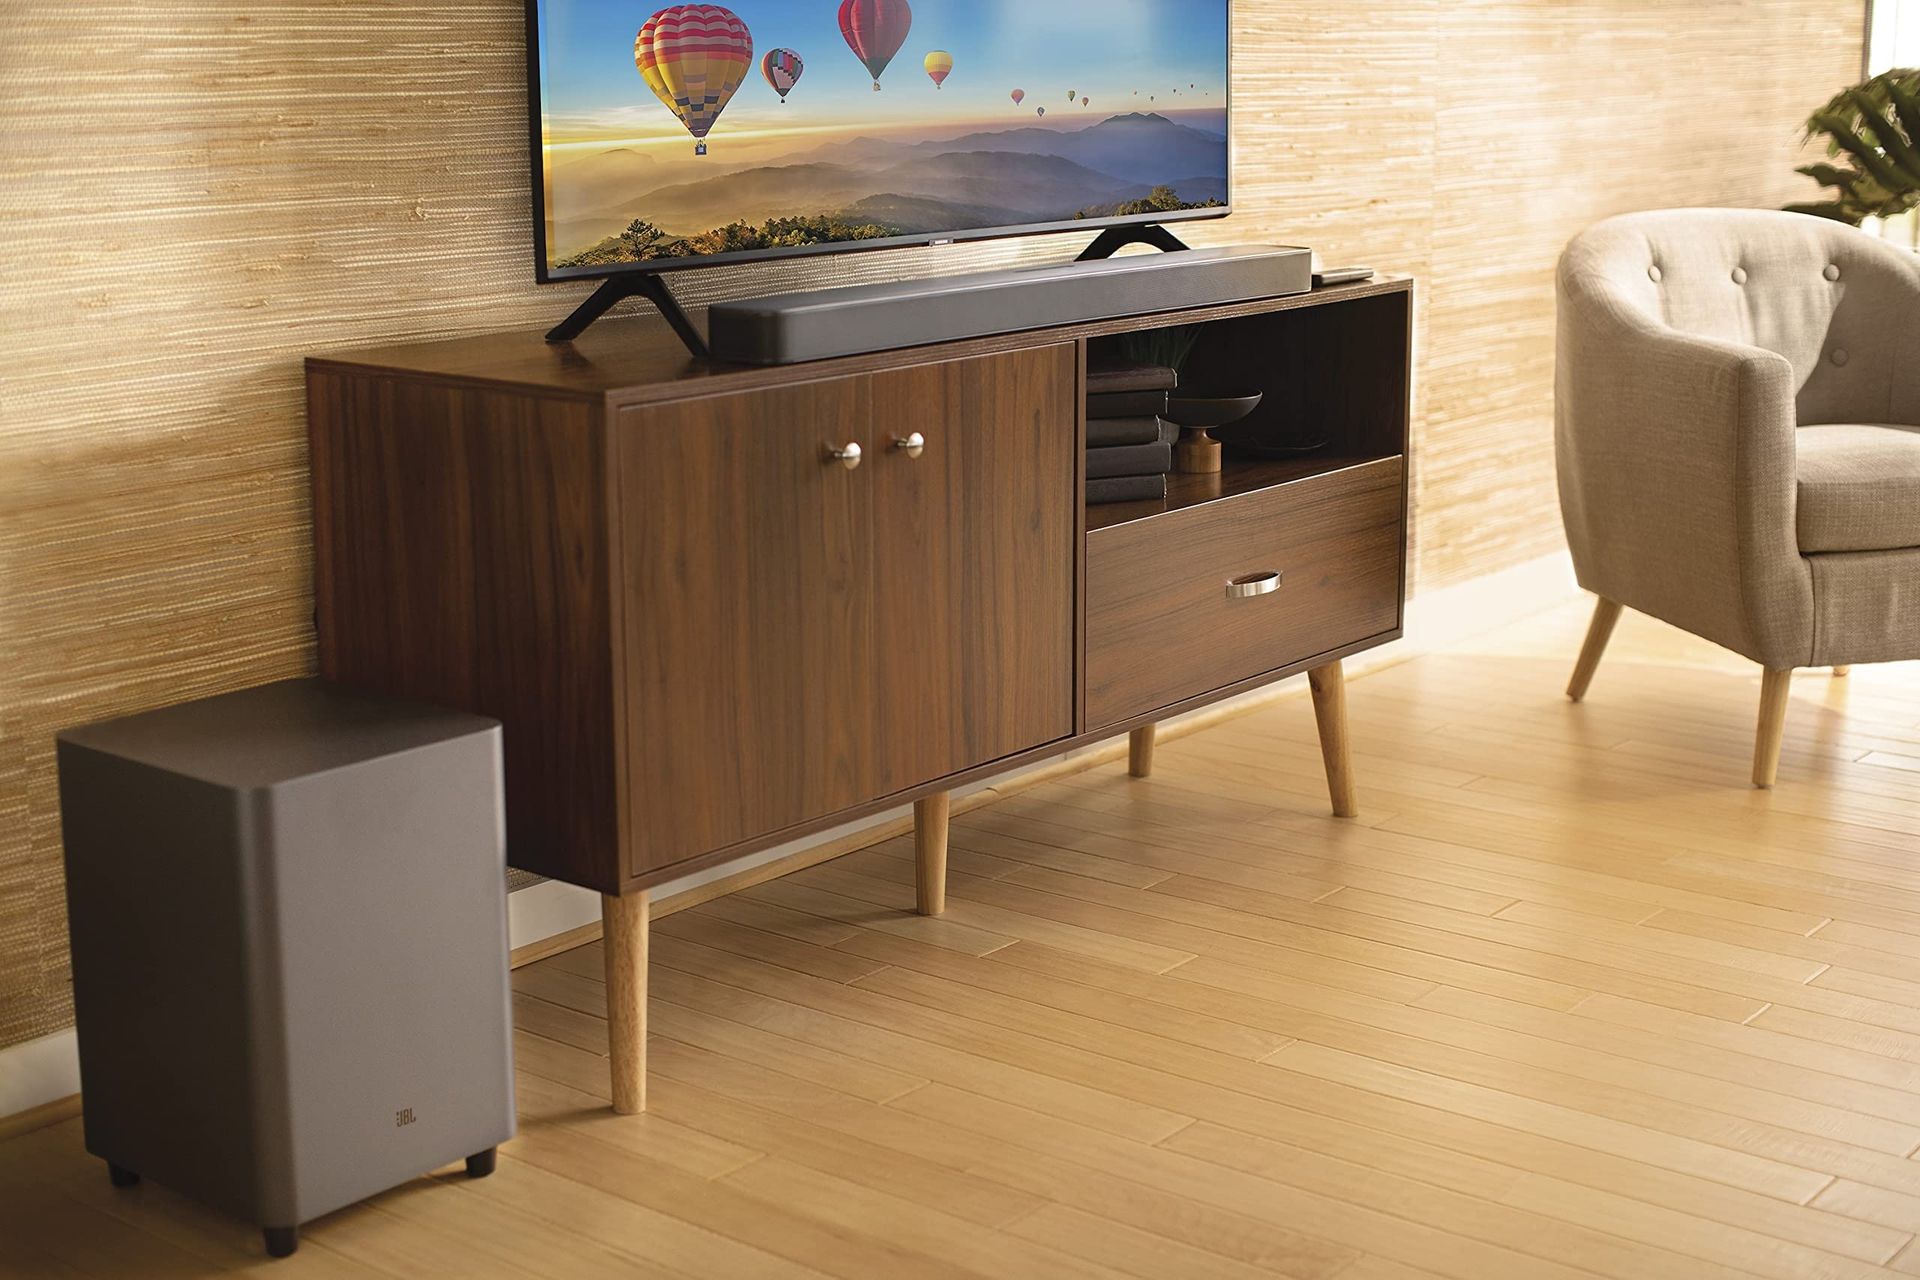
On the other hand, if you plan to extend the sound coverage to multiple rooms, consider speakers that are designed for multi-room audio systems. These speakers typically have built-in Wi-Fi or Bluetooth connectivity, allowing you to stream audio wirelessly from your stereo system.
Another important factor to consider is the power handling capability of the speakers. Ensure that the speakers you choose can handle the power output of your amplifier or receiver without distortion or damage. It’s advisable to match the power requirements of the speakers with the power capabilities of your amplifier for optimal performance.
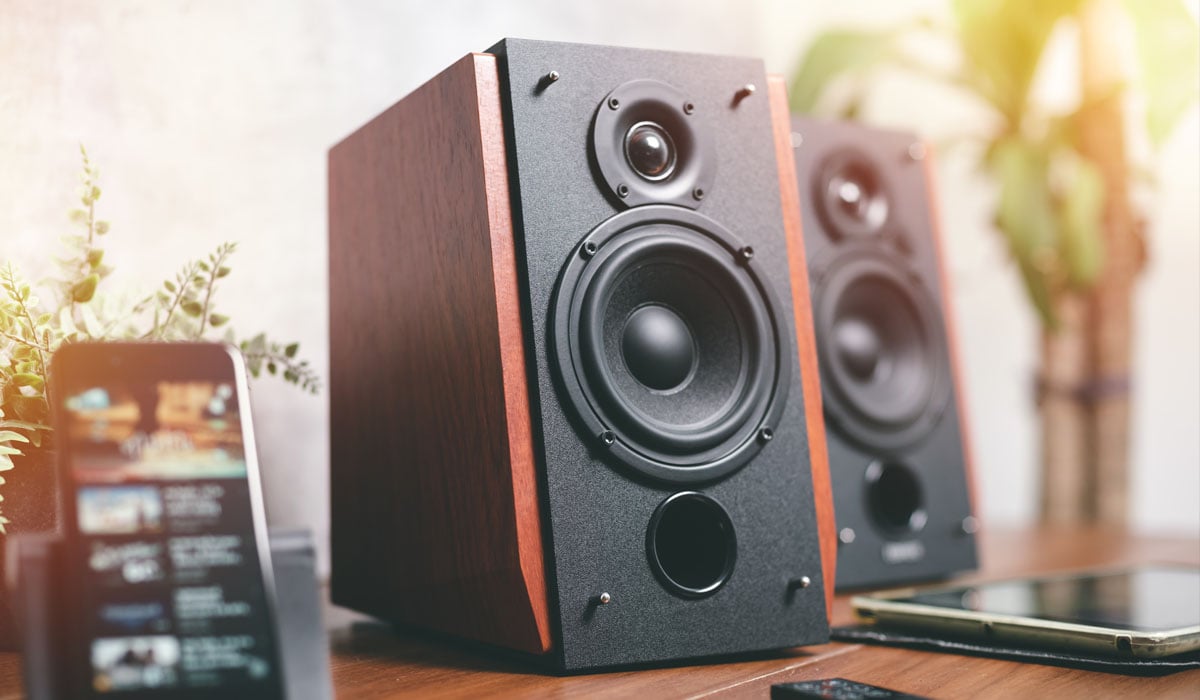
Additionally, consider the size and design of the speakers. If you have limited space, compact bookshelf speakers might be a better choice. On the other hand, if you have ample space and want a more prominent sound presence, floor-standing speakers may be the way to go.
Lastly, budget is always a consideration when choosing speakers. While it’s tempting to go for the most expensive option, there are affordable speakers available that still deliver great sound quality. Take your budget into account and look for speakers that offer good value for your money.
By considering factors such as the number of speakers needed, desired sound configuration, power handling, size, design, and budget, you can make an informed decision when choosing the right type of speakers for your stereo system.
Step 3: Speaker Placement and Wiring
Now that you have chosen the right type of speakers, it’s time to plan their placement and take care of the necessary wiring. Proper speaker placement is essential for creating an immersive audio experience and ensuring optimal sound distribution throughout your space.
Start by identifying the ideal locations for your speakers. For a surround sound setup, the front left and right speakers should be placed on either side of your television or screen, and the center channel speaker should be positioned directly below or above the screen for clear dialogue reproduction. The rear left and right speakers should be placed behind the listening area, ideally at ear level or slightly above.
If you’re extending the sound coverage to multiple rooms, consider placing the additional speakers strategically in each room to ensure even sound distribution. Additionally, take into account any architectural or furniture obstacles that may impact the sound quality and adjust the placement accordingly.
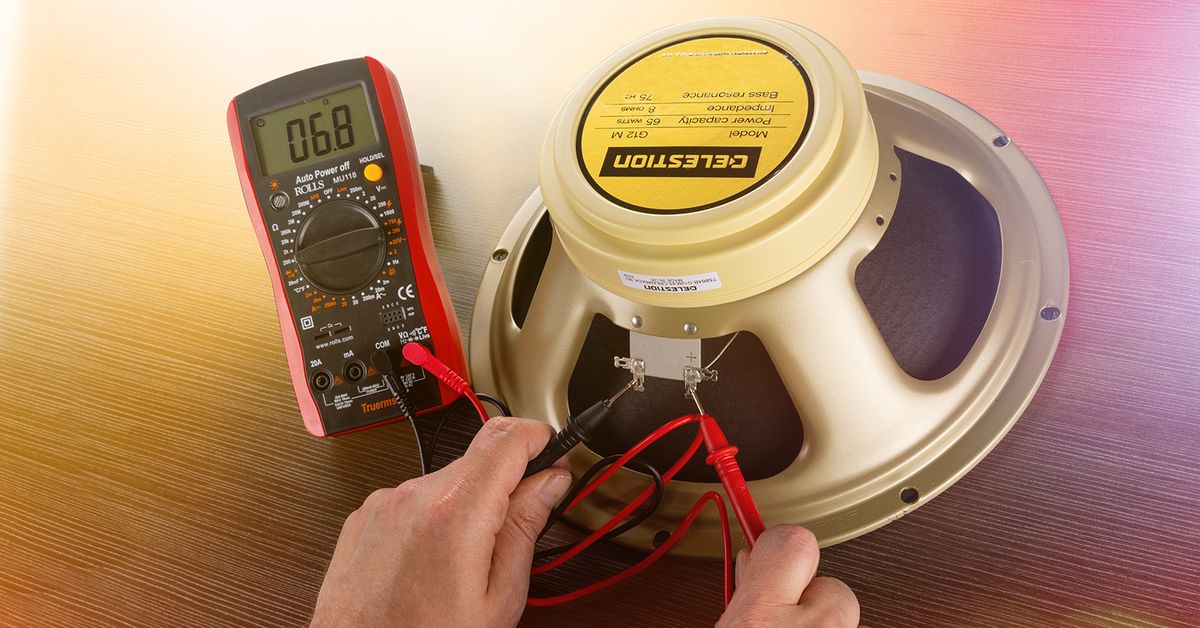
When it comes to wiring, it’s important to use high-quality speaker wires to maintain signal integrity and minimize signal loss. Measure and cut the appropriate lengths of wire for each speaker, leaving a bit of slack for flexibility. Connect one end of the wire to the appropriate terminals on the back of your amplifier or receiver, and the other end to the corresponding terminals on the speakers.
For a clean and organized wiring setup, you can use wire channels or conduits to hide and route the speaker wires along walls or baseboards. This will not only enhance the aesthetics of your space but also prevent tripping hazards.
It’s important to follow the correct wiring polarity for each speaker. Each speaker should have a positive (+) and negative (-) terminal. Ensure that you connect the positive terminal of the speaker to the corresponding positive terminal on your amplifier or receiver, and the same for the negative terminal. Reverse wiring polarity can result in phase cancellation and degrade sound quality.
Take care to avoid running speaker wires parallel to electrical wires, as it can cause interference and affect audio quality. If unavoidable, make sure to cross them at a 90-degree angle to minimize interference.
By carefully planning the placement of your speakers and employing proper wiring techniques, you can achieve optimal sound performance and ensure that your stereo system is set up for success.
Step 4: Connecting the Additional Speakers
Now that you have placed your additional speakers in the desired locations and taken care of the necessary wiring, it’s time to connect them to your stereo system. Properly connecting the speakers ensures that they receive the audio signal and work seamlessly with the rest of your setup.
Start by identifying the appropriate speaker outputs on your amplifier or receiver. These outputs are typically labeled with the corresponding channel names, such as Front Left, Front Right, Center, Surround Left, Surround Right, etc. Refer to your stereo system’s user manual if you are unsure of the specific labels.
Once you have identified the speaker outputs, connect the wires from each speaker to the corresponding outputs. Match the positive (+) and negative (-) terminals of the speakers with the proper terminals on the amplifier or receiver. Ensure a secure and tight connection to avoid any signal loss or distortion.
If your stereo system supports banana plugs or spade connectors, you can use these to make the connection process easier and more convenient. Simply insert the banana plugs or spade connectors into the corresponding speaker terminals and tighten them for a secure fit.
For surround sound setups, make sure that the center channel speaker is connected to the dedicated center channel output on your amplifier or receiver. Similarly, the front left and right speakers should be connected to their respective outputs, and the rear left and right speakers should be connected to the surround outputs.
If you are extending the sound coverage to multiple rooms, you may need to utilize zone outputs or a separate amplifier for each room. Consult your stereo system’s manual for instructions on how to set up multi-room audio and connect the speakers accordingly.
Once all the additional speakers are connected, double-check the connections to ensure they are secure. Avoid any loose or frayed wires that could compromise the audio quality. Take the time to organize and manage the cables to maintain a clean and professional appearance.
With the additional speakers successfully connected to your stereo system, you are one step closer to experiencing enhanced audio performance and immersive sound.
Step 5: Configuring the Speaker Settings
Now that you have connected the additional speakers to your stereo system, it’s time to configure the speaker settings to ensure optimal sound performance and proper channel assignment.
Start by accessing the settings menu on your amplifier or receiver. Look for the audio or speaker configuration options. Depending on your stereo system, you may have the ability to manually set up the speaker sizes, adjust the channel levels, and set the crossover frequencies.
First, set the speaker size for each connected speaker. This allows your amplifier or receiver to optimize the sound output according to the capabilities of each speaker. Typically, you can choose from options such as “Large” or “Full Range” for floor-standing or bookshelf speakers, and “Small” for speakers that are unable to reproduce lower frequencies effectively. Setting the speaker size correctly ensures that the proper frequencies are directed to each speaker.
Next, you may have the option to adjust the channel levels. This allows you to fine-tune the balance and volume of each speaker to ensure a seamless audio experience. Use a test tone or reference track to aid in setting the levels correctly. Make adjustments until the audio output from each speaker sounds equal in volume and balanced relative to your listening position.
Additionally, if your amplifier or receiver offers the option, you can set the crossover frequencies. The crossover frequency determines the point at which low-frequency sounds are redirected from the main speakers to the subwoofer. Adjusting the crossover ensures a smooth transition between the speakers and subwoofer, resulting in a more cohesive and balanced sound.
For surround sound setups, you may need to configure the speaker layout and channel assignment. Ensure that the amplifier or receiver recognizes the correct placement of each speaker, such as front left, front right, center, rear left, and rear right. You may also have the option to enable surround sound formats, such as Dolby Digital or DTS, for an enhanced audio experience.
Remember to consult your stereo system’s user manual for specific instructions and options available in the settings menu. Each system may have unique configurations and features that can further optimize your audio setup.
As you adjust the speaker settings, take the time to listen to various audio tracks or movies to test and fine-tune the sound to your personal preference. This will allow you to achieve the best possible audio performance from your stereo system.
With the speaker settings properly configured, you are ready to enjoy an immersive and well-balanced audio experience.
Step 6: Testing and Fine-tuning the Sound
Now that you have completed the setup and configuration of your additional speakers, it’s time to test and fine-tune the sound to ensure optimal performance and a satisfying audio experience.
Start by playing a variety of audio tracks that cover different genres and styles. This will allow you to gauge the performance of each speaker and identify any potential issues, such as imbalances in volume or frequency response.
Listen attentively to the audio and pay attention to any areas that may need adjustment. If you notice that certain frequencies are overpowering or lacking, you may need to adjust the channel levels or EQ settings on your amplifier or receiver. Many stereo systems offer equalizer options that allow you to tailor the audio to your preference and the characteristics of your room.
Ensure that the sound is balanced across all speakers, with each speaker contributing to the overall audio image. If you notice any disparities in sound, check the connection and positioning of the speakers to ensure they are properly set up. You may need to adjust the positioning or angle of the speakers to achieve the desired sound coverage and imaging.
During the testing phase, make note of any specific settings or adjustments that you find particularly pleasing. Take the time to experiment and fine-tune the sound to suit your personal taste. Every room and listener is unique, so don’t be afraid to make adjustments until you achieve the ideal audio experience.
Consider enlisting the help of a friend or family member to assist you with the testing process. They can provide a fresh perspective and offer feedback on the overall sound quality and balance of the system.
Once you are satisfied with the sound performance, take the opportunity to familiarize yourself with your stereo system’s remote control or app. Explore the various features and options available, such as different playback modes, audio effects, and input sources. This will allow you to fully utilize the capabilities of your stereo system and further enhance your listening experience.
Remember that fine-tuning the sound is an ongoing process. As you continue to use your stereo system, you may discover new preferences or make changes to your room setup that require adjustments to the speaker settings. Don’t hesitate to revisit the settings and make the necessary tweaks to ensure that you are always getting the best sound possible.
Congratulations! By following these steps and testing the sound output, you have successfully added extra speakers to your stereo system and optimized the audio experience. Now sit back, relax, and enjoy your favorite music and movies with immersive, high-quality sound.
Conclusion
Expanding your stereo system with extra speakers can greatly enhance your audio experience, whether you want to create a surround sound setup for a home theater or extend the sound coverage to multiple rooms. By following the steps outlined in this guide, you can successfully add extra speakers to your stereo system and optimize the performance for a truly immersive and enjoyable listening experience.
Through the process of assessing your stereo system, choosing the right type of speakers, determining their placement and wiring, connecting them properly, configuring the speaker settings, and testing and fine-tuning the sound, you have gained the knowledge and skills to enhance your audio setup.
Remember to consider factors such as compatibility, speaker placement, power handling, and your personal audio goals when selecting the right type of speakers for your system. Proper wiring and organization of cables ensure clean and efficient connections, while configuring the speaker settings enables you to fine-tune the sound to your preference.
Lastly, don’t be afraid to experiment and make adjustments as needed. Every room and listener is unique, and finding the optimal settings and configuration for your specific setup may require some trial and error. Trust your ears and strive for a well-balanced, immersive sound experience.
Adding extra speakers to your stereo system allows you to create a captivating audio environment that brings your music and movies to life. Immerse yourself in rich soundscapes, feel the impact of powerful bass, and enjoy a true audio oasis in the comfort of your own home.
So, what are you waiting for? Take the leap, follow the steps, and elevate your stereo system to new heights of audio excellence!