Home>Production & Technology>Stereo>How To Fix My Stereo Receiver
Stereo
How To Fix My Stereo Receiver
Modified: January 22, 2024
Learn how to fix your stereo receiver with these easy steps and troubleshooting tips. Restore the sound quality and enjoy your music again.
(Many of the links in this article redirect to a specific reviewed product. Your purchase of these products through affiliate links helps to generate commission for AudioLover.com, at no extra cost. Learn more)
Table of Contents
Introduction
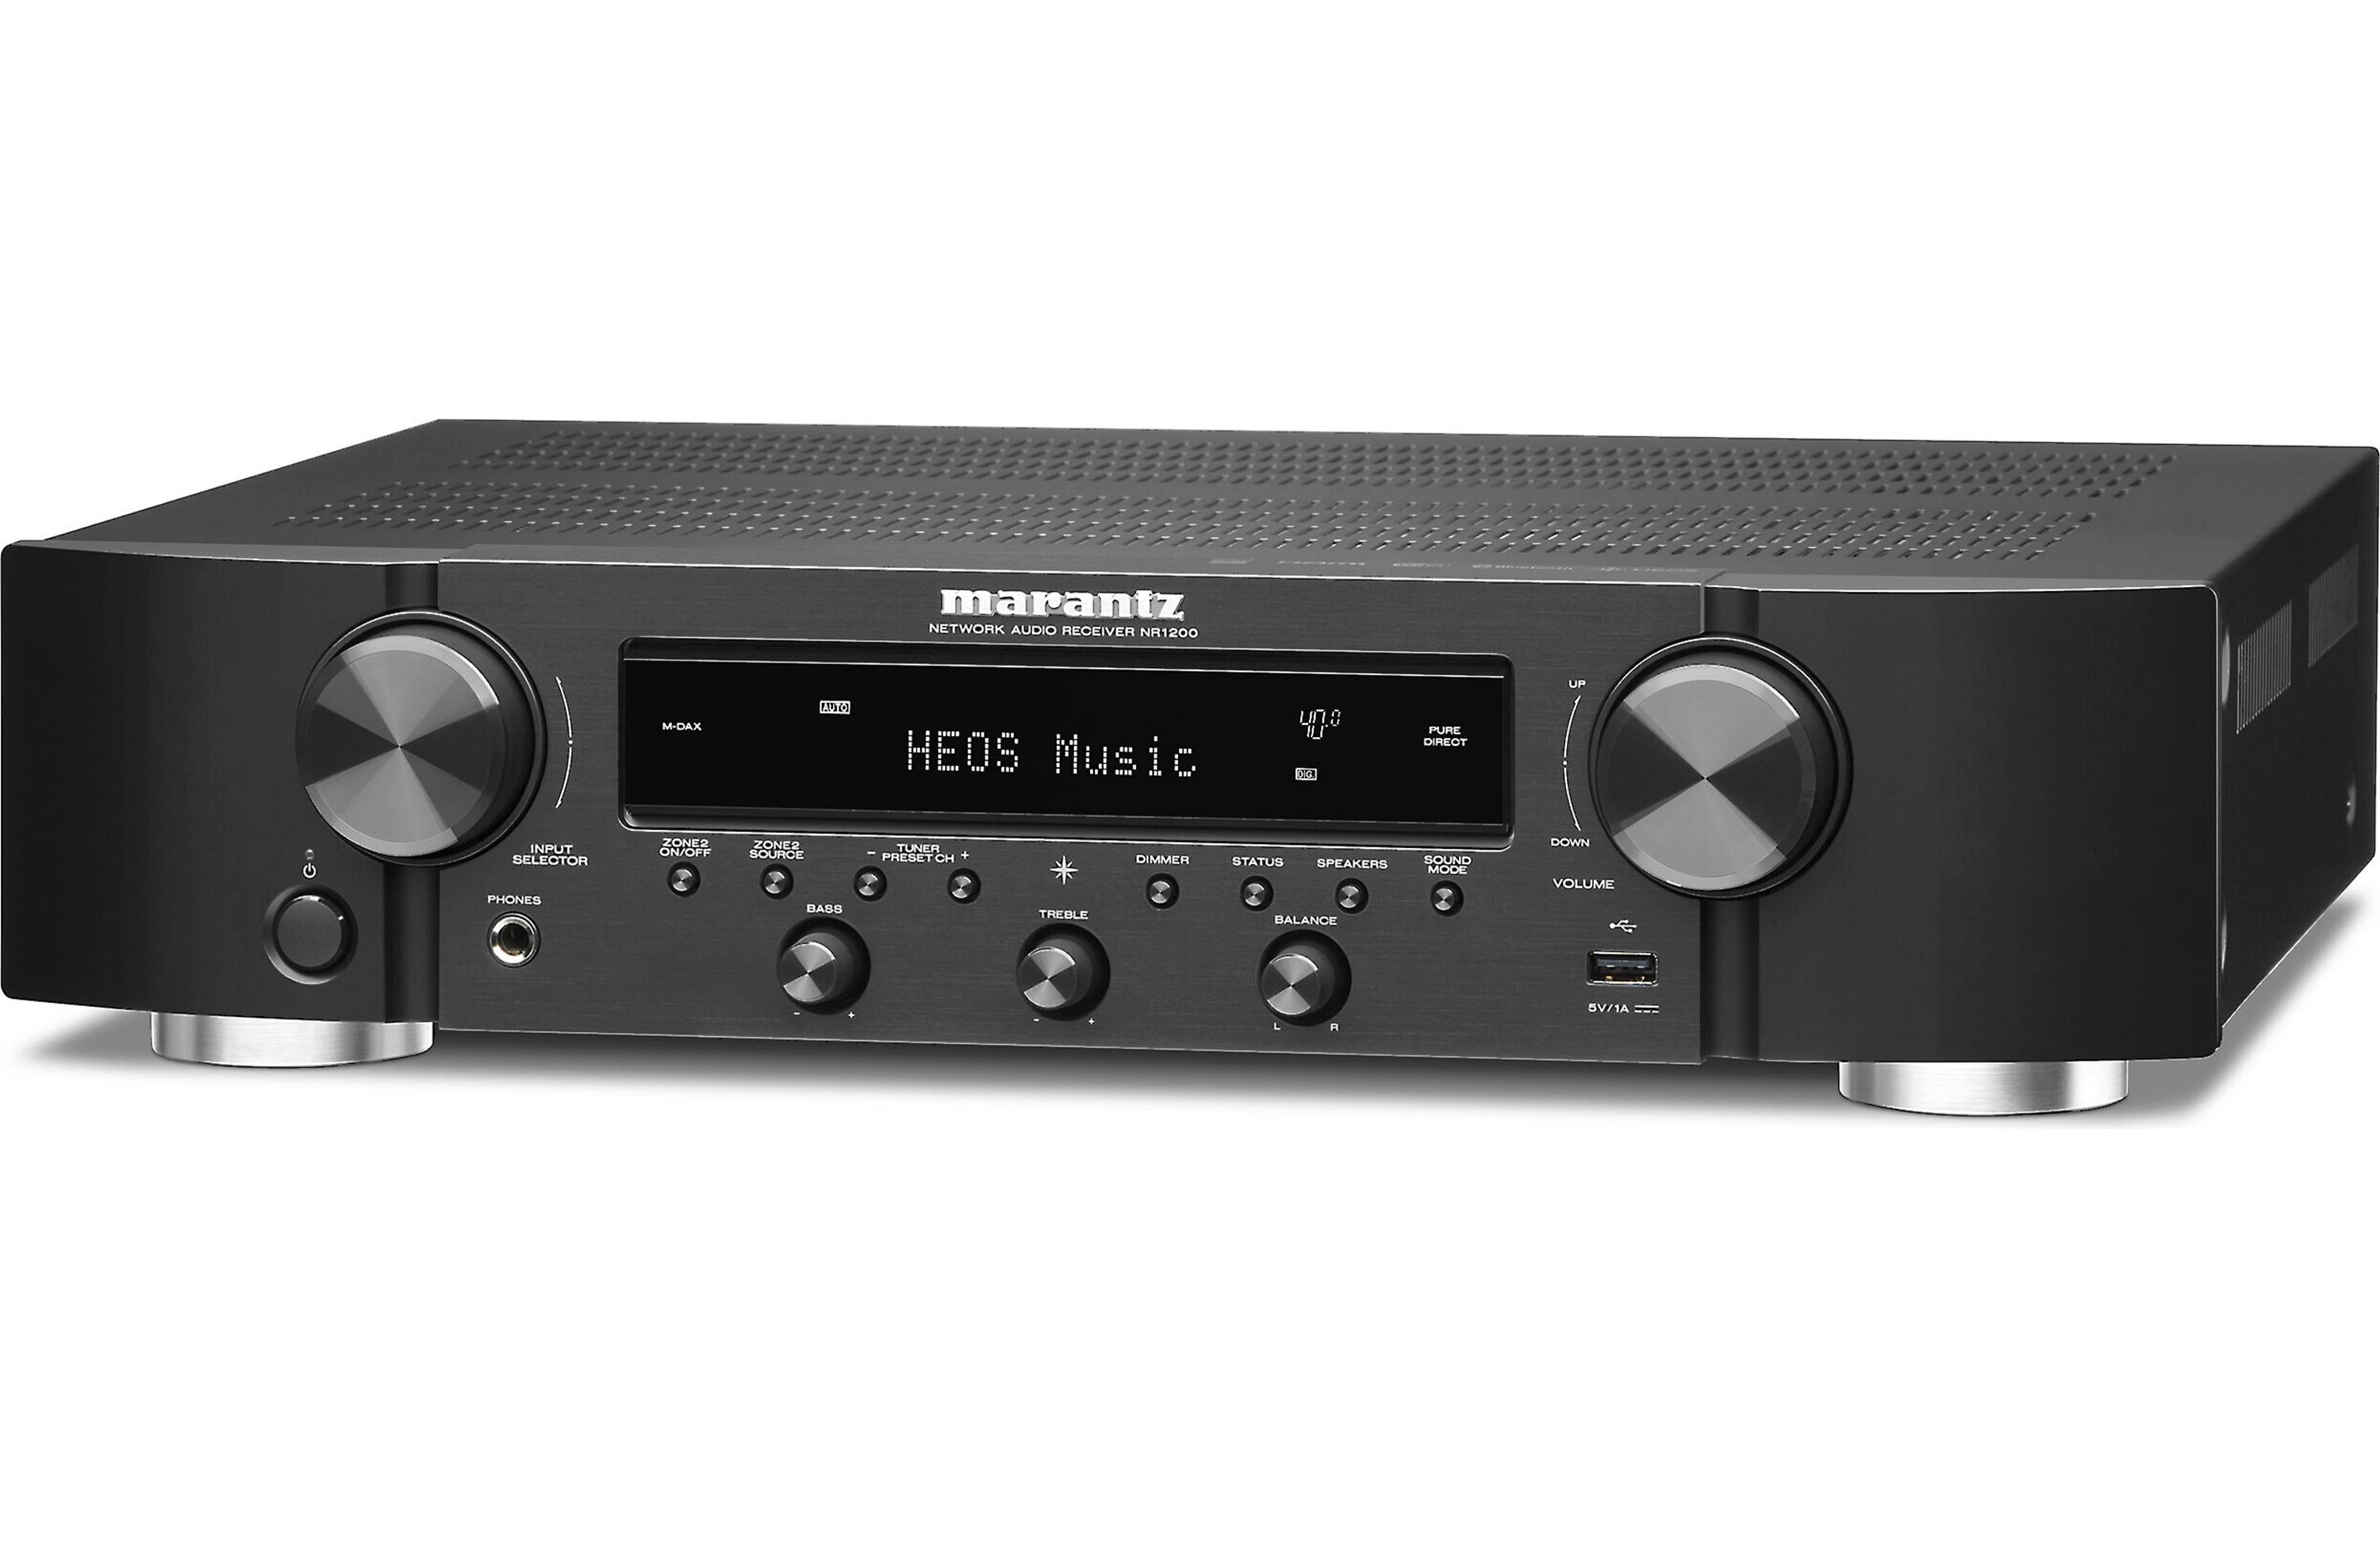
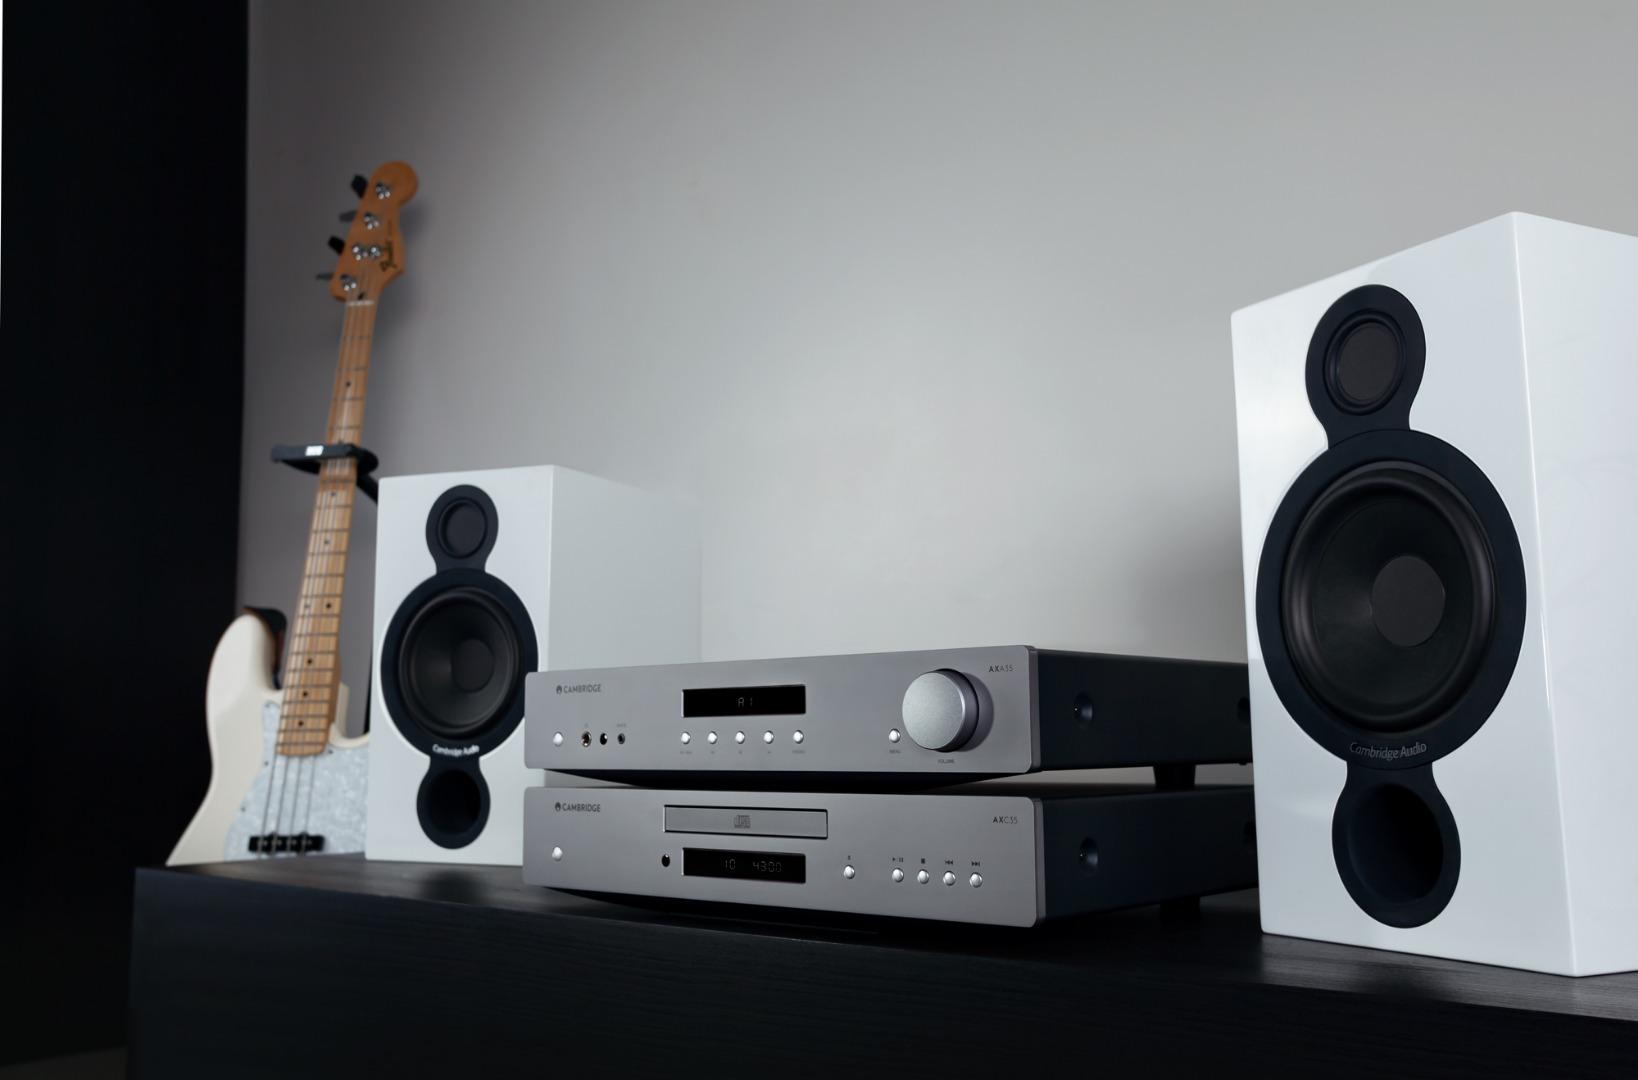
Welcome to our comprehensive guide on how to fix your stereo receiver. A stereo receiver is an essential component of any audio setup, allowing you to connect various devices such as speakers, CD players, and streaming devices. However, like any electronic device, stereo receivers can encounter problems from time to time.
Whether your stereo receiver is not turning on, producing distorted sound, or experiencing other issues, this guide will provide you with step-by-step instructions on troubleshooting and fixing common problems. By following these steps, you can save money on expensive repairs or replacement and get your stereo receiver back to its optimal performance.
Before we dive into the troubleshooting process, it’s important to understand that stereo receivers can have various models and brands, each with its unique features and functions. Therefore, some of the steps mentioned in this guide may vary depending on your specific receiver. However, the troubleshooting principles remain generally the same.
It’s also worth noting that attempting to fix your stereo receiver will require a basic understanding of electronics and technical skills. If you are unsure about any step or feel uncomfortable working with electronics, it’s always advisable to seek professional assistance to avoid any potential damage.
Now, without further ado, let’s begin the troubleshooting process to fix your stereo receiver and get it up and running!
Troubleshooting
When your stereo receiver is encountering issues, it can be frustrating, but don’t worry! In this section, we will walk you through the troubleshooting process to identify and resolve the problems you may be facing.
Before you begin troubleshooting, it’s crucial to approach the process systematically. Start with the most basic and common issues and gradually move towards more advanced solutions if needed.
Here are the steps you can take to troubleshoot your stereo receiver:
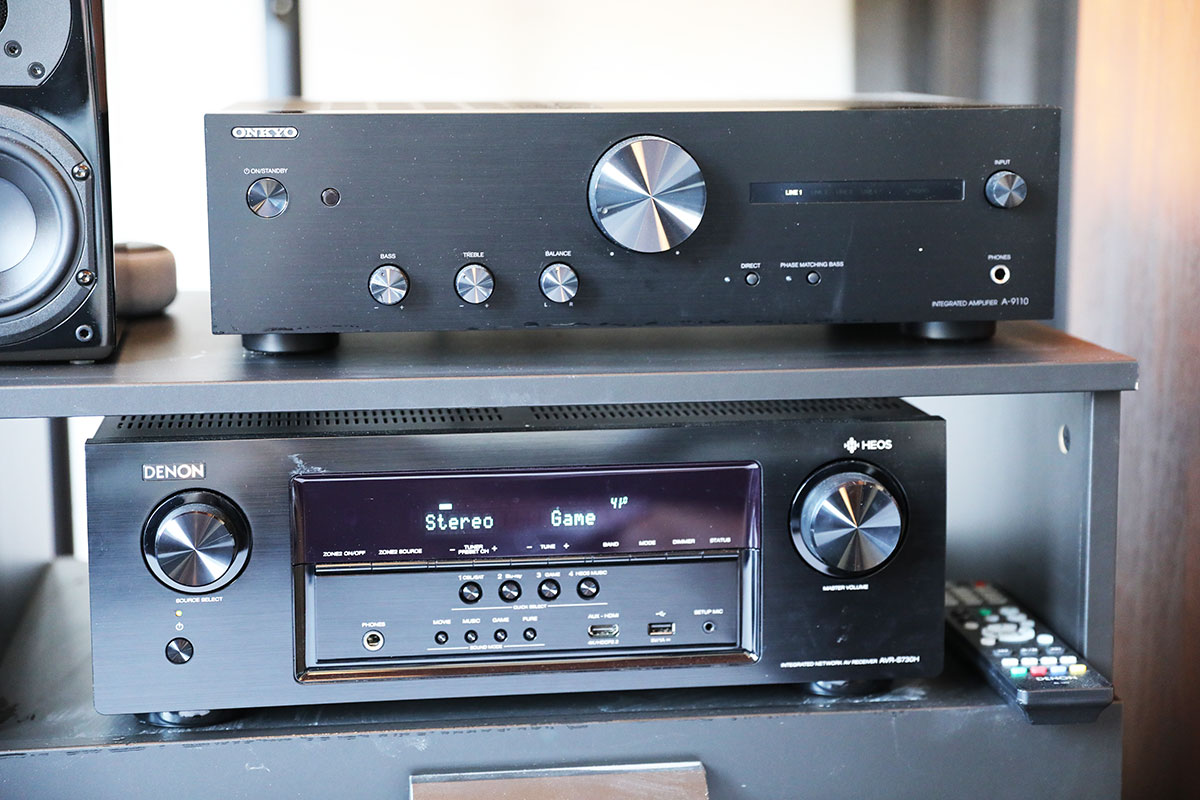
- Check power connection: Ensure that your stereo receiver is properly plugged into a working power outlet. Check the power cord for any signs of damage or loose connections.
- Verify speaker connections: Make sure that the speaker wires are securely connected to the corresponding terminals on the receiver and the speakers. Ensure that the wires aren’t frayed or damaged.
- Reset the receiver: Sometimes a simple reset can fix minor issues. Turn off your receiver, disconnect it from the power source, and wait for a few minutes before plugging it back in and turning it on.
- Check for blown fuses: If your receiver is not powering on at all, it could be due to a blown fuse. Refer to the user manual to locate and inspect the fuses and replace them if necessary.
- Clean the receiver: Dust and debris can accumulate inside the receiver over time, leading to overheating and performance issues. Gently clean the exterior and interior of the receiver using a soft cloth or compressed air to remove any dirt or dust particles.
- Check antenna connections: If you are experiencing poor reception or no sound from the FM/AM tuner, ensure that the antenna is properly connected. Try adjusting the antenna position to improve the signal.
- Update firmware if available: Some receivers can be updated with the latest firmware to fix bugs and improve performance. Visit the manufacturer’s website or refer to the user manual for instructions on updating the firmware.
- Consult the user manual: If you have tried the above steps and the issue persists, refer to the user manual specific to your stereo receiver model. It may provide additional troubleshooting tips or direct you towards professional repairs.
By following these troubleshooting steps, you have a good chance of identifying and resolving the issues with your stereo receiver. Remember to be patient and cautious throughout the process, and don’t hesitate to seek professional help if needed.
Step 1: Check power connection
One of the most common reasons why a stereo receiver may not be functioning properly is a faulty or improperly connected power connection. Before diving into more complex troubleshooting steps, it’s essential to check the power connection. Follow these steps:
- Make sure the receiver is powered off and disconnected from the power outlet.
- Inspect both ends of the power cord for any signs of damage, such as frayed wires or loose connections. If you notice any issues, replace the power cord with a new one.
- Connect the power cord securely to the power outlet and ensure it is firmly plugged into the back of the stereo receiver.
- Turn on the receiver and check if it powers up successfully. Look for any indication lights or displays that confirm the power connection.
If the receiver still doesn’t power on, try plugging it into a different power outlet to rule out any issues with the outlet itself. Additionally, consider using a surge protector or power conditioner to protect the receiver from electrical fluctuations.
If you have followed these steps and the receiver is still not turning on, it may indicate a more complex issue that requires professional repair. In such cases, contacting the manufacturer’s customer support or seeking assistance from a qualified technician is recommended.
Now that you have checked the power connection, let’s move on to the next troubleshooting step to resolve any issues you may be facing with your stereo receiver.
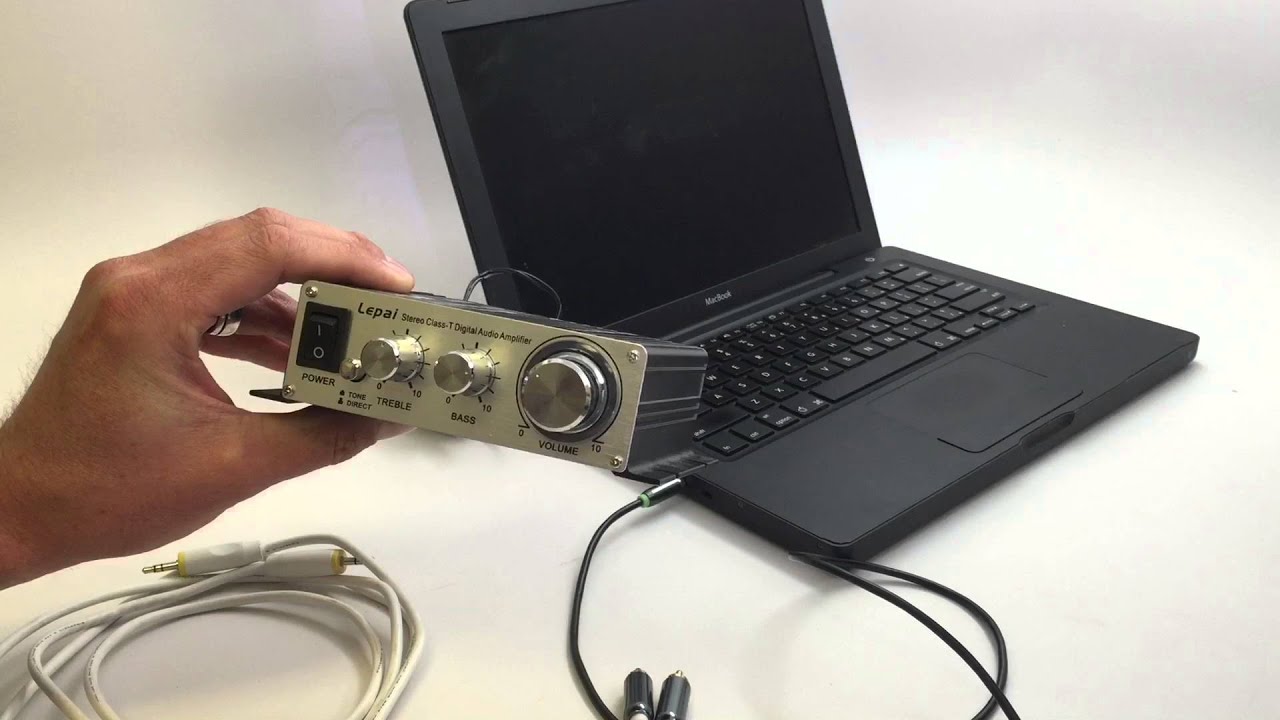
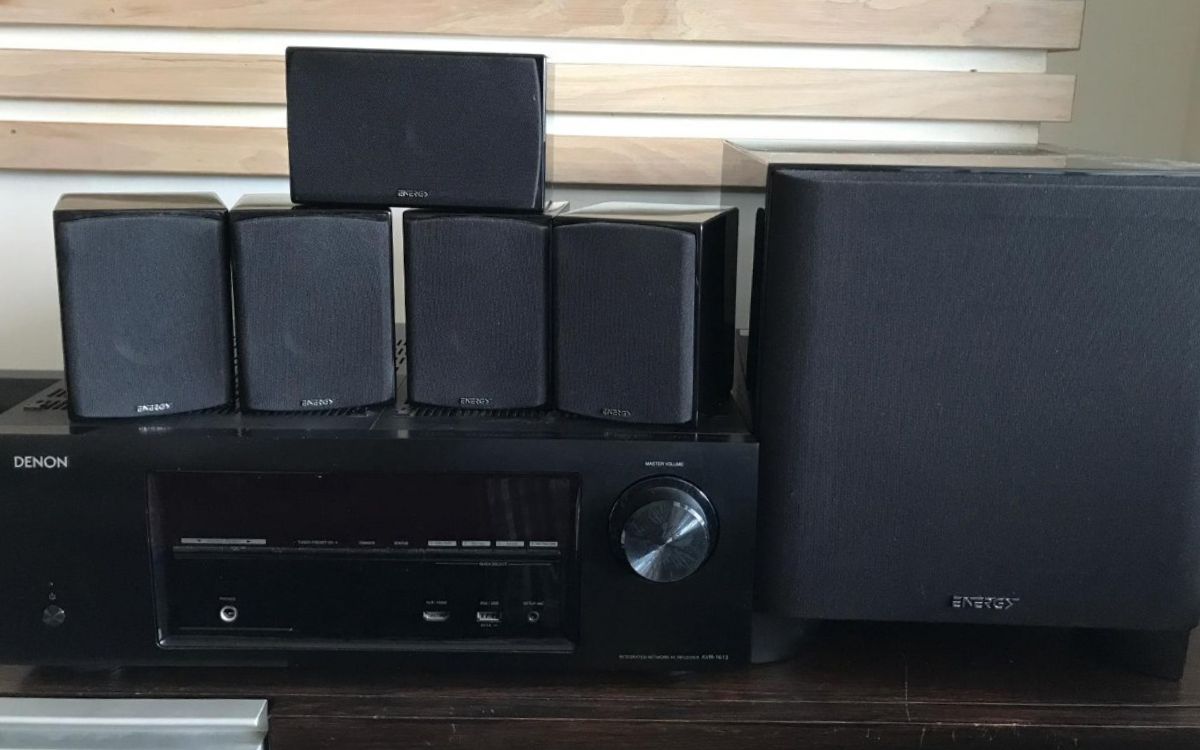
Step 2: Verify speaker connections
When your stereo receiver is not producing any sound or the audio quality is distorted, the issue may lie in the speaker connections. It’s important to ensure that the speakers are properly connected to the receiver for optimal performance. Follow these steps to verify the speaker connections:
- Turn off the stereo receiver to avoid any electrical issues.
- Inspect the speaker wires for any signs of damage, such as cuts or frayed ends. If you notice any issues, replace the speaker wires with new ones.
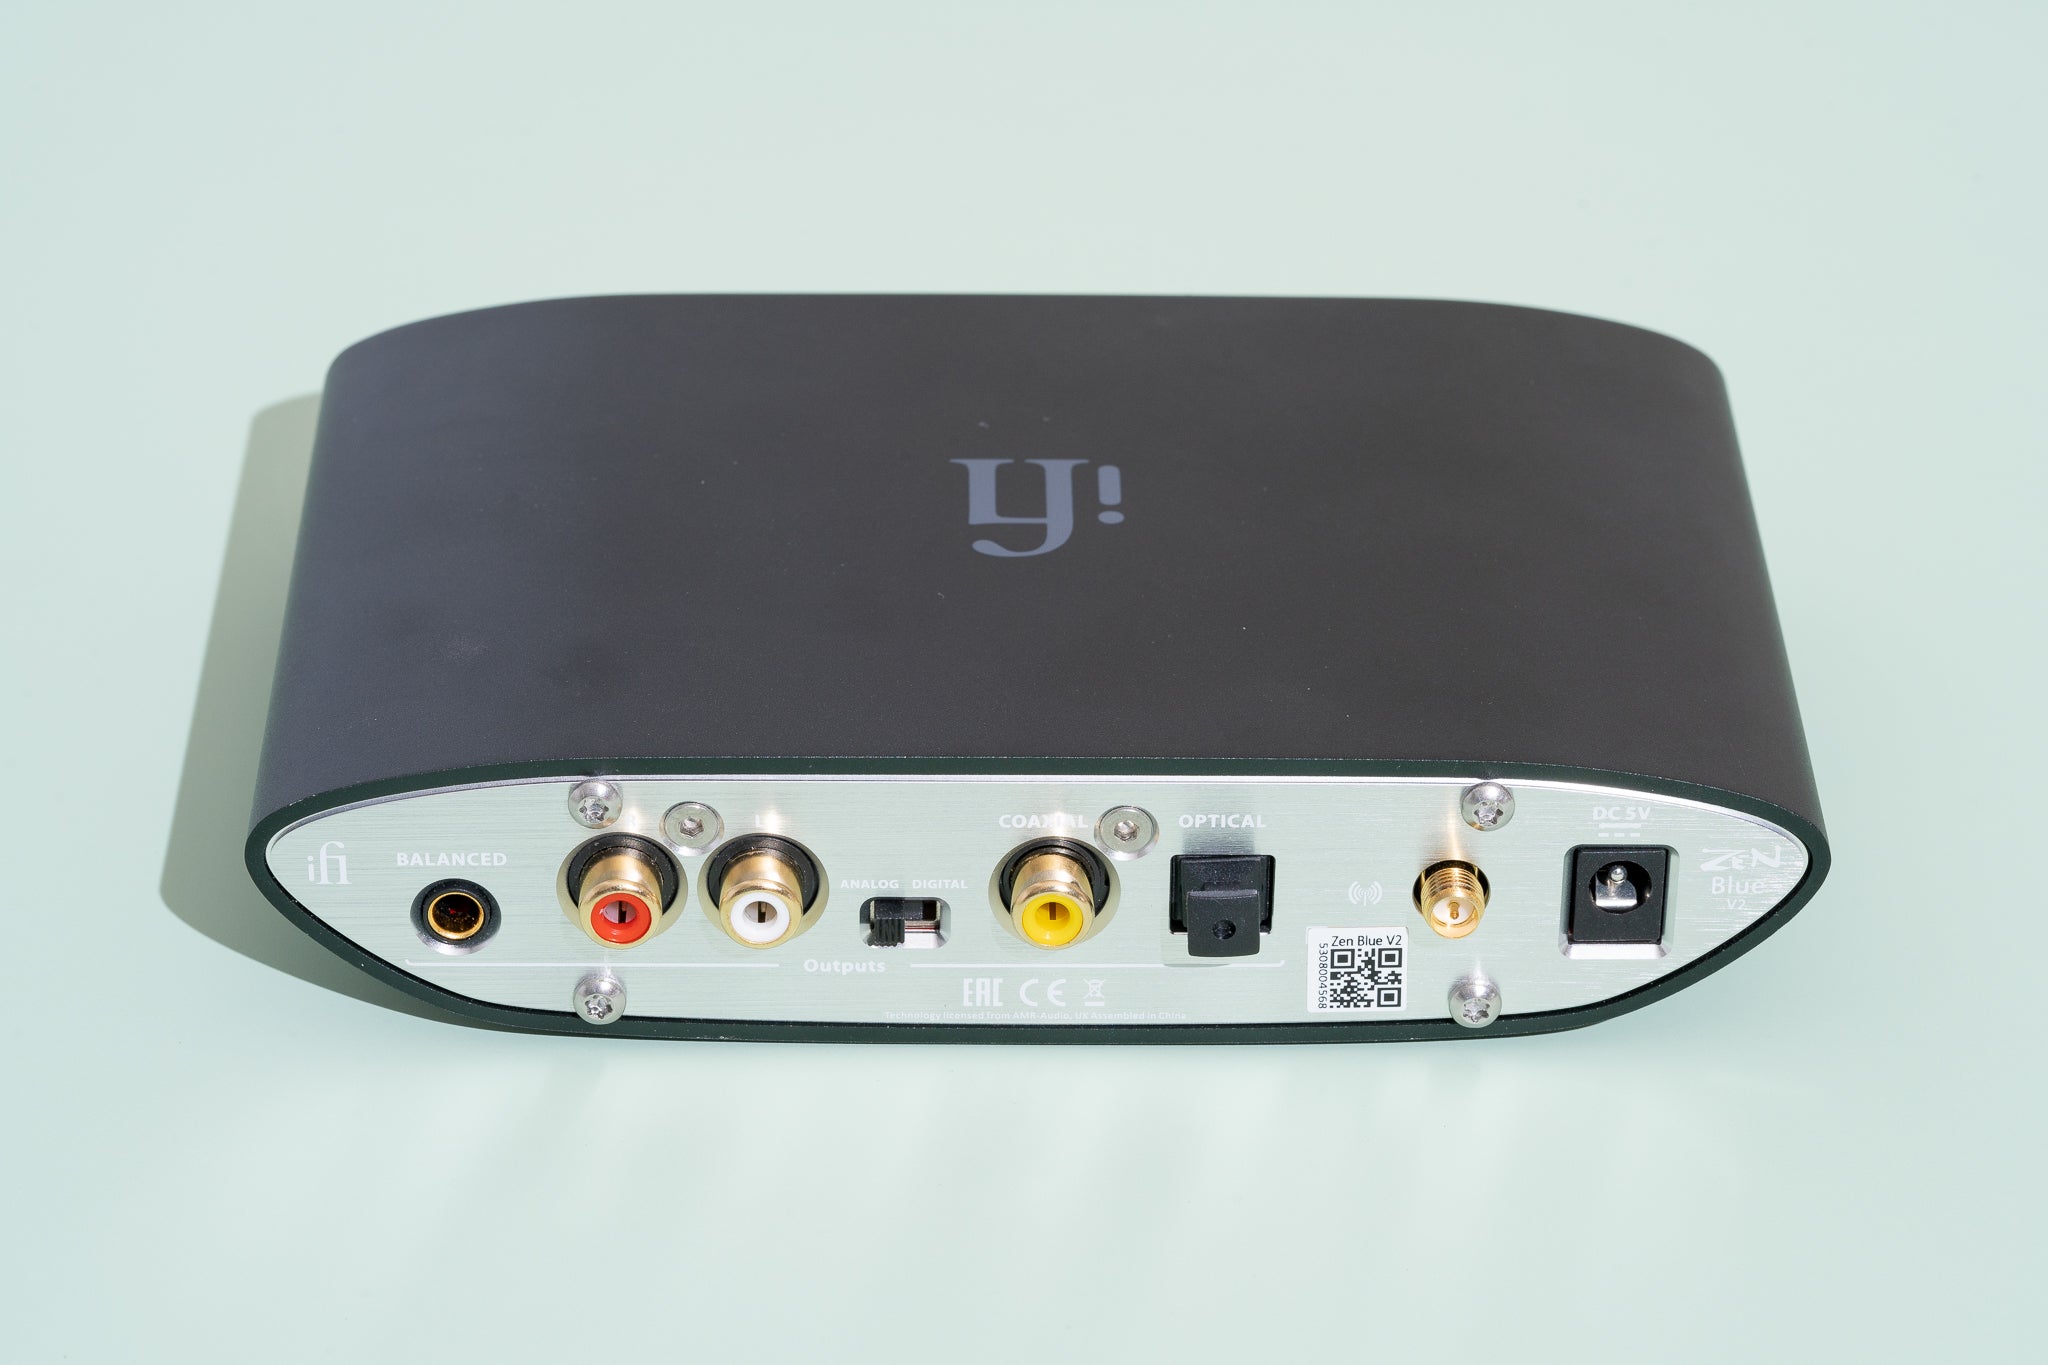
- Locate the speaker terminals on the back of the stereo receiver. These are typically labeled with positive (+) and negative (-) markings or color-coded.
- Connect the positive (+) terminal of each speaker wire to the corresponding positive (+) terminal on the receiver. Similarly, connect the negative (-) terminal of each speaker wire to the corresponding negative (-) terminal on the receiver.
- Ensure that the speaker wires are securely connected and have a tight fit. Loose connections can cause audio issues.
Once you have verified the speaker connections, turn on the stereo receiver and play some audio to check if the issue has been resolved. If there is still no sound or the audio quality is poor, try connecting different speakers to the receiver to determine if the issue lies with the speakers themselves. This will help identify whether the problem is with the speakers or the receiver.
If the issue persists after verifying the speaker connections, it may indicate a more complex problem with the receiver’s internal components. In such cases, seeking professional assistance or contacting the manufacturer’s customer support is advisable.
Now that you have checked the speaker connections, let’s move on to the next troubleshooting step to fix your stereo receiver.
Step 3: Reset the receiver
If your stereo receiver is not functioning properly or experiencing unusual behavior, a simple reset can often resolve the issue. Resetting the receiver clears any temporary glitches or settings that may be causing problems. Follow these steps to reset your stereo receiver:
- Turn off the receiver by pressing the power button or using the remote control.
- Unplug the power cord from the power outlet.
- Wait for at least 10 minutes to allow the receiver to fully discharge and reset.
- After the waiting period, plug the power cord back into the power outlet.
- Turn on the receiver and check if the problems have been resolved.
Resetting the receiver can often fix issues such as audio distortion, freezing, or unresponsiveness. It is a simple and effective troubleshooting step that should be attempted before moving on to more complex solutions.
If the reset process does not resolve the issue, there may be an underlying problem with the receiver that requires further investigation or professional repair. In such cases, referring to the user manual or contacting the manufacturer’s customer support is recommended.
Now that you have performed a reset, let’s move on to the next troubleshooting step to fix any remaining issues with your stereo receiver.
Step 4: Check for blown fuses
If your stereo receiver is not powering on at all, it could be due to a blown fuse. Fuses are safety devices that protect electronic components from excessive current. When a power surge or other electrical issues occur, the fuse may blow to prevent damage to the receiver. Follow these steps to check for blown fuses:
- Ensure that the receiver is turned off and unplugged from the power outlet.
- Refer to the user manual or manufacturer’s documentation to locate the fuse compartment. This is usually located near the power cord input or on the back of the receiver.
- Open the fuse compartment by gently removing the fuse cover or opening a latch, depending on the design of your receiver.
- Inspect the fuses visually to check for any signs of damage, such as a blackened or melted appearance. Use a flashlight if needed to get a clear view.
- If you find a blown fuse, replace it with a new fuse of the same type, rating, and size. It’s important to use the correct replacement fuse to avoid any electrical hazards.
- Close the fuse compartment securely and plug the receiver back into the power outlet.
- Turn on the receiver to see if it powers up successfully.
If the receiver still does not power on after replacing the fuse, it may indicate a larger electrical issue that requires professional attention. In such cases, contacting the manufacturer’s customer support or consulting a qualified technician is recommended.
Checking and replacing blown fuses is a relatively simple and cost-effective solution to restore power to your stereo receiver. Always exercise caution and ensure that the receiver is completely powered off and unplugged before performing any fuse-related tasks.
Now that you have checked for blown fuses, let’s move on to the next troubleshooting step to resolve any remaining issues with your stereo receiver.
Step 5: Clean the receiver
Over time, dust and debris can accumulate on the exterior and interior of your stereo receiver, which can negatively impact its performance. Cleaning the receiver not only improves its aesthetic appearance but also helps prevent overheating and potential damage to the internal components. Follow these steps to clean your receiver:
- Turn off the receiver and unplug it from the power outlet.
- Using a soft, lint-free cloth, gently wipe the exterior surfaces of the receiver to remove any dust or fingerprints. Avoid using abrasive materials or harsh cleaners, as they can scratch or damage the finish.
- To clean the vents and speaker grilles, use a vacuum cleaner with a brush attachment or compressed air canister. Gently run the brush or air along the vents and grilles to remove any loose debris or dust particles.
- If there are stubborn stains or sticky residue on the receiver, dampen a cloth with a mild cleaning solution, such as a mixture of water and mild detergent. Wring out the cloth to remove excess moisture and gently wipe the affected areas. Immediately follow up with a dry cloth to prevent any moisture from entering the receiver.
- To clean the interior of the receiver, use a can of compressed air to blow out any dust or debris. Make sure to hold the can upright and follow the manufacturer’s instructions for safe use.
- Pay special attention to the inputs, connectors, and control knobs. Use a small brush or cotton swab dipped in rubbing alcohol to clean these areas and remove any dirt or grime.
- Allow the receiver to fully dry before plugging it back into the power outlet and turning it on. It’s recommended to wait at least 30 minutes to ensure that all moisture has evaporated.
Regularly cleaning your stereo receiver not only improves its longevity but also enhances its performance. Aim to clean the receiver at least once every few months or more frequently if you live in a dusty environment.
If the audio issues persist even after cleaning the receiver, it may be necessary to seek professional assistance for further troubleshooting or repairs.
Congratulations! By cleaning your receiver, you have taken an important step towards maintaining its functionality and extending its lifespan. Let’s move on to the next troubleshooting step to address any remaining issues with your stereo receiver.
Step 6: Check antenna connections
If you are experiencing poor reception or no sound from the FM/AM tuner on your stereo receiver, the issue may be related to the antenna connections. Proper antenna connections are essential for optimal signal strength and reception. Follow these steps to check the antenna connections:
- Ensure that the receiver is turned off and unplugged from the power outlet.
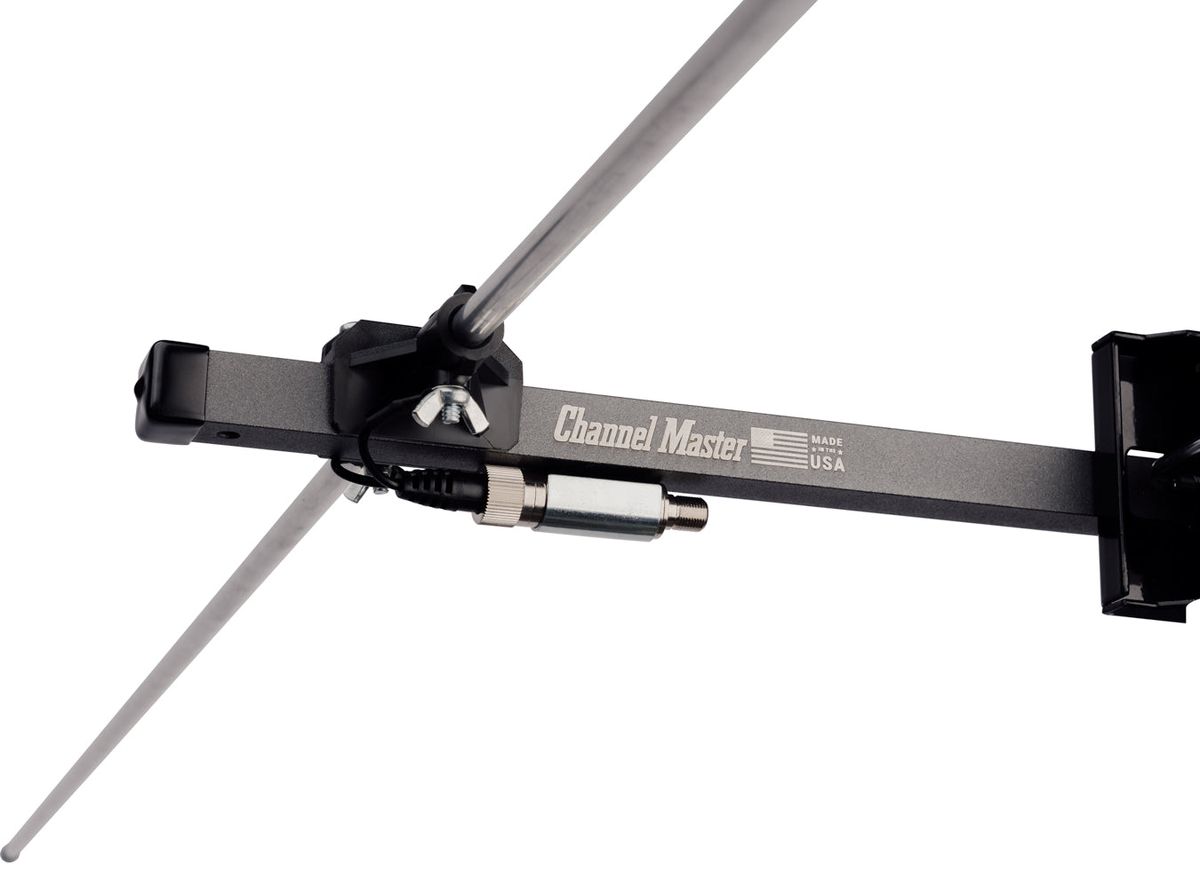
- Locate the FM/AM antenna input on the back of the receiver. It’s usually labeled as “FM Antenna” or “AM Antenna” and may have a screw or push-button connection.
- If your receiver has an external antenna, such as a telescopic or wire antenna, make sure it is fully extended and positioned for optimal reception.
- Check the antenna wire for any signs of damage, such as cuts or fraying. If there are any issues, consider replacing the antenna wire.
- Ensure that the antenna wire is securely connected to the FM/AM antenna input. For screw connections, gently insert the wire and tighten the screw. For push-button connections, press the button to secure the wire in place.
- If you live in an area with weak reception, you may need to consider using an amplified FM/AM antenna or an outdoor antenna for better signal strength.
- Turn on the receiver and select the FM/AM tuner to see if the reception has improved.
By checking and ensuring proper antenna connections, you can potentially resolve issues with poor reception or no sound from the FM/AM tuner on your stereo receiver.
If the issue persists even after checking the antenna connections, it is recommended to consult the user manual or contact the manufacturer’s customer support for further assistance. They may be able to provide additional troubleshooting steps or suggest specific antenna solutions that are compatible with your receiver.
Now that you have checked the antenna connections, let’s move on to the next troubleshooting step to address any remaining issues with your stereo receiver.
Step 7: Update firmware if available
Updating the firmware of your stereo receiver can help resolve various issues, including software bugs, performance issues, and compatibility problems. Firmware updates often include new features, enhancements, and bug fixes provided by the manufacturer. To update the firmware of your receiver, follow these steps:
- Visit the manufacturer’s website and navigate to the support or downloads section. Look for firmware updates specifically for your model of stereo receiver.
- Download the latest firmware update file to your computer or a USB drive, following the instructions provided by the manufacturer.
- Turn on your stereo receiver and ensure it is connected to your home network or internet via an Ethernet cable or Wi-Fi.
- Insert the USB drive (if applicable) or access the firmware update option in the receiver’s settings menu.
- Follow the on-screen instructions or refer to the user manual to initiate the firmware update process. This may involve selecting the firmware file from the USB drive or allowing the receiver to connect to the internet to download the update.
- Wait for the firmware update to complete. Do not turn off the receiver or interrupt the update process, as it may cause irreversible damage.
- Once the update is finished, the receiver will typically restart automatically. Allow the receiver to complete the restart process.
- Verify that the firmware update was successful and check if any previous issues or bugs have been resolved.
It’s important to note that not all stereo receivers allow for firmware updates. Check the user manual or manufacturer’s website to confirm if your specific model supports firmware updates. Additionally, ensure that you are following the correct firmware update procedure and using the appropriate firmware file for your receiver to prevent any compatibility issues.
If you encounter any difficulties during the firmware update process or if the issues persist after updating, it is recommended to contact the manufacturer’s customer support for further guidance.
Now that you have updated the firmware (if available), let’s move on to the final troubleshooting step to address any remaining issues with your stereo receiver.
Step 8: Consult the user manual
If you have gone through the previous troubleshooting steps and are still experiencing issues with your stereo receiver, it’s time to consult the user manual. The user manual is a valuable resource provided by the manufacturer that contains detailed information about the specific features, functions, and troubleshooting steps for your receiver model. Here’s how to make the most of your user manual:
- Locate the user manual that came with your stereo receiver. If you cannot find the physical copy, most user manuals are available in digital form on the manufacturer’s website.
- Read the troubleshooting section thoroughly. Look for specific issues or symptoms that match the problems you are experiencing.
- Follow the troubleshooting steps outlined in the user manual. The manual may provide additional guidance and troubleshooting tips that are specific to your receiver model.
- Pay attention to any warning signs or indicators in the user manual that suggest seeking professional assistance. Some issues may require specialized knowledge or advanced repairs that are best handled by qualified technicians.
- Take note of any additional features, settings, or configurations that may enhance the performance or resolve specific issues with your receiver. The user manual often provides detailed instructions on how to access and adjust these settings.
- If you no longer have the user manual or cannot find a digital version, visit the manufacturer’s website and search for your receiver model. They may have an online version of the user manual available for download.
The user manual is designed to provide comprehensive guidance and support for using and troubleshooting your stereo receiver. It is an invaluable resource that can help you better understand your receiver’s capabilities and resolve any persistent issues.
If none of the troubleshooting steps or information in the user manual have resolved the problems with your stereo receiver, it’s recommended to reach out to the manufacturer’s customer support or consult a qualified audio technician for further assistance.
Congratulations on completing the troubleshooting process for your stereo receiver! By following these steps and referring to the user manual, you have taken significant strides in resolving any issues you were facing. Now, you can enjoy your audio setup with the optimal performance of your stereo receiver.
Conclusion
Fixing your stereo receiver can seem like a daunting task, but with the right troubleshooting approach, you can often resolve common issues and get your audio system up and running again. In this comprehensive guide, we have covered the essential steps to fix your stereo receiver.
We started by checking the power connection, ensuring that the receiver is properly plugged in and connected to a working power outlet. Then, we moved on to verifying speaker connections, as loose or damaged wires can result in poor audio quality or no sound at all. We also discussed the importance of resetting the receiver to clear temporary glitches and explored the potential issue of blown fuses.
Cleaning the receiver was another vital step, as dust and debris can accumulate over time and impact its performance. We then examined the significance of checking antenna connections to ensure optimal reception for FM/AM tuners. Updating the firmware, if available, can provide bug fixes and enhancements to address software-related issues.
Finally, we emphasized the importance of consulting the user manual. The manual serves as a valuable resource, guiding you through troubleshooting steps specific to your receiver model and providing additional insights for advanced settings and features.
If you have completed all the troubleshooting steps and are still experiencing issues with your stereo receiver, it may be necessary to seek professional assistance. Contact the manufacturer’s customer support or consult a qualified audio technician for further guidance and repairs.
Remember, troubleshooting and fixing your stereo receiver can save you money on costly repairs or replacements. By following these steps, you can optimize the performance of your audio system and continue enjoying your favorite music and movies with exceptional sound quality.
Thank you for reading our guide, and we hope it has been helpful in resolving the issues with your stereo receiver. Happy listening!