Home>Production & Technology>Stereo>How To Hide Stereo Wires
Stereo
How To Hide Stereo Wires
Modified: January 22, 2024
Learn how to hide stereo wires and maintain a clean and organized look in your home. Find easy step-by-step instructions to conceal those unsightly cables.
(Many of the links in this article redirect to a specific reviewed product. Your purchase of these products through affiliate links helps to generate commission for AudioLover.com, at no extra cost. Learn more)
Table of Contents
- Introduction
- Step 1: Planning and Preparation
- Step 2: Choosing the Right Wire Hiding Solutions
- Step 3: Organizing and Bundling the Wires
- Step 4: Running the Wires Along Walls or Baseboards
- Step 5: Concealing Wires Behind Furniture
- Step 6: Using Cable Management Systems
- Step 7: Installing In-Wall Wire Concealers
- Step 8: Creating DIY Wire Hiding Solutions
- Step 9: Testing and Finishing Touches
- Conclusion
Introduction
Having a stereo system in your home is a great way to enjoy high-quality audio and enhance your entertainment experience. However, one common issue that many people face is dealing with unsightly stereo wires. These cables can quickly clutter up your living space and ruin the aesthetic appeal of your room. Fortunately, there are various techniques and solutions available to help you hide stereo wires effectively.
In this article, we will guide you through the process of hiding stereo wires, step by step. Whether you’re a DIY enthusiast or prefer using pre-made wire concealing solutions, we have you covered. By following these methods, you can achieve a clean and organized look while maintaining the functionality of your stereo system.
Before we dive into the specifics, it’s important to note that the goal is to hide the wires in a safe and efficient manner. Therefore, it is crucial to follow any safety guidelines provided by the manufacturer and consult a professional if you are unsure about any electrical work involved.
Now, let’s get started with step one: planning and preparation.
Step 1: Planning and Preparation
Before you begin hiding your stereo wires, it’s important to take some time for planning and preparation. This will ensure that you have a well-thought-out strategy and all the necessary tools and materials on hand.
Start by assessing the layout of your room and the location of your stereo system. Take note of the areas where the wires need to be hidden and visualize the best paths for them. Consider the proximity of power outlets, furniture placement, and any potential obstacles that may affect the wire concealment process.
Next, gather the tools and materials you’ll need for the job. This may include wire clips or cable ties, cable management tracks, adhesive hooks, cable sleeves, a power drill, a screwdriver, and a wire cutter/stripper. Depending on the complexity of your setup, you may also need a stud finder and fish tape for running wires behind walls.
Once you have your materials ready, create a detailed plan of action. Determine the specific techniques you will use to hide the wires, such as running them along walls, concealing them behind furniture, or using in-wall wire concealers. Think about the best route for each wire and the most logical point of entry into the wall or furniture.
Lastly, ensure that you have enough time set aside to complete the task. Depending on the complexity of your setup and the techniques you choose, wire hiding can take anywhere from a few hours to a full day. Breaking down the task into smaller, manageable steps will make the process more efficient.
By carefully planning and preparing, you’ll be well-equipped to tackle the task of hiding your stereo wires. Now, let’s move on to step two: choosing the right wire hiding solutions.
Step 2: Choosing the Right Wire Hiding Solutions
Once you have a solid plan in place, the next step is to choose the right wire hiding solutions for your stereo system. There are various options available, each with its own advantages and considerations.
One common and straightforward method is to use wire clips or cable ties to secure the wires along the baseboards or walls. These clips or ties can be easily attached and provide a neat and organized appearance. However, this method may not be suitable if you have a large number of wires or if you want a more discreet hiding solution.
If you prefer a more comprehensive wire hiding solution, cable management tracks or raceways might be the right choice for you. These tracks can be mounted on the walls or baseboards and provide a dedicated channel for the wires to run through. They come in various sizes and colors, allowing you to choose the one that best matches your room’s decor.
Another option is to conceal the wires behind furniture. This can be done by strategically placing the furniture in front of the wires or using adhesive hooks to secure the wires along the back of the furniture. This method works well if you have large pieces of furniture that can effectively hide the wires from view.
If you want a more permanent and seamless solution, consider using in-wall wire concealers. These concealers are designed to be installed directly into the wall, allowing you to run the wires through them and hide them completely. This method requires some DIY skills and may involve cutting into the wall, so it’s important to follow proper safety precautions and consult a professional if needed.
Lastly, for those who prefer a more creative approach, you can even create your own DIY wire hiding solutions. This may include using decorative molding to create a custom channel for the wires, repurposing household items to conceal the wires, or integrating the wires into the design of your room in an artistic and visually appealing way.
Consider the specific needs and challenges of your space, as well as your personal preferences, when choosing the right wire hiding solutions for your stereo system. Once you have decided on the approach, it’s time to move on to the next step: organizing and bundling the wires.
Step 3: Organizing and Bundling the Wires
Now that you have chosen the wire hiding solutions for your stereo system, it’s time to organize and bundle the wires. This step is crucial to ensure that the wires are neatly arranged and easy to manage.
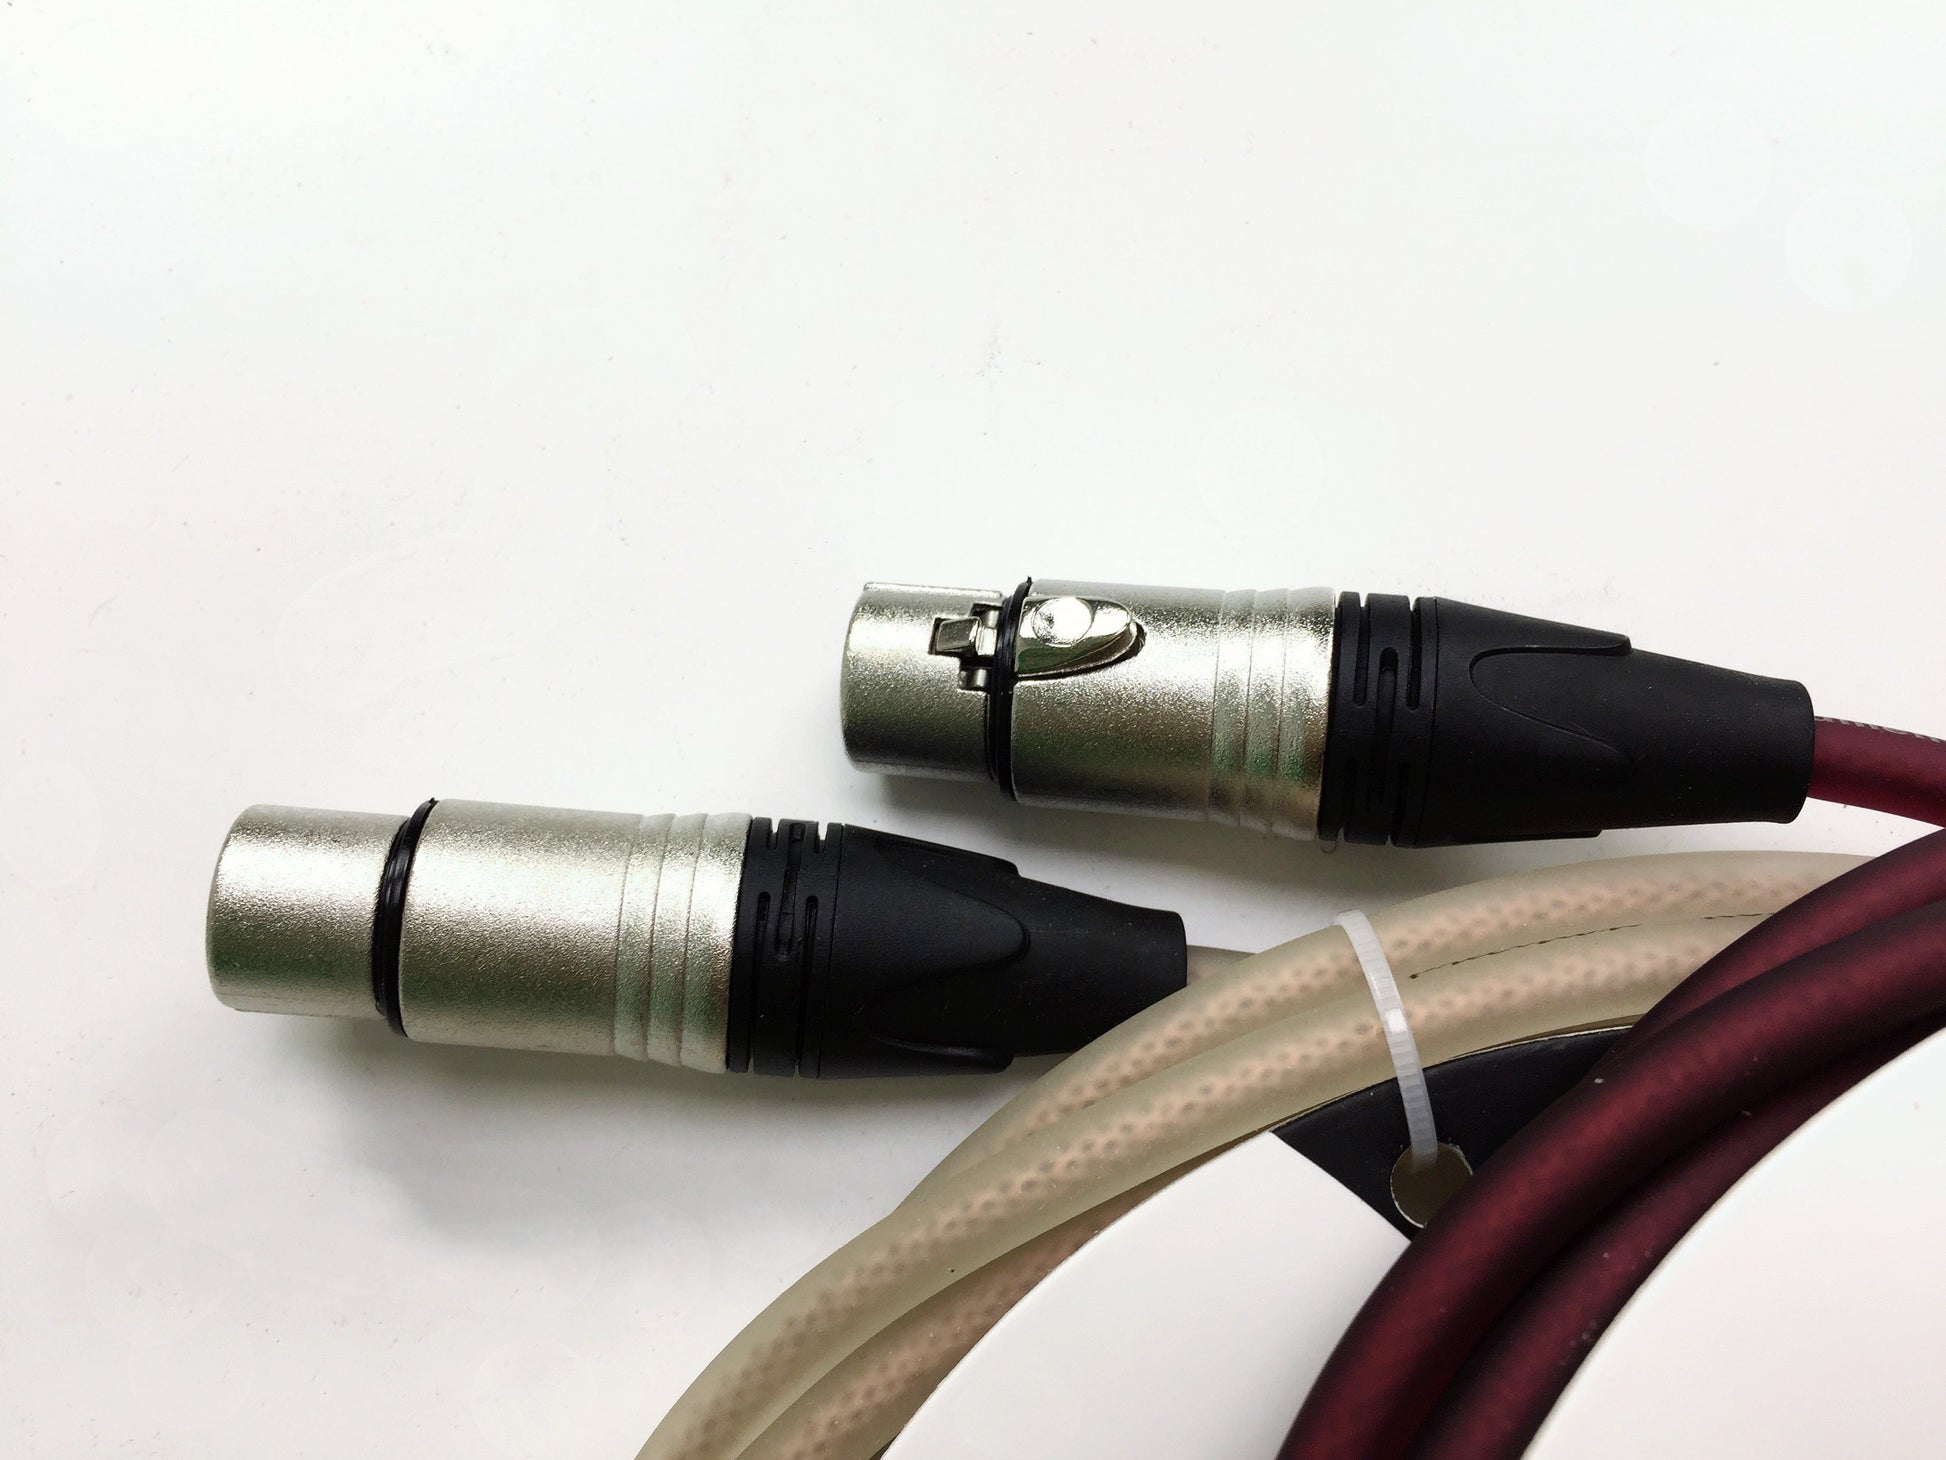
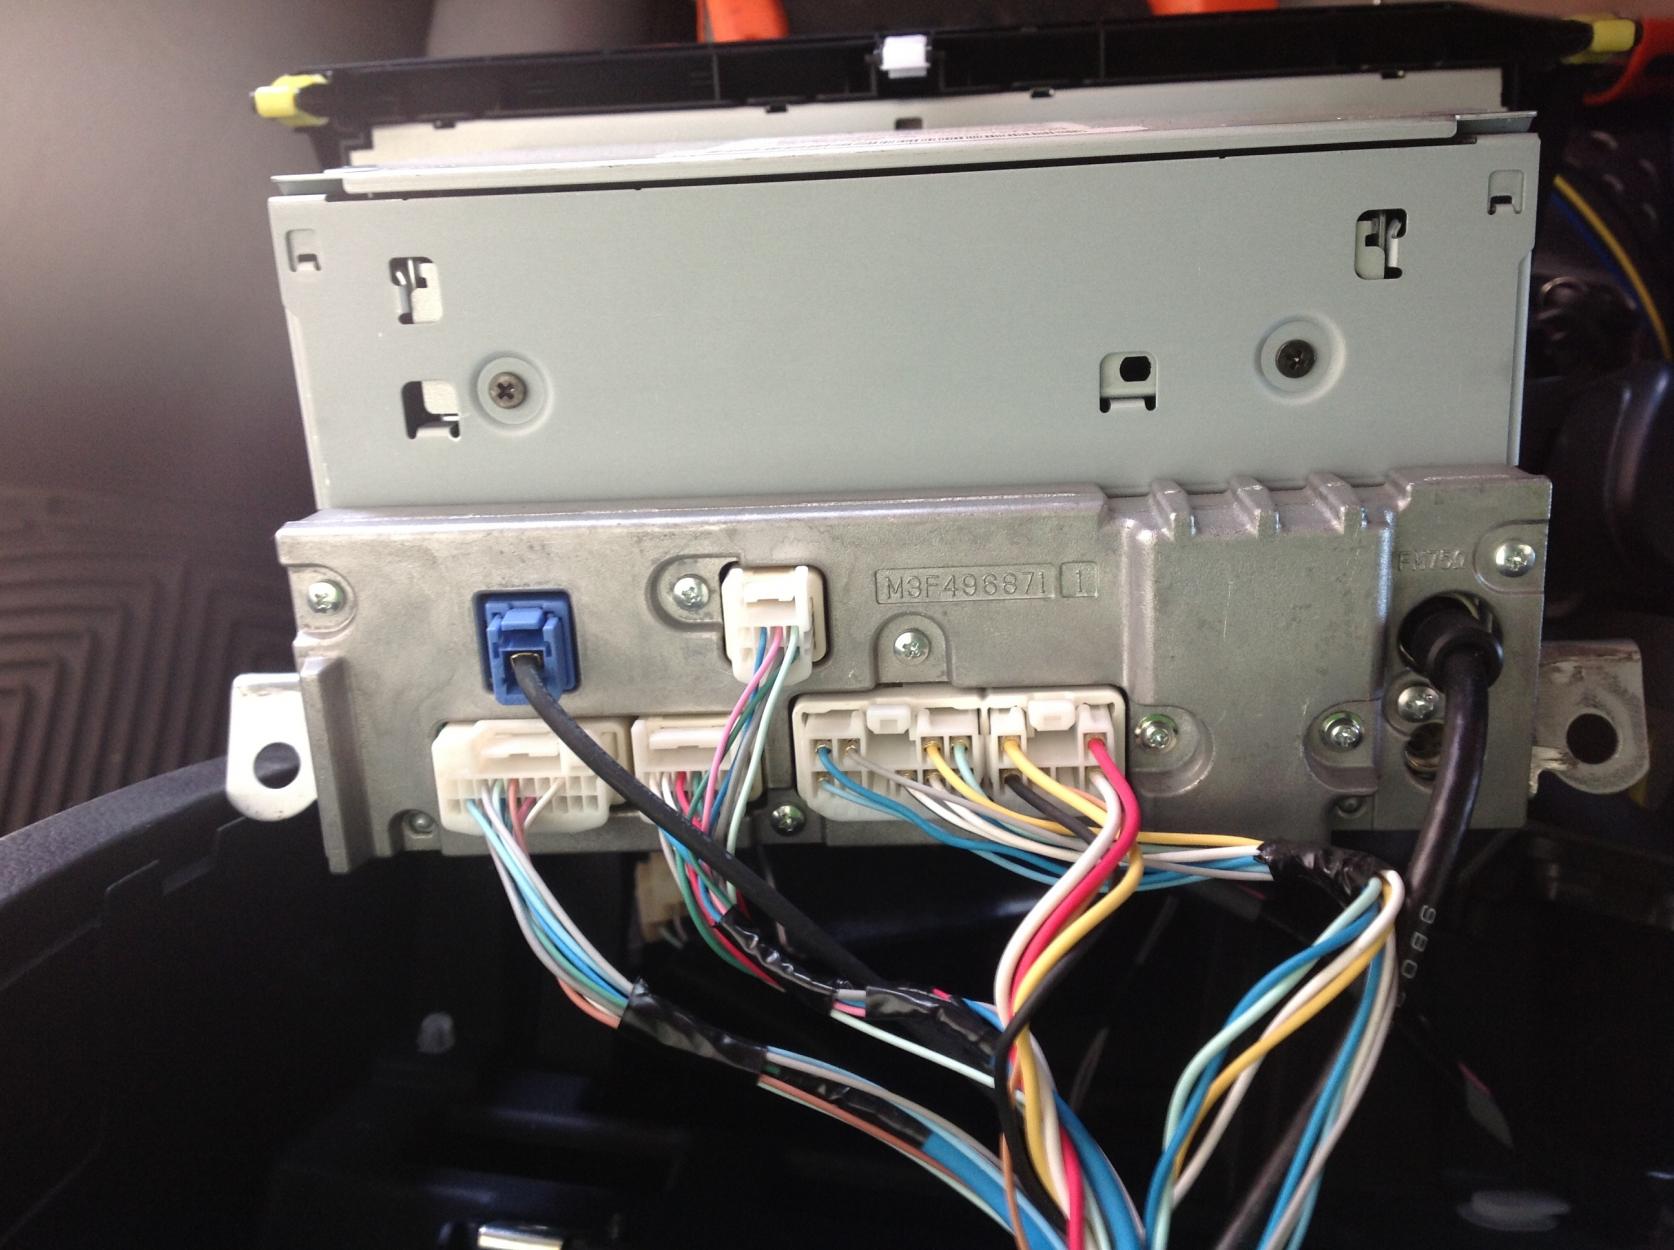
Start by gathering all the wires that need to be hidden and untangling them if necessary. It’s common for stereo systems to have multiple cables, including power cords, audio cables, and speaker wires. Separate each type of wire to make the organization process easier.
Next, determine the appropriate length for each wire by measuring the distance from the stereo system to the point where you plan to hide or conceal the wire. Leave some extra length for flexibility and future adjustments.
Once you have the desired length, bundle the wires together using cable ties or Velcro straps. This will prevent them from tangling and make them easier to manage. Be sure to leave some slack in the bundled wires to avoid putting unnecessary strain on the connectors or causing interference with the audio signal.
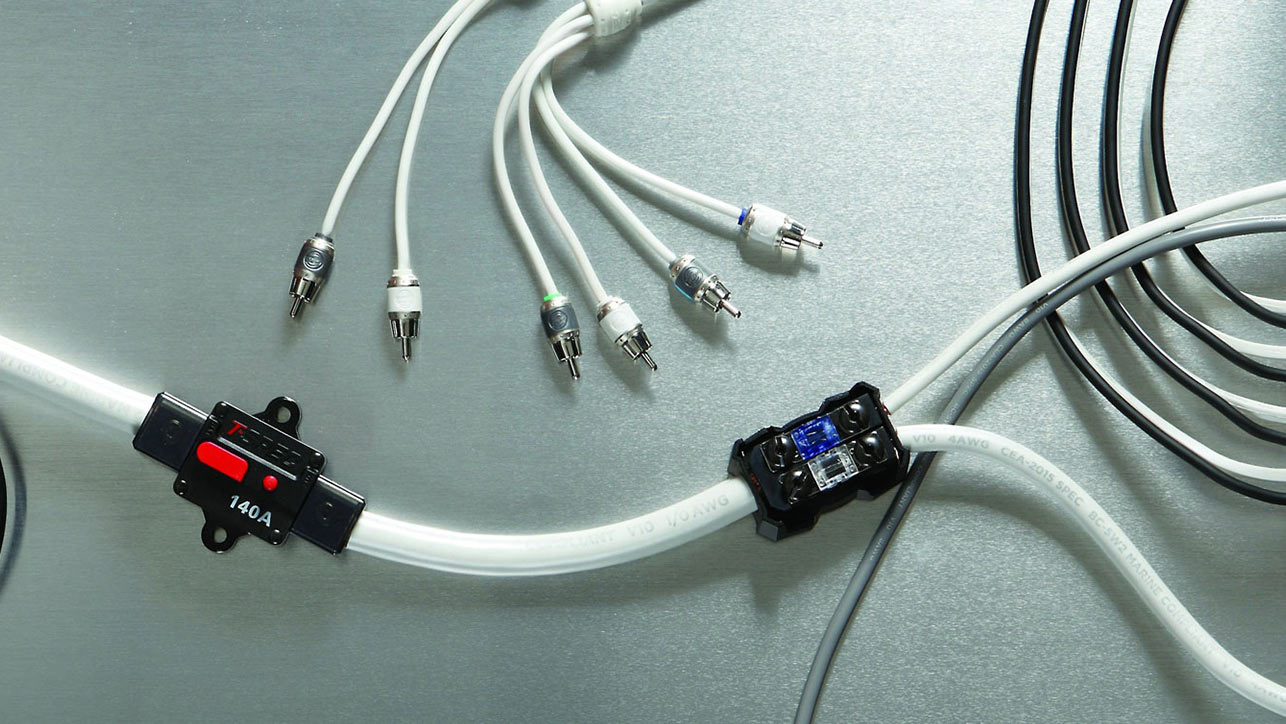
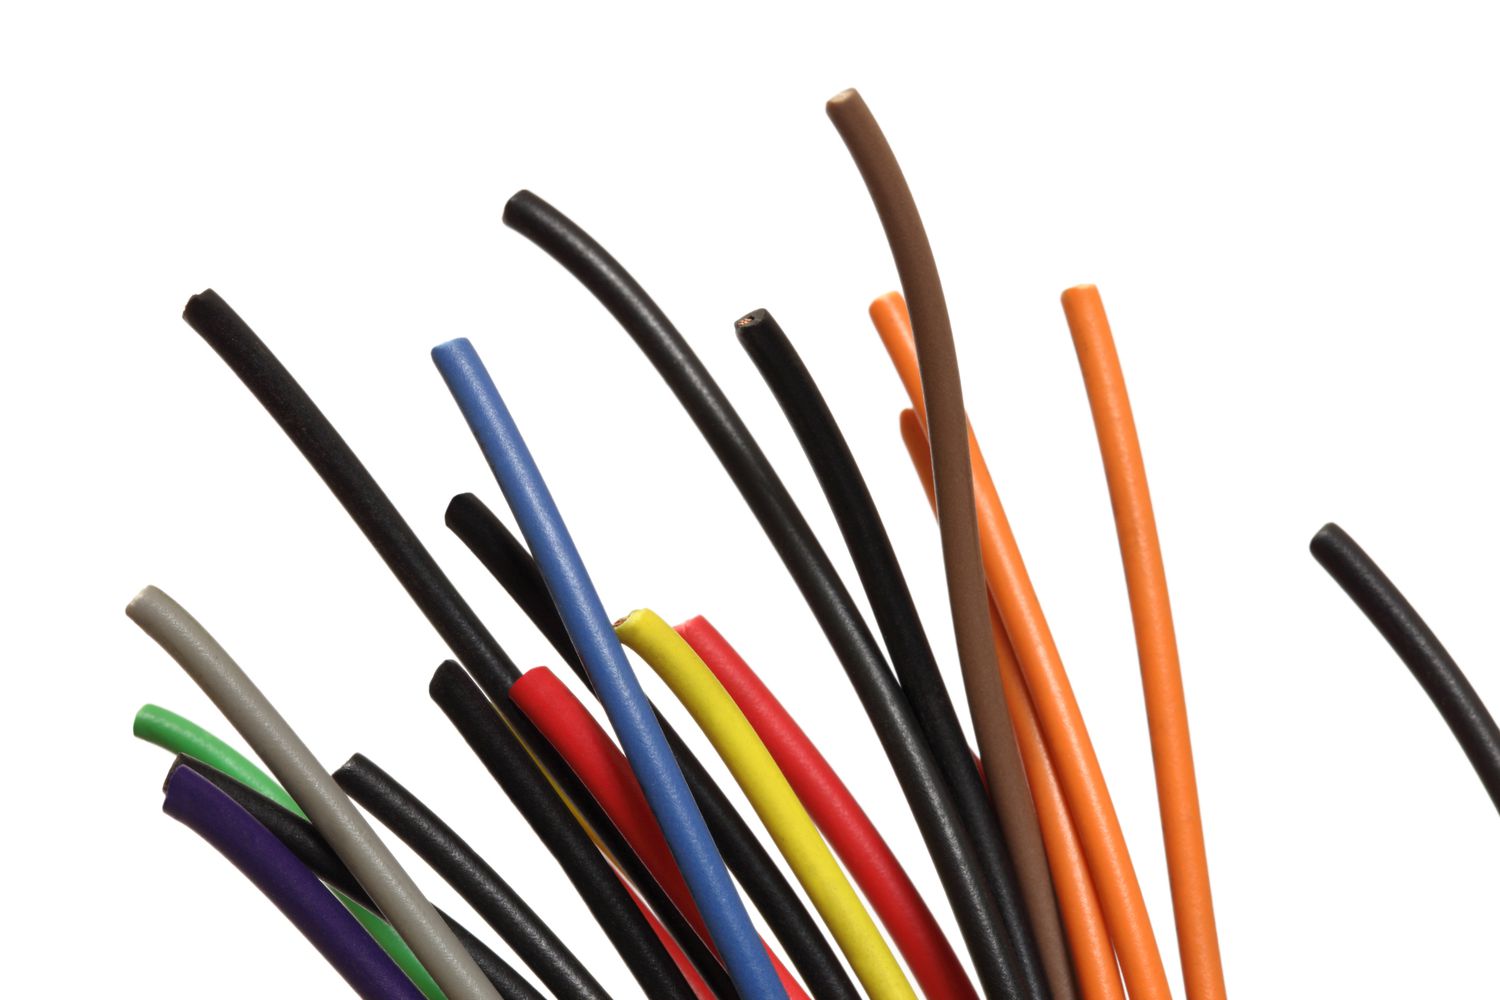
If you have multiple wires running parallel to each other, consider using cable sleeves to group them together. Cable sleeves are flexible tubes that can accommodate multiple wires, making them appear as a single unit. This not only enhances the aesthetics but also prevents the wires from getting tangled or accidentally disconnected.
As you organize and bundle the wires, it’s a good idea to label each cable to keep track of their functions. You can use adhesive labels or color-coded tags to identify the different wires. This will make it easier to troubleshoot and reconfigure your stereo system in the future.
Remember to take into account the need for proper ventilation and access to the connectors. Avoid tightly binding the cables or hiding them in a way that restricts airflow. This will help prevent overheating and interference with the audio quality.
By organizing and bundling the wires, you’ll achieve a cleaner and more streamlined look for your stereo system. With this step complete, we can now move on to step four: running the wires along walls or baseboards.
Step 4: Running the Wires Along Walls or Baseboards
After organizing and bundling the wires, the next step is to run them along the walls or baseboards. This method provides a clean and discreet way to hide the wires without the need for complex installations.
Start by identifying the route you want the wires to follow. Consider the layout of the room, the location of power outlets, and any potential obstructions. It’s best to choose the shortest and most direct path to minimize the visibility of the wires.
Before securing the wires, ensure that the walls or baseboards are clean and free from dust and debris. This will help the adhesive of any wire clips or cable tracks to adhere properly. Use rubbing alcohol or a mild cleaning solution to remove any dirt or oils.
If you’ve chosen wire clips, adhere them to the wall or baseboard according to your pre-determined path. Insert the bundled wires into the clips, making sure they are secure but not overly tight. This will prevent the wires from sagging or becoming dislodged.
Alternatively, if you’re using cable management tracks, attach them to the wall or baseboard using the provided adhesive or screws. Feed the wires into the tracks, ensuring they are neatly arranged within the channel. Some cable management tracks even have coverings that can be snapped into place, further concealing the wires.
For a more seamless look, you can consider painting the wire clips or cable tracks to match the color of your walls or baseboards. This will help them blend in and become less noticeable.
As you run the wires, be mindful of any electrical sockets or outlets. Avoid covering them or placing the wires too close to them to prevent any interference or safety hazards. If necessary, use wire clips or cable tracks with built-in gaps for outlet access.
Remember to periodically check that the wires are properly secured and not becoming loose or twisted. Adjust them as needed to ensure they maintain a clean and organized appearance.
Running the wires along walls or baseboards is a practical and straightforward method to hide them effectively. With this step completed, we can now move on to step five: concealing wires behind furniture.
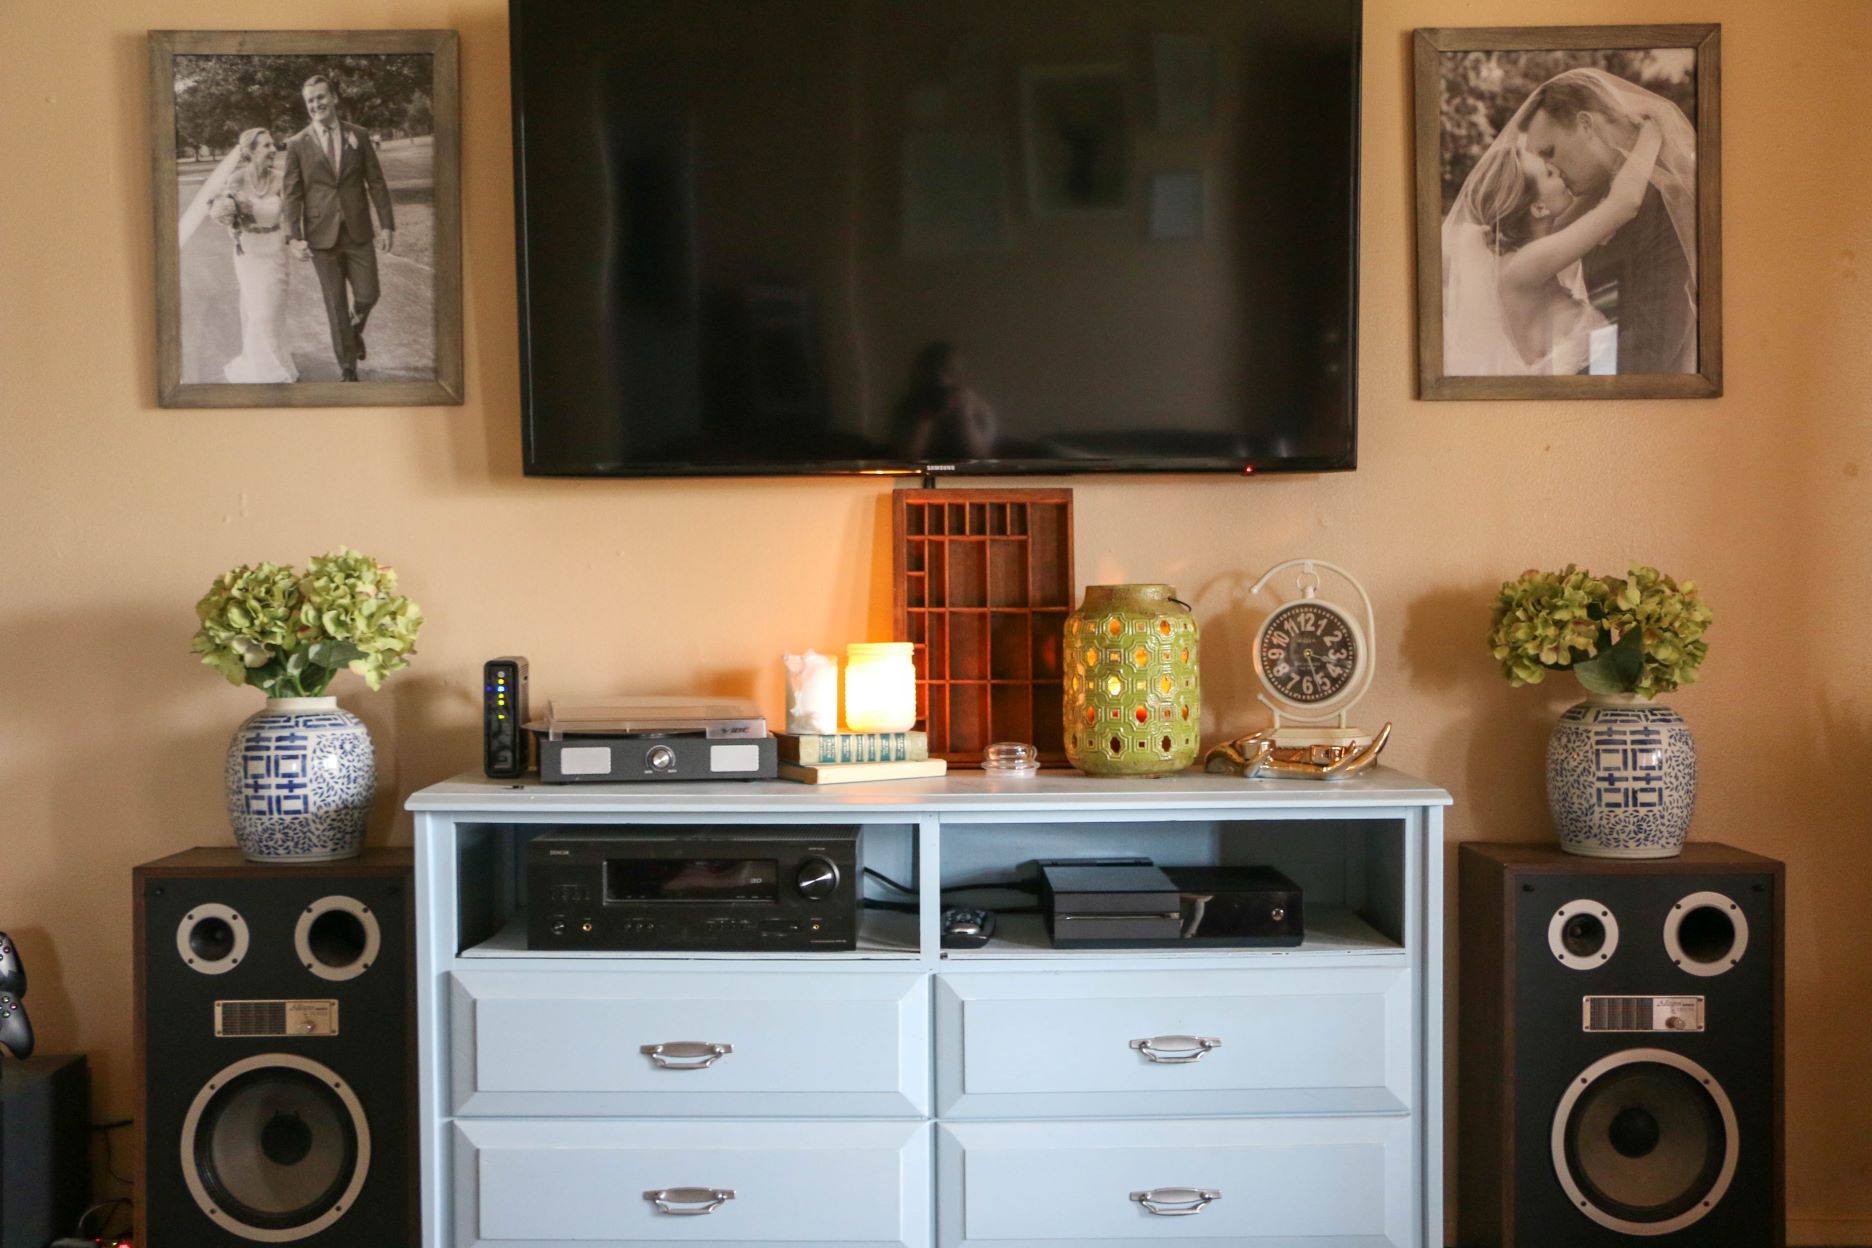
Step 5: Concealing Wires Behind Furniture
If you prefer a more discreet wire hiding solution, one effective method is to conceal the wires behind furniture. This approach not only hides the wires from plain sight but also takes advantage of the existing pieces in your room.
Start by rearranging your furniture in a way that allows you to hide the wires effectively. Move the furniture closer to the walls or baseboards where the wires are running to create a barrier between the wires and the viewer’s line of sight.
If your furniture has a hollow back or a gap between the furniture and the wall, you can simply tuck the wires behind it. Use adhesive-backed cable clips or straps to secure the wires along the backside of the furniture, keeping them out of view.
Alternatively, you can use adhesive hooks to guide the wires along the back of the furniture in a discreet manner. Make sure to position the hooks strategically, ensuring that the wires are hidden while maintaining a clean and organized appearance.
For larger pieces of furniture, such as entertainment centers or bookshelves, you can utilize the space between the furniture and the wall. Secure the wires along the backside or edges of the furniture using adhesive clips or cable ties, ensuring they remain hidden from view.
If needed, you can also use cable sleeves to group and conceal multiple wires together, creating a more polished and organized look. The sleeves can be tucked behind the furniture or held in place with clips or adhesive hooks.
When concealing the wires behind furniture, it’s important to ensure that there is sufficient ventilation to prevent overheating. Avoid tightly trapping the wires against the furniture or obstructing any vents or cooling mechanisms.
Additionally, make sure that the wires are not pinched or strained when moving or adjusting the furniture. Regularly check that the wires are secure and adjust them as needed to maintain an organized and hidden appearance.
Hiding the wires behind furniture can provide a seamless and clutter-free look to your stereo system setup. With this step completed, we can now move on to step six: using cable management systems.
Step 6: Using Cable Management Systems
Cable management systems are an excellent solution for hiding stereo wires while maintaining a clean and organized appearance. These systems are designed to route and conceal cables in a systematic and efficient manner.
There are various types of cable management systems available, including cable trays, wire raceways, and cable sleeves. Each option offers different levels of concealment and flexibility, allowing you to choose the one that best suits your needs.
Cable trays are metal or plastic trays that can be mounted under or on the side of desks, shelves, or entertainment centers. These trays provide a dedicated space for the wires to rest, keeping them off the floor and out of sight. Simply place the wires in the tray, ensuring they are properly organized and bundled, and secure them with cable ties.
Wire raceways, also known as wire channels or ducts, are plastic or PVC channels that can be affixed to the wall or baseboard. These channels provide a hidden pathway for the wires to run through, neatly concealing them from view. To use a wire raceway, open the channel, insert the bundled wires, and snap the channel closed. Some wire raceways even have adhesive backing for easy installation.
Cable sleeves, as mentioned earlier, are flexible tubes that can accommodate multiple wires. They offer a streamlined and tangle-free appearance. Simply gather the wires into a bundle, place them inside the sleeve, and zip the sleeve shut. The advantage of cable sleeves is their flexibility, allowing for easy additions or removal of wires when needed.
When using cable management systems, it’s important to choose the appropriate size and capacity to accommodate your wires. Make sure you leave enough space for future additions or changes to your stereo system setup. Additionally, ensure that the cables can be easily accessed and not overly compressed, which could potentially cause damage or interference.
Take your time to install the cable management system properly, following the manufacturer’s instructions. Double-check that the wires are neatly arranged within the system and that any covers or closures are securely in place.
Cable management systems provide a professional and sleek solution for hiding stereo wires, making your setup look polished and organized. With this step complete, we can now move on to step seven: installing in-wall wire concealers.
Step 7: Installing In-Wall Wire Concealers
If you prefer a more permanent and seamless solution for hiding stereo wires, in-wall wire concealers are an excellent option. These concealers are designed to be installed directly into the wall, creating a clean and hidden pathway for the wires to run through.
Before proceeding with the installation, it’s important to note that this method requires some DIY skills and may involve cutting into the wall. If you’re unsure or uncomfortable with this process, it’s recommended to consult a professional for assistance.
Start by selecting the appropriate in-wall wire concealer system for your needs. These systems typically consist of a raceway, which is a channel that houses the wires, and a faceplate that covers the opening of the raceway.
Identify the desired location for the wire concealer, considering the starting point near your stereo system and the exit point where the wires will come out. Use a stud finder to locate any studs or obstructions within the wall, as you will need to avoid them during the installation process.
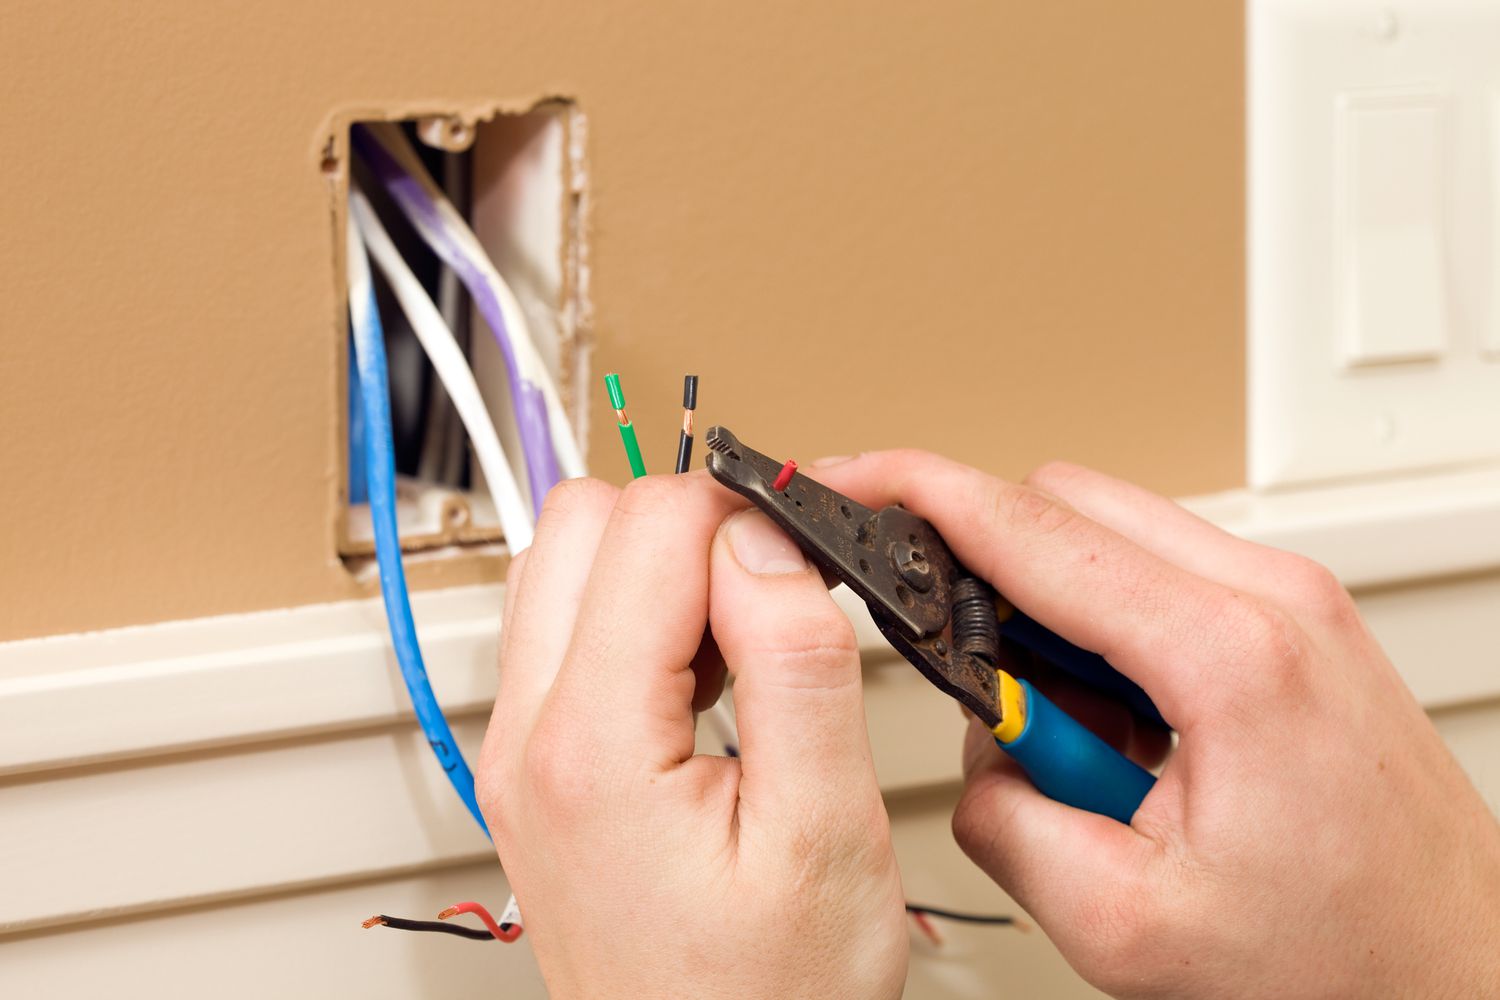
Measure and mark the positions where you will need to cut into the wall to create openings for the raceway and faceplate. Use a level to ensure that the markings are straight and aligned.
Following the marked guidelines, carefully cut into the wall using a drywall saw or a utility knife. Take your time to ensure clean and accurate cuts. Be cautious not to damage any existing wiring, plumbing, or structural elements behind the wall.
Once the openings are created, insert the raceway into the wall, ensuring it fits securely and aligns with the cutout openings. Use screws or brackets provided with the wire concealer system to secure the raceway in place.
Next, thread the wires through the raceway, ensuring they are neatly organized and bundled. Be careful not to overcrowd the raceway, as this may cause strain on the wires or interfere with the signal quality.
Finally, attach the faceplate to cover the cutout openings and provide a finished look. Make sure the faceplate aligns properly with the raceway and fits securely in place.
After installing the in-wall wire concealer, do a final inspection to ensure all wires are properly connected and that there are no visible gaps or protrusions. Test the functionality of your stereo system to ensure that the concealed wires have not been affected.
By installing in-wall wire concealers, you achieve a seamless and hidden wire solution that blends seamlessly with your wall, creating a professional and clutter-free appearance.
With this step complete, we can now move on to step eight: creating DIY wire hiding solutions.
Step 8: Creating DIY Wire Hiding Solutions
If you’re a DIY enthusiast or looking for a creative and budget-friendly approach to hiding stereo wires, creating your own DIY wire hiding solutions can be a fun and effective option. This allows you to personalize the wire concealment while adding a unique touch to your room’s decor.
There are several creative DIY methods you can explore, depending on your preferences and skills. Here are a few ideas to get you started:
Decorative Molding: Use decorative molding or trim to create a custom channel for your wires. Attach the molding along the walls or baseboards, leaving a gap behind it to hide the wires. Paint or stain the molding to match your room’s decor, creating a seamless and elegant look.
Repurposed Household Items: Look around your home for items that can be repurposed to conceal wires. For example, hollow curtain rods or PVC pipes can be mounted on the wall to serve as wire conduits. Old shoeboxes or storage containers can be modified to hide wires and placed behind furniture.
Artistic Integration: Turn the wires themselves into an artistic element. For example, you can create a wire “tree” by attaching the wires to the wall in the shape of branches and using adhesive hooks to secure them. Alternatively, you can weave the wires into a decorative macramé pattern on the wall.
Wall Art or Photo Gallery: Incorporate the wires into a wall art display or a photo gallery. Attach the wires to the wall using clips or adhesive hooks and hang your favorite artwork or family photos along the wire lines. This creates a visually appealing display while effectively hiding the wires.
When creating DIY wire hiding solutions, it’s important to prioritize safety. Make sure the wires are properly organized and secured, avoiding any sharp objects or potential hazards. Ensure that any modifications to existing objects or structures do not compromise their integrity or pose any safety risks.
Take your time to plan and execute the DIY wire hiding solutions, ensuring that they not only serve their functional purpose but also enhance the overall aesthetic of your room.
With your DIY wire hiding solution in place, you’ve added a unique and personalized touch to your stereo system setup. With this step completed, we can now move on to step nine: testing and finishing touches.
Step 9: Testing and Finishing Touches
Now that you have successfully hidden your stereo wires using the chosen method or combination of methods, it’s time to test the functionality and add some finishing touches to ensure a polished look.
Start by reconnecting all the wires to their respective devices, such as speakers, amplifiers, or media players. Double-check that each connection is secure and properly inserted. Turn on your stereo system and test the audio output to ensure that all components are working correctly.
Next, inspect the wire hiding areas for any visible gaps or imperfections. Use touch-up paint or putty to fill in any holes or cracks that may have been made during the installation process. Smooth out any rough edges or surfaces to create a seamless finish.
If you have used adhesive-backed clips or tracks, ensure that they are firmly attached to the walls or baseboards. Press them down to secure their adhesion. If any clips or tracks have come loose, reattach or replace them as needed.
If you have chosen to hide the wires behind furniture, ensure that the furniture is properly aligned and in place. Adjust the position if necessary to maintain a clean and organized appearance.
Take a step back and evaluate the overall look of your stereo system setup. Are there any visible wires or areas that could be further improved? If so, make the necessary adjustments or additions to achieve the desired aesthetics.
Consider adding additional elements, such as decorative items or plants, to further enhance the visual appeal of your room. These additions can also help divert attention from any remaining visible wires.
Finally, stand back and admire your work. You have successfully hidden your stereo wires and created a clutter-free and visually appealing setup. Enjoy the improved aesthetics and the enhanced functionality of your stereo system.
Remember to periodically check the wire hiding areas and make any necessary adjustments or maintenance. Over time, wires may need to be reorganized or re-bundled, and adhesive clips or tracks may need to be replaced or reattached.
By testing your setup and adding the finishing touches, you ensure that your wire hiding efforts are not only practical but also visually pleasing. Congratulations on successfully hiding your stereo wires!
With step nine completed, we have now reached the end of our guide. Your stereo system is now seamlessly integrated into your living space, free from unsightly wires. Enjoy the enhanced aesthetics and uninterrupted entertainment experience!
Conclusion
Hiding stereo wires may seem like a daunting task, but with the right techniques and solutions, it is achievable without compromising on functionality or aesthetics. By following the step-by-step guide outlined in this article, you can successfully hide your stereo wires and create a clean and organized look in your living space.
From planning and preparation to choosing the right wire hiding solutions, organizing and bundling wires, running them along walls or baseboards, concealing them behind furniture, using cable management systems, installing in-wall wire concealers, creating DIY solutions, and adding finishing touches – each step plays a crucial role in achieving a clutter-free and visually appealing setup.
Whether you opt for pre-made wire concealers, repurposed household items, decorative molding, or creative DIY approaches, be sure to prioritize safety and functionality. Ensure that the wires are properly organized, secured, and not susceptible to damage or interference.
Remember to periodically inspect and maintain your wire hiding solutions, making adjustments as needed to maintain their effectiveness and aesthetic appeal. With proper care, your stereo system will continue to provide an enjoyable audio experience while seamlessly blending into your living space.
By implementing these wire hiding techniques, you can transform your room into a clean and organized environment while eliminating the eyesore of tangled and messy cables. Enjoy a clutter-free atmosphere and immerse yourself in the immersive audio experience that your stereo system delivers.
So, don’t let unsightly wires disrupt the visual harmony of your living space. Follow these steps, get creative, and achieve a sleek and wire-free look for your stereo system. And, most importantly, enjoy the enhanced aesthetics and seamless entertainment experience that comes with hidden stereo wires.