Home>Production & Technology>Surround Sound>How To Hook Up My Surround Sound Speakers To My Denon Receiver With Subwoofer
Surround Sound
How To Hook Up My Surround Sound Speakers To My Denon Receiver With Subwoofer
Modified: February 18, 2024
Learn how to easily connect your surround sound speakers to your Denon receiver, including a subwoofer, for an immersive audio experience.
(Many of the links in this article redirect to a specific reviewed product. Your purchase of these products through affiliate links helps to generate commission for AudioLover.com, at no extra cost. Learn more)
Table of Contents
Introduction
Welcome to the world of surround sound! If you’re a true audio enthusiast, you know that a good sound system can completely transform your movie watching or music listening experience. Surround sound creates an immersive audio environment that brings all the action and emotions right into your living room. And if you have a Denon receiver with a subwoofer, you’re in for a treat!
In this article, we will guide you through the process of hooking up your surround sound speakers to your Denon receiver with a subwoofer. We’ll cover all the necessary steps to ensure that you get the best possible sound quality and performance from your setup.
But before we dive into the technical details, let’s take a moment to understand what surround sound is and why it’s worth investing your time and effort in setting it up.
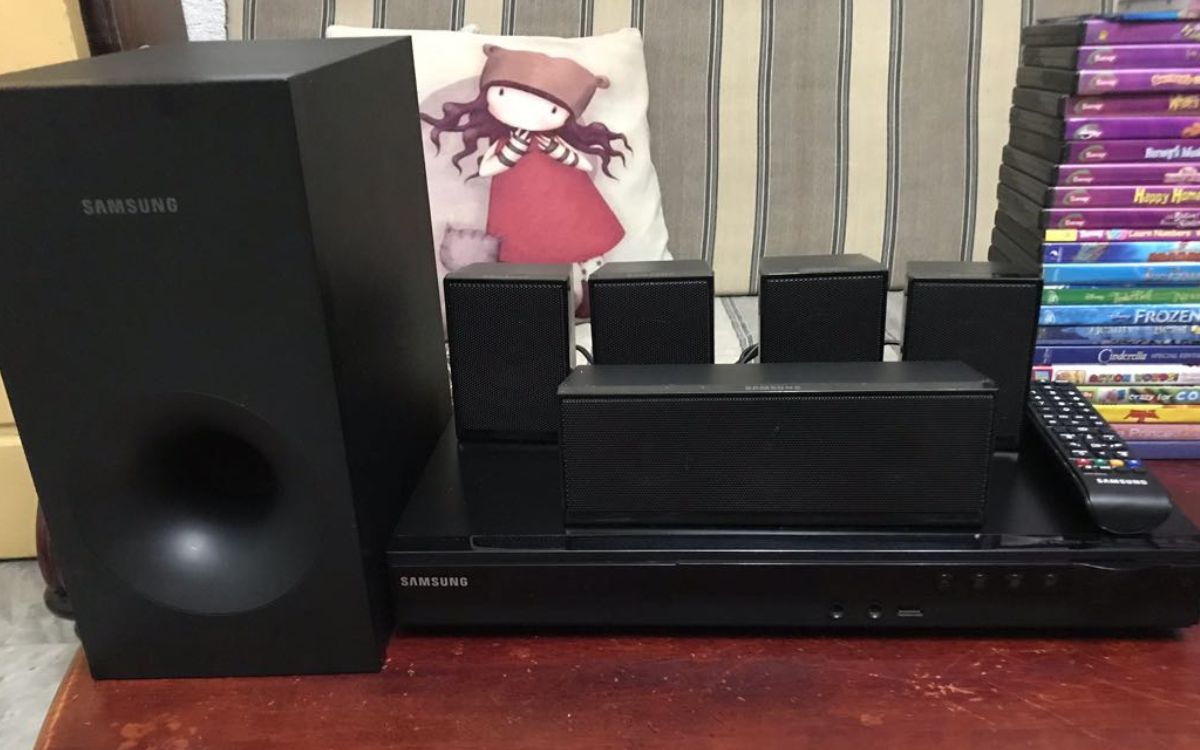
Surround sound is a system that uses multiple audio channels to create a three-dimensional sound experience. It typically includes front speakers, rear speakers, a center speaker for dialogue, and a subwoofer for deep bass. By strategically placing these speakers around the room, surround sound systems can simulate sound coming from different directions, making you feel like you’re right in the middle of the action.
The Denon receiver acts as the control center for your surround sound system. It receives audio signals from your source devices, such as a Blu-ray player or a game console, and distributes them to your speakers. It also allows you to adjust various audio settings to customize your listening experience.
Now that you have a basic understanding of what surround sound is and how it works, let’s move on to the next step: gathering your equipment.
Step 1: Gather Your Equipment
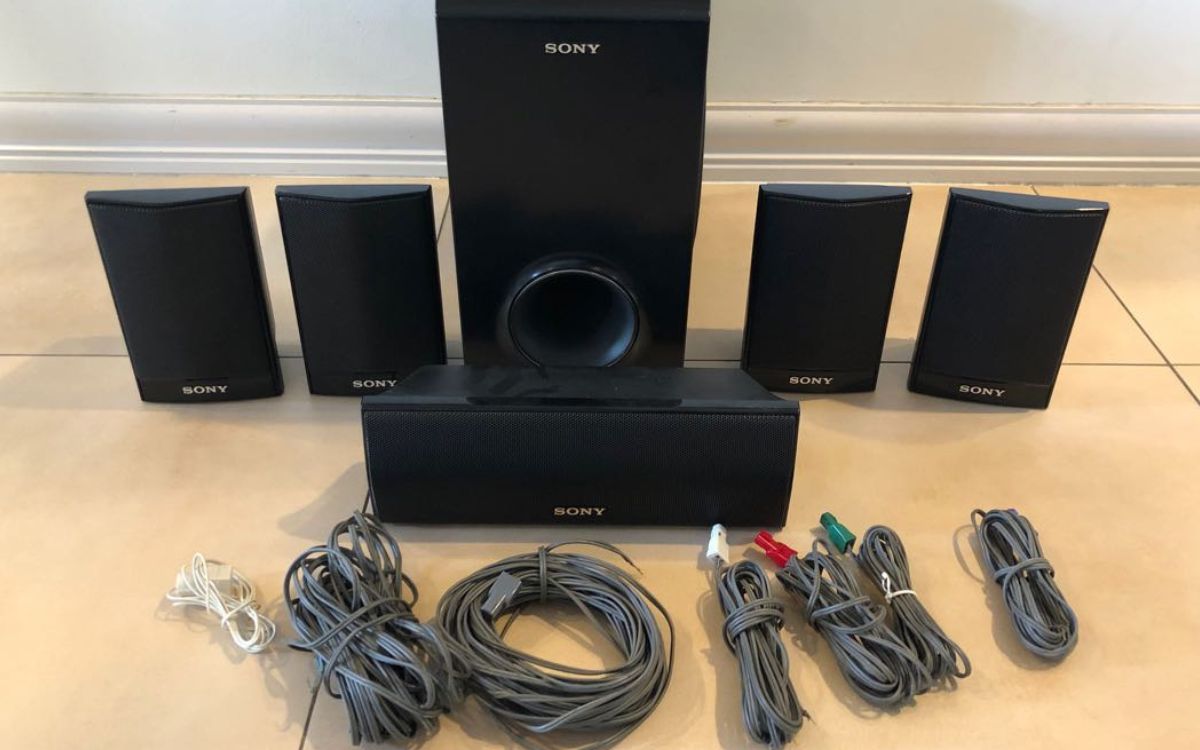
Before you can start setting up your surround sound system, you’ll need to gather all the necessary equipment. Here’s a list of items you’ll need:
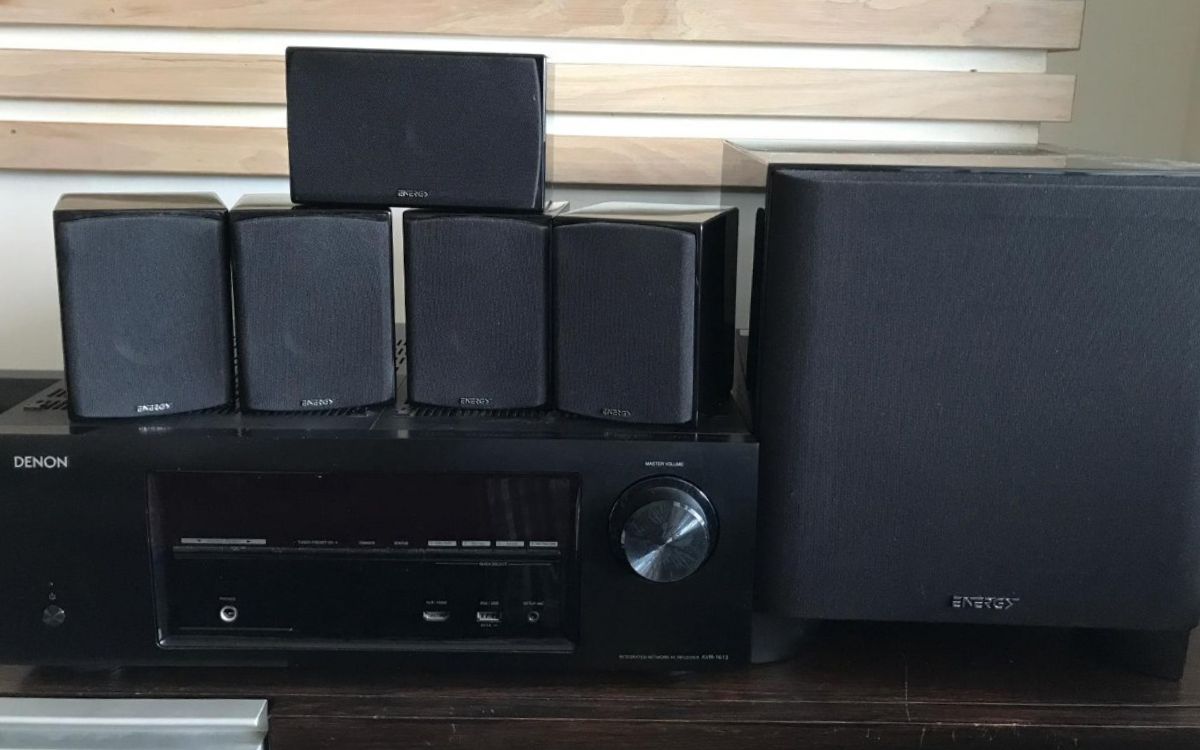
- Denon receiver: Make sure you have a Denon receiver that supports surround sound. Check the model number and specifications to confirm compatibility.
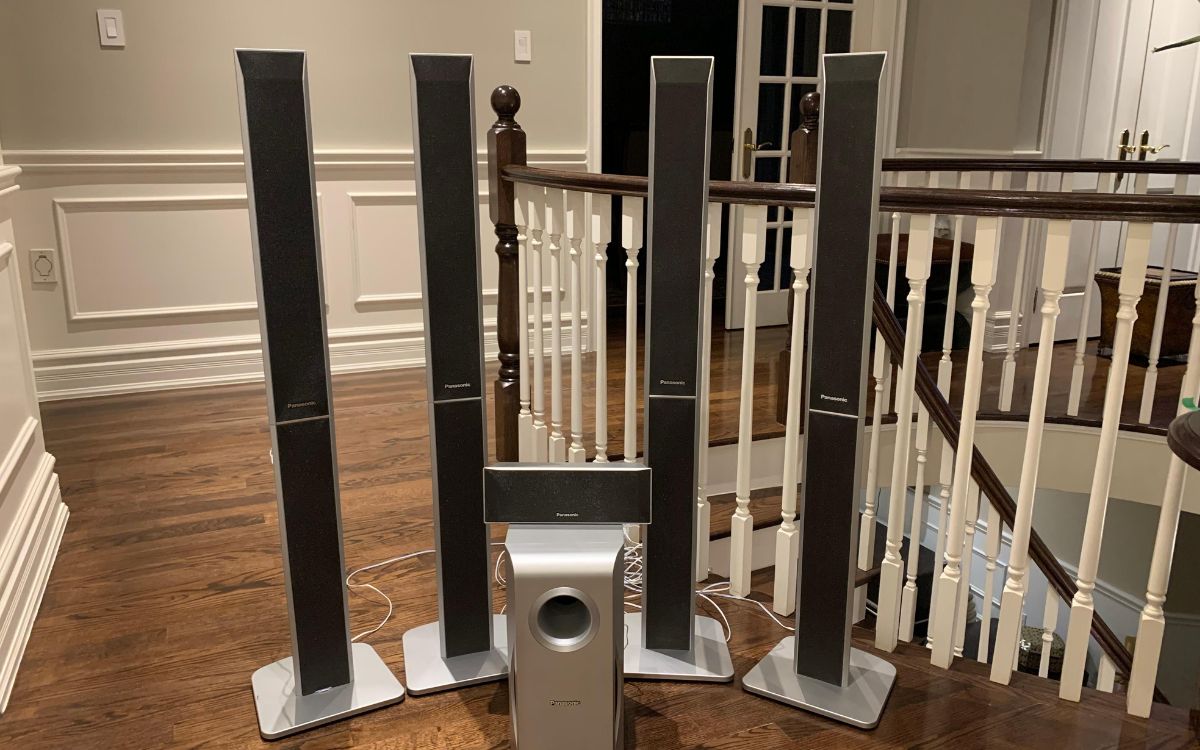
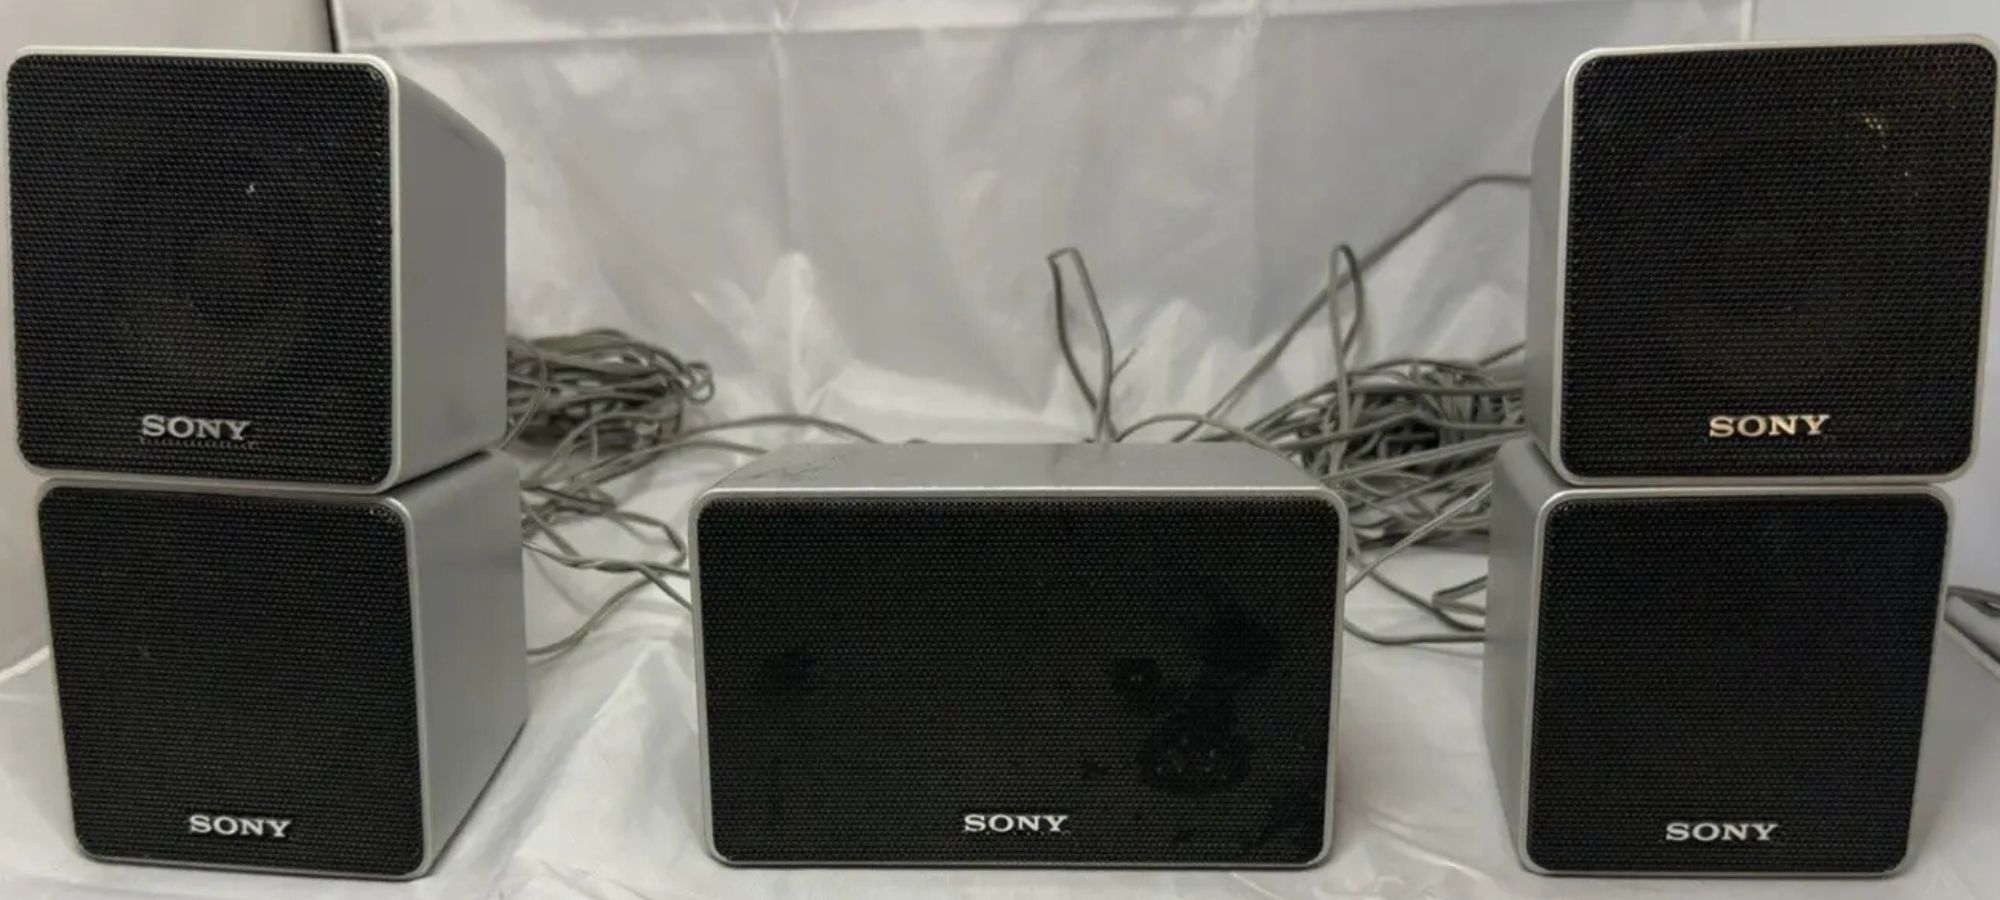
- Surround sound speakers: Depending on your setup, you’ll need a set of front speakers, rear speakers, and a center speaker. Ensure that they are all compatible with your Denon receiver.
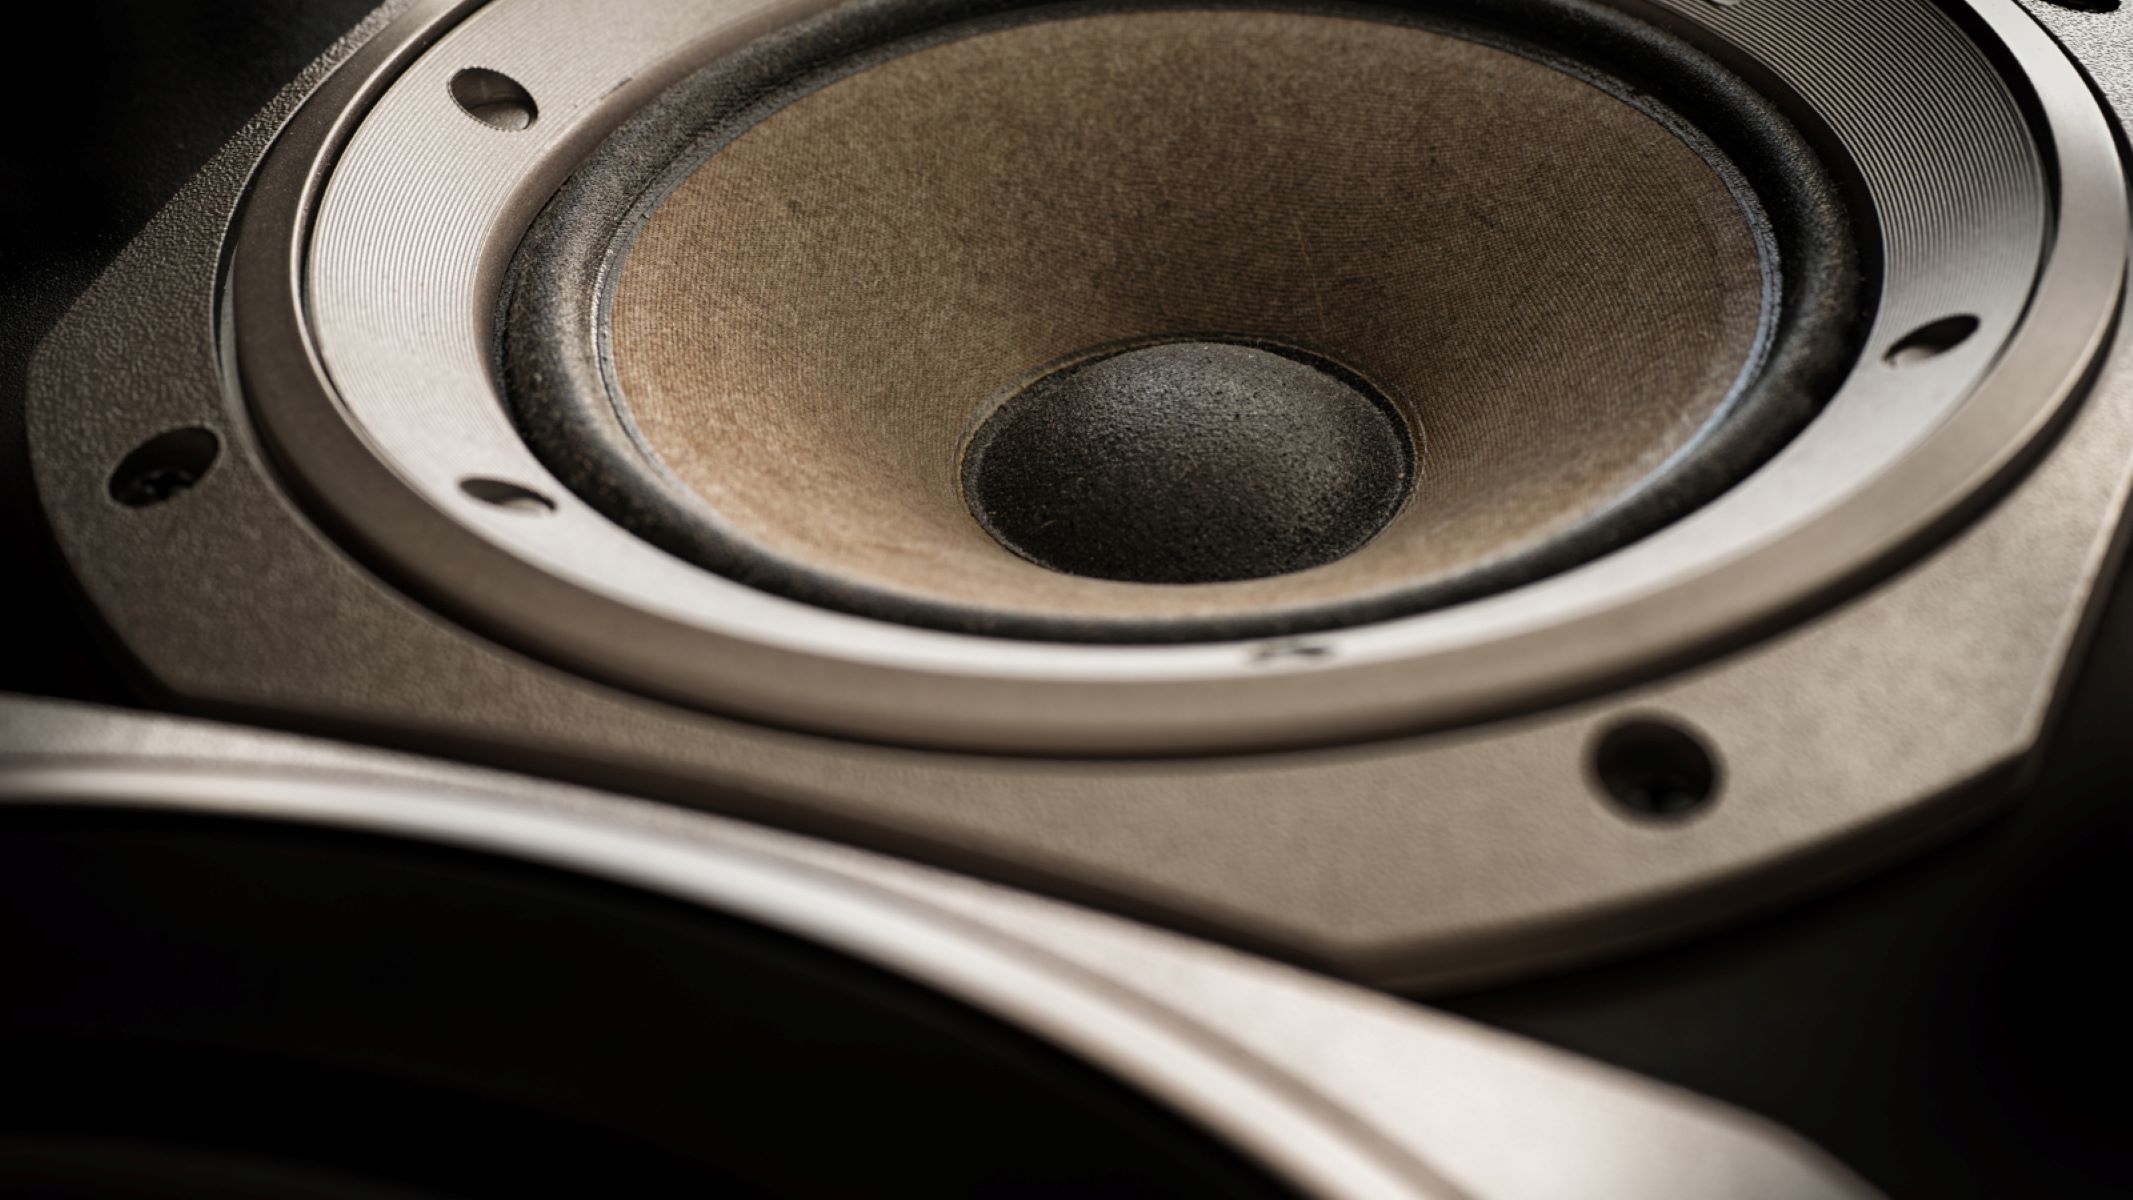
- Subwoofer: A subwoofer is responsible for producing deep bass sounds, adding richness and depth to your audio experience.
- Speaker wire: You’ll need speaker wire to connect your speakers to the Denon receiver. Make sure you have enough wire to reach from the receiver to each speaker location.
- HDMI or optical cables: These cables are used to connect your audio and video sources, such as a Blu-ray player or a gaming console, to the Denon receiver.
- Audio and video sources: Make sure you have the necessary devices to play audio and video content, such as a Blu-ray player, a game console, or a streaming device.
- TV or projector: You’ll need a display device to enjoy your movies and TV shows. Ensure that your TV or projector is compatible with the Denon receiver.
- Remote control: Most Denon receivers come with a remote control for easy operation. Make sure you have the remote control handy.
Once you have gathered all the necessary equipment, you’re ready to move on to the next step: verifying compatibility.
Step 2: Verify Compatibility
Before connecting your surround sound speakers to your Denon receiver, it’s essential to verify compatibility to ensure that all components work seamlessly together. Here are a few key points to consider:
1. Denon Receiver Compatibility: Check the specifications of your Denon receiver to confirm that it supports the specific type of surround sound setup you have. Different Denon models may have different capabilities, so it’s crucial to ensure that your receiver is designed for the number and type of speakers you plan to connect.
2. Speaker Compatibility: Ensure that your surround sound speakers are compatible with your Denon receiver. Check the impedance rating (measured in ohms) of both the speakers and the receiver. The impedance values should match or be within a compatible range. Mismatched impedance can result in poor sound quality or even damage to your equipment.
3. Subwoofer Compatibility: Verify that your subwoofer is compatible with your Denon receiver. Make sure that the receiver has a dedicated subwoofer output or a preamp output that can be used to connect the subwoofer. Additionally, check the power rating of your subwoofer and make sure it is suitable for your desired listening volume and room size.
4. Audio and Video Source Compatibility: Check if your audio and video sources, such as your Blu-ray player, gaming console, or streaming device, are compatible with your Denon receiver. Ensure that the sources have the appropriate audio output options, such as HDMI or optical, that can be connected to the receiver. This will ensure that you can enjoy high-quality audio from all your devices.
By verifying compatibility, you can avoid any potential issues and ensure that all components of your surround sound setup work harmoniously together. Once you’ve confirmed compatibility, it’s time to move on to the next step: connecting the speakers to the receiver.
Step 3: Connect the Speakers to the Receiver
Now that you have verified compatibility, it’s time to connect your surround sound speakers to your Denon receiver. Follow these steps to ensure a proper connection:
- Identify the speaker terminals on the back of your Denon receiver. They are usually labeled with corresponding channel names (e.g., front left, front right, center, surround left, surround right).
- Measure and cut the appropriate length of speaker wire for each speaker. Strip off a small section of insulation at the ends of the wire.
- Starting with the front left speaker, identify the corresponding speaker terminal on the Denon receiver.
- Insert the bare end of the speaker wire into the corresponding speaker terminal, ensuring a tight connection. Pay attention to the positive (+) and negative (-) markings on the terminal and match them with the corresponding markings on the speaker wire. Repeat this step for each speaker, connecting them to their respective terminals.
- Once all the speakers are connected, double-check each connection to make sure they are secure and properly aligned.
- If your surround sound system includes a powered subwoofer, it will typically connect to the Denon receiver using the subwoofer output or a preamp output. Consult the user manual of your specific subwoofer for detailed instructions on how to connect it to the receiver.
It’s essential to ensure that the speaker wires are connected correctly, with the positive (+) terminal on the receiver connected to the positive terminal on the speaker, and the negative (-) terminal on the receiver connected to the negative terminal on the speaker. This ensures proper audio reproduction and prevents any phase cancellation.
Once all the speakers and subwoofer are connected to the Denon receiver, you’re ready to move on to the next step: connecting the subwoofer.
Step 4: Connect the Subwoofer to the Receiver
Connecting the subwoofer to your Denon receiver is an important step in creating a balanced and powerful surround sound system. Here’s how you can do it:
- Locate the subwoofer output on the back of your Denon receiver. It is typically labeled as “Sub Out” or “LFE Out” (Low-Frequency Effects).
- Depending on the type of subwoofer you have, you may need a subwoofer cable or an RCA cable to connect it to the receiver. If your subwoofer has a dedicated subwoofer input, use a subwoofer cable with RCA connectors. If your subwoofer has only left and right line-level inputs, use an RCA cable to connect the subwoofer output of the receiver to either the left or right input on the subwoofer.
- Connect one end of the subwoofer cable or RCA cable to the subwoofer output on the Denon receiver.
- If you are using a subwoofer cable, connect the other end to the subwoofer input on your powered subwoofer. If you are using an RCA cable, connect the other end to the appropriate left or right line-level input on the subwoofer.
- Ensure that the connections are secure and tight.
Connecting the subwoofer allows it to receive the low-frequency audio signals and produce the deep bass sounds that enhance the overall audio experience. Once the subwoofer is connected, it’s time to move on to the next step: configuring the speaker settings on the Denon receiver.
Step 5: Configure the Speaker Settings
Configuring the speaker settings on your Denon receiver is crucial for optimizing the performance and ensuring accurate sound reproduction from your surround sound system. Follow these steps to configure the speaker settings:
- Turn on your Denon receiver and navigate to the setup menu using the remote control or the receiver’s front panel display.
- Enter the speaker setup menu, which may be labeled as “Speaker Configuration,” “Audio Settings,” or something similar.
- Select the type of speakers you have connected to your Denon receiver. This could include options such as “small,” “large,” or “bookshelf” for front and surround speakers, and “center” for the center speaker.
- Set the speaker sizes and crossover frequencies. The crossover frequency determines which frequencies are sent to the subwoofer. For smaller speakers, set the crossover frequency around 80 Hz to ensure a smooth transition of bass frequencies between the speakers and the subwoofer.
- Adjust the speaker levels. The receiver may have an automatic speaker calibration feature that uses a built-in microphone to measure and adjust the speaker levels. If not, you can manually adjust the levels using the receiver’s speaker level controls.
- Configure the surround sound format. Select the appropriate surround sound format that matches the content you will be listening to, such as Dolby Digital or DTS. This ensures that the receiver decodes and processes the audio signals correctly.
- Save the speaker settings and exit the setup menu.
Properly configuring the speaker settings helps to ensure balanced sound reproduction, accurate imaging, and immersive surround sound. Take your time to fine-tune the settings to match your preference and listening environment.
Once the speaker settings are configured, it’s time to move on to the next step: testing your surround sound setup to ensure everything is working as expected.
Step 6: Test the Surround Sound Setup
After connecting and configuring your speakers, it’s important to test your surround sound setup to ensure that all components are working correctly. Follow these steps to test your surround sound system:
- Play a test sound or audio/video content that supports surround sound. This could be a DVD or Blu-ray disc with a surround sound soundtrack.
- Ensure that the audio source is set to output in surround sound format and that the Denon receiver is receiving the audio signal from the source device.
- Pay attention to each speaker in your surround sound system. Verify that sound is coming from the front speakers, the center speaker, and the surround speakers, as well as the subwoofer for deep bass.
- If any speaker is not producing sound, double-check the connections and verify that the speaker settings are correctly configured in the Denon receiver.
- Adjust the speaker levels if necessary. Use the receiver’s speaker level controls to fine-tune the volume of each speaker to your preference.
- Listen carefully to ensure that the sound is balanced, clear, and immersive. The surround sound effect should create a sense of depth and space, with sounds coming from various directions.
During the testing process, it’s also a good idea to experiment with different audio settings and surround sound modes on your Denon receiver to find the optimal sound quality for your setup and personal preferences.
If you encounter any issues or are not satisfied with the results, refer to the user manual of your Denon receiver for troubleshooting tips or consult Denon customer support for assistance.
Once you are satisfied with the performance of your surround sound system and everything is working as expected, you can sit back, relax, and enjoy a truly immersive audio experience in your home theater.
Conclusion
Congratulations! You have successfully hooked up your surround sound speakers to your Denon receiver with a subwoofer. By following the steps outlined in this guide, you have transformed your audio setup into a powerful and immersive surround sound system.
We started by gathering the necessary equipment, ensuring compatibility between the Denon receiver, speakers, and subwoofer. Then, we guided you through the process of connecting the speakers and subwoofer to the receiver, making sure to double-check the connections for a secure and tight fit.
Next, we walked you through configuring the speaker settings on your Denon receiver, adjusting the speaker sizes, crossover frequencies, and levels to optimize the sound reproduction. Proper configuration is key to achieving a balanced and accurate audio experience.
Lastly, we emphasized the importance of testing your surround sound setup to ensure that all components are functioning properly. Listening for sound coming from each speaker and making any necessary adjustments ensures an immersive and enjoyable surround sound experience.
Now, it’s time to sit back, relax, and experience the full potential of your surround sound system. Whether you’re watching a movie, playing games, or enjoying your favorite music, the immersive audio environment created by your Denon receiver and surround sound setup will enhance your entertainment experience to a whole new level.
If you encounter any issues or have further questions, don’t hesitate to refer to the user manual of your Denon receiver or seek assistance from Denon customer support. They will provide additional guidance to help you make the most of your surround sound system.
Once again, congratulations on setting up your surround sound speakers to your Denon receiver with a subwoofer. Get ready to be fully immersed in the world of high-quality audio!