Home>Production & Technology>Stereo>How To Connect Two Stereo Receivers Together
Stereo
How To Connect Two Stereo Receivers Together
Modified: January 22, 2024
Learn how to connect two stereo receivers together easily. Follow our step-by-step guide to enhance your stereo experience.
(Many of the links in this article redirect to a specific reviewed product. Your purchase of these products through affiliate links helps to generate commission for AudioLover.com, at no extra cost. Learn more)
Table of Contents
Introduction
Welcome to the world of stereo receivers! If you’re a music enthusiast or an avid audiophile, you probably already know the importance of having a high-quality sound system. But what if you have two stereo receivers that you’d like to connect together? Can it be done? The answer is yes!
Connecting two stereo receivers can be a great way to expand your audio setup or create a multi-room sound system. It allows you to utilize both receivers’ capabilities and enjoy your favorite tracks in multiple areas of your home. Whether you want to create a home theater experience or have music playing throughout your house, connecting two stereo receivers is a simple and effective solution.
Before we dive into the steps, it’s important to note that connecting two stereo receivers requires some basic knowledge of audio equipment and cables. Additionally, make sure you have the necessary equipment and cables before proceeding.
In this article, we will guide you through the process of connecting two stereo receivers together. We will cover everything from gathering the necessary equipment to testing the connection. By the end, you’ll have a clear understanding of how to set up a seamless audio system using multiple stereo receivers.
So, let’s get started and unlock the potential of your audio setup by connecting two stereo receivers together!
Step 1: Gather the necessary equipment
Before you can connect two stereo receivers together, you need to make sure you have the right equipment on hand. Here is a list of items you’ll need:
- Stereo receivers: You will obviously need two stereo receivers. Ideally, they should have similar or compatible features to ensure a smooth connection.
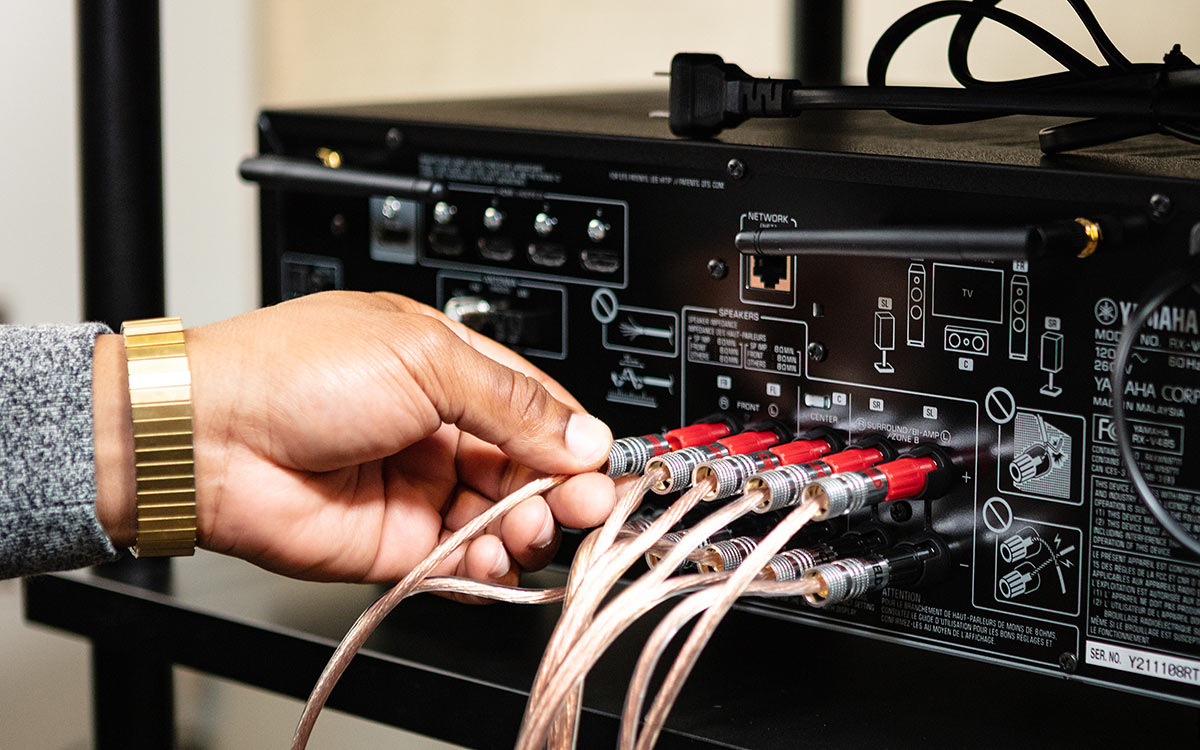
- Audio cables: The type of audio cables you’ll need will depend on the inputs and outputs available on your stereo receivers. The most common types of cables used for connecting receivers are RCA cables and speaker wires. Make sure you have enough cables of the appropriate length to reach between your two receivers.
- Speaker wires: If you plan on connecting speakers to your receivers, you’ll need speaker wires to make the connection. Ensure that the gauge of the speaker wire is suitable for the speakers you’re using.
- Audio sources: You’ll also need audio sources, such as CD players, turntables, or media players, to connect to your stereo receivers. Make sure these sources are compatible with the inputs of your receivers.
- Power supply: Lastly, ensure that you have an adequate power supply for both receivers. This may include power cords or batteries, depending on the type of receivers you’re using.
Once you have gathered all the necessary equipment, you’re ready to move on to the next step of setting up your stereo receivers.
Step 2: Set up the first stereo receiver
Now that you have all the necessary equipment, it’s time to set up the first stereo receiver. Follow these steps:
- Choose a location: Select a suitable location for your first stereo receiver. Ensure that it is well-ventilated and has enough space to accommodate the receiver and any additional equipment like CD players or turntables.
- Connect the power: Plug in the power cord of the first receiver into a power outlet. Make sure the receiver is off before connecting the power.
- Connect the audio sources: Depending on the type of audio sources you have, use the appropriate audio cables to connect them to the corresponding inputs on the receiver. For example, if you have a CD player, connect it to the CD input using RCA cables.
- Connect the speakers: If you plan on using speakers with your first receiver, connect them using the appropriate speaker wires. Ensure that you match the positive and negative terminals on both the receiver and the speakers for proper connectivity.
- Configure the settings: Turn on the first receiver and navigate through the settings menu to configure the audio and speaker settings. This may include selecting the input source, adjusting the volume levels, or enabling any surround sound features.
Once you have completed setting up the first stereo receiver, move on to the next step to set up the second receiver.
Step 3: Set up the second stereo receiver
Now that the first stereo receiver is set up, it’s time to move on to setting up the second receiver. Here’s what you need to do:
- Choose a location: Select a suitable location for the second stereo receiver, keeping in mind the proximity to the first receiver and any additional audio sources or speakers.
- Connect the power: Plug in the power cord of the second receiver into a power outlet. Like before, make sure the receiver is turned off before connecting the power.
- Connect the audio sources: Use the appropriate audio cables to connect the audio sources to the corresponding inputs on the second receiver, just as you did with the first receiver.
- Connect the speakers: If you have speakers you wish to connect to the second receiver, use the appropriate speaker wires to make the connections, ensuring proper polarity.
- Configure the settings: Turn on the second receiver and go through the settings menu to configure the audio and speaker settings to match your preferences.
At this point, you have both stereo receivers set up and ready to be connected together. Proceed to the next step to learn how to connect them using the appropriate cables.
Step 4: Connect the two stereo receivers together
Connecting the two stereo receivers together is the crucial step that will allow them to work in harmony. Follow these steps to ensure a successful connection:
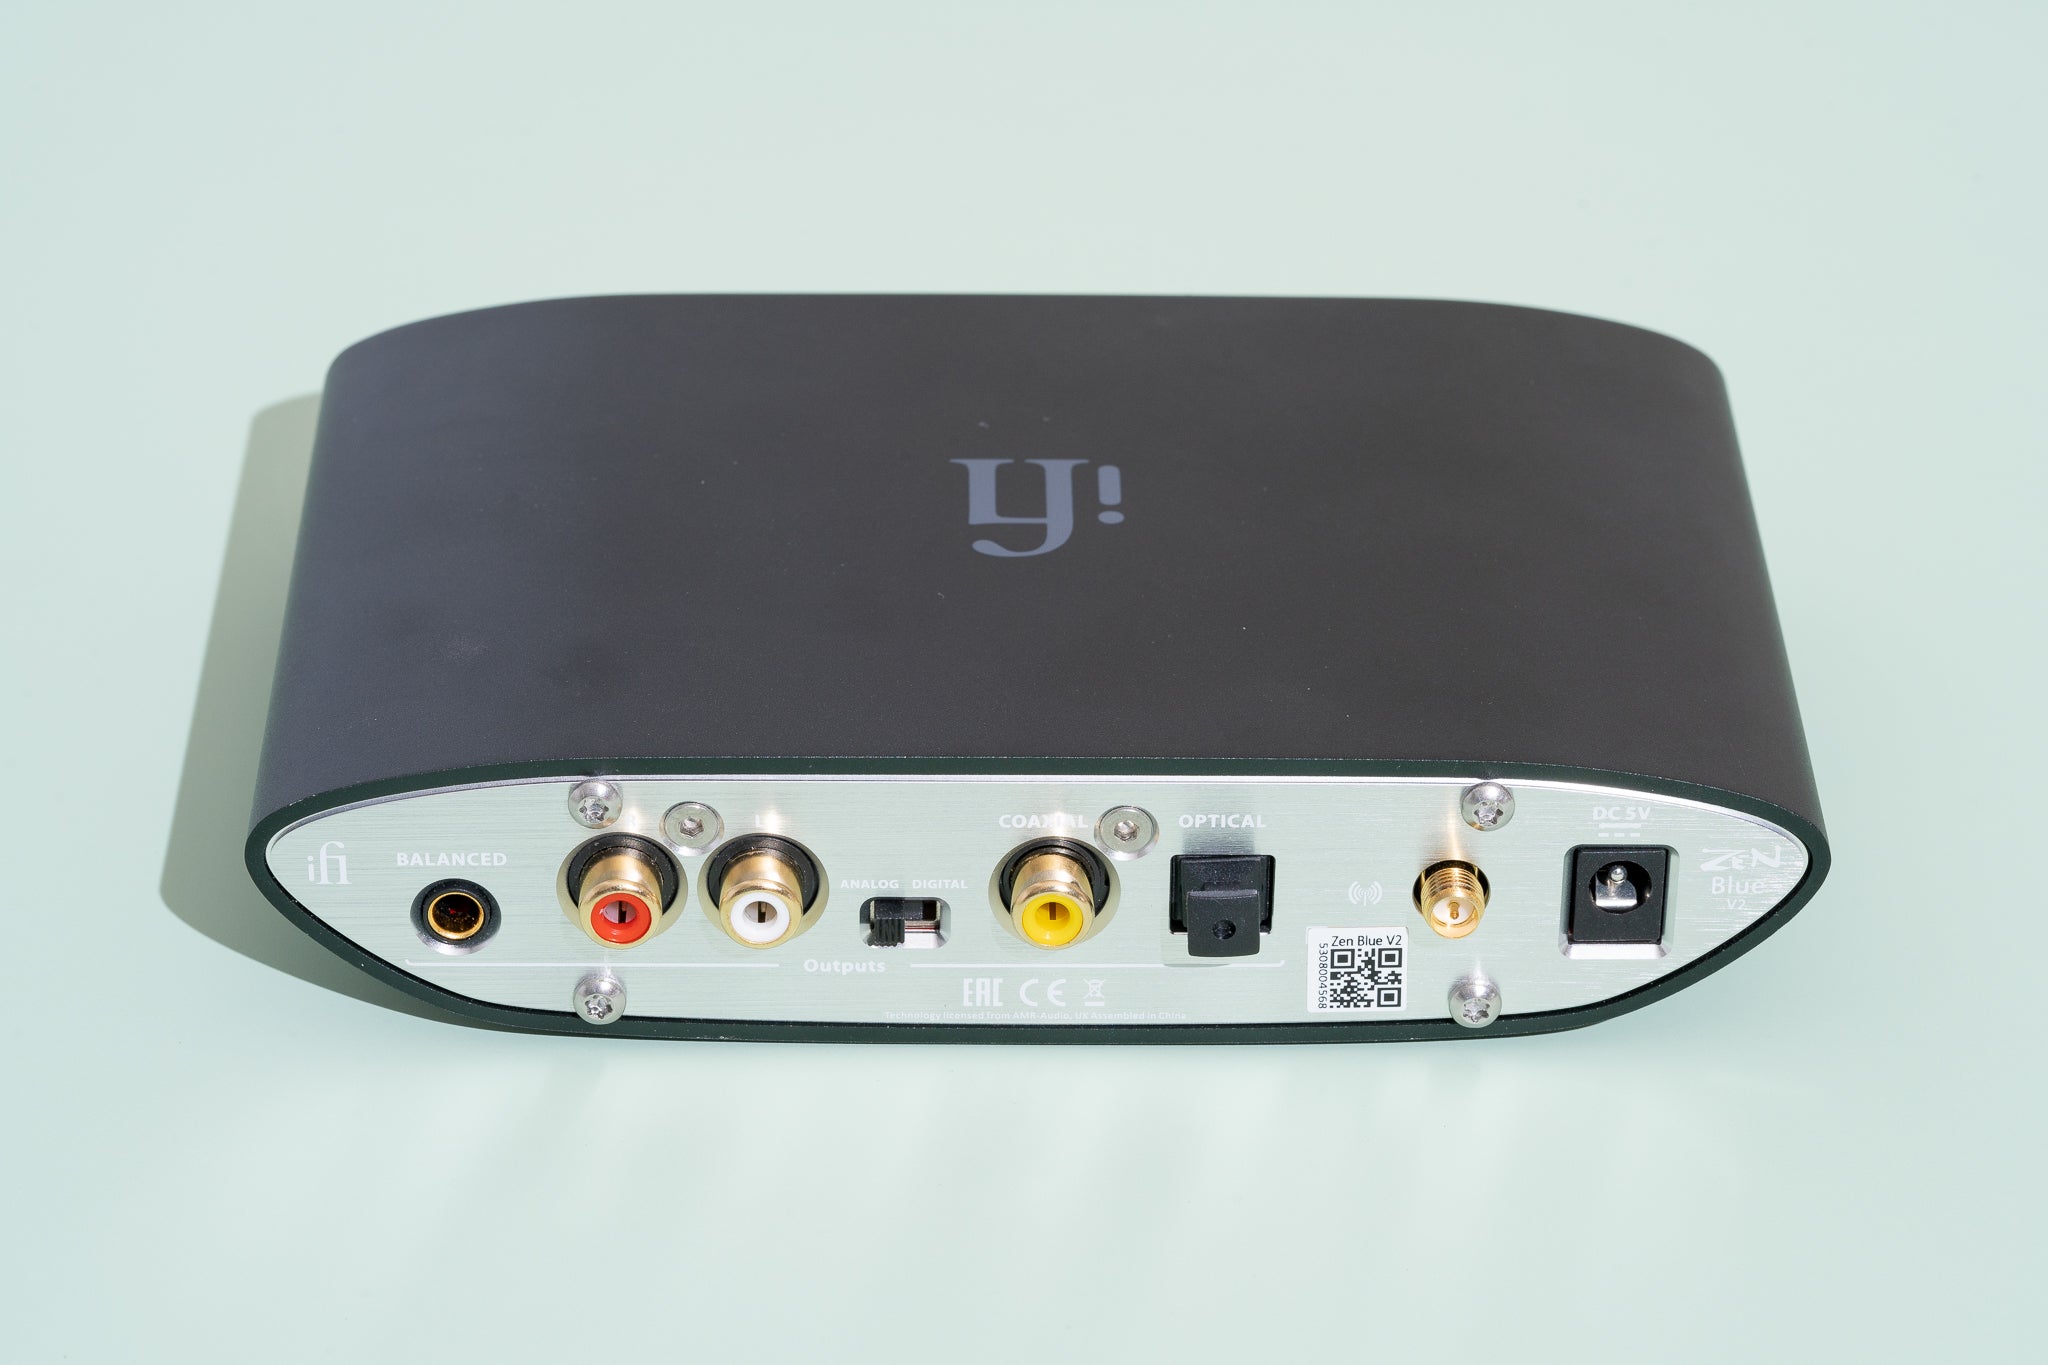
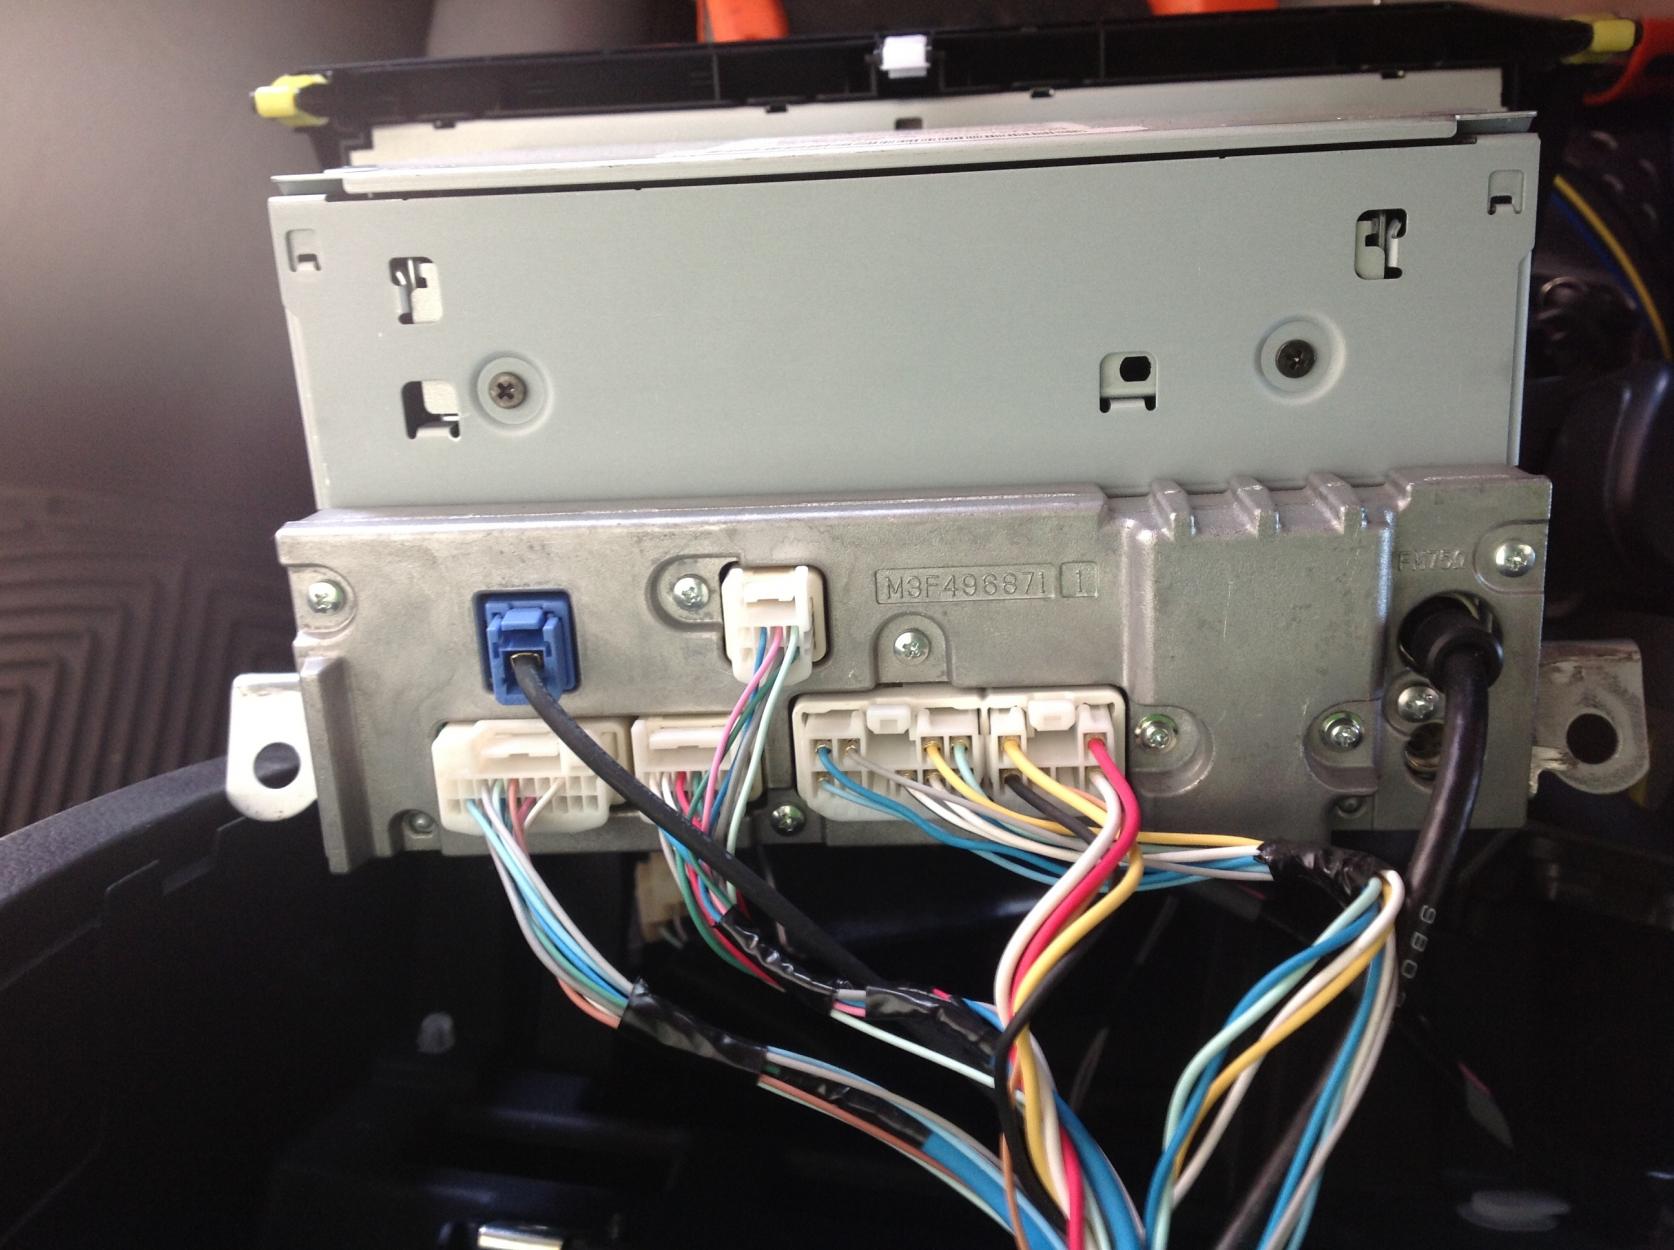
- Identify the input/output ports: Locate the input/output ports on both stereo receivers. The most common ports used for connecting receivers are the pre-out and main-in ports.
- Prepare the audio cables: Depending on the types of ports available on your receivers, use the appropriate audio cables to connect them. For example, if your receivers have RCA ports, use RCA cables to establish the connection.
- Connect the cables: Take one end of the audio cable and plug it into the pre-out port of the first receiver. Then, connect the other end of the cable into the main-in port of the second receiver. Ensure a secure and tight connection.
- Check for loop-through: Some receivers may have a loop-through feature that allows the signal from the first receiver to pass through to the second receiver without any additional connection. Check your receiver’s manual to see if this feature is available and enable it if needed.
By connecting the two receivers together, you are essentially linking their audio signals, allowing them to work in tandem. This connection enables you to play audio from one receiver and have it pass through to the other receiver, expanding your audio setup or creating a multi-room sound system.
With the two stereo receivers successfully connected, you’re ready for the final step: testing the connection.
Step 5: Test the connection
After connecting the two stereo receivers, it’s crucial to test the connection to ensure everything is functioning as expected. Follow these steps to test the connection:
- Select an audio source: Choose an audio source, such as a CD player or media player, connected to either of the stereo receivers.
- Choose the receiver: Select the receiver that you want to use as the primary source. This will be the receiver from which the audio signal will be sent to the second receiver.
- Set the output: On the primary receiver, go to the settings menu and ensure that the audio output is set to send the signal to the connected output port, which is wired to the second receiver.
- Test the audio: Play some audio from the selected source and ensure that it is coming through the speakers connected to both receivers. Adjust the volume levels and other settings as desired.
- Verify the connection: While the audio is playing, check the second receiver to ensure that it is receiving the audio signal from the first receiver. You can do this by selecting the input source on the second receiver and confirming that the audio is playing correctly.
By testing the connection, you can ensure that the audio signal is being transmitted from the primary receiver to the secondary receiver, allowing for synchronized audio playback across both systems. If the audio is successfully playing through both receivers, congratulations! Your connection is working perfectly!
If you are experiencing any issues, double-check the connections, ensure the settings are correctly configured, and consult the manuals for your specific receivers for troubleshooting steps.
With the connection tested and working, you can now enjoy your favorite music or movies throughout your home with a synchronized and immersive audio experience.
Conclusion
Connecting two stereo receivers together can open up a world of possibilities for your audio setup. Whether you want to expand your sound system or create a multi-room audio experience, this process allows you to utilize the capabilities of both receivers and enjoy seamless audio playback.
In this article, we discussed the step-by-step process of connecting two stereo receivers together. We covered everything from gathering the necessary equipment to testing the connection. By following these steps, you can create a synchronized audio system that enhances your music listening or home theater experience.
Remember to gather all the required equipment, including stereo receivers, audio cables, speaker wires, and power supplies. Set up each receiver in its desired location, making sure to connect the power, audio sources, and speakers properly. Connect the two receivers using the appropriate cables, ensuring a secure connection.
Once the receivers are connected, test the connection by selecting an audio source and verifying that the audio plays through both receivers. This will confirm that the signal is being transmitted from the primary receiver to the secondary receiver, enabling synchronized audio playback.
By following these steps, you can create a robust audio setup that fills your home with immersive sound. Whether you’re hosting a movie night, throwing a party, or simply enjoying your favorite tunes, connecting two stereo receivers together gives you the flexibility and versatility to amplify your sound system.
So why limit yourself to a single stereo receiver when you can double the power and enjoyment? Connect two stereo receivers together and take your audio experience to new heights!