Home>Production & Technology>Audio Interface>How To Ground Audio Interface
Audio Interface
How To Ground Audio Interface
Modified: March 7, 2024
Learn how to properly ground your audio interface for optimum performance. Our step-by-step guide will ensure your audio interface works flawlessly.
(Many of the links in this article redirect to a specific reviewed product. Your purchase of these products through affiliate links helps to generate commission for AudioLover.com, at no extra cost. Learn more)
Table of Contents
- Introduction
- What is an Audio Interface?
- Why is Grounding Important in Audio Interfaces?
- Grounding Methods for Audio Interfaces
- Method 1: Using a Grounded Power Outlet
- Method 2: Utilizing a Ground Lift Adapter
- Method 3: Grounding Through a DI Box
- Method 4: Employing a Hum Eliminator
- Common Issues with Grounding Audio Interfaces
- Troubleshooting Grounding Problems
- Conclusion
Introduction
Welcome to the world of audio interfaces! If you’re a music producer, recording engineer, or simply a passionate musician, chances are you’ve come across the term “audio interface” in your audio setup journey. But what exactly is an audio interface and why is it important to ensure proper grounding?
An audio interface is an essential piece of equipment that connects your computer or recording device to various audio devices such as microphones, instruments, and speakers. It acts as the bridge between your analog audio signals and digital audio processing on your computer. With an audio interface, you can achieve high-quality recordings and playback, allowing you to unleash your creativity and produce professional-sounding music or podcasts.
While audio interfaces are designed to provide pristine audio signal transfer, they are susceptible to issues like unwanted noise, buzzing, and hum. One of the key factors that can contribute to these problems is improper grounding.
Grounding is an essential aspect of any electrical system, including audio interfaces. It involves connecting the device to a stable reference point, usually the earth, to ensure proper electrical flow and shielding from external interference.
When an audio interface is not properly grounded, it can result in a variety of problems such as audible hum, buzzing sounds, ground loops, and even damage to the equipment itself. These issues can severely impact the overall audio quality and user experience.
What is an Audio Interface?
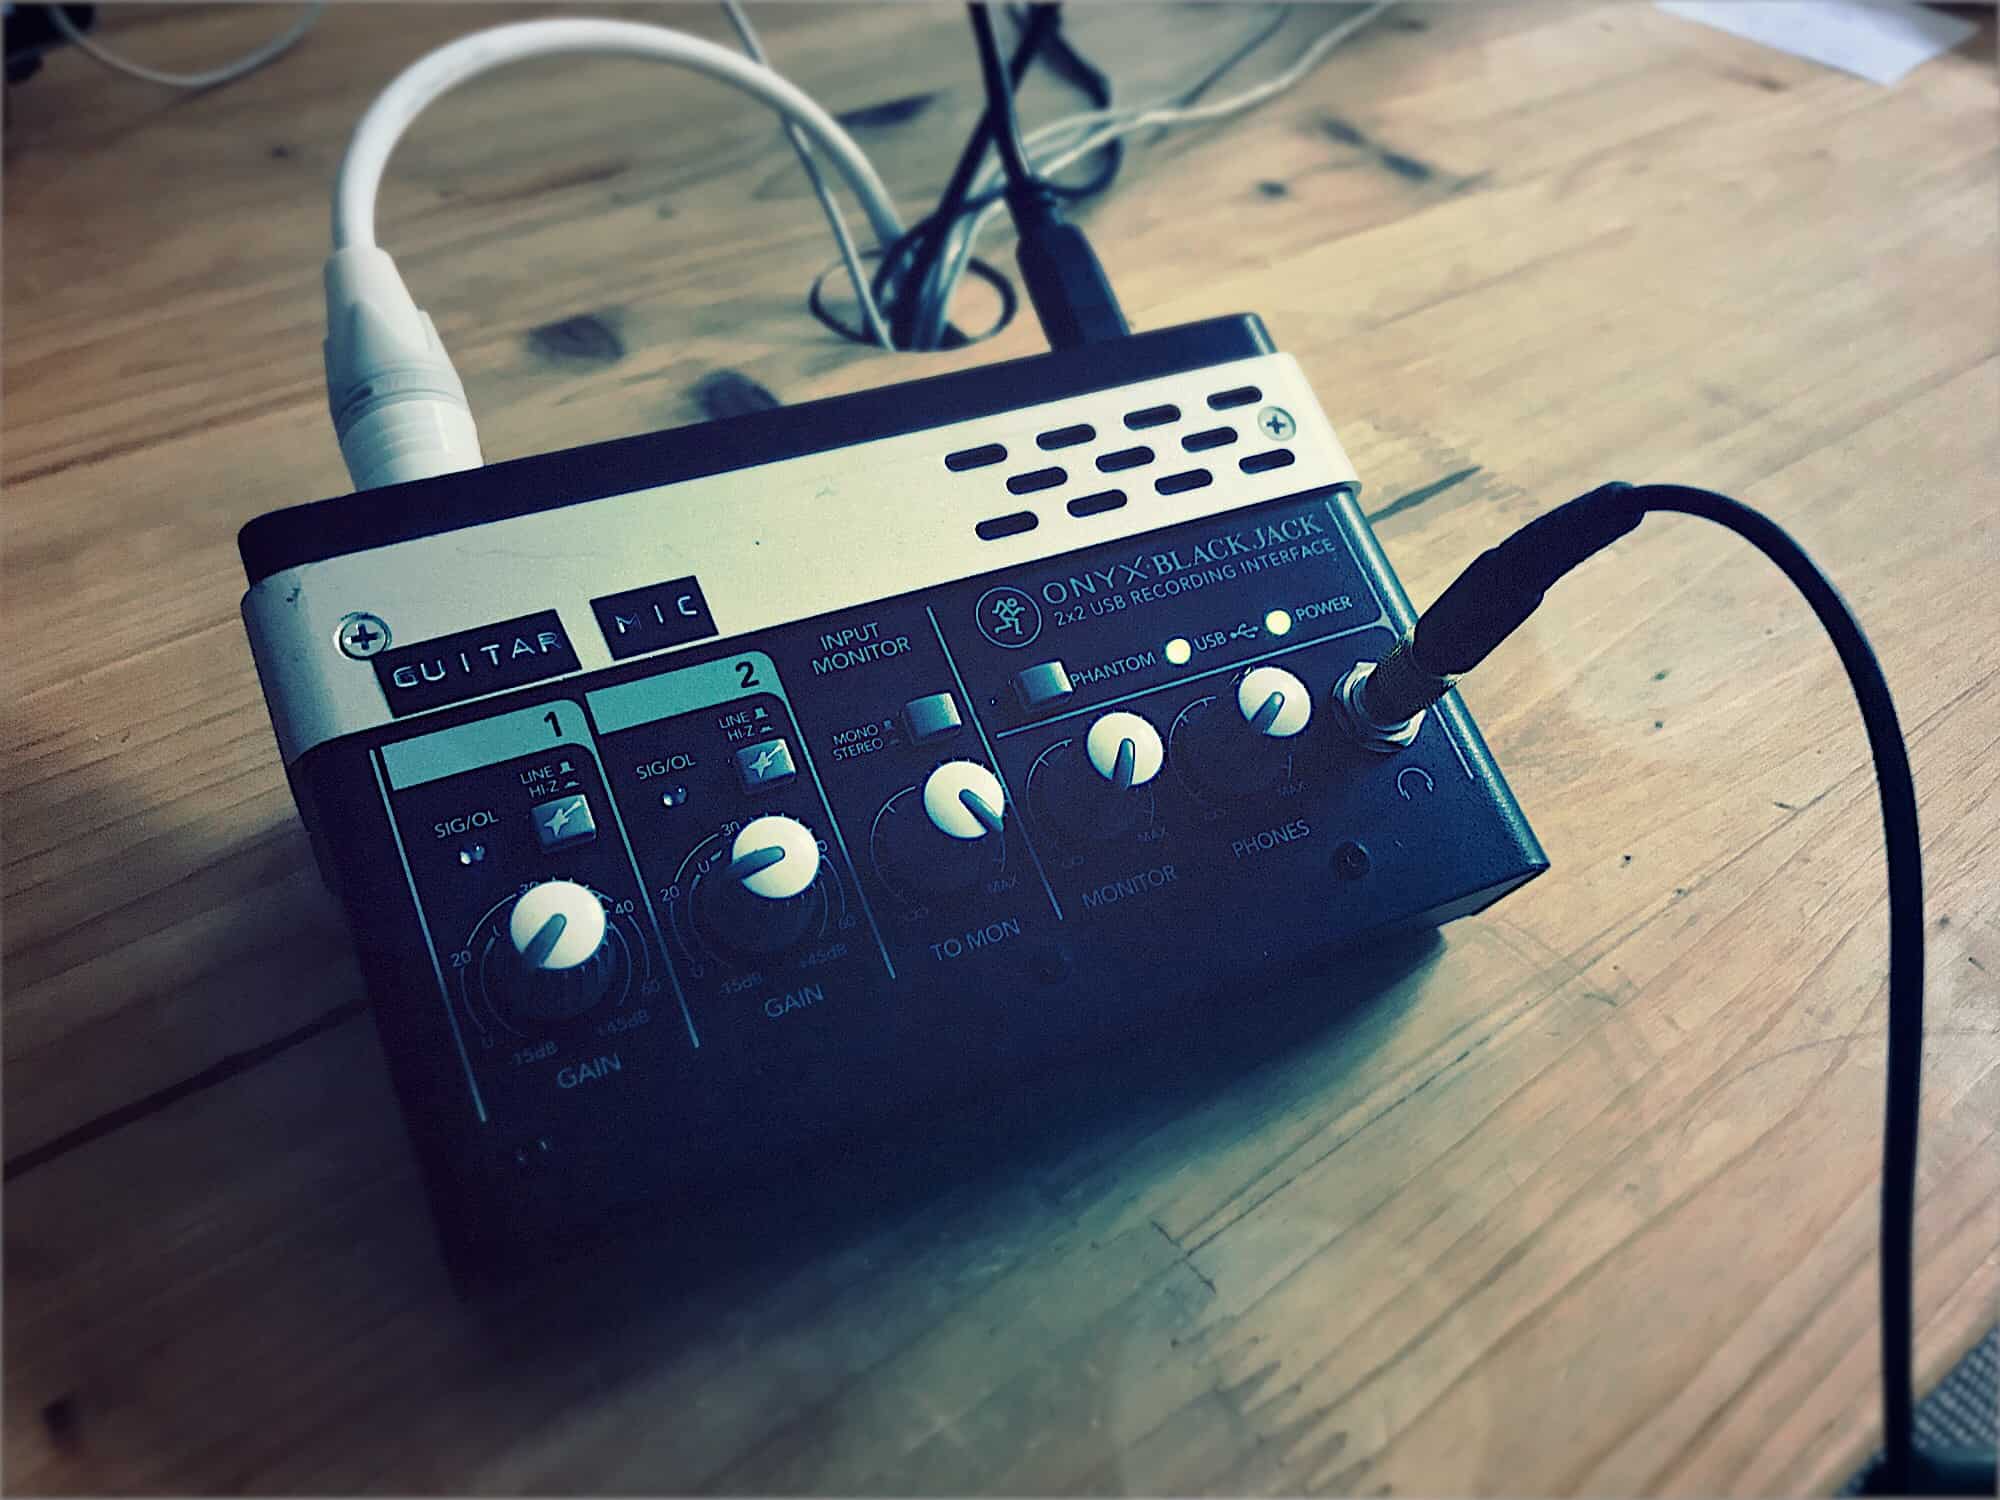
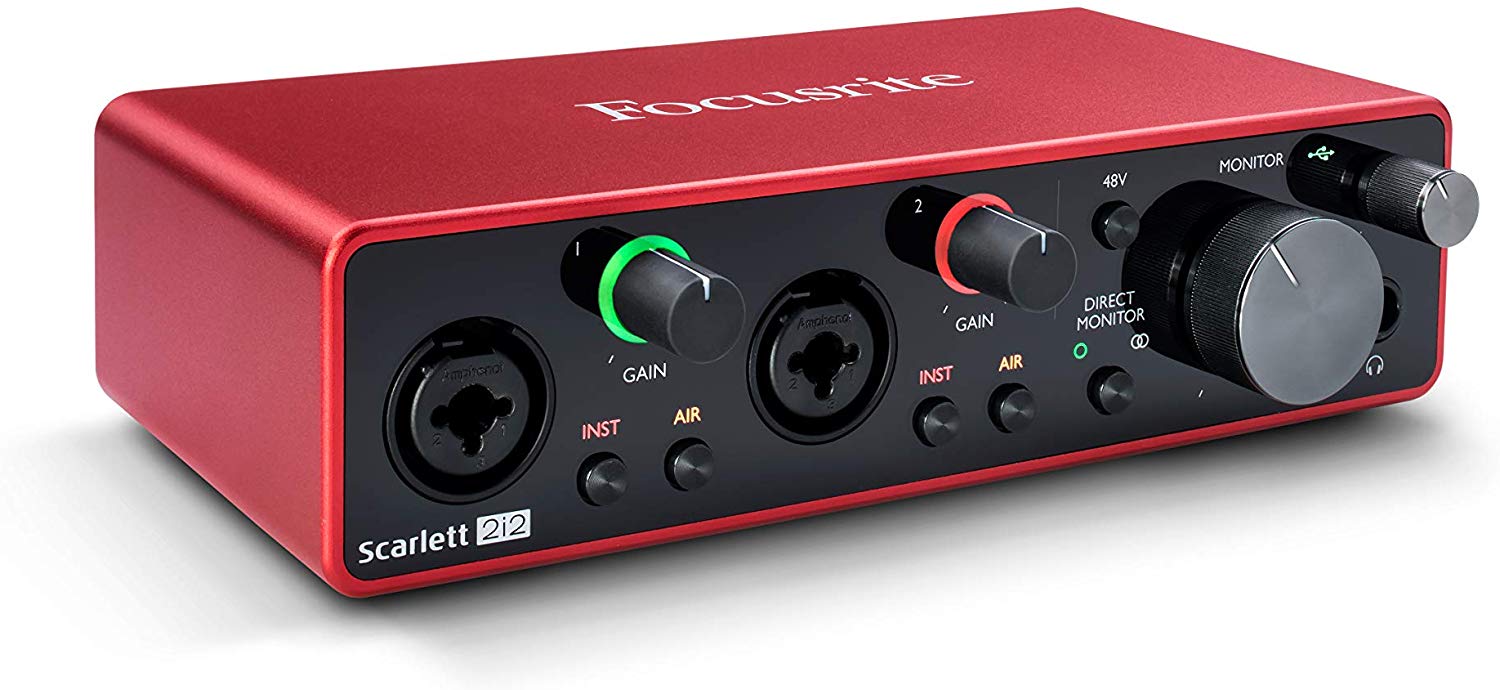
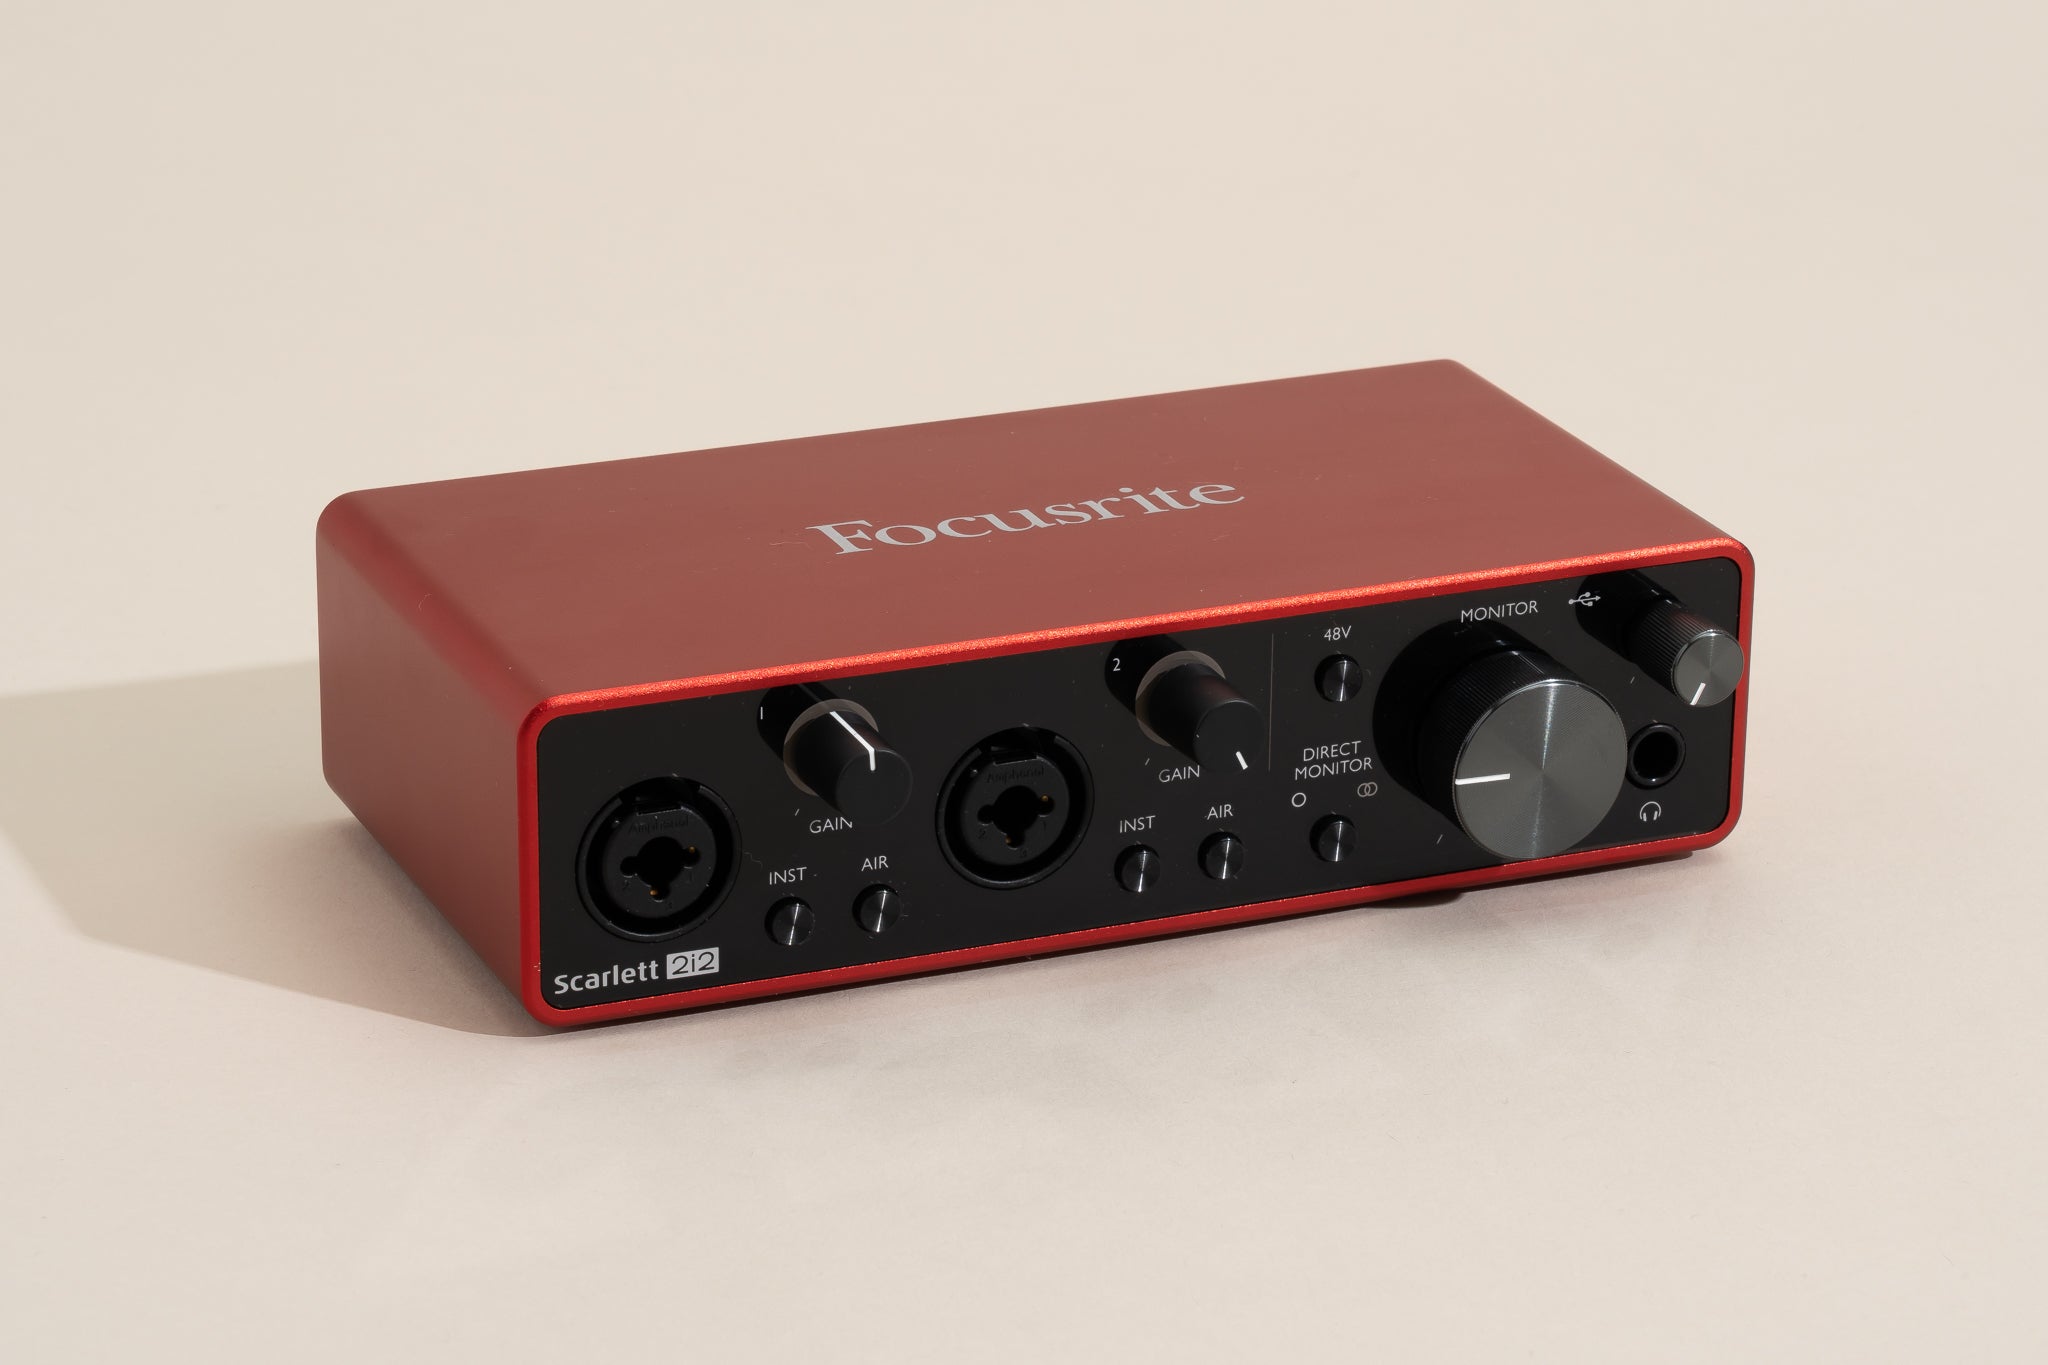
An audio interface is a device that serves as the main hub for connecting your audio equipment to your computer or recording device. It acts as the intermediary between your analog audio signals and the digital world, allowing you to capture, process, and playback audio with high fidelity and low latency.
At its core, an audio interface converts analog audio signals from microphones, instruments, or line-level sources into digital data that can be processed and recorded by your computer. It also performs the reverse function, converting digital audio from your computer back into analog signals for monitoring and playback through headphones or speakers.
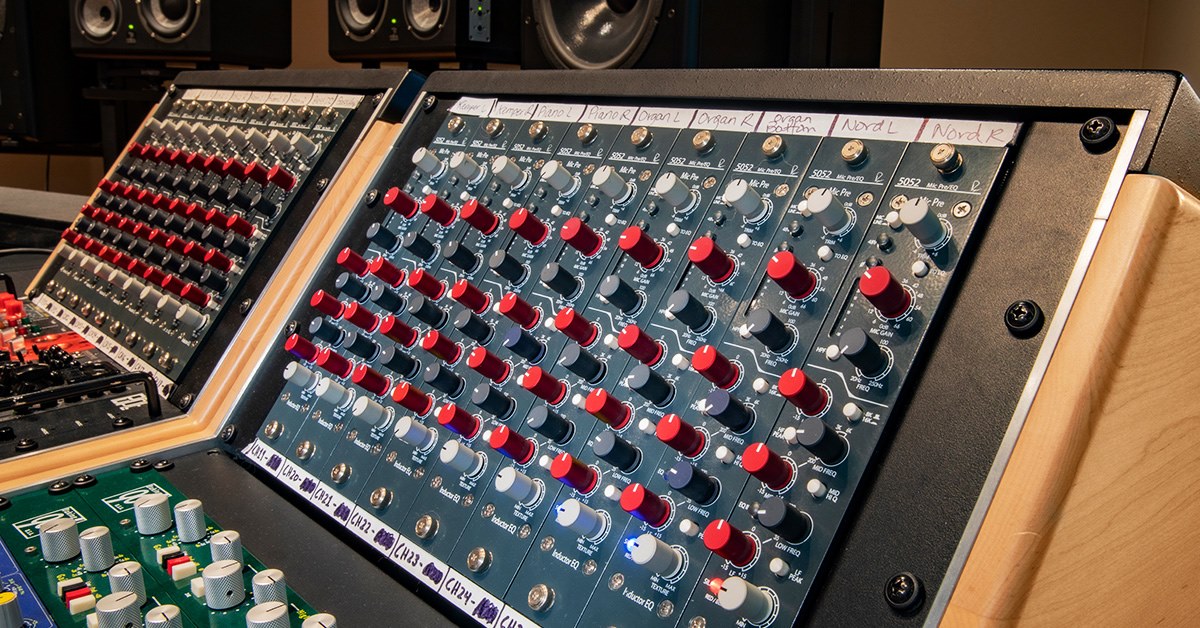
Audio interfaces come in various forms, including external units that connect via USB or Thunderbolt, as well as internal sound cards found in desktop computers. They typically offer multiple audio inputs and outputs, allowing you to connect microphones, instruments, MIDI controllers, and studio monitors simultaneously.
Alongside audio conversion, audio interfaces also provide essential features such as preamps, which amplify microphone signals to a usable level, and phantom power, which supplies the necessary voltage for condenser microphones. They may also include headphone outputs for direct monitoring, MIDI inputs and outputs for connecting external MIDI devices, and control knobs or buttons for adjusting volume and settings.
While audio interfaces are commonly used in music production and recording studios, their versatility extends to podcasting, live sound reinforcement, and broadcasting applications. They allow for seamless integration of professional audio equipment with digital audio workstations (DAWs) and other software, making them essential tools for anyone looking to capture high-quality audio.
With advancements in technology, audio interfaces have evolved to offer improved audio quality, lower latency, and compact designs. Whether you’re a home studio enthusiast or a professional sound engineer, investing in a reliable audio interface is crucial to achieving optimal audio performance and unlocking the full potential of your recordings.
Why is Grounding Important in Audio Interfaces?
Grounding is a critical aspect of audio interfaces. It ensures the proper functioning and integrity of the audio signals being processed and transmitted, while also protecting the equipment and users from potential hazards.
Here are a few reasons why grounding is important in audio interfaces:
1. Elimination of Hum and Noise: A common issue in audio systems is the presence of hum and noise, which can be caused by ground loops or external interference. Proper grounding helps eliminate these unwanted sounds, resulting in cleaner and clearer audio recordings and playback.
2. Electrical Safety: Grounding provides a safe path for electrical current to flow to the ground in case of a fault or electrical surge. This prevents electrical shocks and protects both the equipment and the users from potential harm.
3. Prevention of Damage: Without proper grounding, audio interfaces can be susceptible to electrical interference, static electricity, and voltage spikes. These can cause damage to the internal circuitry and components of the device, leading to costly repairs or the need for replacement.
4. Shielding from Interference: Grounding helps shield the audio signals from external electromagnetic interference, such as radio frequency interference (RFI) and electromagnetic fields (EMF). This ensures that the audio signals remain clean and unaffected by surrounding electrical equipment or radio waves.
5. Stability of Audio Signals: Grounding plays a crucial role in maintaining the stability and integrity of audio signals. By providing a stable reference point, grounding helps prevent signal degradation and ensures reliable and consistent signal transfer between the audio interface and connected devices.
In summary, grounding is vital for the proper functioning, safety, and integrity of audio interfaces. It helps eliminate hum and noise, protects against electrical hazards, prevents equipment damage, shields from interference, and ensures stable audio signals. By paying attention to proper grounding techniques, you can optimize the performance of your audio interface and enhance the overall audio production experience.
Grounding Methods for Audio Interfaces
Ensuring proper grounding for your audio interface is crucial for maintaining optimal audio quality and minimizing potential issues such as hum and noise. Several methods can be employed to achieve effective grounding. Let’s explore some of the common grounding methods for audio interfaces:
1. Using a Grounded Power Outlet: One of the simplest and most effective ways to ground your audio interface is by connecting it to a power outlet with a proper ground connection. Ensure that the outlet is properly grounded and that the power cable of your audio interface has a three-prong plug. This grounding method provides a direct path for any stray electrical currents to flow safely to the ground.
2. Utilizing a Ground Lift Adapter: In cases where you experience ground loop issues, which can cause audible hum, a ground lift adapter can be used as a temporary solution. This adapter breaks the ground connection between your audio interface and the electrical outlet, effectively isolating it from the electrical ground. However, it’s important to note that this method should be used with caution, as it may not be a permanent solution and can potentially create electrical safety hazards.
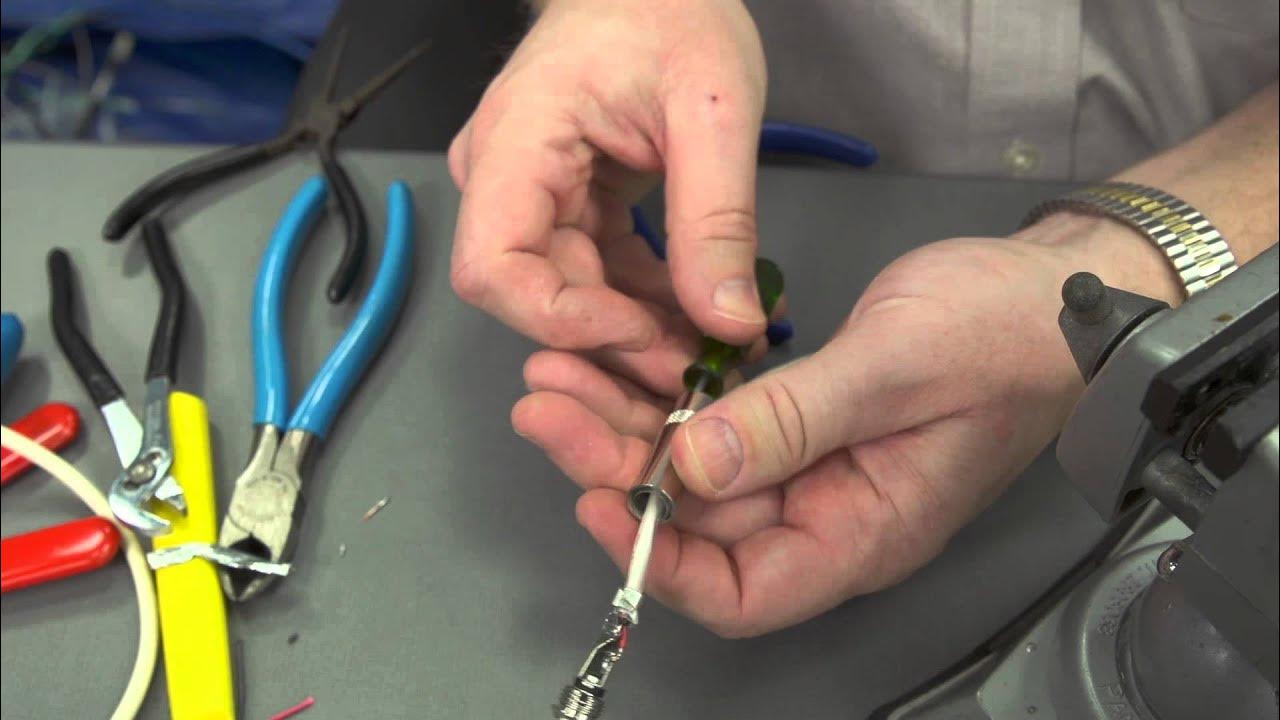
3. Grounding Through a DI Box: A direct injection (DI) box is often used when connecting instruments such as electric guitars or basses to an audio interface. Many DI boxes feature a ground lift switch that can help eliminate ground loops or hum caused by improper grounding. By switching the ground lift feature on, you can isolate the audio interface from the instrument’s ground, potentially resolving grounding-related issues.
4. Employing a Hum Eliminator: If you frequently encounter ground loop problems, investing in a hum eliminator can be a long-term solution. A hum eliminator is a device specifically designed to remove hum caused by ground loops. It typically features multiple inputs and outputs, allowing you to connect your audio interface, instruments, and other devices. The hum eliminator isolates the grounding paths, effectively eliminating any ground loop issues and maintaining clean audio signals.
It’s important to note that the effectiveness of these grounding methods may vary depending on your specific setup and environment. If you are experiencing persistent grounding issues, it may be helpful to consult with a professional audio technician or electrician to ensure that your grounding solution is safe and effective.
By implementing proper grounding techniques, you can greatly improve the audio quality of your recordings and enjoy a hassle-free audio production experience with your audio interface.
Method 1: Using a Grounded Power Outlet
Using a grounded power outlet is one of the most important and effective methods for grounding your audio interface. A proper ground connection provides a safe pathway for any electrical currents to flow to the ground, preventing issues such as hum, noise, and electrical hazards. Here’s how you can use a grounded power outlet to ensure proper grounding for your audio interface:
- Locate a power outlet that has a three-prong connection. The third prong, typically a round or U-shaped prong, is the grounding prong.
- Insert the plug of your audio interface’s power cable into the power outlet. Make sure the power cable is in good condition without any frayed wires.
- Ensure the grounding prong of the power cable is properly inserted into the grounding slot of the power outlet. This completes the grounding connection between your audio interface and the electrical ground.
- Verify that the power outlet is indeed grounded. You can do this by using a multimeter or a ground tester. Alternatively, you can consult with an electrician to ensure the power outlet is properly grounded.
- Once you have confirmed the grounding, power up your audio interface. The proper ground connection will help eliminate ground loops, reduce noise, and ensure the integrity of your audio signals.
It’s important to note that not all power outlets in every location may have a proper ground connection. In some older buildings or poorly wired environments, you may encounter power outlets with missing or improperly grounded connections. Using an outlet that is not properly grounded can potentially lead to electrical hazards or compromised audio quality. In such cases, it is advisable to seek professional guidance or consult with an electrician to address the grounding issue.
Additionally, it’s always a good practice to use surge protectors or power conditioners between your audio interface and the power outlet. These devices not only provide additional protection against power surges and voltage fluctuations but also help ensure a reliable ground connection for your equipment.
By using a properly grounded power outlet, you can significantly improve the audio performance and overall safety of your audio interface setup. Always prioritize the use of grounded power outlets to maintain optimal grounding and prevent any potential audio disruptions or electrical hazards.
Method 2: Utilizing a Ground Lift Adapter
If you find yourself experiencing ground loop issues with your audio interface, utilizing a ground lift adapter can be a temporary solution to isolate the device from the electrical ground. A ground loop is a common cause of audible hum or buzzing, and a ground lift adapter helps break the ground connection to eliminate the unwanted noise. Here’s how you can use a ground lift adapter:
- Identify the power cable of your audio interface that connects to a three-prong plug. A ground lift adapter will typically have three prongs as well.
- Unplug the power cable from the electrical outlet.
- Attach the ground lift adapter to the power cable’s three-prong plug. The adapter will have a socket to plug the power cable into and a new plug with only two prongs.
- Insert the new plug of the ground lift adapter into the electrical outlet. By doing so, the audio interface is effectively isolated from the electrical ground.
- Power up your audio interface and check for any improvements in the audio quality. The ground lift adapter helps eliminate ground loop-related hum and buzzing sounds.
It’s important to note that utilizing a ground lift adapter should be seen as a temporary solution rather than a permanent fix. While it can help alleviate ground loop-induced noise, it may not always completely resolve the underlying grounding issue. It is advisable to address the root cause of the ground loop problem and restore proper grounding for long-term stability and safety.
However, it’s important to exercise caution when using a ground lift adapter. Breaking the ground connection can potentially lead to electrical safety hazards, as the audio equipment no longer has a direct path for stray current to flow to the ground. It is crucial to prioritize the safety of yourself and others when utilizing a ground lift adapter, and seek professional assistance if you are unsure or facing persistent grounding issues.
Remember, the goal is to achieve proper grounding to maintain optimal audio performance and safety. Consider consulting with a professional audio technician or an electrician to diagnose and address any underlying grounding issues to ensure a reliable and secure audio interface setup.
Method 3: Grounding Through a DI Box
When connecting instruments such as electric guitars or basses to an audio interface, ground loop issues may arise, resulting in unwanted hum or buzzing noise. In such cases, grounding through a DI (Direct Injection) box can help alleviate the problem. A DI box is a device that connects instruments with unbalanced outputs to balanced inputs, and many DI boxes offer a ground lift feature to address grounding issues. Here’s how you can use a DI box for grounding:
- Connect your instrument to the input of the DI box using a standard instrument cable.
- Connect the output of the DI box to the input on your audio interface.
- Locate the ground lift switch on the DI box. This switch is often labeled as “Ground Lift” or “Gnd Lift”.
- If you are experiencing ground loop-related hum or noise, activate the ground lift switch. This effectively breaks the ground connection between your instrument and the audio interface.
- Power up your audio interface and test for improvements in audio quality. The ground lift feature of the DI box helps eliminate the ground loop issue and reduces unwanted noise.
By utilizing the ground lift feature of a DI box, you can effectively isolate the instrument from the audio interface’s ground, potentially resolving grounding-related issues. However, it’s important to remember that the ground lift option should be considered as a temporary solution rather than a permanent fix. Addressing the root cause of the ground loop issue and restoring proper grounding is crucial for long-term stability and safety.
Additionally, it’s worth noting that not all DI boxes have a ground lift feature. When selecting a DI box for grounding purposes, ensure that it includes this feature. If you already own a DI box without a ground lift switch, you may need to explore alternate grounding methods or consider investing in a DI box with the required functionality.
Although using a DI box for grounding can be a practical solution, it’s important to keep in mind that every setup is unique. Grounding issues may persist in more complex setups or environments with multiple grounded devices. In such cases, consulting with a professional audio technician or an electrician can help diagnose and resolve the grounding issues effectively and ensure optimal audio performance and safety.
Method 4: Employing a Hum Eliminator
If you frequently encounter ground loop problems that result in audible hum or noise in your audio interface setup, employing a hum eliminator can be a highly effective long-term solution. A hum eliminator is a device specifically designed to remove hum caused by ground loops and provide clean audio signals. Here’s how you can use a hum eliminator:
- Identify the input and output sources in your audio interface setup that are affected by ground loop-induced hum or noise.
- Obtain a hum eliminator device that suits your setup. There are various types of hum eliminators available, including ones with XLR, TRS, or RCA connections. Choose the appropriate one based on your connectors and requirements.
- Connect the affected input source to the input of the hum eliminator using the appropriate cables. Make sure to match the connectors correctly.
- Connect the output of the hum eliminator to the corresponding input on your audio interface.
- Power up the hum eliminator and test for improvements in audio quality. The hum eliminator effectively isolates the ground loops that cause the hum, resulting in clean audio signals.
A hum eliminator typically features multiple inputs and outputs, allowing you to connect multiple sources and resolve ground loop issues across your audio setup. It works by actively removing the unwanted hum caused by ground loops while passing the audio signals through unaffected.
Hum eliminators are particularly useful in setups where ground loops are persistent or difficult to resolve using other methods. They provide a reliable and efficient solution for eliminating hum and ensuring clean audio signals without compromising on sound quality.
While a hum eliminator can effectively address ground loop issues, it’s worth noting that it is an additional component to your audio setup. Depending on the complexity of your setup, it may require additional cabling and space. Additionally, you should ensure that the hum eliminator is of high quality and reputable brand to maintain audio integrity.
If you are unsure about which hum eliminator to choose or require assistance in setting it up, consider consulting with a professional audio technician who can help determine the most suitable solution for your specific needs.
By employing a hum eliminator, you can effectively eliminate ground loop-induced hum or noise, ensuring clean and professional audio performance in your audio interface setup.
Common Issues with Grounding Audio Interfaces
While proper grounding is essential for optimal audio performance, there are several common issues that can arise with grounding audio interfaces. These issues can negatively impact audio quality and overall user experience. Understanding these challenges can help you identify and address them effectively. Here are some of the common issues associated with grounding audio interfaces:
1. Ground Loops: Ground loops occur when there are multiple grounding paths in an audio system, resulting in unwanted hum or buzzing noise. This can happen when multiple devices share a common ground, such as when an audio interface is connected to other grounded equipment like mixers or amplifiers.
2. Audible Hum or Noise: Improper grounding can lead to the presence of audible hum or noise in your audio signal. This can be caused by ground loops, electrical interference, or improper shielding.
3. Electrical Shocks: In extreme cases of electrical faults or improper grounding, there is a risk of electrical shocks when touching certain parts of the audio interface or connected devices. This poses a serious safety hazard that should be immediately addressed.
4. Signal Interference: Without proper grounding, audio interfaces can be susceptible to external interference, such as electromagnetic interference (EMI) or radio frequency interference (RFI). This can result in signal degradation, distorted audio, or radio signal bleed.
5. Equipment Malfunctions: Inadequate grounding can cause equipment malfunctions, including erratic behavior, sudden dropouts, or even damage to the audio interface and other connected devices. These malfunctions can disrupt workflows and lead to costly repairs or replacements.
6. Grounding Compatibility: Different audio devices may have varied grounding requirements. When connecting multiple devices, compatibility issues can arise if their grounding methods and paths do not align properly. This can introduce ground loops or ineffective grounding, leading to potential issues with audio quality.
It is crucial to be aware of these grounding issues and promptly address them to maintain optimal audio performance and safety. Troubleshooting and implementing appropriate grounding techniques can help mitigate these problems and ensure a seamless audio experience.
If you encounter any of these issues, it is advisable to consult with a professional audio technician or electrician who can assist in diagnosing the problem and providing suitable solutions. They can help identify the root cause of the grounding issue and recommend appropriate grounding methods to mitigate or eliminate these common issues.
Remember, proper grounding is essential for maintaining high-quality audio signals, reducing noise, and protecting both your audio equipment and yourself from potential hazards.
Troubleshooting Grounding Problems
When encountering grounding problems with your audio interface, it’s important to take a systematic approach to troubleshoot and resolve the issue. Proper troubleshooting can help identify the root cause of the problem and enable you to implement the necessary steps for effective grounding. Here are some steps to help you troubleshoot grounding problems:
1. Identify and isolate the issue: Determine the specific symptoms or challenges you are experiencing with your audio interface. Is it a noticeable hum or noise? Is it intermittent or constant? Understanding the nature of the problem will guide your troubleshooting process.
2. Inspect cables and connections: Check all cables and connections for any signs of damage, loose connections, or improper grounding. Make sure cables are securely plugged in and that they are in good condition. Replace any faulty or damaged cables as necessary.
3. Test different outlets and power sources: Plug your audio interface into different power outlets in the room or even in different locations to determine if the grounding issue is related to a specific outlet or power source. This helps identify if the grounding problem is localized or systemic.
4. Eliminate potential sources of interference: Temporarily move or turn off any nearby electronic devices, appliances, or lighting systems that may contribute to electrical interference. This includes fluorescent lights, dimmer switches, or wireless devices. Observe if the grounding problem persists or improves without these sources of interference.
5. Try different grounding methods: Experiment with different grounding methods, such as using a grounded power outlet, employing a ground lift adapter, utilizing a DI box, or employing a hum eliminator. Each method can help address specific grounding issues, so try them one by one until you find a solution that works for your setup.
6. Seek professional assistance: If you have exhausted all troubleshooting options and are still unable to resolve the grounding problem, it may be time to seek assistance from a professional audio technician or electrician. They have the expertise and specialized equipment to diagnose and address more complex grounding issues. They can perform thorough inspections, perform tests, and provide a suitable solution specific to your situation.
Remember, troubleshooting grounding problems can be a trial-and-error process. It is important to approach the troubleshooting process patiently and methodically. By following these steps and seeking professional help if needed, you can effectively address grounding issues and ensure optimal audio performance and safety for your audio interface setup.
Conclusion
Proper grounding is crucial for ensuring optimal audio quality and a smooth user experience with your audio interface. Grounding problems can manifest as hum, noise, or other audio interferences that can disrupt your workflow and compromise the integrity of your recordings. By understanding the importance of grounding and implementing effective grounding methods, you can overcome these challenges and achieve the best possible audio performance.
In this article, we explored various grounding methods for audio interfaces, including using a grounded power outlet, utilizing a ground lift adapter, grounding through a DI box, and employing a hum eliminator. Each method addresses specific grounding issues and can be applied depending on your specific setup and requirements.
We also discussed common issues that can arise with grounding audio interfaces, such as ground loops, audible hum or noise, electrical shocks, signal interference, equipment malfunctions, and grounding compatibility. Recognizing and addressing these issues promptly can help maintain optimal audio performance and ensure the safety of your equipment and yourself.
Troubleshooting grounding problems is an essential step in achieving effective grounding. By following a systematic approach, inspecting cables and connections, testing different outlets and power sources, eliminating sources of interference, and exploring different grounding methods, you can identify and resolve grounding issues that may arise.
However, if you encounter persistent or complex grounding problems, it is recommended to seek professional assistance from an audio technician or electrician who can provide a more thorough diagnosis and recommend appropriate solutions.
In conclusion, proper grounding is a critical aspect of audio interface setup. By understanding the importance of grounding and employing the right techniques, you can ensure optimal audio quality, minimize unwanted noise, and create a reliable and safe environment for your audio production needs. With proper grounding, you can enjoy a seamless and uninterrupted audio experience, allowing your creativity to flourish and your recordings to shine.