Home>Production & Technology>Stereo>How To Install A Big Stereo In A Bm2
Stereo
How To Install A Big Stereo In A Bm2
Modified: January 22, 2024
Learn how to install a big stereo in your BM2 with our step-by-step guide. Upgrade your car audio system and enjoy high-quality sound on the go.
(Many of the links in this article redirect to a specific reviewed product. Your purchase of these products through affiliate links helps to generate commission for AudioLover.com, at no extra cost. Learn more)
Table of Contents
Introduction
Welcome to the world of big stereo systems! Whether you’re a music enthusiast, a car aficionado, or simply someone who loves immersive audio experiences, installing a big stereo system in your BM2 can significantly enhance your driving pleasure. With the right equipment and a little know-how, you can transform your car into a concert on wheels.
However, the process of installing a big stereo system can seem intimidating, especially if you’re new to automotive DIY projects. That’s why we’re here to guide you through the steps and provide you with valuable insights to ensure a successful installation. Get ready to unleash the power of high-quality sound in your BM2!
In this comprehensive guide, we will walk you through the process of choosing the right stereo system for your BM2, gathering the necessary tools and equipment, preparing your car for installation, removing the existing stereo system, installing the big stereo, wiring it properly, conducting tests and troubleshooting any issues that may arise, and finalizing the installation.
Whether you’re an experienced DIYer or a beginner, this guide will cover everything you need to know to install a big stereo system in your BM2. So, let’s get started and bring the ultimate audio experience to your car!
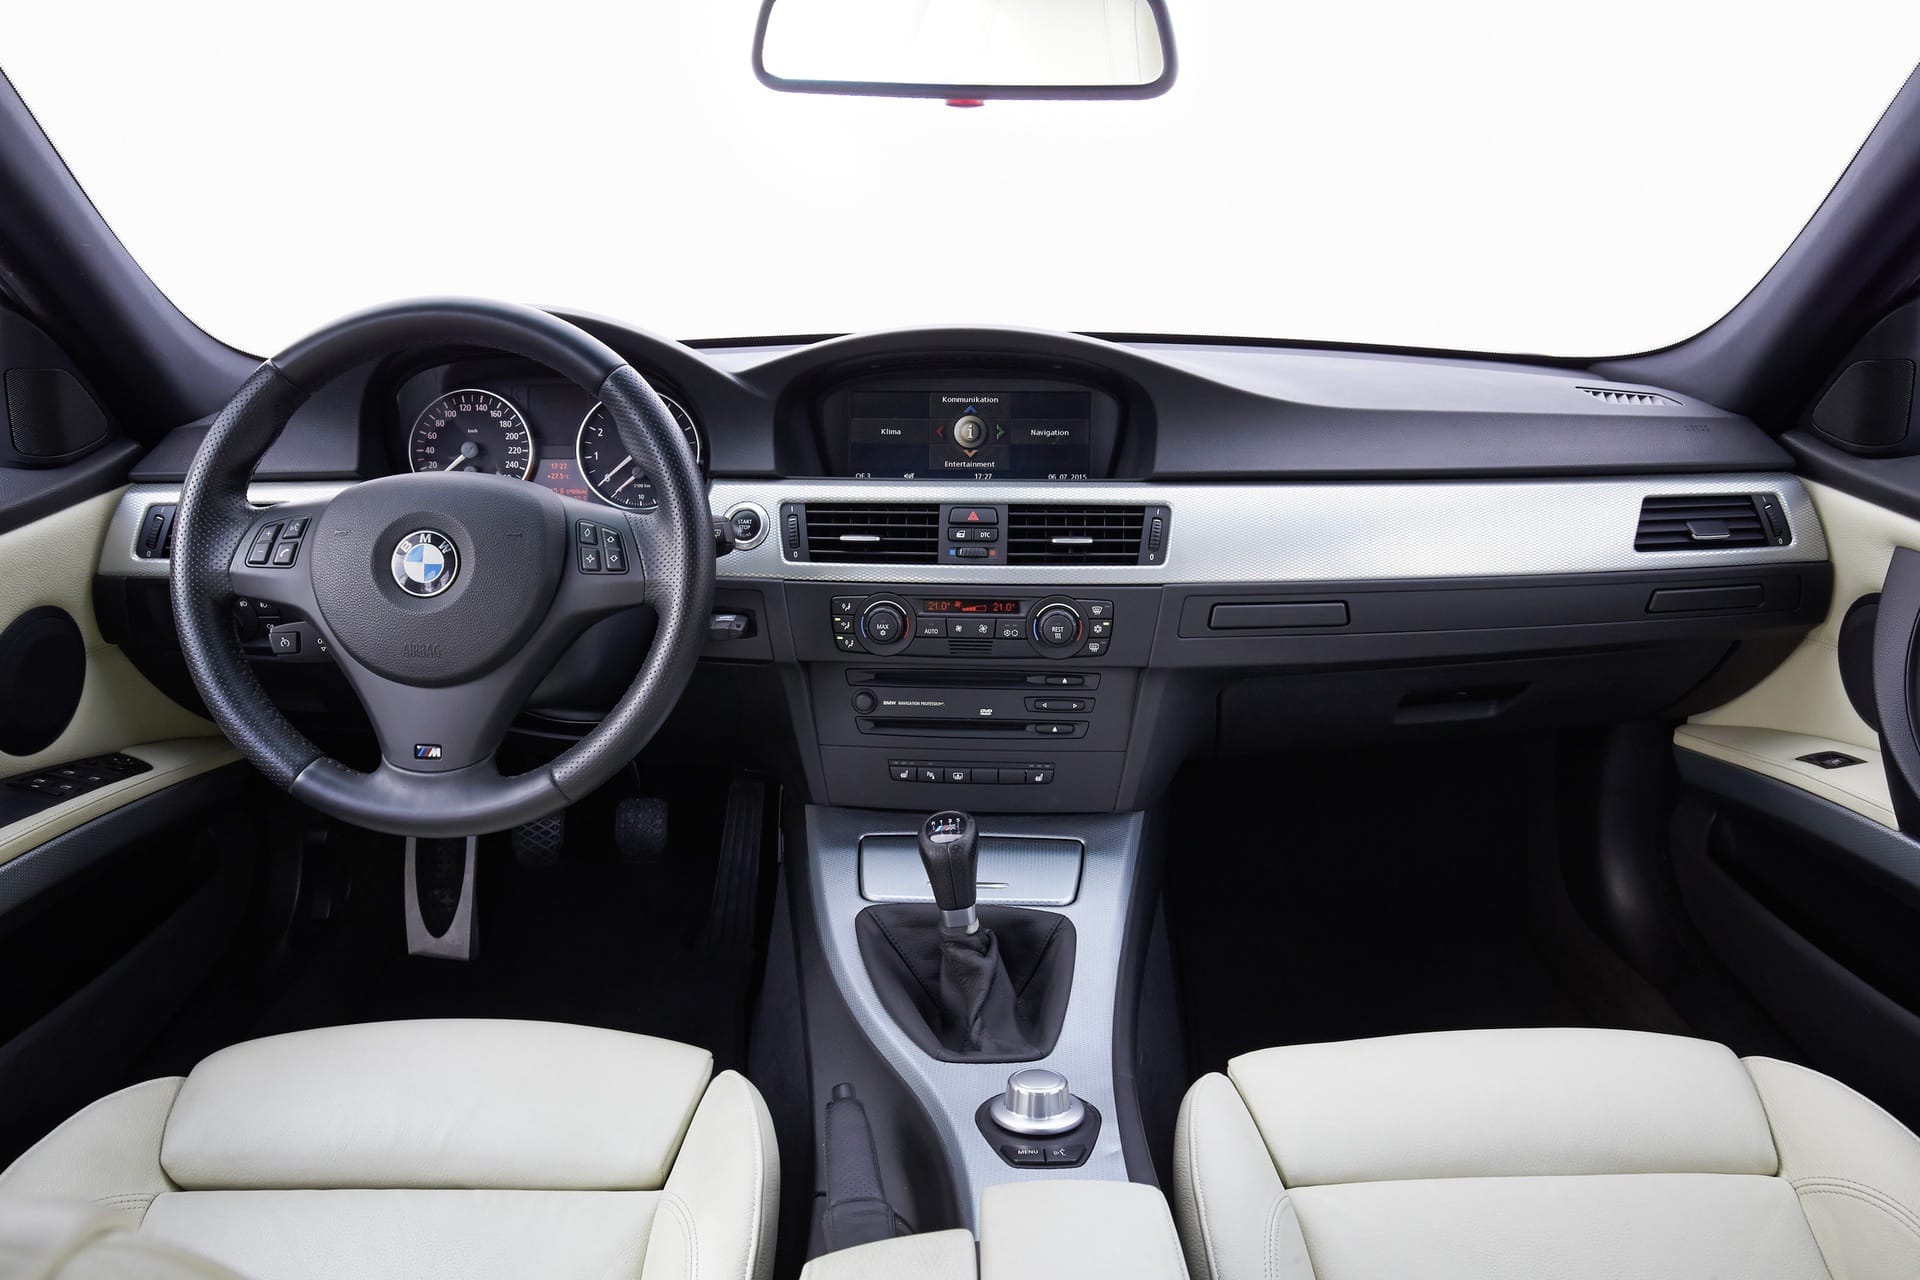
Choosing the Right Stereo System
Before you begin the installation process, it’s essential to choose the right stereo system for your BM2. With a wide range of options available, it can be overwhelming to make a decision. However, by considering a few key factors, you can narrow down your choices and find the perfect stereo system for your needs.
First and foremost, consider your budget. Determine how much you are willing to invest in a stereo system and set a realistic budget. This will help you prioritize your options and prevent overspending.
Next, think about your audio preferences. Do you prefer high-quality bass, or do you prioritize crisp vocals and clear instrumentals? Consider the equalization options and sound customization features offered by different stereo systems to ensure they align with your audio preferences.
The power output of the stereo system is also crucial. Higher wattage means louder sound, but keep in mind that your BM2’s electrical system must be capable of supporting the power requirements of the stereo system you choose. Consult with a professional if you are uncertain about your car’s electrical capabilities.
Compatibility is another aspect to consider. Ensure that the stereo system you choose is compatible with your BM2’s make, model, and year. It’s also important to check if it supports the audio inputs and formats you commonly use, such as USB, AUX, Bluetooth, or CDs.
Additionally, consider the design and aesthetics of the stereo system. Look for a unit that seamlessly integrates with your BM2’s interior, with controls and buttons that are easy to navigate while driving.
Finally, don’t forget about additional features that can enhance your audio experience. Some stereo systems offer built-in navigation, smartphone integration, or even compatibility with voice assistants like Siri or Google Assistant.
By taking these factors into consideration and doing thorough research, you can make an informed decision and choose the perfect stereo system that will transform your BM2 into a mobile concert hall.
Gathering the Necessary Tools and Equipment
Before diving into the installation process, it’s essential to gather all the necessary tools and equipment. Having the right tools on hand will make the installation process smoother and more efficient. Here’s a list of the essential tools and equipment you’ll need:
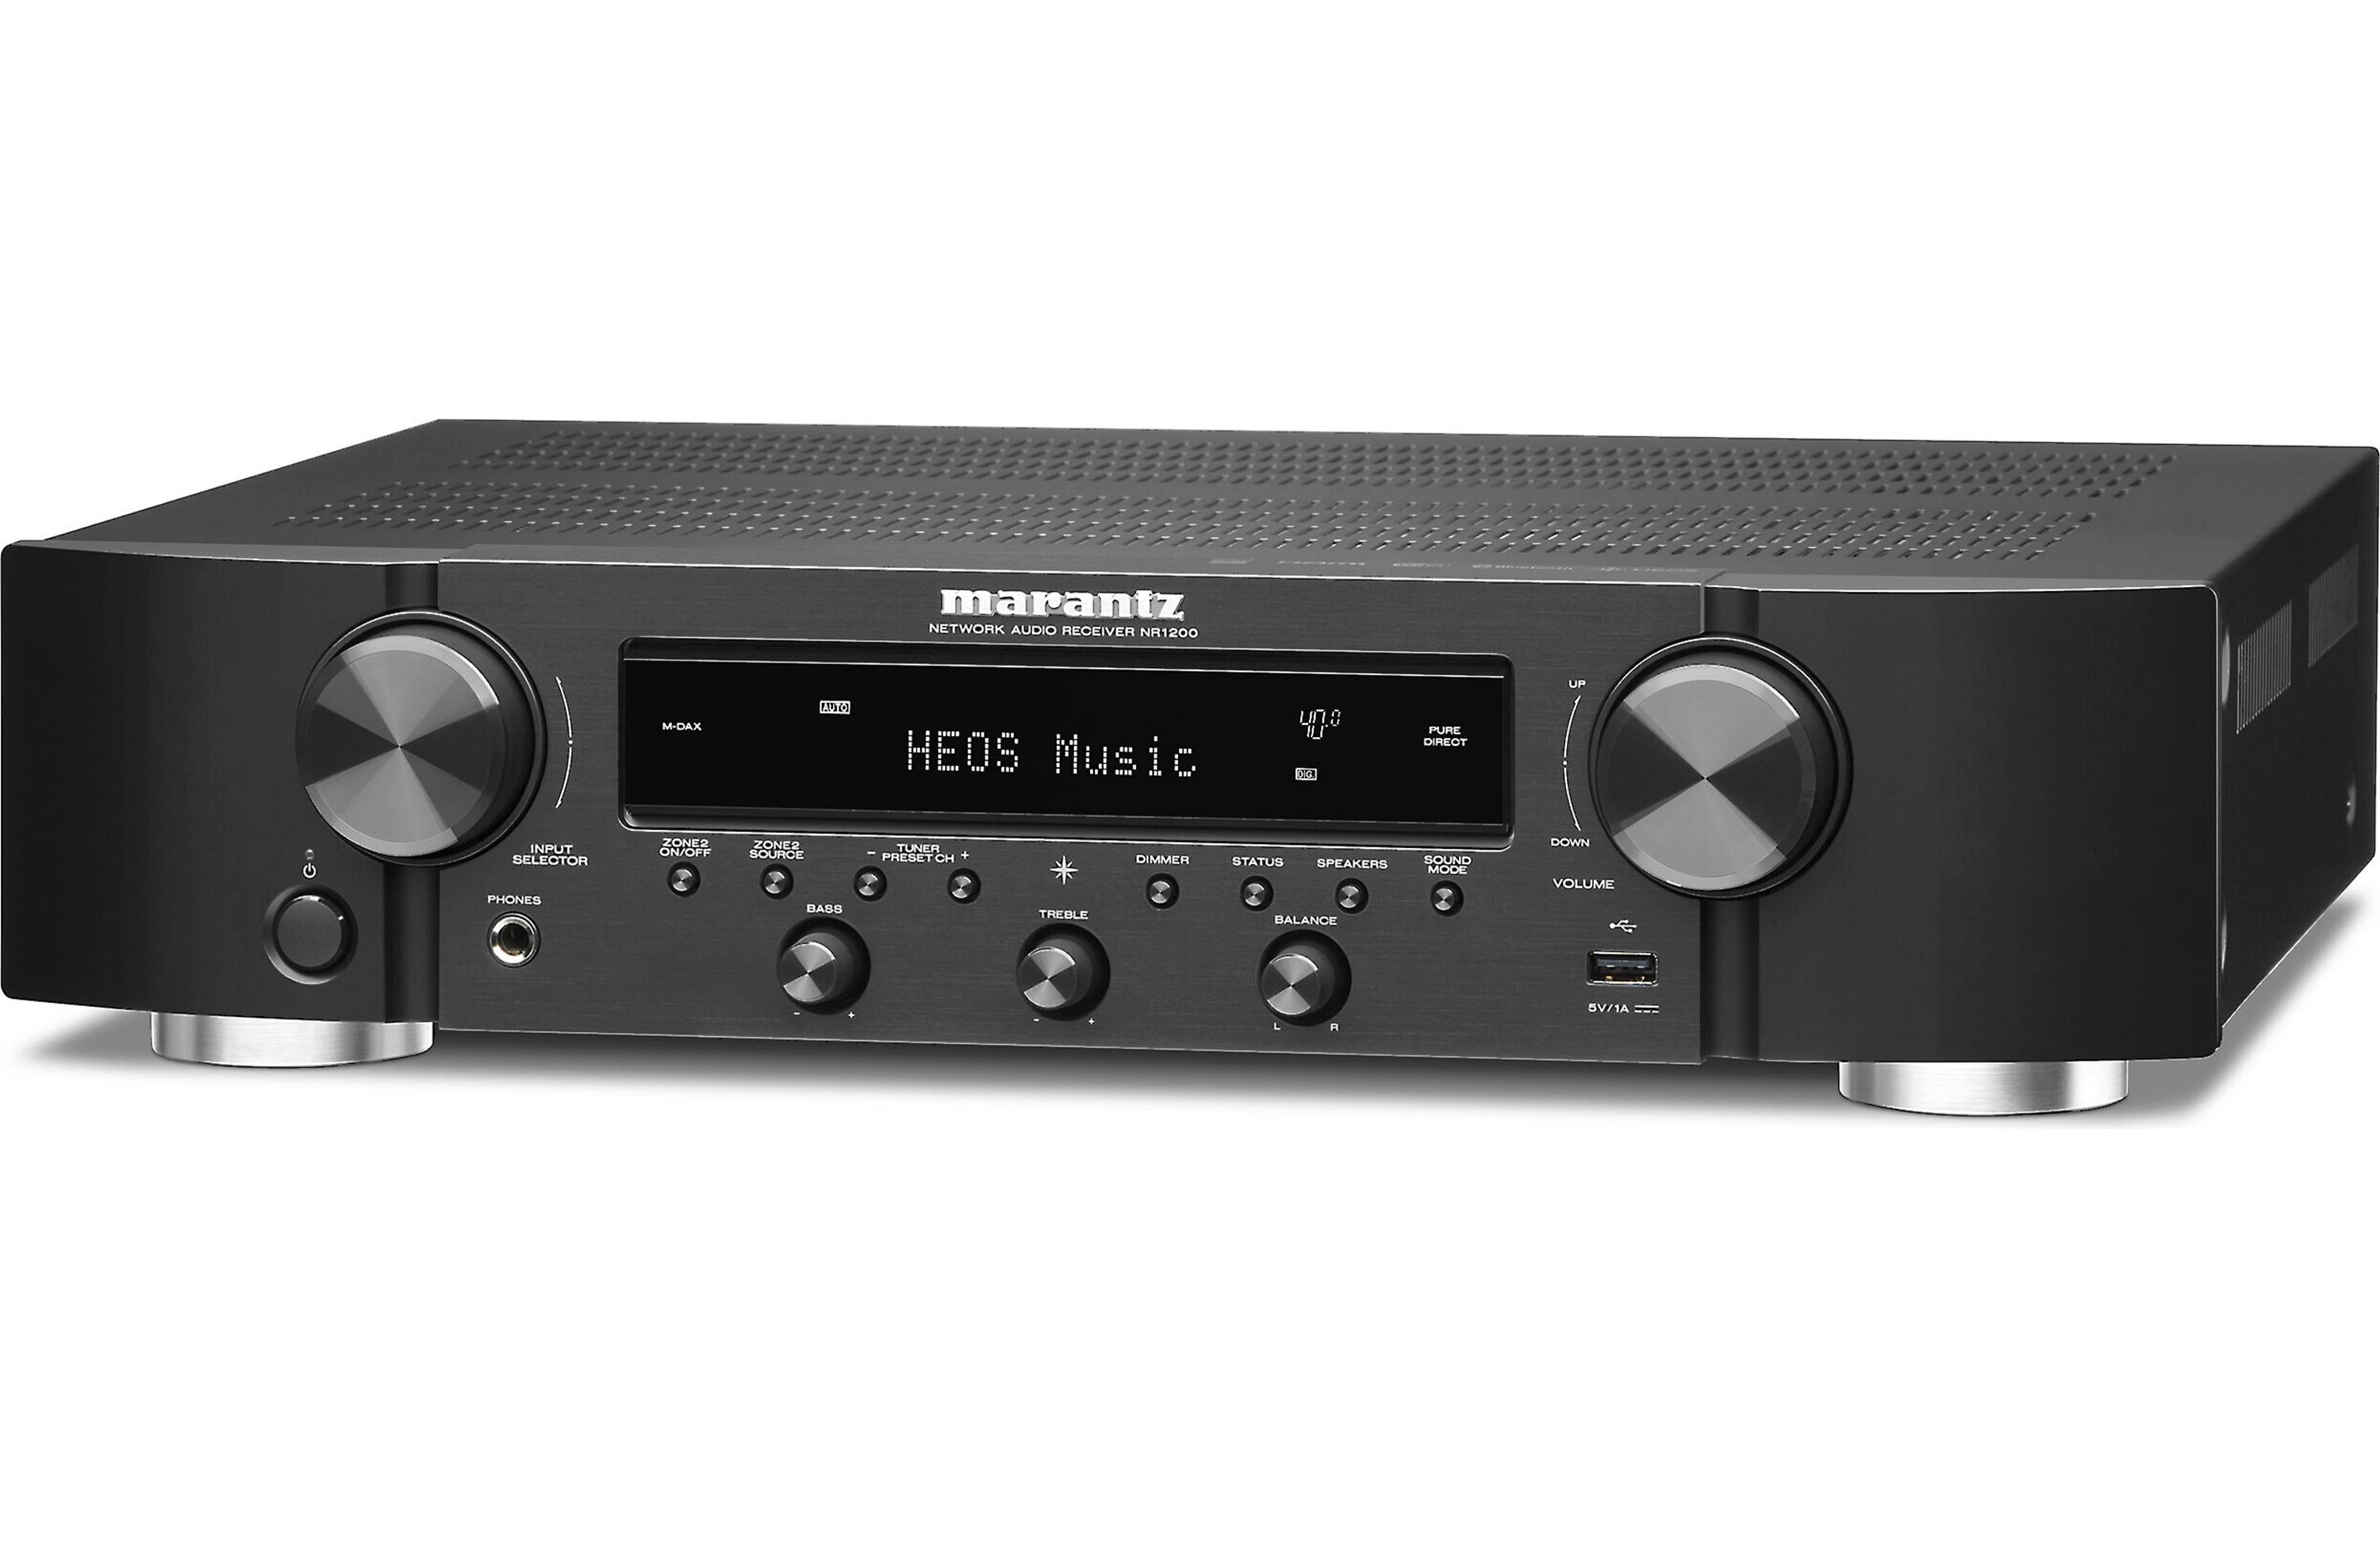
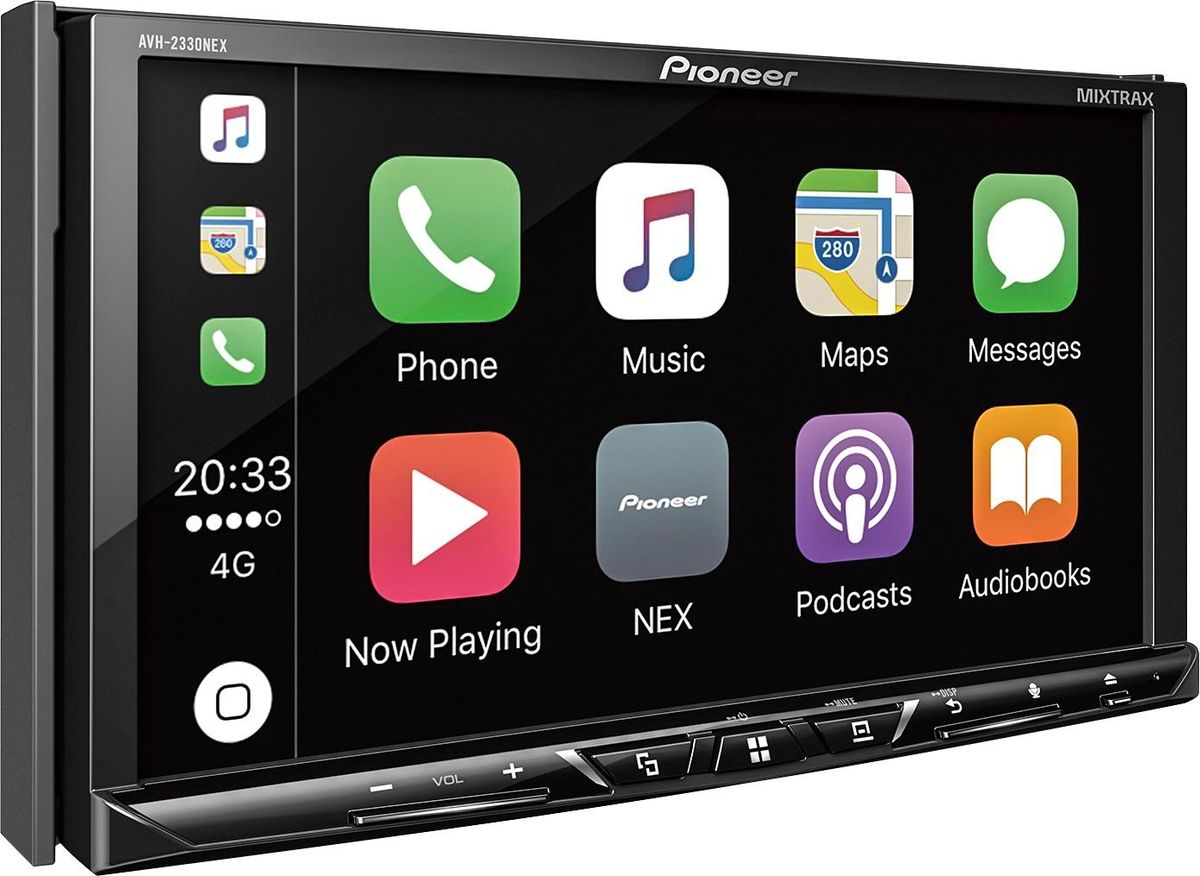
- Stereo system: This includes the head unit, speakers, subwoofers, and any other components you plan to install. Make sure you have all the necessary components for your desired audio setup.
- Wiring harness: A wiring harness specific to your BM2’s make, model, and year is necessary to connect the stereo system to the car’s electrical system. Make sure to choose a wiring harness that is compatible with your specific BM2.
- Dash kit: A dash kit is required to properly mount the new stereo system in your BM2’s dashboard. It ensures a secure fit and a professional-looking installation.
- Wire cutters/strippers: These tools are needed to cut and strip the wires for proper connection.
- Screwdrivers: Phillips and flathead screwdrivers will be necessary for removing the existing stereo and installing the new one.
- Pliers: Pliers can be useful for various tasks, such as crimping connectors and securing wires.
- Electrical tape: Electrical tape is essential for insulating and protecting the connected wires.
- Wire connectors: Wire connectors, such as crimp connectors or soldering tools, will be needed to splice and connect the wires securely.
- Panel removal tools: These tools help in safely removing trim panels and other components without damaging your BM2’s interior.
- Test light or multimeter: A test light or multimeter is essential for testing the electrical connections and troubleshooting any issues.
Ensure that you have each of these tools and equipment ready before you begin the installation process. This will save you time and frustration during the installation and ensure a successful and professional-looking result.
Preparing the BM2 for Installation
Before you start installing the big stereo system in your BM2, it’s crucial to prepare your car for the installation process. Proper preparation will not only make the installation smoother but also help protect your BM2’s interior and ensure a clean and professional-looking result. Here are the steps to prepare your BM2 for the stereo installation:
- Disconnect the battery: Begin by disconnecting the negative terminal of the battery to prevent any electrical mishaps during the installation process. This step is important for your safety and to avoid damaging any electrical components of your BM2.
- Gather the necessary documents: Locate the BM2’s user manual and any other documentation related to the car’s stereo system. These documents may contain specific instructions or wiring diagrams that will be useful during the installation process.
- Clear out the dashboard: Remove any items, such as CDs, personal belongings, or decorations, from the dashboard. Clearing out the dashboard will give you a better workspace and prevent any damage to your belongings during the installation.
- Prepare the wiring harness: If the new stereo system requires a wiring harness, prepare it by connecting the appropriate wires according to the instructions provided. Make sure to securely connect the wires and insulate them properly using electrical tape or heat shrink tubing.
- Inspect the dashboard: Carefully inspect the dashboard to identify any trim panels or components that need to be removed for the installation. Take note of any screws, clips, or connectors that may be holding these panels in place.
- Remove trim panels: Using the appropriate panel removal tools, gently and carefully remove the trim panels that need to be taken off for the installation. Take your time and be cautious not to rush or apply excessive force, as this can cause damage to the panels or the dashboard. Set aside the removed panels in a safe place.
- Locate mounting points: Once the trim panels are removed, you may be able to see the mounting points where the new stereo system will be installed. Take note of these points and ensure they are clean and free from any debris.
- Clean the dashboard: Use a microfiber cloth or a gentle cleaning solution to wipe down the dashboard surfaces. This will remove any dust, fingerprints, or dirt that may have accumulated and ensure a clean surface for the installation.
By following these preparation steps, you’ll have your BM2 ready for the stereo installation process. Taking the time to prepare your car properly will make the installation smoother and help ensure a clean and professional-looking result. Now, you’re ready to move on to the next step of removing the existing stereo system!
Removing the Existing Stereo System
Before you can install the new big stereo system in your BM2, you need to remove the existing stereo system. Removing the old stereo system may seem daunting at first, but with the right tools and steps, it can be a straightforward process. Here’s how to remove the existing stereo system from your BM2:
- Disconnect the battery: Begin by disconnecting the negative terminal of the battery to ensure safety and prevent any electrical mishaps during the removal process.
- Locate the mounting screws or clips: Depending on your BM2’s make and model, the stereo system may be held in place by screws or clips. Look for these mounting points on the front panel of the stereo or inside the dashboard.
- Remove the trim panel: If the stereo system is integrated into a trim panel, you’ll need to remove it first. Use the appropriate panel removal tools to gently pry off the trim panel. Be careful not to apply too much force and damage the panel or surrounding components.
- Remove the mounting screws or clips: Once the trim panel is removed, you can access the mounting screws or clips. Use the appropriate screwdriver or tool to loosen and remove the screws or release the clips holding the stereo system in place.
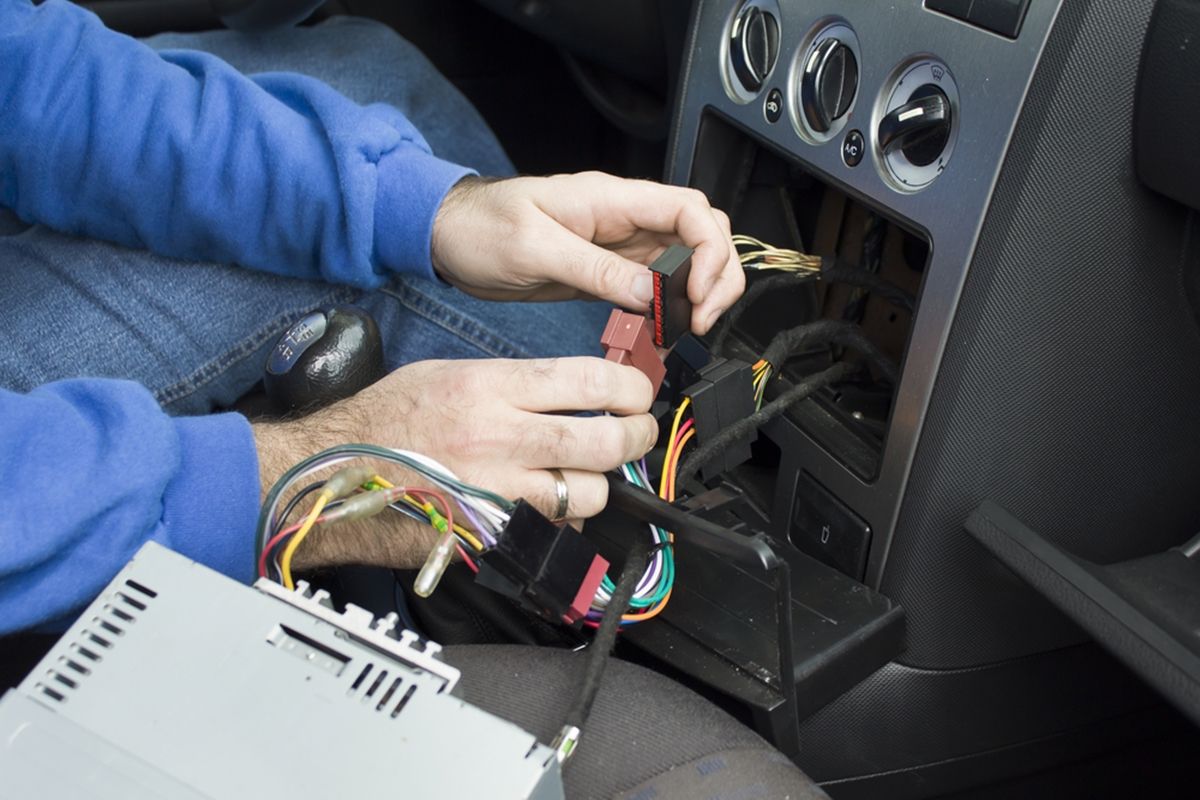
- Disconnect the wiring harness: Carefully unplug the wiring harness connectors from the back of the stereo. These connectors may be secured with tabs or locking mechanisms, so gently release any locks before pulling out the connectors.
- Remove the stereo system: With the mounting screws or clips and wiring disconnected, you can now remove the old stereo system from your BM2’s dashboard. Gently pull it out, being cautious not to damage any wires or components in the process.
- Label and organize the wiring connections: As you disconnect the wiring harness, it’s important to label and organize the connections. This will make the installation process of the new stereo system much easier and prevent confusion.
- Inspect for any additional connections: Sometimes, there may be additional connections, such as antenna cables or audio/video inputs, attached to the old stereo system. Take note of these connections and disconnect them as necessary.
By following these steps, you can successfully remove the existing stereo system from your BM2. Remember to take your time, be careful with the delicate components, and keep track of all the connections for a smooth installation process. Now that the old stereo system is out, it’s time to move on to installing the new big stereo system!
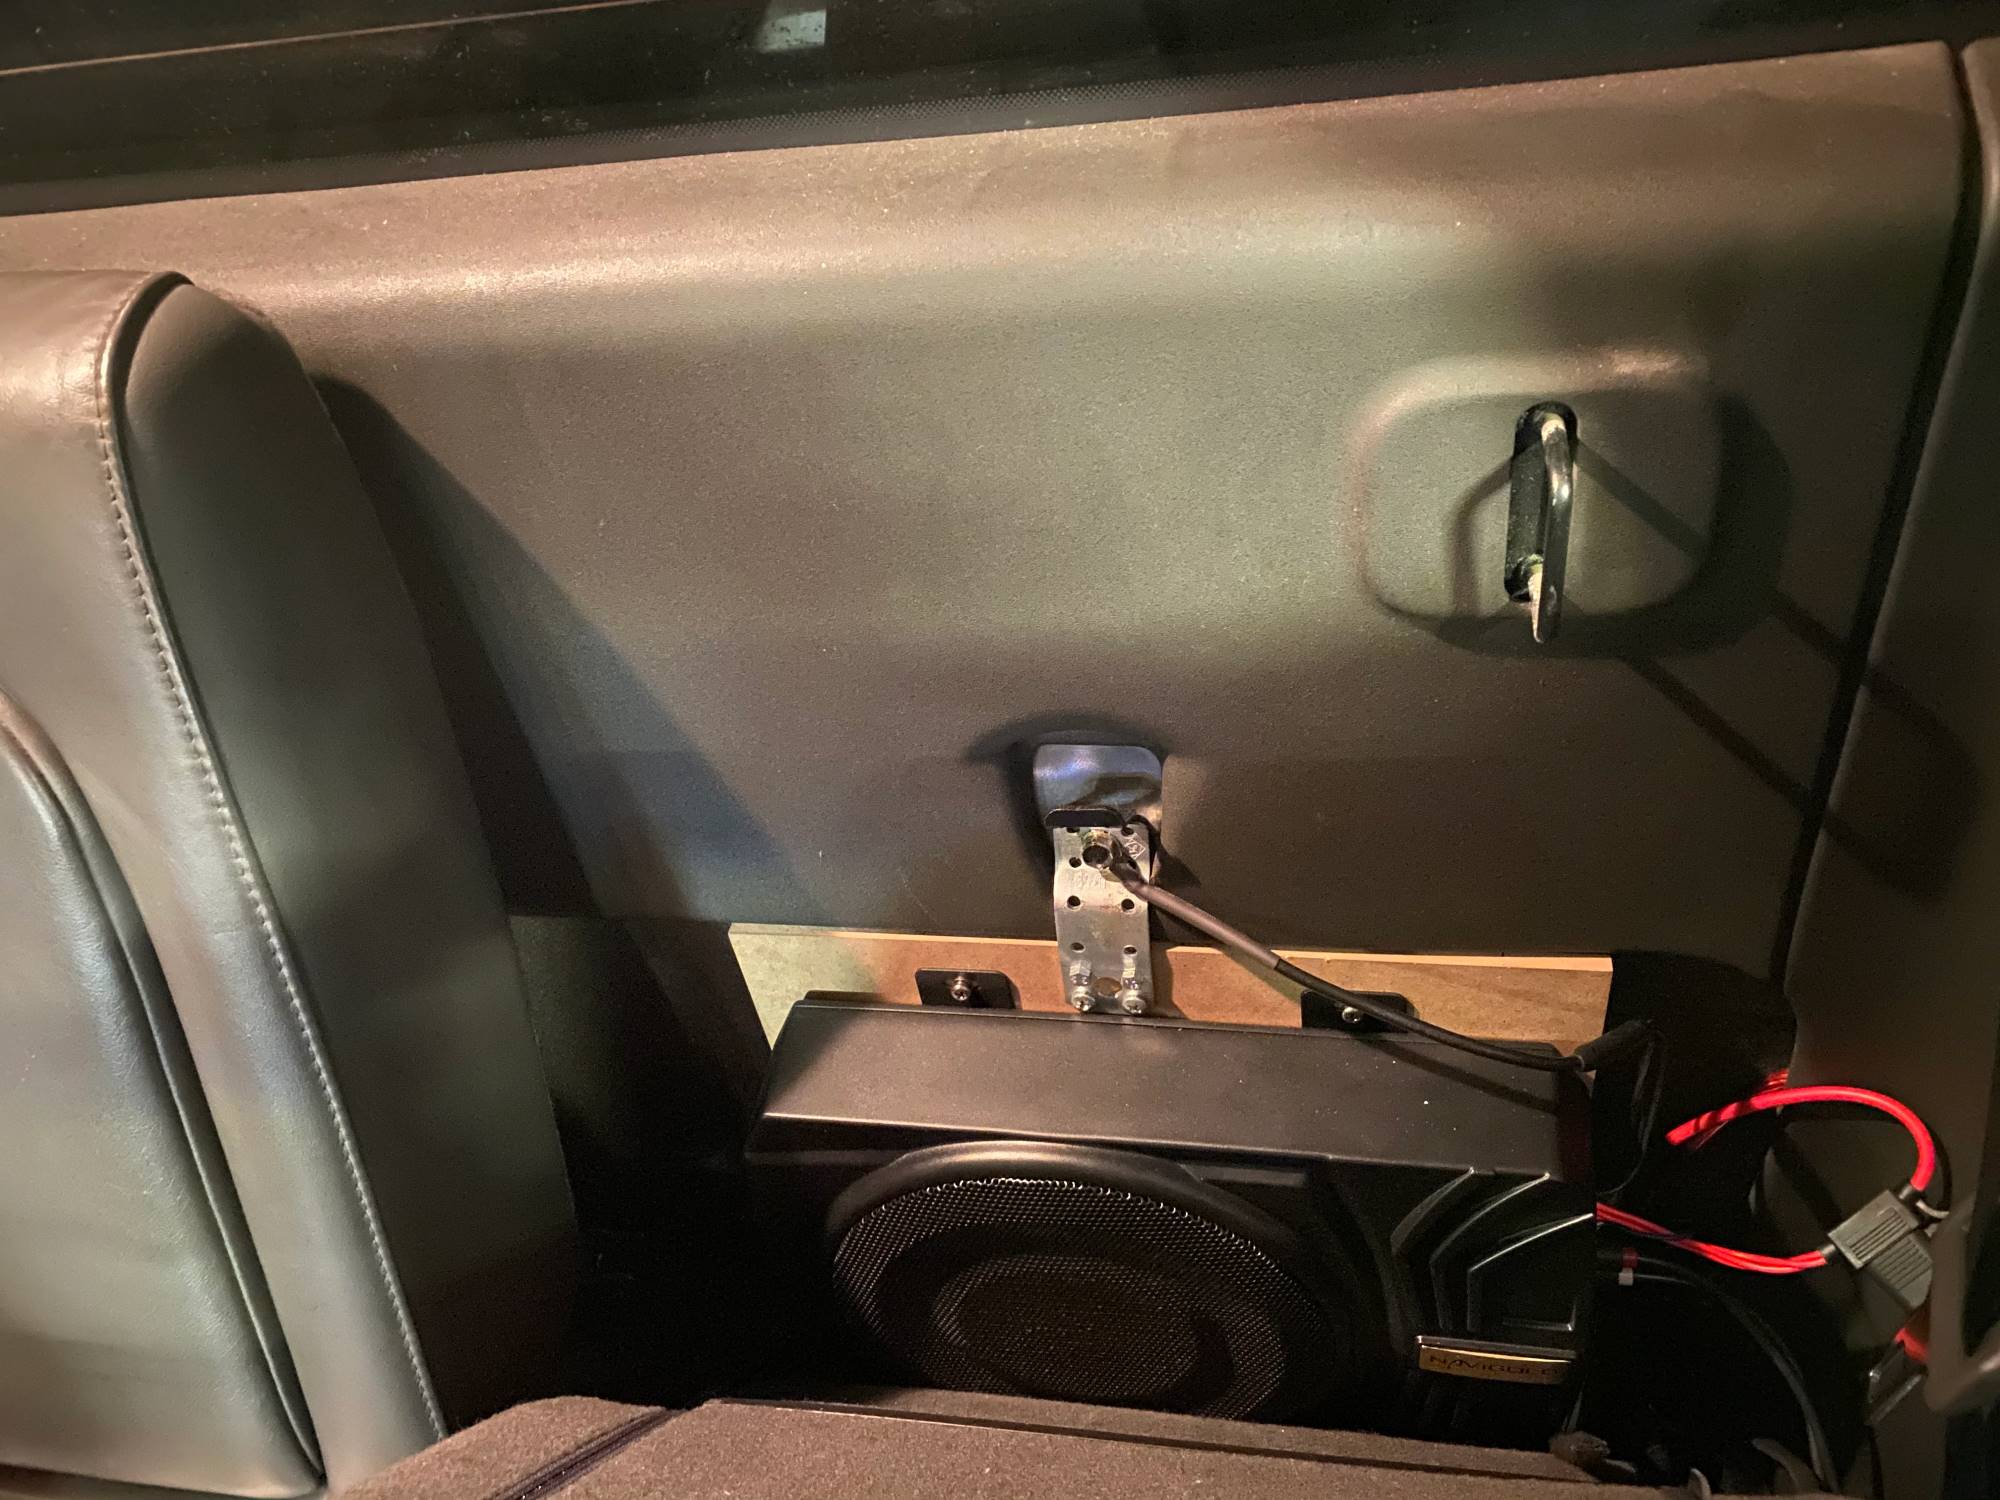
Installing the Big Stereo
Now that you have removed the old stereo system from your BM2, it’s time to install the new big stereo system. Installing a new stereo system may require some modifications and adjustments, but with the right steps, you’ll have your BM2 equipped with an immersive audio experience. Follow these steps to install the big stereo in your BM2:
- Prepare the dash kit: If your new stereo system requires a dash kit, follow the manufacturer’s instructions to properly prepare it. This may involve attaching brackets or other components to the dash kit for a secure fit.
- Connect the wiring harness: Take the wiring harness for your new stereo system and connect it to the BM2’s wiring harness. Make sure the connections are secure and properly aligned. Refer to the labels or notes you made during the removal process to ensure correct connections.
- Mount the dash kit: Position the prepared dash kit onto the BM2’s dashboard. Align it properly with the mounting points and securely fasten it using the provided screws or clips.
- Slide in the new stereo system: Carefully slide the new stereo system into the dash kit, ensuring proper alignment and fit. Apply gentle pressure to ensure it is fully seated in the dash kit.
- Secure the stereo system: Depending on the manufacturer’s instructions, secure the new stereo system to the dash kit using screws or other provided fasteners. Ensure it is tightly fastened to avoid any rattling or movement while driving.
- Reconnect the wiring harness: With the stereo system securely in place, reconnect the wiring harness connectors. Make sure each connection is properly inserted and locked in place. Double-check that all connections are correct using your labels or notes.
- Test the stereo system: Before reassembling the trim panels, it’s important to test the new stereo system. Reconnect the negative terminal of the battery, power on the system, and test the various features, such as sound, display, and controls. Make sure everything is functioning as intended.
By following these steps, you can successfully install the big stereo system in your BM2. Take your time, follow the manufacturer’s instructions, and ensure all connections are secure and properly aligned. Now that the stereo system is installed, let’s move on to the next step: wiring the stereo system.
Wiring the Stereo System
Now that you have installed the big stereo system in your BM2, it’s time to wire it properly. Proper wiring is crucial for the system to function correctly and ensure optimal audio performance. Follow these steps to wire the stereo system in your BM2:
- Refer to the wiring diagram: Consult the wiring diagram provided with your new stereo system, as well as your BM2’s user manual, to understand the wiring connections. This will help you identify the proper color-coded wires for each function, such as power, ground, speaker wires, and other auxiliary connections.
- Connect the power wires: Begin by connecting the power wires. Typically, the yellow wire is for constant power, while the red wire is for switched power. Connect the yellow wire to a constant power source or the vehicle’s battery, and connect the red wire to a switched power source, such as the ignition switch.
- Ground the stereo system: Locate a suitable metal grounding point near the stereo system in your BM2’s dash. Use a wire stripper to expose the metal core of the ground wire, then securely connect it to the grounding point. Ensure a solid and secure connection for proper grounding.
- Connect the speaker wires: Connect the speaker wires from the stereo system’s harness to the corresponding speaker wires in your BM2. Match the color-coded wires for each speaker and ensure a proper connection. It’s advisable to use crimp connectors or solder the wires together for a secure and reliable connection.
- Additional connections: If you have any additional connections, such as antenna cables, USB ports, or auxiliary inputs, refer to your stereo system’s manual for instructions on how to connect them properly. Make sure to route and secure the cables neatly to avoid interference or accidents while driving.
- Secure and insulate the connections: After making all the necessary connections, securely fasten the wiring harness and any loose cables using zip ties or adhesive tape. This will help prevent any movement or rattling of the wires. Insulate the connections with electrical tape or heat shrink tubing to protect against short circuits.
Remember to double-check all connections to ensure they are secure and properly aligned. Test the stereo system again to ensure that everything is functioning correctly, including the sound output from the speakers. If you encounter any issues, refer to the troubleshooting section or consult a professional for assistance.
With the stereo system properly wired, you’re one step closer to enjoying the immersive audio experience in your BM2. Keep reading to learn about testing and troubleshooting the system!
Testing and Troubleshooting
After wiring the stereo system in your BM2, it’s important to thoroughly test the system to ensure everything is working correctly. Testing will help you identify any potential issues or adjustments that need to be made. Follow these steps to test and troubleshoot your stereo system:
- Reconnect the negative battery terminal: Before testing, reconnect the negative terminal of the battery to provide power to the stereo system.
- Power on the stereo: Turn on the stereo system and check if it powers up properly. Verify that the display, buttons, and controls are all functioning as expected.
- Check sound output: Play music or audio from various sources and test each speaker to ensure proper sound output. Listen for any distortion, imbalance, or issues with volume control.
- Adjust settings: Utilize the equalizer and sound customization features of your stereo system to fine-tune the audio to your preferences. Experiment with different settings to achieve the desired sound quality.
- Test other features: If your stereo system has additional features such as Bluetooth connectivity, navigation, or hands-free calling, test them to ensure they are working properly.
- Troubleshooting: If you encounter any issues during testing, first refer to the troubleshooting section in the stereo system’s manual. Check for loose connections, incorrect wiring, or any error messages on the display.
- Seek professional assistance: If you are unable to resolve the issues or require further assistance, consider seeking help from a professional car audio technician. They will have the expertise to diagnose and fix any complex issues that may arise.
Remember, patience and thorough testing are key to ensure a properly functioning stereo system in your BM2. Don’t hesitate to seek professional help if needed, as it’s crucial to have a safe and reliable audio setup in your vehicle. Once you are satisfied with the testing and troubleshooting, proceed to the final step: finalizing the installation.
Finalizing the Installation
Congratulations! You have successfully installed and tested the big stereo system in your BM2. However, before you hit the road and enjoy your new audio setup, there are a few final touches to complete. Follow these steps to finalize the installation:
- Secure all connections: Double-check all the wiring connections to ensure they are secure and properly insulated. This will prevent any potential issues down the line, such as loose connections or short circuits. Use zip ties or adhesive tape to tidy up any loose cables.
- Reassemble the trim panels: Carefully reinstall the trim panels that you removed during the installation process. Ensure they fit properly and are securely fastened. Take your time to align them correctly and avoid any damage to the panels or the dashboard.
- Clean up: Take a moment to clean up any dust, debris, or fingerprints that may have accumulated during the installation. Use a microfiber cloth and a gentle cleaning solution to give your BM2’s interior a final touch-up.
- Enjoy your new stereo system: With the installation complete and all components secured, it’s time to enjoy your new immersive audio experience. Sit back, relax, and enjoy your favorite music, podcasts, or audiobooks on the go.
- Regular maintenance: To ensure the longevity and optimal performance of your stereo system, it’s important to perform regular maintenance. Keep your BM2’s interior clean to prevent dust build-up, check the wiring connections periodically, and follow the manufacturer’s guidelines for maintenance and care.
By completing these final steps, your big stereo installation in your BM2 is officially finished! You can now cruise down the road with a powerful and immersive audio experience that enhances your driving pleasure. Safe travels and enjoy the music!
Conclusion
Congratulations on successfully installing a big stereo system in your BM2! You have transformed your car into a mobile concert hall, ready to deliver an immersive audio experience every time you hit the road. By following the step-by-step guide provided in this article, you have gained the knowledge and skills necessary to undertake this DIY project.
Choosing the right stereo system, gathering the necessary tools and equipment, preparing your BM2 for installation, removing the existing stereo system, installing the big stereo, wiring it properly, testing and troubleshooting, and finalizing the installation are all essential steps that have led you to this point. You have taken the time and effort to ensure a professional-looking and high-quality audio setup.
Remember to regularly maintain and care for your stereo system to ensure its long-term performance. Keep an eye on the wiring connections, clean the interior regularly, and follow the manufacturer’s guidelines for maintenance. This will help you continue to enjoy the best audio experience in your BM2 for years to come.
We hope that this comprehensive guide has provided you with valuable insights and guidance throughout the installation process. If you have any further questions or need additional assistance, don’t hesitate to consult a professional or reach out to the manufacturer of your stereo system.
Now, it’s time to buckle up, turn up the volume, and enjoy every journey with the incredible sound quality of your new big stereo system in your BM2. Happy listening!