Home>Production & Technology>Vinyl>How To Convert Music From Vinyl To Cd And Then To Mp3
Vinyl
How To Convert Music From Vinyl To Cd And Then To Mp3
Published: December 9, 2023
Learn how to convert music from vinyl to CD and then to MP3. Preserve the quality of your vinyl records and enjoy them in a convenient digital format.
(Many of the links in this article redirect to a specific reviewed product. Your purchase of these products through affiliate links helps to generate commission for AudioLover.com, at no extra cost. Learn more)
Table of Contents
- Introduction
- Gathering the necessary equipment
- Preparing your vinyl records for conversion
- Connecting your turntable to your computer
- Choosing the right software for digitization
- Setting up the recording software
- Adjusting the recording settings
- Beginning the vinyl to CD conversion process
- Finalizing the CD creation
- Ripping the CD to MP3 format
- Conclusion
Introduction
Vinyl records have made a remarkable resurgence in recent years, captivating music enthusiasts with their warm, authentic sound. However, the fragility of vinyl records and the limited portability of turntables make it necessary to digitize your vinyl collection. By converting your vinyl records to CD and then to MP3 format, you can preserve your precious collection and enjoy your favorite tunes on various devices.
In this comprehensive guide, we will walk you through the process of converting your music from vinyl to CD and then to MP3. Whether you are a seasoned vinyl aficionado or just starting to explore the world of records, this guide will provide you with step-by-step instructions to ensure a successful and seamless conversion.
Throughout this guide, we will discuss the necessary equipment, the preparation of vinyl records for digitization, the connection of your turntable to your computer, the selection of the right software for digitization, the configuration of recording settings, the conversion to CD format, and finally, the conversion from CD to MP3.
Digitizing your vinyl records not only allows you to enjoy your music in modern formats but also provides a means of preserving your collection for future generations. It allows you to create back-ups and share your favorite songs with friends and family effortlessly.
So, dust off those crates of vinyl records and get ready to embark on a rewarding journey of converting your music to digital formats! Whether you want to relive the nostalgia of vinyl or experience it for the first time, this guide will help you make the most of your vinyl collection.
Gathering the necessary equipment
Before starting the process of converting your vinyl records to CD and MP3, you will need to gather a few essential pieces of equipment. Here’s what you’ll need:
- Turntable: You’ll need a quality turntable to play your vinyl records. Make sure it is in good working condition and has a stable platter for accurate playback.
- Computer: You’ll need a computer with a USB port to connect your turntable and capture the audio. Ensure that the computer is running smoothly and has enough storage space to handle the digitized files.
- Analog-to-digital converter: Depending on your turntable’s compatibility, you may need an analog-to-digital converter. This device helps convert the analog signal from the turntable into a digital format that can be processed by the computer.
- Audio editing software: You’ll need audio editing software to clean up any imperfections in the recording and to convert the files to CD and MP3 formats. Popular options include Audacity, Adobe Audition, and GarageBand.
- Blank recordable CDs: To create the intermediate step of transferring your vinyl to CD format, you will need blank recordable CDs. Make sure to choose high-quality CDs to ensure the best possible audio reproduction.
- CD burner: Your computer may have a built-in CD burner, or you may need to purchase an external CD burner if your computer doesn’t have this feature. Ensure that it is compatible with your computer’s operating system.
- MP3 conversion software: Finally, you’ll need software to convert the audio files from the CDs to MP3 format. There are various programs available, both free and paid, such as iTunes, Windows Media Player, and dBpoweramp.
By gathering these essential pieces of equipment, you will be well-prepared to start the process of converting your vinyl records to CD and MP3. Take the time to ensure that each component is functioning correctly and that you have the necessary software installed on your computer. This preparation will help you streamline the conversion process and achieve the best possible results.
Preparing your vinyl records for conversion
Before you begin the process of converting your vinyl records to CD and MP3, it’s important to take the time to properly prepare your records for digitization. This will help ensure that you achieve the best possible audio quality and minimize any potential damage to your vinyl collection. Here are some steps to follow:
- Clean your records: Vinyl records are prone to collecting dust, dirt, and fingerprints, which can affect sound quality. Use a record cleaning brush or a carbon fiber brush to gently remove any debris from the surface of the record. Avoid using abrasive materials that can damage the vinyl.
- Inspect for scratches: Carefully examine your records for any visible scratches or deep grooves. While minor surface scratches may not significantly impact the audio quality, deep scratches can cause skipping or distortion. Consider replacing severely damaged records or try using a vinyl repair kit to minimize the impact of scratches.
- Check for warping: Warped records can cause playback issues and affect the accuracy of the digitization process. Place your records on a flat surface and check for any noticeable warping. If your records are warped, consider using a vinyl flattening method or consult a professional for advice.
- Remove static electricity: Static electricity can interfere with the digitization process and create unwanted noise. Use an anti-static record brush or a record cleaning solution with an anti-static agent to eliminate static charges before playing your records.
- Handle records with care: When handling your vinyl records, make sure to hold them by their edges and avoid touching the playing surface. Oils and dirt from your fingers can affect sound quality and potentially damage the vinyl. Consider using record sleeves or inner sleeves to protect your records from dust and scratches.
By taking the time to properly prepare your vinyl records for conversion, you can ensure a smoother and more accurate digitization process. Cleaning your records, inspecting for scratches and warping, removing static electricity, and handling them with care will help preserve the audio quality and prolong the lifespan of your vinyl collection. With these steps completed, you’re now ready to move on to the next phase: connecting your turntable to your computer.
Connecting your turntable to your computer
Connecting your turntable to your computer is a crucial step in the process of digitizing your vinyl records. This connection allows you to capture the audio signal and convert it into a digital format that can be stored on your computer. Here’s how you can make the connection:
- Check your turntable’s output: Most modern turntables have a built-in preamp and a USB output, which makes the connection to your computer straightforward. However, if your turntable doesn’t have a USB output, you’ll need to use an analog-to-digital converter. Connect the turntable’s RCA output cables to the converter.
- Connect the USB cable: If your turntable has a built-in USB output, simply connect one end of the USB cable to the turntable and the other end to an available USB port on your computer. Ensure that the cable is securely inserted into both devices.
- Install drivers (if necessary): Depending on your turntable and computer operating system, you may need to install drivers to enable the communication between the two devices. Check the manufacturer’s instructions or website to download and install any required drivers.
- Configure audio settings: Once the physical connection is established, you may need to configure the audio settings on your computer. Open your computer’s audio settings and select the turntable or analog-to-digital converter as the input device. Adjust the input volume levels as needed, ensuring that the signal is not too low or too high.
- Test the connection: Before proceeding with the digitization process, it’s a good idea to test the connection and ensure that the audio signal is being properly captured. Play a vinyl record on your turntable and open an audio recording software program, such as Audacity. Start a new recording and verify that the software is picking up the audio signal from the turntable.
By following these steps and ensuring a successful connection between your turntable and computer, you will be ready to move on to the next phase of the vinyl to CD and MP3 conversion process. With the audio signal now being captured by your computer, you can proceed to select the right software for digitization.
Choosing the right software for digitization
Once you have successfully connected your turntable to your computer, the next step in the process of converting your vinyl records to CD and MP3 is to choose the right software for digitization. The software you select will play a crucial role in capturing and processing the audio signal from your turntable. Here are some factors to consider when choosing the software:
- User-friendly interface: Look for software that has an intuitive and user-friendly interface. This will make the digitization process much easier and more enjoyable, especially if you are new to recording and editing audio.
- Compatibility: Ensure that the software you choose is compatible with your computer’s operating system. Whether you use a Windows PC, Mac, or Linux, make sure the software supports your specific platform.
- Recording and editing capabilities: The software should provide reliable recording capabilities, allowing you to capture the audio signal from your turntable with ease. Additionally, look for software that offers basic editing tools to trim or clean up any imperfections in the recordings.
- Format options: Check whether the software supports the output formats you need. Most software will allow you to save recordings in popular formats like WAV or MP3, but it’s always good to double-check for compatibility.
- Batch processing: If you have a large vinyl collection to digitize, consider software that offers batch processing capabilities. This feature allows you to automate the conversion process for multiple records, saving you time and effort.
- Quality settings: Look for software that allows you to adjust the recording quality settings. This will give you more control over the audio output and ensure that the digitized files retain the warmth and richness of your vinyl records.
There are several software options available for digitizing vinyl records, both free and paid. Some popular choices include Audacity, Adobe Audition, GarageBand (for Mac users), and VinylStudio. Research each option, read reviews, and consider your specific needs and budget before making a decision.
By choosing the right software for digitization, you will have a powerful tool at your disposal to capture the true essence of your vinyl records and prepare them for conversion to CD and MP3 formats. With the software selected, you can proceed to the next step of setting up the recording software and configuring the necessary settings.
Setting up the recording software
After selecting the appropriate recording software for digitizing your vinyl records, the next step is to set up the software on your computer. Proper configuration is essential to ensure accurate and high-quality recordings. Follow these steps to set up your recording software:
- Install the software: Download the recording software from the official website or authorized sources. Follow the installation instructions provided by the software manufacturer. Ensure that the software is installed correctly on your computer.
- Select the input source: Open the software and navigate to the audio settings or preferences. Look for an option to choose the input source and select your turntable or analog-to-digital converter as the input device. Make sure the selected input matches the device you connected in the previous step.
- Set the recording format and quality: In the software settings, select the recording format and quality that suits your needs. The most common formats for recording vinyl are WAV and AIFF, which offer uncompressed audio. Choose a sample rate and bit depth that provides a good balance between audio quality and file size.
- Adjust the recording levels: Ensure that the recording levels are correctly set to prevent clipping or distortion. Most recording software provides a visual representation of the audio signal levels. Make sure the levels do not exceed the maximum limit while still capturing an adequate volume.
- Check playback settings: Confirm that the playback settings are properly configured. You may want to select a high-quality playback mode to ensure accurate monitoring of the audio signal during recording.
- Test the recording: Before proceeding with the actual digitization process, conduct a test recording. Play a vinyl record and start the recording in the software. Listen carefully to ensure that the audio signal is being captured accurately and without any issues. Adjust the settings as necessary.
Setting up your recording software correctly is crucial for achieving optimal results when digitizing vinyl records. Take the time to explore the software’s settings and understand their functions. Make any necessary adjustments to ensure that the software is ready to capture the unique sound characteristics of your vinyl collection.
With the recording software properly set up, you are now ready to move on to the next step: adjusting the recording settings for the best possible digitization.
Adjusting the recording settings
Once you have set up your recording software, the next step in the process of digitizing your vinyl records is to adjust the recording settings. These settings will directly impact the quality of the digitized audio and ensure that you capture the full range of sound from your vinyl records. Follow these steps to adjust the recording settings:
- Select the recording mode: Depending on your software, you may have the option to choose between different recording modes. Common options include stereo, mono, and dual mono. Select the appropriate mode based on your preference and the type of vinyl record you are digitizing.
- Activate or adjust noise reduction: If your recording software offers noise reduction features, consider activating or adjusting them to minimize any background hiss or pops that may be present on your vinyl records. Be cautious not to overdo the noise reduction, as it can potentially remove some of the original audio details.
- Set a suitable recording level: Adjust the input level for your recording to ensure that the audio signal neither clips nor is too low. Monitor the input levels while playing a test record to ensure a healthy signal without distortion. Aim for a level that stays in the middle to upper range of the meter without touching the maximum level.
- Apply equalization and filters (if desired): Some recording software allows you to apply equalization or filters to enhance or modify the sound of your vinyl records. Use these features sparingly and with caution, as they can alter the original sound characteristics. Experiment with different settings to achieve the desired sound quality while preserving the integrity of the original recordings.
- Consider track separation: If you are digitizing a vinyl record with multiple tracks, your software may provide an option to automatically separate the tracks into individual files. Enable this feature if available to simplify the process of creating separate files for each song.
Take the time to adjust and fine-tune the recording settings based on your preferences and the specific characteristics of your vinyl records. Every vinyl record is unique, and with proper adjustments, you can capture the nuances and dynamics that make vinyl playback so captivating.
Once you have carefully adjusted the recording settings, you are now ready to move on to the next step in the process: beginning the vinyl to CD conversion process.
Beginning the vinyl to CD conversion process
With your recording software properly set up and the recording settings adjusted, it’s time to begin the exciting process of converting your vinyl records to CD format. This step will involve playing the vinyl record and capturing the audio in your recording software. Follow these steps to start the vinyl to CD conversion process:
- Prepare your vinyl record: Place the vinyl record onto the turntable and ensure it is clean and free from dust and debris. Use a record brush or cleaning solution if needed.
- Position the stylus: Carefully position the turntable’s stylus (needle) at the beginning of the vinyl record. Be gentle to avoid scratching the surface of the record.
- Start recording: In your recording software, begin a new recording session and ensure that the software is set to capture the audio from the turntable.
- Start playback: Start playing the vinyl record on your turntable. The audio signal will be transmitted to your computer through the connected analog-to-digital converter or USB output.
- Monitor the recording: Keep an eye on the recording software as the vinyl record plays. Ensure that the audio is being captured without any issues, such as clipping or distortion. Adjust the recording levels if necessary.
- Complete the recording: Allow the vinyl record to play in its entirety, or stop the recording manually once you have captured the desired songs or tracks. Save the recording session in your software before proceeding.
Remember to take breaks between records to avoid overheating the turntable or the computer. This will also give you the opportunity to clean the vinyl record and prepare for the next recording if you have multiple records to convert.
Once you have completed the recording process, you’ve successfully digitized your vinyl record into your recording software. Now, it’s time to move on to the next step: finalizing the CD creation.
Finalizing the CD creation
After successfully capturing the audio from your vinyl records in your recording software, the next step is to finalize the CD creation. This involves converting the recorded tracks into a format that is compatible with standard CD players. Follow these steps to finalize the CD creation:
- Trim and edit recordings (if necessary): In your recording software, review the recorded tracks and make any necessary edits or trims to remove any unwanted noise, gaps, or mistakes. Ensure that the tracks are organized in the correct order.
- Create a playlist: If your recording software supports playlist creation, compile all the edited tracks into a playlist in the desired order. This step will help ensure that the CD is properly organized with the correct track sequencing.
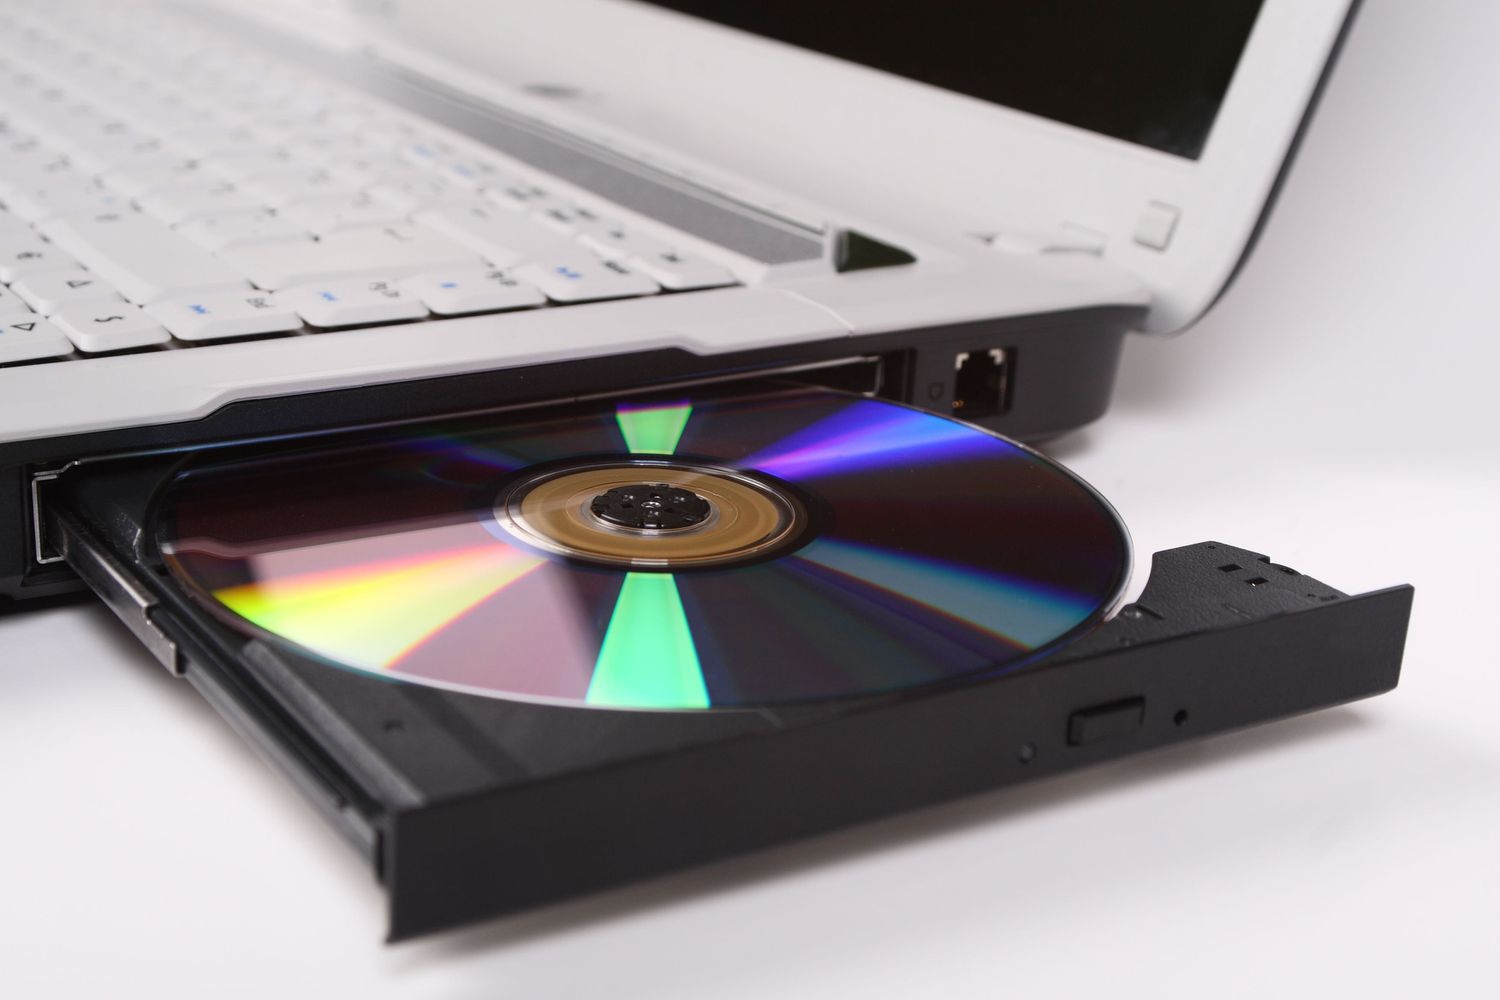
- Prepare the blank CD: Insert a blank recordable CD into your computer’s CD burner. Ensure that the CD is compatible with the burner and is capable of storing the desired amount of audio data.
- Select the burning settings: In your recording software or CD burning software, select the appropriate burning settings. Choose the CD format (Audio CD) and adjust any other preferences, such as the writing speed.
- Burn the CD: Initiate the CD burning process by clicking the “Burn” or “Write” button in your software. The software will begin transferring the recorded tracks onto the blank CD. Allow the burning process to complete without interrupting it.
- Verify the CD: Once the burning process is complete, verify the quality and integrity of the burned CD. Remove the CD from the burner and play it in a CD player to ensure that the tracks play smoothly, without any skips or errors.
It’s worth noting that some recording software may have integrated CD burning capabilities, while others may require you to use separate CD burning software. Ensure that you have the necessary software installed on your computer and that it is compatible with your recording software.
By following these steps, you will successfully finalize the creation of your CD. This CD will now contain the digitized versions of your vinyl records, allowing you to enjoy your favorite music on any standard CD player.
Now that you have created a CD from your vinyl records, it’s time to explore the process of converting the CD to MP3 format, which will provide even more flexibility and portability for enjoying your music collection.
Ripping the CD to MP3 format
After successfully finalizing the creation of your CD, the next step is to rip the CD and convert the audio tracks to the widely supported MP3 format. This step allows you to enjoy your music collection on various devices, such as smartphones, tablets, and portable media players. Follow these steps to rip the CD to MP3 format:
- Choose ripping software: Select a reliable CD ripping software that supports the conversion of audio CDs to MP3 format. Popular options include iTunes, Windows Media Player, and dBpoweramp. Download and install the software on your computer.
- Insert the CD: Insert the CD that you created from your vinyl records into your computer’s CD drive. Wait for your computer to recognize the CD and display the tracklist.
- Select the encoding format: In the ripping software, locate the settings or preferences section. Choose the MP3 format as the desired encoding format for the tracks. You can usually customize the quality settings, such as the bit rate and compression level.
- Choose the destination folder: Specify the destination folder where you want the MP3 files to be saved after the ripping process. You can create a new folder dedicated to your digitized vinyl collection for easy organization.
- Start the ripping process: Initiate the ripping process by selecting the option to rip or convert the CD to MP3 format. The software will begin reading the tracks from the CD and encoding them as individual MP3 files. Depending on the speed of your computer and the number of tracks, the process may take some time.
- Verify the MP3 files: Once the ripping process is complete, navigate to the destination folder and verify that the MP3 files have been created. Check the quality of the files by playing them in a media player to ensure that the audio is clear and accurate.
After successfully ripping the CD to MP3 format, you can now transfer the MP3 files to your preferred devices, such as your smartphone, tablet, or portable media player. This will allow you to enjoy your vinyl record collection on the go, without the need for a CD player or a computer.
By following these steps, you have completed the process of converting your vinyl records to CD and MP3 formats. You have now preserved your vinyl collection in a digital format, making it accessible and portable for years to come.
Congratulations on successfully digitizing and preserving your vinyl records! Whether you’re a vinyl enthusiast or a newcomer to the world of records, this process allows you to cherish and enjoy your music collection in modern digital formats.
Conclusion
Converting your vinyl records to CD and MP3 formats allows you to preserve and enjoy your precious music collection in modern digital formats. Throughout this comprehensive guide, we have covered the step-by-step process of digitizing your vinyl records, from gathering the necessary equipment to ripping the CD to MP3 format.
The journey of converting vinyl records begins with gathering essential equipment such as a turntable, computer, analog-to-digital converter, and recording software. Preparing your vinyl records for conversion by cleaning them, checking for scratches and warping, and handling them with care is crucial for achieving optimal results.
The next step involves connecting your turntable to your computer, ensuring a proper audio connection, and configuring the recording software settings. Choosing the right software is essential, considering factors such as user-friendliness, compatibility, recording and editing capabilities, format options, and quality settings.
Once the software is set up, adjustments to recording settings, such as choosing the recording mode, activating noise reduction, setting recording levels, and applying equalization or filters, can be made to optimize the digitization process.
Begging the vinyl to CD conversion entails preparing the vinyl record, positioning the stylus, recording the audio, and completing the recording session. Finalizing the CD creation involves trimming and editing recordings, creating a playlist, preparing a blank recordable CD, selecting the burning settings, and burning the CD. Finally, ripping the CD to MP3 format allows for greater flexibility and portability.
By following these steps, you can successfully convert your vinyl records to CD and MP3 formats, extending the lifespan of your collection and enjoying your favorite music on various devices. Preserving the nostalgic sound of vinyl while embracing the convenience of digital formats allows you to relive the magic of your vinyl records wherever you go.
So, go ahead and embark on the rewarding journey of digitizing your vinyl collection. As you convert each record, you will experience the joy of preserving and rediscovering your favorite tunes, ensuring that they continue to bring you endless musical enjoyment for years to come.