Home>Production & Technology>Audio Interface>How To Update The Driver Of An Audio Interface

Audio Interface
How To Update The Driver Of An Audio Interface
Published: February 5, 2024
Learn how to update the driver of your audio interface and optimize its performance. Keep your audio interface up-to-date for the best sound quality and reliability.
(Many of the links in this article redirect to a specific reviewed product. Your purchase of these products through affiliate links helps to generate commission for AudioLover.com, at no extra cost. Learn more)
Table of Contents
Introduction
Audio interfaces are essential tools for musicians, producers, and sound engineers. They serve as the bridge between your computer and professional-grade audio equipment, allowing you to record and playback high-quality audio. To ensure optimal performance and compatibility, it is crucial to keep the audio interface driver up to date.
The driver is a software component that enables communication between your operating system and the audio interface hardware. Updating the driver not only improves compatibility with the latest operating systems but also fixes bugs and enhances overall performance.
In this article, we will guide you through the process of updating the driver for your audio interface. Whether you are a musician looking to record your latest masterpiece or a podcast creator needing pristine audio quality, following these steps will ensure that your audio interface operates smoothly and efficiently.
Note: Before proceeding with the driver update, it is recommended to check the manufacturer’s website for any specific instructions or updates related to your audio interface model.
Step 1: Check for Updates
The first step in updating the driver for your audio interface is to check if there are any available updates from the manufacturer. With technology constantly evolving, manufacturers often release driver updates to address compatibility issues, add new features, or improve performance.
To check for updates, visit the manufacturer’s website and navigate to the support or downloads section. Look for the page dedicated to your audio interface model, where you can find the latest driver version. Make sure to choose the driver that corresponds to your operating system (e.g., Windows, macOS, Linux).
While on the manufacturer’s website, it’s also a good idea to check for any firmware updates. Firmware is the software embedded in the hardware of the audio interface, and updating it can further enhance its functionality and stability.
Note: Some audio interfaces come with dedicated software applications that can automatically check for updates. If you have such software installed, use it to simplify the update process.
Once you have identified the latest driver version and any accompanying firmware updates, proceed to the next step to download them.
Step 2: Download the Latest Driver
After identifying the latest driver version for your audio interface, the next step is to download it onto your computer. Most manufacturers provide a direct download link for their drivers on their website, ensuring a straightforward process.
Navigate to the driver download page for your audio interface model on the manufacturer’s website. Look for a button or link that says “Download” or similar. Clicking on it will start the download process.
Ensure that you select the driver that matches your operating system. For example, if you are using Windows, download the Windows-compatible driver. Similarly, if you are using macOS, choose the driver specifically designed for macOS.
While the driver is downloading, it is a good idea to create a new folder on your computer to store the downloaded files. This will make it easier to locate the driver when it comes time to install it.
Once the download is complete, proceed to the next step to uninstall the current driver from your system.
Step 3: Uninstall the Current Driver
Before installing the updated driver for your audio interface, it is important to uninstall the current driver from your system. This ensures that there are no conflicts or leftover files that may interfere with the installation process.
To uninstall the current driver, follow these steps:
- Go to the “Control Panel” on your computer. This can typically be accessed by clicking on the “Start” menu and searching for “Control Panel.”
- In the Control Panel, find and click on the “Device Manager” option.
- In the Device Manager window, look for the category labeled “Sound, video and game controllers.” Click on the arrow next to it to expand the category and reveal the audio interface driver.
- Right-click on the audio interface driver and select “Uninstall” or “Uninstall Device.”
- A confirmation window will appear. Check the box that says “Delete the driver software for this device” and click “Uninstall.”
- Wait for the uninstallation process to complete.
Once the driver is successfully uninstalled, it is time to proceed to the next step to install the updated driver for your audio interface.
Step 4: Install the Updated Driver
With the current driver uninstalled from your system, it’s time to install the updated driver for your audio interface. Follow these steps to complete the installation process:
- Navigate to the folder where you downloaded the updated driver files.
- Double-click on the driver file to begin the installation.
- Follow the on-screen instructions provided by the installation wizard. These instructions may vary depending on the manufacturer and the specific driver version.
- During the installation, you may be prompted to select the installation location or agree to terms and conditions. Ensure that you carefully read and follow these prompts.
- Once the installation is complete, you may be asked to restart your computer. It is recommended to do so to ensure that the new driver is properly integrated into your system.
After restarting your computer, the updated driver should be successfully installed. Your audio interface is now ready to be used with the latest driver.
Note: If you encounter any issues during the installation process, refer to the manufacturer’s documentation or their support resources for troubleshooting assistance.
Step 5: Restart Your Computer
After successfully installing the updated driver for your audio interface, it is highly recommended to restart your computer. Restarting your computer ensures that all the necessary changes and updates made during the driver installation process are properly implemented.
Restarting your computer also helps in clearing any temporary files and refreshing the system, which can help resolve any potential conflicts or issues that may arise after the driver installation.
To restart your computer, follow these steps:
- Save any open documents or files you are working on.
- Click on the “Start” button in the bottom-left corner of your screen.
- From the Start menu, click on the power icon, typically represented by a circle with a line in it.
- In the options that appear, click on “Restart.”
Allow your computer to shut down and then start up again. This may take a few moments depending on your computer’s performance.
Once your computer has restarted, the updated driver for your audio interface will be fully integrated into the system. You can now proceed to the next step to test your audio interface and ensure that it is working correctly.
Step 6: Test the Audio Interface
After updating the driver and restarting your computer, it is important to test your audio interface to ensure that it is functioning correctly. By following these steps, you can verify that the driver update was successful and that your audio interface is working as intended:
- Connect your audio interface to your computer using the appropriate cables or connectors.
- Launch your preferred audio recording or playback software.
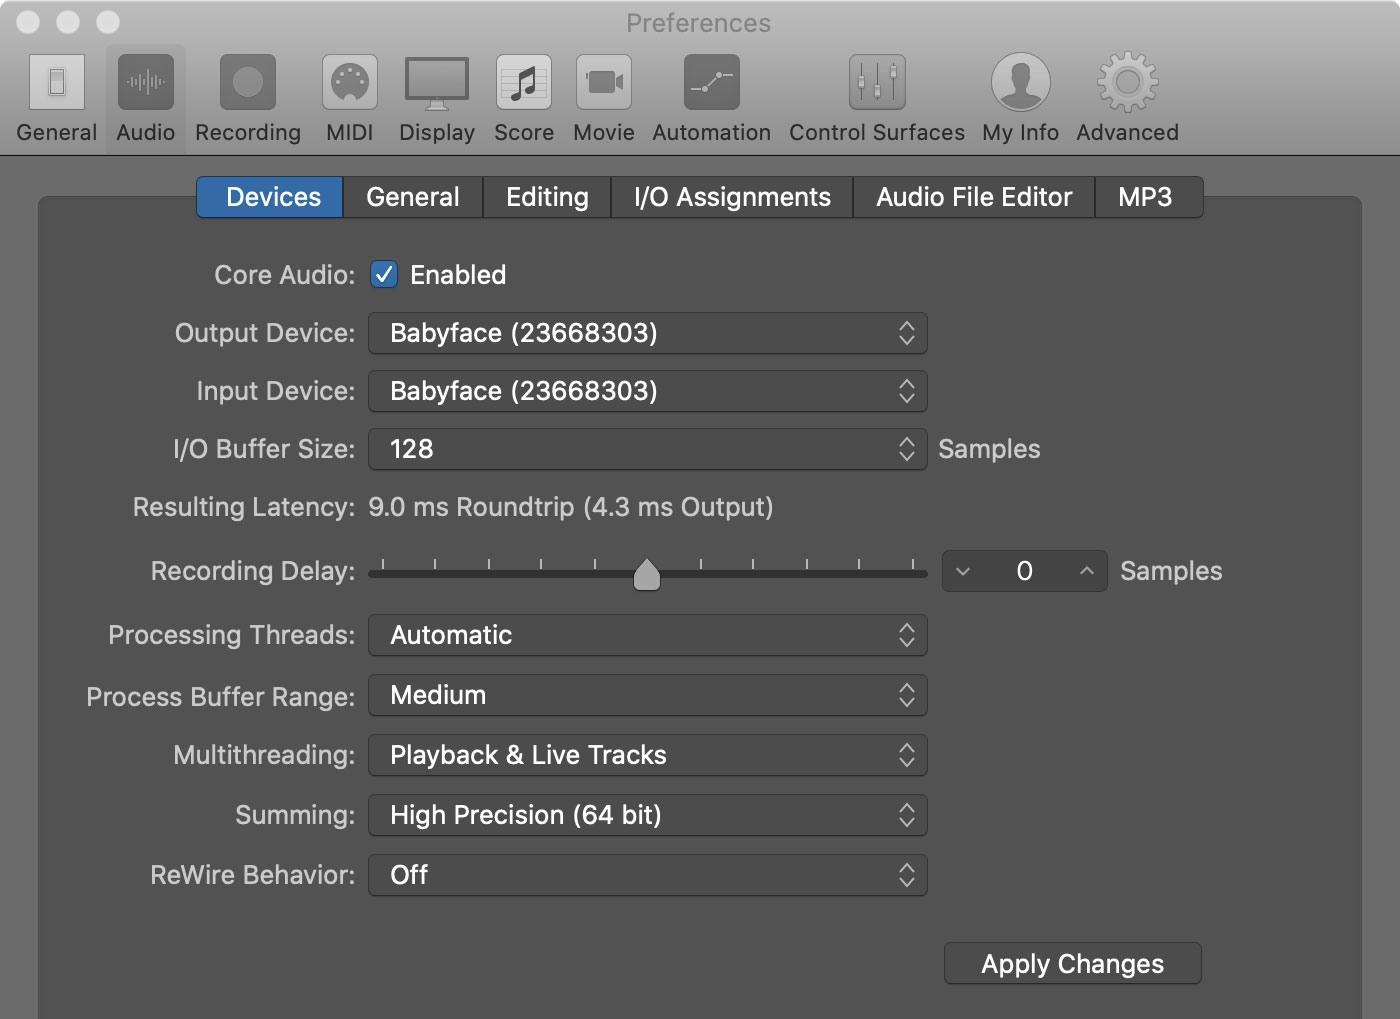
- Ensure that the audio interface is selected as the default input and output device in your computer’s sound settings. You can access these settings through the Control Panel or the System Preferences on your computer.
- Set the input and output levels on your audio interface properly. Consult the user manual or the manufacturer’s website for instructions specific to your audio interface model.
- Record a short audio clip or play a pre-recorded file to test the audio input and output of your interface. Listen for any artifacts, unusual noises, or glitches that may indicate issues with the audio interface.
- If you encounter any problems during the testing process, double-check the connection and settings of your audio interface. You may also need to consult the manufacturer’s troubleshooting resources or reach out to their customer support for further assistance.
By properly testing your audio interface after the driver update, you can ensure that it is working optimally and providing the highest quality audio for your recording and playback needs.
Congratulations! You have successfully updated the driver for your audio interface and tested its functionality. You can now enjoy a seamless and enhanced audio experience for your musical or audio production endeavors.
Conclusion
Updating the driver for your audio interface is essential to maintain compatibility, enhance performance, and resolve any issues that may arise. By following the steps outlined in this guide, you can ensure that your audio interface is equipped with the latest driver and ready to deliver high-quality audio for your recording and playback needs.
Remember to regularly check for driver updates from the manufacturer’s website and keep your audio interface driver up to date. This will ensure that you have access to the latest features, bug fixes, and compatibility improvements.
During the driver update process, it is important to carefully read and follow the instructions provided by the manufacturer. This will help you navigate the installation and ensure a smooth transition to the updated driver.
If you encounter any difficulties during the update or installation, consult the manufacturer’s documentation or reach out to their support resources for assistance. They will be able to provide you with specific guidance for your audio interface model.
Regularly testing your audio interface after the driver update is also crucial to ensure that it is working correctly. By conducting audio tests and paying attention to any unusual noises or glitches, you can quickly identify and resolve any issues that may arise.
By following these recommended steps, you can keep your audio interface running optimally and continue to create and enjoy high-quality recordings and audio playback.

