Home>Production & Technology>Surround Sound>How To Calibrate Surround Sound
Surround Sound
How To Calibrate Surround Sound
Modified: February 18, 2024
Learn how to calibrate your surround sound system for the best audio experience. Get step-by-step instructions and tips to optimize your surround sound setup.
(Many of the links in this article redirect to a specific reviewed product. Your purchase of these products through affiliate links helps to generate commission for AudioLover.com, at no extra cost. Learn more)
Table of Contents
Introduction
Surround sound systems have revolutionized the way we experience audio. Whether you’re watching a movie, playing video games, or listening to music, a well-calibrated surround sound system can transport you to another world, immersing you in a rich and lifelike audio environment.
However, to truly appreciate the power and precision of surround sound, it’s essential to calibrate your system properly. Calibrating your surround sound system ensures that the audio is balanced, the speakers are positioned correctly, and the soundstage is optimized for the best listening experience.
In this article, we will explore the various steps involved in calibrating a surround sound system, from choosing the right equipment to adjusting speaker placement and fine-tuning the settings. Whether you’re a seasoned audiophile or a beginner looking to optimize your home theater setup, this guide will provide you with the knowledge and tools to achieve the perfect surround sound experience.
Before we dive into the calibration process, let’s first gain a better understanding of how surround sound systems work and the different components involved.
Understanding Surround Sound Systems
Surround sound systems are designed to create a three-dimensional audio experience by using multiple channels to distribute sound across various speakers. This creates a sense of immersion, making you feel like you’re in the middle of the action or surrounded by the music.
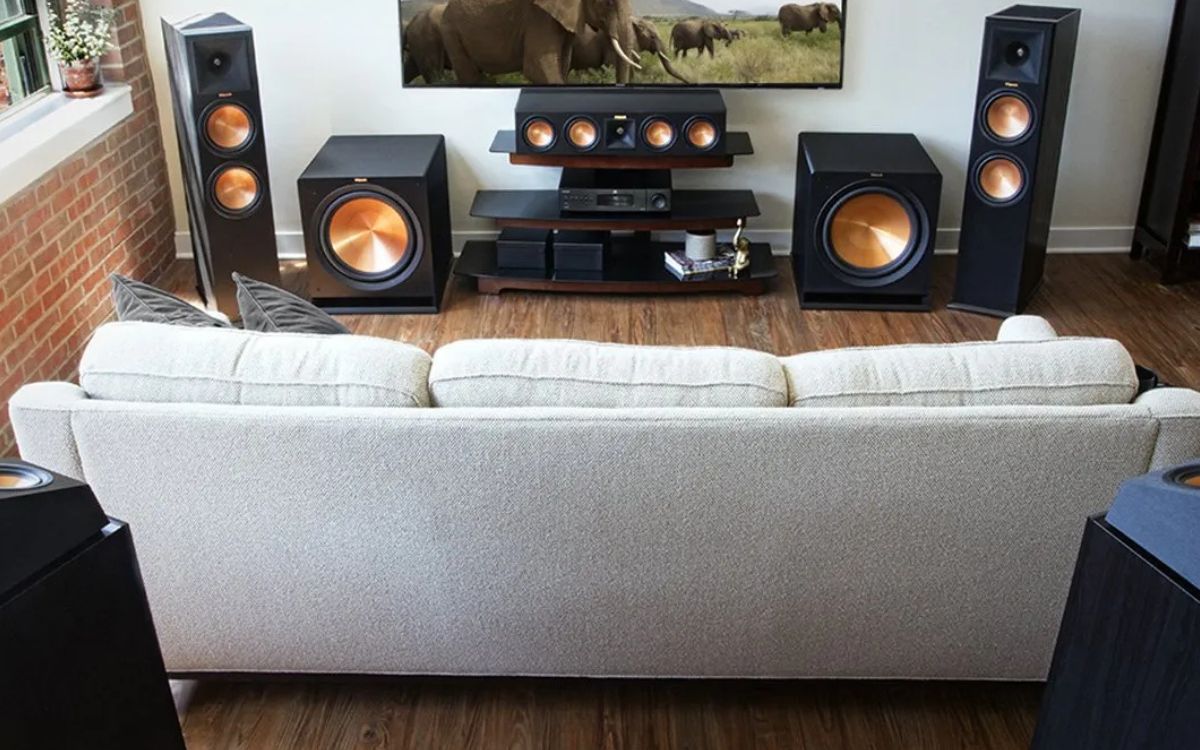
The most common type of surround sound system is the 5.1 setup, which consists of a center speaker, front left and right speakers, surround left and right speakers, and a subwoofer. The center speaker is responsible for dialogue and other on-screen sounds, while the front speakers handle the main stereo audio. The surround speakers provide ambient and directional audio effects, enhancing the overall immersion. The subwoofer focuses on reproducing low-frequency sounds for added depth and impact.
Beyond the 5.1 setup, there are more advanced configurations, such as 7.1, 9.1, and even 11.1 systems, which introduce additional surround and overhead speakers for an even more enveloping sound experience. These setups are commonly found in high-end home theaters and dedicated audio rooms.
One crucial aspect of surround sound systems is channel separation. Each speaker in the setup carries specific audio information, whether it’s dialogue, music, or sound effects. By carefully distributing this information across the speakers, surround sound systems can create a convincing audio environment with a wide soundstage.
To achieve accurate channel separation and a seamless audio experience, it’s essential to balance the speaker levels and adjust the distance settings. This ensures that the sound arrives at your ears at the right time and with the correct intensity, aligning with the visuals and creating a cohesive audio-visual experience.
Now that we have a basic understanding of surround sound systems, let’s move on to the next step: choosing the right equipment for your setup.
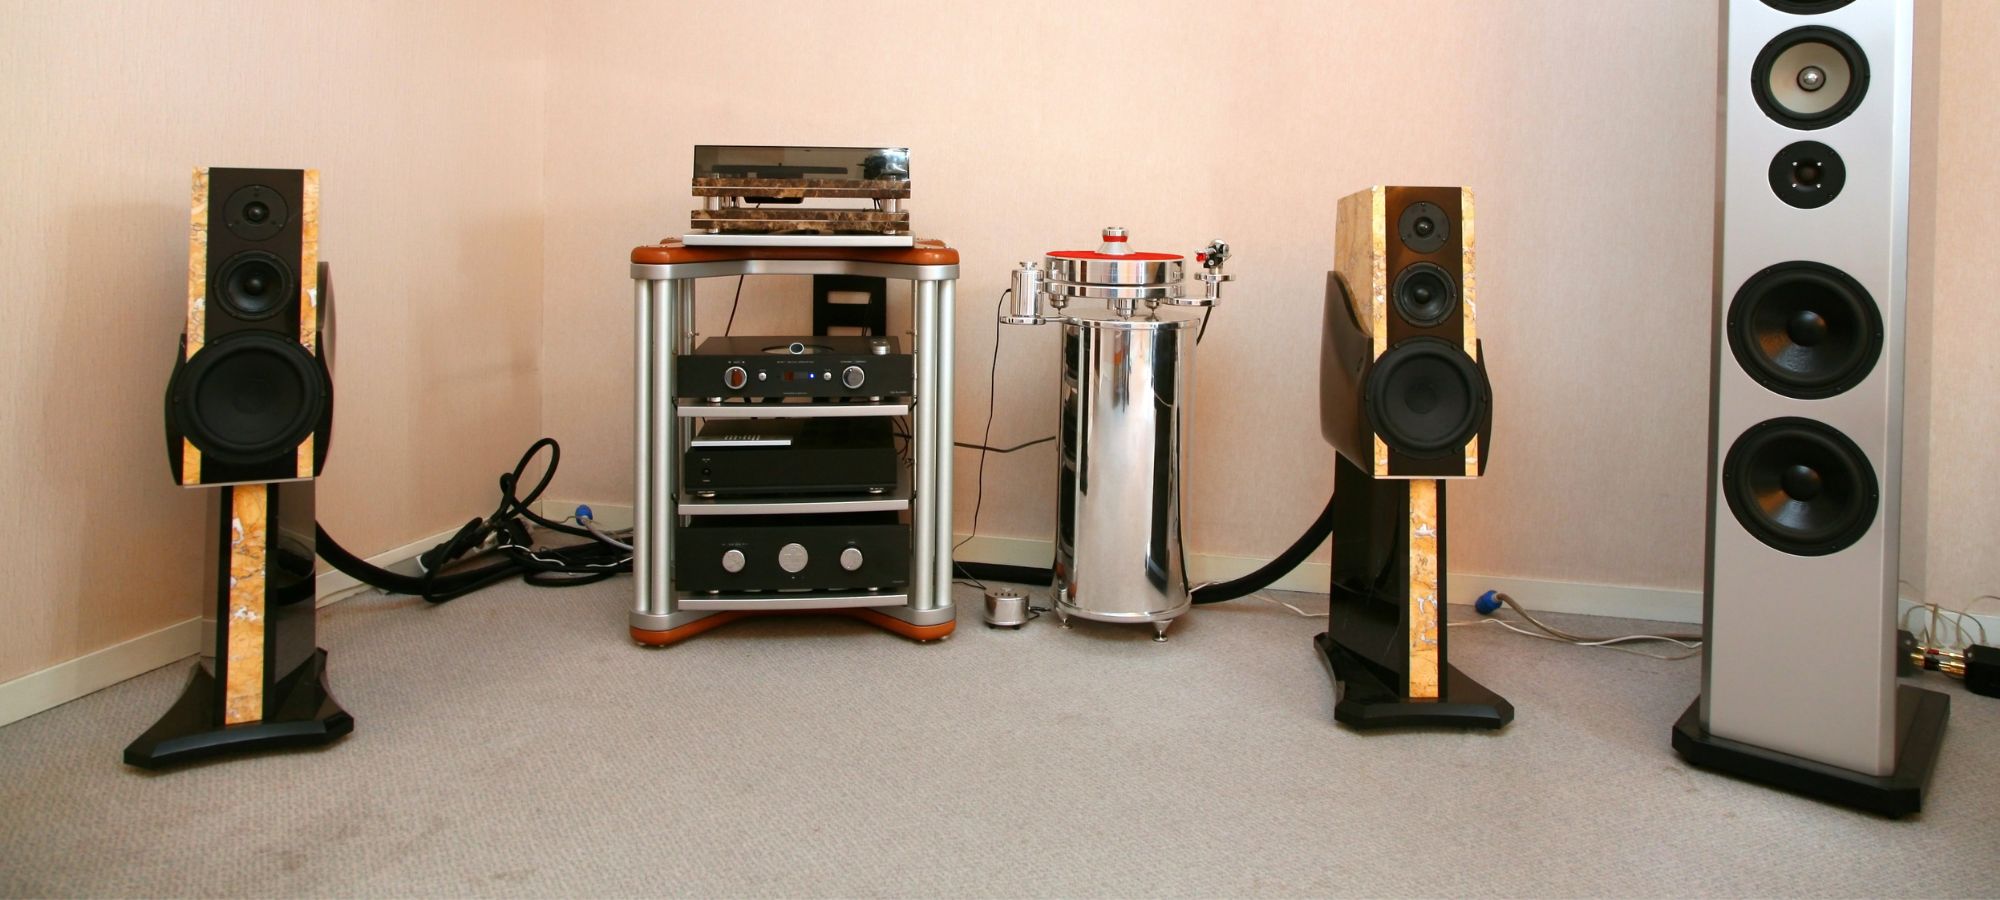
Choosing the Right Equipment
When it comes to choosing the right equipment for your surround sound system, there are several factors to consider. From speakers to receivers, each component plays a critical role in delivering high-quality audio. Here are some key considerations to keep in mind:
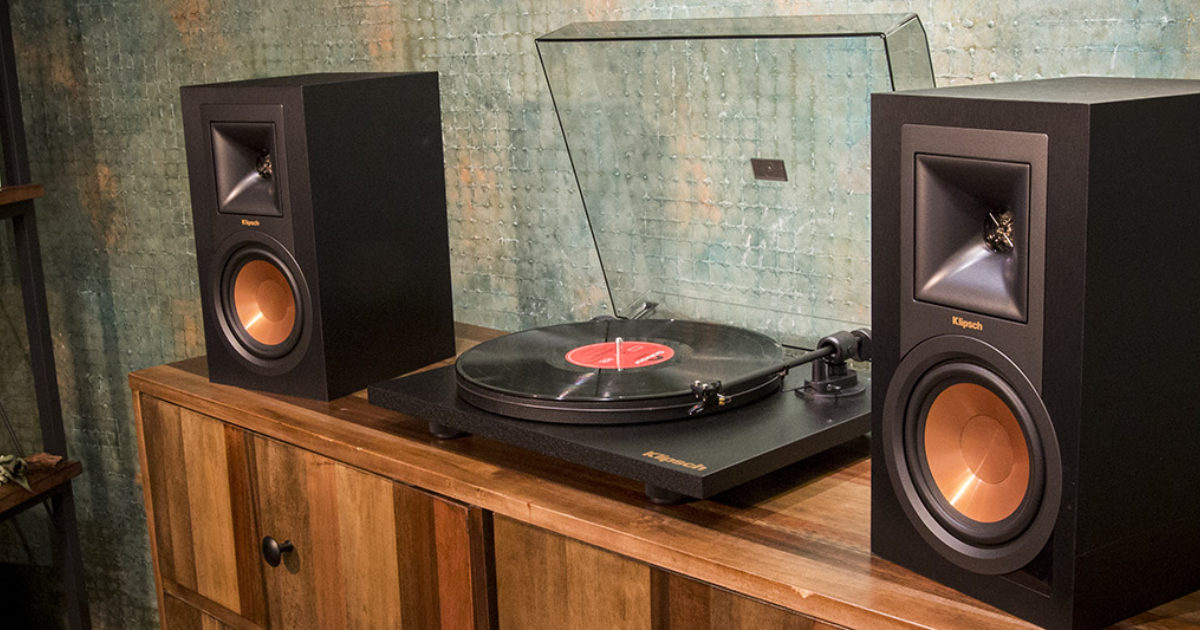
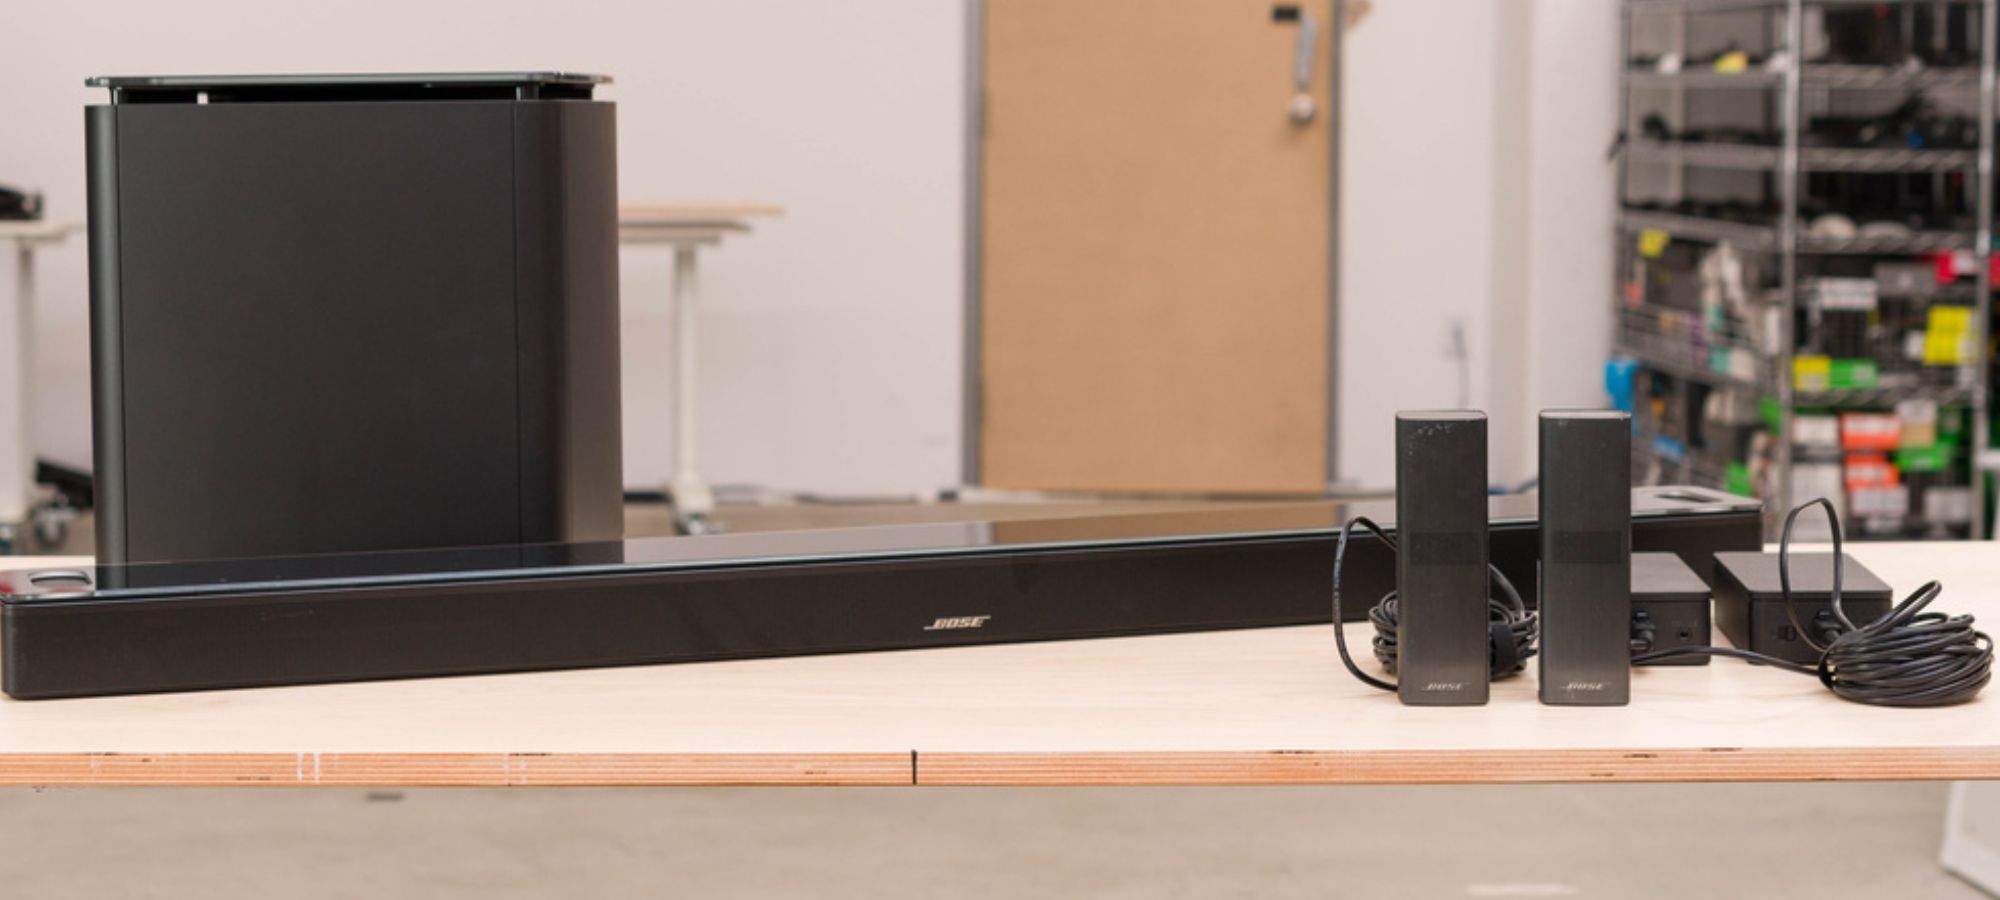
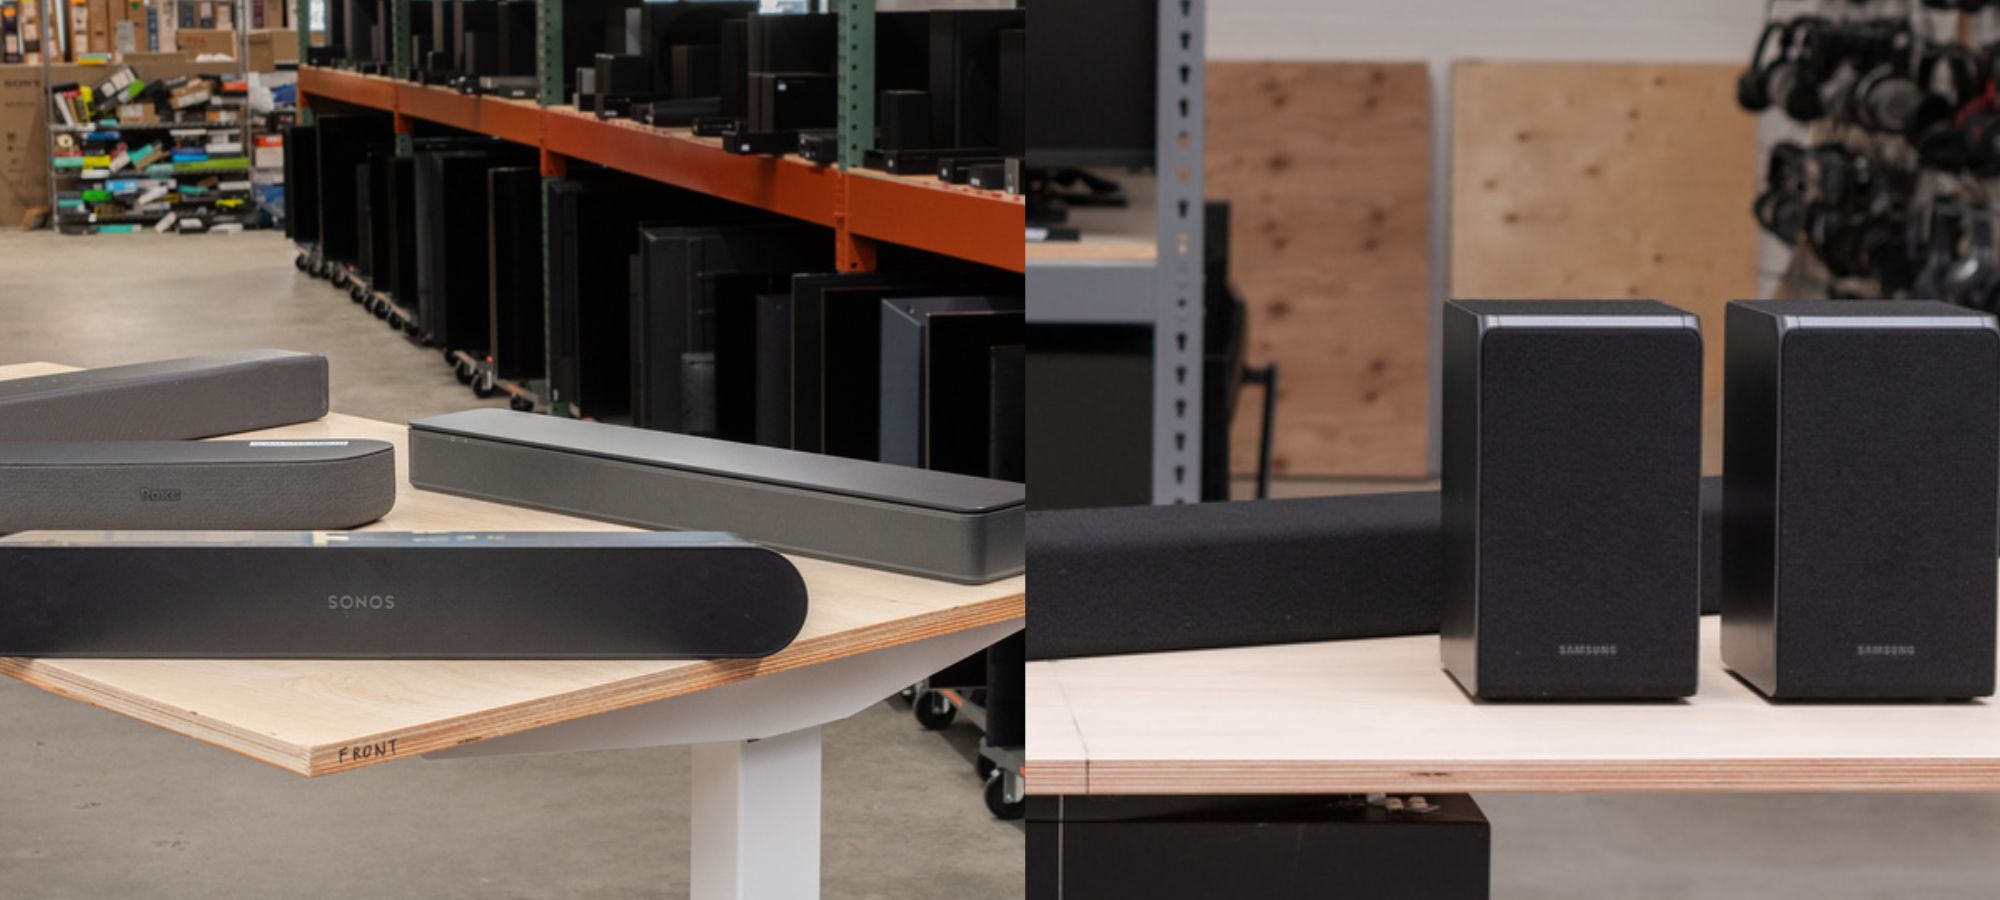
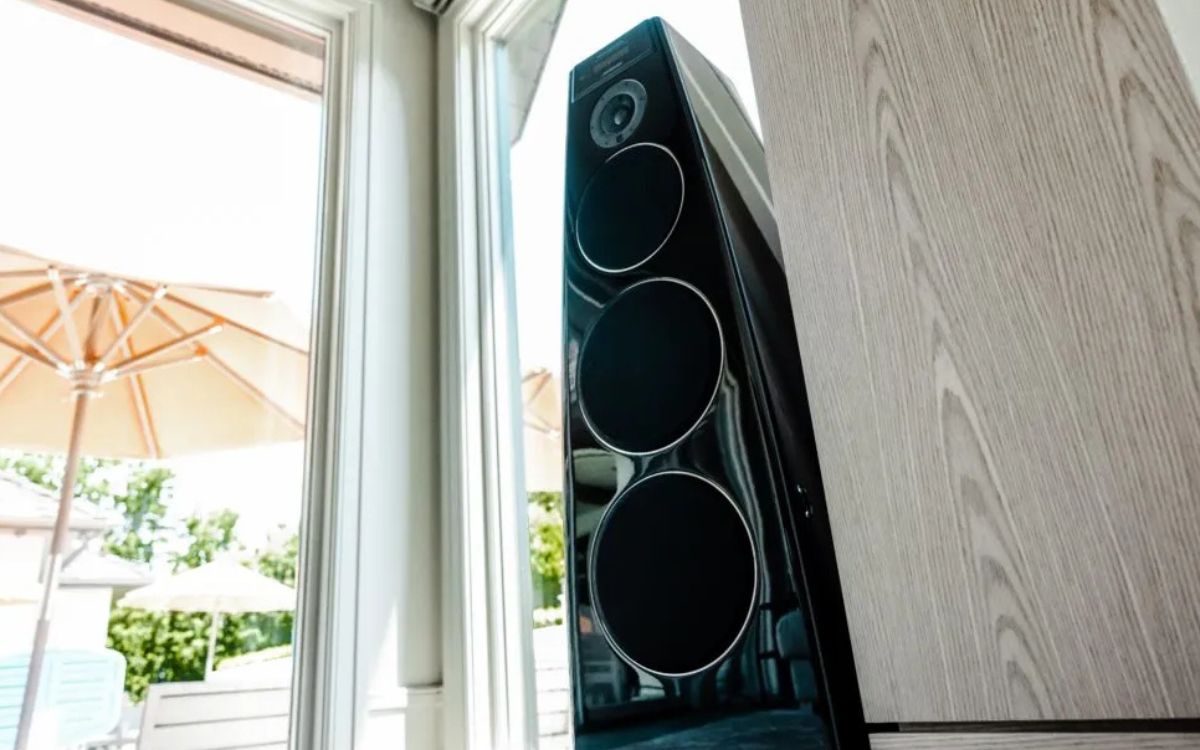
- Speakers: The speakers are the heart and soul of your surround sound system. Look for speakers that are specifically designed for surround sound, with a frequency response that covers a wide range. Consider the size and layout of your room to determine the appropriate size and number of speakers.
- Receiver: The receiver serves as the control center of your audio system, handling the distribution of signals between the audio source and the speakers. Look for a receiver that supports the desired number of channels and has sufficient power output for your speakers.
- Subwoofer: A subwoofer is responsible for reproducing low-frequency sounds, adding depth and impact to your audio. Look for a subwoofer that can deliver powerful bass response without distortion. Consider the size of your room and personal preferences when selecting the appropriate size and power rating.
- Cables and Wiring: Don’t overlook the importance of high-quality cables and wiring. Investing in good cables that are properly shielded can help minimize signal loss and interference, resulting in cleaner audio reproduction.
- Room Acoustics: Consider the acoustics of your room when choosing equipment. The size, shape, and materials of your room can affect how sound travels and interacts with surfaces. Take measurements and consider acoustic treatments like diffusers and absorbers to optimize sound quality.
Additionally, it’s worth doing thorough research and reading reviews to ensure you’re selecting reliable and reputable brands. Don’t shy away from seeking expert advice or visiting audio specialty stores to audition different equipment before making a final decision. Ultimately, the right equipment will greatly contribute to the overall performance and enjoyment of your surround sound system.
Now that you have an understanding of the equipment considerations, let’s move on to the next step: connecting the speakers.
Connecting the Speakers
Connecting the speakers properly is crucial for ensuring optimal audio performance in your surround sound system. Follow these steps to connect your speakers correctly:
- Identify Speaker Terminals: Start by identifying the speaker terminals on your receiver or amplifier and each speaker. These terminals are usually labeled with “+” and “-” symbols or color-coded.
- Speaker Wire: Using high-quality speaker wire, cut lengths that are long enough to connect each speaker to the corresponding terminals on the receiver or amplifier. It’s best to use the same length of wire for each speaker to ensure equal performance.
- Strip Wire Insulation: Strip a small section of insulation from the end of each wire. This will expose the bare wire for connection.
- Connect Wires to Speakers: For each speaker, identify the corresponding terminals on the back of the speaker. Connect the stripped end of the speaker wire to the corresponding “+” and “-” terminals, ensuring a secure connection.
- Connect Wires to Receiver or Amplifier: Match the connections on the speaker wires to the corresponding terminals on the receiver or amplifier. Ensure a tight and secure connection to prevent any signal loss or interference.
- Repeat for Each Speaker: Repeat the above steps for each speaker in your surround sound system. Double-check that the wires are securely connected and that you haven’t mixed up any terminals.
- Manage Cables: Once all the speakers are connected, neatly manage the speaker wires to reduce clutter and avoid any tripping hazards. You can use cable ties or cable management solutions to keep the wires organized.
It’s important to follow the specific instructions provided with your speakers and receiver or amplifier to ensure proper connection. If you’re unsure or unfamiliar with the process, consult the user manuals or seek assistance from a professional audio technician.
Now that the speakers are connected, the next step is to adjust the speaker placement for optimal surround sound.
Adjusting Speaker Placement
The placement of your speakers has a significant impact on the overall sound quality and the immersive experience of your surround sound system. Follow these guidelines to set up your speakers in the best possible positions:
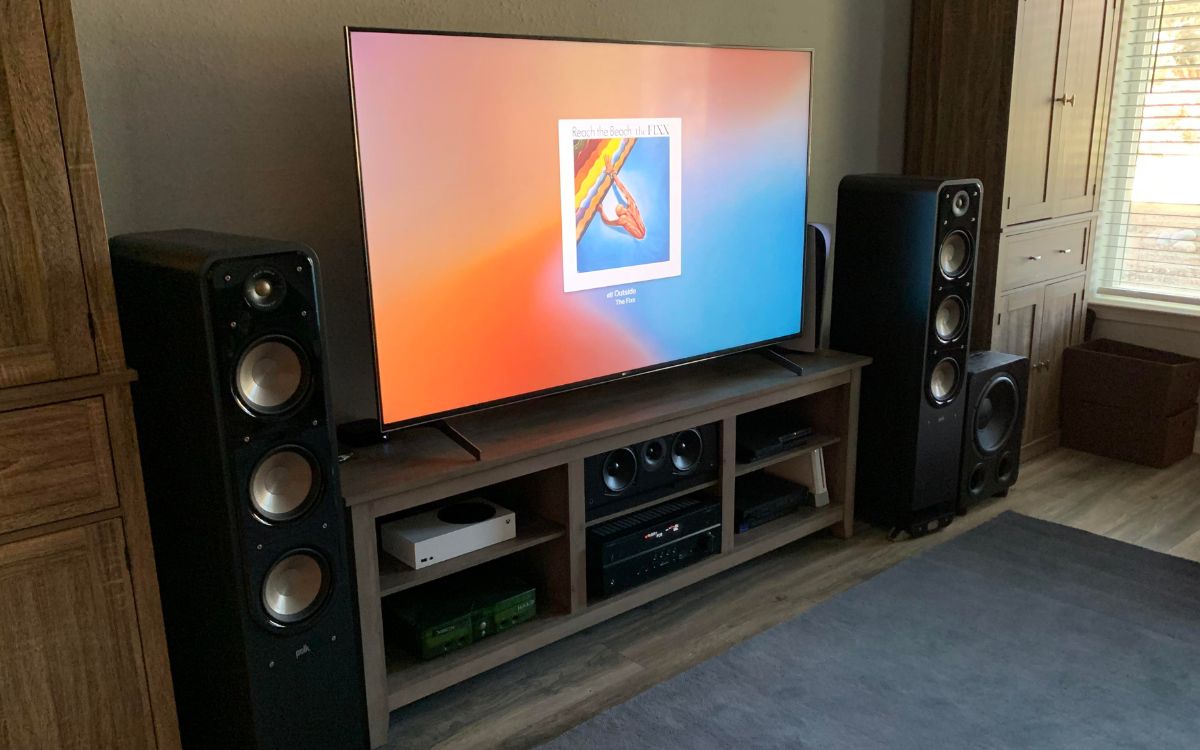
- Center Speaker: Place the center speaker directly above or below your TV, facing the listening area. This ensures that dialogues and on-screen sounds are properly anchored to the screen.
- Front Left and Right Speakers: Position the front left and right speakers on either side of your TV or projection screen, at ear level when seated in the primary listening position. Angle them slightly towards the listening area for better stereo imaging.
- Surround Speakers: Place the surround left and right speakers slightly above and behind your seating area, directing sound towards the listening area. This creates an enveloping sound experience and adds depth to the audio.
- Subwoofer: The subwoofer can be placed anywhere in the room, as low-frequency sounds are non-directional. Experiment with different positions to find the spot that provides the best overall bass response.
- Speaker Positioning: Aim for symmetrical placement of your speakers, ensuring that they are equidistant from the primary listening position. This helps to maintain balanced sound and consistent imaging.
- Avoid Obstructions: Try to avoid placing speakers near any large objects or obstructions that may block or interfere with the sound waves. This includes furniture, curtains, or other room elements that can impact audio clarity.
- Acoustic Considerations: Take into account the acoustics of your room when positioning speakers. Certain adjustments, like angling the speakers or using acoustic treatment panels, can help mitigate reflections and improve sound quality.
It’s important to note that the specific positioning may vary based on your room’s layout and personal preferences. Experiment with different speaker placements and make adjustments until you achieve an immersive and well-balanced surround sound experience.
Once the speakers are properly placed, the next step is to adjust their volume levels for optimal audio balance.
Adjusting Speaker Levels
Adjusting the levels of your speakers is crucial to ensure a balanced audio experience across all channels. When the speaker levels are correctly set, each speaker will contribute its part to the overall sound without overpowering or being too quiet. Here’s how to adjust the speaker levels:
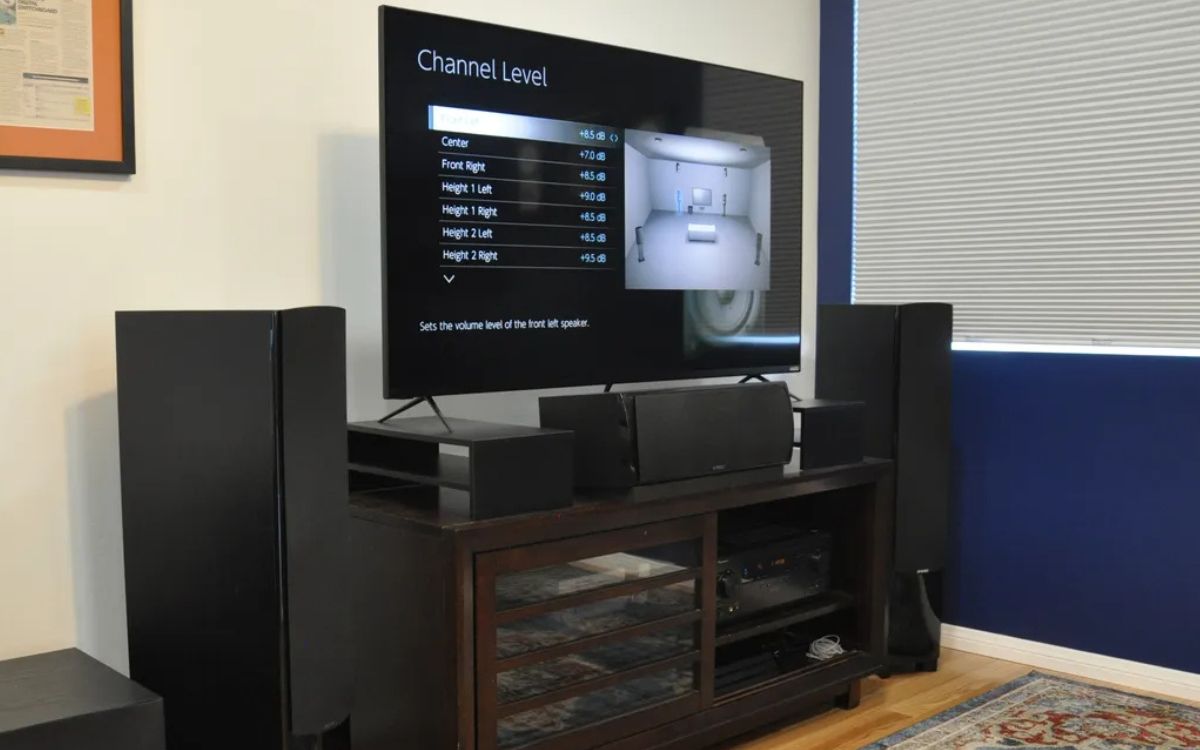
- Access Speaker Level Settings: Most AV receivers or amplifiers have built-in speaker level calibration settings. Refer to the user manual of your specific model to find the menu or controls to access these settings.
- Use Test Tones: Many receivers provide test tones that emit a sound from each speaker one at a time. The test tones allow you to hear the output from each speaker individually and make precise adjustments.
- Set Listening Position: Sit in your primary listening position and focus on one speaker at a time. The goal is to set the volume level of each speaker so that it sounds equally loud in relation to the others.
- Adjust Speaker Levels: Use the speaker level adjustment settings on your receiver to increase or decrease the volume level of each speaker. Listen carefully to the test tones and make adjustments until the sound from each speaker is balanced and matches your preferred listening experience.
- Consider SPL Meter or Audio Calibration Tools: For a more precise setup, you can utilize a sound pressure level (SPL) meter or audio calibration tools. These tools measure the sound pressure levels produced by each speaker, aiding in the accurate adjustment of speaker levels.
- Regularly Test and Fine-Tune: Even after initial adjustments, it’s a good practice to periodically test and fine-tune the speaker levels. Factors like room acoustics, speaker characteristics, and personal preferences may warrant further adjustments over time.
It’s important to note that setting the speaker levels is subjective and depends on individual preferences. Take the time to experiment and listen to different audio content, such as movies, music, and games, to ensure that the speaker levels are adequately balanced for your listening enjoyment.
With the speaker levels properly adjusted, the next step is to fine-tune the settings of the subwoofer to achieve optimal bass performance.
Adjusting Subwoofer Settings
The subwoofer is responsible for delivering deep, low-frequency sounds, adding impact and richness to your audio. Properly adjusting the subwoofer settings ensures that it integrates seamlessly with the rest of your surround sound system. Here’s how to optimize your subwoofer settings:
- Placement and Positioning: Experiment with different subwoofer placements in the room to find the spot that offers the best bass response. Consider corners or areas near walls, as they can enhance the subwoofer’s low-frequency output.
- Crossover Frequency: The crossover frequency determines the point at which the subwoofer takes over the reproduction of low frequencies from the main speakers. Set the crossover frequency so that it blends with the main speakers seamlessly, without any gaps or overlap in the bass response. Typically, a crossover frequency between 80Hz and 120Hz is a good starting point.
- Subwoofer Phase: The phase adjustment allows you to align the subwoofer’s output with the rest of the speakers. Experiment with the phase control to find the setting that provides the smoothest and most cohesive bass response, eliminating any cancellation effects.
- Subwoofer Level: Adjust the subwoofer level to ensure that it complements the overall volume of the speakers. Use your ears and personal preference to find the right balance, avoiding an overpowering or weak bass output.
- Bass Equalization: Some receivers or amplifiers offer bass equalization options to fine-tune the subwoofer’s response. These controls allow you to adjust the bass characteristics according to your listening environment and personal preference.
- Room Acoustic Considerations: Keep in mind that the acoustics of your room can significantly impact subwoofer performance. Consider using bass traps, acoustic panels, and room placement adjustments to mitigate any room resonance or standing wave issues that may affect the bass response.
Take the time to experiment with different subwoofer settings and listen to various types of audio content to dial in the optimal bass performance. Remember that achieving the perfect bass balance is subjective and dependent on personal preference and room characteristics.
Now that you have adjusted the subwoofer settings, let’s move on to the next step: running the auto calibration, if available, to further optimize your surround sound system.
Running the Auto Calibration
Auto calibration systems are a convenient feature found in many modern AV receivers or sound processors. These systems use built-in microphones and advanced algorithms to analyze your room’s acoustics and automatically adjust various settings for optimal audio performance. Here’s how to run the auto calibration:
- Access Auto Calibration: Check your receiver’s user manual to find the specific instructions for accessing and activating the auto calibration feature. In most cases, it can be found in the receiver’s settings menu.
- Place the Microphone: Follow the provided guidelines for microphone placement. Typically, you will place the microphone at ear level in your primary listening position, ensuring it is not obstructed by any objects.
- Run the Calibration: Start the auto calibration process as directed by your receiver. The process may involve emitting test tones from each speaker and analyzing the sound response to determine speaker levels, distances, time alignment, room EQ, and crossover settings.
- Follow On-Screen Prompts: Many receivers provide on-screen prompts to guide you through the calibration process. Follow these prompts to ensure accurate microphone positioning and any additional steps required.
- Allow the Calibration to Complete: Let the auto calibration system complete its analysis and adjustments. This may take a few minutes to finalize all the settings based on your specific room’s acoustics.
- Review and Adjust: Once the auto calibration is finished, review the automatically adjusted settings. While auto calibration is generally accurate, it’s always a good idea to double-check and make any necessary manual adjustments based on your personal preferences.
Auto calibration can simplify the setup process and provide a solid starting point for your surround sound system’s settings. However, keep in mind that these systems may not always account for unique room characteristics or personal preferences perfectly. Some manual adjustments may still be required to fine-tune the audio to your liking.
With the auto calibration completed, let’s move on to exploring manual calibration techniques for further optimization.
Manual Calibration Techniques
While auto calibration systems can provide a great starting point, manual calibration techniques allow for more precise adjustments to fine-tune your surround sound system. Here are some manual calibration techniques you can use:
- Listening Tests: Conduct listening tests with a variety of audio content to identify any issues or areas for improvement. Pay attention to dialogue clarity, imaging, and surround effects. Adjust settings accordingly to achieve the desired audio balance.
- Speaker Distance and Delay: Measure the distance between each speaker and the primary listening position. Enter these distances into your receiver’s settings to ensure accurate synchronization of audio playback. Adjust the speaker delay settings if required to align sound arrival times.
- Room EQ Adjustment: Many receivers offer manual room equalization adjustments. Use a real-time analyzer or calibration microphone to measure the frequency response in your room. Make adjustments to the equalization settings to correct any dips or peaks in the frequency response.
- Bass Management: Fine-tune the crossover settings by auditioning different frequencies and levels for the subwoofer and main speakers. Find the crossover frequency that provides a seamless transition between speakers, delivering balanced and cohesive bass reproduction.
- Surround Sound Placement: Experiment with the placement of the surround speakers to achieve optimal surround sound effect. Small adjustments in position and angle can have a significant impact on the immersiveness of the surround sound experience.
- Level Balancing: Use a sound meter or your ears to balance the volume levels of each speaker, ensuring an even and immersive soundstage. Adjust individual speaker levels until they blend seamlessly and contribute to a cohesive audio experience.
- Repositioning and Acoustic Treatments: If you notice any acoustic issues, such as excessive reflections or standing waves, consider repositioning speakers or incorporating room treatments like diffusers, absorbers, or bass traps. These adjustments can help optimize the sound quality in your listening environment.
Manual calibration techniques allow you to tailor the sound to your specific preferences and room characteristics. Take your time with the adjustments and listen attentively to achieve the desired audio performance.
Now that you have explored the manual calibration techniques, let’s conclude the article with some final thoughts.
Final Thoughts
Calibrating your surround sound system is essential to achieving an immersive and balanced audio experience. Whether you’re a movie enthusiast, gamer, or music lover, a well-calibrated surround sound system can elevate your entertainment to new heights.
Start by choosing the right equipment that suits your needs, considering factors such as speaker quality, receiver capabilities, and room acoustics. Properly connecting your speakers and adjusting their placement ensures optimal sound distribution and localization.
Adjusting speaker levels and fine-tuning subwoofer settings will further refine the audio balance, creating a well-integrated and powerful soundstage. Utilizing auto calibration systems can provide a solid foundation, while manual calibration techniques allow for more personalization and precise adjustments.
Remember to regularly test and fine-tune your system as room conditions may change over time. As you continue to enjoy your surround sound system, keep exploring different audio content to fully appreciate the immersive capabilities of your setup.
So, whether you’re watching your favorite blockbuster movie, immersing yourself in a virtual gaming world, or enjoying your favorite music album, a properly calibrated surround sound system will transport you to a whole new level of audio delight.
Take the time to optimize your surround sound system, and you’ll be rewarded with an exceptional audio experience that brings your entertainment to life.