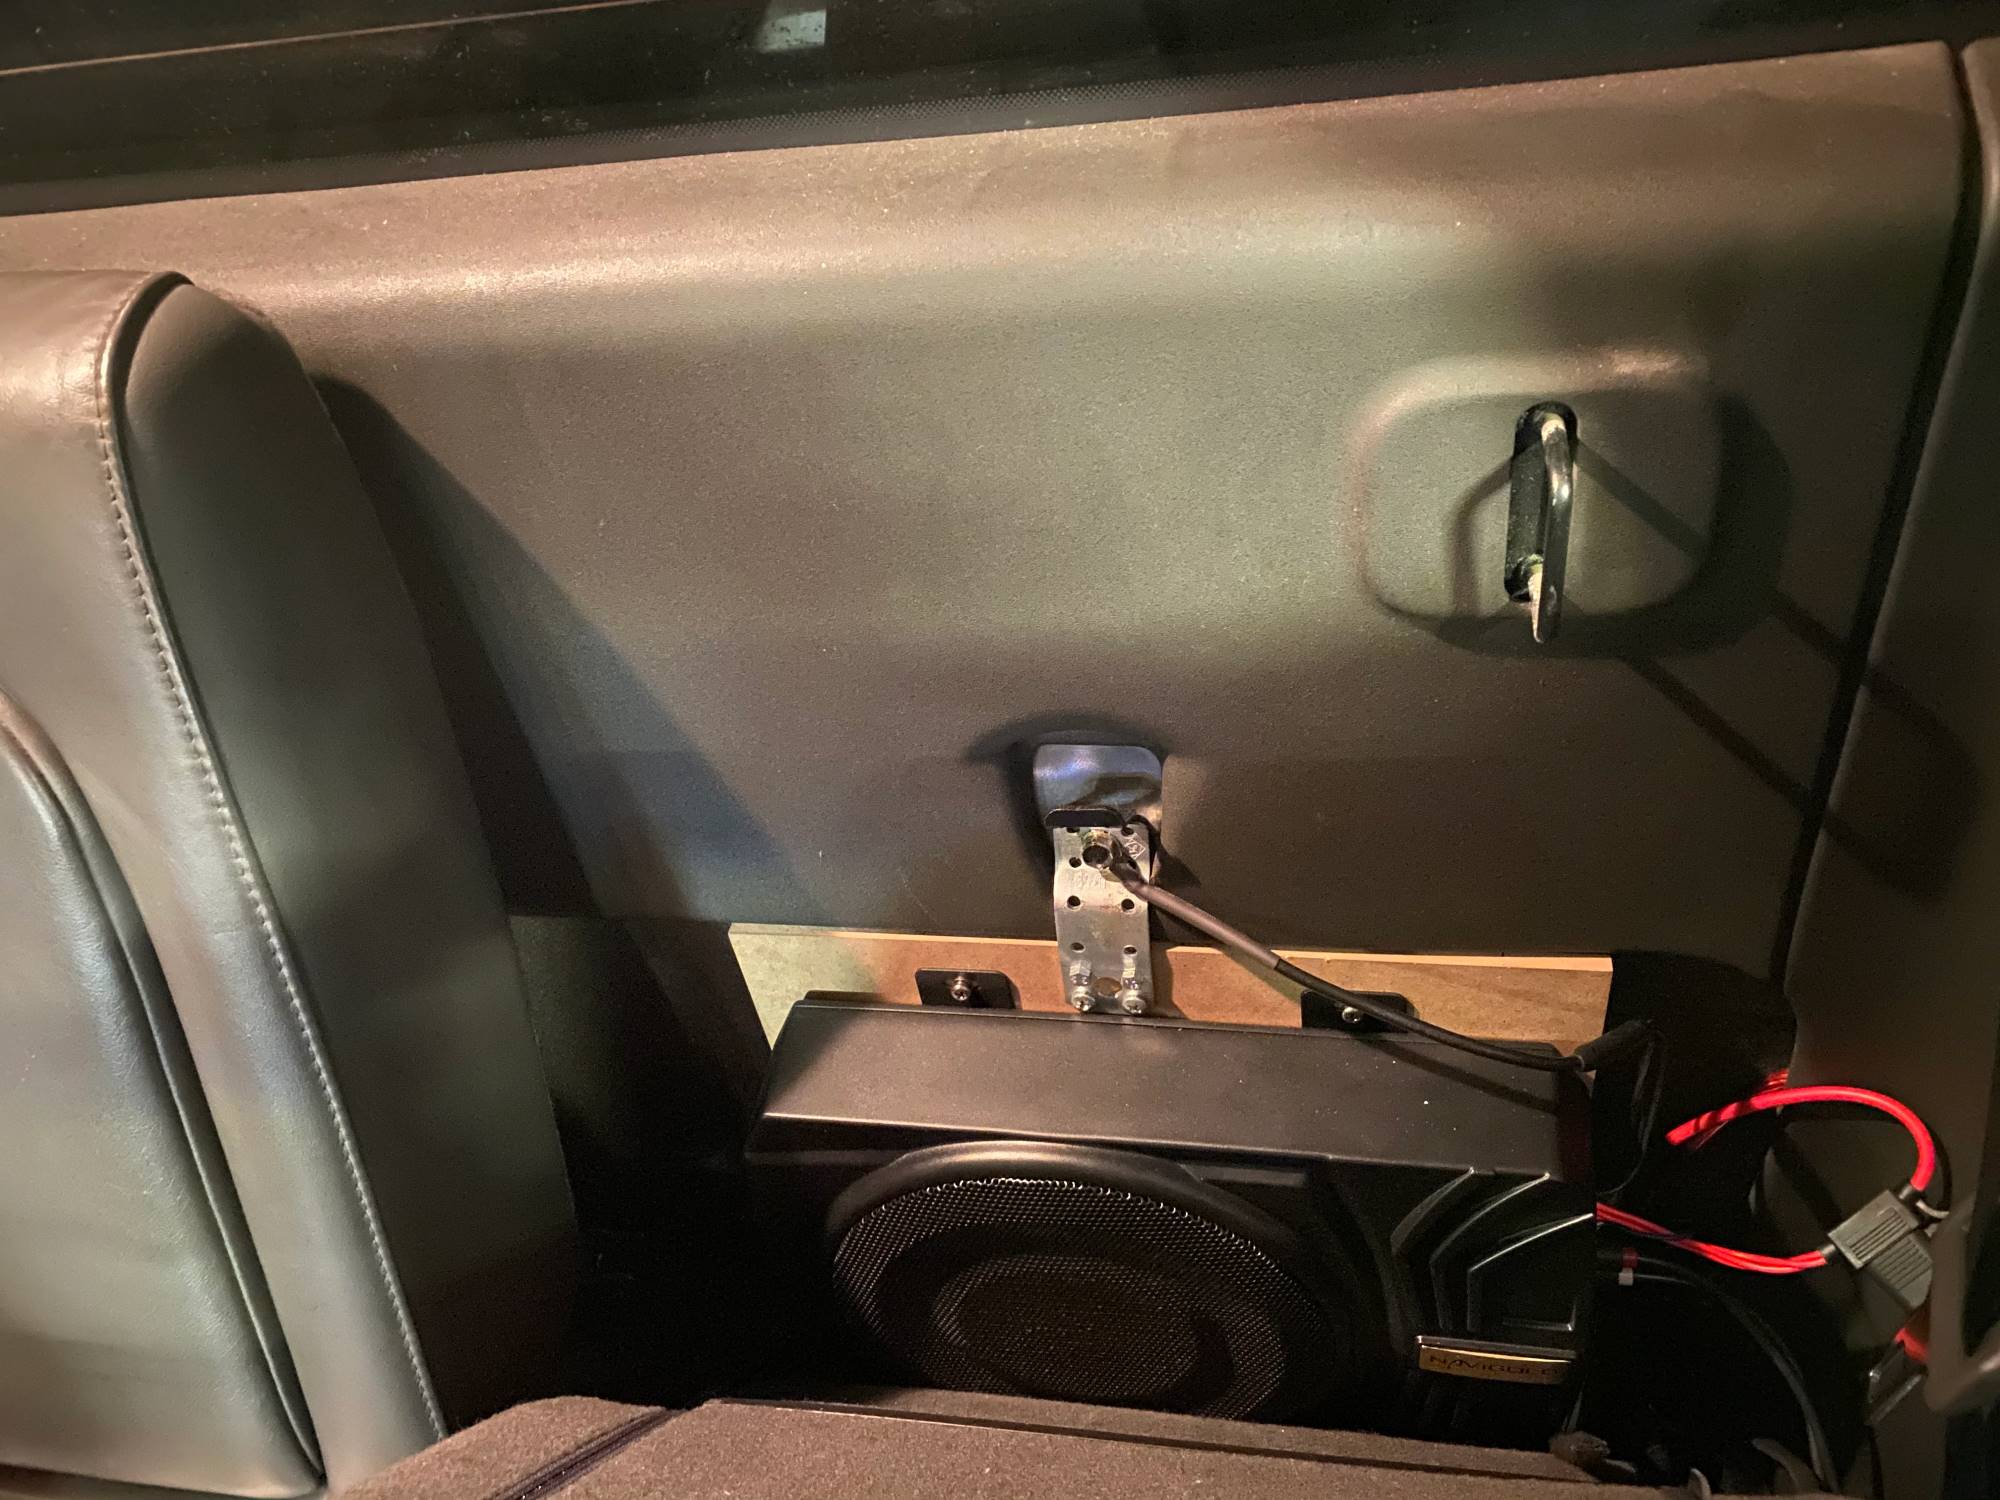
Home>Devices & Equipment>Subwoofer>How To Bridge One Subwoofer


Subwoofer
How To Bridge One Subwoofer
Modified: January 22, 2024
Learn how to easily bridge one subwoofer and enhance your audio experience. Explore step-by-step instructions and expert tips for optimizing your subwoofer performance.
(Many of the links in this article redirect to a specific reviewed product. Your purchase of these products through affiliate links helps to generate commission for AudioLover.com, at no extra cost. Learn more)
Table of Contents
- Introduction
- Understanding Subwoofers
- Factors to Consider Before Bridging a Subwoofer
- Step-by-Step Guide on Bridging a Subwoofer
- Setting Up the Amplifier for Bridged Mode
- Connecting the Subwoofer to the Amplifier
- Adjusting the Subwoofer Settings
- Tips and Precautions for Bridging a Subwoofer
- Troubleshooting Common Issues
- Conclusion
Introduction
Welcome to the world of subwoofers! If you’re a true audio enthusiast, you know that a subwoofer plays a crucial role in creating that deep, booming bass that can truly elevate your listening experience. Whether you’re a music lover, a movie buff, or a gaming enthusiast, a well-designed subwoofer can add that extra punch and excitement to your audio setup.
However, if you’re looking to take your subwoofer game to the next level, you might have heard about the concept of bridging a subwoofer. Bridging allows you to combine the power of two amplifier channels to drive a single subwoofer, resulting in increased volume and enhanced bass performance.
In this article, we will delve into the world of bridging subwoofers, exploring how it works, factors to consider before bridging, and a step-by-step guide to bridging your subwoofer effectively. We will also provide some tips and precautions to ensure a smooth and successful bridging process.
So, if you’re ready to unlock the full potential of your subwoofer and achieve an impressive bass response, let’s dive in and learn how to bridge one!
Understanding Subwoofers
Before we jump into the details of bridging subwoofers, it’s essential to have a solid understanding of what a subwoofer is and how it works.
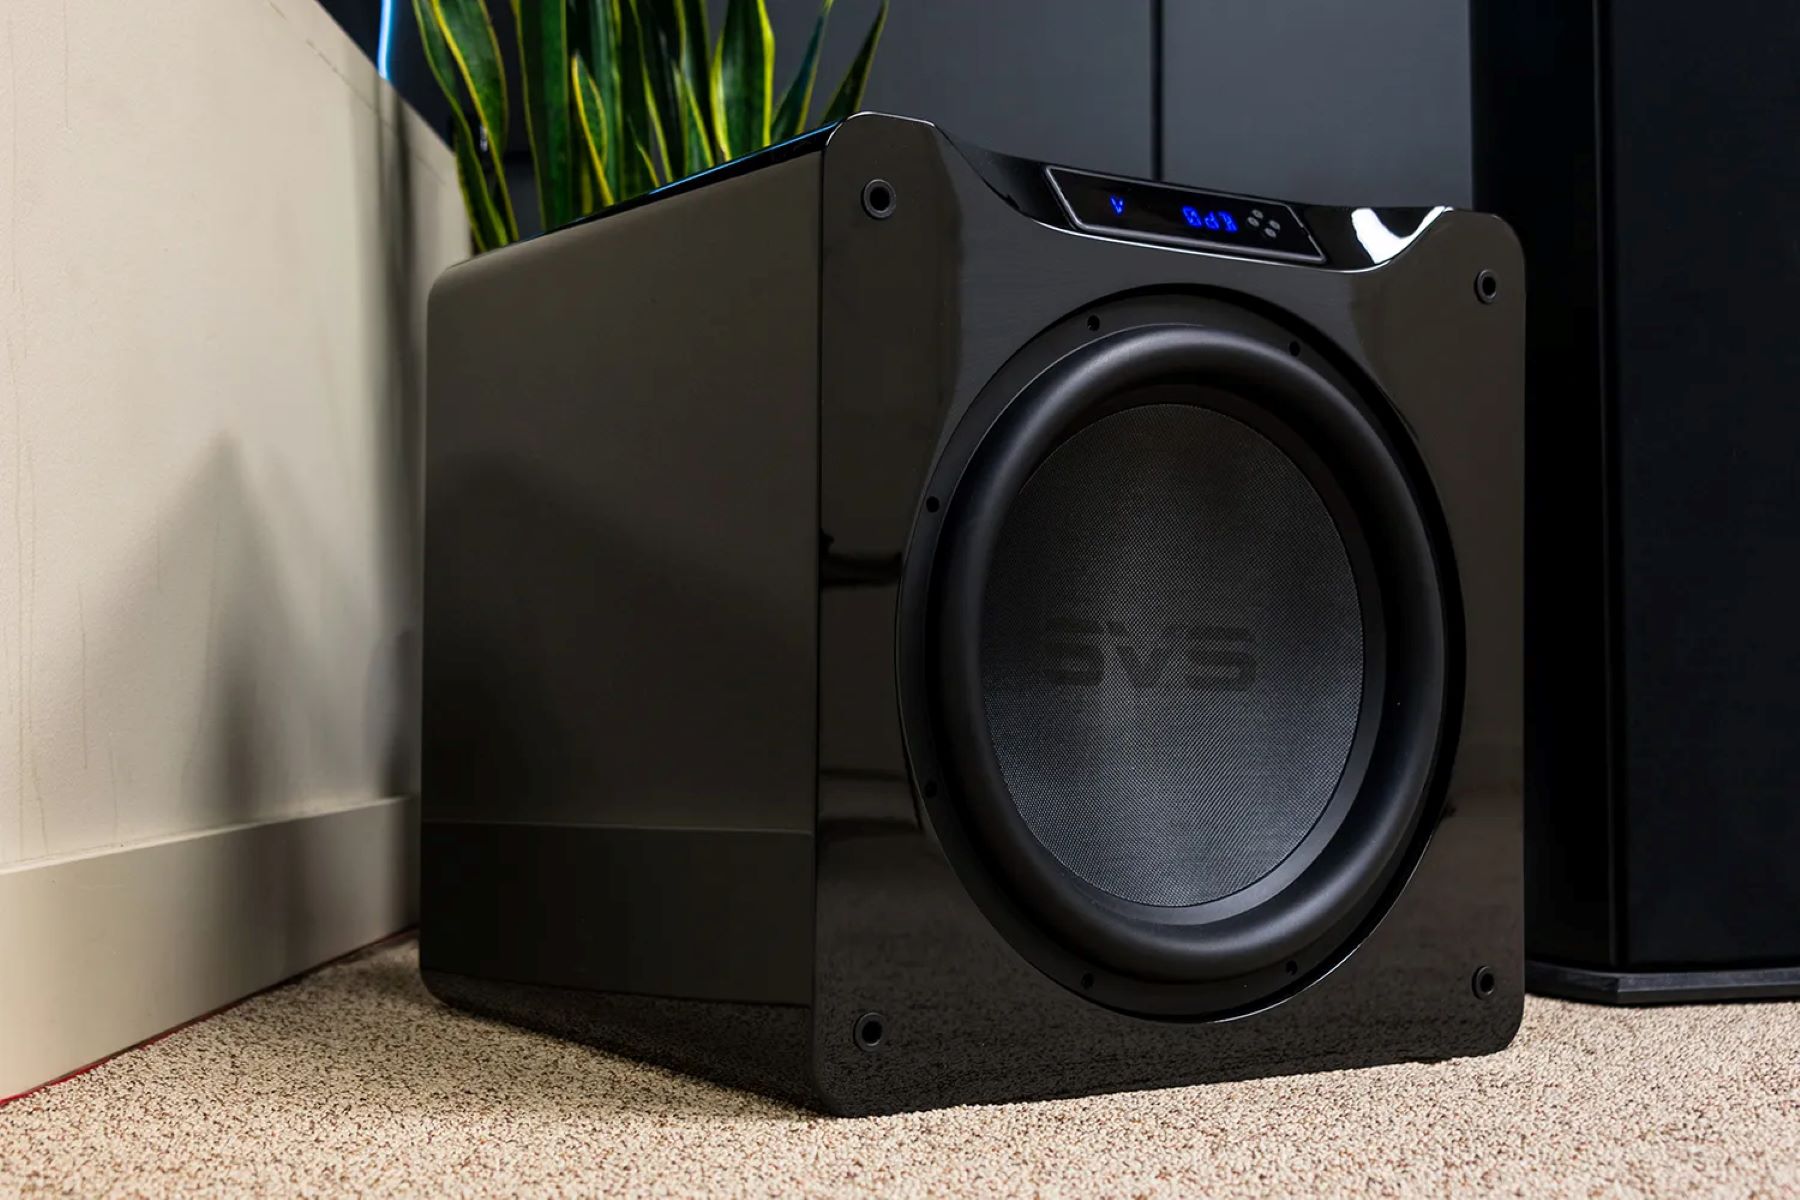
A subwoofer is a specialized loudspeaker designed to reproduce low-frequency sounds, typically ranging from 20Hz to 200Hz. Unlike regular speakers, subwoofers are dedicated solely to handling the lower end of the audio spectrum, delivering deep bass and sub-bass frequencies that can be felt as much as heard.
Subwoofers come in various sizes and configurations, including powered (with built-in amplifier) and passive (requiring an external amplifier). They feature a large driver, also known as a woofer, which is responsible for moving air and producing the low-frequency sounds. The enclosure of the subwoofer is designed to enhance its efficiency and improve bass response.
Subwoofers are commonly used in home theater systems, car audio setups, and professional sound systems to reproduce the low-frequency effects in movies, music, and other audio content. They provide a more immersive audio experience, making you feel every rumble and explosion.
It’s worth noting that a subwoofer alone cannot create a well-balanced audio system. It is meant to complement and enhance the overall sound quality provided by the main speakers. By focusing on the low frequencies, a subwoofer relieves the main speakers of reproducing bass, allowing them to deliver clearer and more accurate mid-range and high-frequency sounds.
Having a good understanding of the basic functionality of a subwoofer will serve as a foundation for bridging it effectively. So, let’s move on to the next section and explore the factors to consider before bridging a subwoofer.
Factors to Consider Before Bridging a Subwoofer
Bridging a subwoofer can be an effective way to maximize its power and performance, but there are several important factors to consider before attempting this process. Taking these factors into account will help ensure a successful and safe bridging experience.
1. Power Handling: Before bridging a subwoofer, it’s crucial to check the power handling capabilities of both the subwoofer and the amplifier. Ensure that the amplifier can handle the increased power output when bridged, and that the subwoofer can handle the increased power input. Exceeding the power limits can lead to distortion, overheating, and even damage to your equipment.
2. Impedance Compatibility: Each subwoofer has a specific impedance rating, typically 4 ohms or 2 ohms. When bridging a subwoofer, the impedance changes, and it’s important to make sure that the amplifier can handle the new impedance load. Using an amplifier that is not compatible with the bridged impedance can result in poor sound quality and may cause the amplifier to overheat or fail.
3. Amplifier Stability: Bridging a subwoofer demands more power from the amplifier, which can put a strain on its stability. Ensure that the amplifier is stable when bridged to avoid issues such as overheating, distortion, and ultimately, amplifier failure. Consult the amplifier’s manual or specifications to determine its stability rating when bridged.
4. Subwoofer Wiring: Proper wiring is essential when bridging a subwoofer. Use the appropriate gauge of wire, ensuring it is capable of handling the increased power output. Additionally, make sure the wiring connections are secure and free from any potential shorts or loose connections. Incorrect wiring can lead to poor sound quality and potential damage to the equipment.
5. System Compatibility: Consider the compatibility of your entire audio system when planning to bridge a subwoofer. Ensure that the power supply, crossovers, and other components of the system can handle the increased power output. A well-matched system will ensure optimal performance and prevent any potential issues that may arise from bridging.
By carefully considering these factors and ensuring that your equipment is compatible and capable of handling the bridging process, you can embark on bridging your subwoofer with confidence. Now that we’ve covered the factors to consider, let’s move on to the step-by-step guide on how to bridge a subwoofer effectively.
Step-by-Step Guide on Bridging a Subwoofer
Bridging a subwoofer involves combining the power output of two amplifier channels to drive a single subwoofer. Follow these step-by-step instructions to bridge your subwoofer effectively:
1. Read the Manuals: Start by thoroughly reading the manuals of both your amplifier and subwoofer. These manuals will provide specific instructions and guidelines for bridging your particular equipment model, as well as any precautions or recommendations.
2. Verify Compatibility: Ensure that your amplifier is capable of bridging. Not all amplifiers support bridging, so it’s essential to check its specifications or consult the manufacturer to confirm its bridging capabilities.
3. Disconnect Power: Before making any connections, ensure that your amplifier is turned off and disconnected from the power source. This will prevent any accidental electrical mishaps while working on your equipment.
4. Identify Bridging Terminals: Examine your amplifier to locate the bridging terminals. These are usually labeled as “Bridged,” “BTL” (Bridge-Tied Load), or something similar. Note that the bridging terminals might be different depending on the amplifier model, so consult the manual if you’re unsure.
5. Connect the Amplifier: Connect the bridging terminals of your amplifier to the positive terminal of one channel and the negative terminal of the other channel. Ensure a secure connection by tightening the terminals or using appropriate connectors recommended by the manufacturer.
6. Set Bridged Mode: Once the connections are made, set the amplifier into bridged mode. This can be done using a switch, button, or jumper, as specified in the amplifier’s manual. Activating bridged mode will configure the amplifier to combine the power output of both channels to drive the subwoofer.
7. Adjust Gain and Crossover: Use the amplifier’s gain and crossover controls to fine-tune the settings for the bridged subwoofer. Adjust the gain to control the volume and adjust the crossover to determine the frequency range that the subwoofer will reproduce.
8. Connect the Subwoofer: Now, connect the subwoofer to the bridged amplifier output. Ensure that the positive terminal of the subwoofer is connected to the positive terminal of the bridged output, and the negative terminal of the subwoofer is connected to the negative terminal of the bridged output.
9. Power On and Test: Once all connections are secure, power on the amplifier and test the system. Start with lower volume levels and gradually increase the volume as needed. Test different audio sources to ensure that the bridged subwoofer is producing the desired bass response.
10. Fine-Tune as Needed: If required, make further adjustments to the gain, crossover, or other settings to achieve the desired sound quality and bass performance. Experiment with different settings to find the optimal configuration for your preferences.
By following these steps, you can bridge your subwoofer effectively and enjoy the increased power and enhanced bass performance that bridging offers. However, it’s important to exercise caution and refer to the manuals and guidelines provided by the manufacturer to ensure a safe and successful bridging process.
Setting Up the Amplifier for Bridged Mode
Setting up your amplifier for bridged mode is a crucial step in the process of bridging a subwoofer. This configuration allows you to combine the power output of two amplifier channels into a single channel, providing increased power and driving capability for your subwoofer. Follow these steps to set up your amplifier for bridged mode:
1. Consult the Manual: Every amplifier model has its own specific requirements and instructions for bridging. Start by referring to the manual of your amplifier to understand the bridging capabilities and specifications. The manual will provide you with the necessary information and guidelines to set up your amplifier correctly.
2. Turn Off the Amplifier: Before making any connections or adjustments, ensure that your amplifier is turned off and disconnected from the power source. This ensures your safety during the setup process and prevents any potential damage to your equipment.
3. Locate the Bridging Terminals: Look for the bridging terminals on the amplifier. These terminals are specifically designated for the bridging function and are typically labeled as “Bridged,” “BTL” (Bridge-Tied Load), or something similar. Refer to the amplifier’s manual if you are unsure about the exact location of these terminals.
4. Check the Wiring Configuration: Depending on the amplifier model, the bridging terminals may require specific wiring configurations. It’s important to follow the manufacturer’s instructions to ensure proper setup. This may involve connecting the positive terminal of one channel to the positive terminal of the other channel and the negative terminal of one channel to the negative terminal of the other channel.
5. Enable Bridged Mode: Activate the bridged mode on your amplifier. This can typically be done using a switch, button, or jumper, as specified in the manual. Pay attention to any specific instructions related to enabling the bridged mode, such as setting switches or removing jumpers, to ensure the correct configuration is achieved.
6. Adjust Settings: After enabling bridged mode, make any necessary adjustments to the amplifier’s settings. This may include adjusting the gain, crossover, and other relevant controls. These settings will help fine-tune the performance of the bridged amplifier output to match the capabilities and specifications of your subwoofer.
7. Confirm Compatibility: Verify that the impedance load of the bridged amplifier output is compatible with your subwoofer. Make sure that your subwoofer can handle the new impedance and power requirements resulting from the bridging setup. Confirm this by referring to the specifications provided by the subwoofer manufacturer.
8. Power On and Test: Once all the connections and settings are in place, power on the amplifier and test the system. Start with lower volume levels and gradually increase the volume as needed. Pay attention to the sound quality and responsiveness of the bridged subwoofer to ensure optimal performance.
By correctly setting up your amplifier for bridged mode, you can ensure that both the amplifier and the subwoofer work together seamlessly. Follow the instructions provided by the amplifier manufacturer and refer to the manual for specific guidelines. This will help you create a bridge connection that maximizes the power and performance of your subwoofer.
Connecting the Subwoofer to the Amplifier
Now that you have set up your amplifier for bridged mode, the next step is to connect the subwoofer to the amplifier. This crucial step ensures that the bridged amplifier output is properly channeled to the subwoofer, allowing it to deliver the enhanced bass performance. Follow these steps to connect your subwoofer to the amplifier:
1. Turn off the Amplifier: Before making any connections, ensure that your amplifier is turned off and disconnected from the power source. This prevents any potential electrical mishaps and ensures your safety during the setup process.
2. Identify the Subwoofer Input: Take a look at the back panel of your subwoofer. Locate the input labeled as “Subwoofer In” or “Line In.” This is where you will connect the subwoofer to the ampli fier.
3. Use an RCA Cable: Get an RCA cable (also known as a phono cable) that is long enough to reach from the amplifier to the subwoofer. RCA cables are commonly used to transmit audio signals between audio components.
4. Connect the RCA Cable: Insert one end of the RCA cable into the “Subwoofer Out” or “Line Out” jack on the amplifier. Make sure it is firmly plugged in. Then, take the other end of the RC A cable and insert it into the “Subwoofer In” or “Line In” jack on the subwoofer.
5. Verify the Connections: Double-check that the RCA cable is securely connected to both the amplifier and the subwoofer. Loose or improper connections can result in distortion or poor sou nd quality. Ensure a firm and secure connection for optimum performance.
6. Power On and Test: With the subwoofer now connected to the amplifier, power on the amplifier and test the subwoofer’s response. Start with lower volume levels and gradually increase th e volume to check the bass performance. Play a variety of audio content to ensure that the subwoofer is producing the desired deep bass response in harmony with the rest of your audio syst em.
It’s important to use high-quality cables and make sure the connections are secure and free from any interference or signal loss. Properly connecting the subwoofer to the amplifier not only ensures the signal is transmitted accurately but also allows for optimal performance and bass output from your subwoofer.
Adjusting the Subwoofer Settings
Once you have connected your subwoofer to the amplifier, it’s time to fine-tune the subwoofer settings to achieve the optimal bass performance. Adjusting the settings allows you to tailor the subwoofer output to match your listening preferences and the characteristics of your audio system. Follow these steps to effectively adjust the settings of your subwoofer:
1. Gain Control: The gain control on the amplifier or subwoofer allows you to adjust the volume of the subwoofer relative to the main speakers. Start by setting the gain control to a mid-point position. Then, play some music or audio content that includes bass frequencies and gradually increase the gain until the desired bass level is achieved. Avoid excessively high gain settings that can lead to distortion or overpowering bass that may drown out other frequencies.
2. Crossover Frequency: The crossover frequency determines the point at which the subwoofer starts reproducing frequencies and the main speakers begin handling higher frequencies. Adjust the crossover frequency by rotating the knob or using the control panel on the subwoofer or amplifier. Set it to a frequency that complements the capabilities of your main speakers and allows for a smooth transition between the subwoofer and the other speakers. Experiment with different crossover frequencies to find the balance that works best with your specific audio content and preferences.
3. Phase Control: Some subwoofers have a phase control, usually labeled as 0° or 180°. This control helps align the phase of the subwoofer with the main speakers to prevent cancellation or reinforcement of certain frequencies. Start with the phase control set to 0° and evaluate the bass response. If there seems to be a decrease in bass or a “boomy” sound, switch the phase control to 180°. Fine-tune the phase control until you achieve a cohesive and well-integrated bass response with the rest of your audio system.
4. Subwoofer Placement: The placement of your subwoofer can greatly impact its performance. Experiment with different locations in your listening room to find the optimal placement. Avoid placing the subwoofer in corners or against walls, as this can lead to excessive bass and poor accuracy. Instead, try placing it along a wall or slightly away from corners for a balanced and smoother bass response. Adjusting the positioning of the subwoofer can significantly enhance the overall performance and impact of the bass frequencies in your audio system.
5. Listening Tests: Once you have adjusted the gain, crossover frequency, phase, and placement of the subwoofer, conduct listening tests with a variety of music genres and audio content. Pay attention to the overall balance between the subwoofer and the main speakers. If the bass feels overwhelming or lacking, make appropriate adjustments to the settings to achieve the desired bass response and create a well-integrated soundstage.
Remember that the optimal subwoofer settings may vary depending on factors such as room acoustics, personal preferences, and the specific characteristics of your audio system. Take the time to experiment and fine-tune the settings until you achieve the desired balance and seamless integration of the subwoofer with your overall audio setup.
Tips and Precautions for Bridging a Subwoofer
Bridging a subwoofer can be an effective way to enhance its power and performance, but it’s important to follow some tips and precautions to ensure a successful and safe bridging experience. Take note of the following tips before bridging your subwoofer:
1. Check Equipment Compatibility: Ensure that both your amplifier and subwoofer are compatible with bridging. Refer to the manuals and specifications provided by the manufacturers to confirm their compatibility and power handling capabilities. Using incompatible equipment may result in poor sound quality, potential damage, or even safety hazards.
2. Follow the Manual: Always follow the instructions provided in the manuals of your amplifier and subwoofer. Each model may have specific guidelines for bridging, and it’s important to adhere to them. Ignoring the manufacturer’s recommendations can lead to equipment malfunctions or damage.
3. Use Proper Wiring and Connectors: Use high-quality speaker cables, preferably those designed for subwoofers, and make sure they are capable of handling the increased power output of the bridged configuration. Proper wiring is crucial to minimize signal loss, interference, and the risk of shorts or open circuits.
4. Be Mindful of Impedance: When bridging a subwoofer, the impedance of the system changes. Ensure that the amplifier is capable of handling the new bridged impedance load, and that the subwoofer is compatible with it. Using an amplifier that is not stable at the bridged impedance can damage the equipment and compromise sound quality.
5. Monitor Temperature: Bridging a subwoofer can increase the power output, which may result in increased heat generation. Keep an eye on the temperature of the amplifier and subwoofer during extended use. Ensure proper ventilation for the equipment, and if necessary, consider using cooling fans or additional methods to dissipate heat.
6. Start with Lower Volume: When testing the bridged system for the first time, start with lower volume levels. Gradually increase the volume as needed, carefully monitoring the sound quality and ensuring that the system remains stable. Sudden high volume levels can potentially damage the equipment or cause distortion.
7. Allow for Break-in Period: If your subwoofer is brand new or has been inactive for an extended period, it’s advisable to allow for a break-in period before pushing it to its limits in the bridged mode. Gradually increase the power and volume over time to give the subwoofer’s components time to acclimate and perform optimally.
8. Consult an Expert if Necessary: If you are unsure about any aspect of bridging your subwoofer or have concerns about compatibility, it’s always a good idea to consult an audio professional or the manufacturer’s support team. They can provide personalized guidance and ensure that you proceed safely and effectively with bridging your subwoofer.
By following these tips and taking necessary precautions, you can mitigate the risks and maximize the benefits of bridging your subwoofer. Remember, it’s essential to prioritize the safety of your equipment and ensure a quality audio experience while bridging.
Troubleshooting Common Issues
While bridging a subwoofer can greatly enhance its performance, it’s important to be aware of potential issues that may arise during the process. Here are some common issues that you might encounter and tips on how to troubleshoot them:
1. Distorted Sound: If you notice distorted sound coming from your bridged subwoofer, it’s likely due to excessive gain or an improper amplifier setting. Check the gain control on your amplifier and ensure it is not set too high. Additionally, verify that the crossover frequency is appropriately set to prevent overlapping frequencies and distortion. Adjust these settings gradually until the sound becomes clear and distortion-free.
2. Overheating: Bridging a subwoofer can increase the power output, potentially causing overheating issues. Ensure that your amplifier has adequate ventilation and is not placed in a confined space. If the amplifier becomes excessively hot during operation, consider using external cooling methods such as fans or relocating it to a cooler area. Additionally, if the subwoofer itself feels excessively hot, reduce the gain or power output to avoid damaging the equipment.
3. Lack of Bass or Weak Output: If you find that your bridged subwoofer is not producing the desired bass or has a weak output, first check the gain control on your amplifier. Ensure that it is correctly adjusted to increase the volume of the subwoofer relative to the other speakers. Additionally, confirm that the crossover frequency is set properly to avoid limiting the subwoofer’s lower frequency response. Adjusting these settings should help to restore a balanced and powerful bass output.
4. No Sound or Low Volume: If you’re experiencing no sound or low volume from your bridged subwoofer, check the wiring connections between the amplifier and the subwoofer. Ensure that the cables are securely plugged in at both ends and that there are no loose connections or faulty wires. Additionally, verify that the amplifier is in bridged mode and the subwoofer input is properly connected to the amplifier’s bridged output. Rectifying any faulty or loose connections should restore proper sound output.
5. Inconsistent Bass Response: Inconsistency in bass response can be caused by suboptimal subwoofer placement or phase alignment issues. Experiment with different subwoofer placements in the room to find the position that provides the best bass response. Additionally, adjust the phase control on the subwoofer, if available, to ensure that the subwoofer and main speakers are in phase with each other. Listening tests and fine-tuning these factors will help achieve a consistent and well-integrated bass response.
6. Amplifier Protection Mode Activation: Some amplifiers have built-in protection mechanisms that can shut down the amplifier if it detects a potential issue such as overheating or a short circuit. If your amplifier enters protection mode when bridging, check the wiring connections for any loose or improper connections. Additionally, ensure proper ventilation for the amplifier and reduce the gain or power output if necessary. Correcting any issues and allowing the amplifier to cool down should resolve the protection mode activation.
If you encounter any other issues not mentioned here or are unable to resolve the problem on your own, it is recommended to consult the manufacturer’s support team or seek assistance from an audio professional. They can provide specific guidance based on your equipment and troubleshooting needs, ensuring that you can enjoy the full benefits of your bridged subwoofer setup.
Conclusion
Bridging a subwoofer can be an exciting way to unleash the full potential of your audio system and elevate your listening experience. By combining the power of two amplifier channels, you can drive your subwoofer to new levels of performance, delivering deep, punchy bass that enhances music, movies, and games.
In this article, we’ve covered a comprehensive guide on bridging a subwoofer, beginning with an understanding of subwoofers and the factors to consider before attempting to bridge them. We’ve provided step-by-step instructions on how to set up your amplifier for bridged mode, connect the subwoofer to the amplifier, and adjust the subwoofer settings for optimal performance.
We’ve also highlighted some helpful tips and precautions to ensure a safe and successful bridging experience, as well as troubleshooting advice for common issues that may arise during the process.
Remember, always consult the manuals and follow the guidelines provided by the manufacturers of your amplifier and subwoofer. They offer valuable information specific to your equipment, ensuring you proceed safely and achieve the best results.
By taking the time to understand your equipment, following the proper setup procedures, and making necessary adjustments, you can create a powerful and immersive audio experience with your bridged subwoofer.
Now that you have the knowledge to bridge your subwoofer effectively, it’s time to put it into practice. Enjoy the enhanced bass response, immerse yourself in the deep rumble of the low frequencies, and immerse yourself in a whole new level of audio enjoyment.


