Home>Devices & Equipment>Subwoofer>How To Connect A Passive Subwoofer

Subwoofer
How To Connect A Passive Subwoofer
Published: January 21, 2024
Learn how to connect a passive subwoofer to your audio system and enhance your sound quality with our step-by-step guide. Discover the best techniques for optimizing your subwoofer experience.
(Many of the links in this article redirect to a specific reviewed product. Your purchase of these products through affiliate links helps to generate commission for AudioLover.com, at no extra cost. Learn more)
Table of Contents
Introduction
Welcome to the world of audio enthusiasts! If you’re looking to elevate your sound system and add some depth and rumble to your audio experience, a subwoofer is an essential component to consider. While there are various types of subwoofers available, passive subwoofers have gained popularity due to their versatility and affordability.
In this article, we will guide you through the process of connecting a passive subwoofer to your audio system. Whether you’re a seasoned audiophile or a beginner looking to enhance your home theater setup, this step-by-step guide will help you get the most out of your subwoofer.
But first, let’s quickly understand what a passive subwoofer is. Unlike active subwoofers that have built-in amplifiers, passive subwoofers rely on an external amplifier to power them. This makes them a great option for those who already have an amplifier or receiver and want to add a subwoofer to their system without breaking the bank.
To connect a passive subwoofer, you will need the proper equipment, including an amplifier or receiver, speaker wire, and of course, your subwoofer. These components work harmoniously together to ensure that the low-frequency sounds are reproduced accurately and add that extra bass punch to your audio.
Ready to dive in? Let’s get started with the necessary equipment you’ll need for connecting your passive subwoofer.
Understanding Passive Subwoofers
Before we proceed with the connection process, it’s essential to have a basic understanding of how passive subwoofers work. A passive subwoofer is a speaker that doesn’t have a built-in amplifier, meaning it relies on an external power source to operate.
The main advantage of a passive subwoofer is its simplicity and cost-effectiveness. By eliminating the need for a built-in amplifier, manufacturers can offer a more affordable option without compromising on the quality of the sound produced.
Passive subwoofers are designed to handle low-frequency sounds, also known as bass. These low-frequency sounds require more power to reproduce accurately, which is why an external amplifier is necessary. The amplifier supplies the required power to the passive subwoofer, allowing it to generate deep, booming bass that enriches your audio experience.
When it comes to connectivity, passive subwoofers typically have speaker wire terminals at the back. These terminals allow you to connect the subwoofer to your amplifier or receiver using standard speaker wire. It’s important to check the user manual of your specific subwoofer model for detailed instructions on connecting the speaker wire.
Keep in mind that passive subwoofers do not have their own controls or settings for adjusting volume, crossover frequency, or phase. These adjustments will need to be made on your amplifier or receiver, depending on the specific features available.
Now that we have a better understanding of passive subwoofers, let’s move on to the equipment you’ll need to connect one to your audio system.
Required Equipment
Before you can connect a passive subwoofer to your audio system, you will need a few essential pieces of equipment. Here’s a list of what you’ll need:
- Amplifier or Receiver: A power source is necessary to drive the passive subwoofer. An amplifier or receiver provides the required power and audio signal to the subwoofer.
- Passive Subwoofer: Of course, you’ll need a passive subwoofer itself. Choose a subwoofer that fits your budget and desired specifications, ensuring it has the necessary speaker wire connections at the back.
- Speaker Wire: High-quality speaker wire is crucial for connecting the amplifier or receiver to the passive subwoofer. Make sure the wire is long enough to reach between the components without stretching or tugging.
- Wire Cutter and Stripper: You’ll need a wire cutter and stripper tool to trim and prepare the speaker wire for connection. This tool helps remove the insulation from the wire so you can achieve a secure and clean connection.
It’s important to note that the specific equipment you’ll need may vary depending on your setup and the capabilities of your amplifier or receiver. Ensure that your receiver or amplifier has a dedicated subwoofer output or a preamp output if you want to connect a powered subwoofer to your system.
Once you have gathered all the necessary equipment, you’re ready to move on to the next steps of connecting your passive subwoofer to your audio system.
Step 1: Identify the Speaker Outputs
Before connecting your passive subwoofer, it’s crucial to identify the speaker outputs on your amplifier or receiver. These outputs are where you will connect the speaker wire that leads to your subwoofer.
Typically, the speaker outputs on an amplifier or receiver are labeled as “speaker outputs” or “channels.” You may find these outputs on the rear panel of your device, usually marked with color-coded connectors or labels indicating left (L) and right (R) channels.
If you’re using a stereo amplifier, you will have two speaker outputs. In this case, you can connect the left channel to one subwoofer and the right channel to another if you’re using a dual setup. However, for a mono setup, you’ll need a Y-adapter or an amplifier with a dedicated mono output.
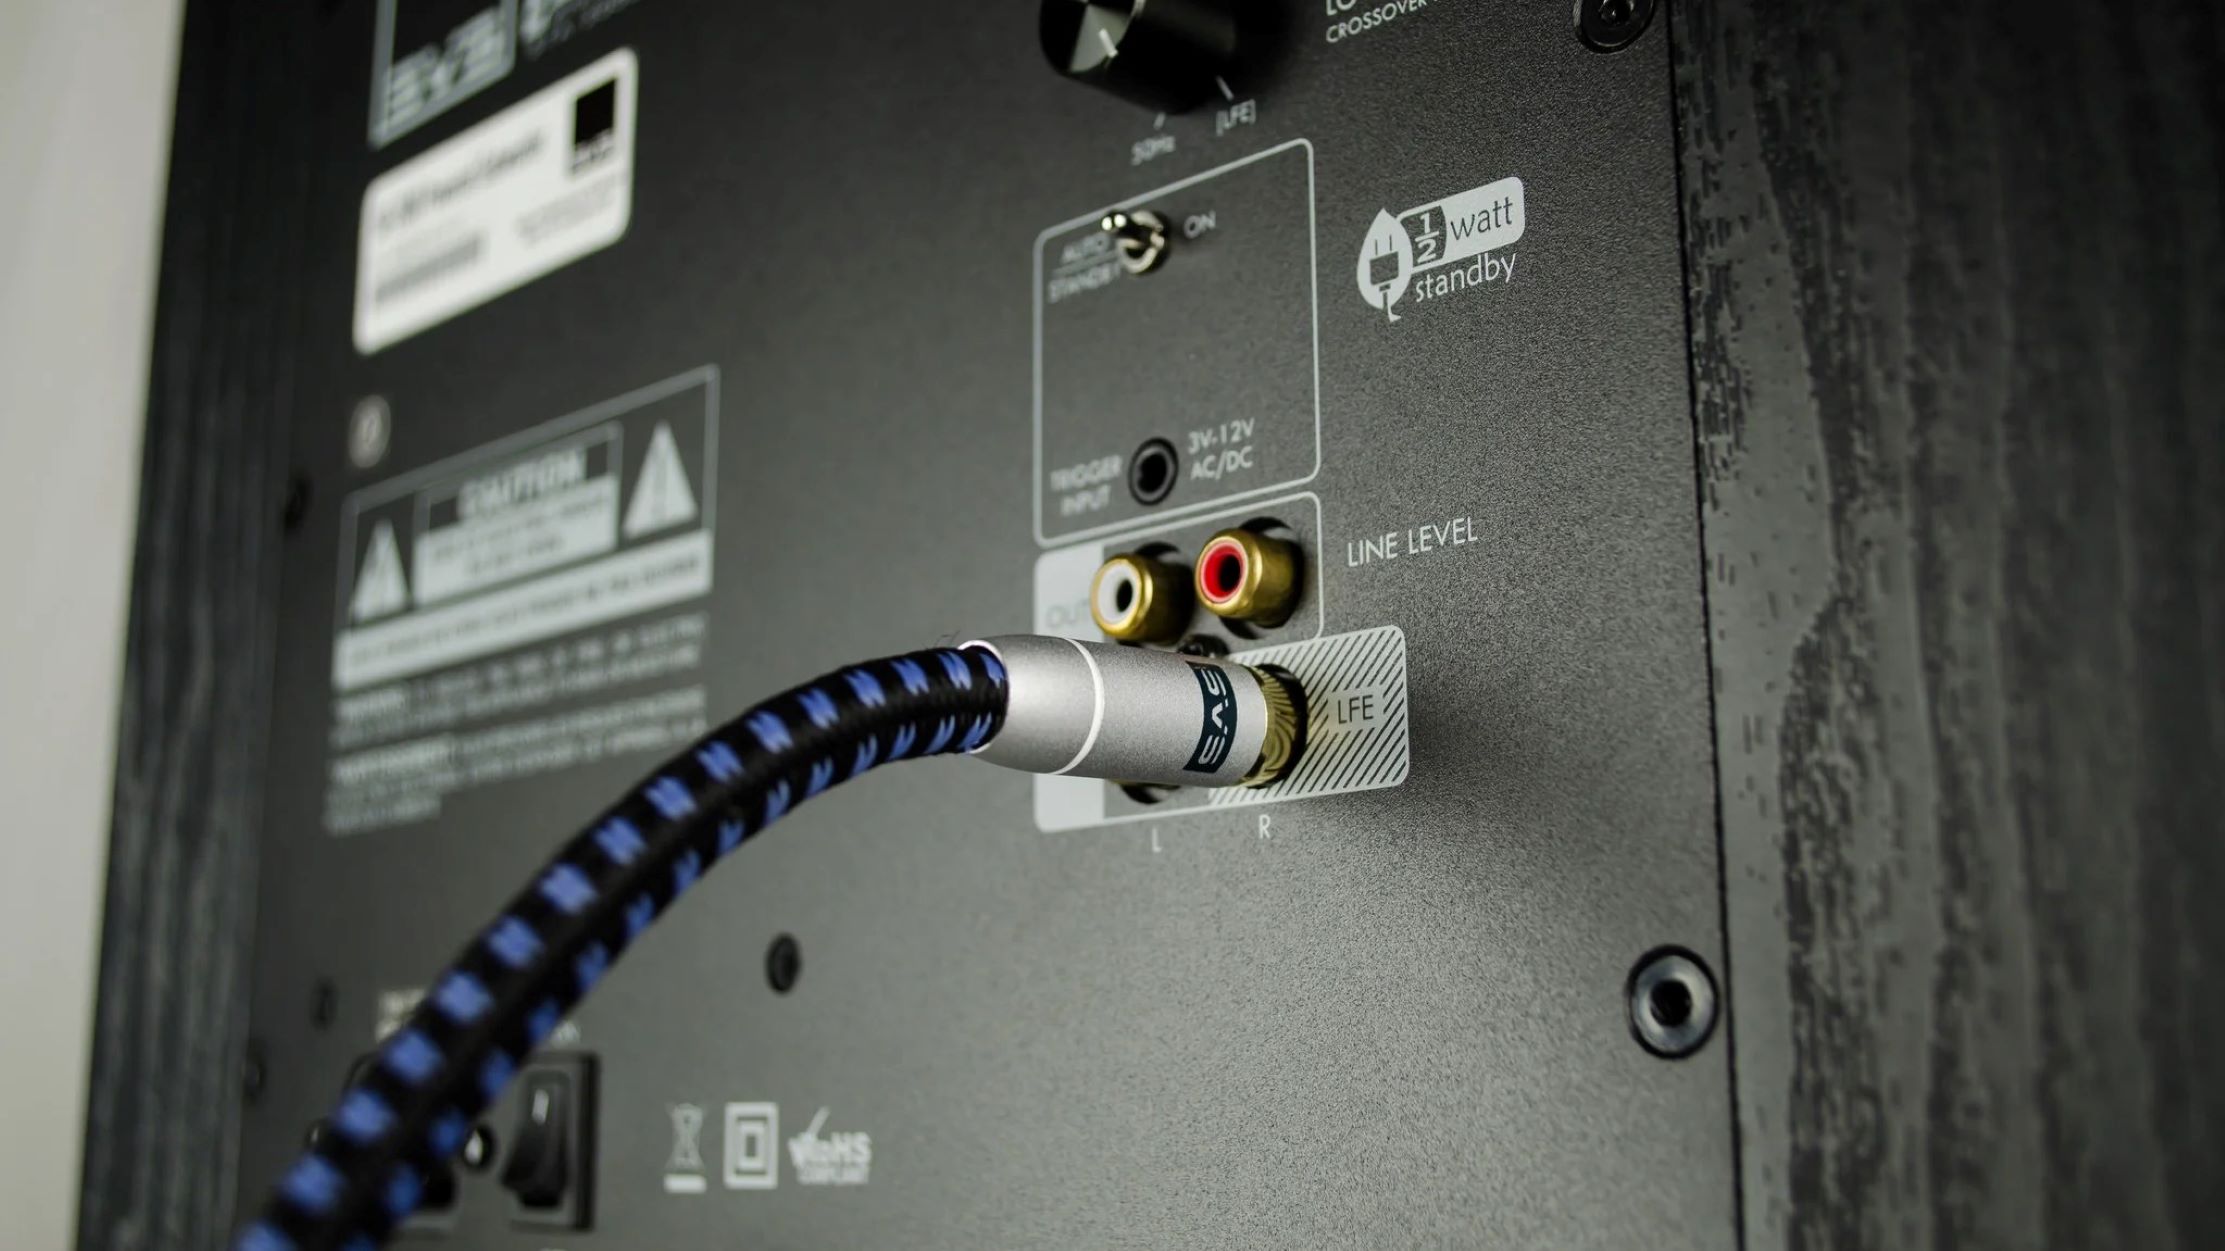
Many amplifiers and receivers also have a dedicated subwoofer output or a preamp output labeled ‘Sub Out’ or ‘LFE Out.’ This output is specifically designed for connecting a subwoofer. If your device has this dedicated output, it’s recommended to use it as it may offer better control and performance for your subwoofer.
Take note of the type of connectors present on your amplifier or receiver’s speaker outputs. These can include binding posts, spring clips, or RCA connectors. This information will be important when selecting the appropriate speaker wire and connectors for your setup.
Once you have identified the speaker outputs on your amplifier or receiver, you’re ready to move on to the next step: connecting the speaker wire to the amplifier.
Step 2: Connect Speaker Wire to the Amplifier
Now that you have identified the speaker outputs on your amplifier or receiver, it’s time to connect the speaker wire that will lead to your passive subwoofer.
Start by cutting the appropriate length of speaker wire needed to reach from your amplifier or receiver to your subwoofer location. It’s essential to leave some slack to ensure a clean and secure connection. Use a wire cutter and stripper tool to trim the ends of the wire, removing any insulation.
Next, examine the type of connectors present on your amplifier or receiver’s speaker outputs. If your device has binding posts, you will see two metal terminals—one red (positive) and one black (negative). For spring clips, you will find small openings where you can insert the bare wire ends. RCA connectors, on the other hand, require adapters or wires with RCA connectors on one end and bare wire on the other.
For binding posts, loosen the terminals by turning them counterclockwise. Insert the bare wire ends into the appropriate terminals, making sure to match the polarity correctly (positive to positive, negative to negative). Once inserted, tighten the terminals by turning them clockwise to secure the connection.
If your amplifier or receiver has spring clips, you need to push down on the clip to open it, then insert the bare wire ends into the openings. Release the clip to hold the wire in place securely.
In the case of RCA connectors, you will need to use the appropriate adapter or wire with RCA connectors on one end. Connect the RCA connector to the subwoofer or preamp output on your amplifier or receiver, and then connect the bare wire ends to the corresponding terminals on the subwoofer.
Ensure that all connections are secure and there is no exposed wire touching other terminals or surrounding components. This step is crucial to avoid any electrical shorts or interference in your audio system.
With the speaker wire securely connected to your amplifier or receiver, it’s time to move on to the next step: connecting the speaker wire to the subwoofer.
Step 3: Connect Speaker Wire to the Subwoofer
Now that you have successfully connected the speaker wire to your amplifier or receiver, it’s time to connect the other end of the wire to your passive subwoofer. This step will complete the electrical connection between your audio system and the subwoofer.
Start by locating the speaker wire terminals on your subwoofer. These terminals are typically located at the back of the subwoofer and may be labeled as “speaker inputs” or “speaker wire.” Make sure to check the user manual for your specific subwoofer model if you’re uncertain about the location of these terminals.
Once you have found the speaker wire terminals, identify the polarity markings. Typically, you will see red markings for the positive terminal and black markings for the negative terminal. It’s important to ensure that the polarity of the connections on the subwoofer matches the polarity on the amplifier or receiver.
Take the other end of the speaker wire and strip off a small portion of insulation from each wire end to expose the bare wire. Twist the copper strands of the wire to ensure a secure connection.
Insert the stripped wire ends into the corresponding speaker wire terminals on the subwoofer. Ensure that the positive wire is connected to the positive terminal and the negative wire to the negative terminal. If your subwoofer has binding posts, loosen the terminals by turning them counterclockwise, insert the wire ends, and tighten the terminals by turning them clockwise to secure the connection.
If your subwoofer has spring clips, push them down to open the clips, insert the wire ends, and release the clips to hold the wires in place securely. For subwoofers with RCA connectors, you will need to use adapters or wires with RCA connectors on one end and bare wire on the other. Connect the RCA connectors to the corresponding subwoofer terminals.
After connecting the speaker wire to the subwoofer, ensure that the connections are secure and there is no exposed wire touching other terminals or the subwoofer enclosure. This will help avoid any electrical shorts or interference while ensuring optimal sound quality.
With the speaker wire successfully connected to the subwoofer, you’re now ready to move on to the next step: adjusting the settings for your subwoofer and amplifier or receiver.
Step 4: Adjust the Settings
Now that you have connected your passive subwoofer to your audio system, it’s time to fine-tune the settings to ensure optimal performance. This step involves adjusting the settings on both your subwoofer and your amplifier or receiver.
Start by accessing the menu or controls on your amplifier or receiver. Look for the settings related to the subwoofer or low-frequency effects (LFE). Depending on the model, you may find options to adjust the subwoofer level, crossover frequency, phase, and other parameters.
Adjust the subwoofer level to balance the bass output with the rest of the speakers in your system. Increase or decrease the level based on your preferences and the room acoustics. Experiment with different settings to find the sweet spot that complements your listening experience.
The crossover frequency determines the point at which low-frequency sounds are redirected from the main speakers to the subwoofer. Set the crossover frequency to complement the capabilities of your subwoofer and the size of your main speakers. This will ensure a smooth transition between the speakers and the subwoofer, enhancing the overall sound quality.
Another important setting to consider is the phase adjustment. This determines the alignment of the subwoofer’s sound wave with the main speakers. Experiment with different phase settings to find the one that results in a cohesive and seamless audio experience.
Once you have adjusted the settings on your amplifier or receiver, it’s time to move on to the subwoofer itself. Some subwoofers offer additional controls, such as a volume knob or a phase switch.
Start by setting the volume knob on your subwoofer to a mid-point. You can fine-tune it later to match your preferences. If your subwoofer has a phase switch, you can try different settings to find the one that aligns best with your main speakers.
Remember to refer to the user manual for your specific subwoofer and amplifier or receiver for more detailed instructions on adjusting the settings.
Once you have adjusted the settings to your liking, you’re ready for the final step: testing the connection and enjoying the immersive audio experience provided by your new subwoofer.
Step 5: Test the Connection
After connecting your passive subwoofer, adjusting the settings, and fine-tuning the audio parameters, it’s time to test the connection and ensure everything is working correctly. This step will help you confirm that the subwoofer is receiving the audio signal and producing the desired bass output.
Start by playing a piece of audio or content that has substantial low-frequency content, such as a bass-heavy song or a movie scene with deep rumbling effects. Ensure that the audio is playing through your amplifier or receiver, which will then route the low-frequency signals to your subwoofer.
While the audio is playing, carefully listen to the sound coming from the subwoofer. Pay attention to the quality of the bass and how well it integrates with the rest of the audio. It should be deep, impactful, and well-balanced with the other speakers in your system.
If you find that the bass is overpowering or boomy, you may need to adjust the subwoofer volume or crossover frequency settings on your amplifier or receiver. Fine-tune these parameters until you achieve the desired balance and integration with the rest of your system.
During the testing phase, also be mindful of any distortion or unwanted rattling sounds. These can indicate that the subwoofer is being pushed too hard or that it is not securely connected. Check all the cable connections and ensure that they are tight and secure.
If you’re experiencing any issues with the sound or the connection, double-check all the steps and settings to ensure everything is correctly set up. You may also refer to the user manuals for your specific subwoofer and amplifier or receiver for troubleshooting guidance.
Once you are satisfied with the sound quality and performance of your subwoofer, congratulations! You have successfully connected and tested your passive subwoofer.
Remember that adjusting the settings and fine-tuning the audio parameters are ongoing processes. Experiment with different audio content and settings to find the perfect balance that suits your preferences and listening environment.
Now sit back, relax, and enjoy the immersive audio experience that your newly connected subwoofer brings to your favorite movies, music, and games!
Conclusion
Connecting a passive subwoofer to your audio system can significantly enhance your audio experience by adding depth, impact, and richness to the low-frequency sounds. With the help of this step-by-step guide, you have learned how to properly connect and set up your passive subwoofer to ensure optimal performance.
Starting with understanding the basics of passive subwoofers and gathering the necessary equipment, you have successfully identified the speaker outputs on your amplifier or receiver and connected the speaker wire to both the amplifier and the subwoofer. Adjusting the settings on your amplifier or receiver and fine-tuning the parameters of the subwoofer itself have allowed you to achieve a balanced and immersive audio experience tailored to your preferences.
Remember to regularly test and fine-tune your subwoofer’s settings to ensure optimal performance. If you encounter any issues, consult the user manuals for your specific equipment or seek assistance from audio professionals to troubleshoot and resolve any problems.
Now, with your passive subwoofer properly connected, you can sit back, relax, and enjoy the impressive bass response that enhances the audio quality of your movies, music, and games. Experience the depth and rumble that brings your favorite content to life, immersing yourself in a truly captivating audio experience.
So go ahead, pump up the bass, and enjoy the power and excitement that a properly connected passive subwoofer adds to your audio system. Happy listening!

