Home>Production & Technology>Audio Interface>How To Connect Subwoofer To Audio Interface


Audio Interface
How To Connect Subwoofer To Audio Interface
Modified: February 18, 2024
Learn how to easily connect your subwoofer to an audio interface for enhanced sound quality and an immersive listening experience. Discover the straightforward steps and optimize your audio setup with an audio interface.
(Many of the links in this article redirect to a specific reviewed product. Your purchase of these products through affiliate links helps to generate commission for AudioLover.com, at no extra cost. Learn more)
Table of Contents
- Introduction
- Step 1: Examine your audio interface and subwoofer connections
- Step 2: Determine the audio interface outputs
- Step 3: Connect the audio interface outputs to the subwoofer inputs
- Step 4: Configure settings on the audio interface and subwoofer
- Step 5: Test the connection and adjust settings if necessary
- Conclusion
Introduction
An audio interface is a crucial piece of equipment for anyone involved in music production, recording, or podcasting. It allows you to connect various audio sources, such as microphones and instruments, to your computer for high-quality recording and playback. However, if you want to add some extra punch and depth to your audio, connecting a subwoofer to your audio interface can make a significant difference.
Subwoofers are specialized speakers designed to reproduce low-frequency sounds, providing a fuller and more immersive audio experience. By connecting a subwoofer to your audio interface, you can enhance the low-end frequencies in your recordings or enjoy a more robust sound while mixing and mastering your tracks.
In this article, we’ll guide you through the step-by-step process of connecting a subwoofer to your audio interface. We’ll cover everything from examining your audio interface and subwoofer connections to configuring settings and testing the connection. Whether you’re a beginner or an experienced audio enthusiast, you’ll find this guide helpful in elevating your sound to the next level.
Step 1: Examine your audio interface and subwoofer connections
Before you start connecting your subwoofer to your audio interface, it’s essential to familiarize yourself with the available connections and ports on both devices. Different audio interfaces and subwoofers may have different connection options, so it’s crucial to ensure compatibility and locate the appropriate ports.
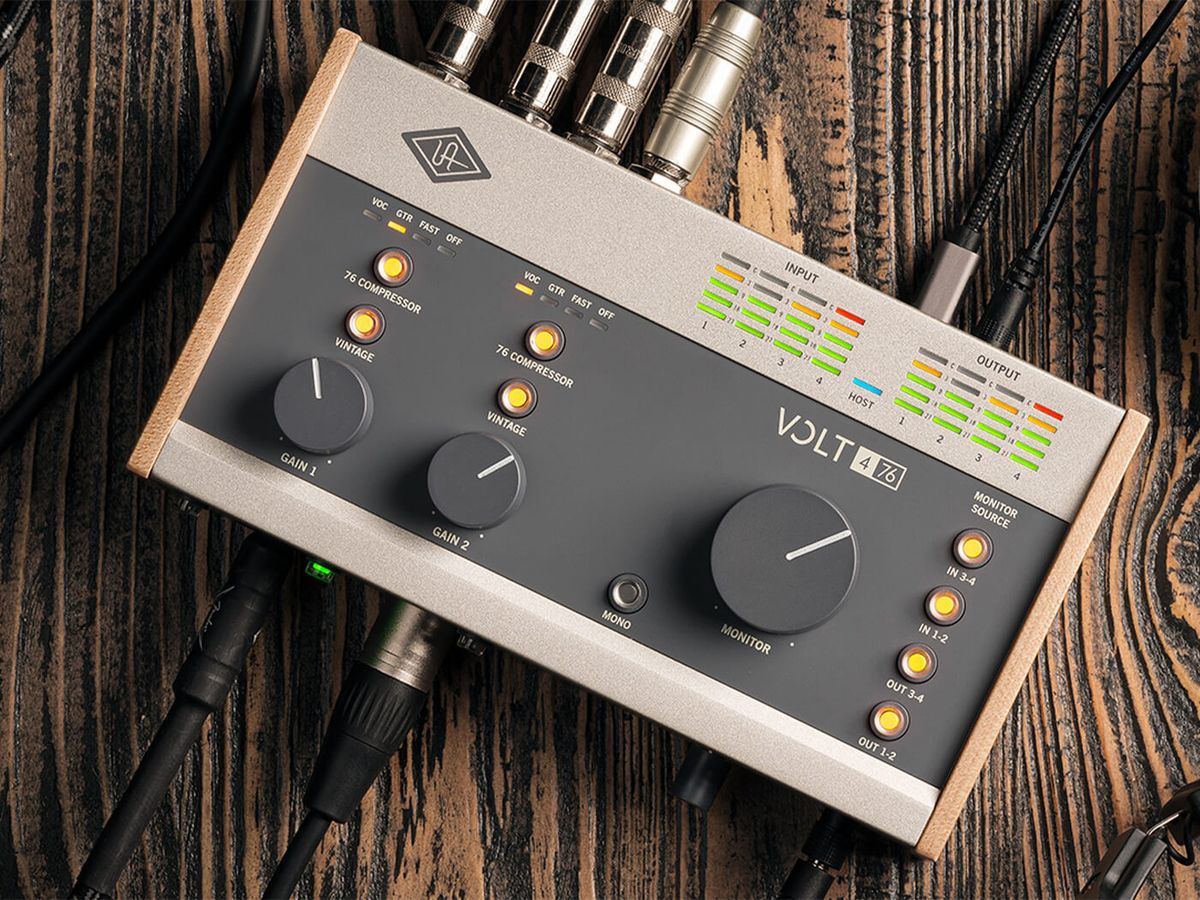
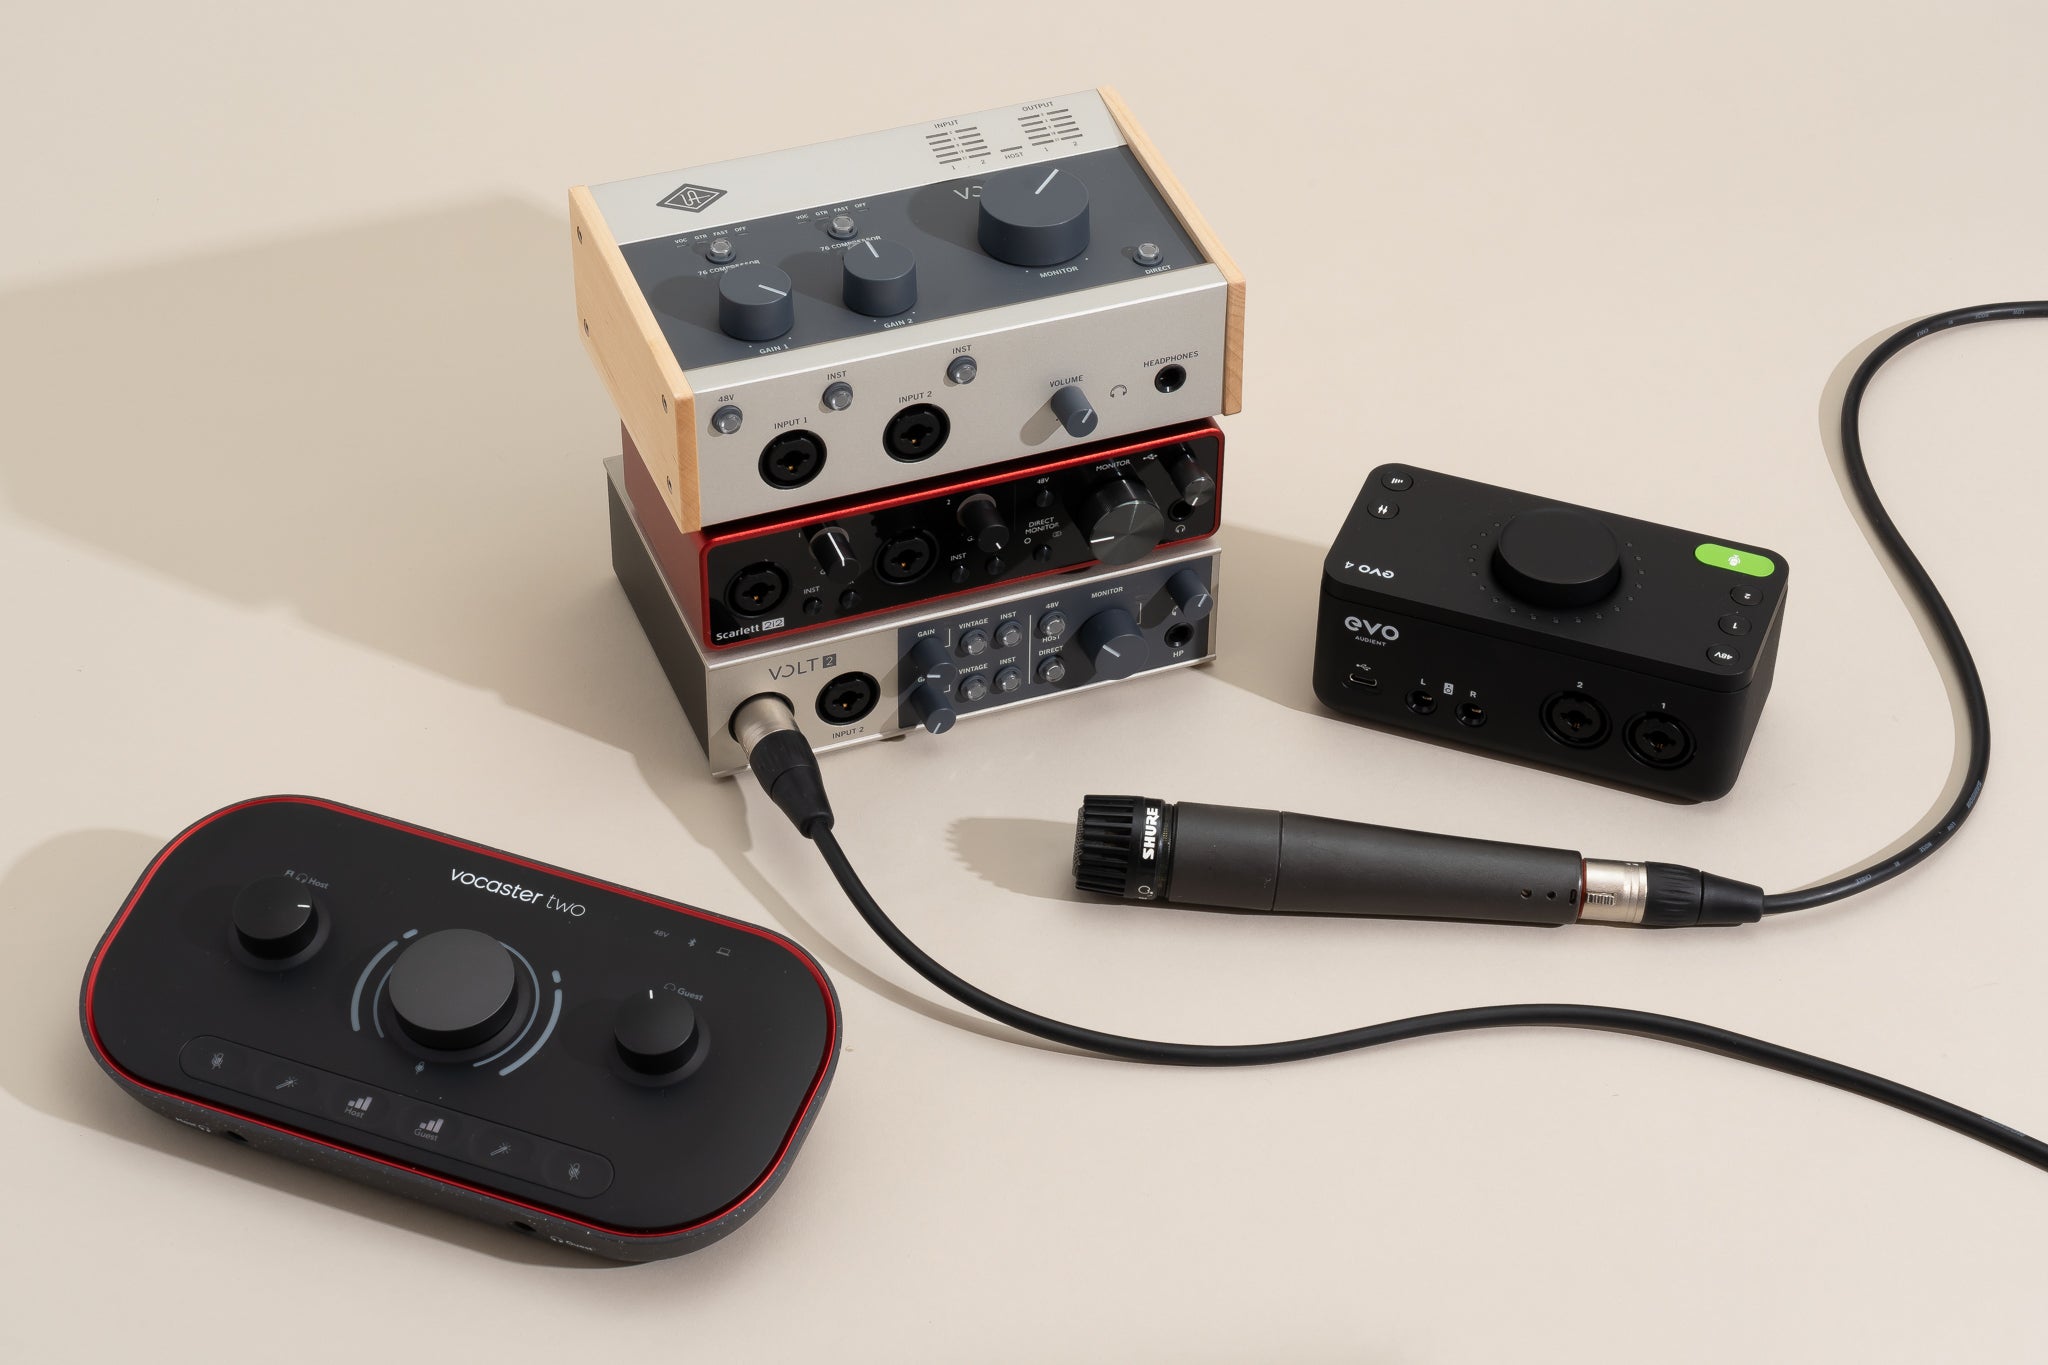
Begin by examining your audio interface. Look for the output ports, which are typically labeled as “line out” or “main outputs.” These ports may be located on the back or front panel of the interface, depending on the model. Take note of the type of connectors available, whether they are XLR, TRS, or RCA.
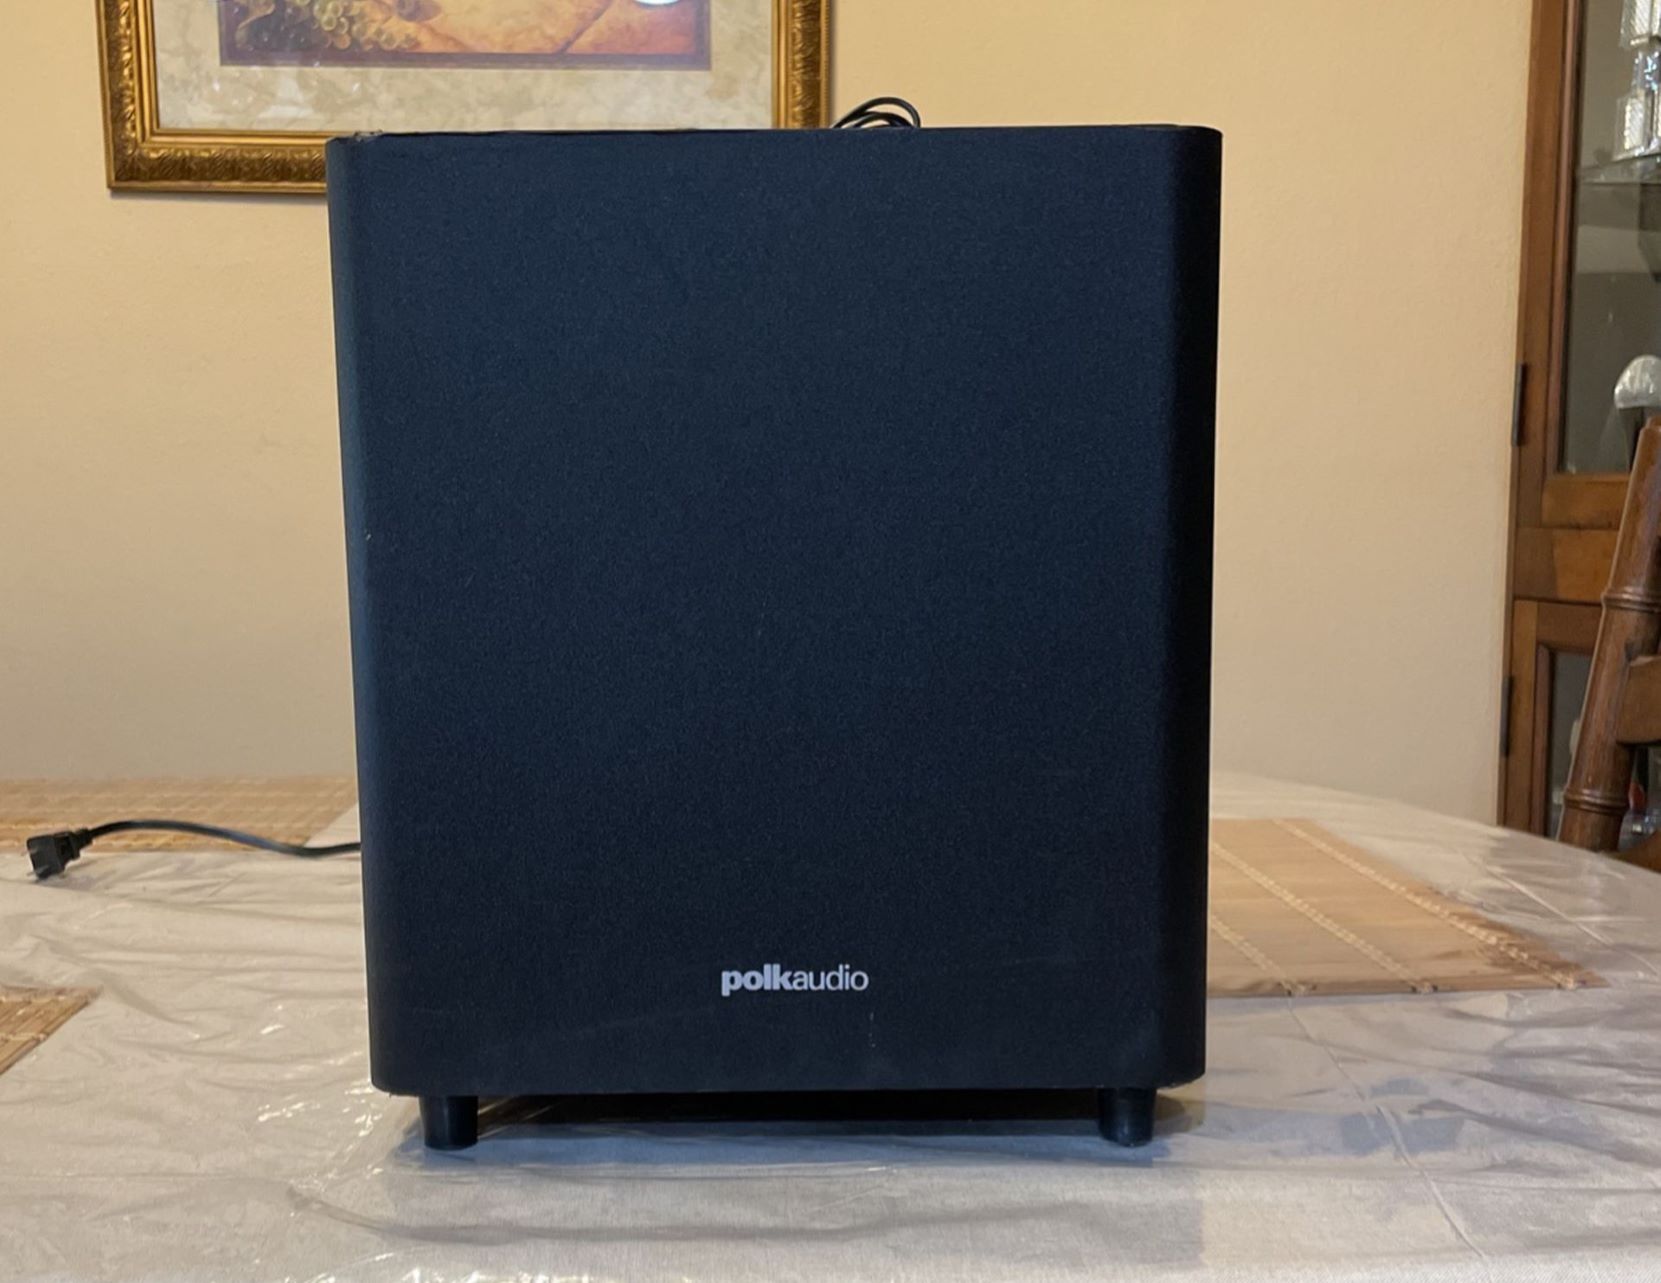
Next, inspect your subwoofer for input connections. Most subwoofers will have at least one input option, which is usually a dedicated subwoofer input or a line-level input. The input may be labeled as “line in,” “LFE in,” or “sub in.” Again, take note of the connector type required.
Once you’re familiar with the available ports on your audio interface and subwoofer, you can move on to the next step of connecting them together.
Pro Tip: If your audio interface doesn’t have a dedicated subwoofer output, you can still connect it by using one of the main output ports and splitting the signal using a Y-splitter cable. However, keep in mind that this method may affect the stereo imaging of your audio, as the subwoofer will receive both left and right signals.
Step 2: Determine the audio interface outputs
Once you have examined the ports on your audio interface, it’s time to determine which output is suitable for connecting your subwoofer. The choice of output will depend on the available connections on both your audio interface and subwoofer.
If your audio interface has a dedicated “subwoofer out” or “LFE out” port, this is the optimal choice for connecting your subwoofer. These outputs are specifically designed to send low-frequency signals to the subwoofer, ensuring optimal audio performance.
If your audio interface doesn’t have a dedicated subwoofer output, you can use the main line outputs or the headphone output. However, keep in mind that these outputs may not offer the same level of control over the low-frequency signals going to the subwoofer. The main line outputs usually provide a balanced signal, while the headphone output may offer a stereo signal.
Take note of the connectors available on the chosen output. Your audio interface may have XLR, TRS, or RCA connectors. Ensure that you have the appropriate cables or adapters to connect the output to your subwoofer.
Pro Tip: If your subwoofer has both XLR and RCA inputs, it’s wise to choose XLR connections whenever possible. XLR provides a balanced signal, which helps to minimize noise and interference. If your audio interface only has RCA outputs, you can still connect it to your subwoofer using RCA cables with a stereo XLR to RCA adapter.
Step 3: Connect the audio interface outputs to the subwoofer inputs
Now that you have determined the appropriate output on your audio interface, it’s time to connect it to the corresponding inputs on your subwoofer. Follow these steps to ensure a proper connection:
- Ensure that both your audio interface and subwoofer are turned off and unplugged from the power source.
- Take the appropriate cable (XLR, TRS, or RCA) and connect one end to the output port on your audio interface.
- Connect the other end of the cable to the corresponding input on your subwoofer. If using XLR connectors, make sure to match the correct pins (1-1, 2-2, 3-3).
- If your subwoofer has multiple input options, ensure that you are using the correct input labeled for “subwoofer” or “LFE.”
- Double-check that the connections are secure and tight to avoid any audio signal loss or interference.
Once the connections are complete, you can proceed to the next step of configuring the settings on both your audio interface and subwoofer.
Pro Tip: If you are using multiple subwoofers or speakers, it’s important to adhere to the manufacturer’s recommendations for connection and configuration. Some systems may require specific cabling or settings to achieve optimal performance.
Step 4: Configure settings on the audio interface and subwoofer
After connecting the audio interface outputs to the subwoofer inputs, it’s important to properly configure the settings on both devices to ensure optimal audio performance. Here’s what you need to do:
- Turn on your audio interface and subwoofer, and make sure they are both receiving power.
- Access the settings or control panel of your audio interface. Depending on the model, this may be done through software on your computer or physical controls on the interface itself.
- Locate the output settings for the connected output. Adjust the volume or level control to an appropriate level for your subwoofer. This will vary based on personal preference and the specific capabilities of your subwoofer. It’s a good idea to start with a moderate level and make adjustments as needed.
- Check if there are any additional settings related to the output, such as filtering options or crossover settings. These settings determine the frequency range that will be sent to the subwoofer. Adjust them accordingly to achieve the desired balance and integration with your main speakers.
- On your subwoofer, check for any available settings or controls. This may include volume, crossover frequency, phase adjustment, or EQ settings. Refer to the manufacturer’s instructions to understand how to make these adjustments correctly.
- Make incremental changes to the settings and test the audio output. Listen for any distortion, excessive boominess, or lack of bass. It may take some trial and error to find the ideal settings for your specific setup, room, and personal preferences.
Remember to take your time during this process and trust your ears. Fine-tuning the settings can make a significant difference in achieving a balanced and immersive audio experience.
Pro Tip: Consider using reference materials like test tones, frequency sweeps, or professionally mixed tracks to help you evaluate the performance of your subwoofer and make precise adjustments.
Step 5: Test the connection and adjust settings if necessary
Once you have configured the settings on your audio interface and subwoofer, it’s time to test the connection and ensure that everything is working as intended. Follow these steps to test and make any necessary adjustments:
- Play audio through your audio interface and listen for the presence of the subwoofer. You should notice a significant improvement in the low-frequency response and overall depth of the sound.
- Pay attention to the balance between the main speakers and the subwoofer. Adjust the volume levels on both the audio interface and the subwoofer to achieve a cohesive and well-integrated sound. The subwoofer should provide a solid foundation without overpowering or overwhelming the rest of the audio.
- Listen for any inconsistencies or abnormalities in the sound. This could include excessive boominess, muddiness, or distortion. If you encounter any issues, revisit the settings on both your audio interface and subwoofer and make necessary adjustments.
- Consider testing the connection with different types of audio content, such as music, movies, or podcasts. This will help you fine-tune the settings for different scenarios and ensure a consistent and pleasing subwoofer performance across different applications.
- Take note of any settings or adjustments you make during the testing process. This will serve as a reference for future setups or changes to your audio system.
Remember that achieving the perfect balance and integration between your audio interface and subwoofer may require some experimentation and tweaking. Be patient and trust your ears to guide you towards the most desirable sound.
Pro Tip: It’s a good practice to periodically evaluate and recalibrate the settings of your subwoofer and audio interface to account for changes in your environment or equipment. This will ensure that you continue to enjoy the best possible audio experience.
Conclusion
Connecting a subwoofer to your audio interface can greatly enhance the low-frequency response and overall audio experience. By following the steps outlined in this guide, you can successfully connect and configure your subwoofer to work seamlessly with your audio interface.
Remember to examine the connections on your audio interface and subwoofer, determine the appropriate outputs, and connect them using the correct cables. Once connected, take the time to configure the settings on both devices, ensuring optimal audio performance and integration.
Testing the connection and adjusting the settings as necessary will allow you to fine-tune the balance and achieve a cohesive sound. Trust your ears and make incremental changes until you are satisfied with the results.
Whether you’re a musician, producer, podcaster, or audio enthusiast, the addition of a subwoofer to your audio interface can take your sound to the next level. It brings depth, richness, and a more immersive audio experience.
By following this guide, you now have the knowledge and steps to confidently connect a subwoofer to your audio interface. Enjoy the enhanced audio quality and explore new creative possibilities with your newfound setup!

