Home>Devices & Equipment>Subwoofer>How To Fix A Ripped Subwoofer

Subwoofer
How To Fix A Ripped Subwoofer
Published: January 20, 2024
Learn how to easily fix a ripped subwoofer and restore its sound quality. Our step-by-step guide will help you save time and money.
(Many of the links in this article redirect to a specific reviewed product. Your purchase of these products through affiliate links helps to generate commission for AudioLover.com, at no extra cost. Learn more)
Table of Contents
- Introduction
- Step 1: Assess the Damage
- Step 2: Gather the Necessary Tools
- Step 3: Remove the Subwoofer from the Enclosure
- Step 4: Inspect the Rip
- Step 5: Prepare the Repair Patch
- Step 6: Apply Adhesive to the Repair Patch
- Step 7: Position the Repair Patch
- Step 8: Press Firmly and Let it Dry
- Step 9: Reinstall the Subwoofer
- Conclusion
Introduction
Subwoofers play a crucial role in enhancing the audio experience by delivering deep, powerful bass. However, even the best subwoofers are not immune to damage. One common issue you may encounter is a ripped subwoofer. Whether it’s due to accidental mishandling or wear and tear over time, a rip in the subwoofer cone or surround can significantly affect its performance.
But before you rush to purchase a new subwoofer, consider repairing the rip yourself. Not only is it a cost-effective solution, but it can also be a rewarding DIY project for audio enthusiasts. In this article, we will guide you through the step-by-step process of fixing a ripped subwoofer, helping you restore its functionality and extend its lifespan.
Before we dive into the repair process, it’s important to assess the extent of the damage and determine if it’s repairable. Minor tears or rips can often be fixed with some simple and inexpensive techniques. However, if the damage is severe or if the voice coil is affected, it may be best to consult a professional or consider replacing the subwoofer altogether.
Step 1: Assess the Damage
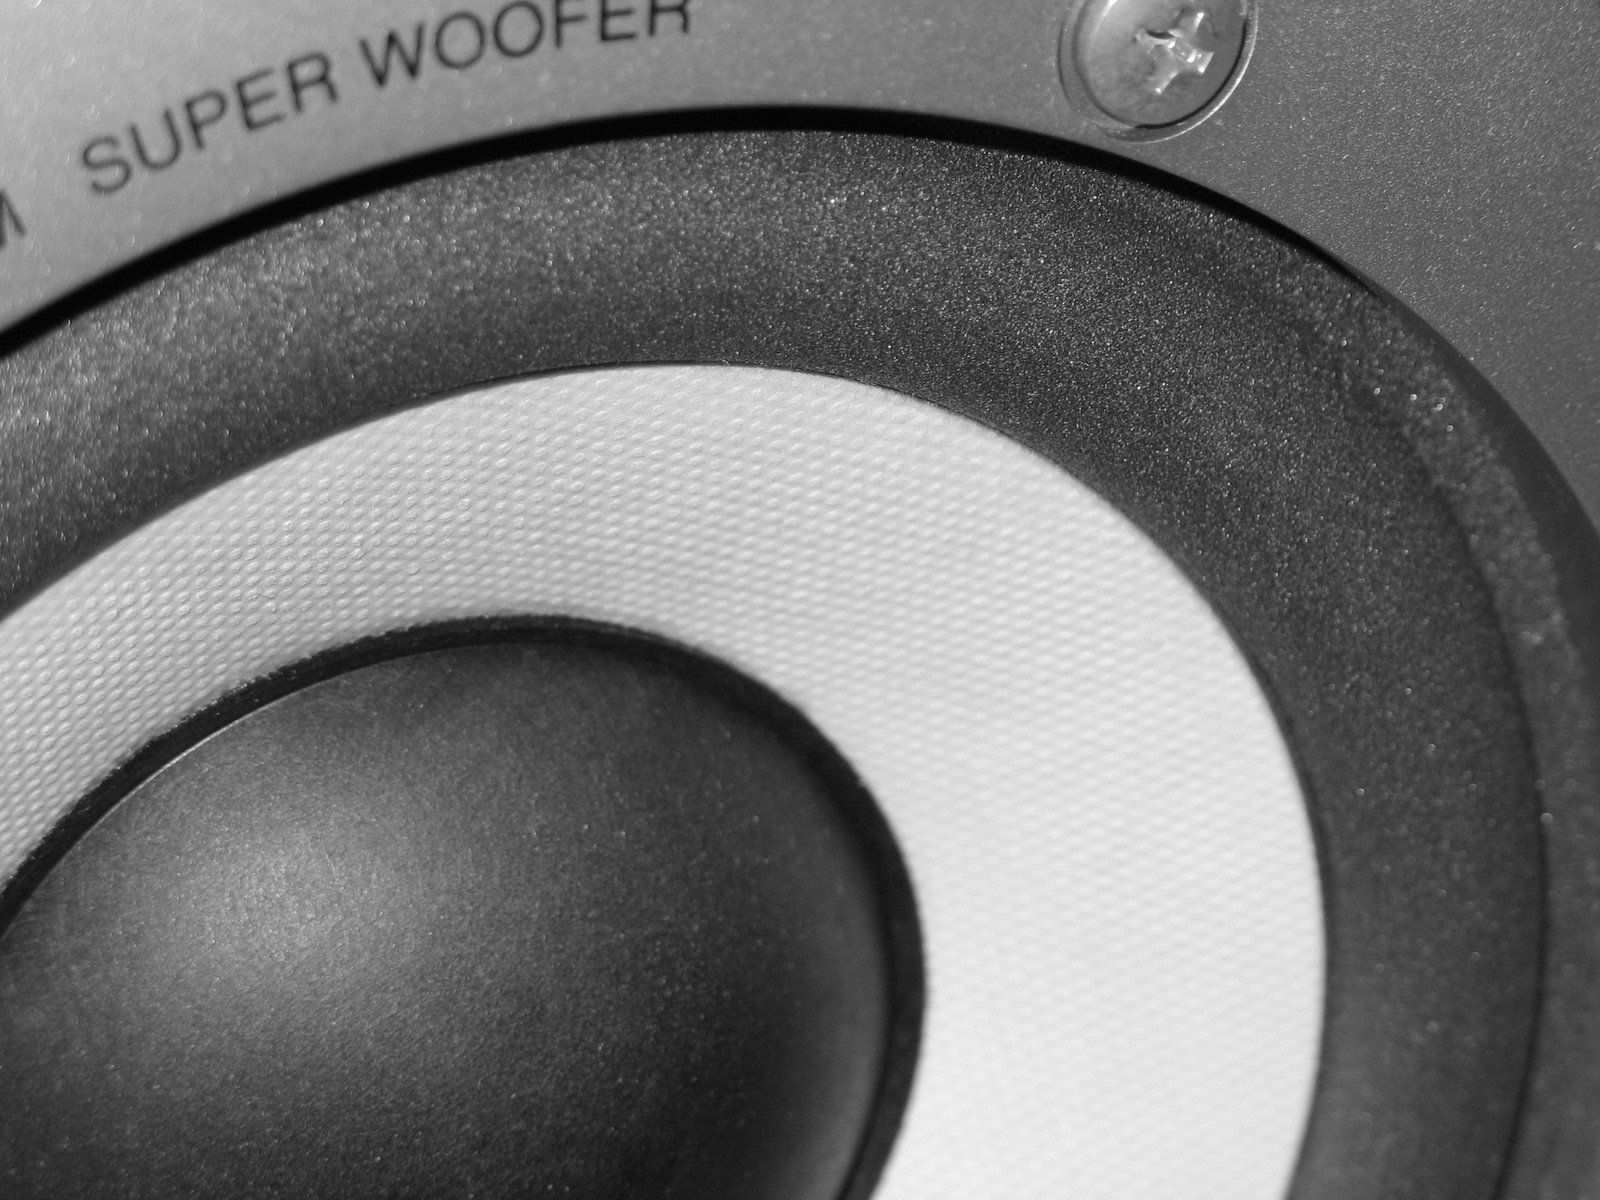
The first step in fixing a ripped subwoofer is to carefully assess the extent of the damage. Start by inspecting the cone and surround for any visible tears, punctures, or separation. Pay close attention to the area around the dust cap and the edge where the cone meets the surround. These areas are more prone to damage due to their constant movement during operation.
If the damage is limited to a small tear or rip, it is likely repairable. However, if you notice larger or multiple tears, or if the voice coil is affected, it may be a more complex repair that requires professional assistance. In such cases, it is recommended to contact the manufacturer or an authorized service center for guidance.
Additionally, it is essential to assess the overall condition of the subwoofer. Check for any signs of wear and tear such as dried-out glue, deteriorating surround, or loose components. These issues may need to be addressed during the repair process to ensure optimal performance and longevity of the subwoofer.
Step 2: Gather the Necessary Tools
Once you have assessed the damage and determined that the subwoofer is repairable, it’s time to gather the necessary tools for the repair. Having the right tools will ensure a smooth and successful repair process. Here’s a list of the tools you’ll likely need:
- Screwdriver set: Depending on the subwoofer model, you may need different types of screwdrivers to remove the subwoofer from the enclosure.
- Adhesive: You’ll need a strong adhesive specifically designed for reattaching the ripped parts. Epoxy or cyanoacrylate (super glue) are commonly used and work well for this purpose.
- Repair patch: A repair patch or speaker repair tape will be used to bridge and reinforce the torn area of the subwoofer cone or surround. These patches are typically made from materials like rubber or fabric.
- Scissors or utility knife: These tools will be required to trim the repair patch to the appropriate size and shape.
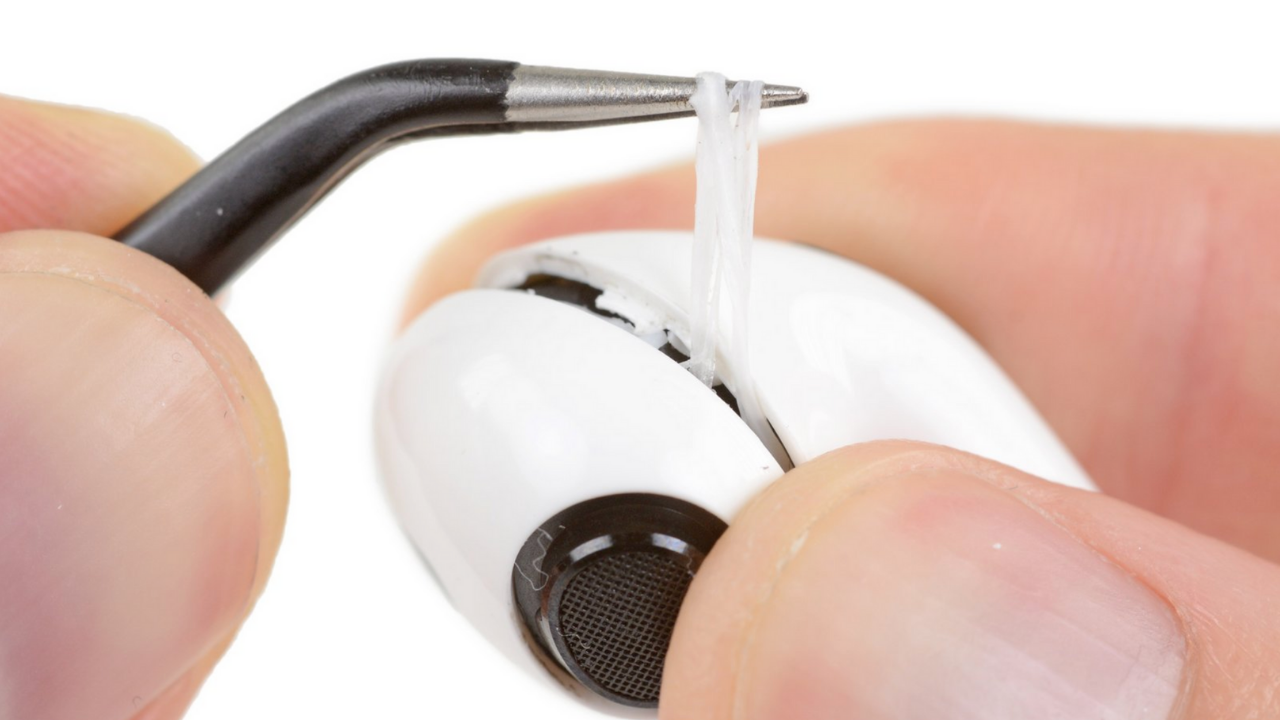
- Tweezers or toothpicks: These small tools will be helpful for precise application of adhesive and positioning of the repair patch.
- Clean cloth or paper towel: You’ll need this to clean any debris or dust from the subwoofer cone and surround before applying the adhesive.
Make sure to have all these tools at hand before starting the repair process. It’s also a good idea to work in a well-lit and clean area to ensure maximum precision and cleanliness. With the necessary tools ready, you can now proceed to the next step of removing the subwoofer from the enclosure.
Step 3: Remove the Subwoofer from the Enclosure
Before you can begin repairing the ripped subwoofer, you’ll need to remove it from its enclosure. This step may vary depending on the specific design and construction of your subwoofer, but the general process is as follows:
- Find the mounting screws: Look for the screws that secure the subwoofer to the enclosure. They are typically located around the perimeter of the subwoofer’s frame.
- Prepare your screwdriver: Based on the type of screws used, select the appropriate screwdriver from your set. Ensure a firm grip on the screwdriver to avoid stripping the screws.
- Remove the mounting screws: Carefully unscrew each mounting screw, making sure to support the weight of the subwoofer as you do so. Set aside the screws in a safe place to avoid misplacing them.
- Gently disconnect any wiring: Check for any wires connected to the terminals of the subwoofer. Carefully detach them by loosening the terminal connectors or unplugging any connectors if present.
- Remove the subwoofer: Once all the mounting screws and wiring are disconnected, gently lift the subwoofer out of the enclosure. Be cautious not to apply excessive force or twist the subwoofer during removal.
Once the subwoofer is safely removed, place it on a clean and soft surface to prevent any further damage. This could be a clean worktable or a soft cloth. With the subwoofer now separated from the enclosure, you can proceed to the next step of inspecting the rip and preparing for the repair process.
Step 4: Inspect the Rip
After removing the subwoofer from its enclosure, it’s time to carefully inspect the rip in the cone or surround. This step is crucial as it allows you to assess the size, location, and severity of the damage, which will guide the repair process. Here’s how to inspect the rip:
- Examine the rip: Take a close look at the torn area of the subwoofer cone or surround. Note the size, shape, and any additional damage such as fraying or separation.
- Check the surrounding areas: Ensure there are no other rips, tears, or weak spots nearby that may require attention during the repair process.
- Determine the type of rip: Pay attention to whether the rip is on the cone or the surround. This will be important when it comes to positioning and applying the repair patch.
- Assess the severity: Evaluate the severity of the rip. If it’s a small, clean tear, it may be easier to repair than a larger, jagged rip.
By thoroughly inspecting the rip, you’ll have a better understanding of the condition of your subwoofer and the best course of action for repairing it. Keep in mind that if the rip is too extensive or if the voice coil is damaged, professional help might be necessary. However, for manageable rips, you can proceed to the next step of preparing the repair patch.
Step 5: Prepare the Repair Patch
With the rip in the subwoofer assessed and inspected, it’s time to prepare the repair patch. The repair patch will reinforce and bridge the torn area, restoring the structural integrity of the subwoofer. Follow these steps to prepare the repair patch:
- Choose the appropriate material: Select a suitable repair patch material based on the type of rip and the subwoofer’s construction. Rubber or fabric repair patches are commonly used, as they provide flexibility and durability.
- Measure the size of the rip: Use a ruler or measuring tape to determine the length and width of the rip. Add a small margin to these measurements when cutting the repair patch.
- Cut the repair patch: Using scissors or a utility knife, carefully cut the repair patch to the desired size and shape. It should be slightly larger than the rip to ensure proper coverage.
- Shape the repair patch: If necessary, round off the corners of the repair patch to prevent any sharp edges that could potentially cause further damage.
Once you have prepared the repair patch, make sure it fits properly over the rip. It should cover the entire torn area and provide ample overlap onto the surrounding material. A well-fitted repair patch will ensure a strong and secure bond during the repair process. With the repair patch ready, you can proceed to the next step of applying adhesive to the patch and preparing for the repair.
Step 6: Apply Adhesive to the Repair Patch
Now that you have prepared the repair patch, it’s time to apply adhesive to ensure a strong bond between the patch and the torn area of the subwoofer. The adhesive will secure the patch in place and prevent any further ripping or tearing. Follow these steps to apply adhesive to the repair patch:
- Clean the torn area: Use a clean cloth or paper towel to gently clean the torn area of the subwoofer cone or surround. Remove any dust, debris, or loose particles that could interfere with the adhesive bond.
- Apply adhesive to the patch: Depending on the type of adhesive you are using, follow the manufacturer’s instructions for applying it to the repair patch. It is often recommended to apply a thin, even layer of adhesive on one side of the patch.
- Avoid excessive adhesive: Be careful not to apply too much adhesive, as it can overflow when pressing the patch onto the torn area. Excessive adhesive can also affect the flexibility and performance of the subwoofer.
When applying the adhesive, it’s essential to work quickly but carefully. Some adhesives have a fast-drying time, so ensure that you have everything ready before applying the adhesive to the patch. Take note of any specific curing or drying time mentioned in the adhesive instructions as this will vary depending on the product you are using.
During this step, it’s important to handle the adhesive with caution, following any safety guidelines provided by the manufacturer. Avoid contact with your skin, eyes, or mouth, and work in a well-ventilated area if the adhesive emits any strong fumes. Once you’ve applied the adhesive to the patch, you can move on to the next step of positioning the repair patch onto the torn area.
Step 7: Position the Repair Patch
With the adhesive applied to the repair patch, it’s time to carefully position it over the torn area of the subwoofer. Proper placement of the patch is crucial to ensure a secure and effective repair. Follow these steps to position the repair patch correctly:
- Align the patch: Carefully align the repair patch with the torn area, ensuring that it covers the entire damaged section. The patch should have a slight overlap onto the surrounding material for a stronger bond.
- Press down firmly: With the patch in the right position, gently press down on it to create a strong adhesive bond. Use your fingers or the back of a small tool, like a toothpick or a tweezers, to apply even pressure across the entire patch.
- Smooth out any wrinkles or air bubbles: While pressing down, make sure to smooth out any wrinkles or air bubbles that may have formed beneath the patch. These can interfere with the repair and affect the subwoofer’s performance.
Take your time when positioning the repair patch to ensure accuracy. Once the patch is pressed firmly onto the torn area, give it a few moments to allow the adhesive to bond securely. It’s important to follow any specific curing or drying time mentioned in the adhesive instructions to achieve optimal results.
Remember, the goal is to create a seamless and sturdy repair. The repair patch should blend smoothly with the surrounding material, and there should be no visible gaps or loose edges. Once you have positioned the repair patch, you can proceed to the next step of pressing firmly and allowing it to dry completely.
Step 8: Press Firmly and Let it Dry
After positioning the repair patch onto the torn area of the subwoofer, it’s important to press firmly and allow the adhesive to dry completely. This step ensures a strong and secure bond between the patch and the subwoofer, enabling a successful repair. Follow these steps to press firmly and let the adhesive dry:
- Apply firm pressure: Using your fingers or a small tool, apply firm and even pressure across the entire repair patch. This helps the adhesive spread evenly and creates a strong bond with the subwoofer’s materials. Make sure to press down on any edges or corners of the patch to ensure they are securely in place.
- Check for proper alignment: Double-check the alignment of the repair patch to ensure it is still in the correct position. If any adjustments are needed, gently lift and reposition the patch before pressing firmly again.
- Let it dry completely: Once you have pressed firmly, avoid touching or disturbing the repair patch. Allow the adhesive to dry completely based on the instructions provided by the manufacturer. This can range from a few hours to overnight.
During the drying process, it’s important to keep the subwoofer in a stable and controlled environment. Avoid exposing it to excessive heat, moisture, or vibrations, as these factors can affect the adhesive bond. It’s also a good idea to cover the repaired area with a clean cloth or protective barrier to prevent any accidental damage or dust accumulation.
Once the adhesive has dried completely, you can move on to the final step of reinstalling the subwoofer into its enclosure and enjoying the restored functionality of your repaired subwoofer.
Step 9: Reinstall the Subwoofer
After successfully repairing the ripped subwoofer, it’s time to reinstall it back into its enclosure. Proper reinstallation ensures that the subwoofer functions optimally and maintains its intended performance. Follow these steps to reinstall the subwoofer:
- Align the screw holes: Place the subwoofer back into the enclosure, ensuring that the screw holes on the subwoofer align with the corresponding holes in the enclosure.
- Secure the subwoofer: Insert the mounting screws into the screw holes and tighten them securely. Use the appropriate screwdriver from your set, being careful not to overtighten and damage the subwoofer or enclosure.
- Reconnect any wiring: If there were any wires disconnected during the removal process, reattach them to the appropriate terminals on the subwoofer. Double-check the polarity and ensure a snug connection.
Once the subwoofer is securely installed and all the wiring is reconnected, give it a gentle shake or tap to ensure it is firmly in place. Make sure there are no rattling or loose parts inside the enclosure.
With the subwoofer successfully reinstalled, you can now power on your audio system and test the repaired subwoofer. Listen for any abnormalities or changes in sound quality. If everything sounds normal, congratulations! You’ve successfully repaired your ripped subwoofer and can now enjoy its powerful bass once again.
However, if you notice any issues or concerns with the subwoofer’s performance after the repair, it’s recommended to consult a professional audio technician for further assistance.
Remember, maintaining the subwoofer’s overall health and performance is important. Regularly inspect and clean the subwoofer to prevent future damage, and be cautious when handling and transporting it to avoid any accidents. By taking care of your subwoofer, you can extend its lifespan and continue to enjoy high-quality bass for years to come.
Conclusion
Fixing a ripped subwoofer is a rewarding DIY project that allows you to restore its functionality and save money on purchasing a new one. By following the step-by-step process outlined in this guide, you can successfully repair minor tears or rips in the subwoofer cone or surround.
Remember to carefully assess the extent of the damage before starting the repair process. If the rip is extensive or if the voice coil is affected, it’s best to seek professional assistance or consider replacing the subwoofer altogether. However, for manageable rips, gathering the necessary tools, removing the subwoofer from the enclosure, inspecting the rip, preparing the repair patch, and applying adhesive are key steps that ensure a strong and secure repair.
Positioning the repair patch correctly, pressing firmly, and allowing the adhesive to dry completely are crucial for a successful repair. Once the subwoofer is repaired and reinstalled into its enclosure, you can enjoy the enhanced audio experience with powerful bass once again.
Regular maintenance and care for your subwoofer are essential to prevent future damage. Clean the subwoofer regularly, handle it with caution, and avoid exposing it to extreme conditions. By taking these precautions, you can prolong the lifespan of your subwoofer and continue to enjoy high-quality audio.
Repairing a ripped subwoofer is not only a practical solution, but it also allows you to hone your DIY skills and gain a deeper understanding of your audio equipment. With the knowledge and confidence gained from successfully repairing your subwoofer, you can tackle future audio-related projects with ease.
So don’t let a ripped subwoofer dampen your audio experience. Take the necessary steps to fix it and continue to enjoy the powerful bass that makes your music and movies come alive.


