Home>Production & Technology>Audio Cable>How To Fix Staticy Audio Cable

Audio Cable
How To Fix Staticy Audio Cable
Modified: January 22, 2024
Learn how to fix staticy audio cables and improve your sound quality with our step-by-step guide. Troubleshoot common issues and enjoy crystal clear audio.
(Many of the links in this article redirect to a specific reviewed product. Your purchase of these products through affiliate links helps to generate commission for AudioLover.com, at no extra cost. Learn more)
Table of Contents
Introduction
Welcome to our comprehensive guide on how to fix a staticy audio cable. Whether you’re a music enthusiast, gamer, or avid podcast listener, there’s nothing more frustrating than encountering static interference in your audio experience. Static can distort sound quality, disrupt communication, and ruin the overall listening enjoyment. But fret not – in this article, we’ll explore the causes of staticy audio cables and provide practical solutions to help you eliminate this annoying issue.
Audio cables are essential components in any audio setup, connecting various devices such as speakers, headphones, microphones, and audio interfaces. When your audio cable starts producing static, it’s often a sign of a problem that needs attention. The good news is that many static-related issues can be easily resolved with a few simple steps.
In the following sections, we’ll discuss the possible causes of static in audio cables and guide you through the troubleshooting process. From checking for loose connections to cleaning the cable, and even replacing it if necessary, we’ll cover all the necessary steps to help you get back to enjoying crystal-clear sound quality.
So, if you’re ready to banish static from your audio experience, let’s dive into the world of troubleshooting audio cables and find practical solutions to give you the best possible listening experience.
Causes of staticy audio cable
Static interference in audio cables can be caused by various factors. Understanding the potential causes can help you pinpoint the issue and implement the appropriate solution. Here are some common culprits behind staticy audio cables:
- Loose or faulty connections: One of the most common causes of static in audio cables is loose or faulty connections. When the connection between the audio device and the cable becomes loose, it can lead to static interference. Additionally, damaged or frayed cables can also cause static issues.
- Electromagnetic interference (EMI): EMI refers to the electromagnetic radiation emitted by electronic devices, power lines, or other electrical equipment. When audio cables are exposed to EMI sources, such as smartphones, computers, or electrical cables, they can pick up the interference and result in a staticy sound.
- Grounding problems: In some cases, static in audio cables can be attributed to grounding problems. Proper grounding is essential for audio devices to eliminate unwanted noise. If the grounding of the audio system is not set up correctly, it can lead to static or buzzing sounds.
- Environmental interference: Environmental factors can also contribute to static in audio cables. This includes factors such as radio frequency interference (RFI), which can occur from nearby radio or TV stations, wireless devices, or even certain household appliances.
- Signal overload: If the audio signal is too strong or exceeds the maximum capacity of the cable, it can cause distortion and static. This often happens when the volume is set too high or when using amplifiers that overpower the cable.
To accurately identify the cause of the static, it’s important to systematically troubleshoot each potential issue. In the following sections, we’ll guide you through the step-by-step process of troubleshooting and fixing staticy audio cables.
Checking for Loose Connections
When dealing with staticy audio cables, it’s crucial to start by checking for any loose connections. Loose connections can cause intermittent or poor contact, leading to static or crackling sounds. Here are the steps to follow:
- Inspect the cable connections: Begin by examining both ends of the audio cable and ensuring they are securely plugged into the respective ports. If any of the connectors appear loose or are not fully inserted, gently push them in until you feel a firm connection.
- Test with different devices: Sometimes, the issue may not be with the cable itself, but rather the audio ports on the devices being used. To determine if this is the case, try using the cable with different devices. Connect it to an alternative source, such as another smartphone, computer, or audio interface, and see if the static problem persists. If the issue disappears, it indicates a problem with the original device’s audio port.
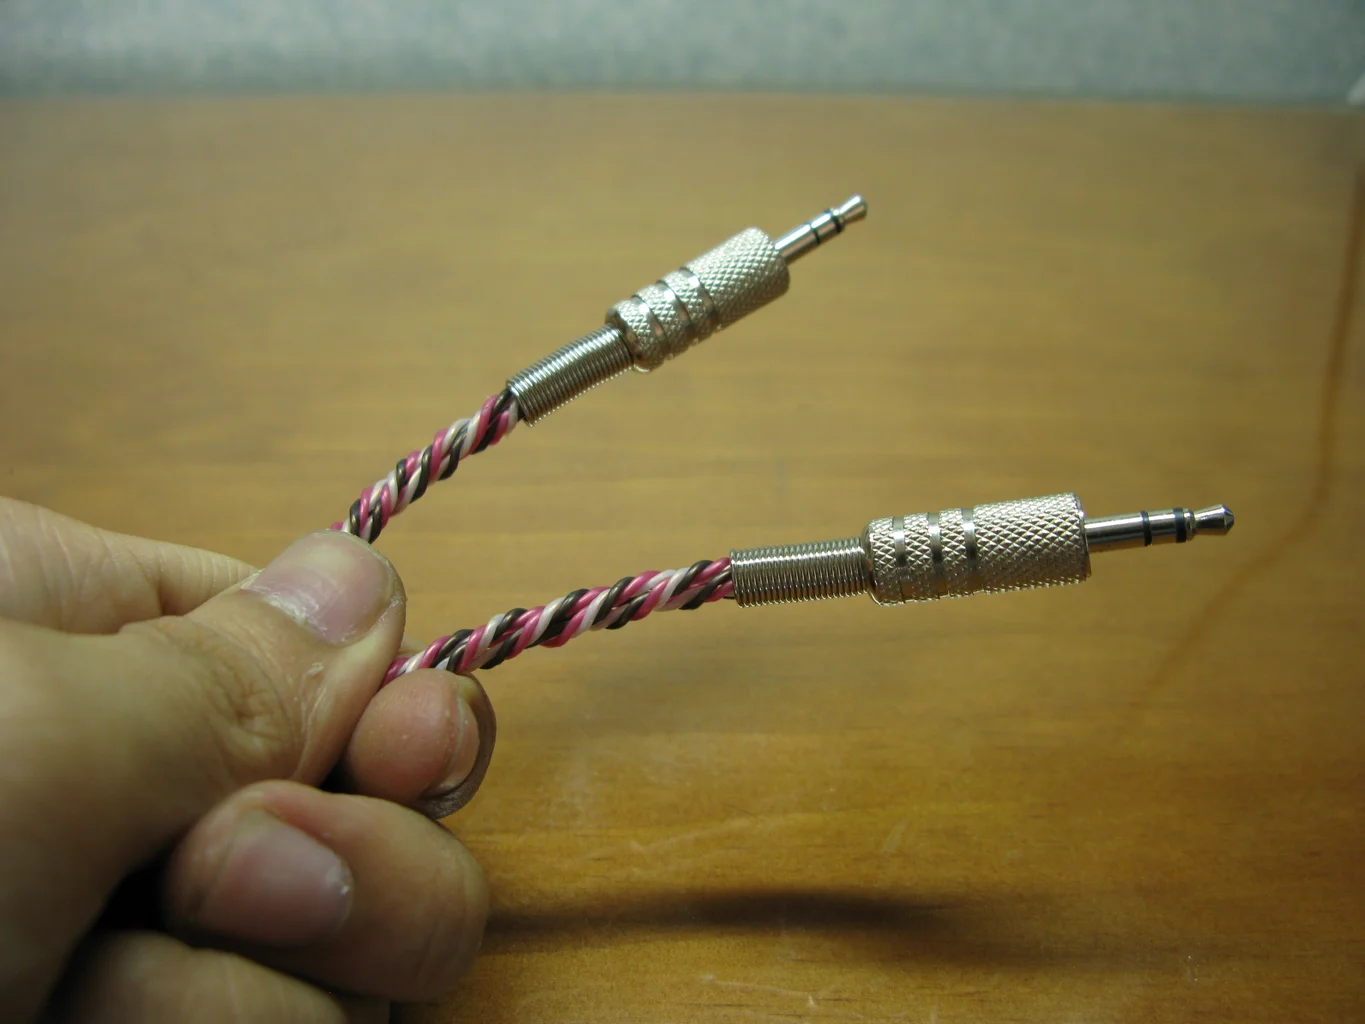
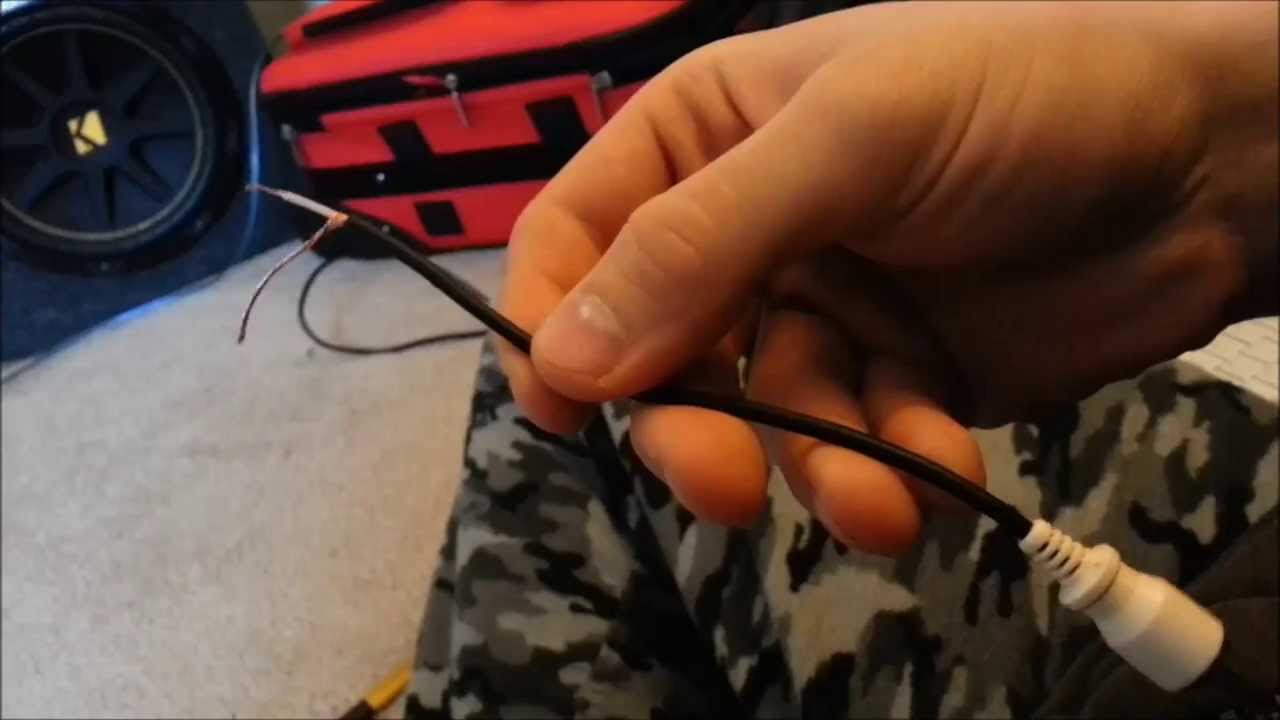
- Check for damage or frayed cables: Inspect the length of the audio cable for any visible signs of damage or fraying. If you notice any exposed wires or cuts along the cable, it’s likely the culprit behind the static issue. In such cases, it’s best to replace the damaged cable with a new one to restore optimal audio quality.
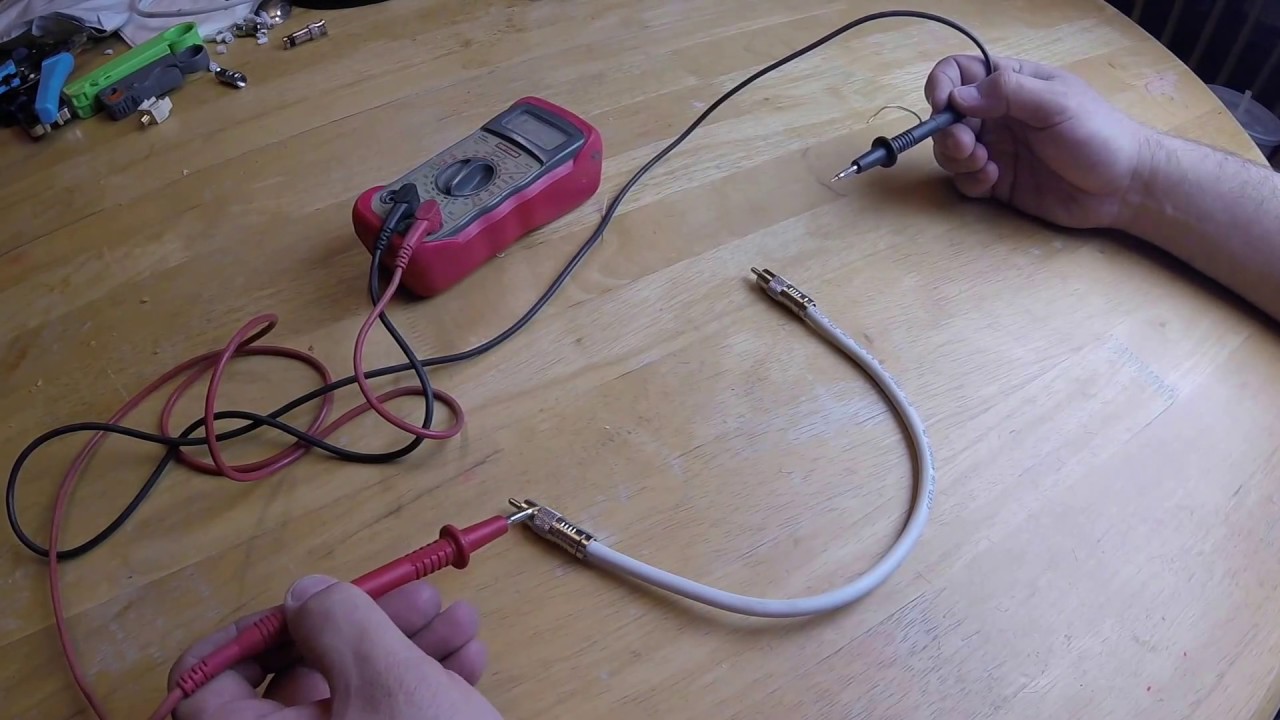
- Try different cables: If you have multiple audio cables of the same type, it’s worth swapping out the problematic cable with a different one. This will help determine whether the issue is specific to the cable or if it’s a more widespread problem. If the static disappears when using a different cable, it’s a clear indication that the original cable is faulty.
By checking for loose connections and verifying the condition of the audio cable, you can eliminate this potential cause of static interference. However, if the static problem persists even after following these steps, it’s time to explore other troubleshooting methods.
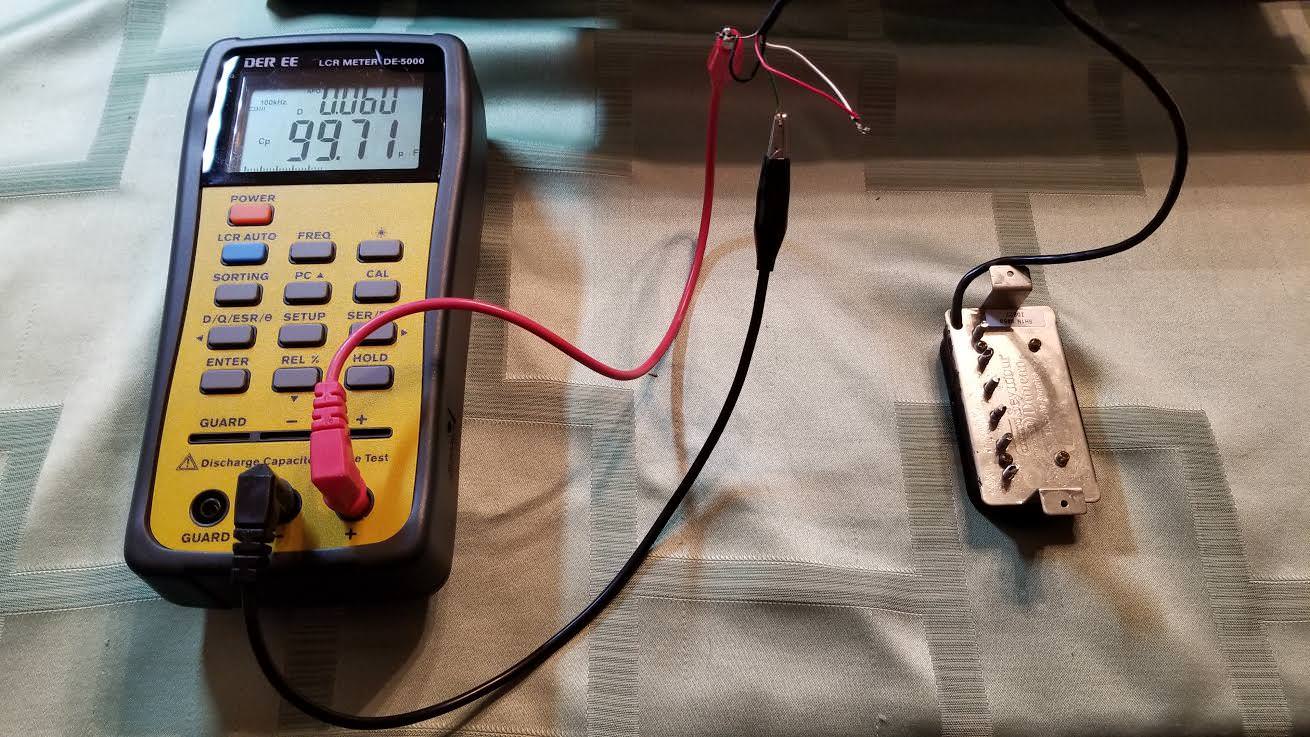
Cleaning the Audio Cable
If you’ve ruled out loose connections as the cause of the staticy audio cable, the next step is to clean the cable and its connectors. Over time, dirt, dust, and debris can accumulate on the cable’s surface or get trapped inside the connectors, leading to poor signal quality. Here’s how you can effectively clean your audio cable:
- Disconnect the cable: Start by unplugging the audio cable from the devices it is connected to. This ensures your safety and prevents any accidental damage to the equipment.
- Inspect the cable: Examine the cable for any visible dirt or debris. If you see any, use a soft brush or toothbrush to gently remove the particles. Be careful not to press too hard or use abrasive materials, as this could damage the cable’s outer coating.
- Wipe down the cable: Take a clean, lint-free cloth or microfiber cloth and dampen it slightly with a mixture of water and mild soap. Gently wipe the entire length of the cable, removing any grime or dirt that may be present. Avoid using excessive moisture to prevent any potential damage to the cable.
- Clean the connectors: Use a cotton swab slightly dampened with isopropyl alcohol to clean the connectors on both ends of the cable. Gently rub the connectors to remove any dirt or oxidation that might be affecting the signal quality. Allow the connectors to dry completely before reconnecting the cable.
- Reconnect and test: Once the cable and connectors are clean and dry, plug the cable back into the devices and test for any remaining static. If the issue persists, move on to other troubleshooting methods.
Cleaning your audio cable regularly can help maintain optimal signal quality and reduce the chances of static interference. Remember to handle the cable with care and avoid using harsh chemicals or abrasive materials that could cause damage. By taking the time to clean your cable, you might just find that it solves the static problem and restores the audio quality to its full potential.
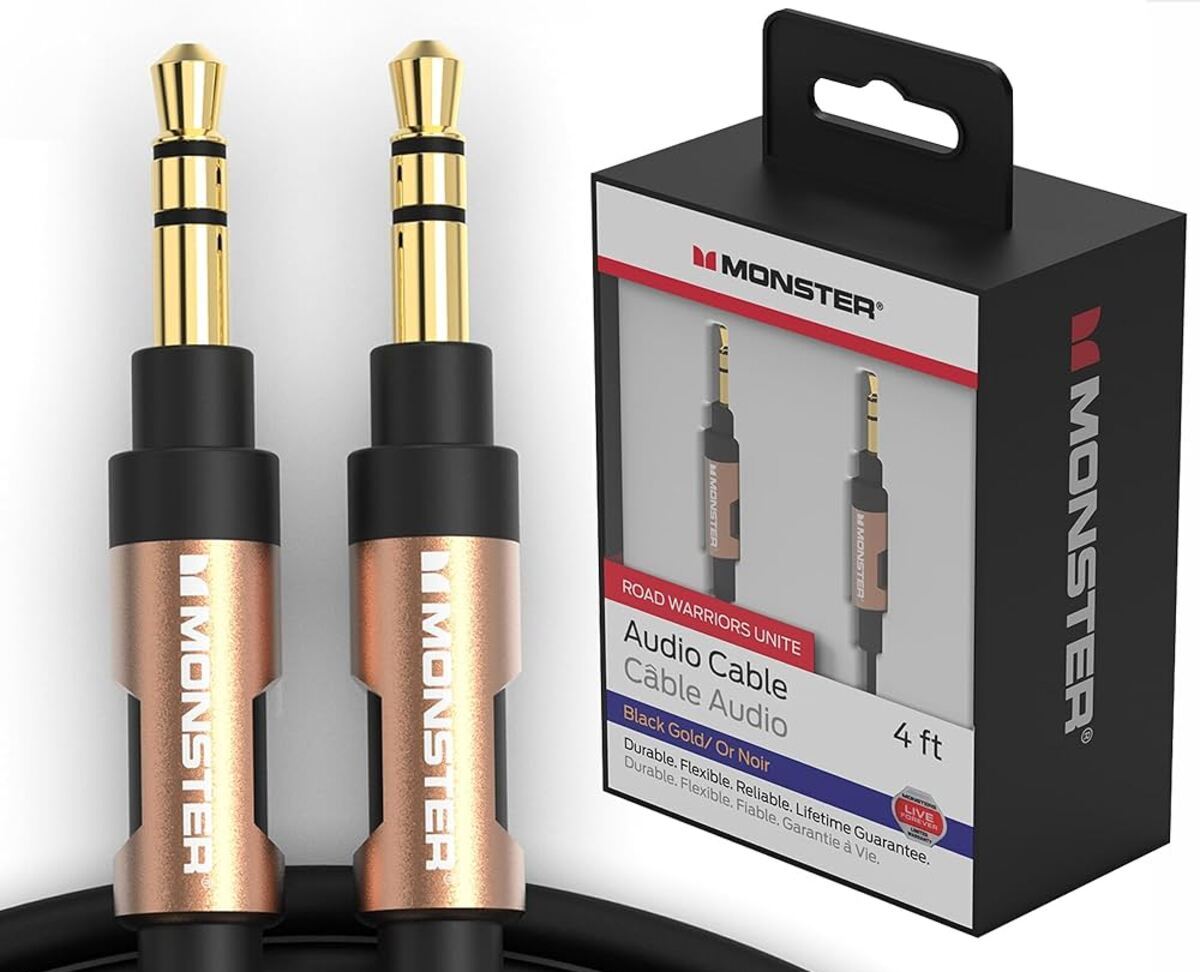
Replacing the Audio Cable
If checking for loose connections and cleaning the audio cable didn’t resolve the static issue, it may be necessary to consider replacing the cable altogether. Over time, cables can wear out, become damaged, or develop internal faults that cause persistent static. Here’s how to go about replacing your audio cable:
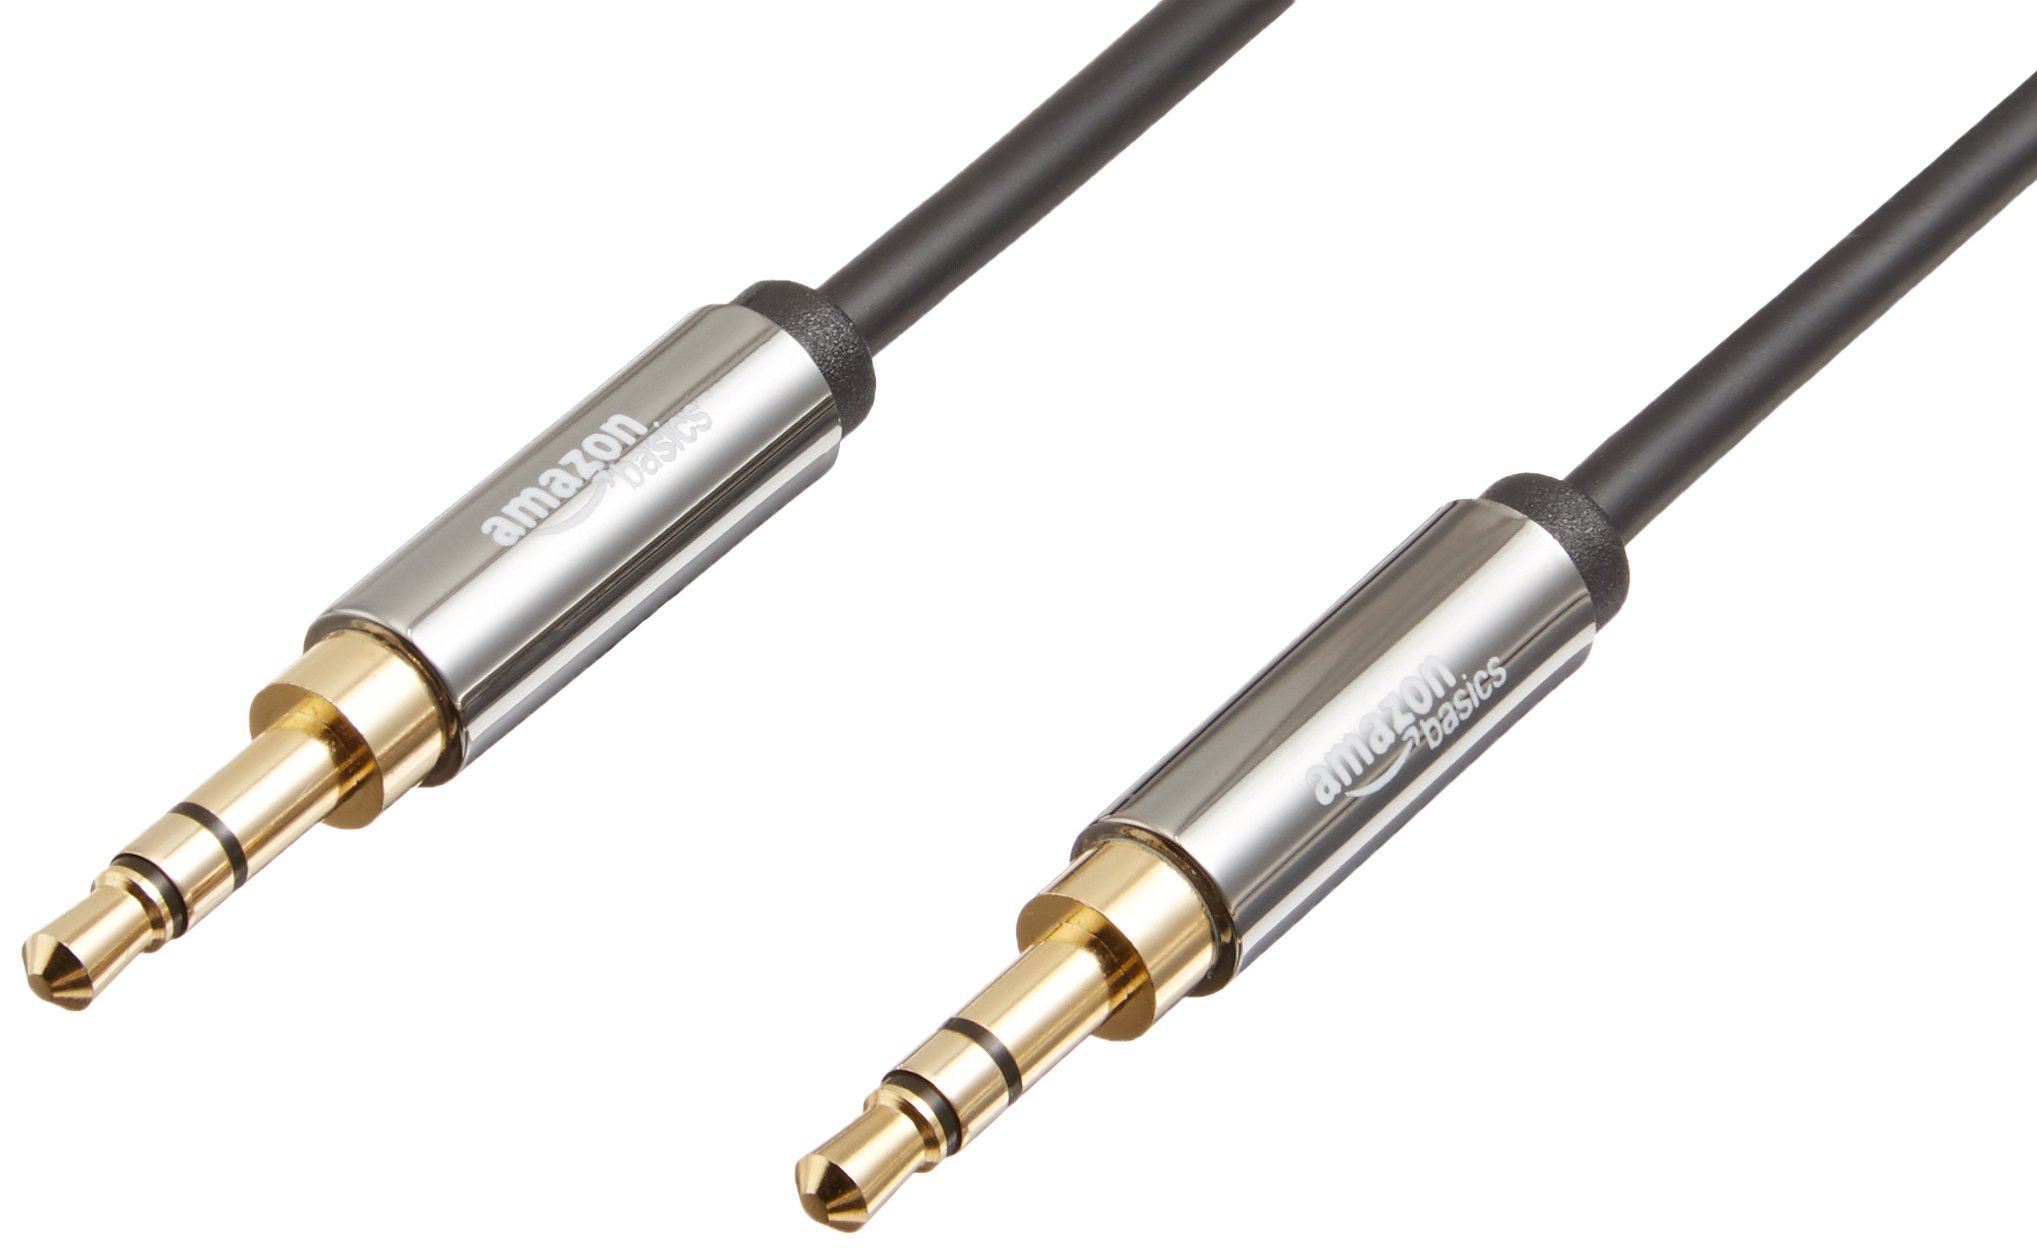
- Identify the type of cable: Determine the specific type of audio cable you need to replace. This includes the type of connectors (e.g., 3.5mm, RCA, XLR) and the length of the cable. Having this information will help you find a suitable replacement that meets your requirements.
- Research and purchase a new cable: Conduct research on reputable audio cable brands and read reviews to ensure you choose a high-quality replacement cable. Look for cables that are known for their durability, signal integrity, and low noise. Purchase the new cable from a reputable retailer or online store.
- Disconnect and remove the old cable: Unplug the old cable from all devices and gently remove it, being mindful not to damage any connectors or ports. Take care not to mix up the old and new cables if you’re replacing multiple cables.
- Install the new cable: Connect the new cable to the appropriate audio ports, ensuring a secure and snug fit. Double-check that each connector is fully inserted to ensure optimal signal transmission and prevent static or loose connections.
- Test the new cable: Once the new cable is connected, test it to ensure the static issue has been resolved. Play some audio or test the microphone to check for any remaining static interference. If the new cable performs well without static, you can enjoy your audio experience without any distractions.
Replacing the audio cable can be a worthwhile investment if the static issue persists. A new, high-quality cable can improve signal integrity and eliminate the problems experienced with the old cable. It’s important to choose a cable that meets your specific needs and matches the devices you’re connecting. By following these steps, you can remove the staticy audio cable from your setup and enjoy clear and crisp sound once again.
Conclusion
Dealing with a staticy audio cable can be frustrating, but with the troubleshooting steps outlined in this article, you can effectively identify and resolve the issue. Whether it’s checking for loose connections, cleaning the cable, or replacing it altogether, each method provides a practical solution to eliminate static interference and restore optimal audio quality.
Remember to start by examining the cable connections, ensuring they are securely plugged in and free from any damage or fraying. If the static persists, move on to cleaning the cable and connectors, removing any dirt or debris that may be affecting the signal. In some cases, replacing the cable with a new, high-quality one may be the best option to completely eliminate static issues.
Throughout the troubleshooting process, it’s important to be patient and thorough. Take the time to test different devices, try alternative cables, and make necessary adjustments to rule out potential causes of the static. By doing so, you can eventually pinpoint the source of the problem and implement the appropriate solution.
Lastly, it’s important to invest in high-quality audio cables that are known for their durability and signal integrity. This will not only help prevent static issues but also enhance overall audio performance. Regular maintenance and cleaning of your audio cables can also contribute to a longer lifespan and reliable performance.
With the knowledge gained from this article, you’re well-equipped to troubleshoot and fix staticy audio cables. By following the outlined steps and utilizing the appropriate solutions, you can enjoy a seamless, static-free audio experience for your music, gaming, or other audio-related activities.
So, go ahead and eliminate that static. Rediscover the joy of crystal-clear sound, and immerse yourself in an enhanced audio experience!