Home>Devices & Equipment>Music Box>How To Make A Custom Music Box
Music Box
How To Make A Custom Music Box
Published: January 11, 2024
Learn how to create a unique music box with our step-by-step guide. Craft beautiful melodies and personalize your own music box. Perfect gift for music lovers!
(Many of the links in this article redirect to a specific reviewed product. Your purchase of these products through affiliate links helps to generate commission for AudioLover.com, at no extra cost. Learn more)
Table of Contents
Introduction
Music boxes have been enchanting people for centuries with their delicate melodies and intricate designs. They hold a special place in our hearts, evoking feelings of nostalgia and joy. While you can easily purchase a ready-made music box, there’s something truly magical about creating your own custom music box.
Imagine the satisfaction of not only selecting the tune that will play, but also designing and assembling the box itself. It’s an opportunity to showcase your creativity and craftsmanship while indulging in the timeless beauty of music.
In this article, we will take you through the step-by-step process of making a custom music box. From gathering the necessary materials to fine-tuning the sound, you will learn all the essential skills needed to create a unique piece of art that plays your favorite tune.
Whether you’re a seasoned crafter or a beginner looking for a new project, this guide will provide you with the knowledge and inspiration you need to embark on this musical journey. So let’s dive in and explore the wonderful world of custom music box making!
Step 1: Gathering Materials and Tools
Before you dive into the exciting process of creating a custom music box, it’s important to gather all the necessary materials and tools. Here’s a list of what you’ll need:
- A wooden box or base for your music box
- A musical mechanism or movement
- A tune strip with the musical notes
- Wood glue or adhesive
- A saw for cutting the box (if needed)
- Sandpaper or a sanding block for smoothing the edges
- Paint, stain, or varnish for finishing the box (optional)
- Decorative elements such as knobs, buttons, or gemstones
- Paintbrushes or sponges for applying paint or stain
- Scissors or a craft knife for cutting the tune strip
When selecting a wooden box or base, make sure it’s sturdy and the right size for the musical mechanism you’ve chosen. You can find pre-made wooden boxes at craft stores or online, or you can opt to make your own using a woodworking tool like a saw.
The musical mechanism is the heart of the music box, so choose one that suits your preferences. They come in various sizes and play different tunes, so consider the melody you want before making a selection. You can find musical mechanisms at specialty stores or online retailers.
The tune strip is a long strip of paper or cardboard with punched holes that correspond to the musical notes of your chosen tune. You may be able to find pre-made tune strips for popular songs, but if you want a custom tune, you’ll need to create your own using sheet music and a template.
Once you have gathered all the materials and tools, you’re ready to move on to the next step: choosing a tune for your custom music box.
Step 2: Choosing a Tune
Selecting the perfect tune for your custom music box is a crucial step in the creative process. The melody you choose will set the mood and evoke emotions whenever the music box is played. Here are some tips to help you make the best choice:
- Consider personal significance: Think about songs that hold special meaning to you or have a sentimental value. It could be a song from a favorite movie, a cherished childhood lullaby, or a romantic tune associated with a special moment.
- Explore different genres: Don’t limit yourself to a specific genre. Explore classical, jazz, pop, or any other genre that appeals to you. Remember, this is your custom music box, so choose a tune that resonates with your taste.
- Consider the complexity: Some tunes are more complex and require a larger musical mechanism to play all the notes. Keep in mind the limitations of the musical mechanism and choose a tune that is compatible.
- Test the melody: If possible, listen to different versions of the tune before making a final decision. This will give you a better idea of how it will sound when played on a music box.
Once you have narrowed down your options, you can either purchase a pre-made tune strip for popular songs or create your own custom tune strip using sheet music. This step may require some musical knowledge or the help of a musician friend, but the result will be a unique music box that plays a melody dear to your heart.
Remember, the tune you choose should bring you joy and create a special atmosphere whenever you hear it. So take your time, explore different options, and don’t be afraid to follow your intuition when selecting the perfect tune for your custom music box.
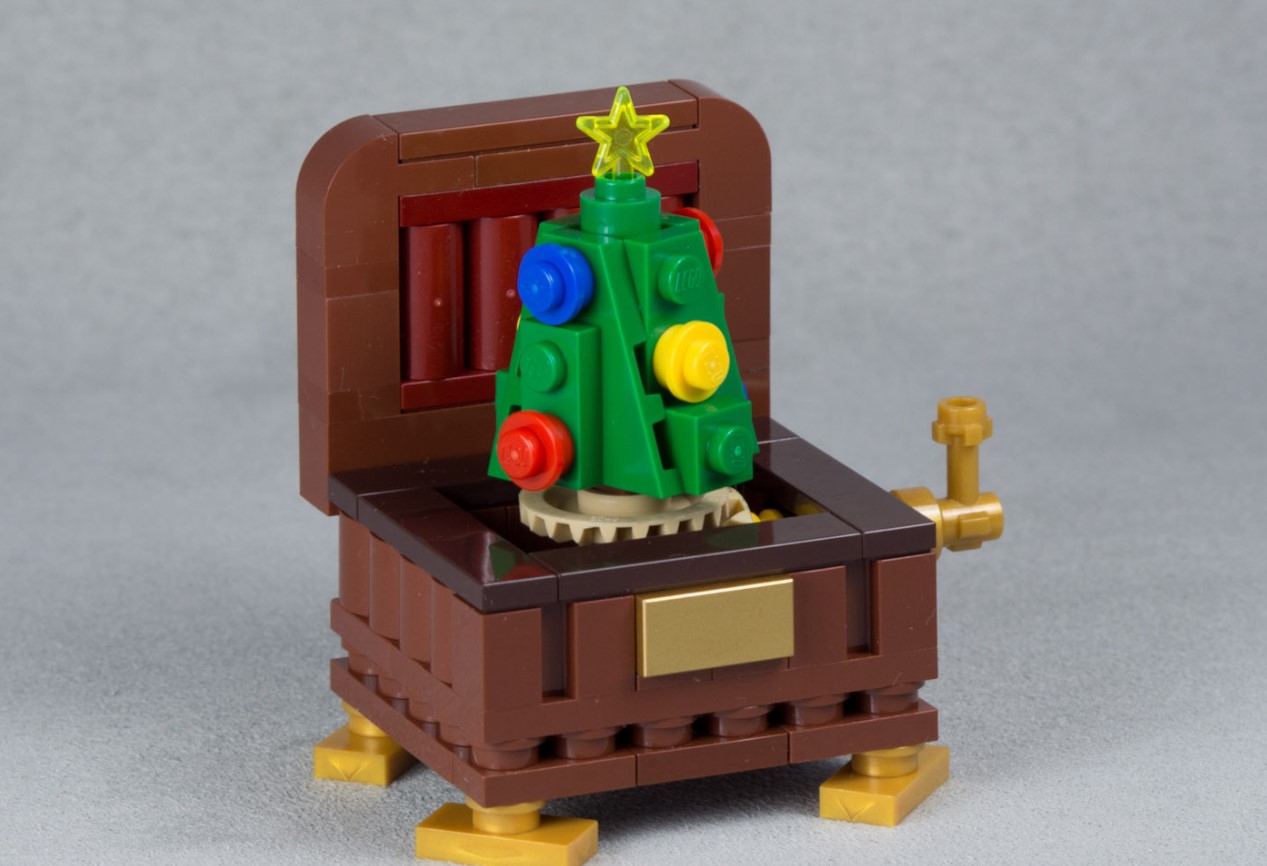
Step 3: Designing the Music Box
Now that you have your materials and chosen a tune, it’s time to unleash your creativity and design the look of your custom music box. This is where you can truly make it unique and reflect your personal style. Follow these steps to design your music box:
- Plan the overall design: Think about the shape, size, and style you want for your music box. Consider whether you want a simple square box or a more elaborate design with multiple compartments. Sketch out your ideas on paper to visualize the final product.
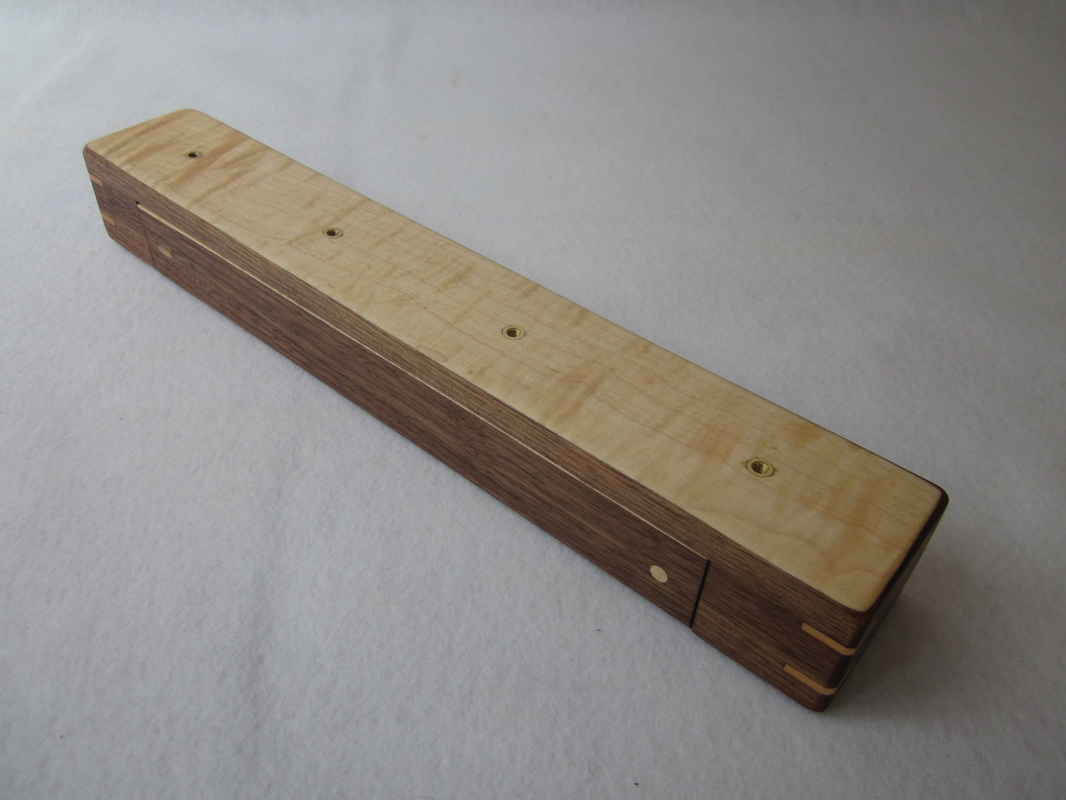
- Choose the wood: If you’re making your own box, select a type of wood that matches your desired aesthetic. Popular choices include maple, oak, cherry, or walnut. Keep in mind that each wood has its own characteristics and may require different techniques for working with it.
- Add compartments or drawers: Decide if you want to include compartments or drawers within the music box to store small items or jewelry. This adds functionality and visual interest to the design.
- Consider embellishments: Think about adding decorative elements such as carvings, inlays, or painted designs to enhance the beauty of the music box. These can be intricate patterns, meaningful symbols, or personalized engravings.
- Keep safety in mind: Ensure that the design of the music box is safe and practical. Smooth out any sharp edges, secure any moving parts or mechanisms properly, and make sure the box can be opened and closed smoothly without any risk of injury.
Remember, the design of your music box is a reflection of your creativity and personal taste. Take your time during this step to ensure that every detail aligns with your vision. Once you have finalized the design, you are ready to move on to the next step: cutting and assembling the box.
Step 4: Cutting and Assembling the Box
With your music box design in hand, it’s time to bring it to life through cutting and assembling the box. Follow these steps to create the structure that will hold your musical mechanism:
- Measure and mark the dimensions: Use a ruler or measuring tape to determine the size of each side of the box. Transfer these measurements onto the wood, marking the cutting lines with a pencil or marker.
- Cut the pieces: Carefully cut along the marked lines using a saw or a woodworking tool. Take your time and ensure that the cuts are precise to achieve clean edges and a perfect fit during assembly.
- Sand the edges: Use sandpaper or a sanding block to smooth out the cut edges of the wooden pieces. This will prevent any splinters and create a polished finish.
- Assemble the box: Apply wood glue or adhesive to the edges of the wooden pieces and fit them together according to your design. Use clamps or rubber bands to hold the pieces in place while the glue dries, ensuring a sturdy and secure box.
- Allow it to dry: Follow the drying time recommended by the glue manufacturer. Be patient and avoid handling the box until the glue has completely cured.
During the assembly process, double-check that the box is aligned correctly and that the angles are square. Mistakes at this stage can affect the functionality and appearance of the music box. Take your time and make any necessary adjustments before the glue dries.
Once the box is fully assembled and dried, you can move on to the next step: adding the musical mechanism.
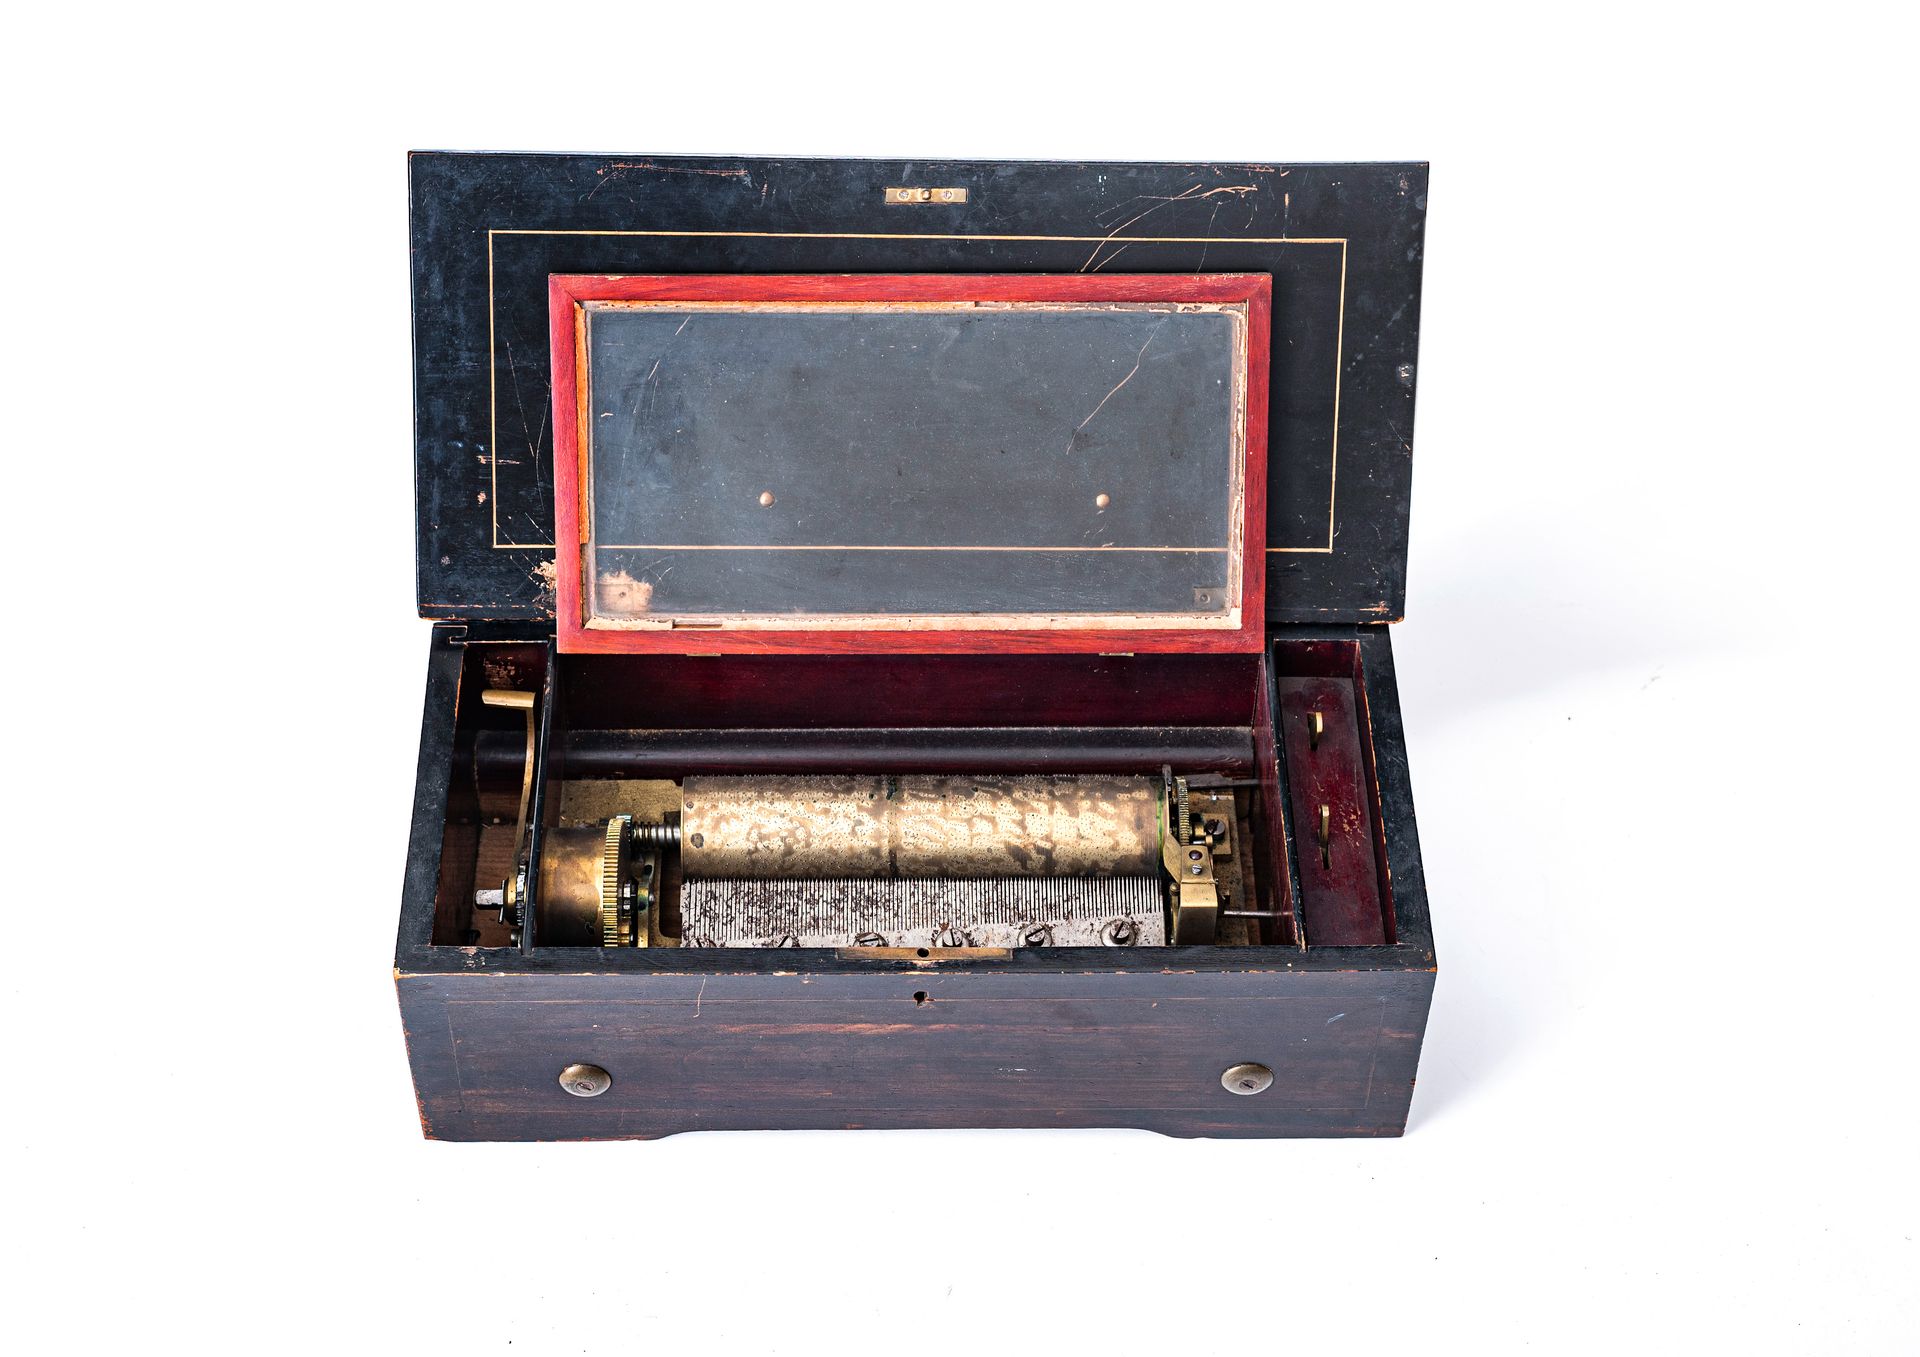
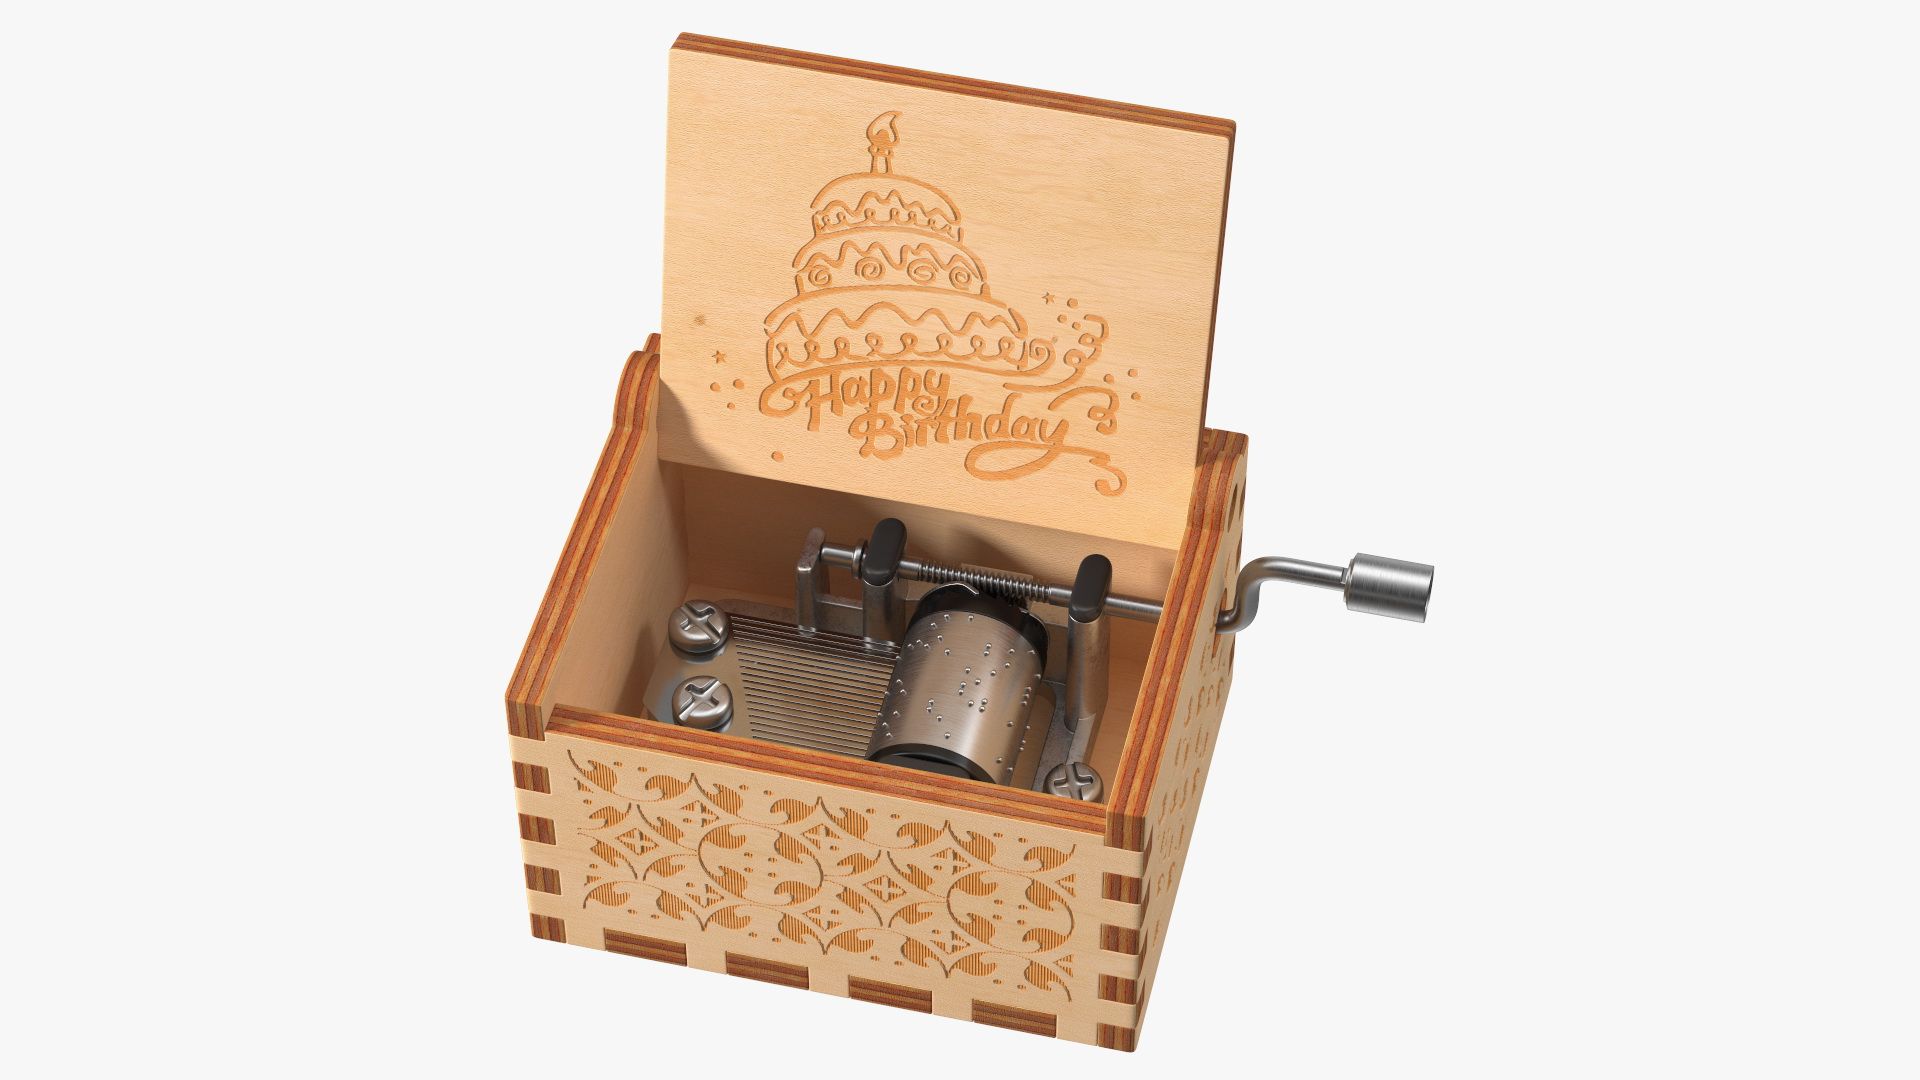
Step 5: Adding the Musical Mechanism
Now that the basic structure of your custom music box is complete, it’s time to incorporate the musical mechanism that will bring your chosen tune to life. Follow these steps to add the musical mechanism:
- Choose the placement: Decide where you want the musical mechanism to be positioned within the box. Consider the accessibility of the winding key and the alignment with the tune strip.
- Measure and mark the placement: Use a ruler or measuring tape to determine the precise position of the musical mechanism. Mark the location with a pencil or marker.
- Create an opening: Use a drill or a small saw to carefully create a hole or opening in the box that fits the musical mechanism. Take extra caution to avoid damaging the surrounding wood.
- Insert the musical mechanism: Carefully place the musical mechanism into the designated opening, making sure that it fits securely. Follow the instructions provided with the mechanism to correctly position it within the box.
- Secure it in place: Use screws, nails, or adhesive to secure the musical mechanism to the box. Ensure that it is firmly attached and does not wobble or move when in use.
During this step, pay close attention to the alignment of the musical mechanism with the tune strip. The movement should be positioned in a way that allows the tune strip to pass through it smoothly, ensuring proper playability of the selected tune.
Once the musical mechanism is securely in place, you can proceed to the next step: fine-tuning the sound of your custom music box.
Step 6: Fine-tuning the Sound
After adding the musical mechanism to your custom music box, it’s time to fine-tune the sound and ensure optimal playability of the chosen tune. Follow these steps to achieve the best sound quality:
- Test the music box: Wind up the musical mechanism and test the sound by turning the crank or activating the mechanism. Pay attention to the melody and any inconsistencies or dissonance.
- Adjust the tension: If the tune is playing too fast or too slow, adjust the tension of the musical mechanism. Most mechanisms have a small screw or lever that allows you to adjust the speed. Experiment until you find the desired tempo.
- Tweak the tune strip: If certain notes are not playing correctly or seem out of tune, remove the tune strip and inspect it. Make any necessary adjustments by cutting or punching new holes for better alignment with the musical mechanism.
- Experiment with resonance: To enhance the sound quality, consider adding resonating elements inside the box. Small strips of felt, foam, or soft materials placed strategically can help amplify and enrich the sound.
- Listen and make adjustments: Continuously listen to the music box while making small adjustments to achieve the desired sound quality. Patience and experimentation are key during this process.
Remember, fine-tuning the sound is a personal preference, and it may take some trial and error to achieve your desired outcome. Take your time, carefully listen to the music box, and make adjustments until you’re satisfied with the sound quality.
Once you are happy with the sound, you can move on to the next step: decorating your custom music box to make it visually appealing.
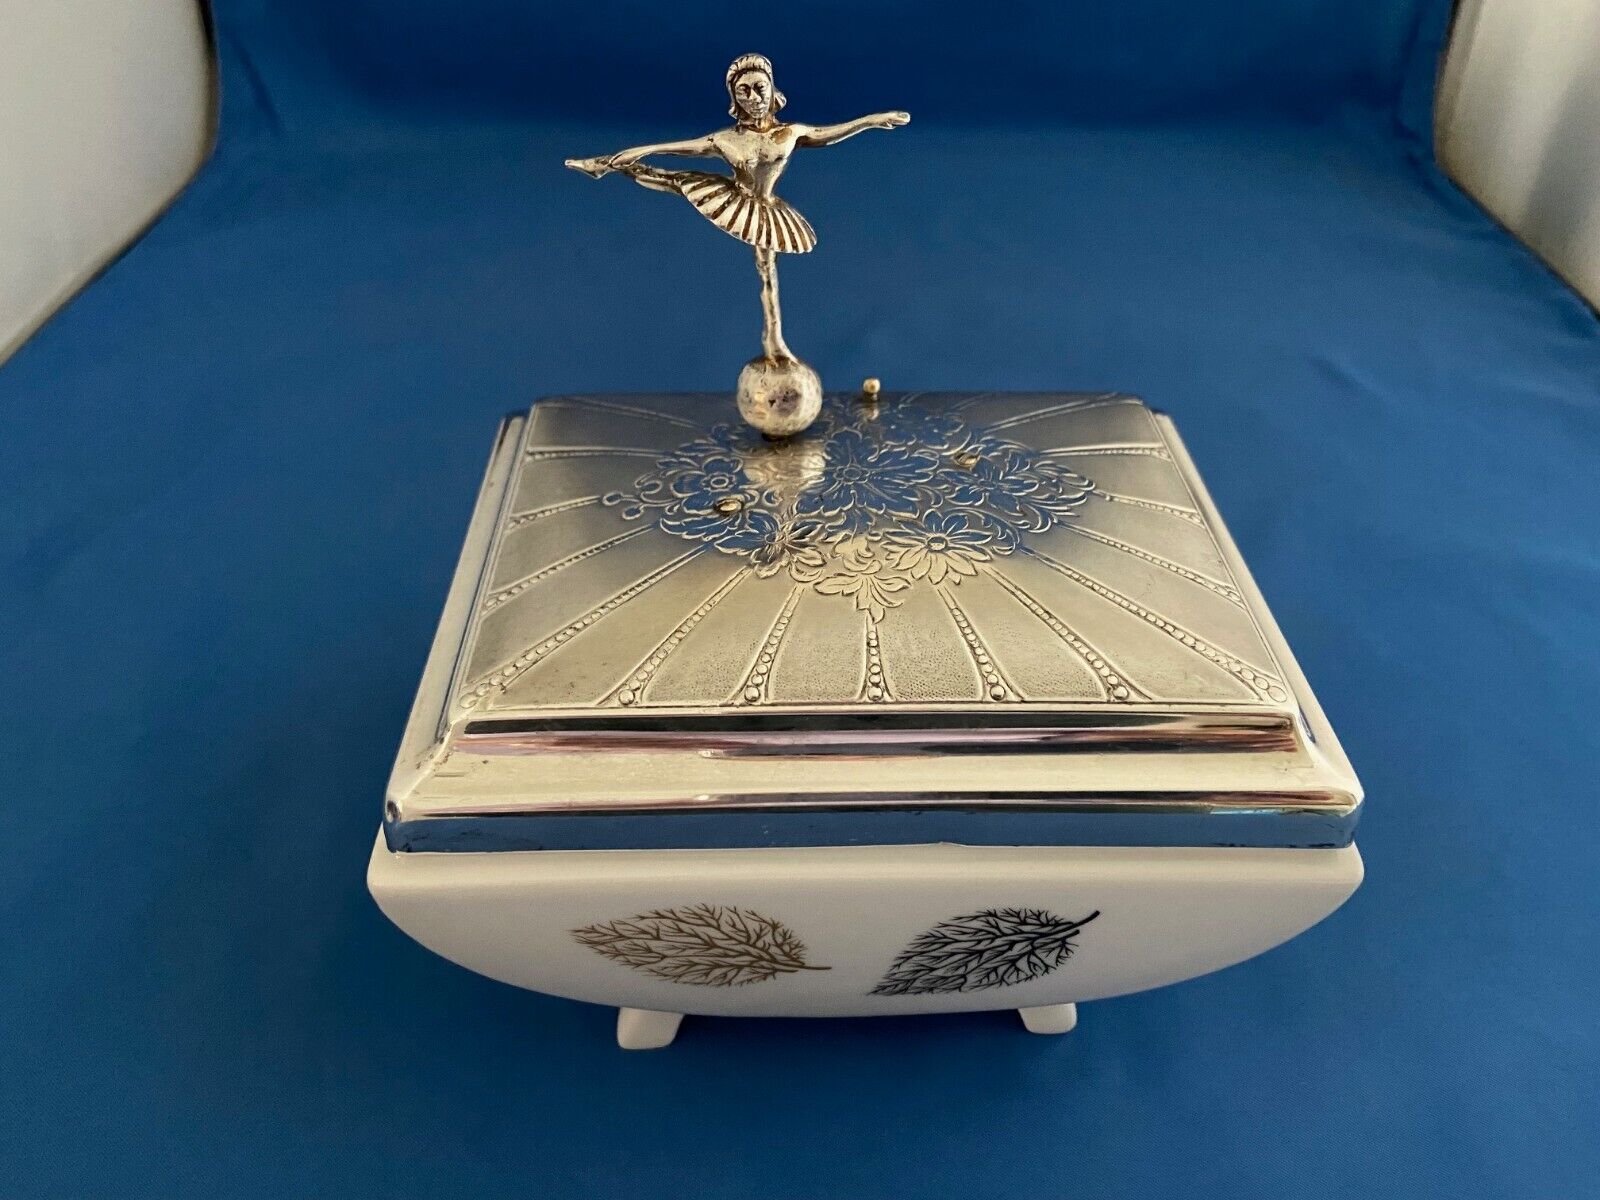
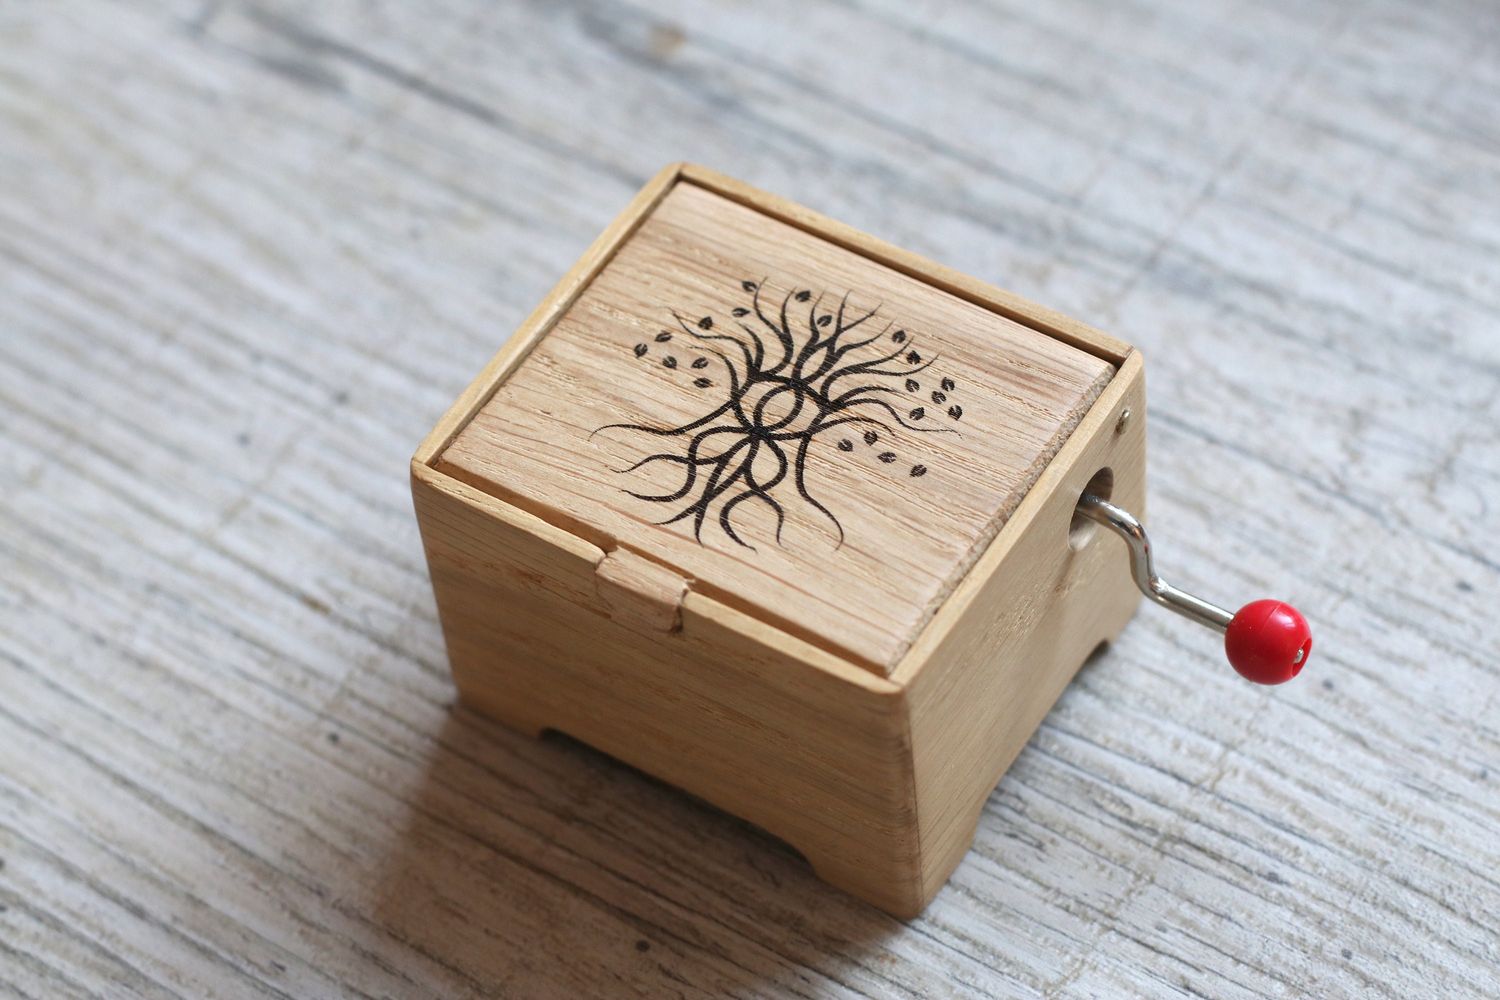
Step 7: Decorating the Music Box
Now that your custom music box sounds beautiful, it’s time to add the finishing touches and make it visually appealing. Decorating your music box allows you to personalize and enhance its overall aesthetic. Follow these steps to decorate your custom music box:
- Choose a theme or style: Consider a theme or style that resonates with you. It can be vintage, floral, whimsical, or any other theme that matches your personality and the intended purpose of the music box.
- Select the decoration materials: Gather materials such as paint, stain, varnish, decals, or decorative elements like knobs, buttons, or gemstones. Choose colors and materials that complement your chosen theme.
- Prepare the box for decoration: If desired, lightly sand the surface of the box to create a smooth base for painting or staining. Remove any dust or debris before applying the decorations.
- Apply paint, stain, or varnish: Depending on your preference, use a brush, sponge, or cloth to apply paint, stain, or varnish to the box. Follow the manufacturer’s instructions for proper application and drying time.
- Add decorative elements: Once the base layer is dry, you can add decorative elements such as decals, stencils, or hand-painted designs. Consider adding personal touches such as names, quotes, or symbols to make it truly unique.
- Attach knobs or buttons: If you’ve chosen to include knobs or buttons, carefully attach them to the box using adhesive or screws. Ensure they are secure and properly aligned with the design.
Decorating your custom music box allows you to express your creativity and make it a visually captivating piece. Whether you prefer a simple and elegant design or a more elaborate and detailed style, the choice is yours.
Once you have completed the decoration, step back and admire your beautifully decorated music box. It’s now time for the final step: testing and troubleshooting your custom creation.
Step 8: Testing and Troubleshooting
As you near the completion of your custom music box, it’s important to test its functionality and address any potential issues. Follow these steps to ensure that your music box is in perfect working condition:
- Test the playability: Wind up the musical mechanism and listen to the tune as it plays. Make sure that all the notes are clear and in tune with each other. Pay attention to any skipped or stuck notes.
- Check for smooth operation: Open and close the box to ensure that it moves smoothly without any resistance or jamming. Test any compartments or drawers to ensure they open and close easily.
- Inspect the overall appearance: Carefully examine the music box for any visible defects, such as uneven paint or loose decorative elements. Make any necessary touch-ups or adjustments to improve its visual appeal.
- Address any troubleshooting needs: If you encounter any issues during testing, take the time to troubleshoot and fix them. This may involve adjusting the musical mechanism, reinforcing loose parts, or fixing any mechanical malfunctions.
- Seek expert advice if necessary: If you are unable to resolve any issues on your own, don’t hesitate to seek the advice of an expert in music box mechanisms or woodworking. They can provide valuable insights and guidance.
- Test again and make final adjustments: Addressing any troubleshooting needs, retest your music box to ensure that all issues have been resolved. Make any final adjustments necessary to achieve the desired functionality and appearance.
Remember that troubleshooting is a normal part of the creative process, and it may take some time and effort to ensure that your music box is in optimal condition. Don’t get discouraged; the end result will be a fully functional and beautiful custom music box.
Once you have completed the testing and troubleshooting, you can proudly enjoy your custom music box or present it as a heartfelt gift to someone special.
Conclusion
Congratulations! You have successfully embarked on a journey to create your own custom music box. Throughout the steps of gathering materials, choosing a tune, designing and cutting the box, adding the musical mechanism, fine-tuning the sound, decorating, and testing and troubleshooting, you have crafted a unique piece of art that combines the beauty of music with your personal touch.
By following this comprehensive guide, you have learned the essential steps involved in making a custom music box. It’s a fulfilling and rewarding process that allows you to express your creativity and create a meaningful keepsake or gift. Whether you’ve chosen a nostalgic melody, a favorite song, or a unique tune, the music box you’ve made is sure to bring joy to anyone that hears it.
Remember to enjoy the creative process and have patience when encountering challenges along the way. Crafting a custom music box requires attention to detail, but the end result is a truly one-of-a-kind piece that you can cherish for years to come.
Now that you have the knowledge and skills, feel free to explore new designs, experiment with different tunes, and continue to refine your craftsmanship. Let your imagination soar as you create more custom music boxes, each one showcasing your unique style and creativity.
So go ahead, let the melodies play and the beauty of your custom music box enchant both you and those who have the pleasure of experiencing its magic.