Home>Devices & Equipment>Turntable>How To Replace A Turntable Stylus Sld2
Turntable
How To Replace A Turntable Stylus Sld2
Published: January 18, 2024
Learn how to easily replace a turntable stylus with our step-by-step guide for the Sld2 model. Discover tips and tricks for maintaining your turntable's performance.
(Many of the links in this article redirect to a specific reviewed product. Your purchase of these products through affiliate links helps to generate commission for AudioLover.com, at no extra cost. Learn more)
Table of Contents
Introduction
Turntables, also known as record players, have made a comeback in recent years, with vinyl enthusiasts enjoying the warm sound and authentic experience of playing records. One crucial component of a turntable is the stylus, which is responsible for tracking the grooves on the vinyl and producing the sound. Over time, the stylus can wear out or become damaged, affecting the audio quality and potentially causing damage to your records.
To ensure that your turntable continues to provide optimal performance, it’s important to know how to replace the stylus when needed. While the process may seem daunting at first, with the right tools and a little guidance, you can easily replace the stylus and get your turntable back in action.
In this article, we will walk you through the step-by-step process of replacing a turntable stylus. We’ll cover everything from gathering the necessary tools and materials to testing the turntable after the replacement. So, let’s get started and bring the music back to life!
Step 1: Gather the necessary tools and materials
Before you begin the stylus replacement process, it’s essential to gather the required tools and materials. Having everything prepared in advance will make the process smoother and more efficient. Here is a list of items you will need:
- New stylus: Make sure to purchase a compatible stylus that matches your turntable model and cartridge type. Consult the manufacturer’s manual or website for the correct stylus specifications.
- Turntable manual: If you have the manual for your turntable, keep it handy. It may contain specific instructions or warnings related to stylus replacement.
- Tweezers or stylus brush: These tools will help you handle the stylus delicately and remove any dust or debris that may have accumulated.
- Lint-free cloth: Use a soft cloth to clean the turntable surface and ensure a dust-free environment for the stylus replacement.
- Isopropyl alcohol or stylus cleaning solution: If the stylus is dirty, you may need to clean it before installing the new one. Use a cleaning solution specifically designed for stylus cleaning, or a 90% isopropyl alcohol solution applied with a brush.
- Protective gloves: It’s always a good idea to wear gloves while handling the stylus and other delicate components to avoid oils or dirt from your hands transferring onto them.
- Work surface: Find a clean and stable work surface where you can comfortably remove and install the stylus without any interference. Avoid surfaces that generate static electricity.
- Good lighting: Ensure proper lighting to clearly see the stylus and its placement during the replacement process.
Once you have gathered all these tools and materials, you can move on to the next step in the stylus replacement process with confidence. It’s important to have everything ready to avoid any delays or complications along the way.
Step 2: Turn off and unplug the turntable
Before you begin the stylus replacement process, it’s crucial to turn off and unplug your turntable. This step ensures your safety and prevents any accidental damage during the stylus replacement. Follow these instructions to power down your turntable:
- Locate the power switch on your turntable. It is typically located on the side or back of the unit.
- Switch the power off by either toggling the switch or pressing it if it is a push-button type.
- Once the power is off, unplug the turntable from the wall socket or power source. This ensures that there is no electrical current flowing through the turntable.
By turning off and unplugging your turntable, you eliminate the risk of accidental injury or damage to the delicate components. This step also ensures that no power is supplied to the turntable during the stylus replacement process, reducing the chances of mishaps.
It’s important to note that some turntables may have specific instructions for powering down or entering a certain mode for stylus replacement. If your turntable’s manual includes such instructions, be sure to follow them accordingly.
Once you have turned off and unplugged your turntable, you can proceed to the next step with peace of mind, knowing that you have taken the necessary precautions to ensure a safe and successful stylus replacement.
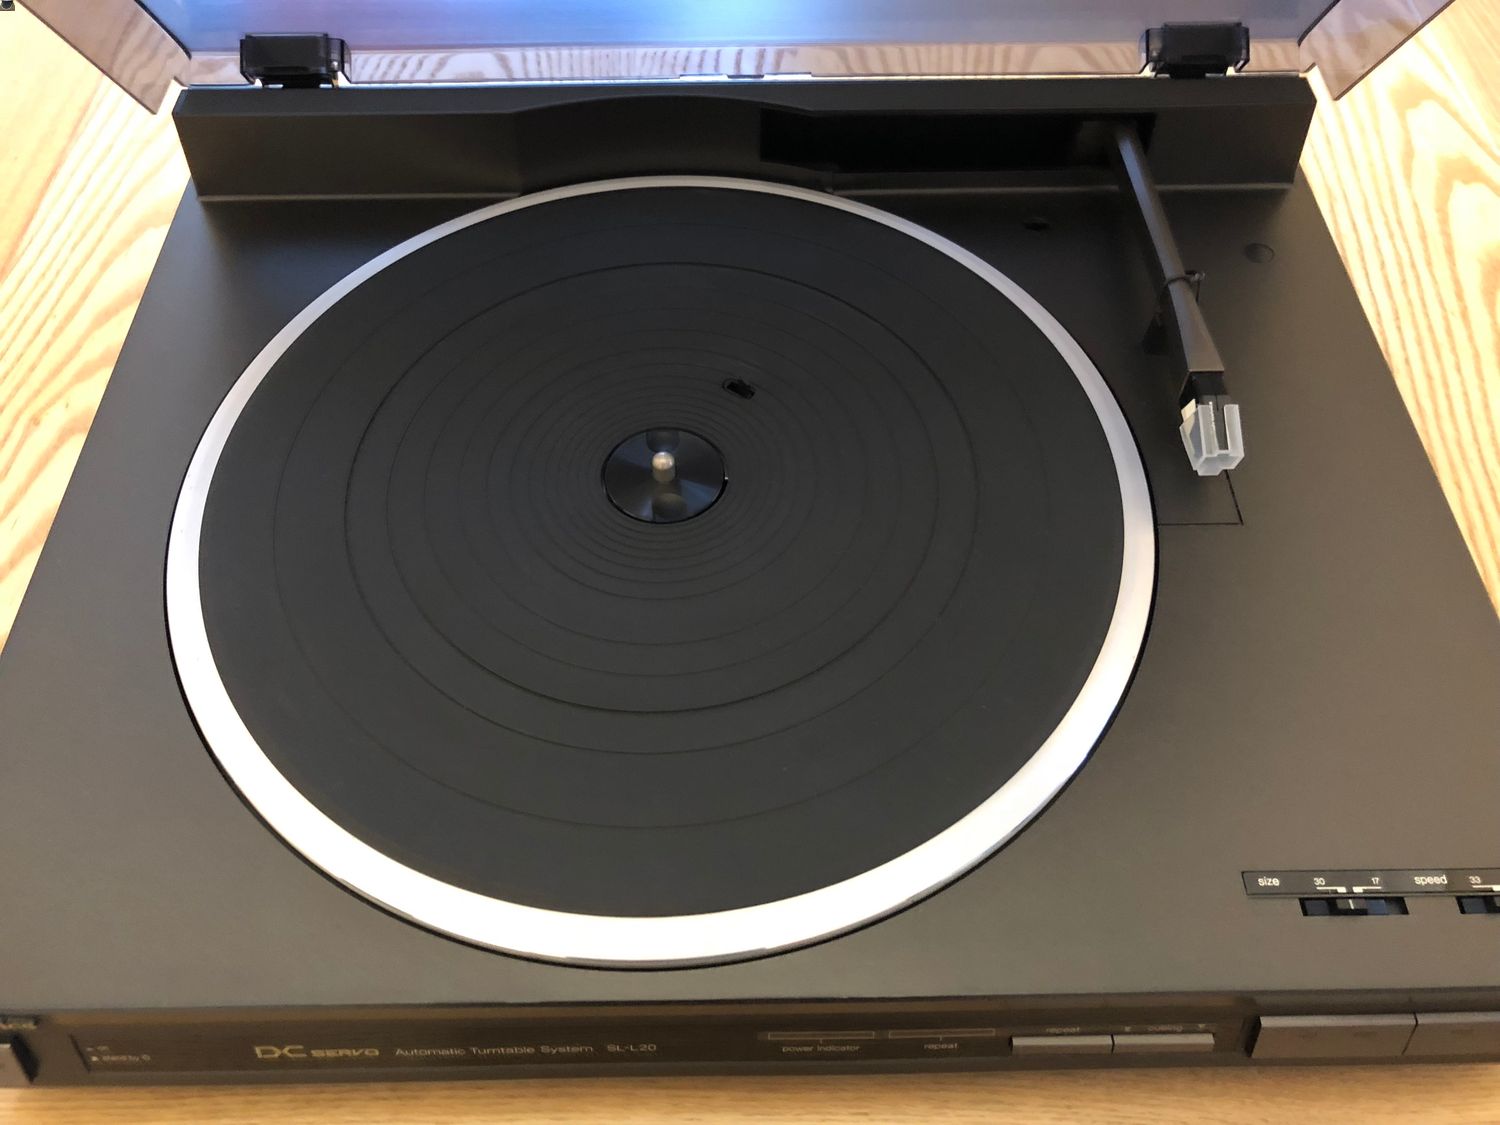
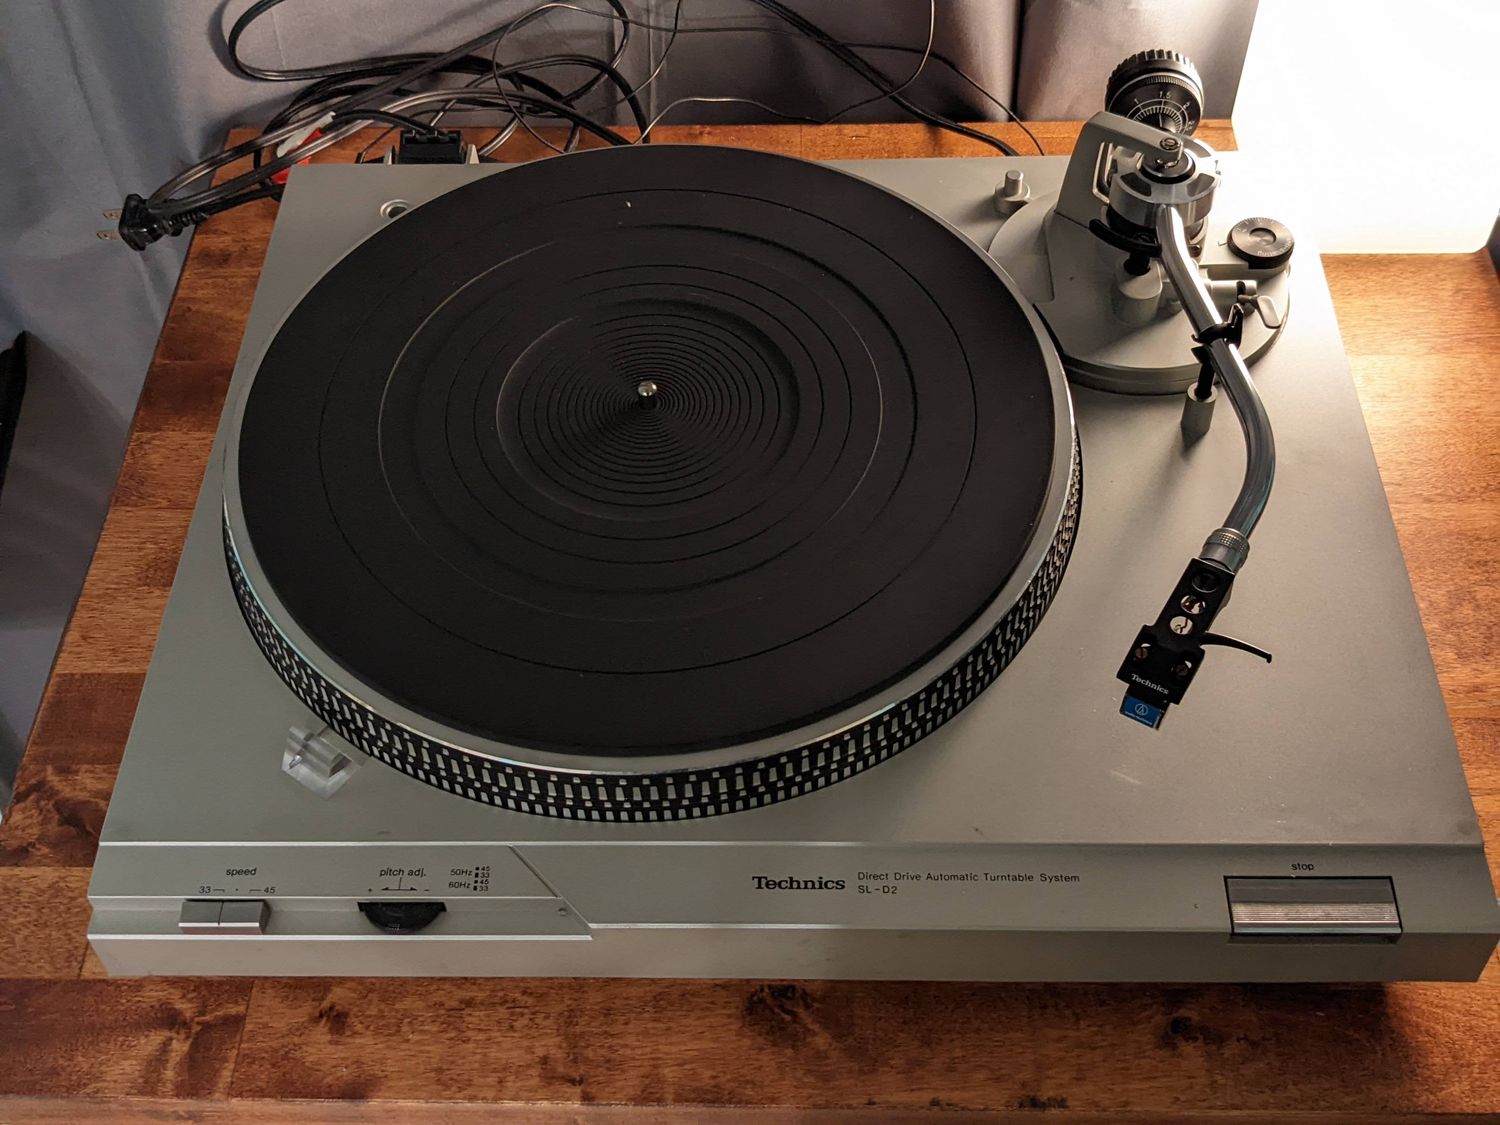
Step 3: Locate and remove the old stylus
Now that your turntable is powered off and unplugged, it’s time to locate and remove the old stylus. Follow these steps to safely remove the stylus:
- Refer to your turntable’s manual or documentation to identify the cartridge and stylus assembly. The stylus is attached to the cartridge, which is typically located at the end of the tonearm.
- Inspect the cartridge to locate the stylus. It may be a small, thin, and needle-like component.
- If there is a stylus guard or protective cover, carefully remove it. Some stylus guards simply slide off, while others may require you to gently lift or twist them.
- Once the stylus is visible, use a pair of tweezers or your fingers (if you prefer), to firmly but gently hold the top of the stylus where it meets the cartridge body.
- Apply a slight downward pressure while pulling the stylus forward. It should slide out smoothly from the cartridge. Be cautious not to exert too much force to avoid damaging the stylus or cartridge.
It’s important to handle the old stylus with care. They can be fragile and easily damaged if mishandled. Avoid touching the tip of the stylus with your bare hands, as skin oils and dirt can affect its performance.
After removing the old stylus, place it in a safe and secure location. Some stylus manufacturers provide protective cases for storing the old stylus. If you don’t have a case, carefully wrap the old stylus in a lint-free cloth to prevent any damage.
With the old stylus removed, you are now ready to move on to the next step and install the new stylus, bringing your turntable one step closer to playing your favorite vinyl records with pristine sound quality.
Step 4: Attach the new stylus
With the old stylus safely removed, it’s time to install the new stylus onto the turntable. Follow these steps to attach the new stylus:
- Before attaching the new stylus, inspect the cartridge for any dust or debris. Use a stylus brush or a pair of tweezers to carefully remove any dirt or debris that may have accumulated on the cartridge body.
- Take the new stylus and hold it by the top end, ensuring that you do not touch the needle or the delicate tip of the stylus.
- Align the stylus with the cartridge body. Look for the small guide lines or markings on both the stylus and the cartridge to ensure proper alignment.
- Once aligned, gently push the stylus into the cartridge body. Apply a small amount of pressure until you hear or feel a click, indicating that the stylus is securely attached.
- If your turntable has a stylus guard or protective cover, replace it by sliding or snapping it back into place. This will protect the new stylus when not in use.
It’s important to be careful and gentle during the attachment process. Be cautious not to push too hard or use excessive force, as this can damage the new stylus or the cartridge. Take your time to ensure a proper and secure connection.
Once the new stylus is attached, take a moment to visually inspect it and make sure it is seated correctly. Ensure that the stylus is straight and perpendicular to the tonearm for optimal performance.
Congratulations! You have successfully attached the new stylus to your turntable. However, before you start playing your records, it’s important to perform a quick test to ensure that everything is functioning as expected. Let’s move on to the next step.
Step 5: Test the turntable
Now that you have installed the new stylus, it’s time to test your turntable to ensure everything is working correctly. Follow these steps to perform a quick test:
- Turn on your turntable and adjust the volume to a moderate level.
- Place a record on the turntable platter, ensuring it is clean and free from dust or debris.
- Gently lower the tonearm onto the record, allowing the stylus to make contact with the groove.
- Listen carefully for any irregularities such as distortion, skipping, or excessive noise. These signs may indicate an improper stylus installation or adjustment.
- Pay attention to the overall sound quality and clarity. A properly installed stylus should produce clear and balanced audio.
If you notice any issues during the test, such as skipping, sound distortion, or excessive noise, you may need to revisit the stylus attachment and make any necessary adjustments. Consult your turntable’s manual or manufacturer for troubleshooting tips specific to your model.
If the test is successful and the turntable plays the record smoothly with good audio quality, congratulations! You have successfully replaced the stylus and can now enjoy your vinyl collection to its fullest.
Remember, taking care of your turntable and stylus is important to maintain optimal performance and longevity. Regularly clean the stylus and records, handle the turntable with care, and keep it in a dust-free environment.
By following these steps and practicing proper maintenance, you can continue to enjoy the nostalgic and authentic experience that turntables offer for years to come.
Conclusion
Replacing the stylus on your turntable is a fundamental maintenance task that ensures optimal sound quality and protects your vinyl records. By following the step-by-step process outlined in this article, you can easily and safely replace the stylus on your turntable.
Remember to gather all the necessary tools and materials before starting, and always refer to your turntable’s manual or manufacturer’s guidelines for specific instructions. Taking the time to power off and unplug the turntable, locating and removing the old stylus, attaching the new one properly, and testing the turntable will all contribute to a successful stylus replacement.
After completing the stylus replacement, don’t forget to take care of your turntable and stylus by regularly cleaning them and keeping the turntable in a dust-free environment. This will help maintain the longevity and performance of your equipment and enhance your overall listening experience.
Now that you have the knowledge and confidence to replace the stylus on your turntable, you can continue to enjoy the warm sound and unique experience of playing vinyl records. Take the time to cherish your vinyl collection and immerse yourself in the nostalgic world of turntables and analog music.
Happy listening!