Home>Devices & Equipment>Turntable>How To Clean Up Technics Turntable Plinth

Turntable
How To Clean Up Technics Turntable Plinth
Modified: January 22, 2024
Learn how to effectively clean and maintain your Technics turntable plinth. Get expert tips and tricks to keep your turntable in optimal condition.
(Many of the links in this article redirect to a specific reviewed product. Your purchase of these products through affiliate links helps to generate commission for AudioLover.com, at no extra cost. Learn more)
Table of Contents
Introduction
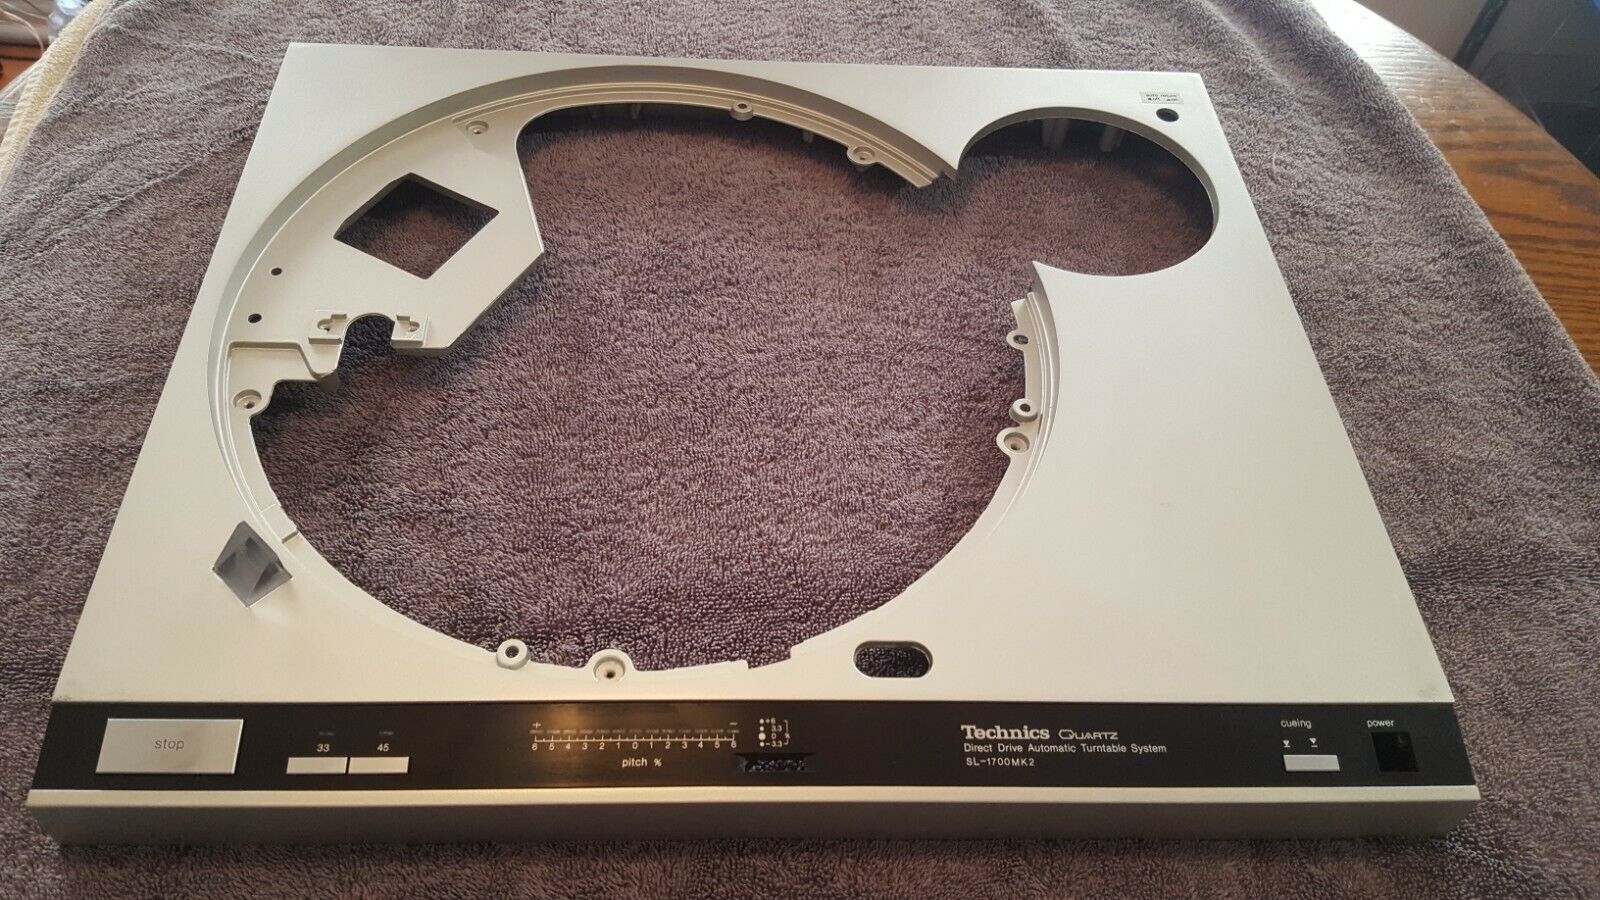
Welcome to this comprehensive guide on how to clean up Technics turntable plinth. The plinth, which is the base of the turntable, is not only a functional component but also an aesthetic one. Over time, it can accumulate dust, dirt, and stains, affecting both the performance and appearance of your beloved turntable. Cleaning the plinth not only improves the overall look of your turntable but also helps maintain its functionality in the long run.
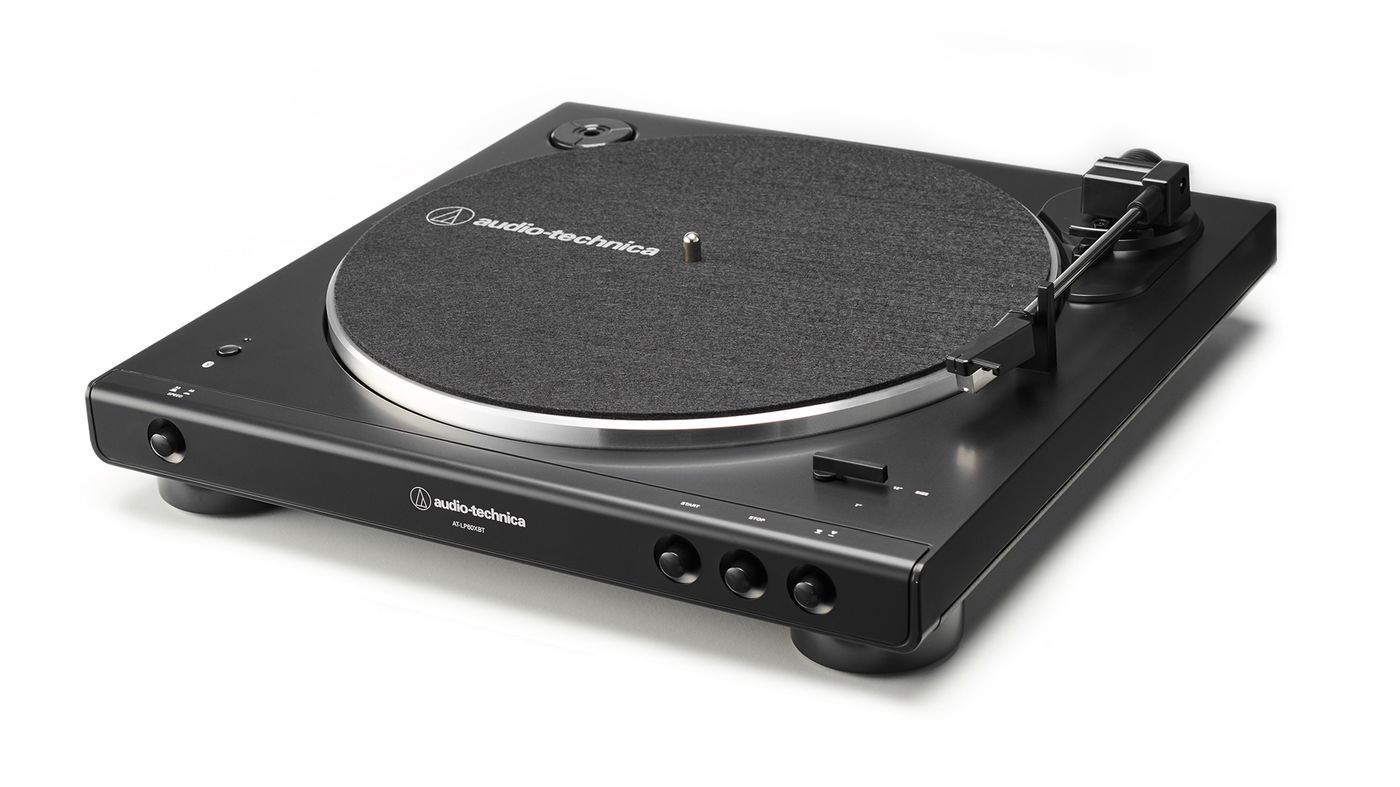
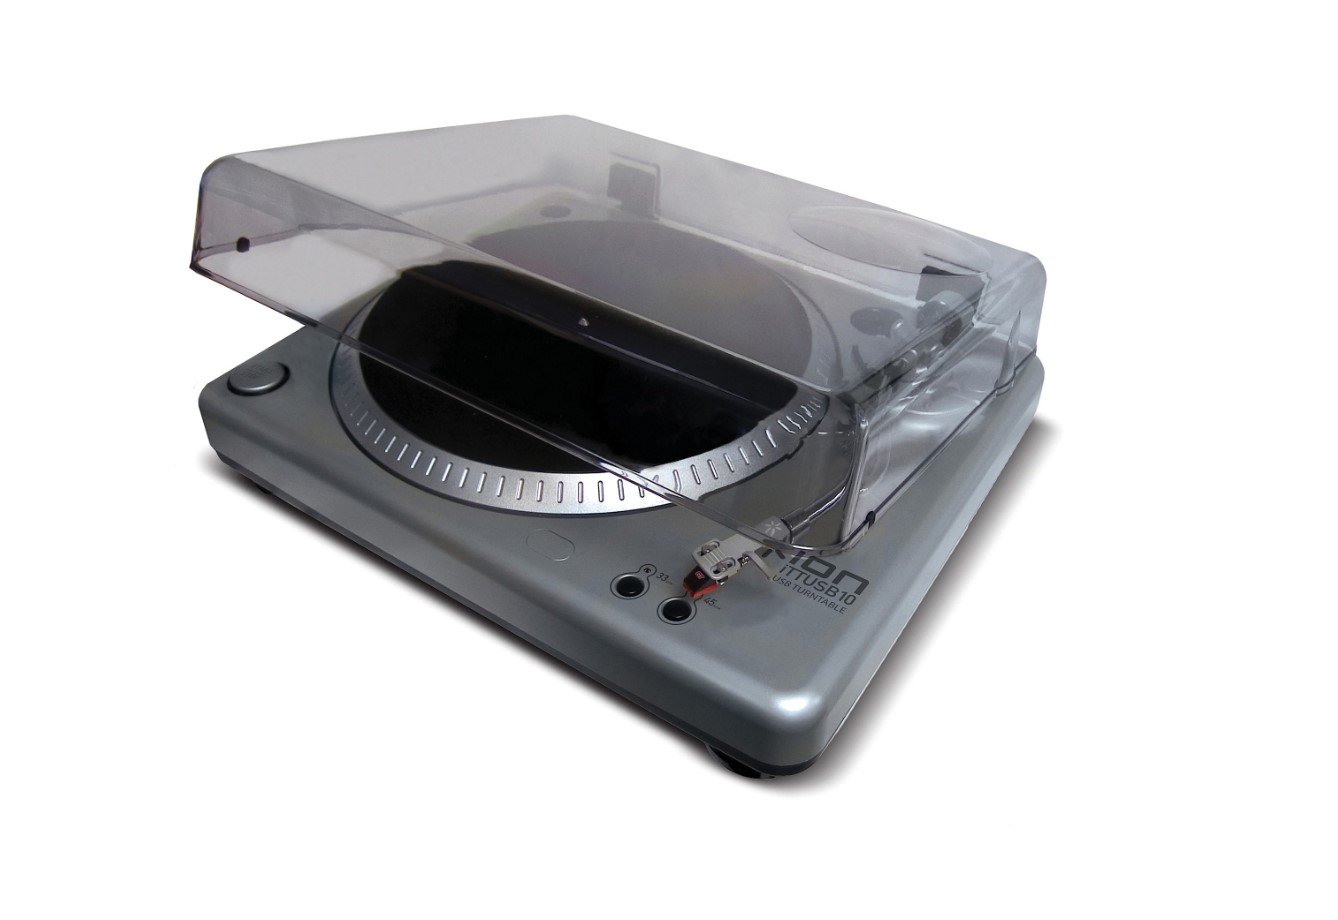
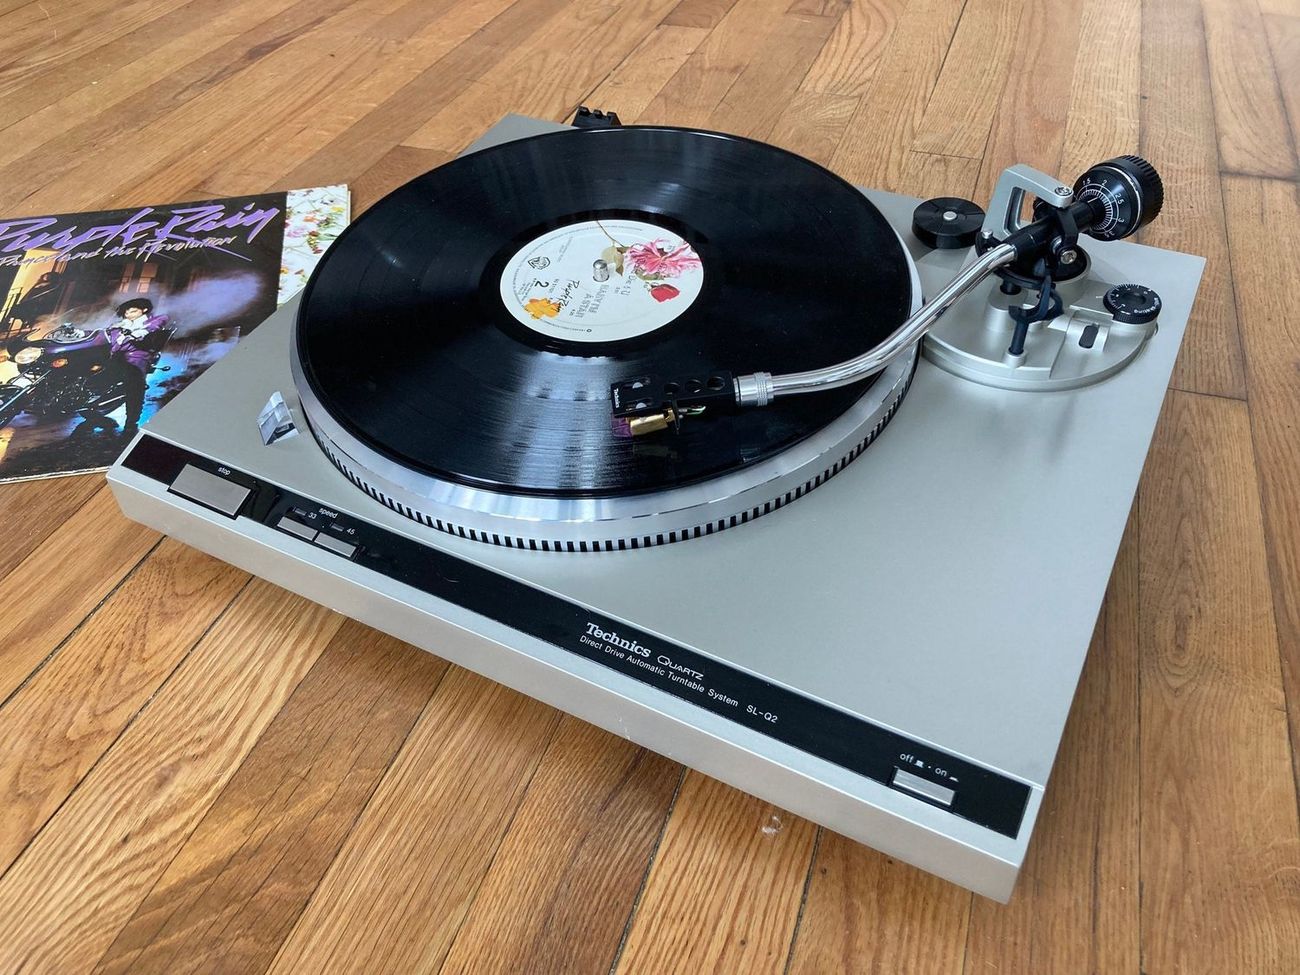
Technics turntables have been highly regarded by audiophiles and DJs for decades due to their exceptional build quality and performance. The plinth, typically made of wood, plastic, or metal, is the foundation upon which the motor, tonearm, and other crucial components sit. Regular cleaning is essential to keep the plinth in top condition, preventing any buildup that could interfere with the turntable’s performance.
In this guide, we will take you through step-by-step instructions on how to effectively clean and rejuvenate your Technics turntable plinth. We will cover everything from gathering the necessary supplies to reassembling the turntable after the cleaning process. So, let’s dive in and discover how you can bring back the shine and beauty to your Technics turntable plinth!
Step 1: Gather Supplies
Before you embark on cleaning your Technics turntable plinth, it’s essential to gather all the necessary supplies to ensure a successful cleaning process. Here are the items you will need:
- Microfiber cloth: This soft, lint-free cloth is ideal for dusting and wiping down the plinth without scratching or leaving behind any residue.
- Isopropyl alcohol: A high percentage (70% or higher) isopropyl alcohol will effectively remove dirt and grime from the plinth’s surface without damaging it.
- Cotton swabs: These small cotton-tipped applicators are perfect for accessing hard-to-reach areas, such as the edges and corners of the plinth.
- Toothbrush: A soft-bristled toothbrush can be used to gently scrub away stubborn stains and dirt from the crevices of the plinth.
- Mild soap solution: If your plinth has tough stains or sticky residue, prepare a mild soap solution by mixing a few drops of gentle dish soap with warm water.
- Water spray bottle: You will need a spray bottle filled with clean water to rinse off the cleaning solution and any remaining residue.
- Soft and dry cloth: To dry the plinth properly, have a soft and absorbent cloth on hand to prevent water spots or streaks.
- Optional: If your plinth is made of wood, you may consider using a wood polish or wax to restore its natural luster and protect it from future damage.
Gathering these supplies before you begin will ensure a smooth cleaning process and help you achieve the best results. Once you have everything ready, you’re all set to move on to the next step: removing dust and dirt from the plinth.
Step 2: Remove Dust and Dirt
Now that you have gathered all the necessary supplies, it’s time to start cleaning your Technics turntable plinth. The first step is to remove any loose dust and dirt from the surface. Here’s how:
- Start by unplugging your turntable and removing any records or accessories from the plinth to ensure easy access to all areas.
- Take a dry microfiber cloth and gently wipe down the entire surface of the plinth. Make sure to pay attention to the edges, corners, and any crevices.
- If there are any stubborn dust particles or debris that can’t be easily removed with a cloth, use a soft-bristled toothbrush. Gently brush away the dirt, being careful not to scratch the surface.
- For hard-to-reach areas such as the tonearm base or control knobs, moisten a cotton swab with isopropyl alcohol and carefully clean those areas. Avoid applying too much liquid to prevent any damage.
- Continue this process until all visible dust and dirt have been removed from the plinth. Take your time and be thorough.
Removing the dust and dirt from the surface is an important step as it prepares the plinth for a more thorough cleaning. By getting rid of loose debris, you ensure that the subsequent cleaning steps will be more effective.
Once you have removed the dust and dirt, you’re ready to move on to the next step: cleaning the plinth itself.
Step 3: Clean the Plinth
Now that you have cleared away the dust and dirt from the surface of your Technics turntable plinth, it’s time to give it a thorough cleaning. Follow these steps to ensure that your plinth is sparkling clean:
- Prepare a cleaning solution by mixing a small amount of mild dish soap with warm water. Avoid using harsh chemicals or abrasive cleaners, as they can damage the plinth.
- Dampen a microfiber cloth with the cleaning solution. Make sure the cloth is not saturated, as excessive moisture can seep into the plinth and cause damage.
- Gently wipe down the entire surface of the plinth using the damp cloth. Pay attention to any areas with stains or sticky residue, applying a bit more pressure if needed.
- If there are stubborn stains that won’t come off with the damp cloth, use a cotton swab dipped in isopropyl alcohol to spot clean those areas. Be cautious and test the alcohol on a small, inconspicuous area first to ensure it doesn’t cause any discoloration.
- For textured surfaces such as faux leather or wood grain, use a soft-bristled toothbrush dipped in the cleaning solution. Gently scrub the surface in circular motions to loosen any embedded dirt.
- Once you have thoroughly cleaned the plinth, take a clean, damp cloth and wipe away any remaining soap residue.
Remember to be gentle and avoid using excessive force while cleaning to prevent any damage to the plinth. Take your time and be thorough, ensuring that you cover every inch of the surface.
After cleaning the plinth, you’re ready to move on to the next step: polishing it to restore its shine and luster.
Step 4: Polish the Plinth
After thoroughly cleaning your Technics turntable plinth, it’s time to give it a polished finish to restore its shine and luster. Follow these steps to achieve a beautifully polished plinth:
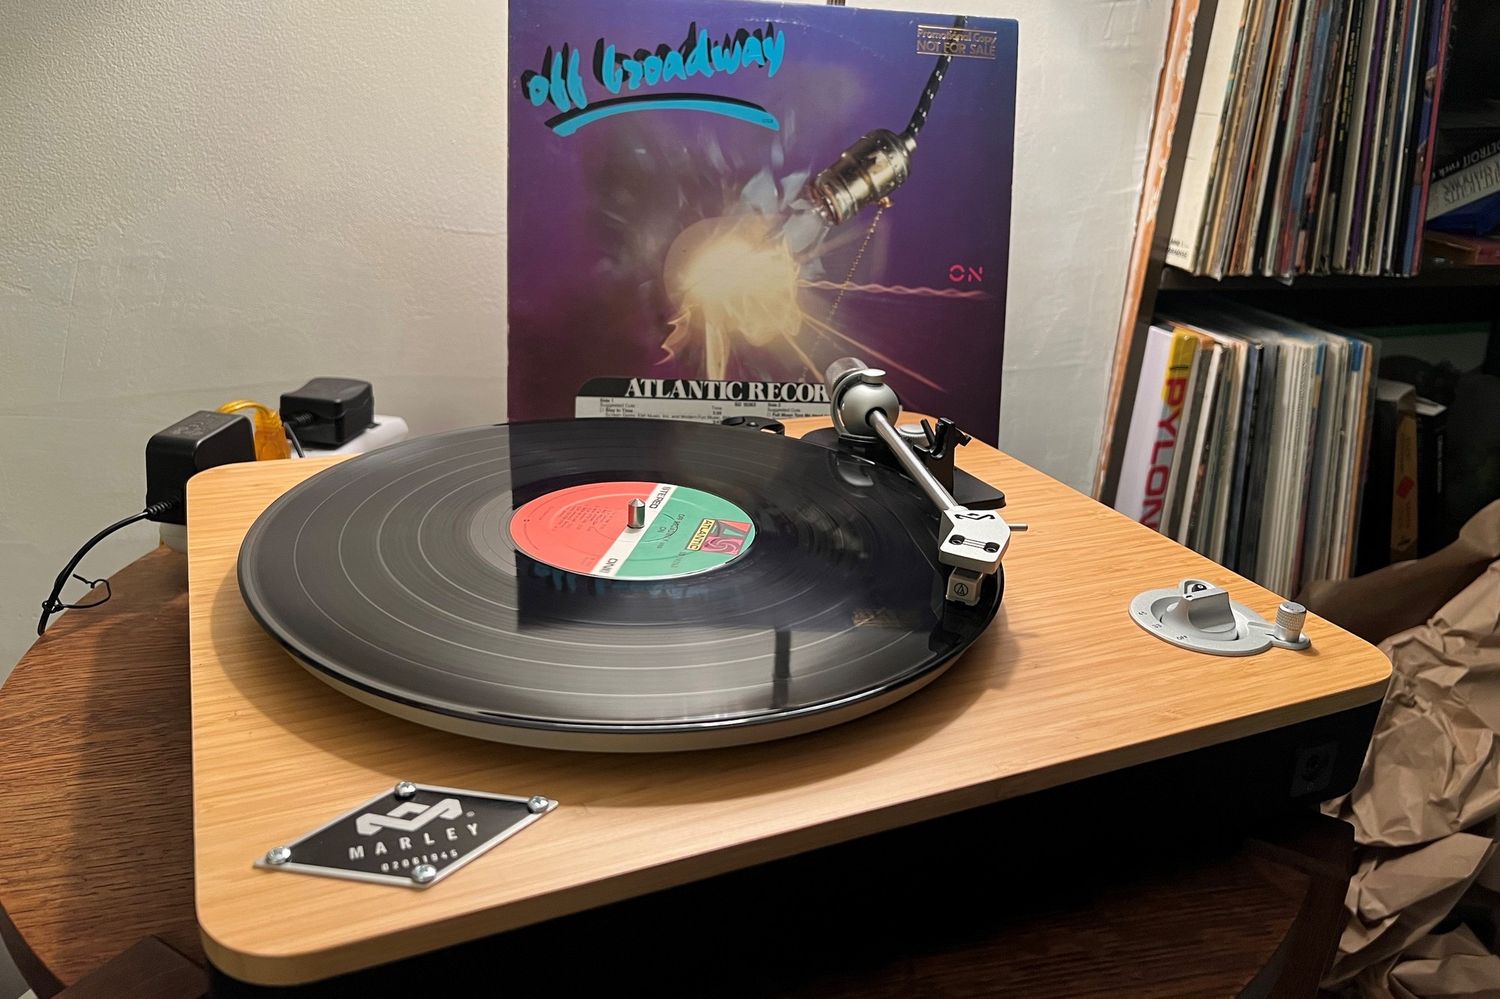
- If your plinth is made of wood, consider using a wood polish or wax specifically designed for furniture. Apply a small amount of the polish to a clean, soft cloth.
- Gently rub the polish onto the surface of the plinth following the grain of the wood. Ensure an even application, paying attention to any scratches or faded areas.
- Allow the polish to sit on the plinth for the recommended amount of time mentioned on the product label. This allows the polish to penetrate and nourish the wood.
- Using a separate clean cloth, buff the plinth in circular motions to remove any excess polish and bring out the natural shine of the wood.
- If your plinth is made of plastic or metal, skip the wood polish and instead, use a non-abrasive metal or plastic cleaner. Apply a small amount to a cloth and gently rub it onto the plinth’s surface.
- Again, use a separate clean cloth to buff the plinth, removing any excess cleaner and restoring its original shine.
If you prefer a more natural approach, you can also use a mixture of equal parts white vinegar and water as a mild homemade cleaner and polish. Apply it to a cloth and gently rub it onto the plinth, then buff with a separate cloth to achieve a polished look.
Remember to always follow the instructions on the product labels and test any cleaners or polishes on a small, inconspicuous area before applying them to the entire plinth.
Once you have completed the polishing process, take a moment to admire your newly restored and shiny plinth. Now, it’s time to reassemble the turntable and enjoy your music once again!
Step 5: Reassemble the Turntable
Now that you have thoroughly cleaned and polished your Technics turntable plinth, it’s time to reassemble all the components and get your turntable ready for use. Follow these steps to ensure a successful reassembly:
- Carefully place the turntable platter back onto the spindle, ensuring that it sits evenly and securely.
- Reattach the drive belt, following the instructions provided by the manufacturer. Make sure the belt is properly aligned for smooth operation.
- If you removed any accessories such as dust covers or control knobs, securely reattach them to the plinth.
- If you had to unplug any cables or remove the tonearm during the cleaning process, reconnect them according to the manufacturer’s instructions.
- Double-check all the connections and make sure everything is properly aligned and secure.
- Once you have reassembled the turntable, plug it back into a power source and turn it on to ensure that it is functioning correctly.
Take a moment to appreciate the transformation your Technics turntable has undergone. The clean and polished plinth not only enhances the aesthetics of your turntable but also contributes to its overall performance and longevity.
Now, it’s time to set the needle on your favorite record and enjoy the incomparable sound quality that your Technics turntable delivers!
Remember, regular cleaning and maintenance of your turntable’s plinth is essential to keep it in optimal condition and preserve its value. Make sure to incorporate cleaning into your routine to maintain the beauty and performance of your beloved Technics turntable for years to come.
Conclusion
Cleaning up the plinth of your Technics turntable is a crucial part of maintaining its performance and aesthetic appeal. By following the step-by-step process outlined in this guide, you can effectively remove dust, dirt, and stains, giving your turntable a fresh and polished look.
Starting with gathering the necessary supplies, such as microfiber cloths, isopropyl alcohol, and mild soap solution, you can ensure that you have everything you need for a successful cleaning process. Removing the dust and dirt from the plinth’s surface sets the stage for a more thorough cleaning.
Next, cleaning the plinth with a damp cloth and mild soap solution helps to eliminate embedded dirt and stains. For stubborn stains, using isopropyl alcohol on a cotton swab can be effective. Taking care not to damage the plinth, using a soft-bristled toothbrush can be helpful in cleaning textured surfaces.
After the cleaning process, applying a suitable polish or wax enhances the shine and luster of the plinth, renewing its appearance. Following the instructions on the product label, whether using wood polish, non-abrasive metal or plastic cleaner, or a homemade vinegar and water mixture, ensures the best results.
Lastly, reassembling the turntable with care and attention to detail ensures that all components are properly aligned and secure, allowing you to enjoy the music from your Technics turntable once again.
Regularly cleaning and maintaining your Technics turntable plinth not only improves its longevity but also contributes to a more enjoyable listening experience. With a clean and polished plinth, your turntable can truly shine as the centerpiece of your audio setup.
So, don’t neglect the importance of cleaning your Technics turntable plinth. Take the time to give it the care it deserves, and you’ll be rewarded with a beautifully restored and impressive turntable that continues to deliver exceptional audio quality.

