Home>Devices & Equipment>Turntable>How To Change A Crosley Turntable Belt
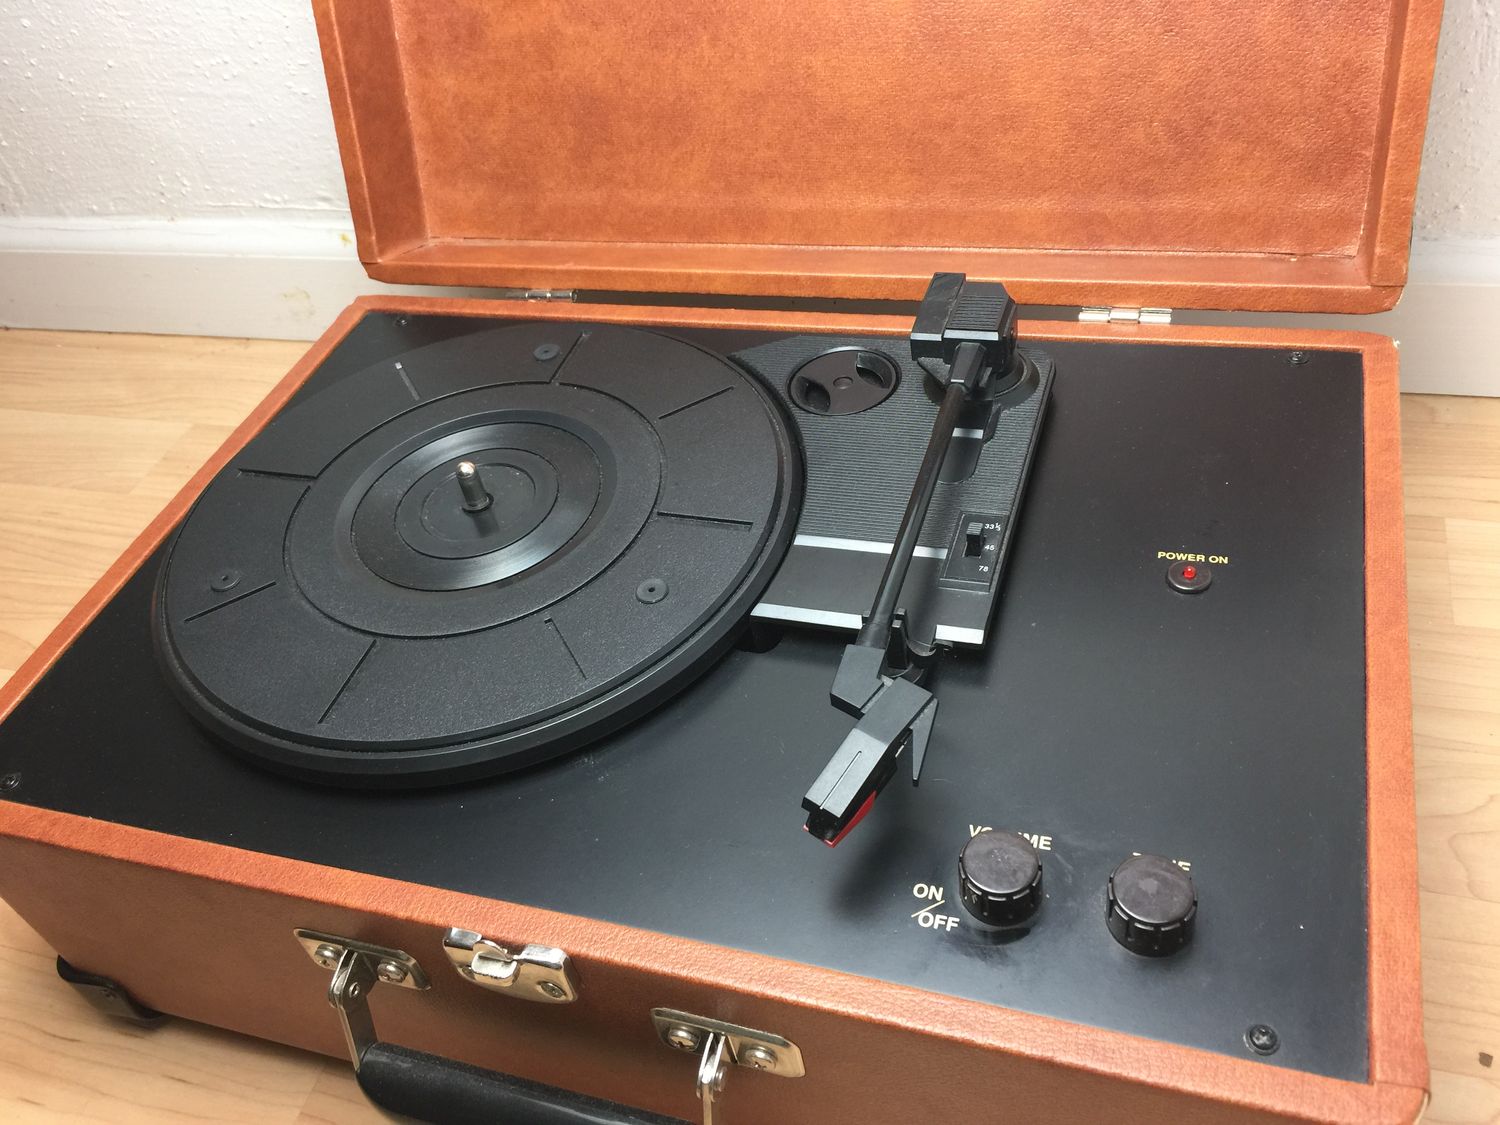
Turntable
How To Change A Crosley Turntable Belt
Published: January 19, 2024
Learn how to change the belt on your Crosley turntable with this step-by-step guide. Keep your turntable in optimal condition for the best audio experience.
(Many of the links in this article redirect to a specific reviewed product. Your purchase of these products through affiliate links helps to generate commission for AudioLover.com, at no extra cost. Learn more)
Table of Contents
Introduction
Turntables have experienced a resurgence in popularity, becoming a beloved choice for music enthusiasts who appreciate the rich, warm sound that vinyl records offer. If you own a Crosley turntable and have noticed a decline in audio quality or issues with playback, it may be time to replace the belt. The belt is a crucial component that connects the motor to the turntable platter, allowing for smooth and consistent rotation.
In this guide, we will walk you through the steps to change the belt on your Crosley turntable. Whether you’re a seasoned audiophile or a beginner, this process is relatively simple and can be done with a few basic tools and minimal technical expertise.
By replacing the belt, you can restore your turntable’s performance and ensure optimal playback quality. Before you start, it’s important to note that the specific steps may vary depending on the model of your Crosley turntable. Therefore, it’s always a good idea to consult the manufacturer’s manual or online resources for your specific model. Additionally, if your turntable is still under warranty, it’s advisable to contact the manufacturer or authorized service center for assistance.
Now, let’s dive into the process of changing the belt on your Crosley turntable, so you can get back to enjoying your vinyl collection in all its glory.
Step 1: Gather the necessary tools
Before you start the process of changing the belt on your Crosley turntable, it’s essential to gather all the necessary tools. Having these tools prepared in advance will ensure a smoother and more efficient belt replacement process. Here are the tools you will need:
- A replacement belt: You can purchase a replacement belt specifically designed for your Crosley turntable model. Make sure to check the model number and buy the correct belt to ensure proper fit and performance.
- A screwdriver set: This will be used to remove any screws or fasteners that hold the turntable’s components together. The specific type of screwdriver required may vary depending on your turntable model, so it’s recommended to have a set with various sizes and types.
- A soft cloth: It’s important to have a clean, lint-free cloth on hand to protect the turntable’s surface and prevent any scratches or damage during the belt replacement process.
- Tweezers or small pliers: These tools will come in handy when removing the old belt from the turntable. They will allow you to grasp the belt securely and gently pull it off without causing any damage.
- Isopropyl alcohol and cotton swabs: If there is any dirt or debris on the turntable components, cleaning them with isopropyl alcohol and cotton swabs will help ensure smooth operation.
By making sure you have all these tools readily available, you’ll be well-prepared to successfully complete the belt replacement process for your Crosley turntable. Once you have gathered the necessary tools, you’re ready to move on to the next step: removing the platter.
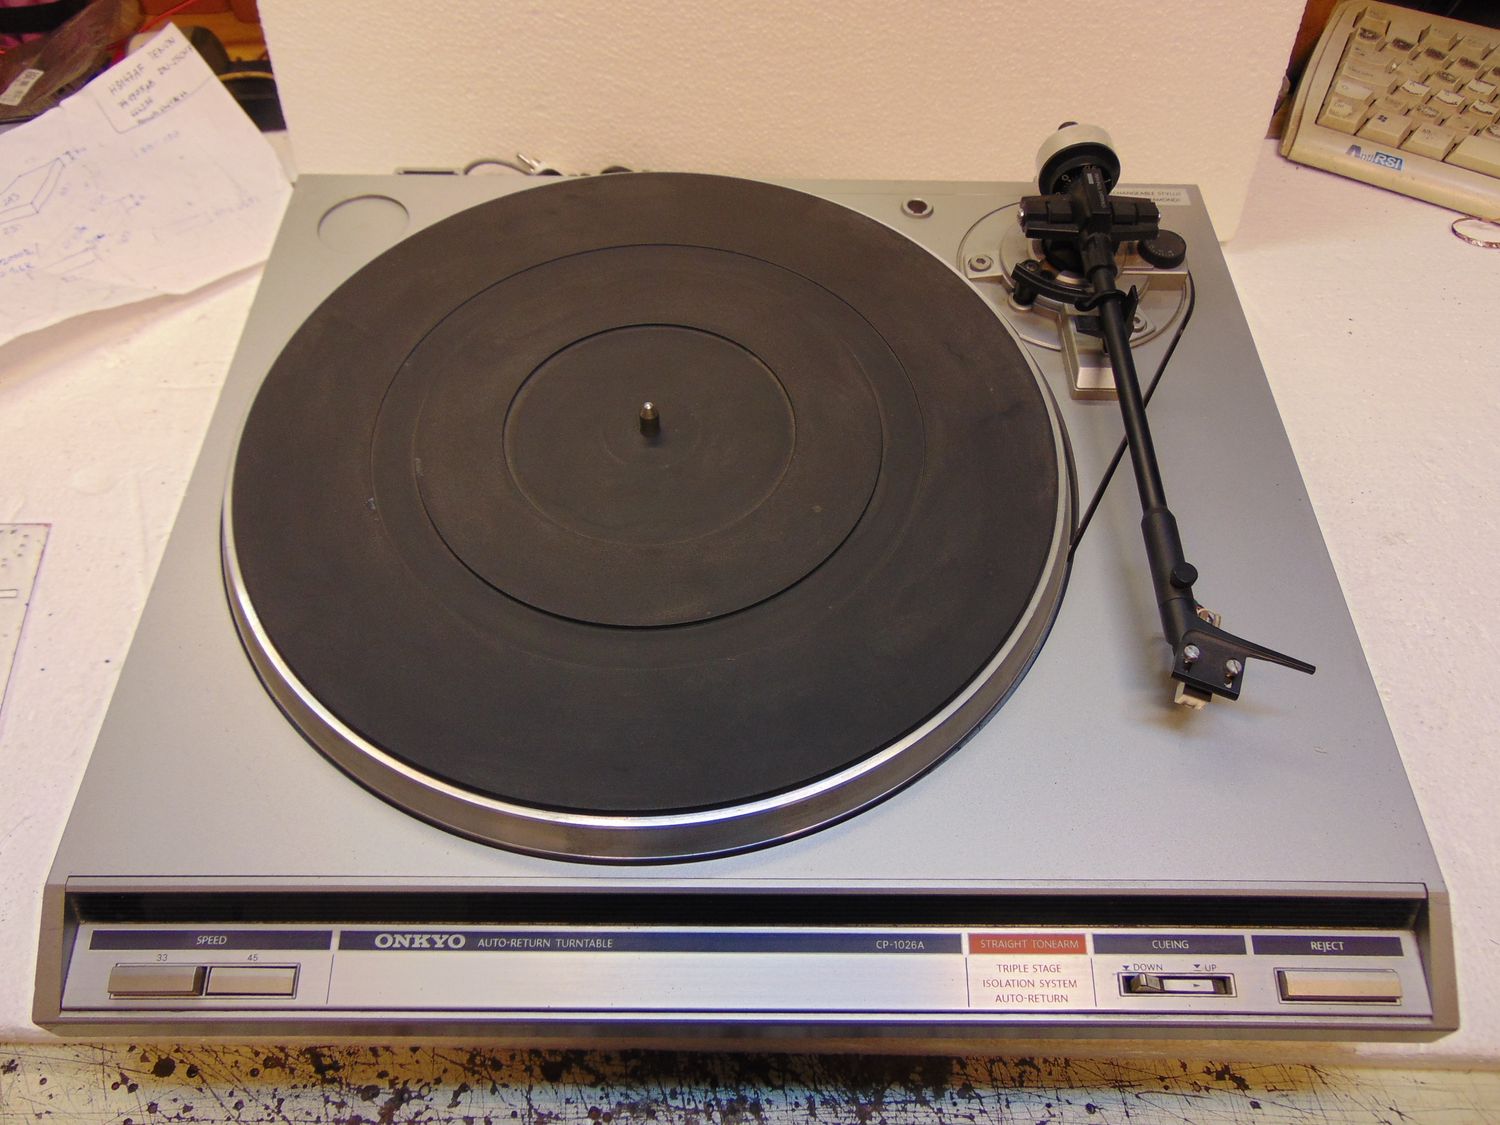
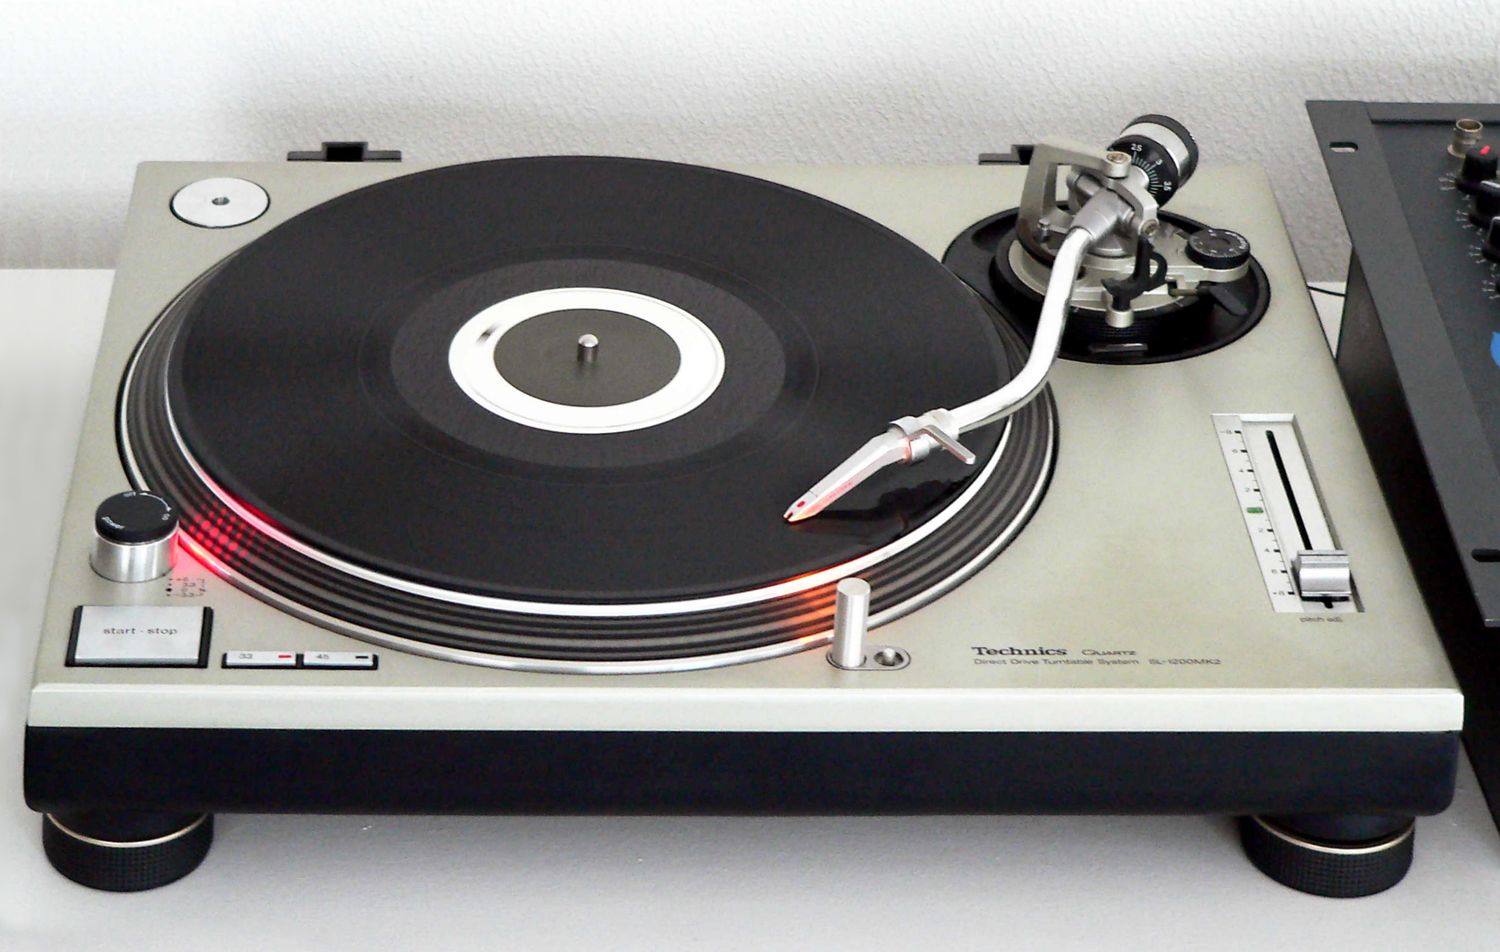
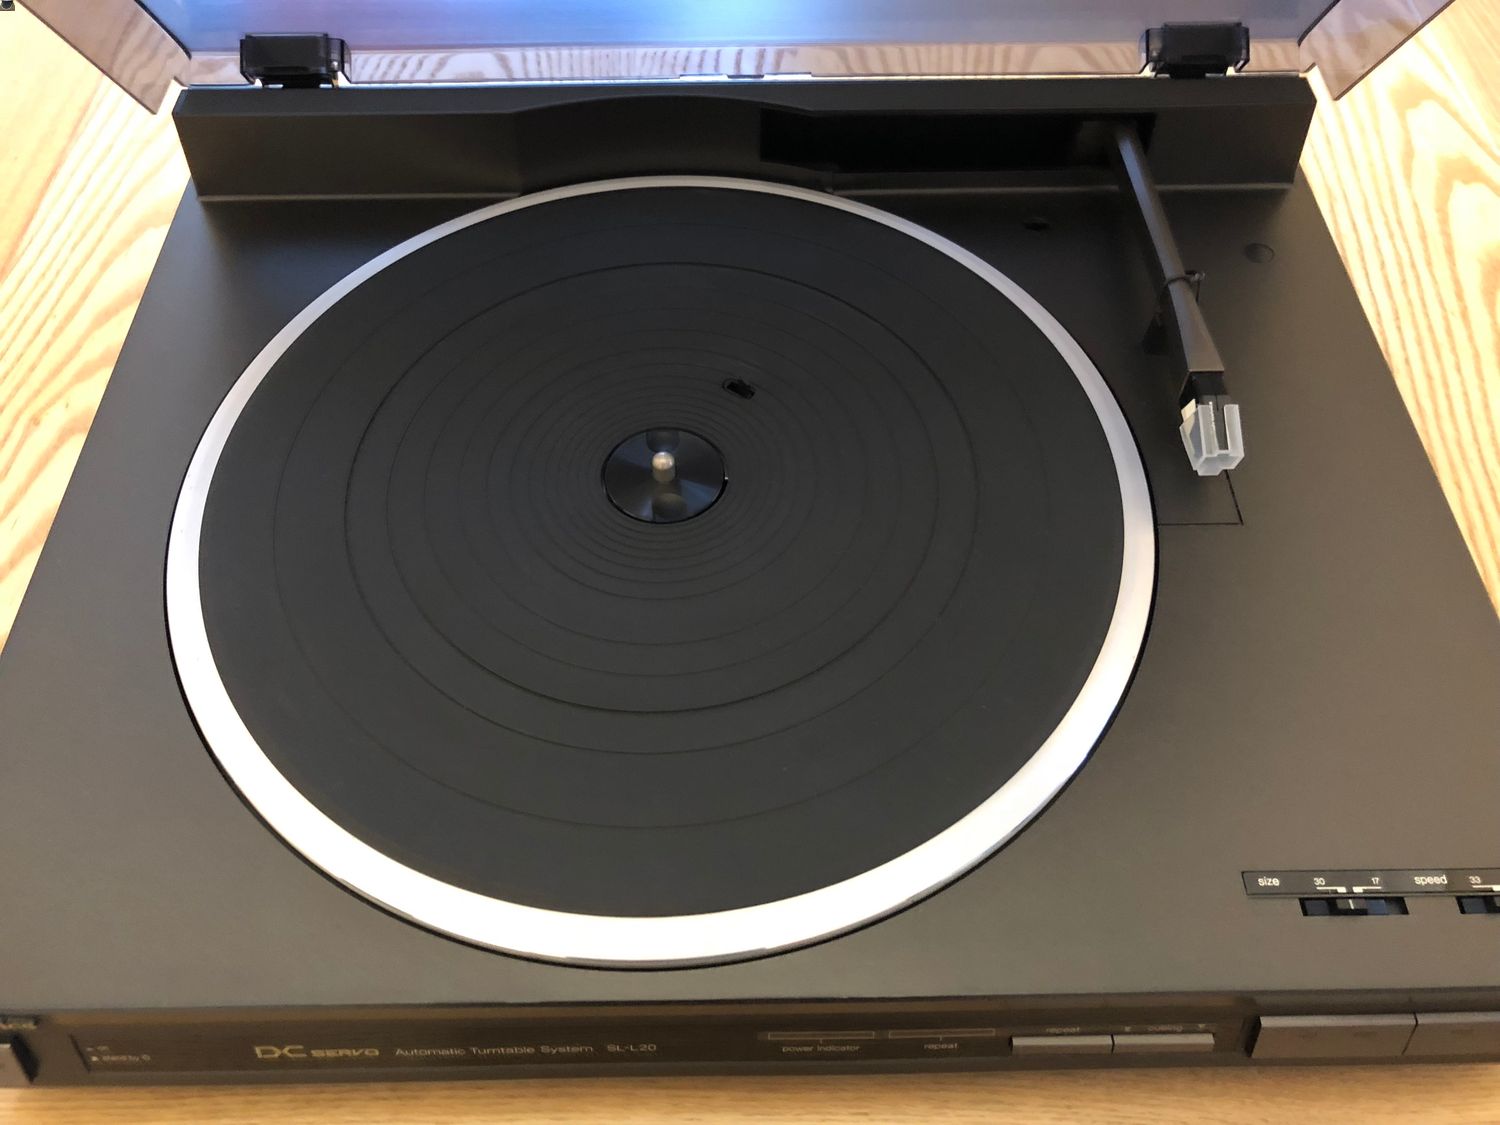
Step 2: Remove the platter
Before you can access and replace the belt on your Crosley turntable, you’ll need to remove the platter. The platter is the circular disc that holds the vinyl record and sits on top of the turntable’s base. Here’s how you can remove it:
- Start by powering off your turntable and unplugging it from the power source. This step is crucial to ensure your safety and prevent any electrical mishaps.
- Locate the tonearm, which is the arm that holds the cartridge and stylus. Gently lift the tonearm and position it securely in its resting position to avoid any accidental damage to the stylus or cartridge.
- Next, find the platter and carefully remove any dust cover or acrylic lid that may be covering it. Set the cover aside in a safe place to prevent any scratches or damage.
- Once the platter is exposed, check to see if there are any clips or screws holding it in place. If there are, use the appropriate screwdriver or tool to remove them. Some turntables may have a locking mechanism on the spindle that needs to be released.
- With the clips or screws removed, gently lift the platter straight up from the turntable base. Be cautious and avoid applying unnecessary force to prevent any accidental damage to the turntable’s components.
- Set the platter aside on a clean, soft surface, such as a cloth or towel, to prevent any scratches or debris from affecting the surface.
By following these steps, you can safely remove the platter from your Crosley turntable, gaining access to the belt for replacement. With the platter removed, you’re now ready to move on to the next step: accessing the belt.
Step 3: Access the belt
Now that you have successfully removed the platter from your Crosley turntable, it’s time to access the belt. The belt is typically located underneath the platter, connecting the motor to the turntable’s spindle. Here’s how you can access the belt:
- Inspect the area where the platter was seated. You should see a circular metal or plastic plate, which is the turntable’s plinth. This is where the belt is housed.
- Identify the motor spindle, which is a small metal rod that protrudes from the turntable’s plinth. This spindle will have a groove or notch where the belt sits.
- Carefully lift the motor spindle and check if the old belt is still intact. If the belt is broken or damaged, you can proceed with removing it. If the belt is still intact but needs replacement due to wear or age, you’ll need to follow the steps to remove it.
- Using tweezers or small pliers, grip the belt firmly and gently pull it off the motor spindle. Take care to avoid pulling on any other components or causing any damage.
- If the belt is stuck or difficult to remove, you can use a cotton swab dipped in isopropyl alcohol to lubricate the area around the spindle and loosen the belt.
- Once the old belt has been removed, set it aside and prepare to install the new belt.
By following these steps, you can easily access the belt on your Crosley turntable. With the old belt removed, you’re now ready to move on to the next step: installing the new belt.
Step 4: Remove the old belt
Now that you have accessed the belt on your Crosley turntable, it’s time to remove the old belt before installing the new one. Removing the old belt is a crucial step to ensure proper installation and optimal performance. Here’s how you can remove the old belt:
- Ensure that you have safely accessed the belt by following the previous step’s instructions.
- Gently pinch the old belt with your fingers or use tweezers or small pliers to grip it securely.
- Slowly and steadily pull the old belt away from the motor spindle, detaching it completely from the turntable.
- Inspect the old belt for any signs of wear, damage, or stretching. If the belt appears stretched, frayed, or worn out, it’s a good indication that it needs to be replaced.
- Dispose of the old belt properly, as it should not be reused or reinstalled.
By following these steps, you can effectively remove the old belt from your Crosley turntable. Removing the old belt is a necessary step to ensure a smooth and seamless installation of the new belt. With the old belt safely removed, you’re now ready to move on to the next step: installing the new belt.
Step 5: Install the new belt
Now that you have removed the old belt, it’s time to install the new belt on your Crosley turntable. Proper installation of the new belt is crucial for smooth and accurate rotation of the turntable platter. Here’s how you can install the new belt:
- Take the new belt that you have purchased specifically for your Crosley turntable model.
- Ensure that the new belt is in good condition, without any visible defects or damage.
- Locate the motor spindle, which is a small metal rod that protrudes from the turntable’s plinth.
- Align the new belt’s groove or notch with the motor spindle. The belt should fit snugly and securely on the spindle.
- With a steady hand, use your fingers or tweezers to carefully stretch the belt over the motor spindle and ensure it is seated properly.
- Ensure that the new belt is correctly positioned on the motor spindle and sits securely in the groove or notch.
- Verify that the new belt is not twisted or loose. It should be taut and properly aligned on the motor spindle.
By following these steps, you can successfully install a new belt on your Crosley turntable. Make sure to take your time and ensure that the belt is properly seated and aligned on the motor spindle. With the new belt securely in place, you’re ready to move on to the next step: replacing the platter.
Step 6: Replace the platter
With the new belt installed on your Crosley turntable, it’s time to replace the platter. The platter not only holds the vinyl record but also ensures smooth rotation and proper functioning of the turntable. Here’s how you can replace the platter:
- Inspect the turntable’s plinth, where the platter will sit.
- Carefully align the center spindle of the platter with the motor spindle.
- Gently place the platter back onto the turntable, making sure it sits securely and evenly on the plinth.
- Ensure that the platter is properly seated, with no wobbling or misalignment.
- If there were any clips or screws that held the platter in place, use the appropriate screwdriver or tool to secure them back in position.
- Ensure that any dust cover or acrylic lid removed earlier is also properly replaced, protecting the turntable and vinyl records from dust and debris.
By following these steps, you can easily replace the platter on your Crosley turntable. It’s important to make sure that the platter is properly aligned and securely seated to ensure smooth and accurate rotation during playback. With the platter in place, you’re now ready to move on to the final step: testing the turntable.
Step 7: Test the turntable
After completing the process of changing the belt on your Crosley turntable and replacing the platter, it’s crucial to test the turntable to ensure everything is working properly. Testing the turntable will allow you to verify if the new belt is installed correctly and if the turntable is functioning as it should. Here’s how you can test your turntable:
- Double-check that all the connections are secure and the turntable is properly plugged into a power source.
- Power on the turntable and wait for it to spin up. Pay attention to any unusual noises or vibrations.
- Select a vinyl record and gently place it on the turntable platter.
- Lift the tonearm, carefully positioning it over the record’s starting groove.
- Lower the tonearm slowly and watch as the stylus makes contact with the record.
- Listen closely for any skipping, distortion, or other audio issues. Ensure that the turntable is playing the record smoothly and without any interruptions.
- Observe the rotation of the platter, ensuring it spins at a consistent speed without any noticeable fluctuations.
- If you encounter any issues during the test, such as speed discrepancies or skipping, it’s advisable to consult the manufacturer’s manual or seek professional assistance.
By following these steps, you can effectively test your Crosley turntable to ensure that the new belt is installed correctly and that the turntable is functioning as expected. Enjoy listening to your vinyl records and savor the rich, warm sound that only a turntable can provide!
Conclusion
Changing the belt on your Crosley turntable is a straightforward process that can significantly improve the performance and longevity of your beloved vinyl player. By following the steps outlined in this guide, you can easily replace the belt and ensure smooth and accurate rotation for optimal audio playback.
Remember to gather all the necessary tools before starting the process, including a replacement belt specifically designed for your Crosley turntable model, a screwdriver set, a soft cloth, and tweezers or small pliers. Take your time during each step to handle the components with care and avoid any accidental damage.
Once you have removed the platter and accessed the belt, carefully remove the old belt and install the new one. Pay attention to proper alignment and tension to ensure optimal performance. Finally, replace the platter, secure any clips or screws, and test the turntable to verify that it is functioning correctly.
Remember to consult your Crosley turntable’s manual or online resources specific to your model for any additional instructions or recommendations. If you encounter any difficulties or concerns, it’s always a good idea to seek professional assistance or contact Crosley or an authorized service center for support.
With a properly functioning belt and turntable, you can continue to enjoy the rich, warm sound of vinyl records for years to come, bringing a touch of nostalgia and musical enjoyment to your listening experience.