Home>Devices & Equipment>Turntable>How To Change Rca Cables On A Vintage Turntable
Turntable
How To Change Rca Cables On A Vintage Turntable
Modified: January 22, 2024
Learn how to change RCA cables on your vintage turntable and improve the sound quality. Discover the step-by-step process for a seamless upgrade.
(Many of the links in this article redirect to a specific reviewed product. Your purchase of these products through affiliate links helps to generate commission for AudioLover.com, at no extra cost. Learn more)
Table of Contents
Introduction
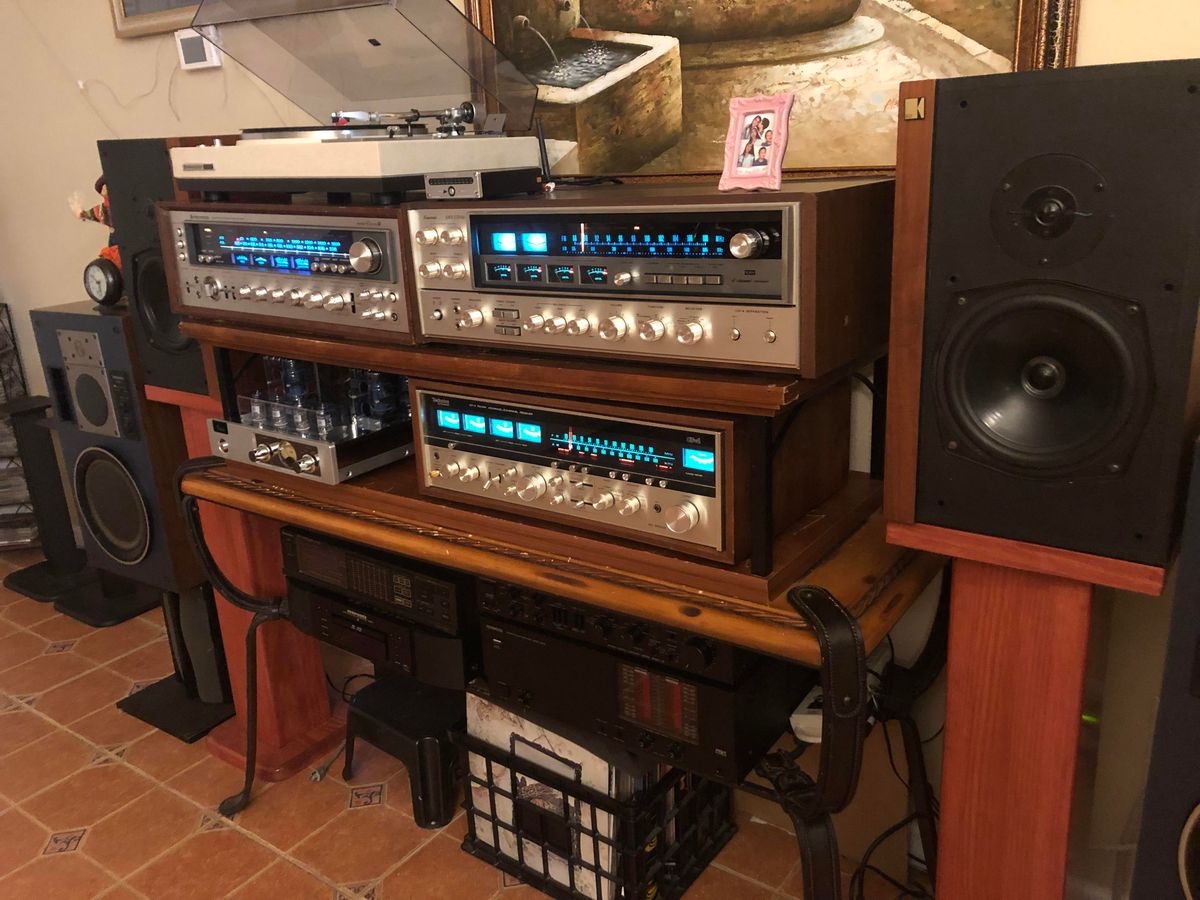
Welcome to the world of vintage turntables! If you’re reading this article, chances are you’ve acquired a beautiful vintage turntable and you’re looking to upgrade or replace the RCA cables. RCA cables play a crucial role in connecting your turntable to your audio system, ensuring optimal sound quality and performance. Changing the RCA cables on your vintage turntable is not only a practical task but also an opportunity to enhance your overall listening experience.
In this comprehensive guide, we will walk you through the step-by-step process of changing the RCA cables on your vintage turntable. Whether you’re a seasoned audio enthusiast or a beginner, we’ve got you covered. By the end of this article, you’ll have the knowledge and confidence to perform this upgrade like a pro.
Before we dive into the details, it’s important to note that working with vintage turntables requires caution and a gentle touch. These delicate instruments have stood the test of time and deserve to be handled with care. With that in mind, let’s gather the necessary tools and materials to get started.
Step 1: Gather the necessary tools and materials
Before you begin the process of changing the RCA cables on your vintage turntable, it’s important to have all the necessary tools and materials at hand. Here’s what you’ll need:
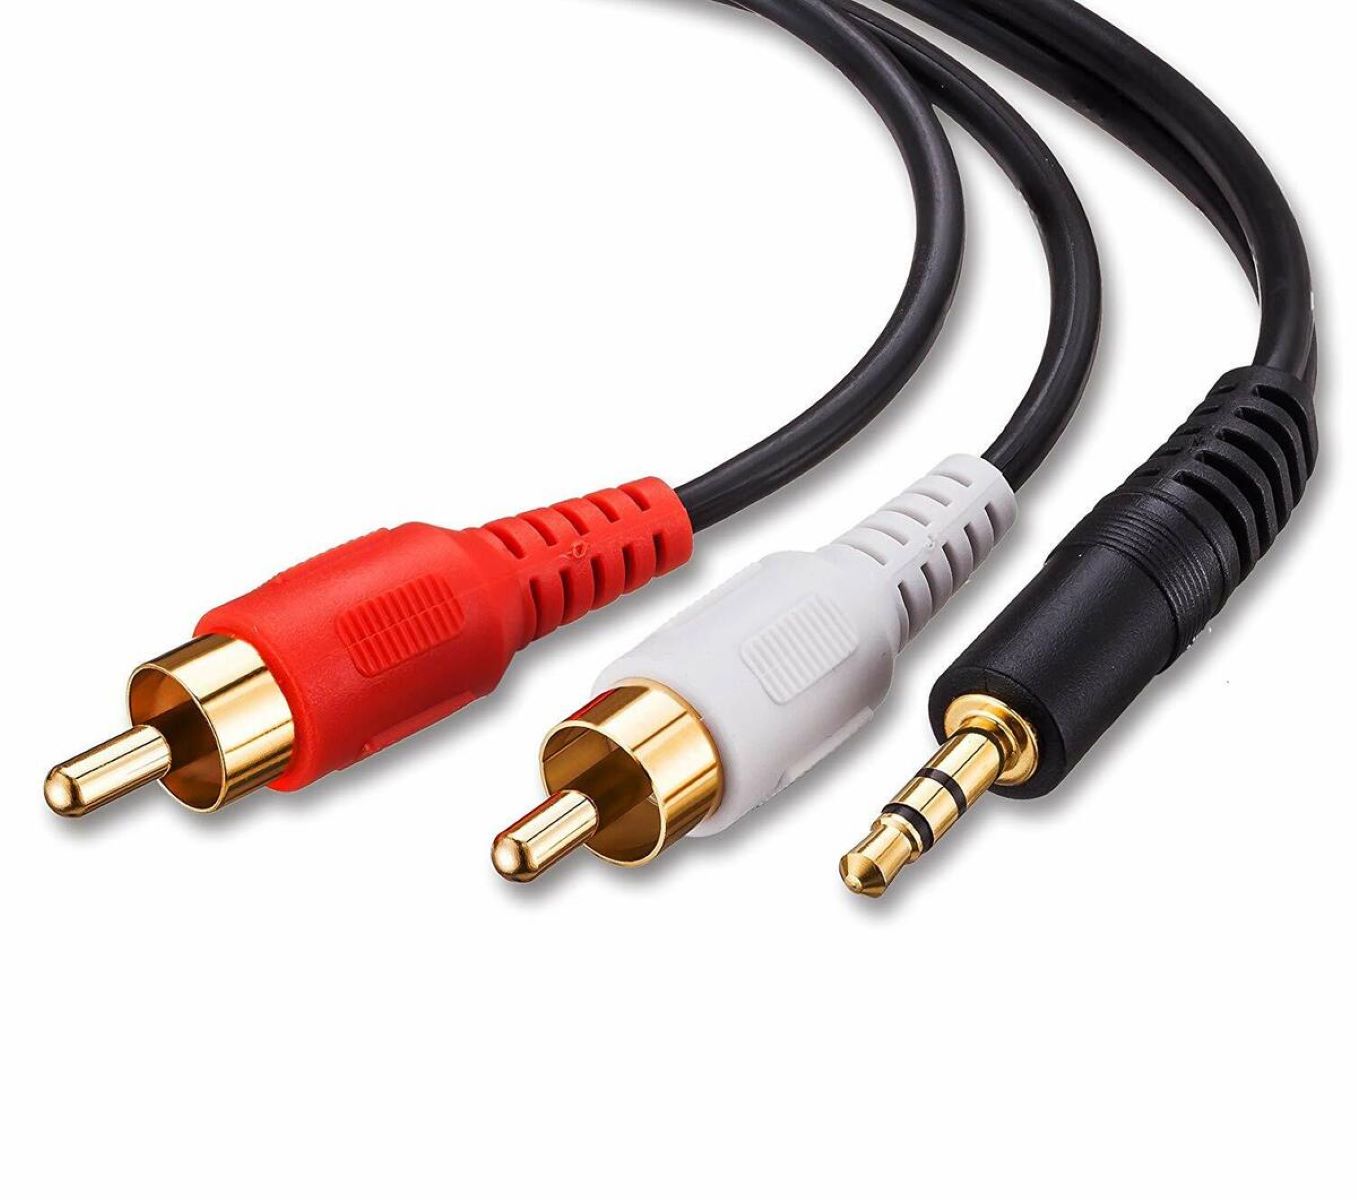
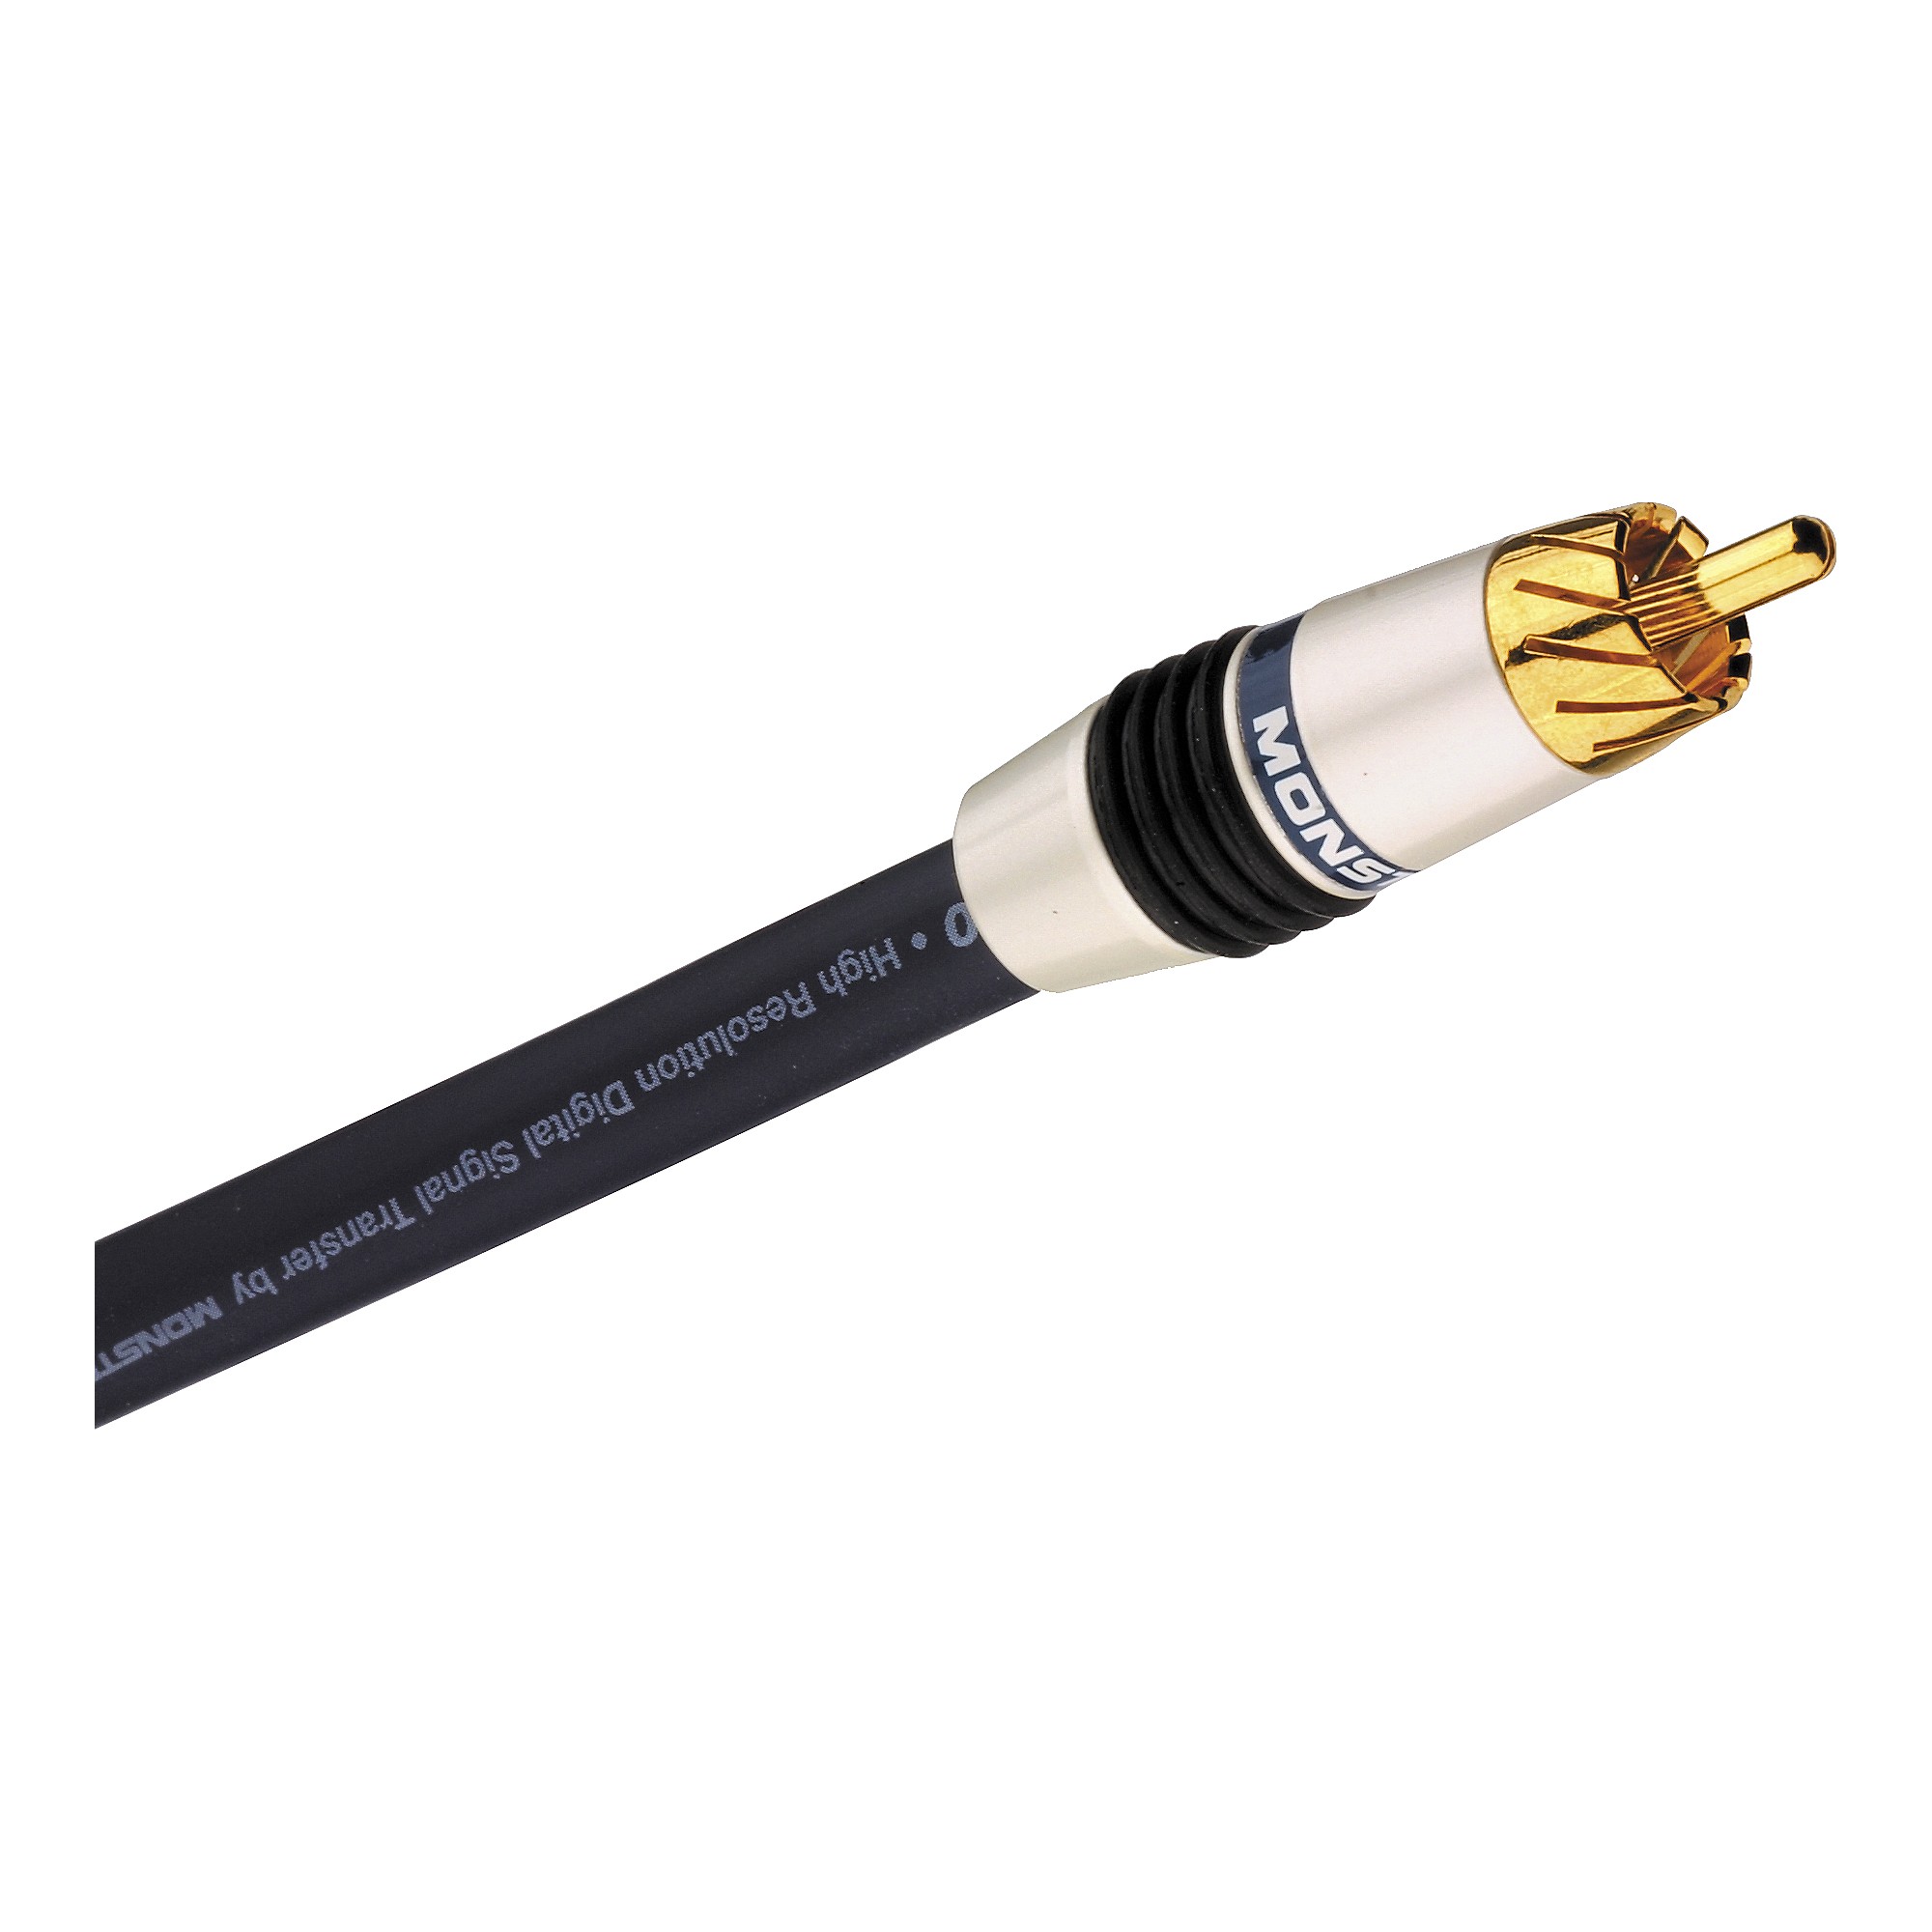
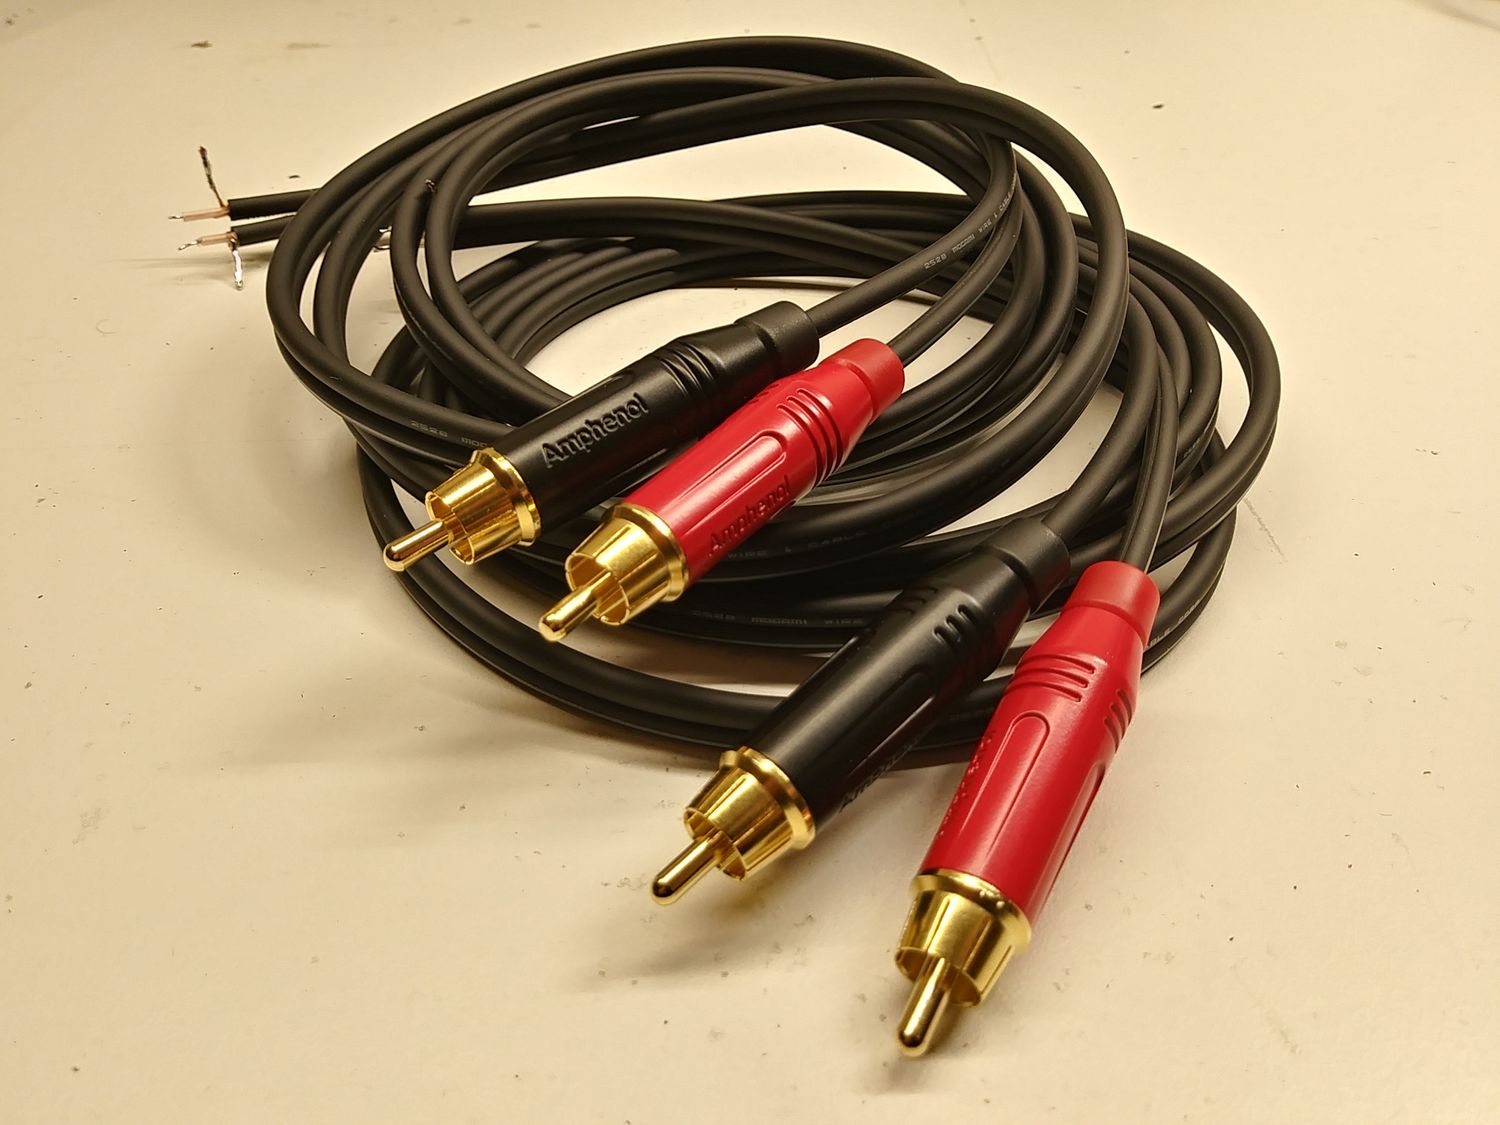
- Replacement RCA cables: Make sure to choose cables that are suitable for your specific turntable model. Look for high-quality cables that offer good shielding and a reliable connection.
- Small screwdriver set: You’ll need a set of small screwdrivers to remove and install the cables. Phillips and flathead screwdrivers in various sizes should cover most turntable models.
- Contact cleaner: If you encounter any dirt or oxidation on the connectors, a contact cleaner can help clean and improve the connection. Choose a cleaner that is safe for use with audio equipment.
- Cotton swabs: These will be useful for applying contact cleaner and cleaning any dirt or debris that may have accumulated on the connectors.
- Tweezers or needle-nose pliers: These tools can be helpful for maneuvering and securing small parts, especially if they are difficult to reach.
Having these tools and materials readily available will make the process much smoother and ensure that you have everything you need to successfully change the RCA cables on your vintage turntable. Once you have gathered everything, it’s time to move on to the next step.
Step 2: Disconnect the turntable
Before you begin working on your vintage turntable, it’s important to disconnect it from any power source or audio system. This will ensure your safety and prevent any accidental damage to the equipment.
Here’s how to disconnect your turntable:
- Power Off: Make sure the turntable is powered off and unplugged from the power outlet. This will prevent any electrical accidents or short circuits.
- Disconnect Cables: Carefully unplug any cables connected to the turntable. This includes the power cord, audio cables, and any other accessories that may be attached.
- Remove Components: If your turntable has a removable dust cover or other components, safely remove them to provide better access to the RCA connectors.
By disconnecting your turntable and taking these precautions, you minimize the risk of damaging the equipment and ensure a safe working environment. Once you’ve disconnected the turntable, you can move on to the next step of the process.
Step 3: Remove the old RCA cables
Now that your turntable is safely disconnected, it’s time to remove the old RCA cables. These cables are typically connected to the RCA output jacks on the back of the turntable.
Follow these steps to remove the old RCA cables:
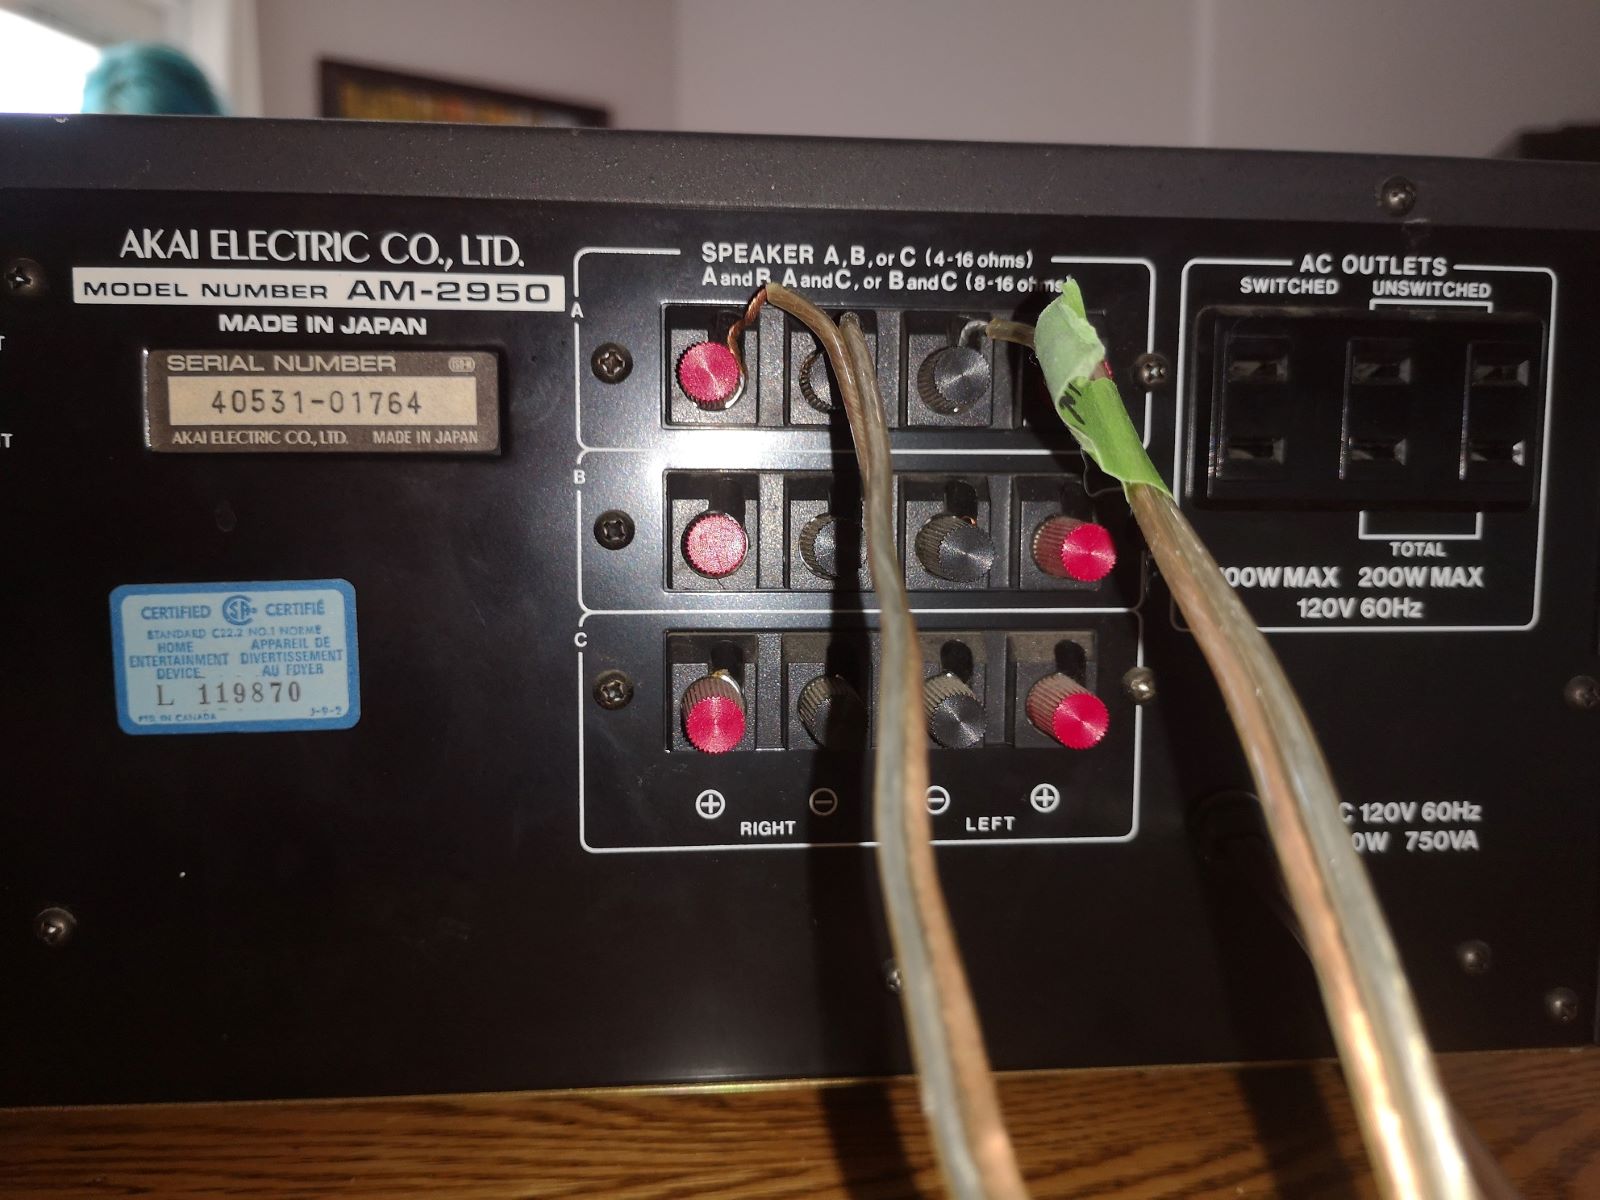
- Identify the RCA output jacks: Look for the two RCA output jacks on the back of your turntable. They are usually color-coded, with one for the left channel (white or black) and one for the right channel (red).
- Unscrew or unclip the connectors: Depending on the type of connectors used, you may need to unscrew them or gently unclip them from the jacks. Use a small screwdriver or your fingertips to carefully detach the connectors.
- Remove the RCA cables: Once the connectors are detached, gently pull the old RCA cables out of the jacks. Be cautious and avoid applying excessive force, as you don’t want to damage the connectors or any internal components.
It’s important to pay attention to the way the old cables are connected to the turntable. Take note of the color coding or markings on the cables and make a mental or written note of which cable goes to which channel.
Once you have successfully removed the old RCA cables, you’re ready to proceed to the next step of the process: preparing the new RCA cables.
Step 4: Prepare the new RCA cables
With the old RCA cables removed, it’s time to prepare the new cables for installation. This step involves ensuring the cables are the correct length and preparing the connectors for a secure and reliable connection.
Follow these steps to prepare the new RCA cables:
- Check the cable length: Measure the distance between the RCA output jacks on your turntable and the input jacks on your audio system. Ensure that the new cables are long enough to comfortably reach without causing strain or tension.
- Cut the cables (if necessary): If the new RCA cables are longer than needed, you can carefully cut them to the desired length. Use sharp cable cutters or wire strippers to make clean and precise cuts.
- Prepare the connectors: If your new RCA cables do not come preattached with connectors, you will need to prepare them. Strip the outer insulation of each cable end using wire strippers, being careful not to damage the inner wires. Strip approximately 1/4 inch of insulation to expose the inner conductors.
- Twist the exposed wires: After stripping the insulation, twist the exposed strands of each conductor to ensure they are tightly secured and will make a solid connection. This will help prevent any signal loss or interference.
By preparing the new RCA cables properly, you are setting yourself up for a clean and reliable audio connection. Once you have completed these steps, you can proceed to connect the new cables to your turntable in the next step.
Step 5: Connect the new RCA cables
Now that the new RCA cables are prepared, it’s time to connect them to your vintage turntable. Properly connecting the cables will ensure a solid and dependable audio signal between your turntable and audio system.
Follow these steps to connect the new RCA cables:
- Identify the RCA input jacks: Look for the RCA input jacks on your turntable or preamp. They are usually color-coded, with one for the left channel (white or black) and one for the right channel (red).
- Align the connectors: Align the connectors of the new RCA cables with the corresponding jacks on your turntable. Ensure that the left channel connector is inserted into the left channel jack and the right channel connector into the right channel jack.
- Insert the connectors: Gently push the connectors into the RCA jacks, making sure they are inserted fully. Be careful not to force or apply excessive pressure, as this could damage the connectors or the jacks.
- Tighten the connectors (if applicable): If your connectors have screws or clips, tighten them to secure the cables in place. This will provide a stable connection and minimize the risk of accidental disconnection.
Double-check the connections to ensure that the left and right channel cables are properly aligned. It’s essential to maintain proper stereo separation for accurate audio reproduction.
Once you have connected the new RCA cables, you’re one step closer to enjoying high-quality sound from your vintage turntable. Now it’s time to test the connection in the next step.
Step 6: Test the connection
After connecting the new RCA cables to your vintage turntable, it’s crucial to test the connection to ensure everything is working as expected. Testing the connection will allow you to verify that the audio signal is being properly transmitted from the turntable to your audio system.
Follow these steps to test the connection:
- Power on your audio system: Make sure your audio system is powered on and set to the correct input source for the turntable.
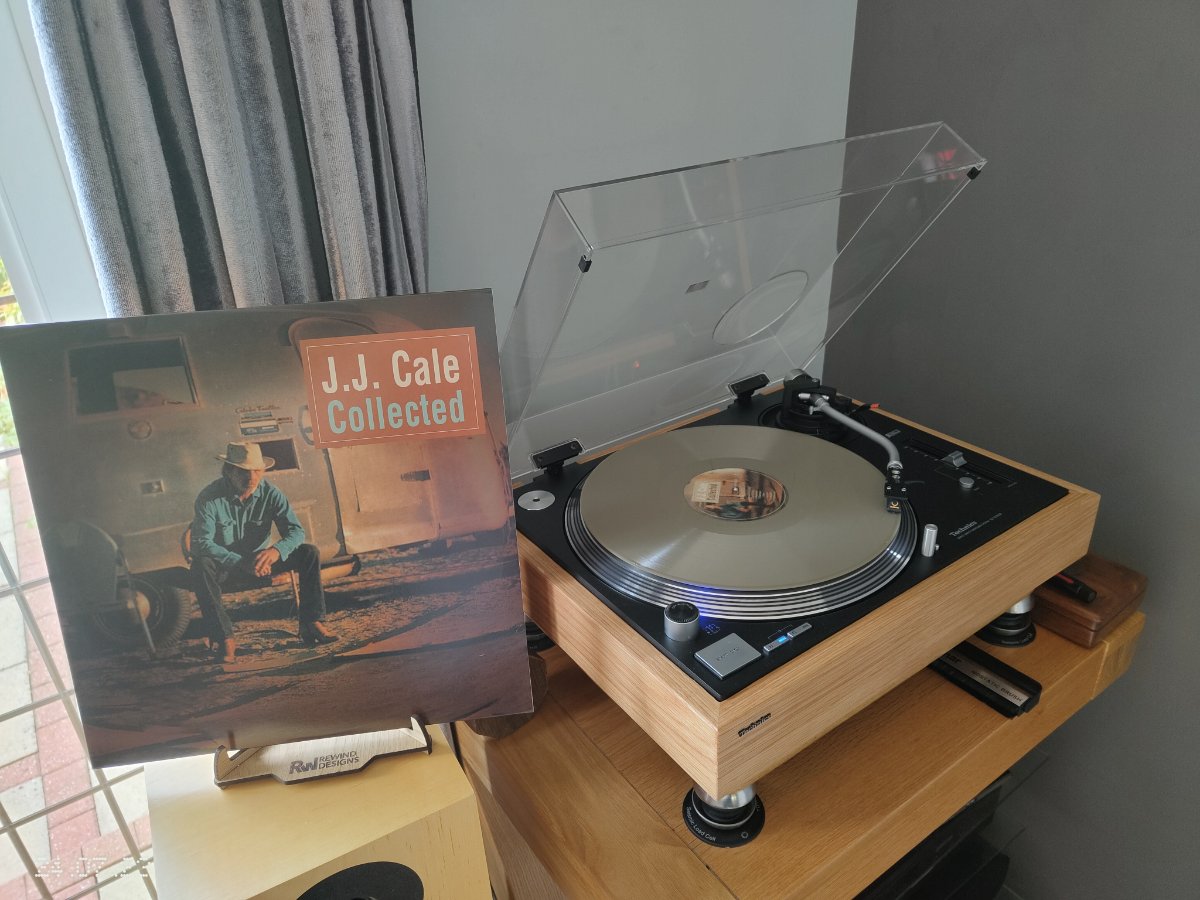
- Play a test track: Select a test track or a favourite record and play it on your vintage turntable. Make sure the turntable is spinning properly and the stylus is in good condition.
- Listen for audio playback: Pay close attention to the audio playback. Check for any distortions, buzzing, or significant drop in sound quality. If the audio is clear and balanced, the new RCA cables are functioning correctly.
- Check both channels: Confirm that audio is coming through both the left and right channels equally. Imbalance or lack of sound in one channel may indicate an issue with the cable connection.
If you notice any issues with the sound quality or balance, double-check the cable connections to ensure they are secure. You may also want to inspect the RCA connectors and clean them if necessary with a contact cleaner and cotton swabs.
Once you have confirmed that the connection is working correctly and the audio is clear, you can proceed to the final step of securing the cables.
Step 7: Secure the cables
Now that you have tested the connection and ensured that the audio signal is transmitting properly, it’s time to secure the new RCA cables on your vintage turntable. Securing the cables will prevent them from coming loose or getting accidentally disconnected during use.
Follow these steps to secure the cables:
- Organize the cables: Arrange the cables neatly and ensure they are not tangled or crossing over each other. This will help maintain a clean and organized setup.
- Use cable ties or clips: Depending on your turntable’s design, you may be able to use cable ties, clips, or adhesive cable holders to secure the cables along the turntable’s chassis. This will keep them in place and prevent them from dangling or getting in the way.
- Avoid strain on the connectors: Make sure there is no excessive tension or strain on the connectors or the cable itself. Any stress on the connectors can lead to damage or poor audio quality.
- Consider cable management solutions: If you’re looking for a more professional and polished appearance, you may want to invest in cable management solutions such as cable trays or raceways. These can help conceal and organize the cables for a cleaner setup.
By properly securing the cables, you ensure that they remain in place and maintain a reliable connection throughout your listening sessions. This step not only enhances the aesthetics of your turntable setup but also reduces the risk of accidental cable disconnection.
With the cables securely in place, you have successfully completed the process of changing the RCA cables on your vintage turntable. Now you can sit back, relax, and enjoy your cherished vinyl collection with improved audio performance and peace of mind.
Conclusion
Changing the RCA cables on your vintage turntable is a worthwhile endeavor that can greatly enhance your audio experience. By following the steps outlined in this guide, you have successfully replaced the old cables with new ones, ensuring a reliable and high-quality audio connection. Here’s a recap of the steps:
- Gather the necessary tools and materials
- Disconnect the turntable
- Remove the old RCA cables
- Prepare the new RCA cables
- Connect the new RCA cables
- Test the connection
- Secure the cables
By completing these steps, you have not only improved the functionality and longevity of your vintage turntable but also set the stage for a more immersive and enjoyable listening experience. The new RCA cables will ensure that the audio signal is transmitted accurately and without interference, allowing you to fully appreciate the nuances and warmth of your vinyl records.
Remember to exercise caution and handle your vintage turntable with care throughout the process. These beloved pieces of audio history deserve our utmost respect and attention.
Now that you have successfully changed the RCA cables on your vintage turntable, it’s time to sit back, relax, and indulge in the magic of analog music. Enjoy the rich sounds, immerse yourself in the nostalgia, and let your vinyl collection come to life like never before.