Home>Devices & Equipment>Turntable>How To Hook Up Turntable To Receiver
Turntable
How To Hook Up Turntable To Receiver
Modified: January 22, 2024
Learn how to easily connect a turntable to your receiver and start enjoying your vinyl collection. Follow our step-by-step guide for a hassle-free setup.
(Many of the links in this article redirect to a specific reviewed product. Your purchase of these products through affiliate links helps to generate commission for AudioLover.com, at no extra cost. Learn more)
Table of Contents
- Introduction
- Step 1: Gather the necessary equipment
- Step 2: Locate the audio inputs on your receiver
- Step 3: Connect the turntable to the receiver’s phono input
- Step 4: Ground the turntable (if necessary)
- Step 5: Adjust the settings on your receiver
- Step 6: Test the connection and make any necessary adjustments
- Conclusion
Introduction
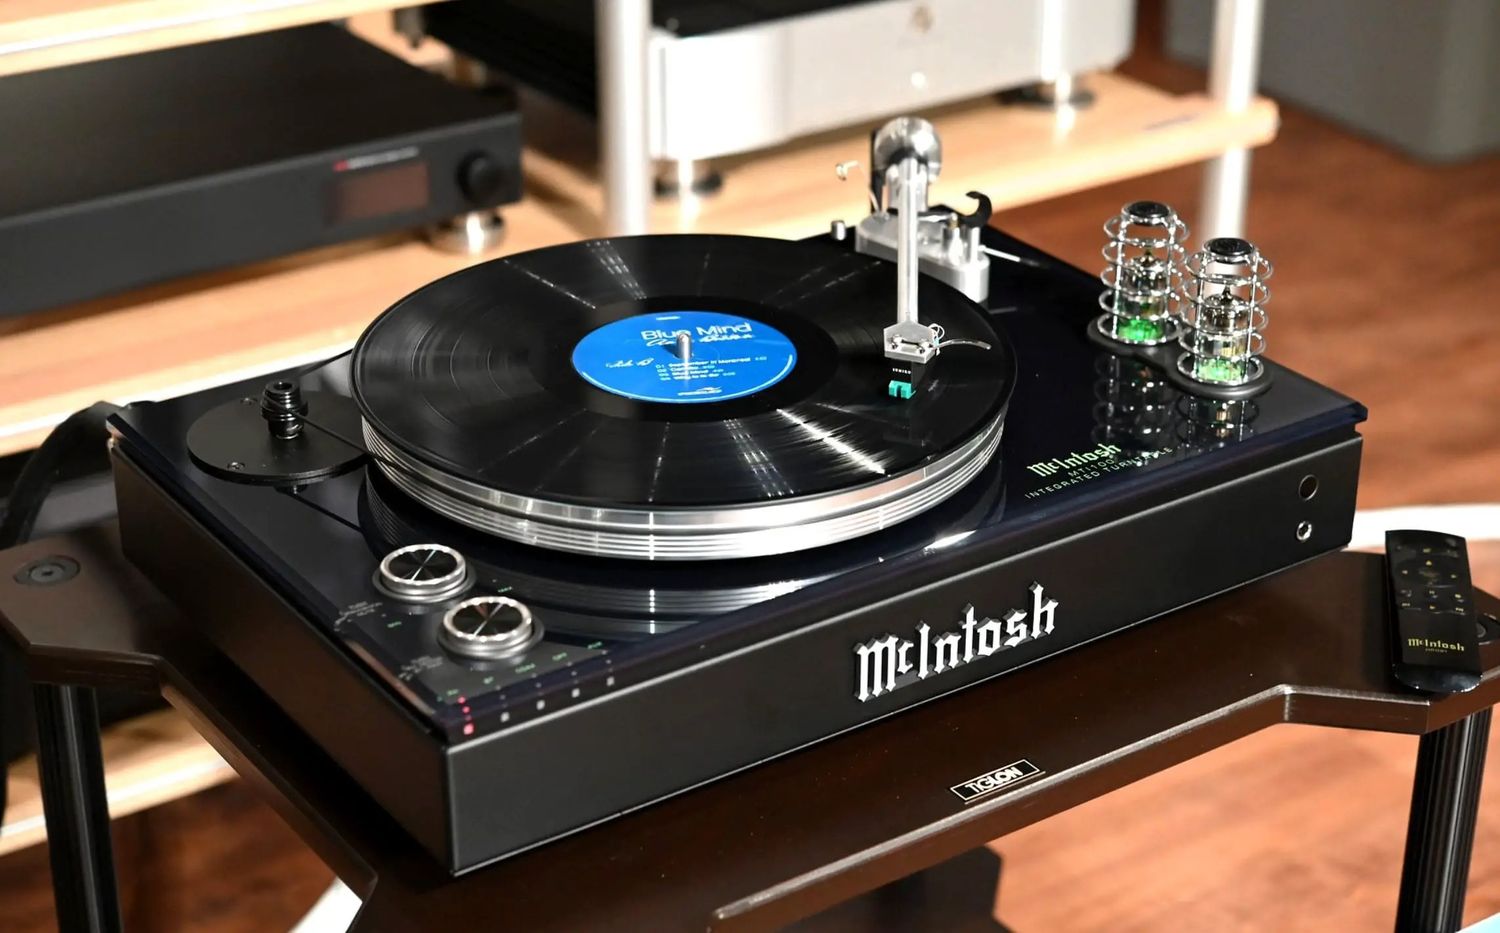
Welcome to the world of turntables, where the warm and rich sound of vinyl records takes center stage. Whether you’re a seasoned audiophile or a music enthusiast looking to rediscover the magic of vinyl, connecting your turntable to a receiver is an essential step in the process.
A turntable is a device used to play vinyl records, while a receiver is an integral part of an audio system that amplifies and processes the audio signals from various sources. By connecting your turntable to a receiver, you can enjoy the nostalgia and authentic sound of vinyl records with the convenience of modern audio equipment.
In this article, we will guide you through the process of hooking up your turntable to a receiver, ensuring that you can seamlessly integrate your vinyl collection into your audio setup. Whether you’re a beginner or just need a refresher, we’ll cover each step in detail, so you can start enjoying your favorite records in no time.
So, let’s dive into the world of turntables and discover how to connect them to your receiver for the ultimate listening experience.
Step 1: Gather the necessary equipment
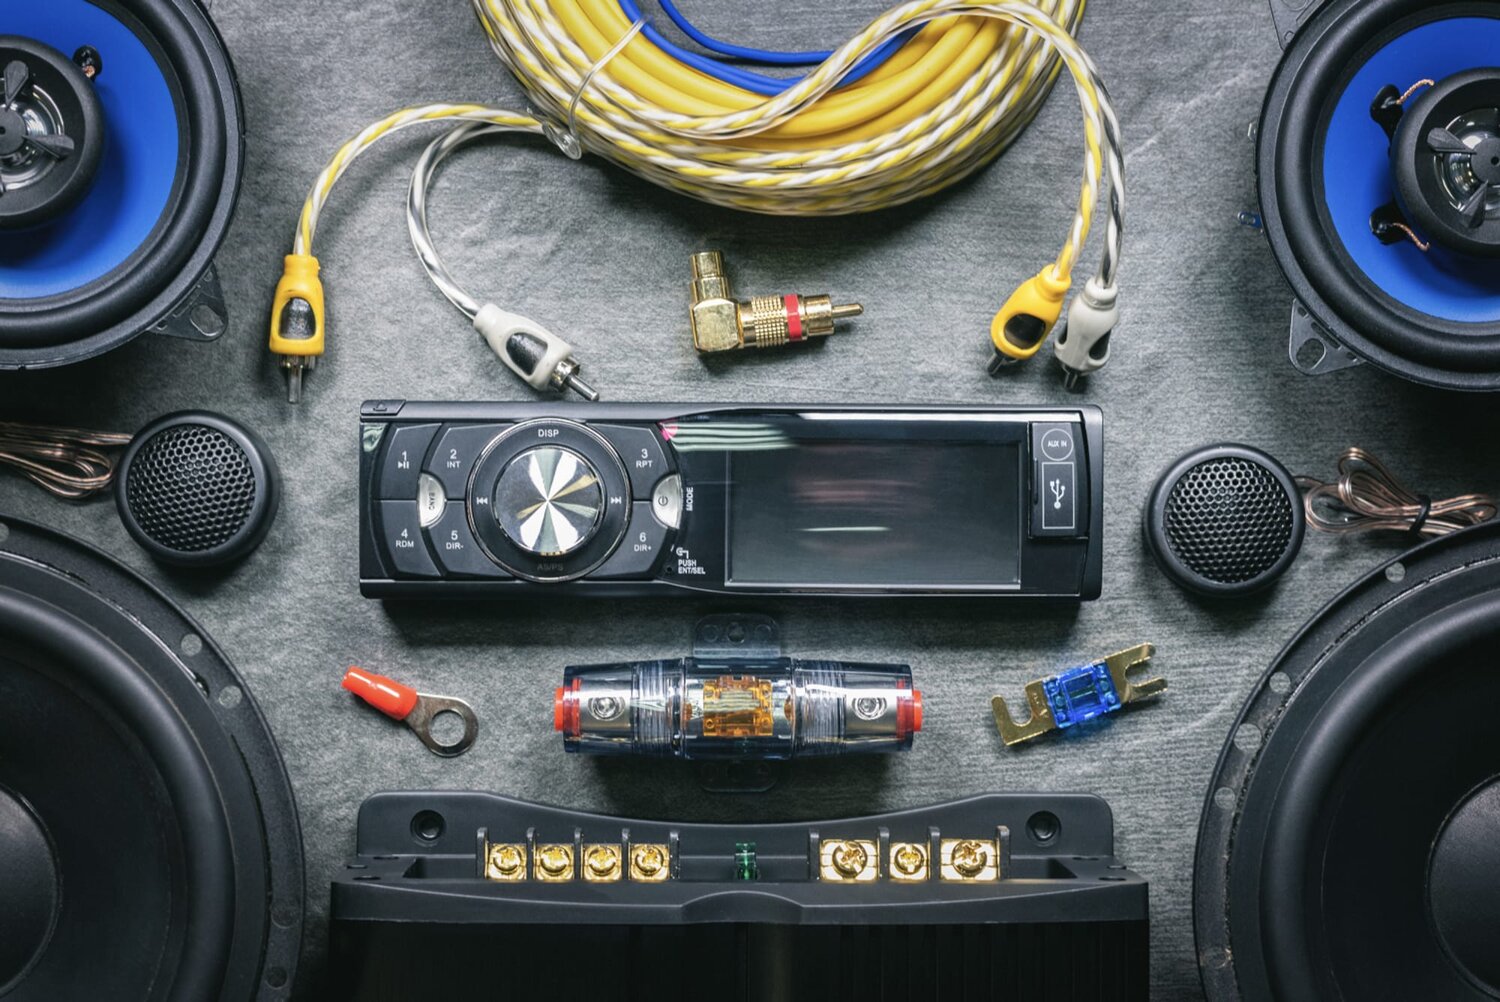
Before you begin the process of connecting your turntable to a receiver, it’s important to ensure that you have all the necessary equipment on hand. Here’s a list of items you’ll need:
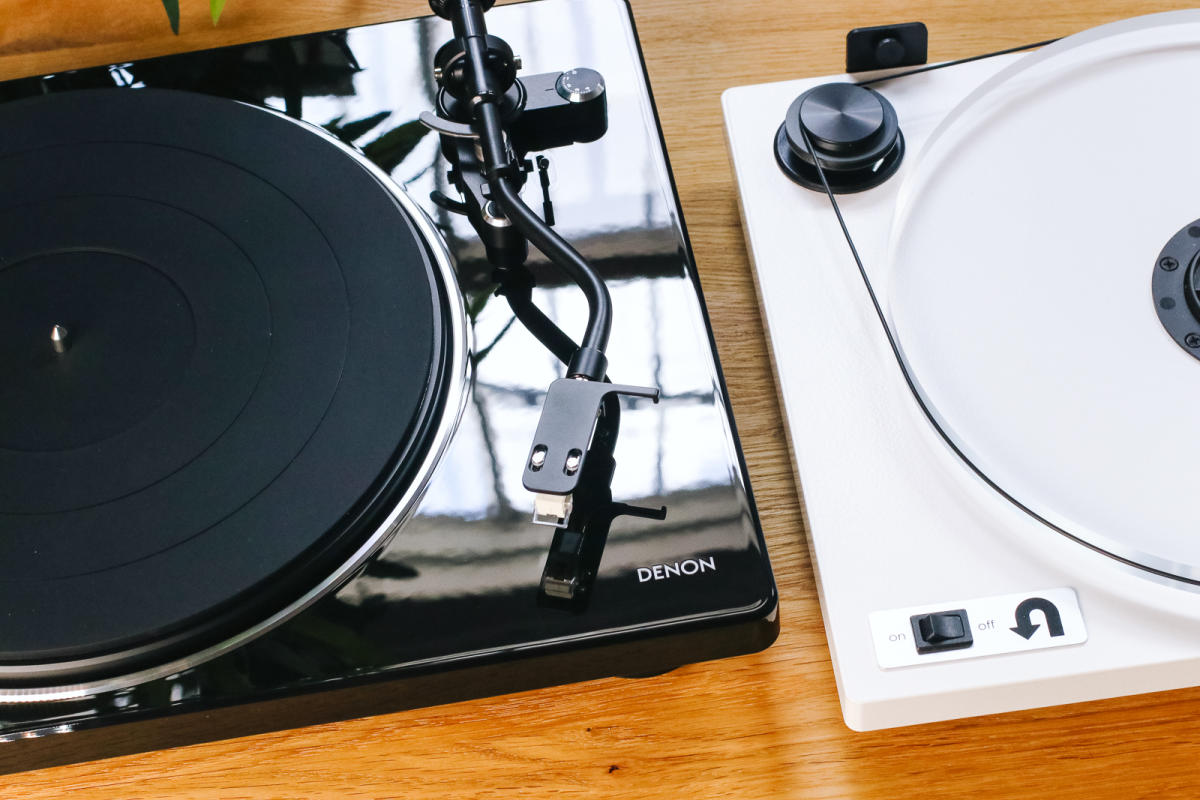
- A turntable: This is the centerpiece of your vinyl setup. Make sure your turntable is in good working condition and has a built-in phono preamp if your receiver doesn’t have a dedicated phono input.
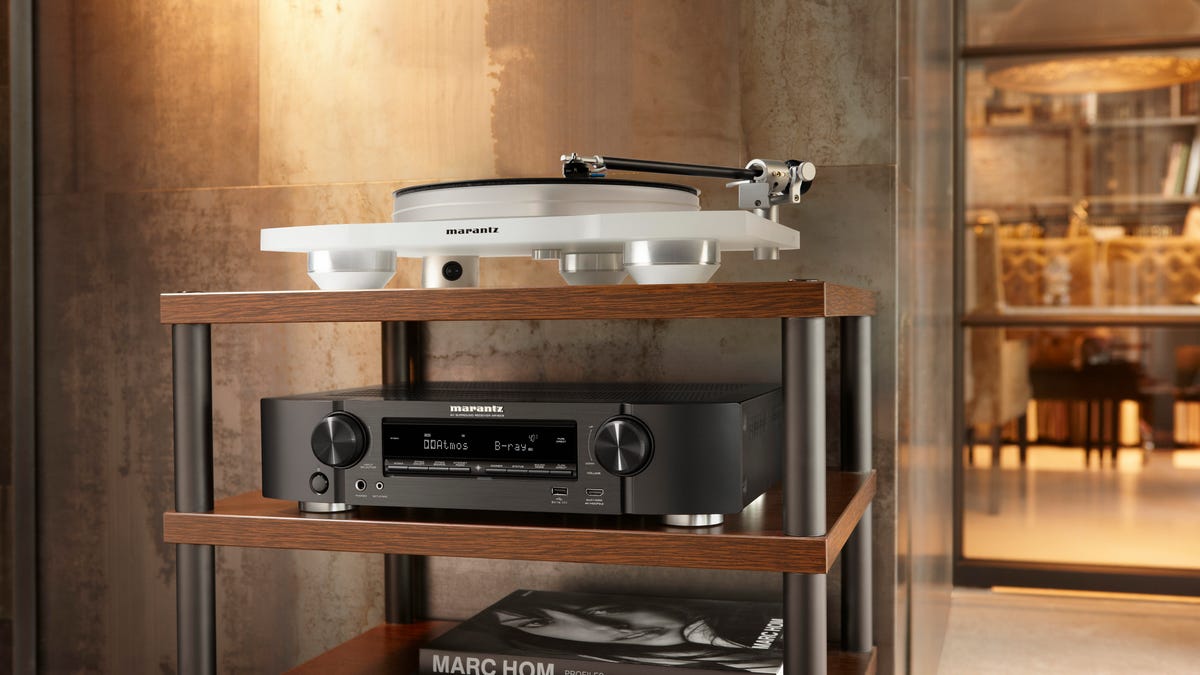
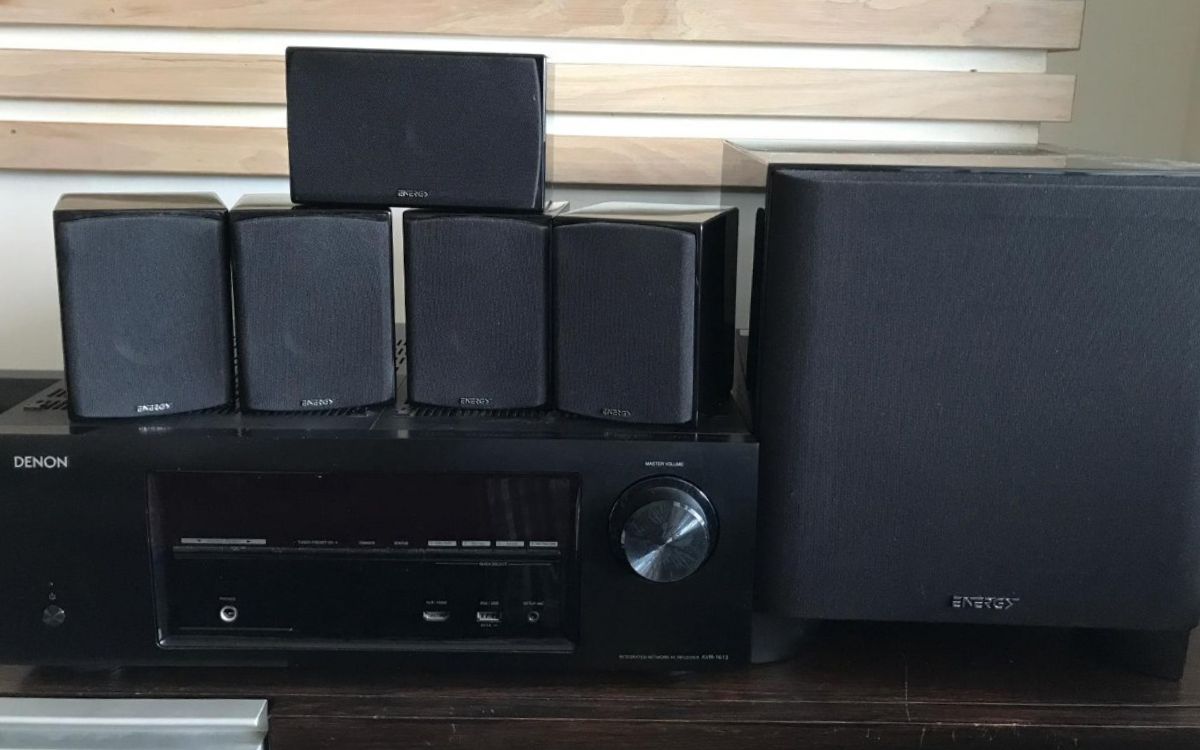
- A receiver: Look for a receiver that has a phono input or a dedicated phono preamp. This is where you will connect your turntable.
- Audio cables: You’ll need a set of RCA cables to connect the turntable to the receiver. Make sure the cables are long enough to reach between the two components.
- Ground wire (if necessary): Some turntables require grounding to eliminate unwanted hum or buzzing noises. Check if your turntable has a grounding wire and ensure you have it included.
Once you have all the necessary equipment ready, you can proceed to the next step of connecting your turntable to your receiver. It’s important to gather everything beforehand to avoid any interruptions and make the setup process smoother.
Step 2: Locate the audio inputs on your receiver
Before connecting your turntable to the receiver, you need to familiarize yourself with the audio inputs available on your receiver. Most receivers have a variety of audio inputs, including inputs for different devices such as CD players, tape decks, and auxiliary devices.
Look for a specific input labeled “Phono” or “Turntable” on your receiver. This input is designed to receive the low-level signal produced by your turntable and applies the necessary equalization to reproduce the audio correctly. If your receiver doesn’t have a dedicated phono input, don’t worry. Some modern turntables have a built-in phono preamp that allows you to connect to any line-level input on your receiver, such as “CD” or “Aux”.
Once you locate the appropriate input, take note of its location and make sure it is easily accessible. You may need a flashlight or refer to your receiver’s manual if the labeling is not clear.
If you are unsure or unable to find the correct input, consult your receiver’s manual or reach out to the manufacturer’s customer support for assistance.
Now that you’ve identified the audio inputs on your receiver, you’re ready to connect your turntable and enjoy the world of vinyl music.
Step 3: Connect the turntable to the receiver’s phono input
Now that you have located the phono input on your receiver, it’s time to connect your turntable. Follow these steps to make the necessary connections:
- Take one end of the RCA cables and plug the red connector into the right channel output on the back of your turntable. The red connector is typically labeled “R” or “Right”.
- Take the other end of the RCA cables and connect the red connector to the corresponding input on the receiver. Plug it into the phono input or the designated input you identified in the previous step. The red connector should be inserted into the red or white jack.
- Repeat the process for the white or black RCA connector, connecting it from the left channel output on the turntable to the left channel input on the receiver.
Ensure that the connections are secure and that the cables are not tangled or under strain. This will minimize the risk of audio distortion or interference during playback.
It’s important to note that if your turntable doesn’t have a built-in phono preamp and your receiver doesn’t have a dedicated phono input, you will need to connect the turntable to a line-level input on the receiver. In this case, follow the same steps but connect the RCA cables to the appropriate line-level inputs, such as “CD” or “Aux”.
With the turntable successfully connected to the receiver’s phono input, you are one step closer to enjoying the warm sound of vinyl records. Let’s move on to the next step to ensure optimal performance.
Step 4: Ground the turntable (if necessary)
Some turntables require grounding to eliminate unwanted hum or buzzing noises that can occur during playback. Grounding helps to reduce electrical interference and ensures a clean sound output.
To determine if your turntable requires grounding, check if it has a separate grounding wire. This wire is typically a thin wire with a metal connector at one end.
If your turntable has a grounding wire:
- Locate the grounding terminal on your receiver. It is usually labeled “GND” or “Ground”.
- Connect one end of the grounding wire to the grounding terminal on the receiver.
- Connect the other end of the grounding wire to the grounding post on the turntable. The grounding post is usually located near the RCA outputs.
Ensure that the connections are secure but not overly tightened.
If your turntable does not have a separate grounding wire, it may have internal grounding or use a different grounding method. In such cases, refer to your turntable’s manual for specific instructions.
Grounding your turntable helps to maintain the integrity of the signal and ensures a clean and clear audio output. It is an important step for minimizing any potential noise or interference during playback.
Now that you have successfully grounded your turntable (if necessary), you can proceed to the next step to set up your receiver for optimal sound quality.
Step 5: Adjust the settings on your receiver
With your turntable connected to the receiver, it’s time to fine-tune the settings to ensure optimal sound quality and performance. Follow these steps to adjust the settings on your receiver:
- Turn on your receiver and locate the input selector. This is usually a knob or button that allows you to choose the input source.
- Select the input source that corresponds to the phono input or the input where you connected your turntable. This will ensure that the receiver is set to receive the signal from the turntable.
- Check if your receiver has a phono preamp selector switch. If it does, ensure that it is set to the correct position based on whether your turntable has a built-in phono preamp or not. Consult the receiver’s manual for guidance on this step.
- Adjust the volume level on your receiver to an appropriate level. Start with a low volume setting to avoid any sudden loud noises or distortion when playing a record.
- Explore any additional settings on your receiver, such as tone controls or equalization options. These settings can help you customize the sound to your preference.
It’s important to note that adjusting the settings may vary depending on your specific receiver model. Refer to the receiver’s manual for detailed instructions and guidance specific to your device.
By adjusting the settings on your receiver, you can optimize the sound quality and ensure that the audio reproduction from your turntable is accurate and enjoyable. Take the time to experiment with the settings and find the balance that suits your listening preferences.
Now that you have adjusted the settings on your receiver, it’s time to put it to the test in the next step.
Step 6: Test the connection and make any necessary adjustments
Now that you have completed the setup process, it’s time to test the connection between your turntable and the receiver. Follow these steps to ensure everything is working correctly:
- Choose a vinyl record from your collection and carefully place it on the turntable.
- Turn on the turntable and start playing the record.
- Listen for any distortion, imbalance in sound, or other issues. Pay attention to the volume level to ensure it is balanced and clear.
- If you notice any issues, first check the connections between the turntable and the receiver. Ensure that the RCA cables are securely plugged in and that the grounding wire (if applicable) is properly connected.
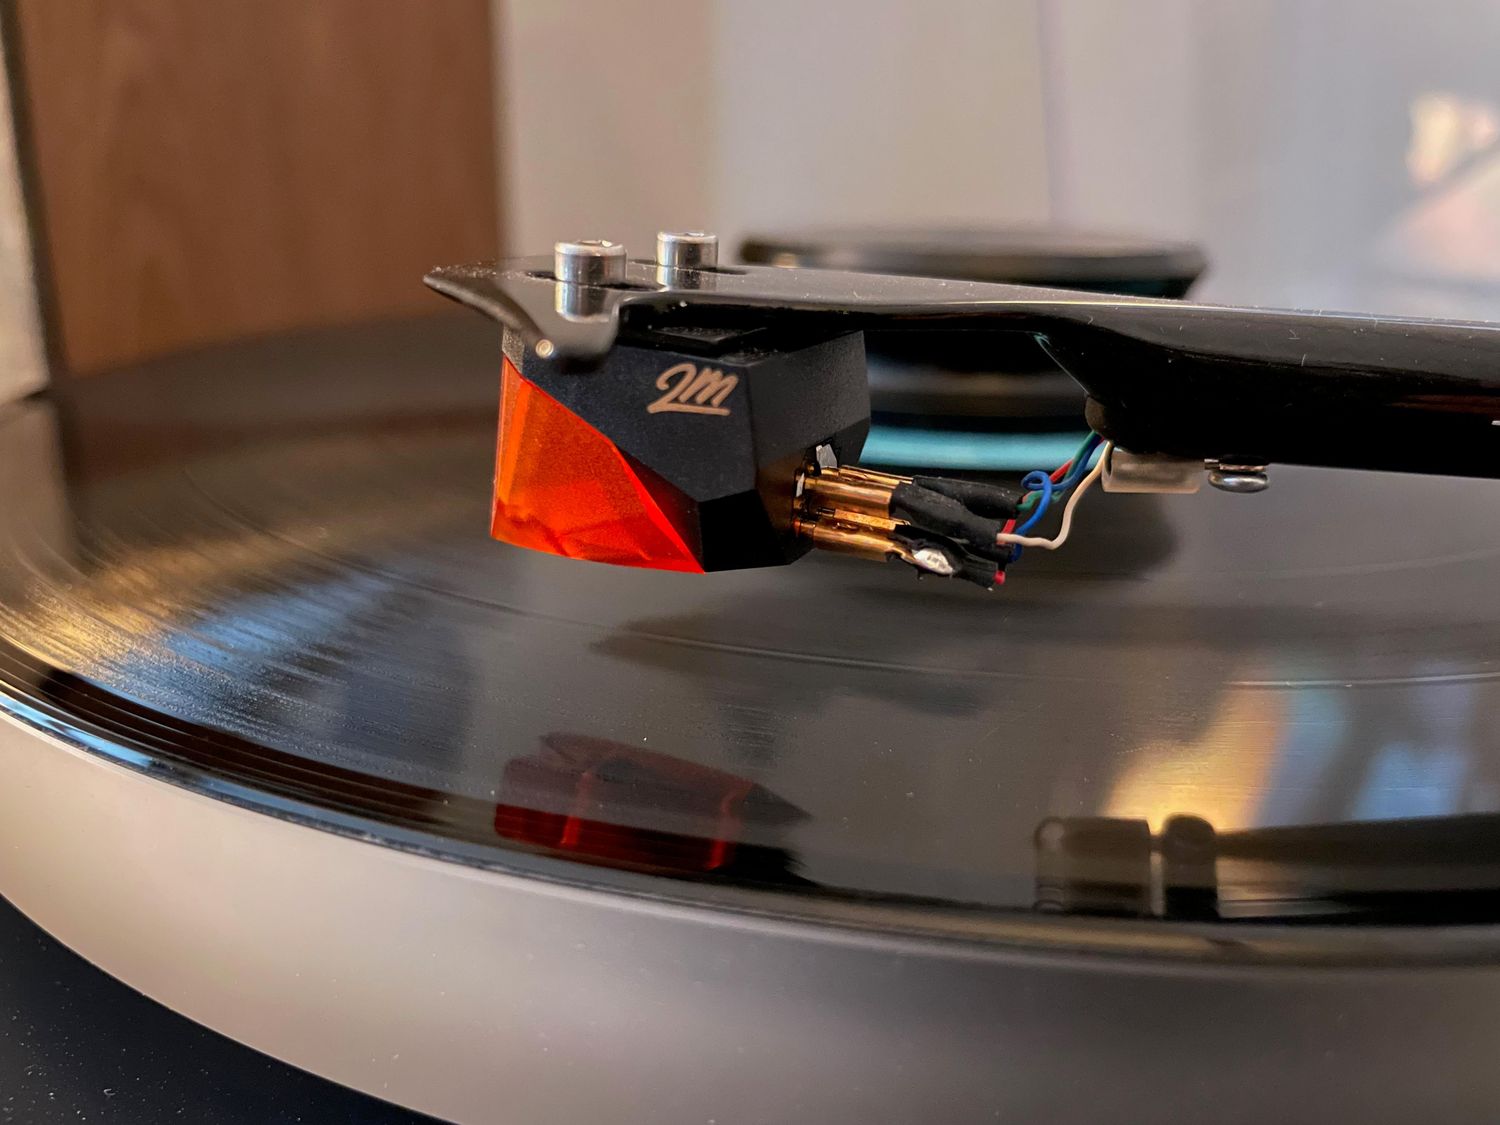
- Make sure the stylus (needle) on your turntable is clean and in good condition. A dirty or worn-out stylus can cause poor sound reproduction.
- If there are still issues, consult your turntable and receiver manuals for troubleshooting tips. You may also consider reaching out to customer support for further assistance.
During the testing phase, it’s a good idea to listen to various genres of music and different records to get a sense of how the setup performs in different scenarios. This will help you identify any specific adjustments or improvements needed.
Remember, every audio setup is unique, and your personal preferences may differ. Take the time to make any necessary adjustments to the settings on your receiver or the placement of your speakers to achieve the best sound quality.
Once you are satisfied with the sound quality and performance of your turntable and receiver, sit back, relax, and enjoy the warm and immersive experience of vinyl records.
Congratulations! You have successfully connected and tested your turntable to the receiver, bringing the joy of vinyl into your audio setup.
Conclusion
Connecting a turntable to a receiver may seem like a daunting task, but with the right knowledge and guidance, it can be a straightforward process. By following the steps outlined in this article, you can easily integrate your turntable into your audio setup and enjoy the unique and captivating sound of vinyl records.
We started by gathering the necessary equipment, including a turntable, receiver, audio cables, and, if needed, a grounding wire. Then, we located the audio inputs on the receiver, ensuring we could easily connect the turntable to the appropriate input.
Next, we connected the turntable to the receiver’s phono input or a line-level input if a dedicated phono input was not available. We also emphasized the importance of properly grounding the turntable to reduce unwanted noise or interference.
Adjusting the settings on your receiver is crucial for achieving optimal sound quality. We discussed selecting the correct input source, adjusting the volume level, and exploring additional tone control options available on your receiver.
After setting up the turntable and adjusting the receiver’s settings, we recommended testing the connection with a vinyl record and making any necessary adjustments. This includes checking the connections, ensuring the stylus is clean, and troubleshooting any issues that may arise.
Ultimately, the goal is to create a seamless and enjoyable listening experience. By taking the time to connect your turntable to a receiver properly and fine-tuning the settings, you can immerse yourself in the rich, warm sound of vinyl records.
So, sit back, relax, and let your turntable transport you to a world where music comes alive, reviving the nostalgic charm of vinyl records.