Home>Devices & Equipment>Turntable>How To Callibrate Turntable

Turntable
How To Callibrate Turntable
Modified: January 22, 2024
Learn how to calibrate your turntable for optimal performance and sound quality. Expert tips and step-by-step instructions for tuning your turntable.
(Many of the links in this article redirect to a specific reviewed product. Your purchase of these products through affiliate links helps to generate commission for AudioLover.com, at no extra cost. Learn more)
Table of Contents
Introduction
Welcome to the world of turntables, where the warm analog sound brings music to life in ways that digital formats simply can’t replicate. To truly experience the full potential of your turntable, ensuring proper calibration is essential. By taking the time to calibrate your turntable correctly, you can optimize its performance, enhance audio quality, and prolong the life of your vinyl records.
Turntable calibration refers to the process of adjusting various parameters to achieve optimal sound reproduction and tracking accuracy. This includes setting the tracking force, adjusting the anti-skate, aligning the cartridge, fine-tuning the tonearm height, and checking the speed accuracy.
While the process may seem daunting at first, it’s well worth the effort. Proper calibration not only guarantees the best audio experience but also protects your vinyl records from unnecessary wear and tear. So, let’s dive into the world of turntable calibration together and discover how to get the most out of your beloved vinyl collection.
Understanding the Basics of Turntable Calibration
Before diving into the calibration process, it’s essential to understand the key components and terms associated with turntables. This knowledge will help you grasp the importance of calibration and how it affects the performance of your turntable.
The primary goal of turntable calibration is to achieve accurate tracking of the record groove. This involves setting the appropriate tracking force, which is the downward pressure exerted by the stylus on the record. Setting the tracking force too light can result in skipping, while setting it too heavy can cause excessive wear on the stylus and records.
Another essential factor to consider is anti-skate. Anti-skate is a mechanism that counteracts the inward pull of the record groove, which can cause the stylus to track too heavily on one channel. Proper anti-skate adjustment ensures balanced sound reproduction and reduces unnecessary wear on the stylus.
The cartridge, which contains the stylus and the cantilever, plays a crucial role in turntable calibration. Proper alignment of the cartridge ensures that the stylus tracks the record groove accurately. There are different alignment methods, such as Stevenson, Baerwald, and Löfgren, each with its own advantages and optimal settings.
The tonearm height also needs to be considered during calibration. Proper tonearm height adjustment ensures that the stylus is parallel to the record surface, allowing for accurate tracking and minimizing distortion.
Lastly, speed accuracy is vital for optimal sound reproduction. Turntables typically have settings for 33 1/3, 45, and occasionally 78 RPM records. Incorrect speed can result in pitch inaccuracies and affect the overall sound quality of your vinyl records.
By understanding these basics, you can appreciate the importance of proper turntable calibration. It’s time to move on to the next step and prepare for the calibration process.
Preparing for Calibration
Before diving into the calibration process, it’s important to ensure that you have the necessary tools and a clean workspace. Here are some steps to prepare for turntable calibration:
- Gather the Tools: You will need a precision tracking force gauge, a stylus balance scale, a cartridge alignment protractor, and a small screwdriver set. These tools will help you accurately measure and adjust the various parameters of your turntable.
- Clean the Workspace: It’s important to have a clean and clutter-free area to work on your turntable. Remove any dust, debris, or other objects that may interfere with the calibration process. Keep the workspace well-lit so that you can clearly see the small details.
- Disconnect Power: Before starting the calibration process, make sure to turn off and disconnect the power supply to your turntable. This precaution will prevent any accidental damage to the turntable or injury to yourself.
- Inspect the Turntable: Take a moment to visually inspect your turntable. Check for any visible damage or loose components. Ensure that the tonearm is in the resting position and that there are no obstructions in the path of the stylus.
- Clean the Stylus and Record: Before calibration, it’s a good idea to clean both the stylus and the record surface. Use a soft brush or a stylus cleaning brush to gently remove any dirt or debris from the stylus. Wipe the record surface using a record cleaning brush or a microfiber cloth to remove dust and fingerprints. Clean records ensure optimal tracking and minimize any potential for damage to the stylus or the grooves.
By taking these preparatory steps, you’ll set the stage for a successful calibration process. With the tools on hand and a clean workspace, you’re now ready to dive into the specific adjustments needed to optimize your turntable’s performance. The next sections will guide you through each step of the calibration process, ensuring precise and accurate sound reproduction from your vinyl records.
Adjusting Tracking Force
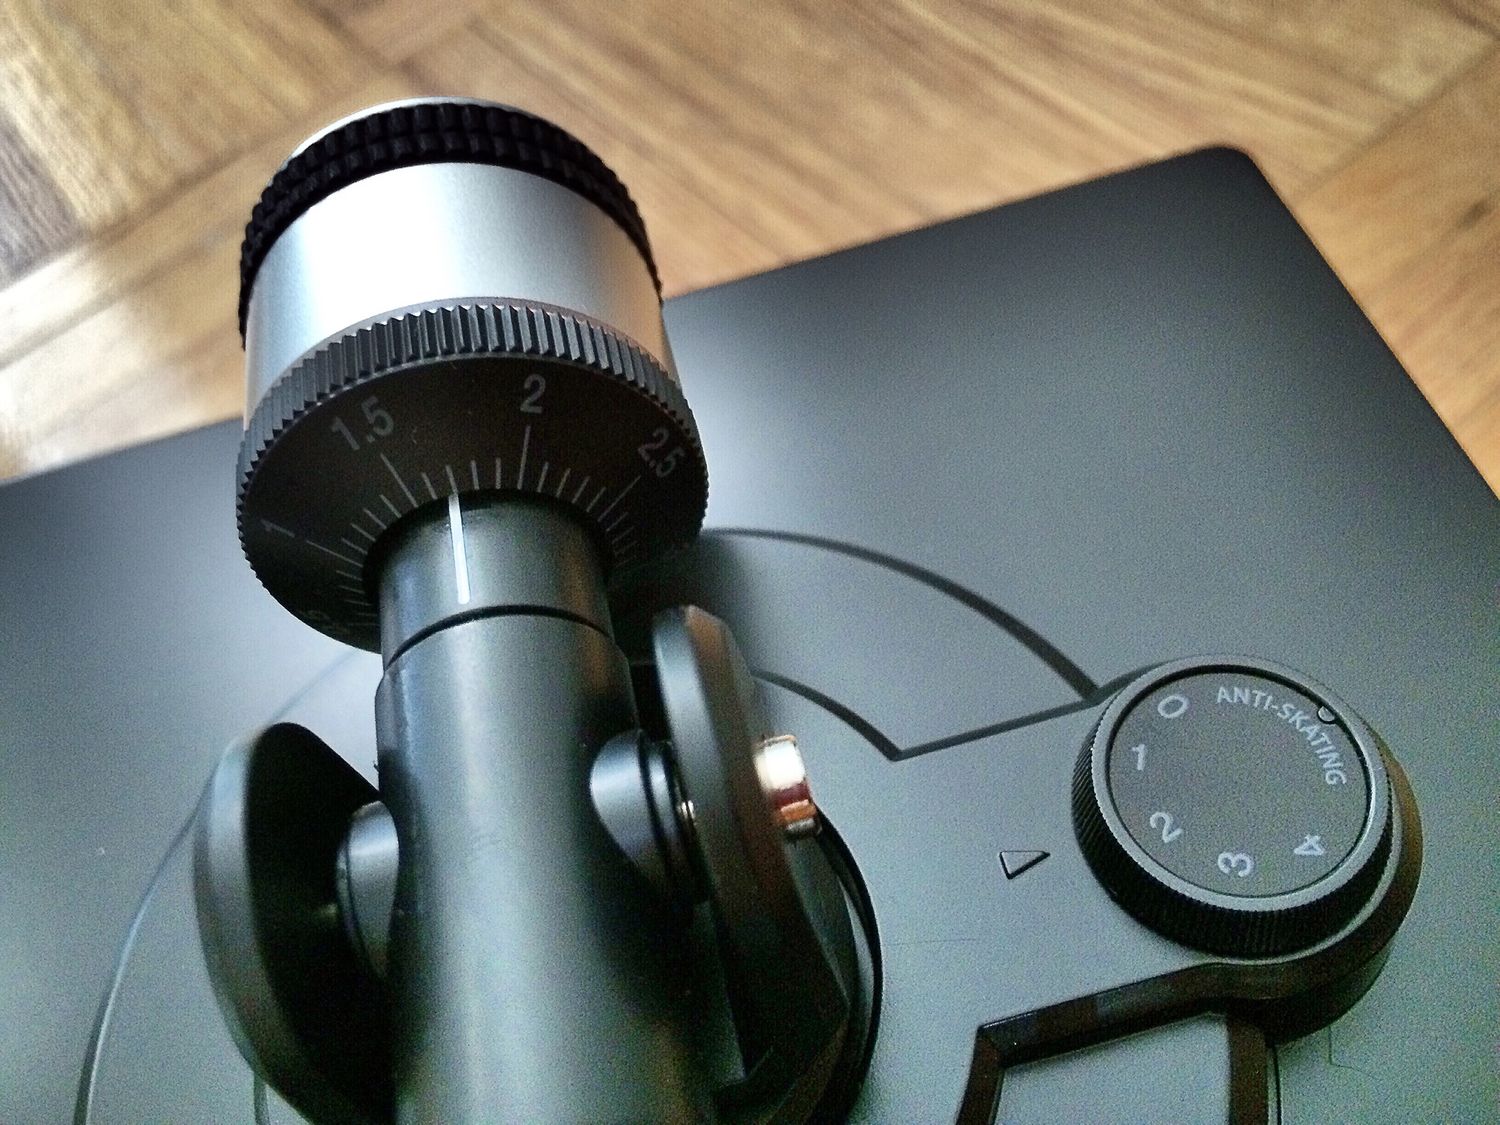
Tracking force is the downward pressure exerted by the stylus on the record. Adjusting the tracking force is crucial for proper turntable calibration and optimal sound reproduction. Here’s how you can adjust the tracking force:
- Find the Recommended Tracking Force: Refer to the manufacturer’s instructions or consult the user manual to determine the recommended tracking force for your specific cartridge. This information is usually provided in grams.
- Access the Tonearm Weight Adjustment: Locate the tonearm weight adjustment mechanism on your turntable. It is typically located near the rear of the tonearm, closer to the pivot point.
- Set the Tracking Force: Gently turn the tonearm weight adjustment dial or knob to set the tracking force to the recommended value. It is important to make small incremental adjustments and give the turntable a few moments to settle before making further adjustments.
- Use a Tracking Force Gauge: For precise measurement, use a tracking force gauge. Place the gauge on the turntable platter and carefully lower the stylus onto the gauge. Read the tracking force measurement indicated on the gauge and compare it to the recommended value.
- Make Fine Adjustments: If the tracking force is not within the recommended range, make small adjustments to the tonearm weight until the desired tracking force is achieved. Remember to give the turntable time to settle between adjustments.
- Check the Tracking Performance: Once the tracking force is set, play a test record and observe the performance of the stylus. Ensure that it tracks smoothly and doesn’t skip or distort. If any issues arise, reassess the tracking force and make necessary adjustments.
Proper tracking force ensures that the stylus maintains consistent contact with the record groove, resulting in accurate sound reproduction and minimizing wear on your vinyl records. Take your time in this adjustment process to achieve optimal performance from your turntable.
Setting the Anti-Skate
The anti-skate adjustment is a crucial step in turntable calibration. It counteracts the inward pull of the record groove, ensuring that the stylus tracks evenly on both channels. Here’s how you can set the anti-skate:
- Locate the Anti-Skate Control: Look for an anti-skate control dial or knob on your turntable. It is usually located near the tonearm base or on the tonearm itself.
- Set the Anti-Skate to Zero: Start by setting the anti-skate to zero. This means turning the dial or knob to the lowest setting possible.
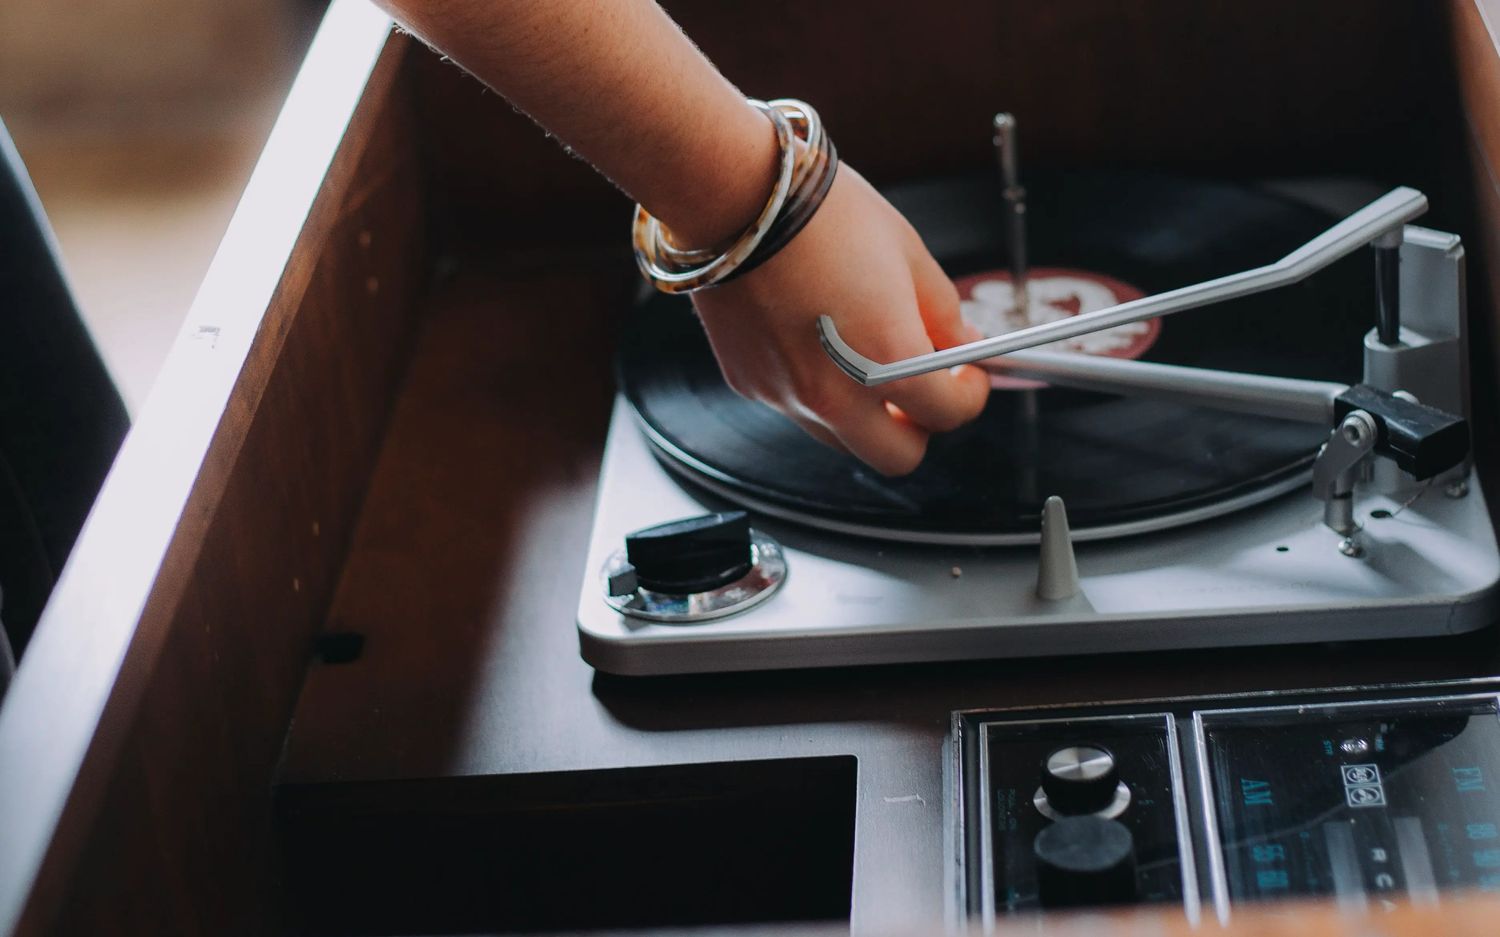
- Initiate the Playback: Start playing a vinyl record on your turntable.
- Observe the Stylus Behavior: Watch the behavior of the stylus as it tracks along the record groove. Pay attention to any lateral movement or tendency of the stylus to pull towards one channel.
- Adjust the Anti-Skate: Gradually increase the anti-skate until the stylus tracks evenly and does not pull towards one side. Make small adjustments and observe the behavior of the stylus after each adjustment to ensure optimal tracking.
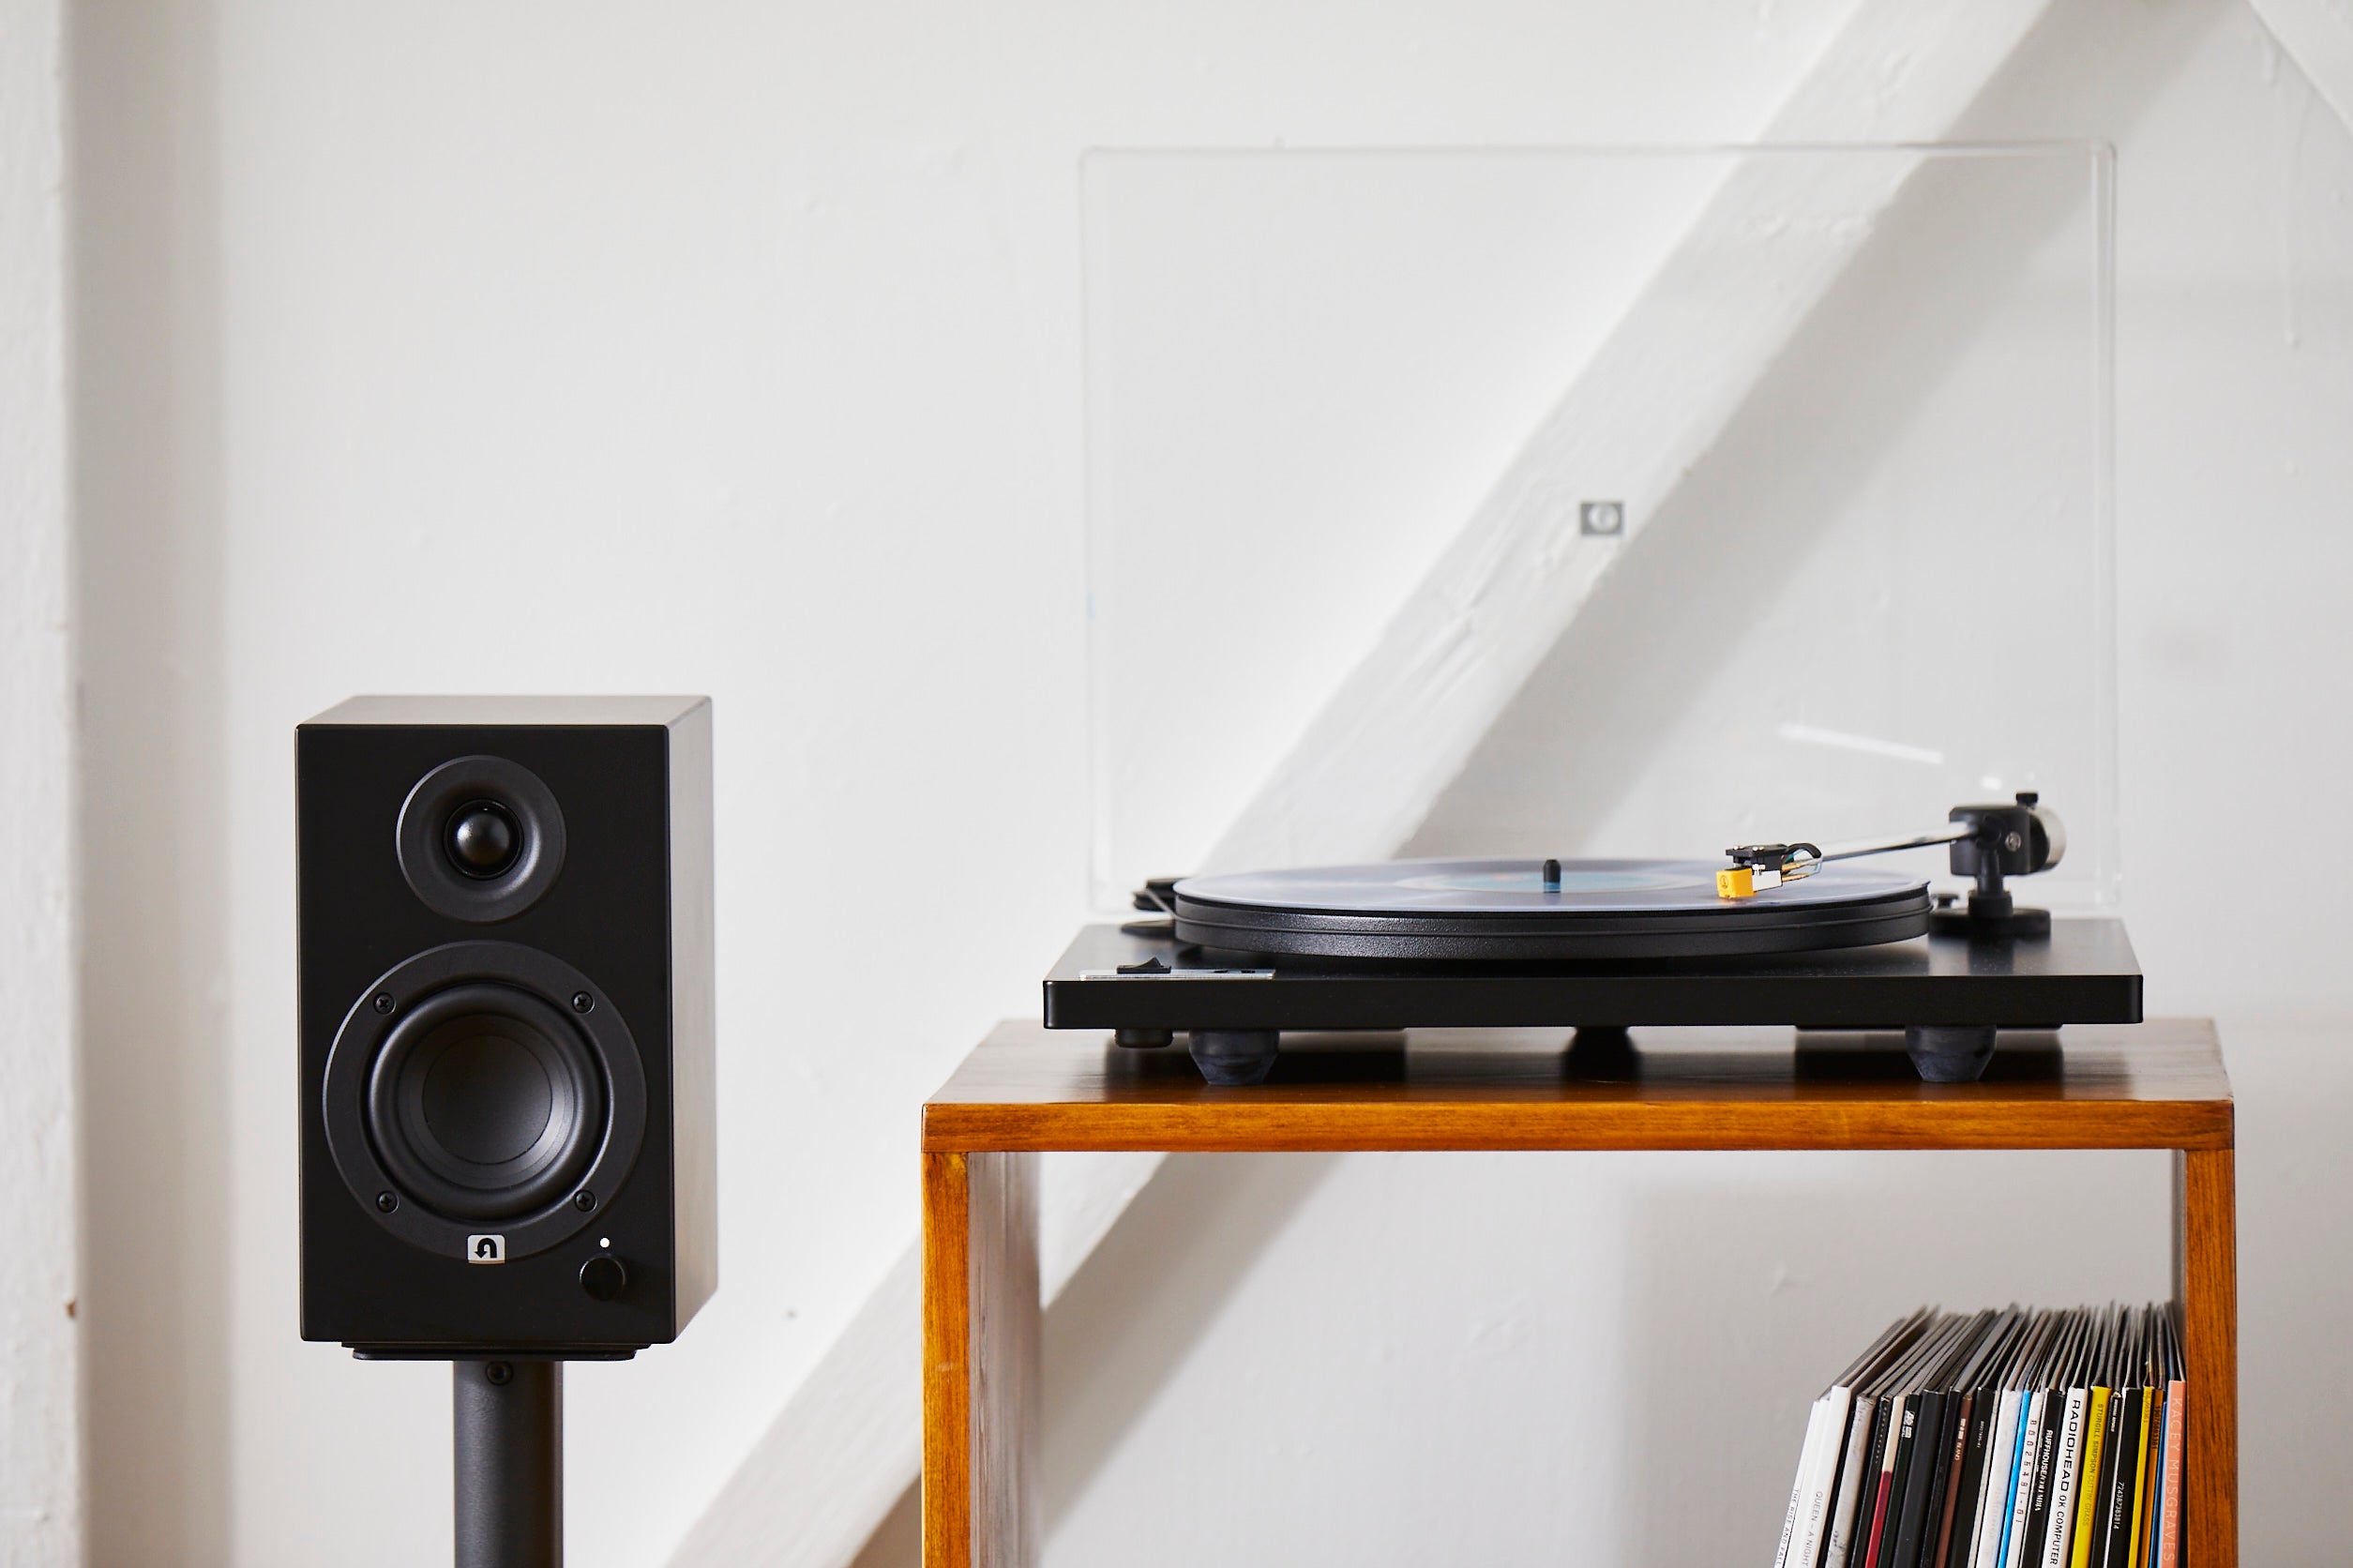
- Listen for Balanced Sound: As you adjust the anti-skate, listen for a balanced sound from both channels. The goal is to achieve equal sound quality and output from the left and right speakers.
- Reassess Periodically: It’s a good practice to reassess the anti-skate periodically, especially if you change cartridges or make other adjustments to your turntable setup.
Setting the anti-skate properly ensures that the stylus remains centered in the record groove, minimizing distortion and wear on your vinyl records. Take your time and make small, incremental adjustments until you achieve balanced tracking and optimal sound reproduction.
Aligning the Cartridge
Proper alignment of the cartridge is essential for accurate tracking and optimal sound reproduction. The alignment ensures that the stylus is positioned correctly in relation to the record groove. Here’s how you can align your turntable cartridge:
- Select the Alignment Method: There are different alignment methods available, such as Stevenson, Baerwald, and Löfgren. Refer to the manufacturer’s instructions or consult the user manual to determine the recommended alignment method for your cartridge.
- Print the Alignment Protractor: Find a printable alignment protractor specific to your chosen method. Many manufacturers provide alignment protractors on their websites. Alternatively, you can purchase protractors from turntable accessory suppliers.
- Mount the Alignment Protractor: Carefully mount the alignment protractor onto the turntable platter, ensuring that it is centered and securely attached. Some protractors may have alignment guides or markers to assist in the alignment process.
- Set the Tonearm: Lift the tonearm and position it at the starting point of the protractor, aligning the stylus with the corresponding alignment guide or marker.
- Adjust the Cartridge Alignment: Rotate the cartridge body within the headshell so that the stylus aligns with the designated arc or lines on the alignment protractor. Use a small screwdriver or the provided adjustment tools to loosen and tighten cartridge mounting screws as necessary.
- Double-Check and Fine-Tune: Double-check the alignment by moving the tonearm across the protractor’s arc or lines. Ensure that the stylus maintains proper alignment throughout the movement. Make small adjustments to achieve precise alignment if needed.
- Repeat for Secondary Alignment Points: Some protractors may have additional alignment points for different tracking weights or tonearm positions. Repeat the alignment process for these points if applicable.
- Verify Alignment with Test Tracks: Play a test record with alignment tracks to verify that the stylus is tracking correctly and that the sound is properly balanced across both channels.
Proper alignment of the cartridge ensures that the stylus accurately follows the record groove, minimizing distortion and maximizing audio fidelity. Take your time during this process to achieve precise alignment and enjoy the best possible sound quality from your vinyl records.
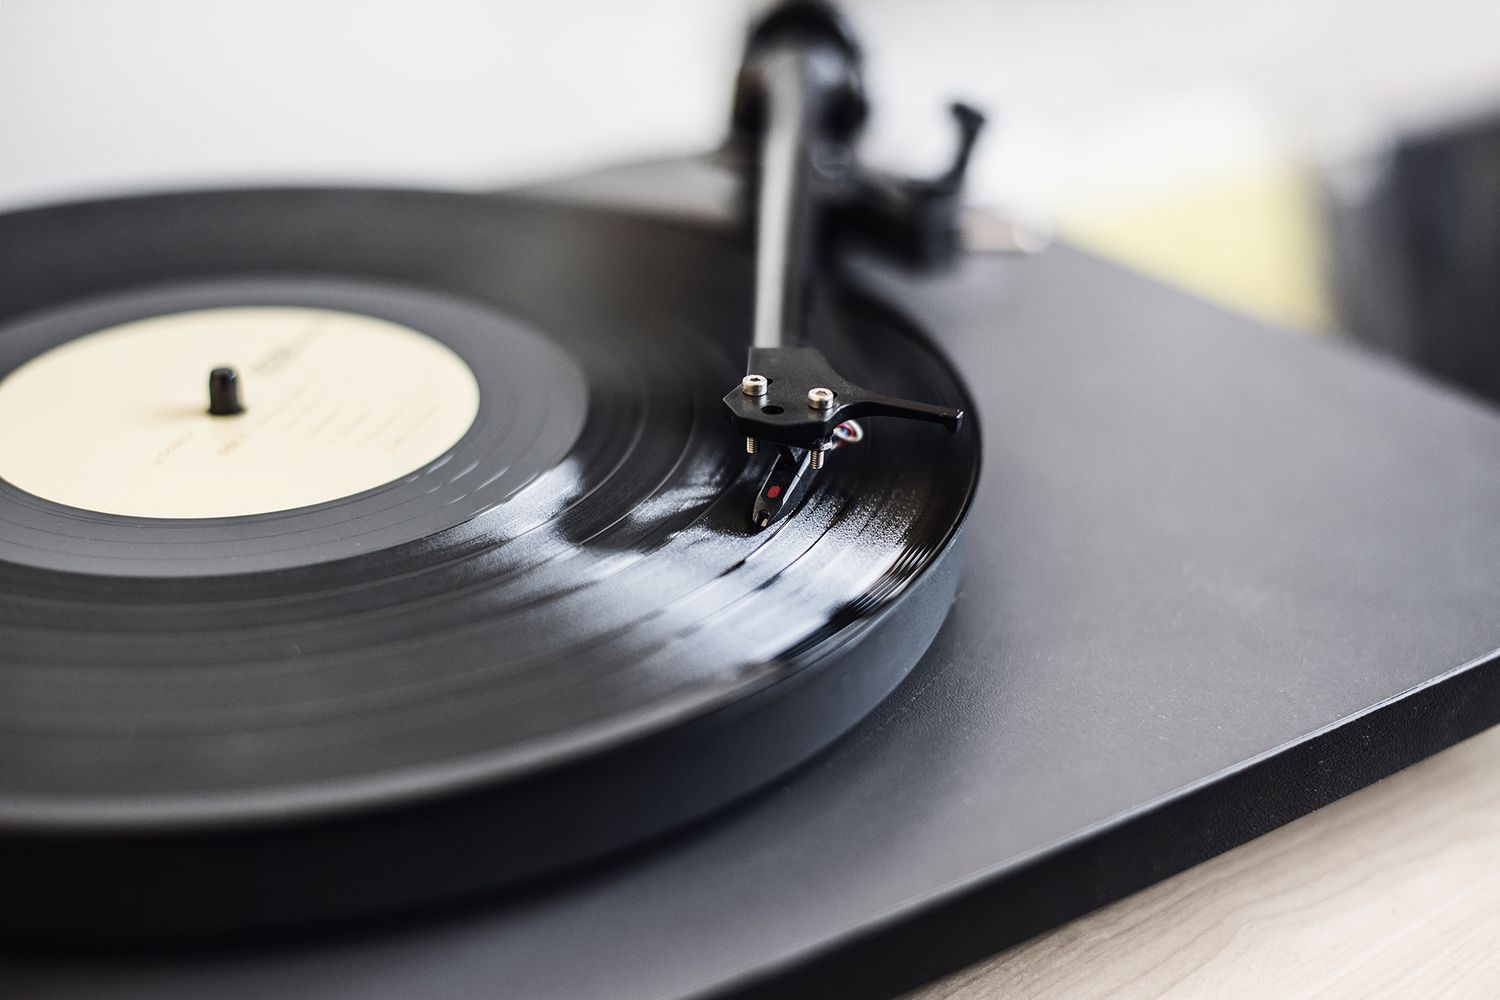
Fine-Tuning the Tonearm Height
Fine-tuning the tonearm height is an important step in turntable calibration. Adjusting the tonearm height ensures that the stylus is parallel to the record surface, allowing for accurate tracking and minimizing distortion. Here’s how you can fine-tune the tonearm height:
- Access the Tonearm Height Adjustment: Locate the tonearm height adjustment mechanism on your turntable. It is usually located near the rear of the tonearm base or underneath the turntable plinth.
- Observe the Current Height: Take note of the current tonearm height and observe the position of the stylus in relation to the record surface.
- Make Incremental Adjustments: Using the tonearm height adjustment mechanism, make small incremental adjustments to raise or lower the tonearm. It’s recommended to make adjustments in tiny increments, such as a quarter turn, and observe the stylus position and parallelism after each adjustment.
- Check Parallel Alignment: Verify that the stylus is parallel to the record surface by visually inspecting it from different angles. The goal is to achieve a slight, even gap between the stylus tip and the record surface, ensuring proper tracking and minimal distortion.
- Listen for Sound Quality: As you fine-tune the tonearm height, listen for any improvements or changes in sound quality. A properly aligned tonearm height can result in improved clarity and accurate sound reproduction.
- Retest with Test Tracks: Play test tracks that feature a wide range of frequencies and dynamics to ensure that the tonearm height adjustments have not introduced any tracking or sound issues. Make further adjustments if necessary.
- Repeat as Needed: Fine-tuning the tonearm height may require multiple adjustments to achieve the desired result. Take your time and repeat the process until you are satisfied with the parallel alignment and sound quality.
Fine-tuning the tonearm height is a delicate process that can greatly impact the sound quality and tracking performance of your turntable. Take your time and make incremental adjustments to achieve optimal parallel alignment, resulting in accurate tracking and an immersive listening experience.
Checking the Speed Accuracy
One crucial aspect of turntable calibration is ensuring the speed accuracy. Incorrect speed can result in pitch inaccuracies and affect the overall sound quality of your vinyl records. Here’s how you can check and adjust the speed accuracy of your turntable:
- Verify Speed Settings: Locate the speed selector switch or control on your turntable. The standard speeds are 33 1/3, 45, and occasionally 78 RPM. Ensure that the switch or control is set to the appropriate speed for your record.
- Use a Speed Strobe Disc: Obtain a speed strobe disc or download a smartphone app that provides a speed strobe function. These tools create a pattern of lines or dots that, when viewed under a light source, can visually measure the rotational speed of your turntable.
- Place the Strobe Disc on Platter: Turn on the turntable and place the speed strobe disc on the platter. Ensure that it is centered and free from any dust or debris that may interfere with accurate measurements.
- Activate the Strobe Light: Turn on the strobe light or use the strobe function of your smartphone app. The light creates a flickering effect on the speed strobe disc, revealing the rotational speed of the turntable.
- Adjust the Speed Control: If the strobe pattern appears to be moving too quickly or slowly, adjust the speed control knob or potentiometer on your turntable. Make small adjustments and observe the strobe disc until the pattern remains stable and aligned.
- Verify with Test Tracks: Play test tracks with known pitches or speed variations to double-check the speed accuracy of your turntable. Listen for any pitch inconsistencies or noticeable variations in tempo.
- Repeat as Needed: If you find any discrepancies in speed accuracy or pitch, make further adjustments to the speed control until the desired result is achieved. Repeat the checking and adjustment process as necessary.
Checking and maintaining the speed accuracy of your turntable ensures that your vinyl records are played at the correct speed, preserving the intended sound and musical experience. Take the time to regularly verify the speed accuracy and make any adjustments needed for optimal performance.
Conclusion
Congratulations! By following the steps outlined in this guide, you have learned the essential techniques for calibrating your turntable. Proper calibration is vital for achieving optimal sound reproduction, protecting your vinyl records, and enhancing your overall listening experience. Let’s recap the key takeaways:
To begin, familiarize yourself with the basics of turntable calibration, including understanding tracking force, anti-skate, cartridge alignment, tonearm height, and speed accuracy. By comprehending these concepts, you can grasp the importance of each calibration parameter.
Next, ensure you are well-prepared for the calibration process. Gather the necessary tools, create a clean workspace, and disconnect the power to your turntable. Taking these steps will set the stage for successful calibration.
Start by adjusting the tracking force, ensuring that it is set to the manufacturer’s recommended value. This will guarantee proper stylus-to-groove contact and minimize excessive wear on your records.
Continue by setting the anti-skate, ensuring equal tracking force on both channels to achieve balanced sound reproduction. Adjusting the anti-skate will also help minimize wear on the stylus and protect your vinyl collection.
Aligning the cartridge is crucial for accurate tracking. Choose the appropriate alignment method, mount the alignment protractor, and make small adjustments to achieve precise alignment. This step will ensure the stylus tracks the record groove correctly, maximizing sound quality.
Fine-tune the tonearm height to achieve parallel alignment between the stylus and the record surface. This will minimize distortion and optimize the sound reproduction of your turntable.
Lastly, check and adjust the speed accuracy of your turntable. Using a speed strobe disc or app, verify that the rotational speed matches the intended setting, avoiding pitch inaccuracies and preserving the intended musical experience.
Remember, turntable calibration is an ongoing process. It is advisable to periodically reassess and fine-tune the calibration parameters to maintain optimal performance.
With your newly calibrated turntable, you can now enjoy the full potential of your vinyl collection. Immerse yourself in the warm, rich sounds that only analog audio can deliver. Whether you’re rediscovering old favorites or exploring new records, a well-calibrated turntable will showcase the beauty and intricacies of your music.
So take a moment, sit back, and let the music spin in all its analog glory!