Home>Devices & Equipment>Turntable>How To Repaint Turntable

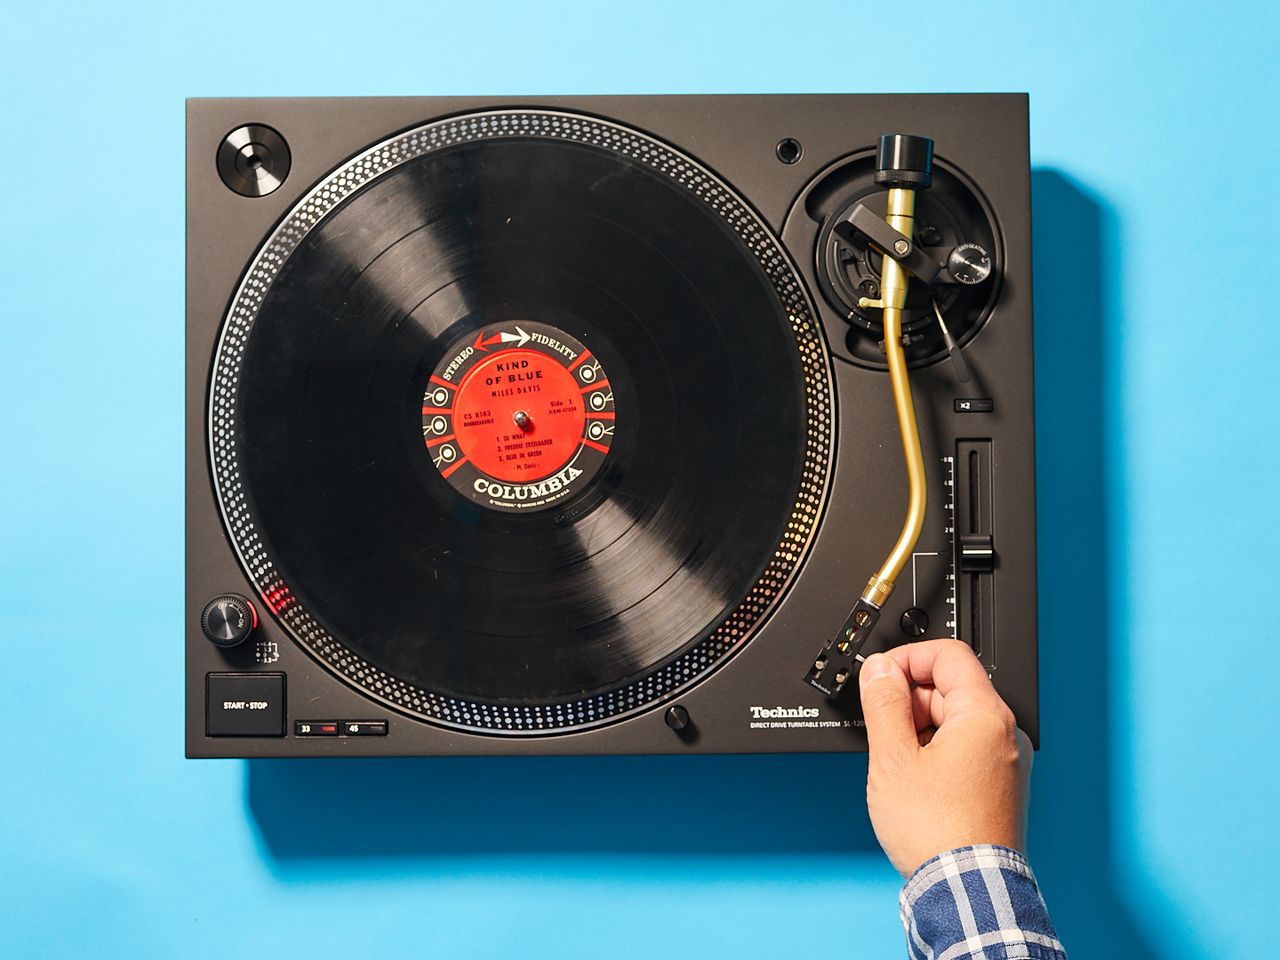
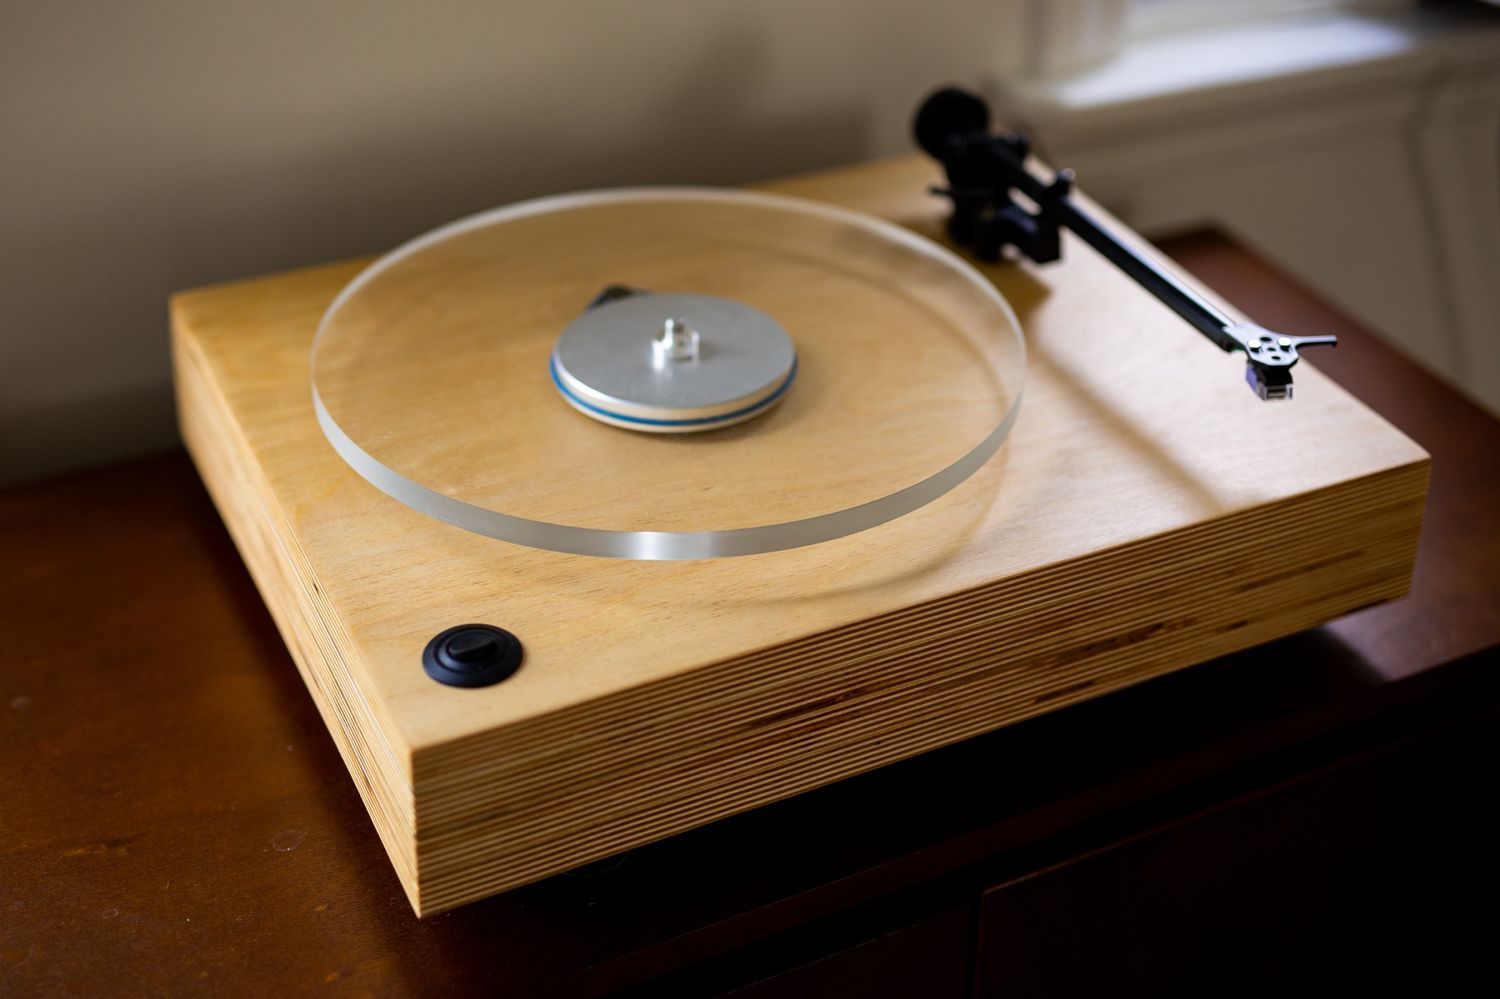
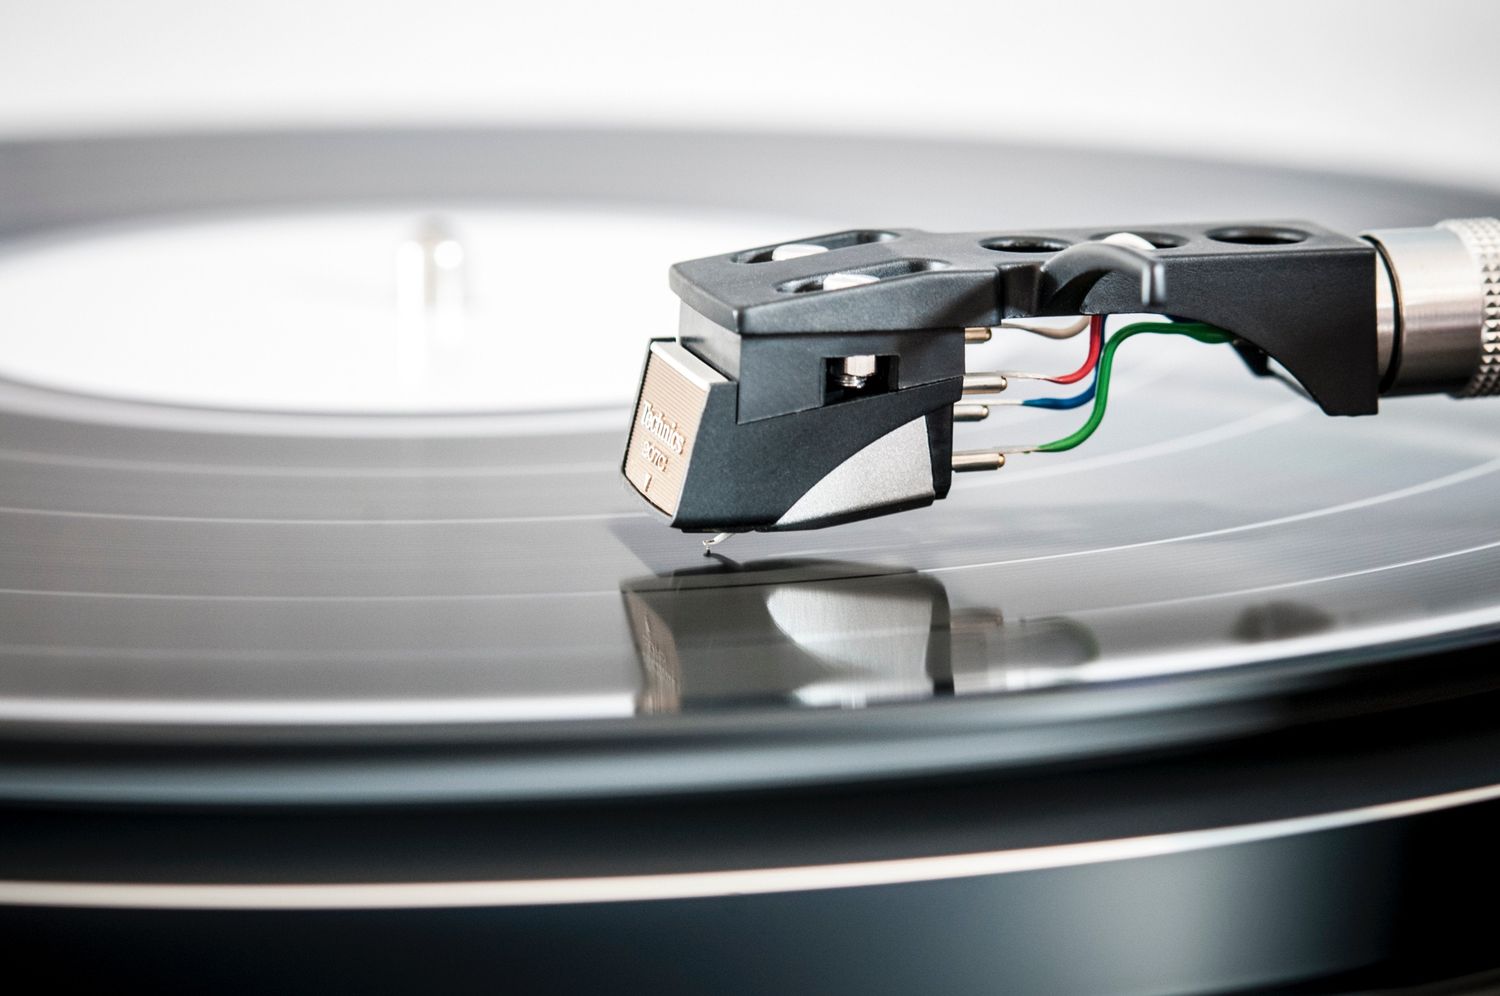
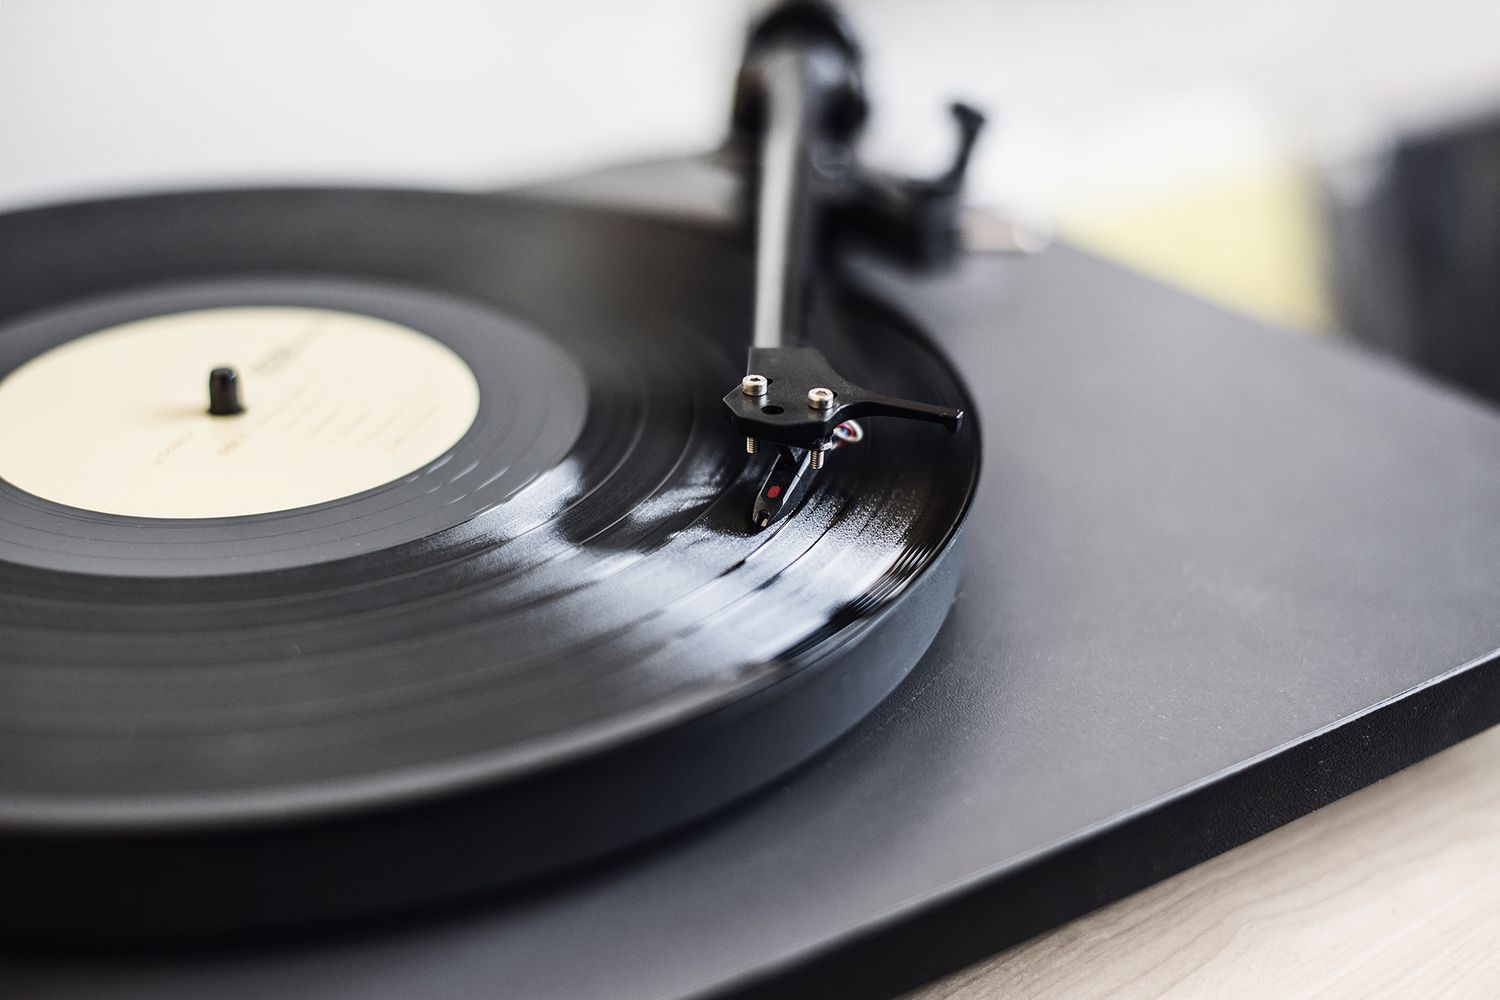
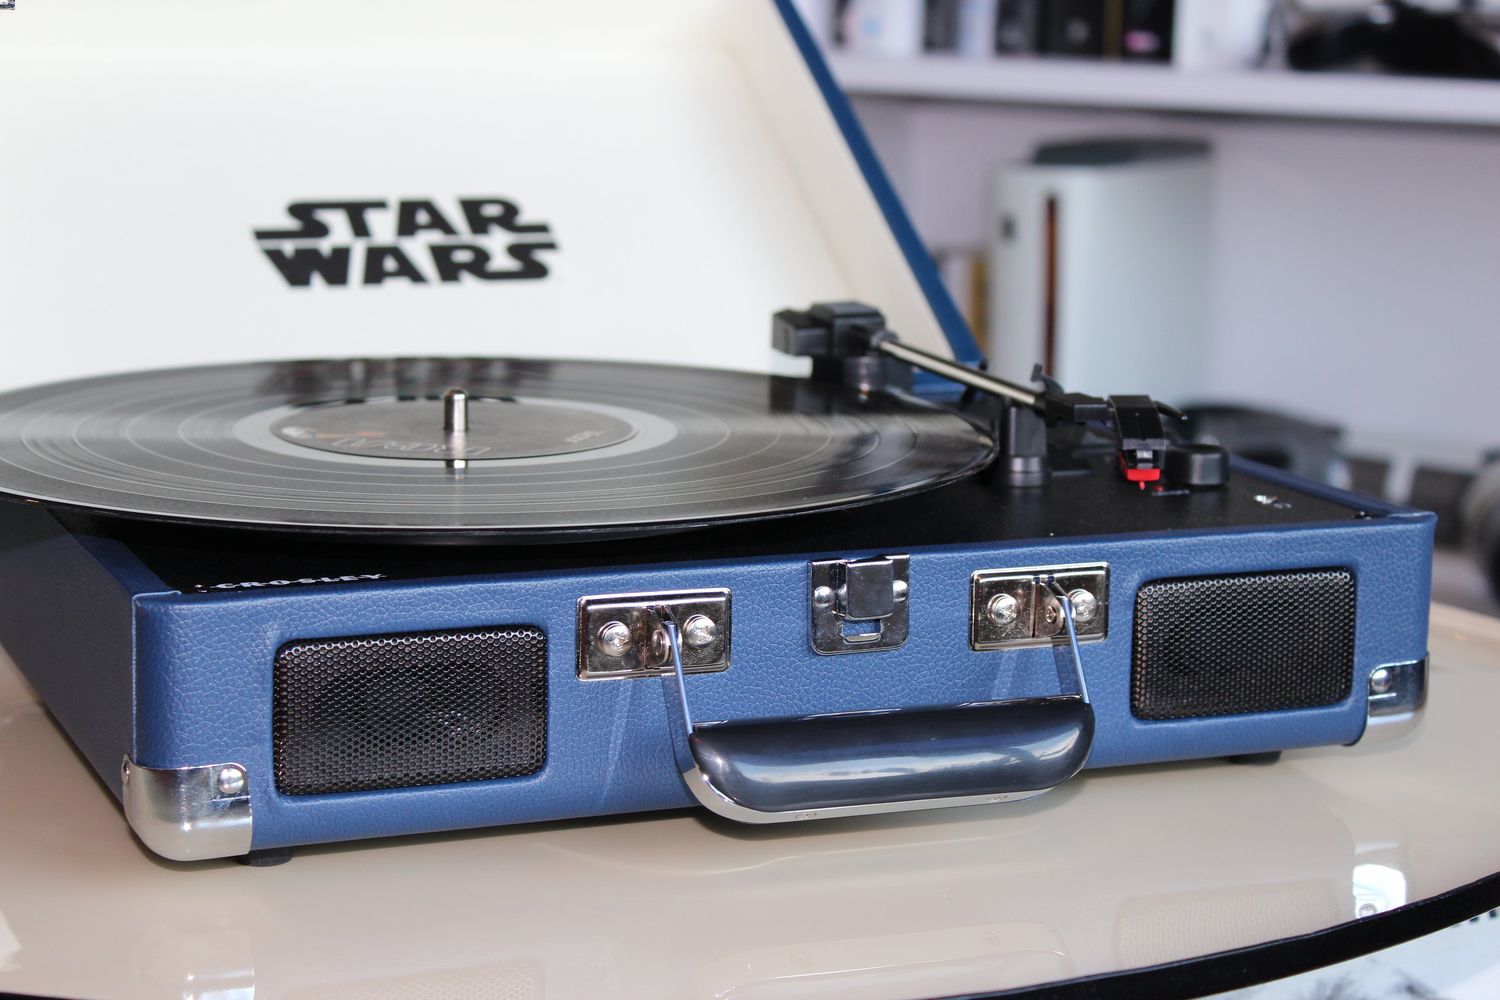
Turntable
How To Repaint Turntable
Published: January 19, 2024
Learn how to repaint your turntable and give it a fresh new look. Transform your old turntable with our step-by-step guide.
(Many of the links in this article redirect to a specific reviewed product. Your purchase of these products through affiliate links helps to generate commission for AudioLover.com, at no extra cost. Learn more)
Table of Contents
Introduction
When it comes to turntables, not only do they serve as a functional audio device, but they can also be a piece of art. Many turntable enthusiasts take great pride in customizing their decks to match their personal style and aesthetic preferences. One popular way to achieve this is by repainting the turntable.
Repainting a turntable not only allows you to breathe new life into an old or worn-out deck, but it also gives you the opportunity to create a unique and customized look that reflects your personality. Whether you want a sleek monochromatic design, a vibrant and eye-catching color scheme, or even intricate hand-painted artwork, repainting a turntable can help you achieve the desired look.
In this article, we will guide you through the process of repainting a turntable, from preparing the deck to applying the final touches. By following these steps, you can transform your turntable into a visually stunning centerpiece that not only sounds great but also looks amazing.
Preparing the Turntable
Before you start repainting your turntable, it is crucial to properly prepare the deck to ensure a smooth and long-lasting finish. Here are the steps to follow:
- Clean the turntable: Begin by cleaning the turntable thoroughly to remove any dirt, dust, or grease. Use a gentle cleaning solution and a soft cloth to wipe down the surface. Ensure that all components, such as the tonearm and dust cover, are also clean and free of any debris.
- Disassemble the turntable: Depending on the design of your turntable, you may need to disassemble certain parts to facilitate the painting process. Carefully remove the platter, tonearm, and any other detachable components. Keep track of all the screws and parts to ensure easy reassembly later.
- Masking off areas: If there are any areas on the turntable that you want to protect from paint, such as the control knobs or logo, use masking tape to cover them. This will create clean lines and prevent unwanted paint splatters.
- Prepare your workspace: Find a well-ventilated area with adequate lighting where you can comfortably work on your turntable. Lay down a drop cloth or newspaper to protect the surface you are working on from any paint spills or drips.
By properly preparing your turntable, you are setting the foundation for a successful repainting project. Taking the time to clean and disassemble the deck, as well as masking off specific areas, will ensure that the paint adheres evenly and that you achieve professional-looking results.
Removing the Old Paint
Before you can apply a fresh coat of paint on your turntable, you will need to remove the old paint. Here’s how to do it:
- Choose the right method: There are a few different methods you can use to remove the old paint from your turntable, depending on the type of paint and the condition of the surface. The most common methods include sanding, chemical paint strippers, and heat guns. Consider the material of your turntable and the paint type before selecting the appropriate method.
- Sanding: Sanding is often the most straightforward and effective method for removing paint from a turntable. Start by using a medium-grit sandpaper and gently sand the surface in a circular motion. Gradually switch to a finer grit sandpaper to smoothen the surface and remove any remaining paint.
- Chemical paint strippers: If the paint on your turntable is stubborn and does not come off easily with sanding, you can use a chemical paint stripper. Apply the paint stripper following the manufacturer’s instructions and let it sit for the recommended time. Then, use a plastic scraper to scrape off the softened paint. Be sure to work in a well-ventilated area and wear protective gloves during this process.
- Heat guns: Heat guns are another option for removing paint from a turntable, particularly if the paint is thick or there are multiple layers. Hold the heat gun a few inches away from the surface and move it back and forth to heat the paint. As the paint softens, use a plastic scraper to gently scrape it off. Be cautious not to overheat the surface or expose it to direct flame.
- Clean the surface: Once you have removed the old paint, clean the surface of your turntable to remove any dust or residue. Use a mild cleaning solution and a soft cloth to wipe down the entire deck. Allow it to dry completely before proceeding to the next step.
Removing the old paint is a crucial step in ensuring a smooth and professional finish for your repainted turntable. Take your time and choose the method that works best for your specific situation. Once the old paint is removed, you can move on to the next step of sanding the surface for optimal paint adhesion.
Sanding the Surface
After removing the old paint from your turntable, it’s time to prepare the surface by sanding it. Sanding helps to create a smooth and even texture, allowing the new paint to adhere properly and achieve a professional finish. Follow these steps to sand the surface of your turntable:
- Select the right sandpaper: Choose a fine-grit sandpaper, such as 220-grit or higher, for the initial sanding. This will help smooth out any rough spots and remove any remaining paint residue. You may also need a coarser grit sandpaper if there are deep scratches or imperfections that need to be addressed.
- Sand in a circular motion: Begin by sanding the surface in a circular motion, applying light pressure. This will help to even out any uneven areas and create a uniform surface. Continue sanding until the entire surface feels smooth to the touch.
- Switch to a higher grit: Once you have finished the initial sanding, switch to a higher grit sandpaper, such as 400-grit or higher, to achieve an even smoother surface. Sand in the same circular motion, applying gentle pressure. This step will help remove any remaining scratches or imperfections from the initial sanding.
- Wipe down the surface: After sanding, use a clean, damp cloth to wipe down the surface of your turntable. This will remove any dust or debris from the sanding process. Allow the surface to dry completely before moving on to the next step.
Sanding the surface is an essential step in the repainting process, as it creates a clean and smooth canvas for the new paint. Take your time and ensure that the entire surface is sanded evenly. Once you have completed this step, you are ready to move on to cleaning the turntable in preparation for painting.
Cleaning the Turntable
After sanding the surface of your turntable, it’s important to thoroughly clean it before you begin the painting process. Cleaning the turntable will remove any dust, dirt, or oils that may affect the adhesion of the paint. Follow these steps to ensure a clean and pristine surface:
- Use a gentle cleaning solution: Combine a small amount of mild dish soap or a specialized turntable cleaner with warm water. Avoid harsh chemicals or abrasive cleaners that could damage the surface of your turntable.
- Dampen a soft cloth: Dip a soft cloth or sponge into the cleaning solution, ensuring it is damp but not soaking wet. Wring out any excess liquid to prevent it from dripping onto the turntable.
- Wipe down the surface: Gently wipe down the entire surface of your turntable with the damp cloth. Pay attention to areas that may have accumulated dust or oils, such as the plinth and tonearm.
- Remove any residue: If there are stubborn stains or residue, you may need to use a gentle rubbing motion with the cloth to lift it off. Be careful not to apply too much pressure, as this could scratch or damage the surface.
- Dry the turntable: After cleaning, use a clean, dry cloth to wipe away any remaining moisture from the turntable. Ensure that the surface is completely dry before proceeding to the next step.
By cleaning your turntable thoroughly, you are creating an optimal surface for the paint to adhere to. Removing any dust, dirt, or oils will help to ensure a smooth and long-lasting finish. Once your turntable is clean and dry, you can move on to the next step of applying primer to the surface.
Applying Primer
Before you begin applying the paint to your turntable, it is essential to apply a primer. Primer acts as a base coat that helps the paint adhere better to the surface and provides a smoother and more durable finish. Here’s how to apply primer to your turntable:
- Select the right primer: Choose a primer that is specifically designed for the material of your turntable. For example, if your turntable is made of wood, use a wood primer. If it is made of metal or plastic, choose a primer suitable for those surfaces.
- Prepare the primer: Shake the primer can thoroughly to ensure that the paint and primer are well-mixed. If using a primer that requires mixing, follow the manufacturer’s instructions to prepare the primer for application.
- Apply the primer: Hold the can of primer at a distance of 6 to 8 inches from the turntable surface. Begin spraying in a smooth and even motion, moving from one end of the turntable to the other. Apply a thin and even coat, making sure to cover the entire surface. Avoid applying too much primer, as this can lead to drips or an uneven finish.
- Allow the primer to dry: Follow the drying time specified by the primer manufacturer. This is typically around 1 to 2 hours, but it may vary depending on the brand and type of primer used. Ensure that the turntable is placed in a well-ventilated area during the drying process.
- Sand the primer: Once the primer is dry, use a fine-grit sandpaper to lightly sand the surface. This will help create a smooth texture and remove any imperfections. Wipe away any dust or debris with a clean, dry cloth.
Applying primer to your turntable is a crucial step in achieving a professional and long-lasting finish. It helps the paint adhere better to the surface and provides a solid foundation for the final paint application. Once the primer is dry and sanded, your turntable is now ready for the exciting part: applying the paint!
Applying Paint
With the primer applied and dried on your turntable, it’s time to add color and personality by applying the paint. This step will bring your vision to life and transform your turntable into a unique piece of art. Follow these steps to ensure a smooth and successful paint application:
- Select the right paint: Choose a high-quality paint that is suitable for the material of your turntable. Acrylic or enamel paints are popular choices for turntable customization. Consider the color and finish you desire and ensure that the paint you select is compatible with the primer used.
- Prepare the paint: Shake the paint can or stir the paint thoroughly to ensure that it is well-mixed. If using multiple colors, pour a small amount of each color into separate containers for easy access during the painting process.
- Apply the paint: Start by applying a thin and even coat of paint to the turntable surface. Hold the spray can or paintbrush at a distance of 6 to 8 inches from the surface and work in smooth, overlapping strokes. Allow the first coat to dry completely before applying subsequent coats, following the drying time specified by the paint manufacturer.
- Build up the layers: Repeat the process of applying thin coats of paint, allowing each coat to dry and lightly sanding between coats. Building up thin layers of paint will help to achieve a more even and professional-looking finish.
- Pay attention to details: If you have intricate areas or small parts on your turntable, such as buttons or knobs, consider using a smaller brush or precision tool to ensure precise application of paint to those areas. Take your time and be patient during this step to ensure great attention to detail.
- Let the paint cure: After you have applied the final coat of paint, follow the recommended curing time provided by the paint manufacturer. This will ensure that the paint fully sets and hardens, providing a durable and long-lasting finish.
Applying the paint to your turntable is an exciting step that allows you to express your creativity and style. Take your time, follow the instructions, and have fun bringing your vision to life. Once the paint is fully cured, you can proceed to the next step of applying a clear coat for added protection.
Applying Clear Coat
To protect the paint and give your repainted turntable a glossy and professional finish, it’s important to apply a clear coat. The clear coat acts as a protective layer, shielding the paint from scratches, UV rays, and other environmental factors. Follow these steps to apply a clear coat to your turntable:
- Choose the right clear coat: Select a clear coat that is compatible with the type of paint used on your turntable. Look for a clear coat specifically designed for the material of your turntable, such as wood, metal, or plastic. Consider whether you want a matte, satin, or glossy finish.
- Prepare the clear coat: Make sure to thoroughly shake the can of clear coat to ensure that the product is well-mixed. Read and follow the instructions provided by the manufacturer for proper application.
- Apply the clear coat: Hold the can of clear coat at a distance of 6 to 8 inches from the turntable surface. Spray an even and light coat of clear coat over the entire painted surface, using smooth and overlapping strokes. Apply multiple thin coats, allowing each coat to dry according to the manufacturer’s instructions.
- Keep the strokes even: Maintain a consistent spraying motion and avoid spraying too heavily in one area. This will help to prevent drips and achieve an even and uniform application of the clear coat.
- Allow the clear coat to cure: After applying the final coat of clear coat, allow it to dry and cure completely according to the manufacturer’s instructions. This will ensure that the clear coat forms a strong protective layer over the paint.
- Inspect and touch up if necessary: Once the clear coat has fully cured, inspect the turntable for any imperfections or areas that may need touch-ups. Use a fine-grit sandpaper to lightly sand and smooth any rough spots, and then apply a thin layer of clear coat to those areas.
Applying a clear coat is a crucial step in sealing and protecting the paint on your turntable. It not only enhances the appearance but also increases the longevity of the paint job. Once the clear coat is dry and cured, you can proceed to add the finishing touches to your repainted turntable.
Finishing Touches
With the painting and clear coating completed, it’s time to add the final touches to your repainted turntable. These finishing touches will give your deck a polished and unique look. Consider the following options to personalize and enhance your turntable:
- Decals or stickers: Apply decorative decals or stickers that align with your style and interests. These can range from artistic designs to logos of your favorite bands or artists. Place them strategically on the turntable surface for a visually appealing touch.
- Vinyl wraps: Consider using a vinyl wrap to further customize your turntable. These wraps come in various patterns and colors and can be carefully applied to the surface of your deck to create a stunning and distinctive look.
- Custom knobs and buttons: Swap out the existing knobs and buttons on your turntable with customized ones. Look for unique designs or materials that complement the overall aesthetic you want to achieve.
- Hand-painted artwork: If you have artistic skills, consider adding your own hand-painted artwork to the turntable. This could be a unique design, a pattern, or even a portrait of your favorite music icon.
- Felt or rubber mat: Replace the stock mat on your turntable with a felt or rubber mat in a color that complements your design. This small detail can make a big difference in the overall presentation of your deck.
- Label customization: Create custom labels for the tonearm rest or platter to add a personalized touch. You can design and print your own labels or source them from vendors who specialize in turntable accessories.
Remember, the finishing touches are your opportunity to make the turntable uniquely your own. Get creative, experiment with different elements, and have fun personalizing your deck to reflect your style and personality.
Conclusion
Repainting a turntable is a rewarding and creative process that allows you to breathe new life into your audio equipment while showcasing your personal style. By following the steps outlined in this guide, you can successfully transform your turntable into a visually stunning and customized piece.
From preparing the turntable and removing the old paint to sanding the surface, applying primer, painting, and adding a clear coat, each step plays a vital role in achieving a professional and durable finish. The finishing touches, such as decals, vinyl wraps, and custom knobs, further elevate the uniqueness of your repainted deck.
When repainting your turntable, it’s crucial to take your time, pay attention to detail, and use high-quality materials. Proper preparation and careful application ensure a seamless and long-lasting result. Whether you’re aiming for a sleek modern look, a retro vibe, or a bold statement piece, be imaginative and express your creativity throughout the process.
Remember, repainting a turntable requires patience, precision, and a love for the craft. With dedication and attention to detail, you can proudly showcase your repainted turntable as a centerpiece in your audio setup, reflecting your individuality and passion for music.
So, grab your paintbrushes, select your favorite colors, and embark on the journey of transforming your turntable into a functional work of art!