Home>Devices & Equipment>Turntable>How To Setup An Audio Technica LP120 Turntable
Turntable
How To Setup An Audio Technica LP120 Turntable
Modified: January 22, 2024
Learn how to set up and optimize your Audio Technica LP120 turntable for the best sound quality and performance. Improve your vinyl listening experience with our step-by-step guide!
(Many of the links in this article redirect to a specific reviewed product. Your purchase of these products through affiliate links helps to generate commission for AudioLover.com, at no extra cost. Learn more)
Table of Contents
- Introduction
- Components Needed
- Step 1: Unpacking and Checking
- Step 2: Setting Up the Platter
- Step 3: Installing the Belt
- Step 4: Adjusting the Tracking Force
- Step 5: Balancing the Tonearm
- Step 6: Connecting the Turntable
- Step 7: Setting Up the Anti-Skate
- Step 8: Configuring the Phono Preamp
- Step 9: Testing and Troubleshooting
- Conclusion
Introduction
Welcome to the world of vinyl! If you’ve just purchased an Audio Technica LP120 turntable, congratulations! You’re about to embark on a journey of deep, rich sound and immersive music experiences. Setting up your turntable correctly is crucial to ensure optimal performance and longevity.
In this guide, we’ll walk you through the step-by-step process of setting up your Audio Technica LP120 turntable. From unpacking to troubleshooting, we’ve got you covered. So, let’s dive in and get started!
Before we begin, it’s important to understand the key components you’ll need for the setup. The Audio Technica LP120 turntable comes with a set of items that are essential for its smooth operation. These include:
- Audio Technica LP120 turntable
- Platter and slip mat
- Counterweight
- Headshell and cartridge
- 45 RPM adapter
- Dust cover
- Power cord and USB cable
- Audio cables (RCA)
Having all these components readily available will ensure a seamless and hassle-free setup process. So, let’s dive in and get your Audio Technica LP120 turntable up and running!
Components Needed
Before we jump into the setup process, let’s make sure you have all the necessary components for your Audio Technica LP120 turntable setup. Having the right equipment on hand will ensure a smooth and successful installation.
Here’s a list of the components you’ll need:
- Audio Technica LP120 turntable: This is the heart of your setup, the high-quality turntable that will bring your vinyl collection to life.
- Platter and slip mat: The platter is the circular part of the turntable where you’ll place your records. It should be included in the packaging along with a slip mat to prevent slippage.
- Counterweight: The counterweight is essential for properly balancing the tonearm. It helps ensure accurate tracking and prevents damage to the stylus and vinyl records.
- Headshell and cartridge: The headshell is the platform that holds the cartridge. The cartridge is responsible for converting the analog sound from the record into an electrical signal.
- 45 RPM adapter: If you have any 45 RPM records, you’ll need this adapter to play them on your turntable. It’s a small accessory that fits onto the spindle.
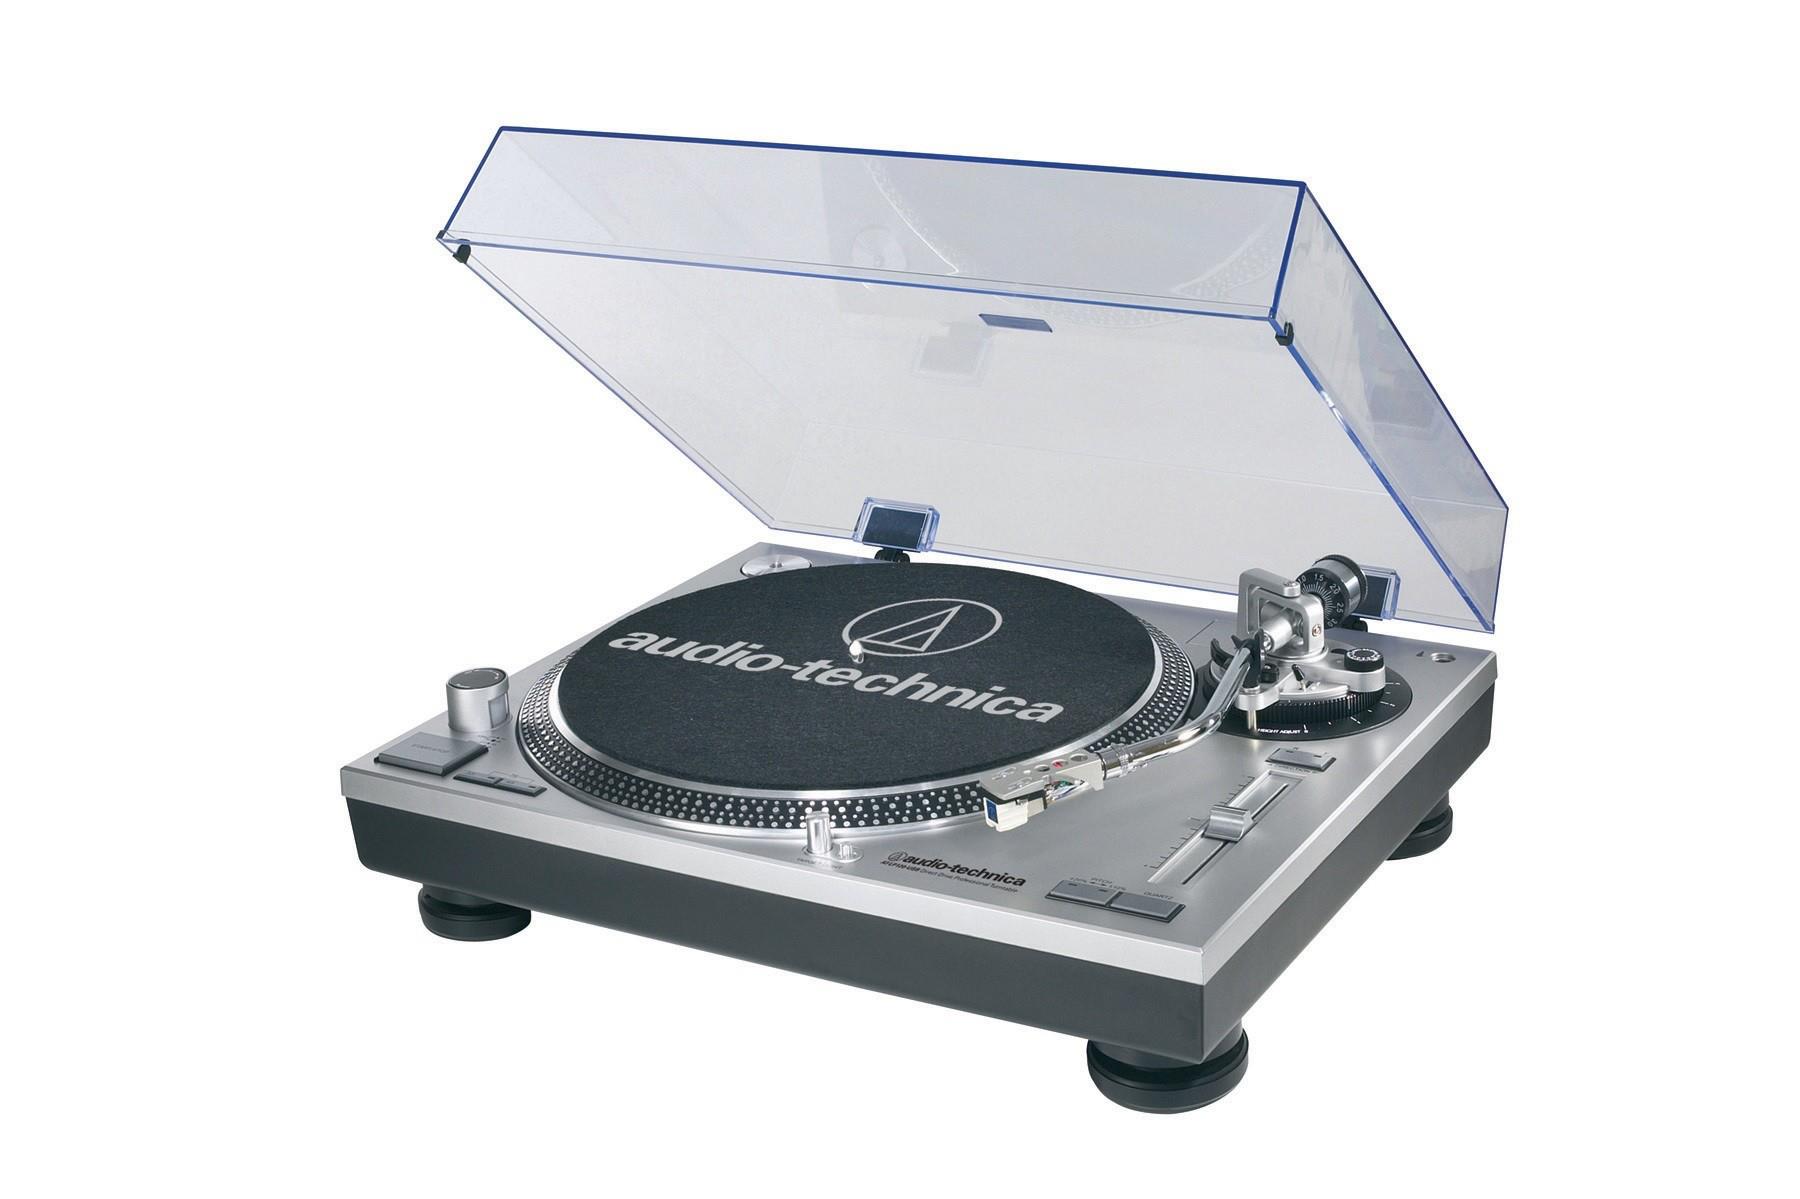
- Dust cover: A dust cover helps protect your turntable from dust, dirt, and accidental damage. It’s a transparent cover that you can place over the turntable when not in use.
- Power cord and USB cable: The power cord is used to connect the turntable to a power source, while the USB cable allows you to connect it to a computer for digital archiving.
- Audio cables (RCA): These cables are used to connect your turntable to an amplifier or receiver. They usually have RCA connectors on both ends.
Make sure you have all these components readily available before proceeding with the setup process. Having everything on hand will save you time and make the installation process much smoother. Once you’ve gathered all the necessary components, you’re ready to start setting up your Audio Technica LP120 turntable.
Step 1: Unpacking and Checking
Before you begin setting up your Audio Technica LP120 turntable, it’s important to carefully unpack and check all the components. This will ensure that everything is in good condition and ready for installation.
Follow these steps to unpack and check your turntable:
- Find a clean, spacious area: Choose a location where you’ll be setting up your turntable. Make sure there’s enough space to comfortably work with the components and access the necessary cables.
- Open the packaging: Gently remove the outer packaging, taking care not to damage any of the contents inside. Keep an eye out for any instruction manuals or documentation included.
- Inspect the turntable: Carefully lift the turntable out of the packaging and check for any visible damage or defects. Look for scratches, cracks, or loose parts. It’s important to address any issues before proceeding with the setup.
- Check the accessories: Take a moment to review all the accessories that came with your turntable. Ensure that you have the platter, slip mat, counterweight, headshell, cartridge, 45 RPM adapter, dust cover, power cord, USB cable, and audio cables
- Inspect the cables: Check the audio cables (RCA) for any visible damage or loose connections. It’s important to have cables in good condition for optimal sound quality.
- Review the documentation: Look for any instruction manuals or setup guides that may be included in the packaging. Familiarize yourself with the manufacturer’s recommendations and guidelines.
By carefully unpacking and checking your turntable and its components, you’ll ensure that everything is in working order and ready for the setup process. This step is essential for identifying any potential issues early on and addressing them promptly. Once you’ve confirmed that all the components are in good condition, you’re ready to move on to the next step of setting up your Audio Technica LP120 turntable.
Step 2: Setting Up the Platter
Now that you’ve unpacked and checked your Audio Technica LP120 turntable, it’s time to set up the platter. The platter is where you’ll place your vinyl records for playback, so it’s an essential component to get right.
Follow these steps to set up the platter:
- Locate the platter: The platter should be included in the packaging, separate from the main body of the turntable. Take it out and place it on a clean, flat surface.
- Remove the protective covering: If there’s any protective covering or stickers on the platter, carefully remove them. Be sure to do this gently to avoid scratching or damaging the platter’s surface.
- Place the slip mat: Once the platter is free of any protective covering, place the slip mat on top of it. The slip mat helps reduce slippage and provides a smooth surface for your records to sit on.
- Align the platter on the spindle: Lift the platter slightly and locate the metal spindle in the center of the turntable. Align the hole in the center of the platter with the spindle and gently lower it onto the spindle.
- Ensure a secure fit: Once the platter is in place, rotate it slightly to ensure it sits securely on the spindle. You shouldn’t feel any wobbling or looseness.
Setting up the platter correctly is crucial for smooth and stable record playback. Take your time to ensure the platter is properly aligned and securely fitted onto the turntable. With the platter in place, you’re one step closer to enjoying your vinyl collection on your Audio Technica LP120 turntable.
Step 3: Installing the Belt
With the platter set up, it’s time to install the belt on your Audio Technica LP120 turntable. The belt is a crucial component that drives the rotation of the platter, allowing your vinyl records to play.
Follow these steps to install the belt:
- Locate the belt: The belt should be included in the packaging of your turntable. Find it and ensure it is free from any twists or tangles.
- Turn the platter upside down: Carefully lift the platter off the turntable and turn it upside down. This will expose the motor spindle and provide access to install the belt.
- Identify the motor pulley and sub-platter: While the platter is upside down, locate the motor pulley on the turntable’s base and the sub-platter inside the platter. The belt will connect these two components.
- Wrap the belt around the motor pulley: Take the belt and wrap it around the motor pulley. Ensure that it fits snugly and securely on the pulley.
- Place the belt on the sub-platter: With one hand holding the belt on the motor pulley, use your other hand to position the belt onto the sub-platter inside the platter. The belt should sit on the sub-platter and have a firm grip.
- Rotate the platter: Once the belt is properly installed, rotate the platter slowly to ensure that the belt moves smoothly along the motor pulley and the sub-platter.
Installing the belt correctly is important for proper rotation and playback of your vinyl records. Ensure that the belt is not too loose or too tight, as this can affect the performance of the turntable. With the belt in place, you’re one step closer to enjoying your favorite music on your Audio Technica LP120 turntable.
Step 4: Adjusting the Tracking Force
Properly adjusting the tracking force is essential for maintaining the health of your records and ensuring accurate sound reproduction on your Audio Technica LP120 turntable. Tracking force refers to the downward pressure exerted on the stylus as it tracks along the record’s grooves.
Follow these steps to adjust the tracking force:
- Access the counterweight: Locate the counterweight at the back of the tonearm. It is cylindrical in shape and usually has a scale or dial indicating the tracking force.
- Set the tracking force recommended by the cartridge: Consult the documentation that came with your cartridge to determine the recommended tracking force. This information is crucial as different cartridges have different requirements.
- Set the tonearm to the appropriate tracking force: Rotate the counterweight until the scale aligns with the recommended tracking force. Some counterweights may require you to loosen a locking mechanism before adjusting the weight.
- Balance the tonearm: To ensure the proper balance of the tonearm, lift it carefully and observe if it floats parallel to the turntable. If the tonearm tilts upward or downward, adjust the counterweight until the tonearm remains parallel.
- Confirm the tracking force: Once you’ve balanced the tonearm, observe the tracking force indicated on the scale or dial of the counterweight. Make sure it aligns with the recommended tracking force for your cartridge.
Adjusting the tracking force correctly is crucial for accurate tracking and minimizing wear on your records. It helps prevent skipping, distortion, and excessive wear to both the stylus and the record grooves. Take your time to ensure that the tracking force is properly set, as it directly impacts the quality of your vinyl playback.
Step 5: Balancing the Tonearm
Properly balancing the tonearm of your Audio Technica LP120 turntable is crucial for accurate tracking, minimizing wear on your records, and achieving high-quality sound reproduction. Balancing the tonearm ensures that it hovers parallel to the surface of the turntable and applies the appropriate amount of tracking force to the stylus.
Follow these steps to balance the tonearm:
- Lift the tonearm: Gently lift the tonearm from its resting position using the cueing lever. Be careful to support the tonearm with your other hand to avoid any sudden movements.
- Adjust the counterweight: Locate the counterweight at the rear end of the tonearm. Rotate it until the tonearm floats parallel to the turntable surface, neither tilting upward nor downward. This indicates a balanced state.
- Check the tracking force: Take note of the tracking force indicated on the scale or dial of the counterweight.
- Adjust the tracking force: If the tracking force doesn’t match the recommended value for your cartridge, make the necessary adjustments by rotating the counterweight accordingly.
- Recheck the balance: After adjusting the tracking force, confirm that the tonearm is still balanced and parallel to the turntable surface.
Properly balancing the tonearm ensures consistent and accurate tracking, minimizing excessive wear on your records and stylus. It allows for optimal sound reproduction and prevents unwanted skips or distortion. Take your time to achieve the proper balance, as it is a crucial step in setting up your Audio Technica LP120 turntable.
Step 6: Connecting the Turntable
With your Audio Technica LP120 turntable properly set up and balanced, it’s time to connect it to your audio system or amplifier. This step is essential for transferring the sound from your vinyl records to your speakers and enjoying your music.
Follow these steps to connect your turntable:
- Locate the audio outputs: Find the audio outputs on the back of your turntable. The LP120 typically has RCA outputs.
- Identify the audio inputs on your amplifier or audio system: Locate the corresponding audio inputs on your amplifier or audio system. These inputs are often labeled “Phono” or “Turntable”.
- Connect the audio cables: Take your RCA audio cables and connect them from the turntable’s audio outputs to the corresponding inputs on your amplifier or audio system. Ensure a secure and snug connection.
- Double-check the connections: Once the cables are connected, double-check that they are properly inserted into the appropriate inputs. Make sure there are no loose connections that could affect the sound quality.
- Power on the turntable: Plug in the power cord of your turntable and switch it on. The turntable should power up and be ready for use.
- Select the correct input on your audio system: On your amplifier or audio system, select the input source that corresponds to the turntable or phono input you connected the cables to.
Connecting the turntable to your audio system is a crucial step in the setup process. It allows you to listen to the warm, analog sound of your vinyl records through your speakers. Take your time to ensure that the connections are secure and properly set up, as this will directly impact the quality of your listening experience.
Step 7: Setting Up the Anti-Skate
Setting up the anti-skate correctly on your Audio Technica LP120 turntable is important for maintaining proper tracking and preventing excessive wear on your records. The anti-skate mechanism helps counteract the inward force that can pull the tonearm towards the center of the record.
Follow these steps to set up the anti-skate:
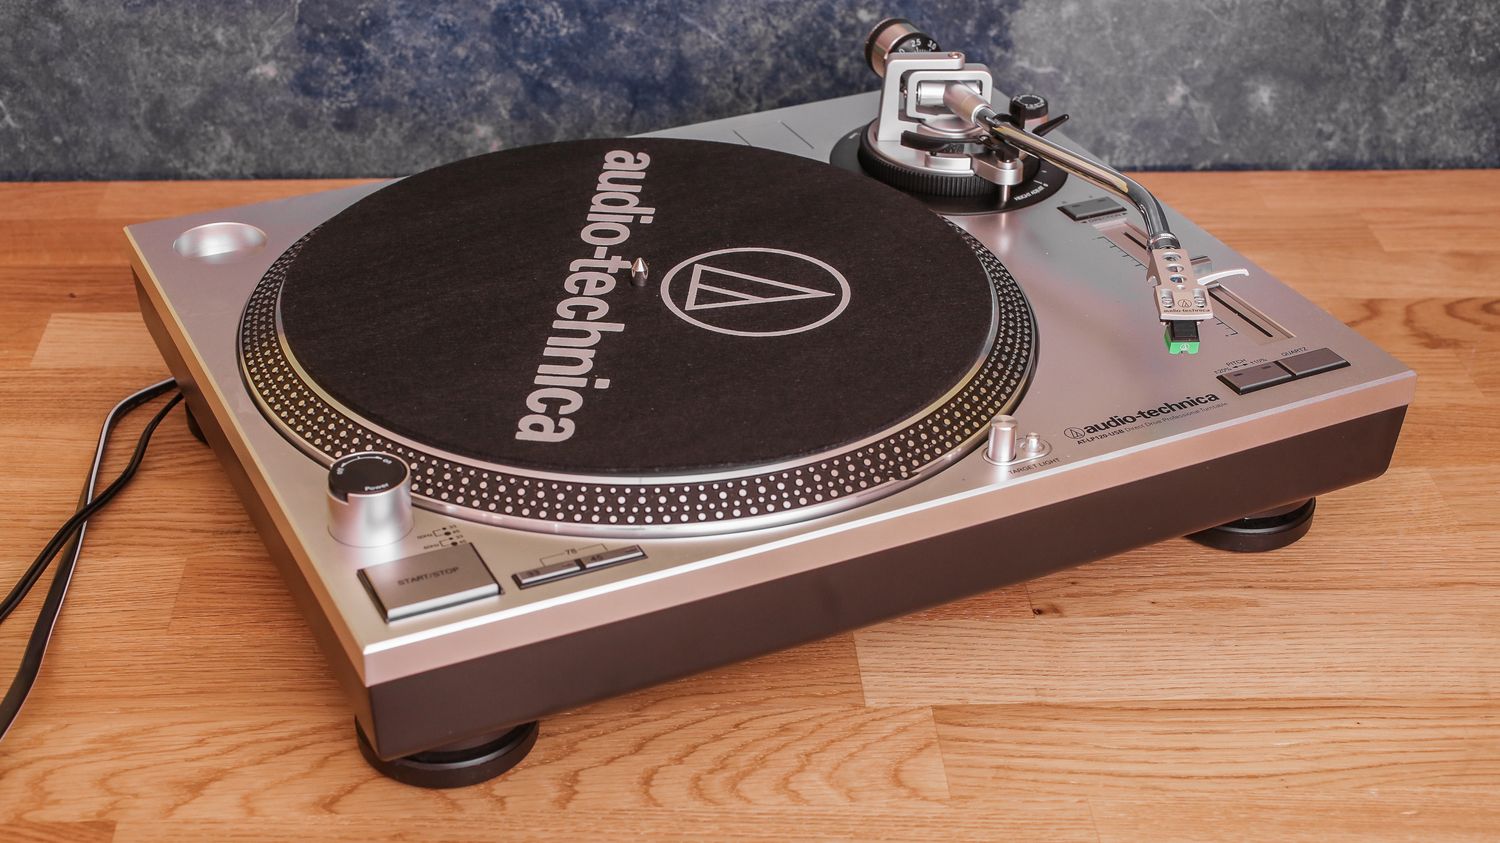
- Locate the anti-skate control: Look for the anti-skate control on your turntable. It is usually a small dial or knob located near the base of the tonearm.
- Set the anti-skate to zero: Start by setting the anti-skate control to zero or the default position. This ensures that the anti-skate mechanism is neutral and not exerting any additional force on the tonearm.
- Play a test record: Select a test record or a record with a consistent and steady groove pattern.
- Lower the tonearm: Lower the tonearm onto the test record and allow it to play for a short period.
- Observe the tonearm motion: Watch the tonearm as it tracks the grooves of the test record. Observe if the tonearm tends to pull towards the center or the outer edge of the record.
- Adjust the anti-skate: Use the anti-skate control to gradually increase or decrease the tension until the tonearm hovers neutrally between the inner and outer edges of the record. The goal is to achieve a balanced tracking motion.
- Recheck the tonearm motion: After adjusting the anti-skate, play the test record again and observe the tonearm motion. Make any fine adjustments to the anti-skate control as needed to ensure the tonearm tracks smoothly and accurately without pulling towards a specific direction.
Setting up the anti-skate correctly helps maintain proper tracking and prevents excessive wear on your records. It allows for optimal sound reproduction and reduces the potential for skipping or distortion. Take your time to fine-tune the anti-skate control, as it is an essential step in getting the best performance from your Audio Technica LP120 turntable.
Step 8: Configuring the Phono Preamp
If your Audio Technica LP120 turntable is equipped with a built-in phono preamp, configuring it correctly is crucial for optimal sound quality. The phono preamp amplifies the low-level signal from the cartridge, allowing it to be suitable for your audio system or amplifier.
Follow these steps to configure the phono preamp:
- Determine if your turntable has a built-in phono preamp: Check the specifications of your Audio Technica LP120 turntable to confirm if it has a built-in phono preamp. If it does not have a built-in preamp, you will need to use an external phono preamp.
- Locate the phono preamp switch: If your turntable has a built-in phono preamp, look for the phono/line switch on the back or underside of the unit. This switch allows you to enable or disable the preamp.
- Enable the phono preamp: If the phono preamp is currently disabled, switch it on by flipping the phono/line switch to the “phono” position.
- Disable the phono preamp (if desired): If you prefer to use an external phono preamp or your audio system already has a dedicated phono input, you can disable the built-in preamp by switching the phono/line switch to the “line” position. This allows you to bypass the internal preamp.
- Connect to your audio system: Whether using the built-in or external phono preamp, connect the turntable’s audio output to the appropriate input on your audio system or amplifier. Follow the instructions outlined in Step 6 for connecting the audio cables.
Configuring the phono preamp correctly is essential for achieving the best audio quality from your Audio Technica LP120 turntable. If your turntable has a built-in preamp, make sure it is enabled or disabled based on your specific setup preferences. If using an external phono preamp, ensure it is connected properly to your audio system. Taking the time to configure the phono preamp will help you enjoy the full sonic experience offered by your vinyl records.
Step 9: Testing and Troubleshooting
Once you have set up your Audio Technica LP120 turntable, it’s important to test it and ensure everything is working properly. This step allows you to make any necessary adjustments or troubleshoot any issues that may arise.
Follow these steps to test and troubleshoot your turntable:
- Place a record on the platter: Select a record from your collection and place it on the platter, ensuring it is centered.
- Turn on your audio system: Power on your audio system or amplifier and select the appropriate input for the turntable.
- Start the turntable: Switch on your turntable and gently place the tonearm on the record. The turntable should begin rotating, and audio should start playing through your speakers.
- Listen for sound quality: Pay attention to the sound quality as the record plays. Ensure that the volume is set appropriately and that the sound is clear and free from any distortion or skipping.
- Monitor for any issues: During playback, watch for any issues such as skipping, excessive noise, or inconsistent speed. If you notice any problems, try troubleshooting using the manufacturer’s guide or seek assistance from the Audio Technica support team.
- Make adjustments if necessary: If you encounter any issues, refer to the troubleshooting section of the user manual for possible solutions. It may involve adjusting the anti-skate, tracking force, or other settings to improve performance.
- Continue testing and adjusting: Repeat the testing process with different records to ensure consistent performance. Make any necessary adjustments until you are satisfied with the sound quality and performance of your turntable.
Testing your Audio Technica LP120 turntable will help you identify any issues early on and ensure proper functionality. By addressing any problems promptly and making necessary adjustments, you can enjoy an enhanced vinyl listening experience.
Conclusion
Congratulations! You have successfully set up your Audio Technica LP120 turntable and are now ready to embark on a musical journey with your vinyl collection. By following the step-by-step process outlined in this guide, you have ensured that your turntable is properly assembled, balanced, and connected to your audio system.
Remember, setting up a turntable requires attention to detail and patience. Taking the time to properly unpack and check the components, set up the platter, install the belt, adjust the tracking force and balance the tonearm, connect the turntable, configure the phono preamp, and test the system will result in optimal sound quality and longevity of your records.
Throughout the setup process, it’s important to refer to the manufacturer’s instructions and guidelines specific to the Audio Technica LP120 turntable. This will ensure that you follow the recommended procedures and make the necessary adjustments accordingly.
Now that your turntable is ready, take the opportunity to explore your vinyl collection and experience the unique warmth and character that analog audio brings. Whether you’re rediscovering old favorites or discovering new gems, the Audio Technica LP120 turntable will provide you with a rich and immersive listening experience.
Remember to perform regular maintenance on your turntable, such as cleaning the stylus and dusting the records, to preserve their quality and extend their lifespan. Embrace the ritual of vinyl, and enjoy the tangible connection with music that turntables offer.
Thank you for choosing the Audio Technica LP120 turntable, and we hope that this guide has been helpful in setting up your turntable and getting started on your vinyl journey. Happy listening!