Home>Production & Technology>Audio Cable>How To Replace Audio Cable On Turntable
Audio Cable
How To Replace Audio Cable On Turntable
Published: December 19, 2023
Learn how to replace the audio cable on your turntable with this step-by-step guide. Fix any issues with your audio cable for optimal sound quality.
(Many of the links in this article redirect to a specific reviewed product. Your purchase of these products through affiliate links helps to generate commission for AudioLover.com, at no extra cost. Learn more)
Table of Contents
Introduction
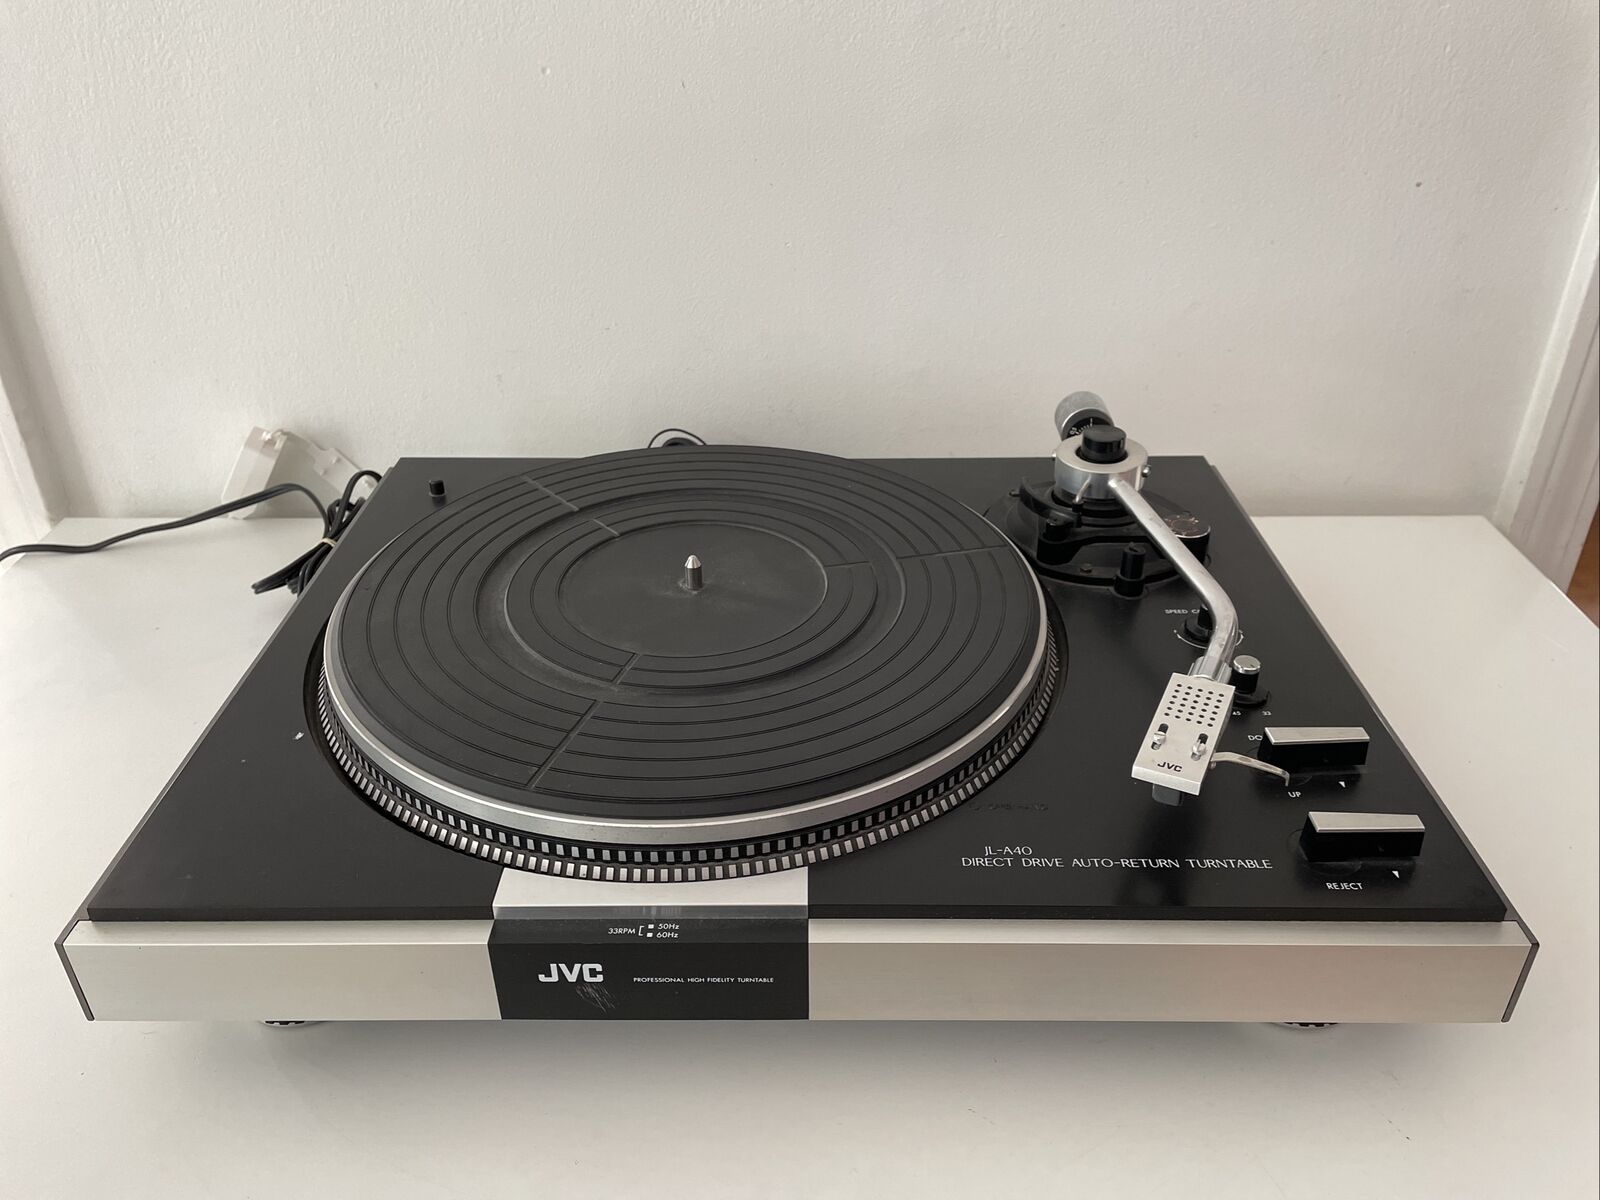
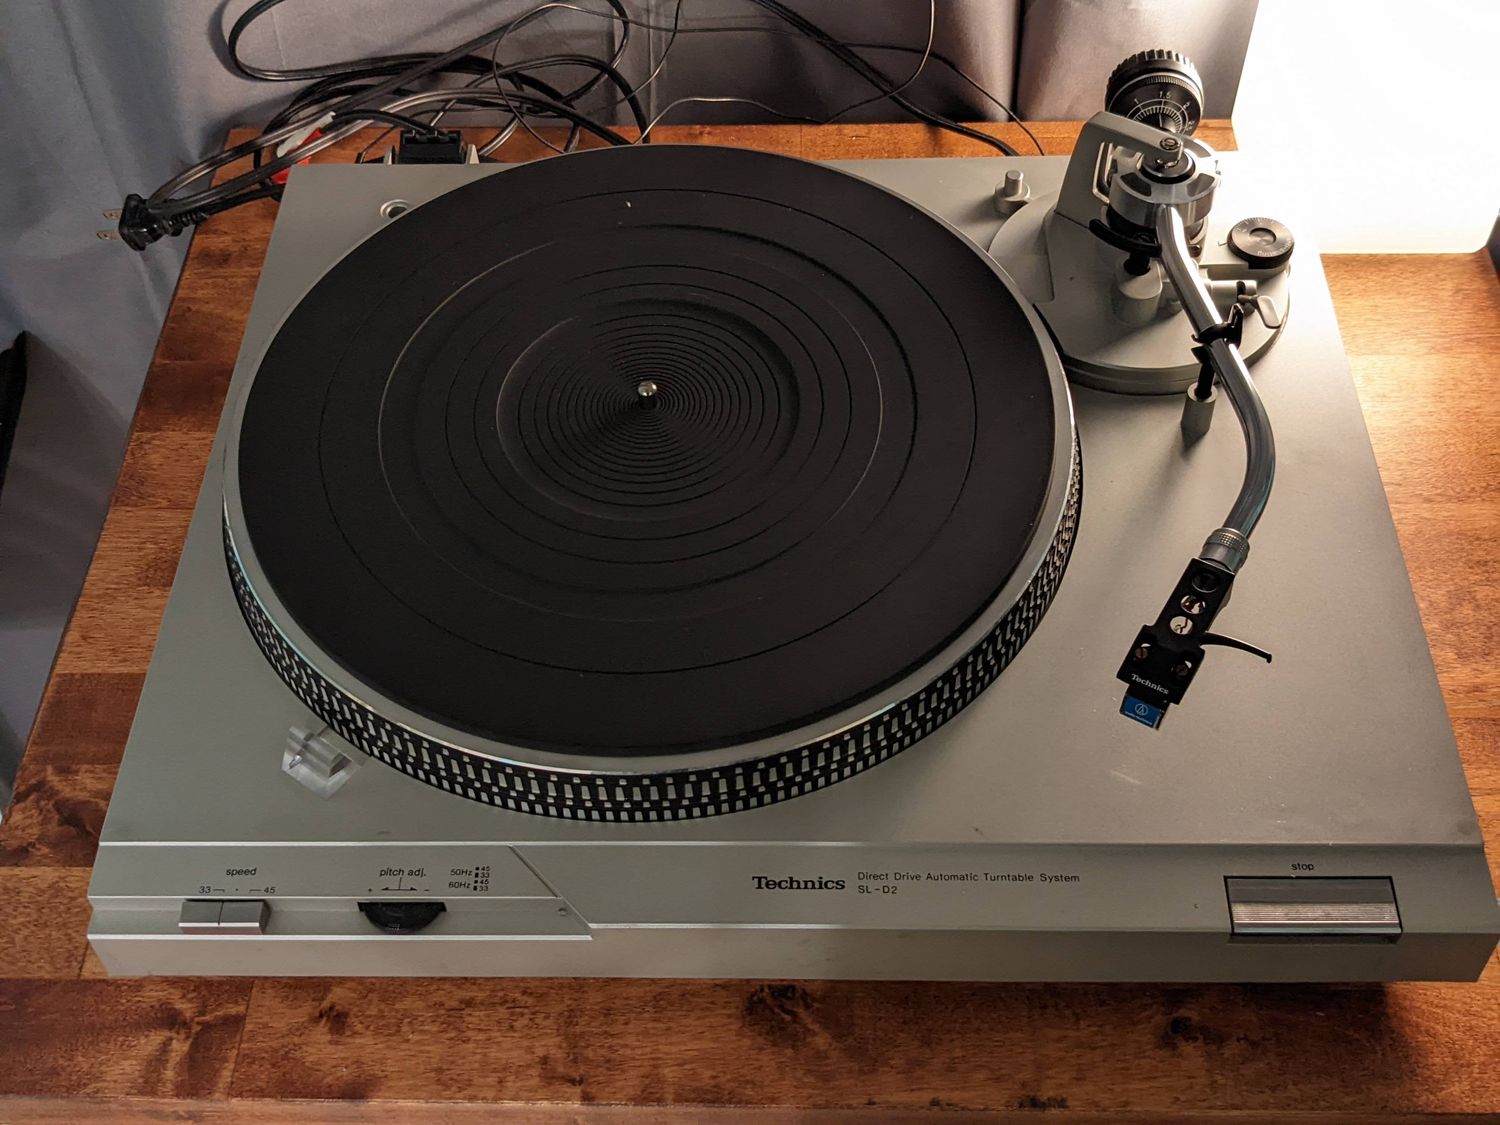
Welcome to this comprehensive guide on how to replace an audio cable on a turntable. Whether you are a vinyl enthusiast or a professional DJ, having a functional and reliable audio cable is crucial for optimal sound quality. Over time, audio cables can become worn, damaged, or develop connectivity issues, leading to distorted sound or complete audio loss.
In this article, we will walk you through the step-by-step process of replacing an audio cable on your turntable. By following these instructions, you can ensure a seamless and hassle-free replacement, restoring your turntable’s audio performance to its full potential.
Before we dive into the steps, it’s important to note that each turntable model may have slight variations in cable replacement procedures. Therefore, it’s always a good idea to consult the user manual specific to your turntable for any model-specific instructions. Additionally, if you are uncomfortable or inexperienced with DIY projects involving electronics, it may be best to seek the assistance of a qualified technician.
With that said, if you’re ready to embark on this DIY journey and give your turntable the audio cable it deserves, let’s get started!
Step 1: Gather the necessary tools and materials
Before you begin the audio cable replacement process, it’s essential to ensure that you have all the necessary tools and materials. Having everything prepared in advance will save you time and frustration during the project. Here’s a list of what you’ll need:
- Screwdriver (typically Phillips-head)
- Wire cutters/strippers
- Soldering iron and solder
- Heat shrink tubing or electrical tape
- Replacement audio cable (ensure it’s compatible with your turntable model and audio system)
- Small bowl or container for storing screws and small parts
- Work gloves (optional but recommended for safety)
It’s crucial to choose a replacement audio cable that matches the specifications and connectors of your turntable. Sometimes, turntables may use specific connectors like RCA or XLR, so make sure you get the appropriate cable for your setup.
If you’re unsure about the type of audio cable required for your turntable, consult the user manual or contact the manufacturer for guidance. They will be able to provide you with the exact type and specifications of the cable you need.
Once you have gathered all the tools and materials, find a well-lit and clean workspace where you can comfortably work on your turntable. Taking these initial steps ensures that you’ll have everything you need within reach and set the stage for a successful cable replacement process.
Step 2: Prepare the turntable for cable replacement
Before diving into the actual cable replacement process, it’s important to properly prepare your turntable. Follow these steps to ensure a smooth and efficient replacement:
- Power off and unplug the turntable: To prevent any potential electrical accidents or damage, make sure the turntable is powered off and unplugged from the power source.
- Remove the platter: In many turntable models, the platter needs to be removed to access the internal components. Refer to your user manual for specific instructions on removing the platter. Typically, it involves gently lifting it directly upwards or pressing a release button located on the platter.
- Expose the underside of the turntable: Once the platter is removed, you will have access to the underside of the turntable. Take a moment to inspect the area, noting the location of the old audio cable and any other connections.
- Secure any loose cables: Before proceeding further, ensure that any loose cables are properly secured to avoid accidentally damaging them during the replacement process. Use cable ties or adhesive clips to hold the cables in place.
- Take pictures for reference: It’s always a good idea to take pictures of the current cable configuration before removing anything. These pictures can serve as a reference when connecting the new cable later on.
By preparing your turntable in these ways, you’ll have a clear understanding of the internal layout and be better equipped to handle the cable replacement process. Additionally, taking precautions such as powering off the turntable and securing loose cables will minimize the risk of accidents or damage during the procedure.
Step 3: Remove the old audio cable
Now that your turntable is prepped and ready, it’s time to remove the old audio cable. Follow these steps to safely and effectively remove the old cable:
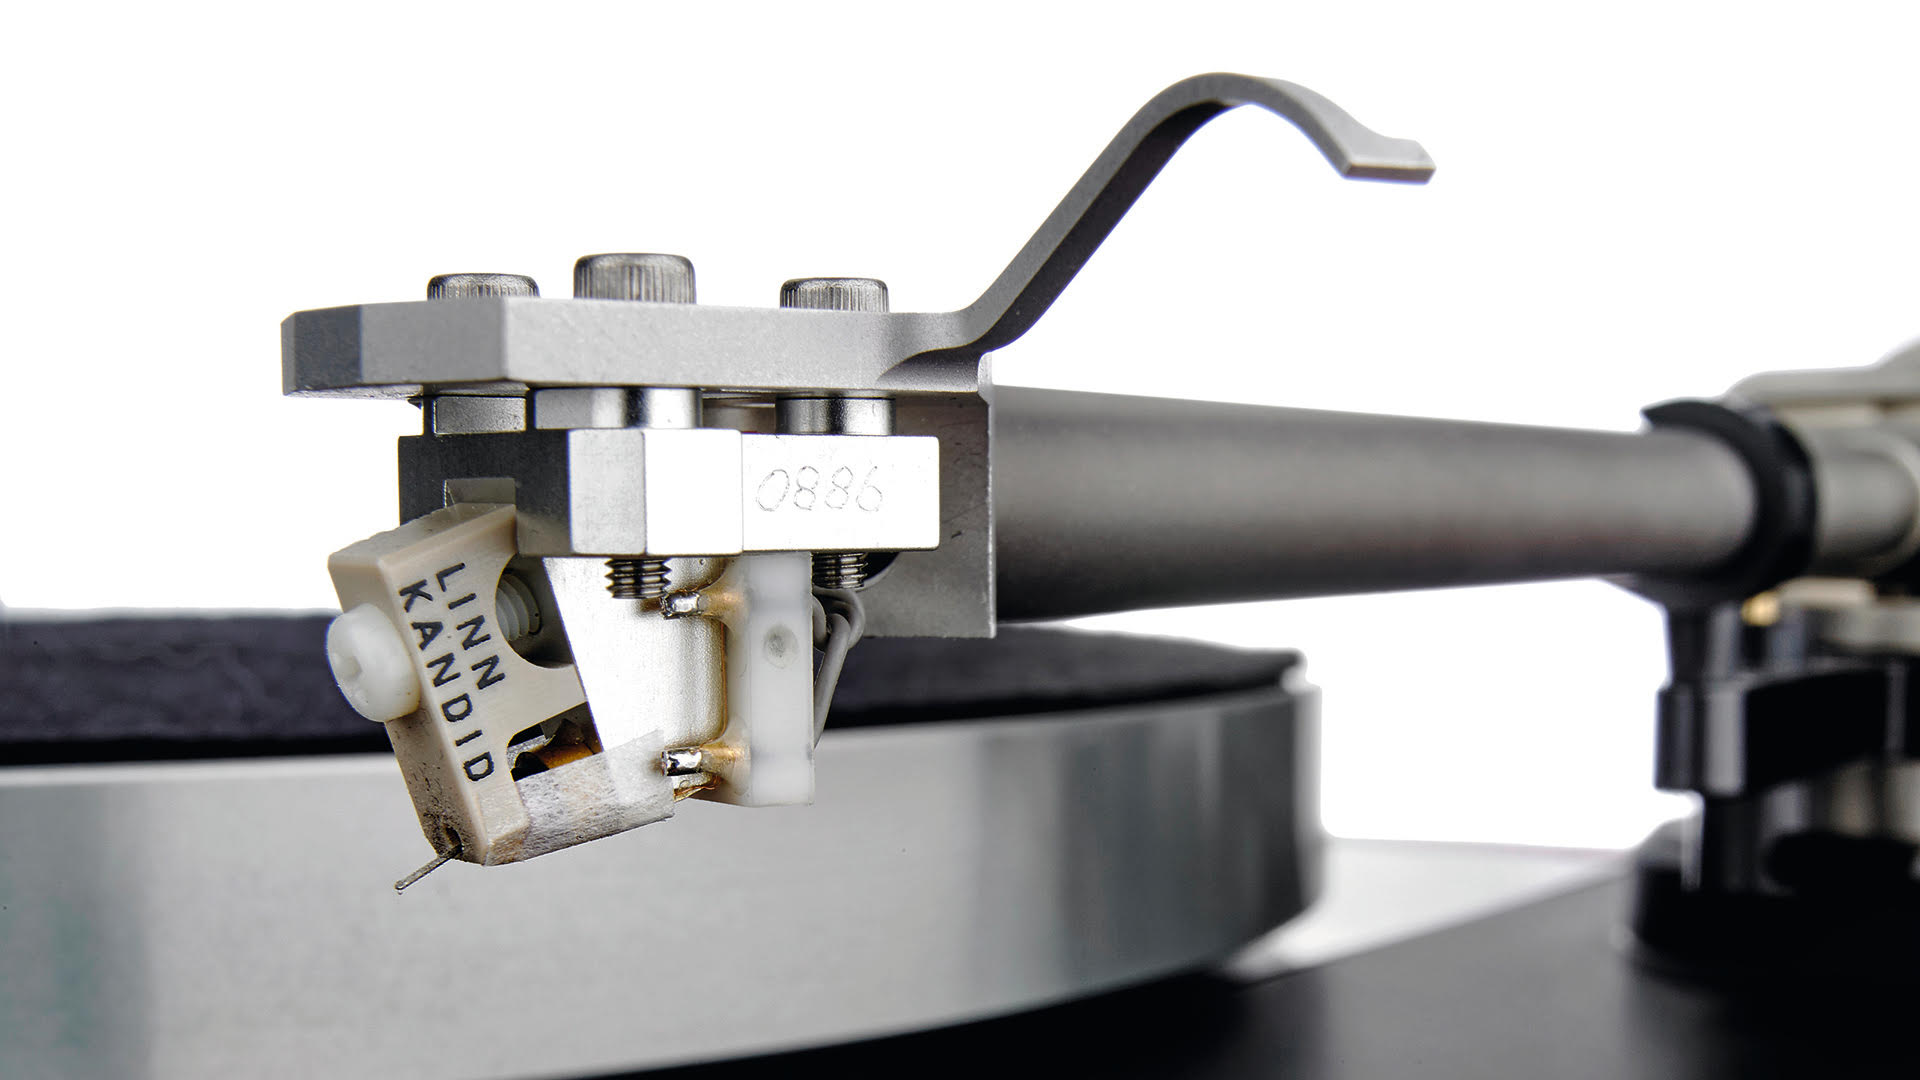
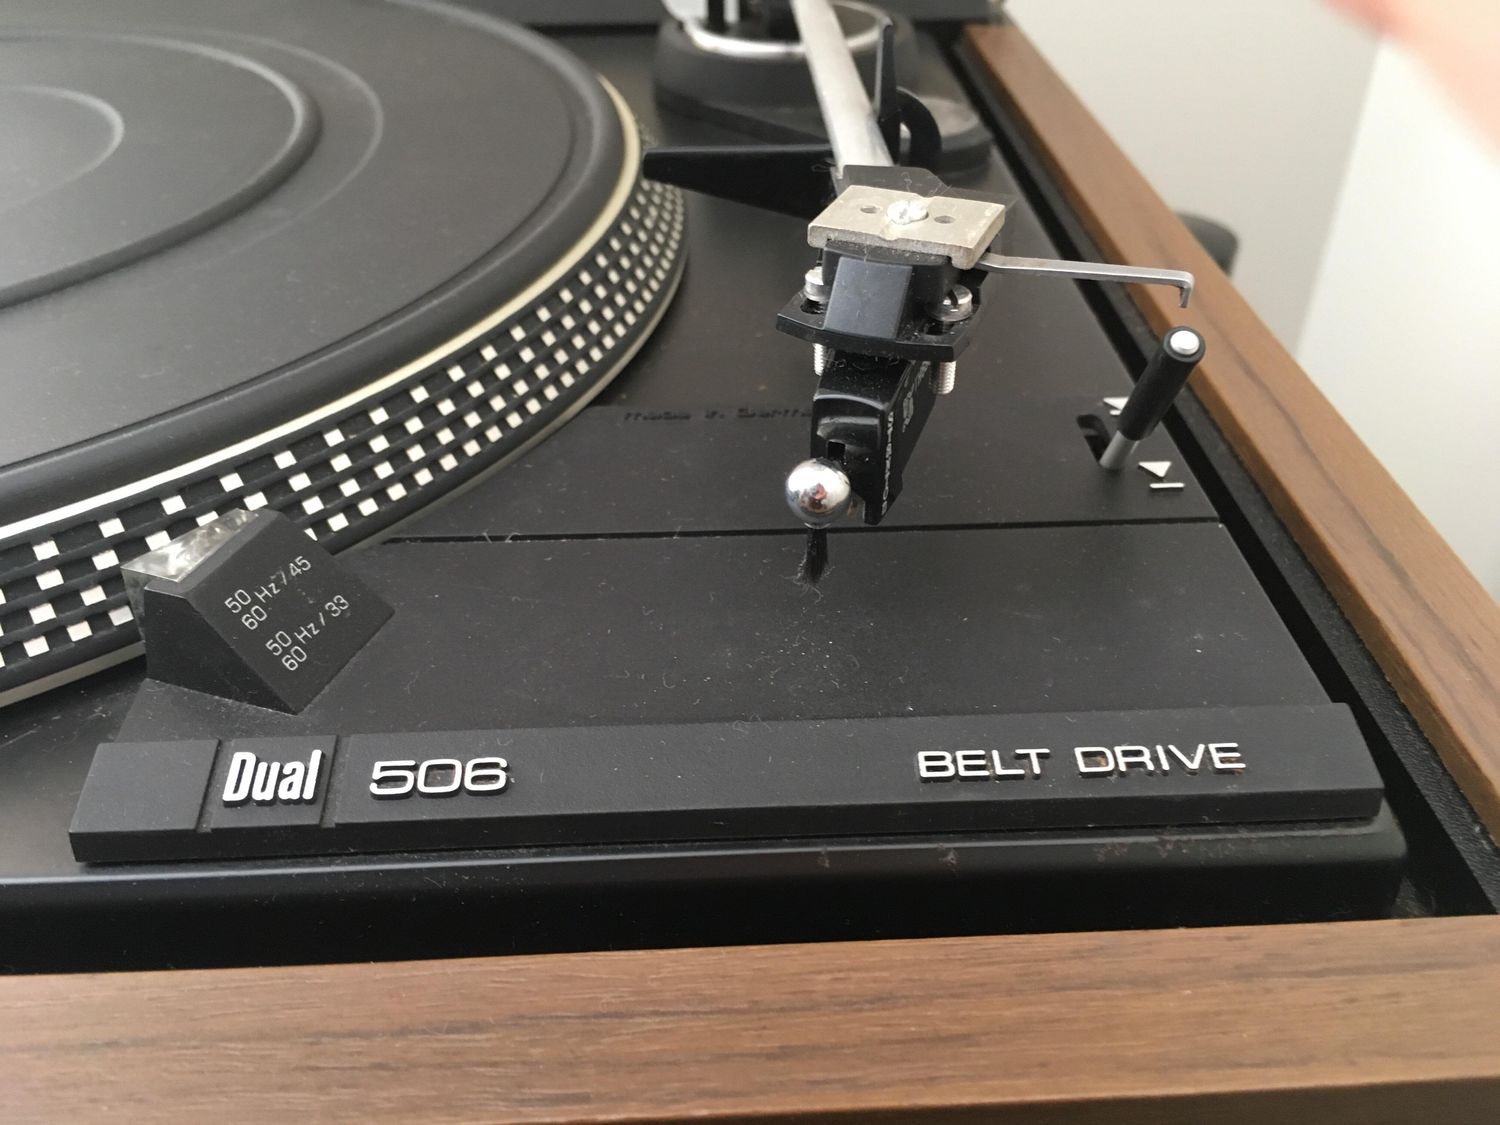
- Locate the connectors: Identify the connectors attached to the old audio cable. In most cases, turntables will have an RCA cable connected to the tonearm or a terminal block.
- Disconnect the cable: Depending on the type of connectors used, gently unplug the old audio cable from the tonearm or terminal block. Be careful not to apply excessive force or pull on the cable itself, as this may damage the connectors or wiring.
- Remove any securing screws: Some turntables may have screws or clips securing the audio cable in place. Use a screwdriver to carefully remove any securing screws, taking note of their position for reassembly later.
- Free the cable from any clips or holders: Inspect the underside of the turntable and look for any clips or holders that may be keeping the audio cable in place. Gently release or remove them to free the cable.
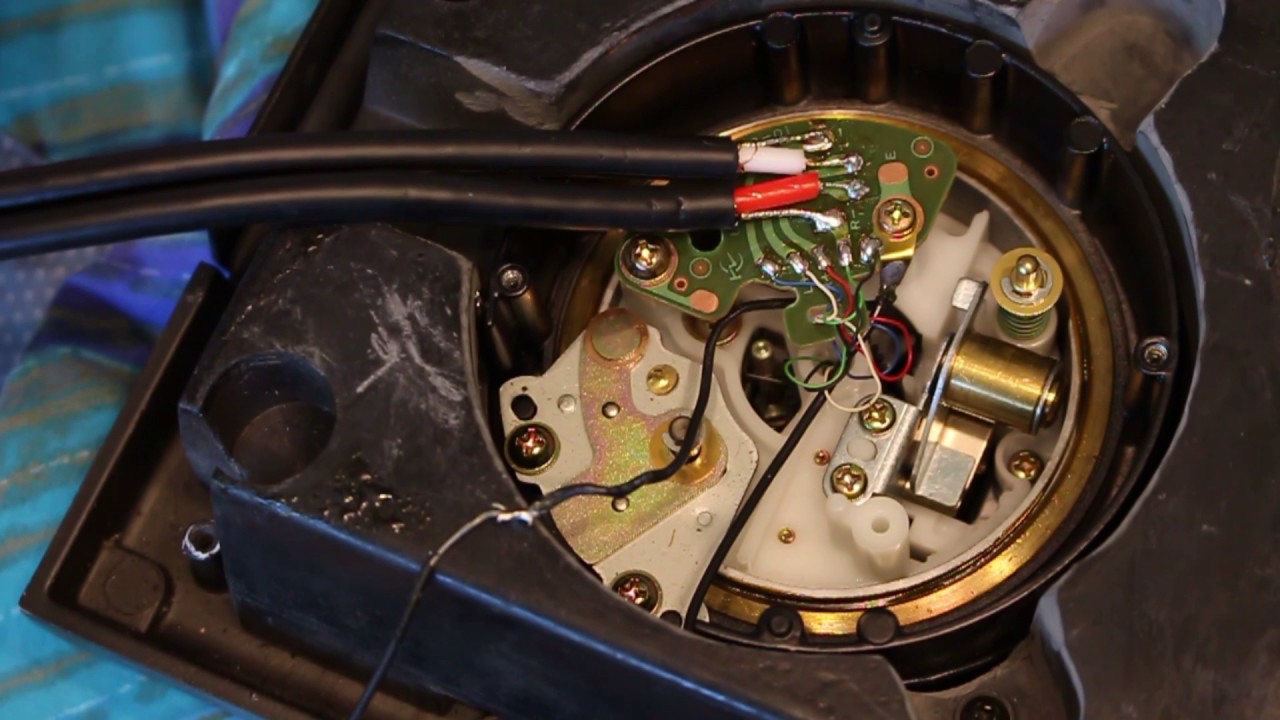
- Trace the cable back to the source: Follow the cable’s path back to the turntable’s internal components, such as the circuit board or preamp. Take note of any connections or junctions along the way.
- Disconnect the cable from the source: Once you’ve located the cable’s source, disconnect it from the corresponding connection point. This may require unscrewing or gently detaching the cable.
- Remove the old cable: With all connections undone, carefully remove the old audio cable from the turntable, ensuring not to damage any other components or wires in the process.
By following these steps, you’ll successfully remove the old audio cable from your turntable. Remember to handle the old cable with care, as it may still carry electrical energy even when disconnected. Set it aside safely for proper disposal or recycling.
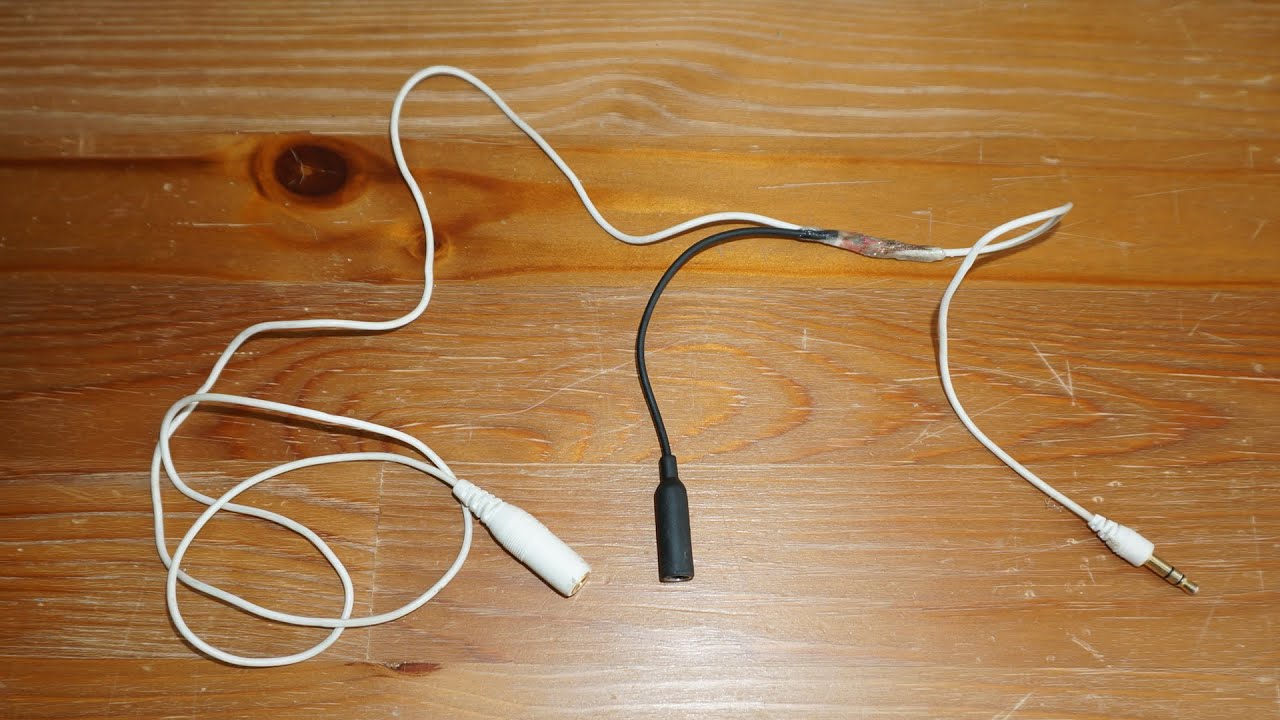
Step 4: Prepare the new audio cable
Now that the old audio cable has been removed, it’s time to prepare the new cable for installation. Follow these steps to ensure the new cable is ready to be connected to your turntable:
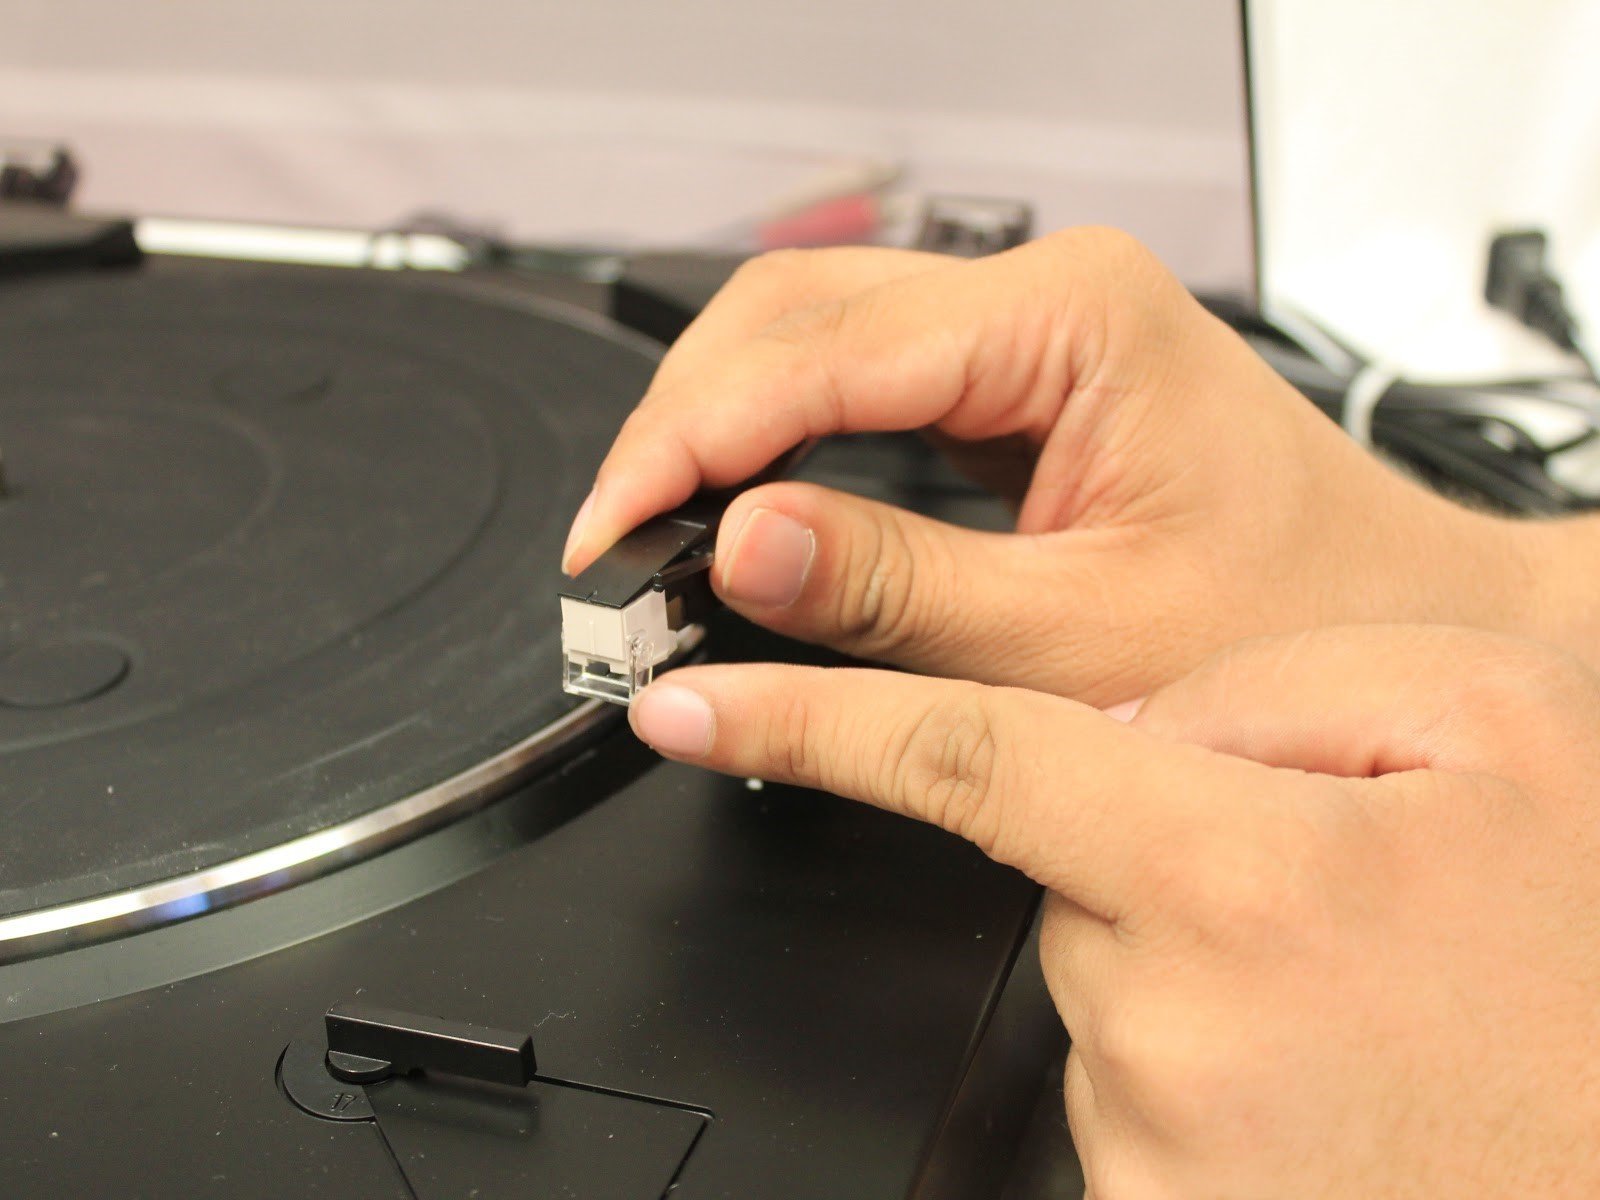
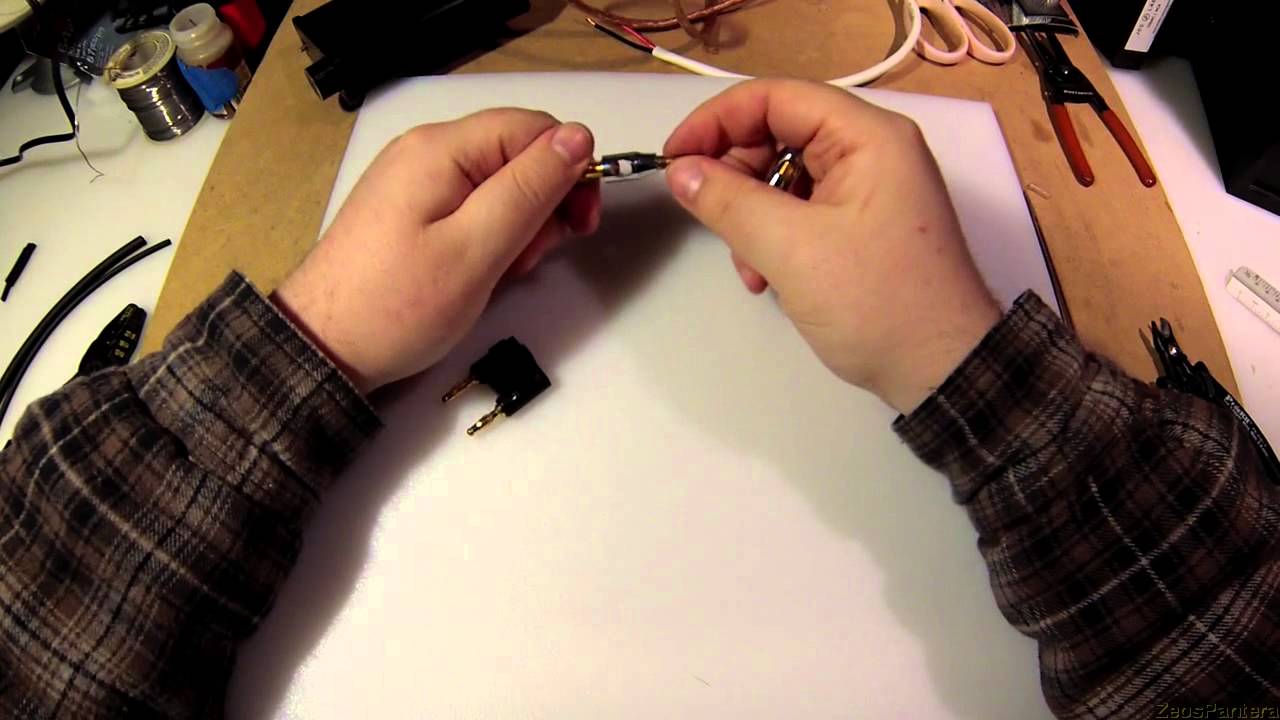
- Inspect the new cable: Before proceeding, carefully examine the new audio cable for any visible damage or defects. Check that the connectors on both ends are in good condition and compatible with your turntable’s connectors.
- Measure and cut the cable: Using wire cutters, measure and cut the new audio cable to the appropriate length. Ensure that the length allows for proper installation without excess slack or tightness.
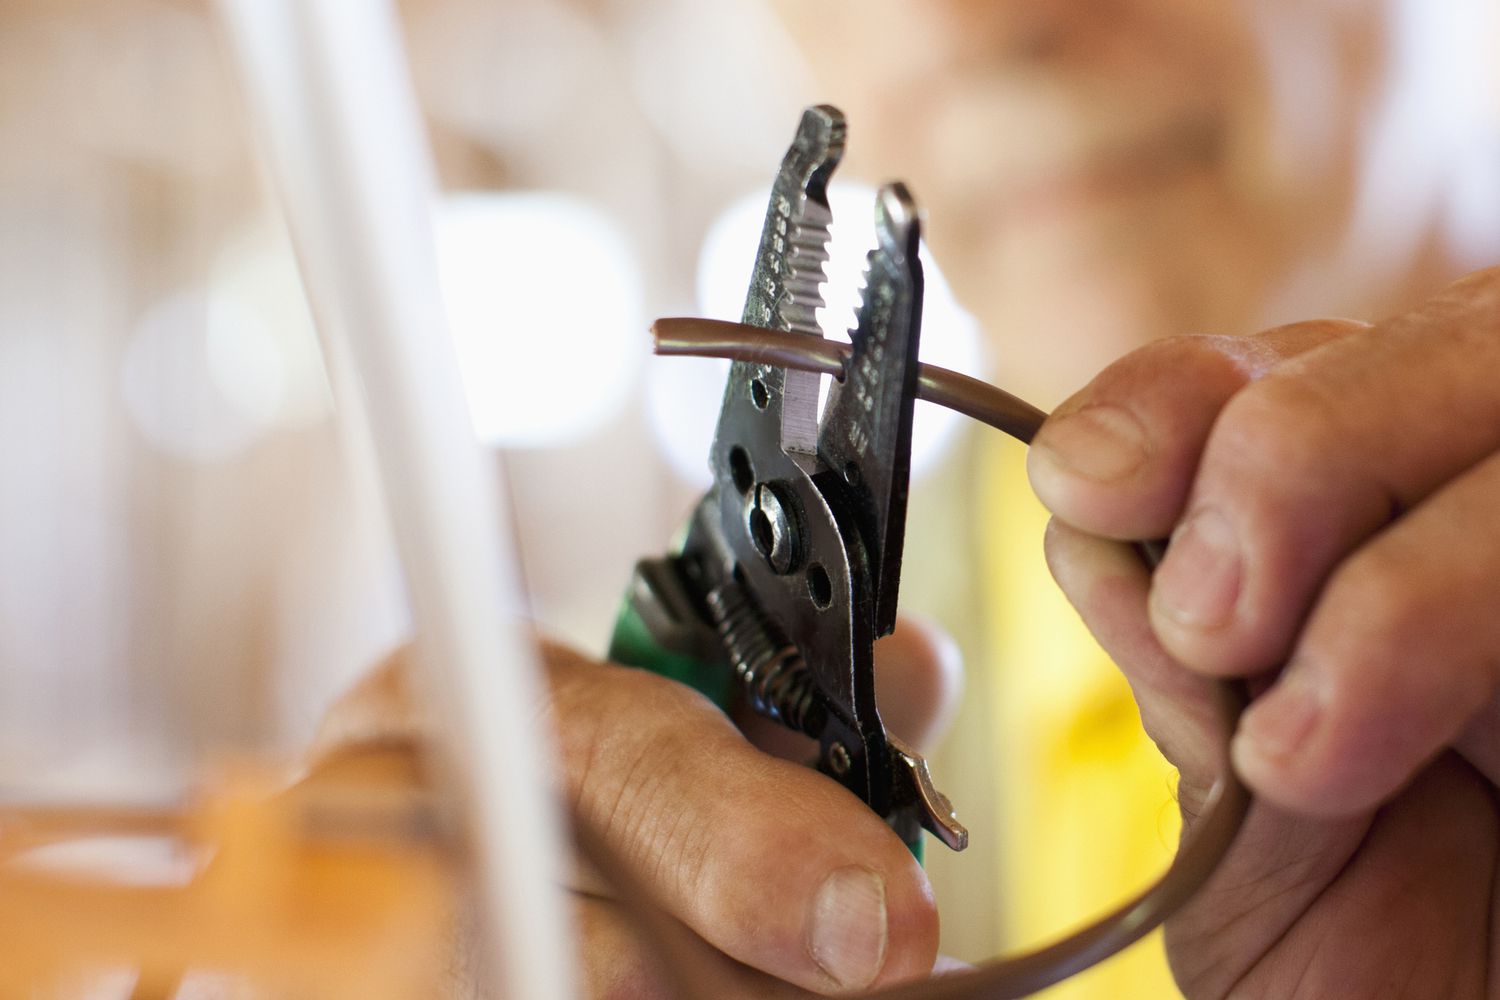
- Strip the ends of the cable: With wire strippers, carefully strip the outer insulation of the cable, exposing the inner wires. Be cautious not to damage the inner wires during this process, as they will be used for soldering later on.
- Solder the ends of the cable: If the new audio cable does not come pre-soldered, you will need to solder the ends. Heat the soldering iron and apply a small amount of solder to the exposed ends of the inner wires. This will ensure a secure and reliable connection.
- Secure the soldered connections: After soldering, it’s a good idea to protect the connections with heat shrink tubing or electrical tape. Simply slide the tubing over the soldered area and use a heat gun or lighter to shrink it into place. Alternatively, wrap electrical tape tightly around the soldered area to insulate and secure the connections.
By properly preparing the new audio cable, you’ll ensure a secure and reliable connection when it comes time to install it in your turntable. Take your time during these steps to ensure accuracy and precision, as a well-prepared cable will guarantee optimal audio performance.
Step 5: Install the new audio cable
With the new audio cable prepared, it’s now time to install it in your turntable. Follow these steps to ensure a proper installation and connection:
- Identify the connection points: Determine where the new audio cable needs to be connected. This will depend on your turntable model and the type of connectors it uses.
- Attach the cable to the source: Begin by connecting the end of the new audio cable to the corresponding connection point on the turntable’s internal components. If necessary, refer to the pictures you took earlier for reference.
- Secure the cable: Once the cable is attached, use any screws or clips that were removed earlier to secure it in place. This will help prevent any strain or accidental disconnection.
- Connect the other end of the cable: Take the other end of the new audio cable and attach it to the appropriate connectors on the tonearm or the terminal block. Make sure the connections are secure and snug.
- Double-check the connections: Take a moment to review all the connections you have made. Ensure that they are tight, secure, and properly aligned. A loose or improper connection can result in poor audio quality or no sound at all.
During the installation process, it’s essential to handle the cable and connectors with care to avoid any damage. Be gentle but firm when making the connections, ensuring a solid and secure fit. Taking your time and paying attention to detail will help guarantee a successful audio cable installation.
Once the new audio cable is properly installed, you are one step closer to enjoying high-quality sound from your turntable.
Step 6: Test the new cable and ensure proper audio output
After installing the new audio cable, it’s crucial to test it and ensure that it is functioning correctly. Follow these steps to perform a thorough test and ensure proper audio output:
- Power on the turntable: Plug in and power on your turntable, making sure that it is connected to the audio system or speakers.
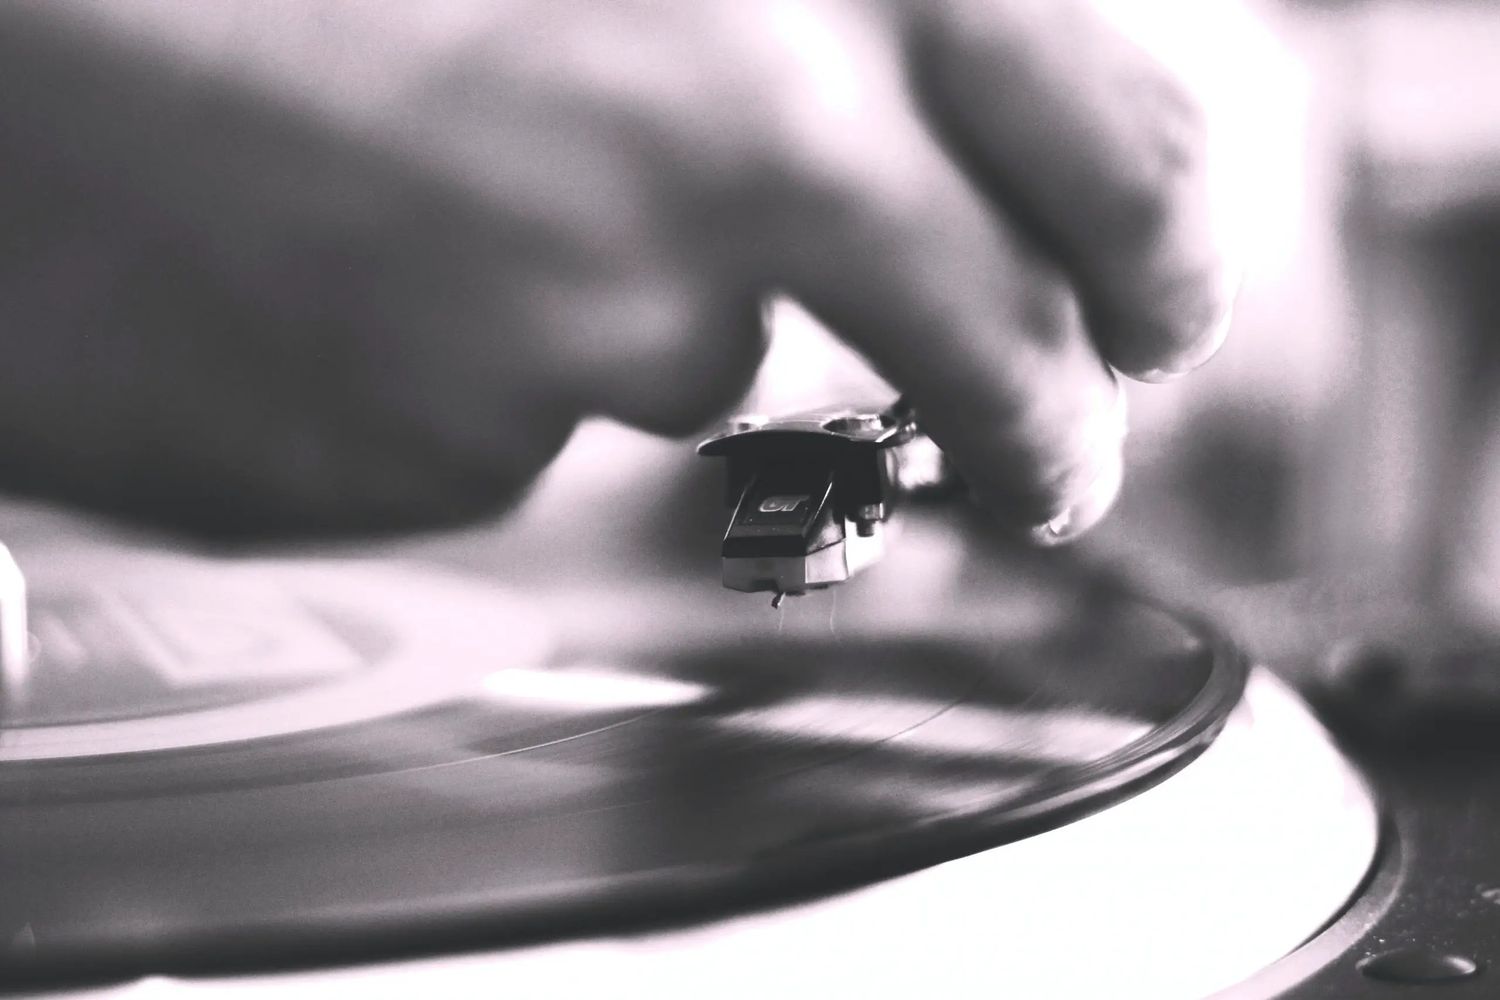
- Play a record: Select a record and gently place it on the turntable’s platter. Start the turntable and initiate playback.
- Listen for audio output: Pay close attention to the sound coming from your speakers or audio system. Listen for any distortions, crackling, or inconsistencies in the audio quality.
- Check for proper channels: Test both the left and right audio channels to ensure that sound is coming through both speakers and that the stereo balance is accurate. If the audio seems imbalanced, double-check the connections and ensure the cable is firmly connected to the correct channel.
- Inspect for any interference: Look out for any buzzing, humming, or interference in the audio signal. Such noise could indicate an issue with the cable or its connections. If you notice any interference, double-check the cable connections and ensure they are secure.
- Make necessary adjustments: If there are any audio issues or abnormalities, such as low volume or one channel not working, revisit the previous steps to verify the connections. It’s important to adjust and troubleshoot any issues promptly.
By thoroughly testing the new audio cable and ensuring proper audio output, you can be confident in the quality of sound produced by your turntable. If everything sounds clear and balanced, congratulations! You have successfully replaced the audio cable and can now enjoy your turntable with improved audio performance.
However, if you encounter any issues during the testing process or are not satisfied with the audio quality, it may be necessary to revisit the installation steps or seek assistance from a professional technician.
Conclusion
Congratulations on successfully replacing the audio cable on your turntable! By following the steps outlined in this guide, you have taken a significant step towards enhancing your audio experience. A functional and properly installed audio cable is crucial for clear, high-quality sound reproduction.
Remember, it’s important to approach the cable replacement process with caution and attention to detail. Take your time, follow the steps diligently, and don’t hesitate to consult your turntable’s user manual or seek professional help if needed.
Additionally, don’t forget to properly dispose of the old audio cable in an environmentally friendly manner. Many electronics recycling centers accept audio cables for proper disposal, so be sure to find a location near you if needed.
With the new audio cable in place, take the time to enjoy your vinyl collection or indulge in DJ mixes with confidence, knowing that you have done the necessary steps to optimize your turntable’s audio performance.
Lastly, we hope that this guide has provided you with the knowledge and confidence to replace the audio cable on your turntable. Remember to keep your audio equipment well-maintained and regularly inspect cables for wear and tear. This will help ensure that you continue to enjoy outstanding sound quality for years to come.