Home>Production & Technology>Audio Interface>How To Connect Turntable To Audio Interface

Audio Interface
How To Connect Turntable To Audio Interface
Published: February 4, 2024
Learn how to connect a turntable to an audio interface for high-quality recording and playback. Enhance your audio production skills with our step-by-step guide.
(Many of the links in this article redirect to a specific reviewed product. Your purchase of these products through affiliate links helps to generate commission for AudioLover.com, at no extra cost. Learn more)
Table of Contents
- Introduction
- Understanding the Audio Interface
- Understanding the Turntable
- Necessary Cables and Adapters
- Step 1: Setting Up the Audio Interface
- Step 2: Connecting the Turntable to Power
- Step 3: Connecting the Turntable to the Audio Interface
- Step 4: Adjusting the Input Gain
- Step 5: Configuring the Recording Software
- Step 6: Testing and Troubleshooting
- Conclusion
Introduction
Welcome to our guide on how to connect a turntable to an audio interface. If you are a vinyl enthusiast or a DJ looking to digitize your vinyl collection, having the right setup is crucial. The audio interface serves as the bridge between your turntable and your computer, allowing you to record and process the analog sound. By following the steps outlined in this article, you’ll be able to successfully connect your turntable to an audio interface and begin your audio recording journey.
Before we dive into the specifics, let’s briefly discuss what an audio interface and a turntable are. An audio interface is an external sound card that connects to your computer via USB or Thunderbolt. It provides high-quality audio inputs and outputs, allowing you to record and playback sound with professional-grade clarity and depth. A turntable, on the other hand, is a device used for playing vinyl records. It features a rotating platter and an arm with a stylus, which reads the grooves on the vinyl to produce sound.
Now that we have a basic understanding of the audio interface and the turntable, let’s move on to the step-by-step process of connecting them. We’ll cover everything from the necessary cables and adapters to the setup of the recording software. By the end of this guide, you’ll have a functional setup that enables you to capture and manipulate the rich, warm sound of your vinyl records.
Understanding the Audio Interface
Before we begin connecting the turntable to the audio interface, let’s take a moment to understand the key features and components of the audio interface. This will help us navigate the setup process more effectively.
The audio interface acts as the intermediary between your turntable and your computer, converting the analog audio signal from the turntable into a digital format that can be processed and recorded by your computer. It consists of various inputs and outputs, as well as control knobs and buttons. Here are some essential features of an audio interface:
- Inputs: The audio interface will have line-level inputs, usually labeled as “Line In” or “Mic/Line In.” These are where you connect your turntable’s output cables. Some audio interfaces also have a specific input labeled “Phono In,” which is designed to accommodate the unique signal levels produced by turntables.
- Outputs: The audio interface will have line-level outputs that connect to your speakers or headphones. These outputs allow you to monitor the audio in real-time while recording or playing back.
- Gain Knobs: The gain knobs or trim knobs on the audio interface control the input signal level. Adjusting these knobs ensures that the signal from your turntable is neither too low nor too high, resulting in optimal sound quality and avoiding distortion.
- Monitoring Options: The audio interface may offer different monitoring options, such as direct monitoring, where the audio is played back through the interface in real-time, or software monitoring, where the audio is played back through your computer software.
- Sample Rate and Bit Depth: The audio interface allows you to set the sample rate and bit depth for your recordings. The sample rate determines the number of samples taken per second, while the bit depth determines the dynamic range and resolution of the audio.
Understanding the features and controls of your audio interface will help you make the necessary adjustments during the setup process. It’s important to consult the user manual of your specific audio interface model to familiarize yourself with its functionalities.
Now that we have a clearer understanding of the audio interface, we can move on to understanding the turntable and its connections in the next section.
Understanding the Turntable
Before we proceed with the connection process, it’s essential to have a good understanding of the turntable and its key components. This will help you identify the necessary cables and properly connect them to the audio interface.
A turntable is a device specifically designed for playing vinyl records. It consists of several components that work together to produce sound:
- Platter: The platter is the rotating platform where the vinyl record sits. It ensures a stable and smooth rotation, allowing the stylus to accurately track the grooves on the record.
- Tonearm: The tonearm is the long arm that extends from the turntable and holds the cartridge and stylus. It is responsible for positioning the stylus on the record and transmitting the vibrations to the cartridge.
- Cartridge and Stylus: The cartridge is the component that contains the stylus (also known as the needle). The stylus is responsible for physically tracking the grooves on the record and translating the vibrations into electrical signals.
- Phono Preamp: Many turntables have a built-in phono preamp. This preamp amplifies the low-level signal produced by the cartridge, making it suitable for line-level inputs on audio equipment. However, not all turntables have a built-in preamp, so you may need an external phono preamp if your turntable lacks this feature.
When connecting the turntable to the audio interface, it’s essential to identify the various connections available on your turntable. Common connections include:
- RCA Outputs: Most turntables have RCA output connectors. These connectors allow you to connect the turntable to the audio interface using RCA cables.
- Ground Wire: Some turntables have a ground wire, which is used to reduce unwanted noise or hum. The ground wire needs to be connected to the appropriate grounding terminal on the audio interface or amplifier.
- USB Output: In some cases, turntables may have a USB output, allowing you to directly connect them to your computer without the need for an audio interface. However, for this guide, we’ll focus on connecting the turntable to an audio interface.
By understanding the key components and connections of your turntable, you’ll be better equipped to proceed with the connection process in the upcoming sections.
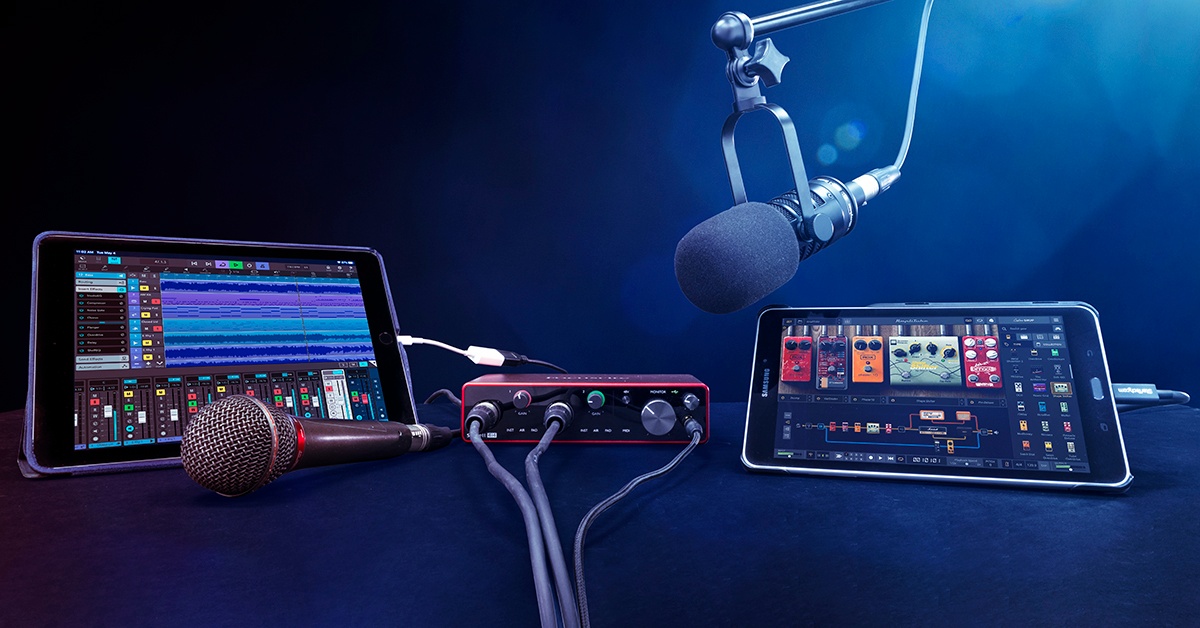
Necessary Cables and Adapters
Now that we have a good grasp of the audio interface and the turntable, let’s discuss the cables and adapters you’ll need to connect them seamlessly.
The specific cables and adapters required may vary depending on the models of the audio interface and turntable you are using. However, here are the most commonly used ones:
- RCA Cables: RCA cables are widely used for connecting audio devices. They are typically color-coded with red and white connectors. You will need a pair of RCA cables to connect the output of your turntable to the input of your audio interface.
- Phono Preamp (if necessary): If your turntable does not have a built-in phono preamp and your audio interface does not have a dedicated phono input, you will need an external phono preamp. This preamp will amplify and equalize the signal from your turntable to a line-level signal compatible with the audio interface.
- Ground Wire: If your turntable has a ground wire, you may need a grounding adapter or a separate grounding wire to connect it to the appropriate terminal on the audio interface or amplifier. This helps reduce unwanted hum or noise in the audio signal.
- Adapters (if necessary): Depending on the input and output configurations of your audio interface and turntable, you may require adapters. Common adapters include RCA to 1/4″ TRS adapters or RCA to XLR adapters to accommodate different connector types.
- USB Cable (if applicable): If your audio interface has a USB output or if you are using a USB-enabled turntable, you will need a USB cable to connect the turntable directly to your computer.
Before proceeding with the connection process, it’s crucial to gather all the necessary cables and adapters required for your specific setup. This will ensure a smooth and hassle-free connection between your turntable and audio interface.
Now that we have everything we need, let’s move on to the step-by-step process of setting up the audio interface and connecting the turntable in the following sections.
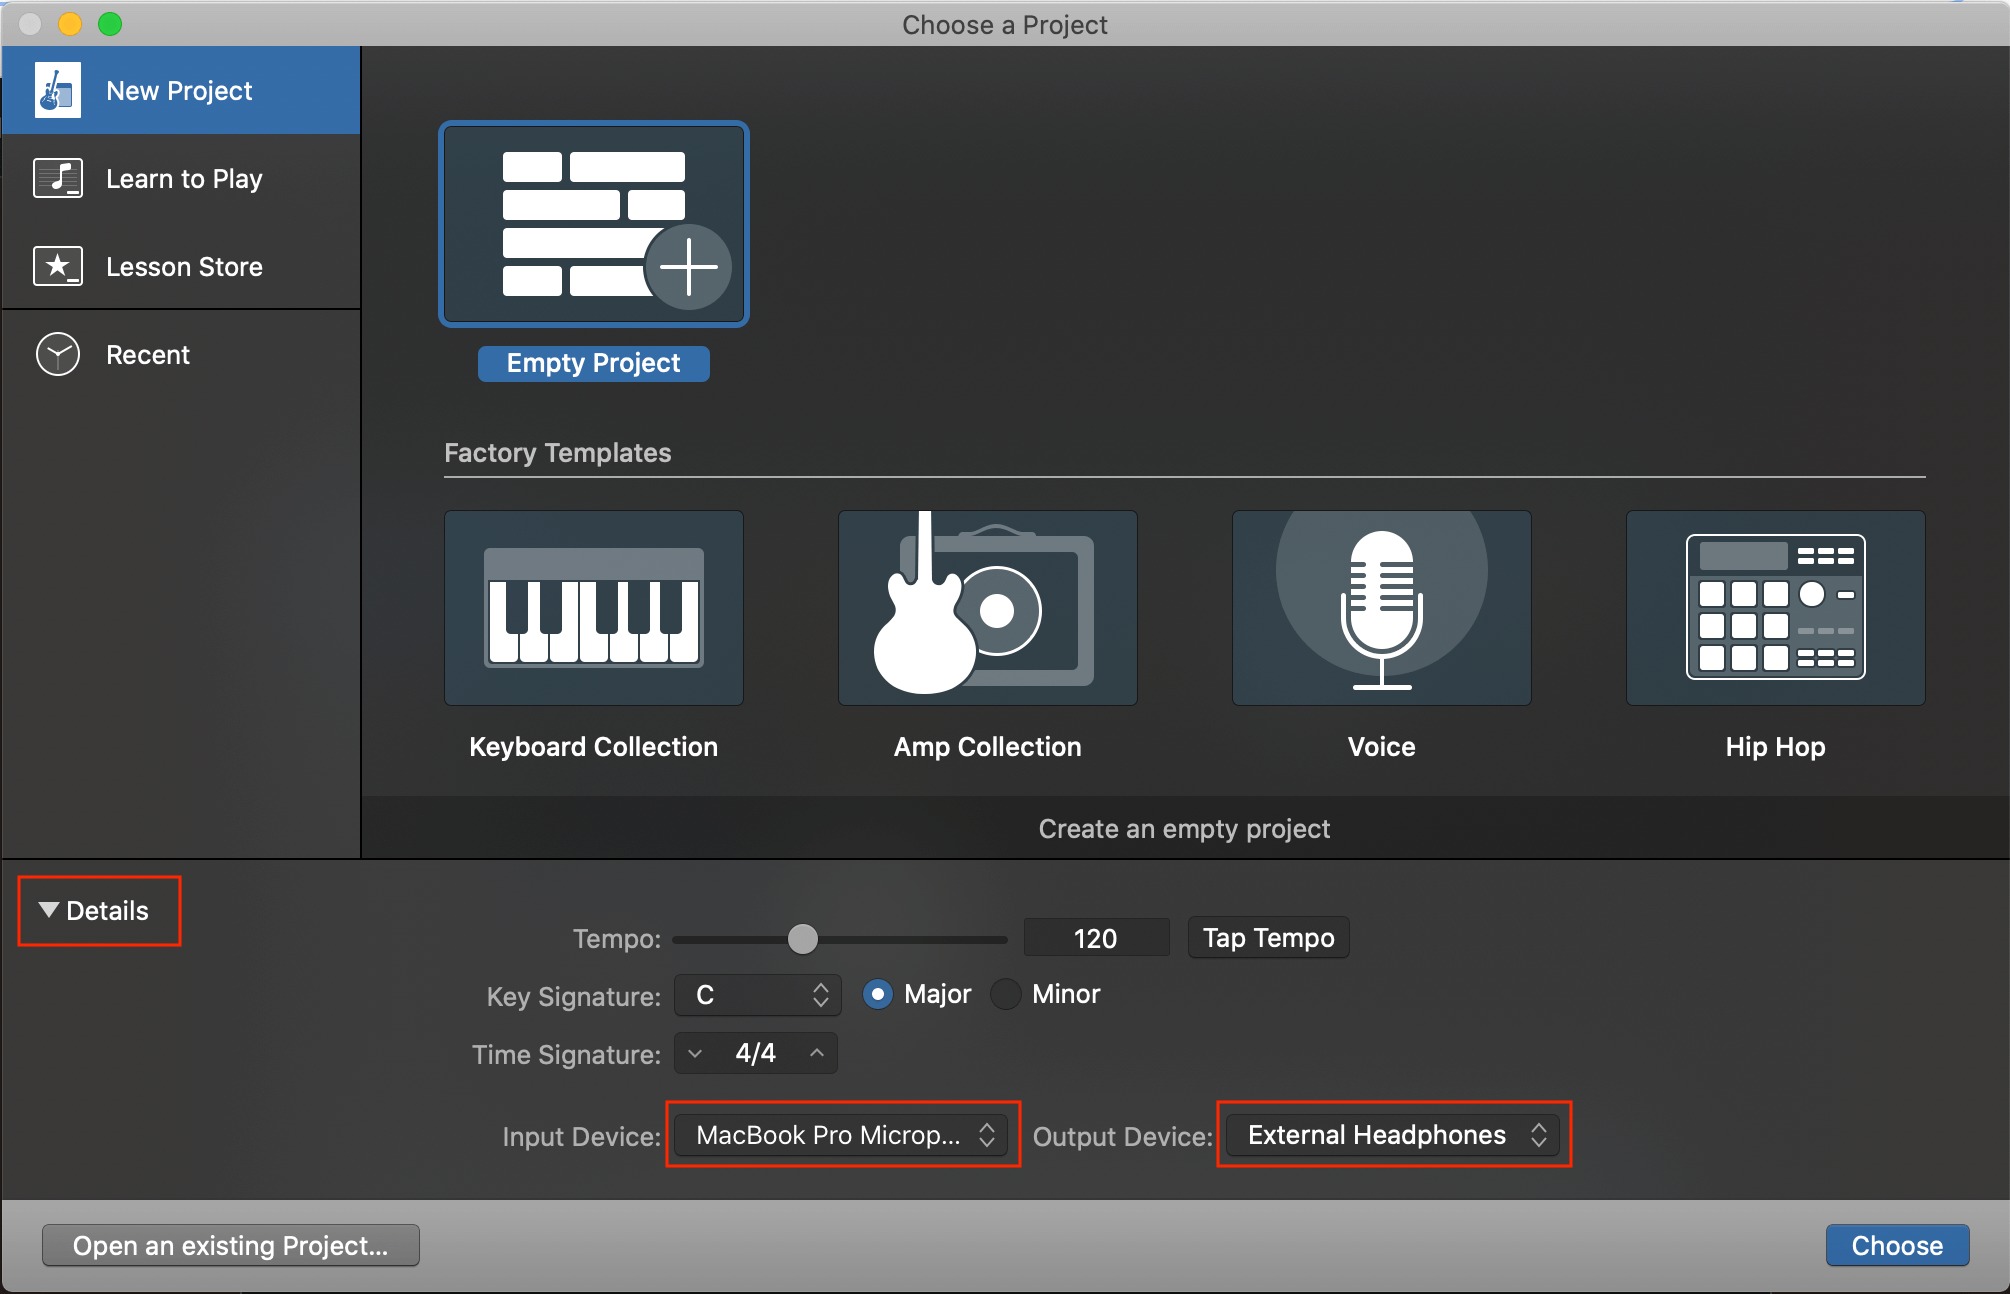
Step 1: Setting Up the Audio Interface
The first step in connecting your turntable to an audio interface is to set up the audio interface itself. Follow these steps to ensure a proper setup:
- Read the User Manual: Familiarize yourself with the specific instructions for your audio interface model by reading the user manual. This will provide important information on setting up the device and understanding its features.
- Connect the Audio Interface to Your Computer: Use the included USB or Thunderbolt cable to connect the audio interface to your computer. Ensure that you connect it to an available USB or Thunderbolt port.
- Power On the Audio Interface: Most audio interfaces are powered through the USB or Thunderbolt connection. Once connected to your computer, power on the audio interface using the power button or switch on the device.
- Install the Drivers (if required): Depending on your operating system and audio interface model, you may need to install specific drivers or software provided by the manufacturer. Follow the instructions provided in the user manual to install the necessary drivers or software.
- Configure Audio Settings: Access the audio settings on your computer and ensure that the audio interface is selected as the input and output device. You can usually find this option under the audio settings or preferences of your operating system.
- Check the Signal Flow: Familiarize yourself with the input and output labels on the audio interface. Ensure that you understand which connectors correspond to the inputs and outputs for your turntable.
- Inspect the Control Knobs: Take note of the gain knobs or trim knobs on the audio interface. These will be used to adjust the input signal level when connecting the turntable.
Once you have set up the audio interface and familiarized yourself with its features and controls, you are ready to move on to the next step: connecting the turntable to power.
Step 2: Connecting the Turntable to Power
After setting up the audio interface, the next step is to connect your turntable to power. This ensures that the turntable receives the necessary power supply to operate. Follow these steps to connect the turntable to power:
- Locate the Power Source: Identify the power source for your turntable. This is usually a power outlet or a power conditioner.
- Check Voltage Requirements: Verify the voltage requirements of your turntable. Ensure that the power source you are using matches the voltage specified by the manufacturer. Using an incorrect voltage can damage your turntable.
- Connect the Power Cable: Connect one end of the power cable to the power input on the turntable. The power input is typically located on the back or side of the turntable.
- Plug into the Power Source: Plug the other end of the power cable into the power source. Ensure a secure connection.
- Power On the Turntable: Locate the power switch or button on the turntable and power it on. Some turntables may have a standby mode, so make sure to fully power on the device.
- Verify Power Indicator: Check if there is a power indicator on the turntable. This indicator will confirm that the turntable is receiving power.
Connecting your turntable to power is a crucial step to ensure that it operates correctly. Once you have connected the turntable to power, you can proceed to the next step: connecting the turntable to the audio interface.
Step 3: Connecting the Turntable to the Audio Interface
Now that your turntable is powered on, it’s time to connect it to the audio interface. Follow these steps to establish the connection:
- Identify the Outputs on the Turntable: Locate the RCA output connectors on the back of your turntable. They are typically color-coded as red and white.
- Identify the Inputs on the Audio Interface: Look for the line-level inputs on your audio interface. These are usually labeled as “Line In” or “Mic/Line In.” Some audio interfaces may have a dedicated “Phono In” input if it specifically caters to turntable connections.
- Connect the RCA Cables: Take the pair of RCA cables and plug the red and white ends into the corresponding output connectors on the turntable. Make sure to insert them firmly to ensure a secure connection.
- Connect the Other End of the RCA Cables: Take the other end of the RCA cables and plug them into the line-level inputs on the audio interface. Again, match the red and white connectors to the appropriate input colors.
- Ground Wire Connection (if applicable): If your turntable has a ground wire, locate the grounding terminal on the audio interface or amplifier. Connect the ground wire to this terminal to reduce unwanted hum or noise in the audio signal.
- Verify Connections: Double-check all the connections to ensure they are secure and properly inserted. A loose connection can result in signal loss or poor audio quality.
Once you have successfully connected the turntable to the audio interface, you are one step closer to recording and processing your vinyl records digitally. Now, let’s move on to the next step: adjusting the input gain on the audio interface.
Step 4: Adjusting the Input Gain
With the turntable connected to the audio interface, the next step is to adjust the input gain. Properly setting the input gain ensures that the signal from the turntable is neither too low nor too high, resulting in optimal sound quality and avoiding distortion. Follow these steps to adjust the input gain on the audio interface:
- Locate the input gain knobs or trim knobs on the audio interface. These are usually labeled as “Input Gain” or “Trim.”
- Start with a Midway Position: Set the input gain knobs to their midway position before starting the adjustment process.
- Prepare a Test Track: Prepare a vinyl record or a test track with a consistent and moderate sound level to facilitate the gain adjustment.
- Playback the Test Track: Start playing the test track on your turntable.
- Monitor the Signal Level: Observe the signal level indicator or meter on the audio interface or your recording software. The goal is to have a healthy signal level without clipping or distortion.
- Adjust the Input Gain: Gradually increase the input gain knob until the signal level indicator reaches an optimal level. Aim for a level that consistently peaks around -12 dB to -6 dB. This range ensures sufficient signal strength without risking distortion.
- Listen for Distortion: While adjusting the input gain, listen carefully for any distortion or clipping in the audio. If you notice any distortion, reduce the gain slightly until the distortion is eliminated.
It’s crucial to adjust the input gain carefully to achieve the best sound quality without introducing unwanted noise or distortion. Take your time and make subtle adjustments until you find the sweet spot for the input gain. Once the input gain is properly set, we can move on to the next step: configuring the recording software.
Step 5: Configuring the Recording Software
After adjusting the input gain on the audio interface, it’s time to configure your recording software to effectively capture and process the audio from your turntable. The specific steps may vary based on the software you’re using, but here are some general guidelines to get you started:
- Select the Audio Interface: Open your recording software and navigate to the settings or preferences menu. Locate the audio settings and select your audio interface as the input device. This ensures that the software receives the audio signal from your turntable via the audio interface.
- Set the Sample Rate and Bit Depth: In the audio settings of your recording software, set the sample rate and bit depth for your recording. The standard sample rate for audio is 44.1kHz and the bit depth is typically 16 bits, but you can choose higher settings for better audio quality if desired.
- Enable Monitoring: Enable monitoring in your recording software. This allows you to hear the audio in real-time as it is being played and recorded. You can usually find this option in the settings or preferences menu, under the audio or monitoring settings.
- Configure Recording Tracks: Set up your recording tracks in the software. Create a new track designated for recording audio from the turntable. Ensure that the input for this track is set to the corresponding input channel of your audio interface.
- Set Levels and Monitor: Adjust the recording levels in your software to achieve a balanced and optimal sound level. Use the input level meters in the recording software to monitor the strength of the audio signal. Aim for levels that peak around -12 dB to -6 dB, ensuring a healthy signal without clipping or distortion.
Remember to consult the user manual or online resources specific to your recording software for more detailed instructions on configuring the settings. Once you have properly configured the recording software, you are ready to move on to the next step: testing and troubleshooting the setup.
Step 6: Testing and Troubleshooting
With the audio interface, turntable, and recording software all connected and configured, it’s important to thoroughly test the setup and address any potential issues. Follow these steps to test and troubleshoot your setup:
- Test the Playback: Play a vinyl record on your turntable and monitor the audio playback through your speakers or headphones. Ensure that you’re hearing a clear and accurate representation of the sound.
- Monitor for Noise or Distortion: Pay attention to any unwanted noise, hum, or distortion in the audio. If you notice any issues, consider adjusting the gain settings on the audio interface or double-checking the connections to eliminate potential sources of interference.
- Check for Signal Loss: Keep an eye on the signal level meters in your recording software. If you notice that the levels are consistently too low or too high, adjust the input gain on the audio interface accordingly. Maintain a healthy signal level without excessive clipping or distortion.
- Verify Recording Functionality: Start a recording in your recording software and monitor the recording process. Check that the software is capturing the audio from the turntable correctly and generating the desired audio files.
- Listen to Recorded Files: After completing a recording, listen to the playback of the recorded files. Make sure they sound clean and faithful to the original source. Address any issues by adjusting settings or making necessary adjustments to the audio interface, turntable, or recording software.
- Consult Troubleshooting Resources: If you encounter persistent issues or challenges, consult the troubleshooting section of your audio interface, turntable, or recording software user manual. Additionally, explore online forums or reach out to customer support for further assistance.
By testing and troubleshooting your setup, you can ensure that your turntable is properly connected to the audio interface and that all components are functioning as expected. This will help you achieve high-quality recordings and enjoy a seamless audio processing experience.
Now that you have successfully gone through the testing and troubleshooting process, you should have a fully functional setup for connecting your turntable to an audio interface. Enjoy digitizing your vinyl collection and exploring new possibilities in audio recording and processing!
Conclusion
Congratulations! You have completed the process of connecting your turntable to an audio interface. By following the step-by-step guide outlined in this article, you now have a setup that allows you to capture the rich and warm sound of your vinyl records and digitize them for further processing and enjoyment.
Throughout this guide, we covered the essentials of understanding the audio interface and the turntable, the necessary cables and adapters, setting up the audio interface, connecting the turntable to power, establishing the connection between the turntable and the audio interface, adjusting the input gain, configuring the recording software, and testing and troubleshooting the setup.
Remember, every setup may have its unique intricacies and considerations. It’s essential to consult the user manuals of your audio interface, turntable, and recording software to ensure proper setup and configuration.
Now that you have everything in place, take your time to explore the possibilities that digitizing your vinyl records opens up. Whether you’re archiving your collection, creating digital mixes, or applying digital effects and enhancements, you now have the tools to bring your vinyl sound into the digital realm.
Enjoy the process of rediscovering your music collection and experimenting with new techniques and possibilities. Embrace the fusion of analog and digital technologies, and let your creativity thrive.
Thank you for following this guide, and we hope you enjoy your journey into the world of audio recording and processing!