Home>Devices & Equipment>Turntable>How To Connect Audio-Technica At-Lp60 Turntable To Receiver
Turntable
How To Connect Audio-Technica At-Lp60 Turntable To Receiver
Modified: January 22, 2024
Learn how to connect your Audio-Technica AT-LP60 turntable to a receiver and enjoy high-quality sound with this step-by-step guide. Discover expert tips and troubleshooting solutions for a seamless audio experience.
(Many of the links in this article redirect to a specific reviewed product. Your purchase of these products through affiliate links helps to generate commission for AudioLover.com, at no extra cost. Learn more)
Table of Contents
Introduction
Welcome to the world of vinyl! If you’re a music enthusiast or an audiophile, you’re probably familiar with the rich sound and unique experience that vinyl records offer. And if you’re the proud owner of an Audio-Technica AT-LP60 turntable, you’re in for a treat.
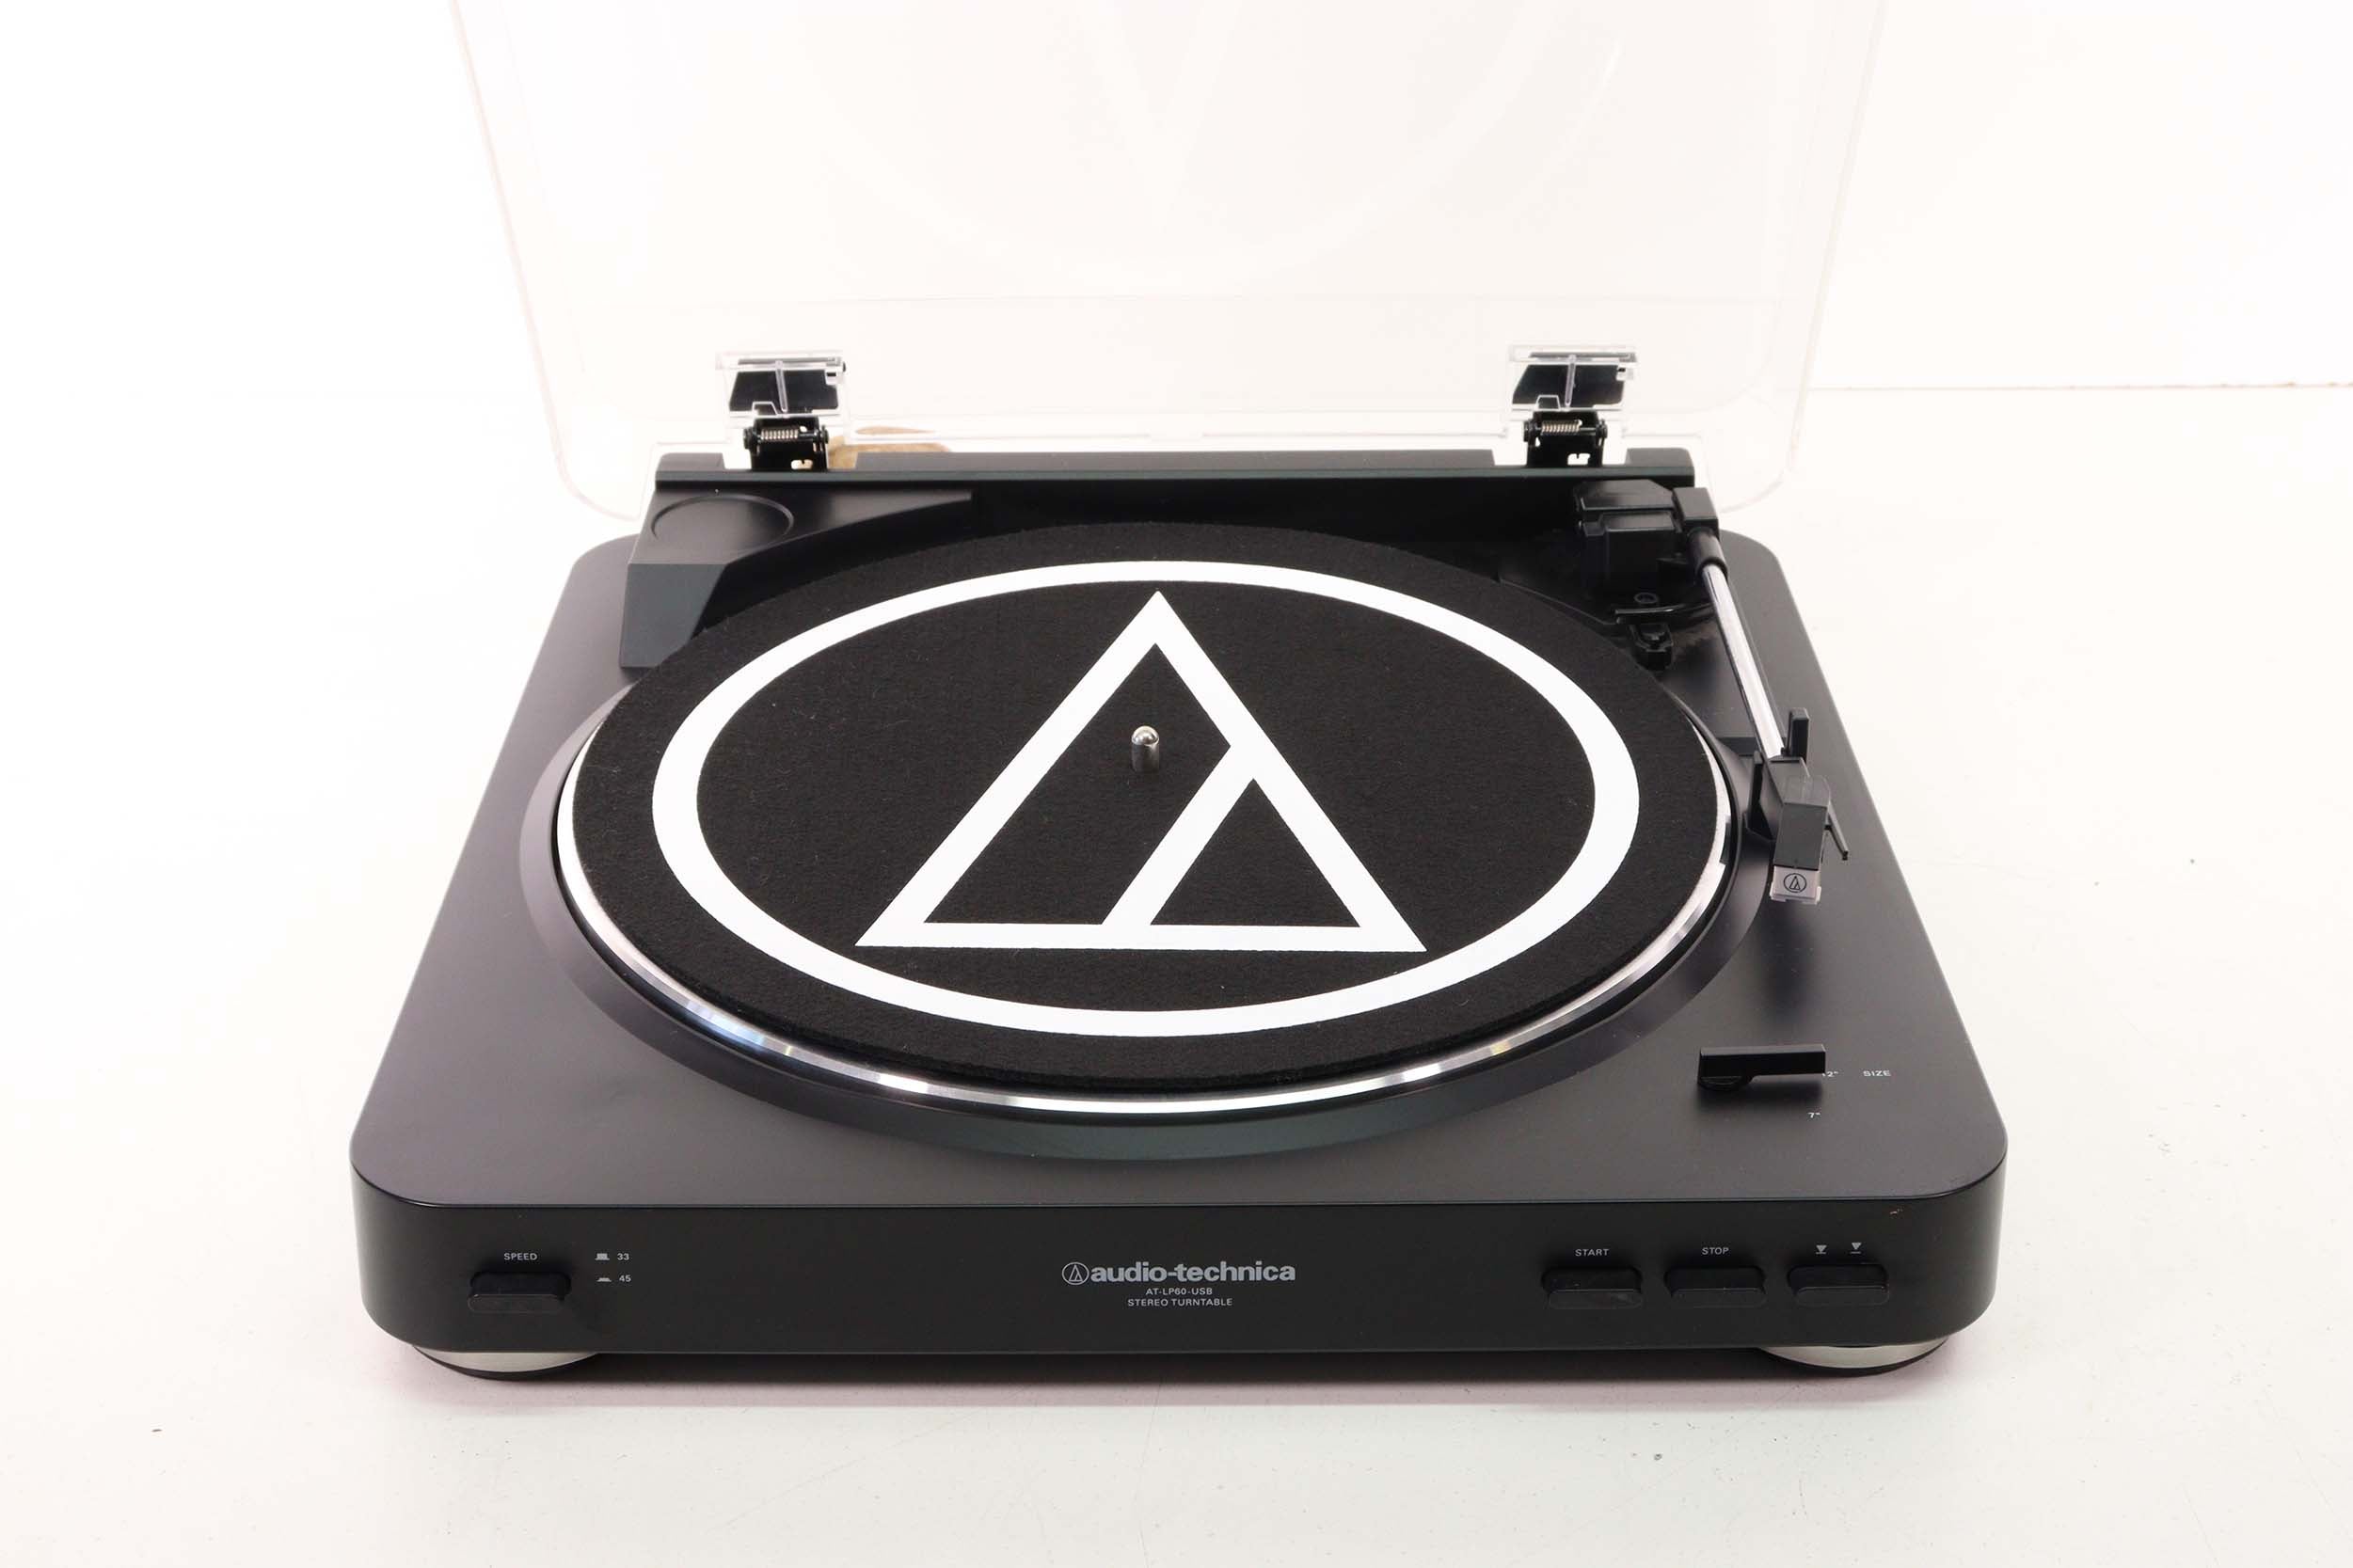
The Audio-Technica AT-LP60 is a popular choice for vinyl lovers who want a high-quality turntable without breaking the bank. This fully automatic belt-drive turntable is designed for easy setup and operation, making it perfect for beginners or those new to the world of vinyl.
While the AT-LP60 is equipped with built-in speakers, connecting it to a receiver or amplifier can greatly enhance the sound quality and allow you to enjoy your vinyl collection to its fullest potential. In this article, we’ll guide you through the process of connecting your Audio-Technica AT-LP60 turntable to a receiver, so you can experience the warm and immersive sound that vinyl is known for.
Before we jump into the steps, let’s first make sure you have all the necessary equipment handy.
Equipment Needed
Before you begin connecting your Audio-Technica AT-LP60 turntable to a receiver, make sure you have the following equipment:
- Audio-Technica AT-LP60 turntable: This is the main component of your setup. Ensure that your turntable is in good working condition.
- RCA Cables: These cables are required to connect the turntable to the receiver. Make sure you have a pair of RCA cables with male connectors on both ends.
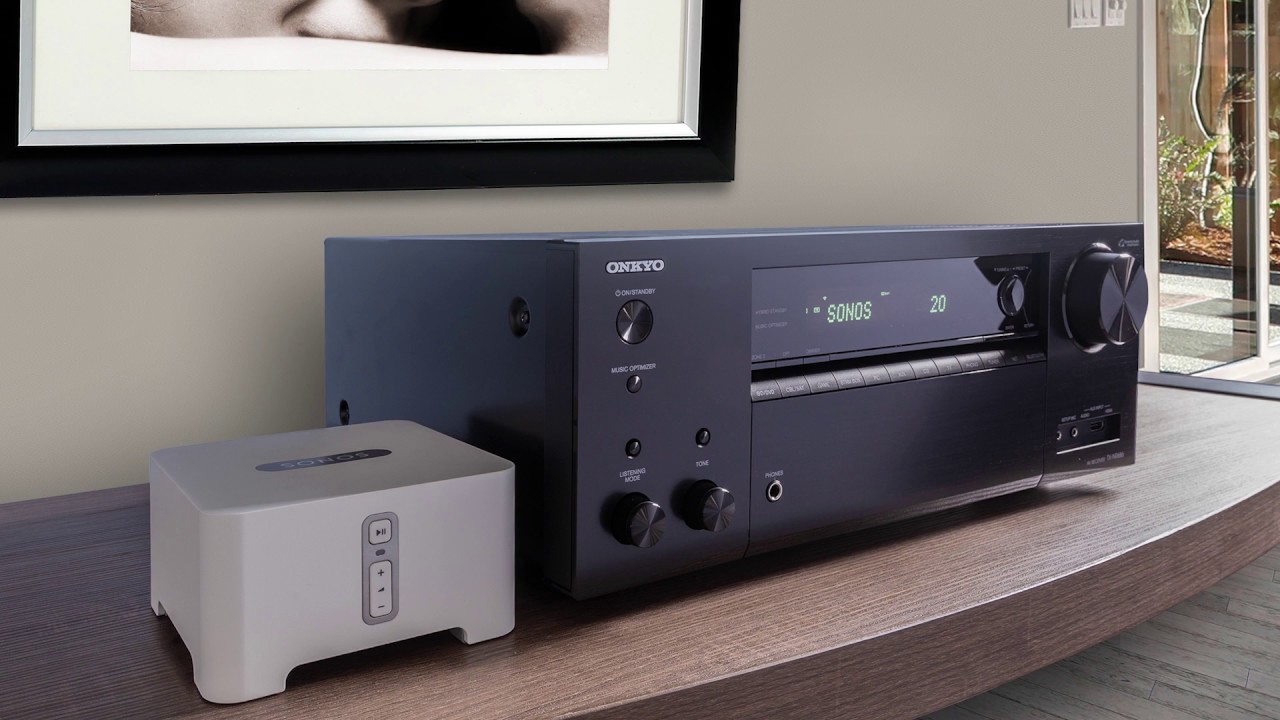
- Receiver/Amplifier: This is the device that will amplify the audio signal from the turntable and output it to your speakers. Make sure you have a receiver or amplifier with an available set of RCA input jacks.
- Speakers: Of course, you’ll need speakers to enjoy the sound. Make sure you have a pair of speakers with compatible connectors (usually RCA or speaker wire connections).
Once you have gathered all the necessary equipment, you’re ready to move on to the next step: connecting the cables.
Step 1: Gather the Cables
The first step in connecting your Audio-Technica AT-LP60 turntable to a receiver is to gather the necessary cables. As mentioned earlier, you will need a pair of RCA cables with male connectors on both ends.
If you don’t have RCA cables readily available, you can purchase them at most electronics stores or online retailers. Look for cables that are long enough to reach from the turntable to the receiver, keeping in mind any potential obstacles or furniture placement that may affect the distance between the two components.
Once you have the RCA cables, inspect them to ensure they are in good condition without any frayed or damaged parts. It’s important to use cables that are in good working order to ensure proper signal transmission and avoid any audio quality issues.
With the RCA cables in hand, you’re ready to move on to the next step: locating the audio outputs on your turntable.
Step 2: Locate the Audio Outputs
Before you can connect your Audio-Technica AT-LP60 turntable to a receiver, you need to locate the audio outputs on the turntable. The AT-LP60 is equipped with two audio outputs: one red and one white.
Generally, the red output is designated for the right audio channel, while the white output is designated for the left audio channel. These outputs are often labeled as “R” and “L” respectively.
Take a close look at the back of your turntable and locate these red and white audio outputs. They are typically located next to each other and are clearly marked for easy identification. Make sure to also note which output is designated for the right channel and which one is designated for the left channel.
Once you have identified the audio outputs on your turntable, you can proceed to the next step: connecting the RCA cables.
Step 3: Connect the RCA Cables
Now that you have located the audio outputs on your Audio-Technica AT-LP60 turntable, it’s time to connect the RCA cables. These cables will carry the audio signal from the turntable to the receiver, allowing you to enjoy your vinyl records through your speakers.
Take one end of the RCA cable and plug the red connector into the red audio output on the turntable. Then, take the other end of the RCA cable and plug the white connector into the white audio output.
Ensure that the connectors are inserted firmly into the audio outputs to establish a secure connection. A loose connection can result in audio quality issues or no sound at all.
If you’re unsure which end of the RCA cable to connect to the turntable or which color corresponds to each output, refer to the labels on the turntable or consult the user manual for guidance.
Once the RCA cables are securely connected to the turntable, you can move on to the next step: connecting the other end of the RCA cables to the receiver.
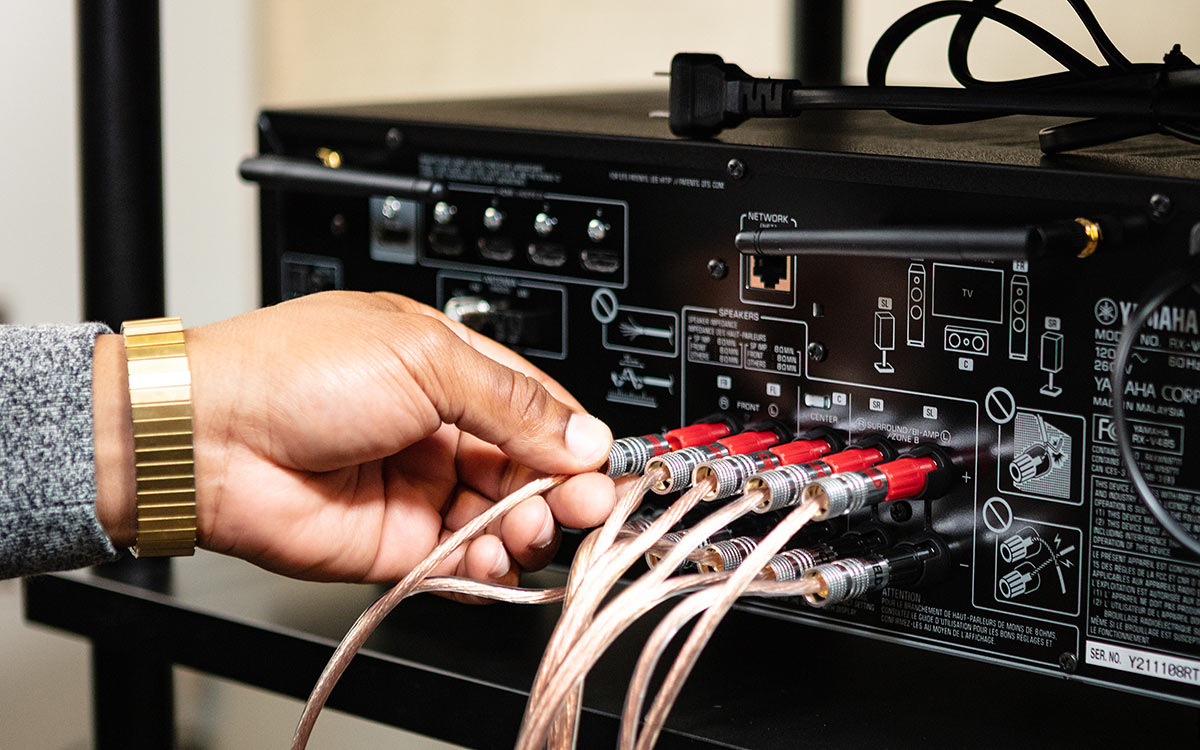
Step 4: Connect the Other End of the RCA Cables
Now that you have connected one end of the RCA cables to your Audio-Technica AT-LP60 turntable, it’s time to connect the other end to your receiver or amplifier.
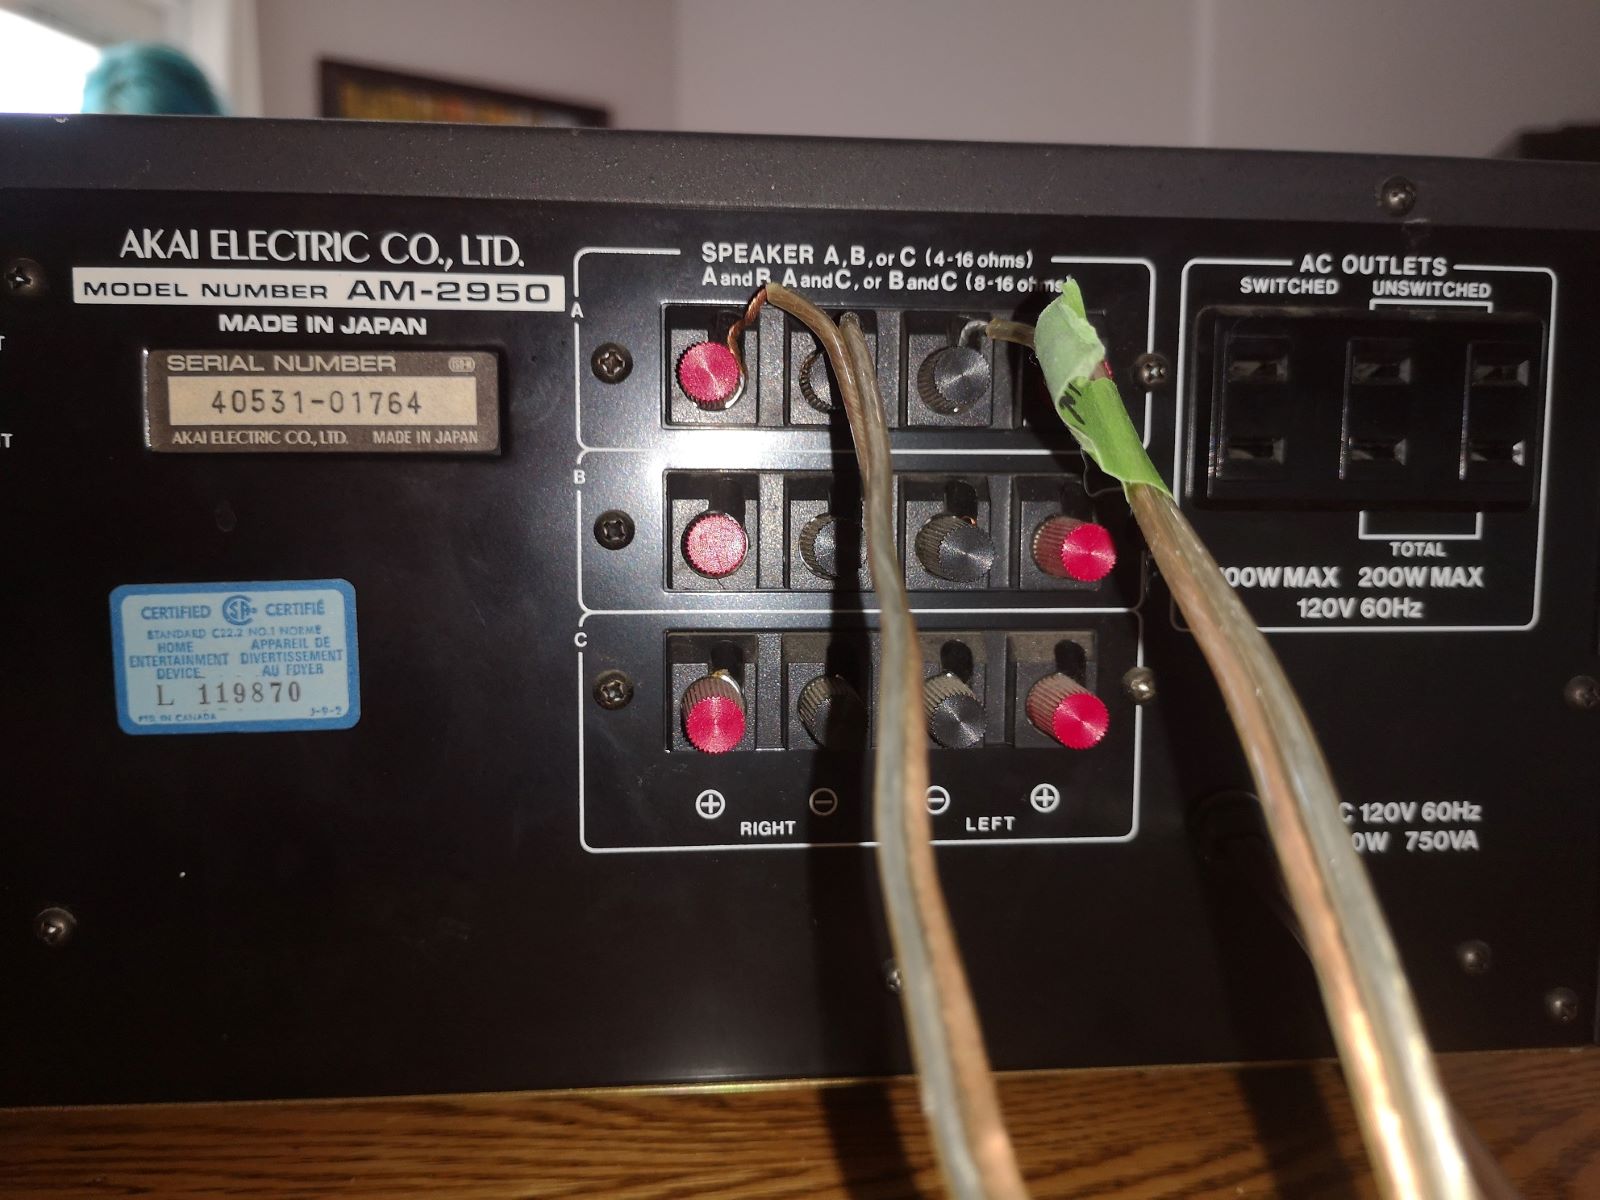
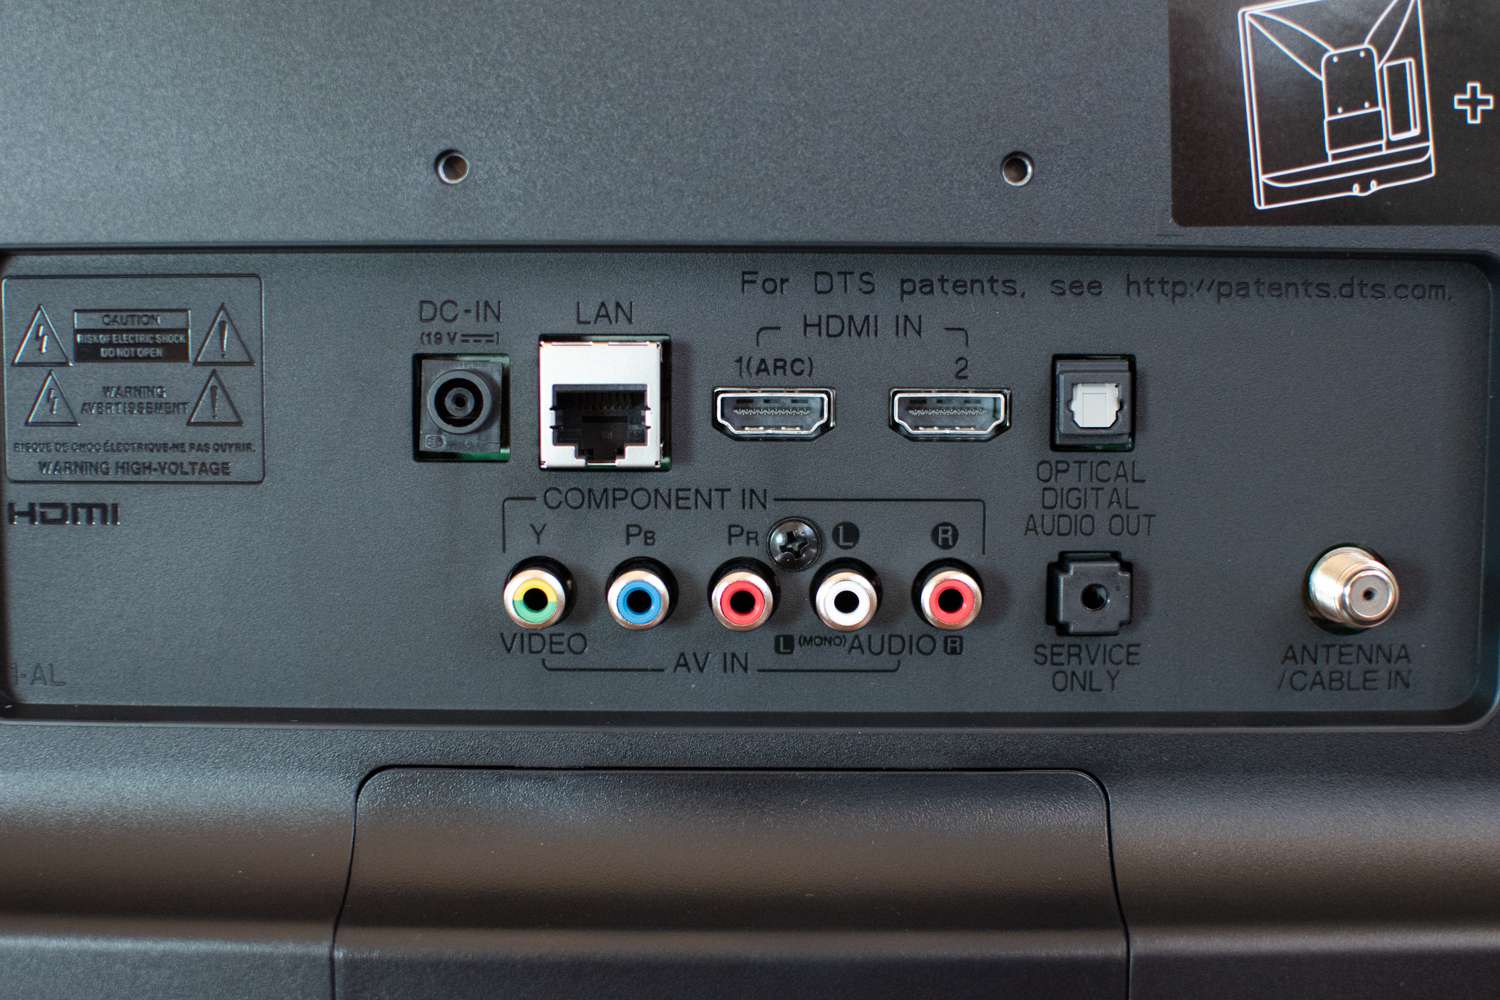
Locate the RCA input jacks on your receiver or amplifier. These inputs are usually color-coded to match the colors of the RCA cables (red for the right channel and white for the left channel). The RCA inputs are typically labeled as “Phono,” “Aux,” or “Line In.”
Take the end of the RCA cable with the red connector and plug it into the red RCA input jack on your receiver. Then, take the other end of the RCA cable with the white connector and plug it into the white RCA input jack.
Make sure the connectors are fully inserted into the RCA input jacks, as a loose connection can result in audio quality issues. If you’re having trouble inserting the connectors, check for any obstructions or dust in the jacks that may be hindering the connection.
Once the RCA cables are securely connected to the receiver, you’re ready to move on to the next step: configuring the receiver.
Step 5: Configure the Receiver
Now that you have connected the RCA cables from your Audio-Technica AT-LP60 turntable to the receiver, it’s time to configure the receiver to ensure optimal sound quality and performance.
First, power on your receiver and make sure it’s set to the appropriate input source that corresponds to the RCA input jacks you connected the turntable to. This may be labeled as “Phono,” “Aux,” or “Line In.” Consult the receiver’s user manual if you’re unsure how to select the correct input source.
Next, you’ll want to adjust the receiver’s settings to match the output level of your turntable. Some receivers have a built-in phono preamp, which amplifies the signal from the turntable to a line-level output. If your receiver has a phono preamp, ensure that it is enabled. Refer to the receiver’s manual for instructions on how to enable or disable the phono preamp.
If your receiver doesn’t have a built-in phono preamp, don’t worry. The Audio-Technica AT-LP60 turntable has a built-in phono preamp, which you can enable by switching the “PHONO/LINE” button on the back of the turntable to the “LINE” position.
By enabling the built-in phono preamp on the turntable or the receiver, you’re ensuring that the signal is properly amplified and equalized for optimal audio playback.
Once you have configured the receiver and ensured that the phono preamp is appropriately enabled, you’re ready to move on to the next step: adjusting the turntable settings.
Step 6: Adjust the Turntable Settings
With the RCA cables connected and the receiver configured, it’s time to adjust the settings on your Audio-Technica AT-LP60 turntable to ensure optimal performance.
First, ensure that the turntable’s power is turned off. This will prevent any accidental movement of the tonearm while making adjustments.
Next, locate the tracking force adjustment dial, which is usually found at the base of the tonearm. The tracking force is the downward pressure exerted on the stylus as it tracks the grooves of the record. Consult the user manual for your specific model to determine the ideal tracking force for your turntable.
Using the dial, set the tracking force to the recommended value. This will help prevent excessive wear on your records and ensure accurate tracking without causing skipping or distortion.
Additionally, you may have a tonearm height adjustment feature on your turntable. This allows you to adjust the height of the tonearm to match the thickness of your records. Consult your user manual to determine the proper tonearm height adjustment procedure, if applicable.
Once you have adjusted the tracking force and tonearm height (if necessary), you’re ready to move on to the final step: testing the connection.
Step 7: Test the Connection
After connecting your Audio-Technica AT-LP60 turntable to the receiver and adjusting the necessary settings, it’s time to test the connection and ensure everything is working properly.
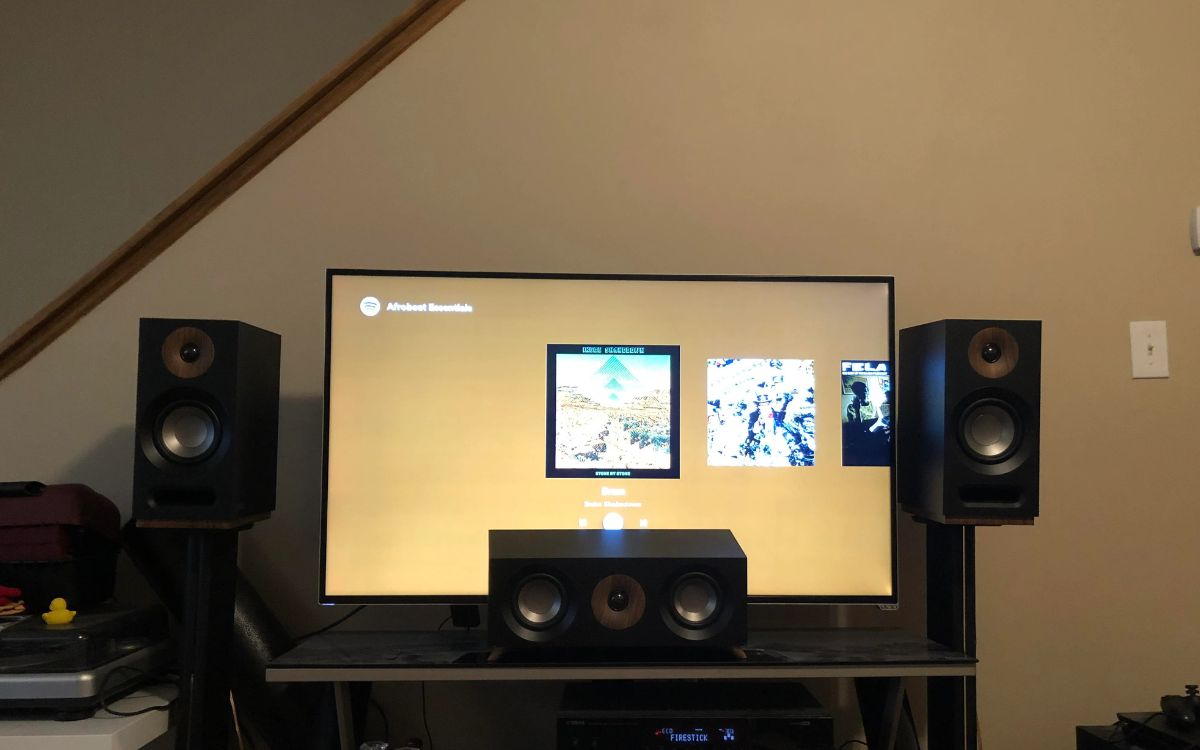
First, turn on the power to the turntable and the receiver. Make sure the volume on your receiver is set to a reasonable level to avoid any sudden loud sound when testing the connection.
Choose a vinyl record from your collection and carefully place it on the turntable’s platter. Gently lower the tonearm onto the record, being careful not to drop it abruptly. The turntable should start spinning, and the sound should begin coming through your speakers.
As the record plays, listen carefully for any issues such as distortion, skipping, or any other audio quality problems. If you encounter any of these issues, double-check the connections and adjustments you’ve made to ensure everything is properly set up.
Use this test to gauge the sound quality and make any necessary adjustments to the tracking force or tonearm height as mentioned in the previous step. Fine-tuning these settings can help optimize the audio performance of your turntable.
Once you’ve thoroughly tested the connection and are satisfied with the sound quality, you can sit back, relax, and enjoy your vinyl records to their fullest potential.
Congratulations! You have successfully connected your Audio-Technica AT-LP60 turntable to a receiver and can now experience the joy of vinyl playback with enhanced sound quality.
Remember, taking good care of your turntable and records will ensure they provide you with countless hours of enjoyable listening for years to come.
Happy listening!
Conclusion
Connecting your Audio-Technica AT-LP60 turntable to a receiver is a straightforward process that can greatly enhance your vinyl listening experience. By following the steps outlined in this guide, you’ll be able to enjoy the warm, immersive sound of your vinyl records in high fidelity.
Remember, gathering the necessary equipment, locating the audio outputs on your turntable, and connecting the RCA cables are the initial steps to establish the connection. Configuring the receiver and adjusting the turntable settings ensure optimal sound quality and performance.
Testing the connection is a crucial final step to ensure that everything is working properly. Take the time to listen for any audio issues and make any necessary adjustments to the tracking force or tonearm height to optimize the performance of your turntable.
With your Audio-Technica AT-LP60 turntable properly connected to a receiver, you can now fully appreciate the unique sounds and immersive experience that vinyl records provide. So, sit back, relax, and enjoy the timeless pleasure of vinyl playback.
Remember to care for your turntable and records, keeping them clean and free from dust and debris. This will help preserve both the sound quality and the longevity of your vinyl collection.
Thank you for choosing Audio-Technica and happy listening!