Home>Devices & Equipment>Turntable>How To Connect A Turntable To An Audio Interface

Turntable
How To Connect A Turntable To An Audio Interface
Published: January 19, 2024
Learn how to easily connect your turntable to an audio interface and enjoy high-quality sound. Step-by-step guide for seamless integration.
(Many of the links in this article redirect to a specific reviewed product. Your purchase of these products through affiliate links helps to generate commission for AudioLover.com, at no extra cost. Learn more)
Table of Contents
Introduction
Welcome to the world of vinyl! Vinyl records have made a remarkable comeback in recent years, capturing the hearts of music enthusiasts all over the world. With their warm, rich sound and nostalgic appeal, many people are opting to listen to music the old-fashioned way. If you’ve recently acquired a turntable and want to experience the magic of vinyl, you’ll need to know how to connect it to an audio interface.
An audio interface is a device that converts analog audio signals into digital data that can be processed and recorded on your computer. It acts as a bridge between your turntable and your computer, allowing you to digitize your vinyl collection or record directly onto your computer.
Connecting a turntable to an audio interface may sound daunting, especially if you’re not familiar with the technical jargon or the intricacies of audio equipment. But fear not! This guide will walk you through the process step by step, ensuring that you can enjoy your vinyl records with crystal-clear sound and minimal hassle.
Please note that the specific instructions may vary depending on the make and model of your turntable and audio interface. Always refer to the instruction manual provided with your equipment for the most accurate and detailed information.
Now, let’s dive into the world of turntables and audio interfaces and learn how to connect them for the ultimate vinyl listening experience!
Step 1: Gather Necessary Equipment
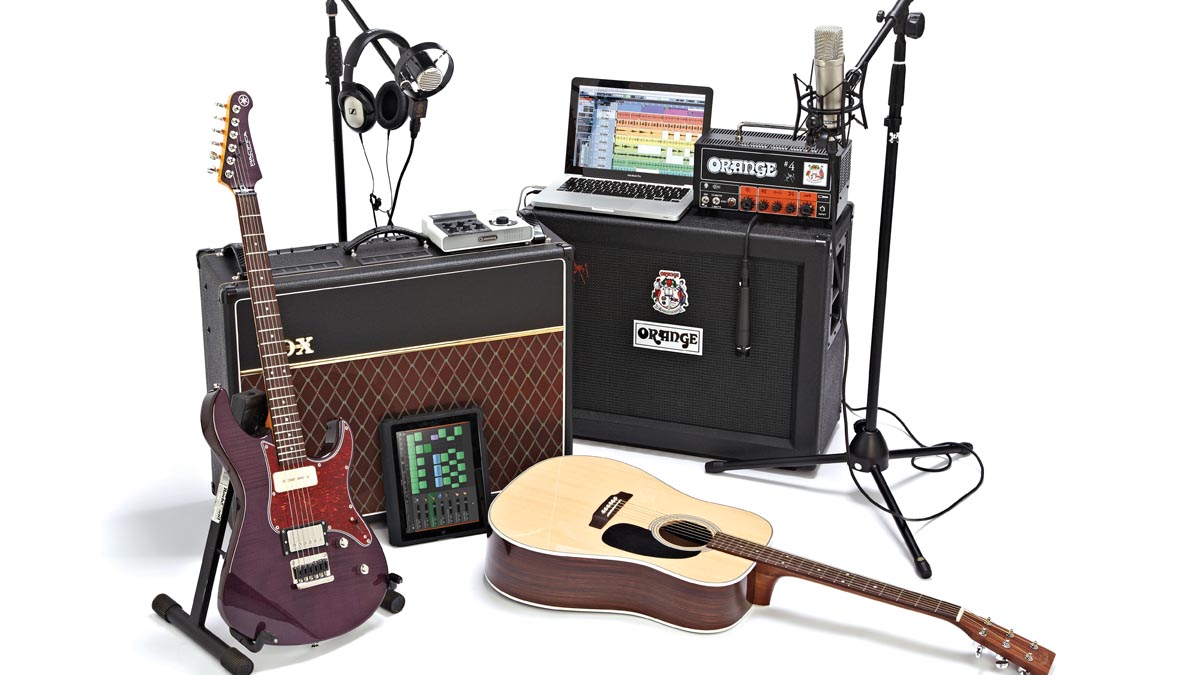
Before you can begin connecting your turntable to an audio interface, it’s essential to gather all the necessary equipment. Here’s what you’ll need:
- Turntable: Obviously, you’ll need a turntable to play your vinyl records. Make sure your turntable is in good working condition, with a properly aligned cartridge and a functional tonearm. If you’re unsure about the condition of your turntable, consider getting it serviced by a professional.
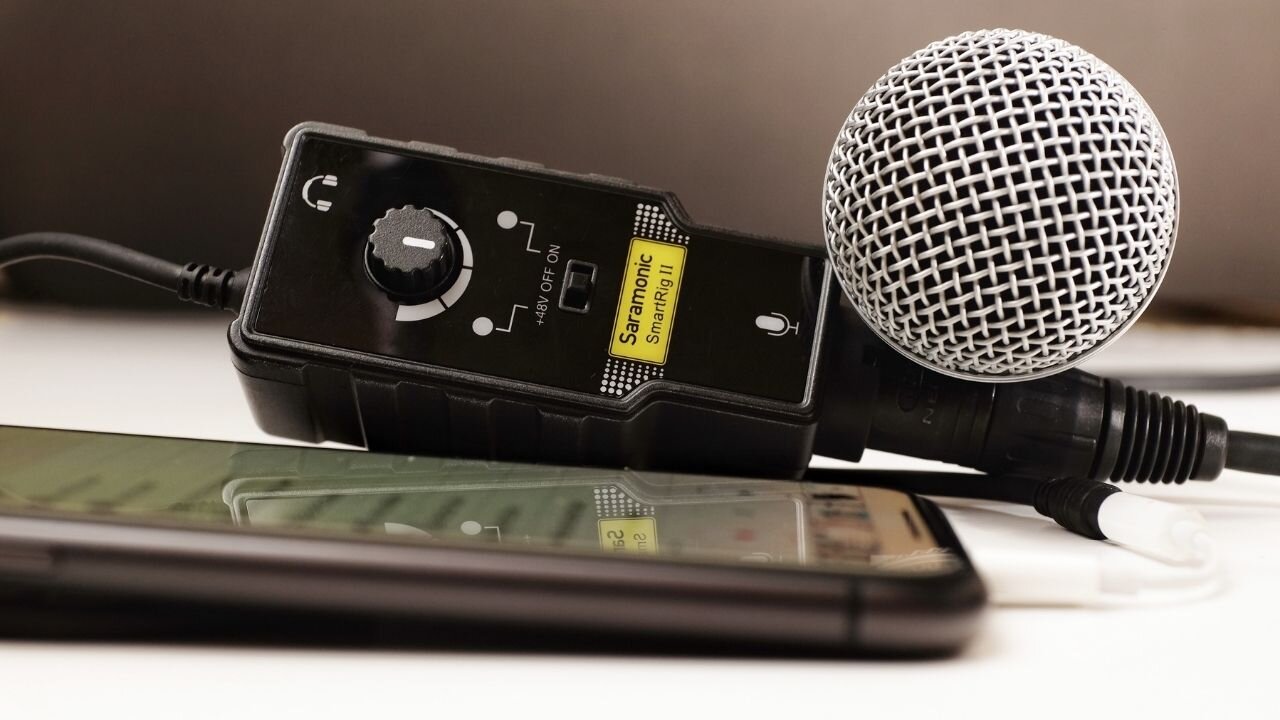
- Audio Interface: This is the device that will facilitate the connection between your turntable and your computer. There are many different audio interfaces available on the market, ranging from basic models to high-end options with advanced features. Choose one that suits your needs and budget.
- Computer: You’ll need a computer to interface with the audio interface and digitize your audio. Make sure your computer has the necessary ports and meets the minimum system requirements specified by the audio interface manufacturer.
- Audio Cables: To connect your turntable to the audio interface, you’ll need the appropriate audio cables. Most turntables have RCA outputs, so you’ll likely need RCA cables. Check the inputs on your audio interface to determine the type of cables you’ll need (e.g., RCA, XLR, or 1/4″ TRS).
- USB Cable: This cable will be used to connect the audio interface to your computer. Ensure that you have a USB cable that is compatible with both the audio interface and your computer.
- Software: Depending on the audio interface you’re using, you may need specific software to interface with your computer. Check the manufacturer’s website for any necessary software downloads or recommendations.
- Headphones or Speakers: Finally, you’ll need a set of headphones or speakers to listen to the audio from your turntable. Make sure your headphones/speakers are working properly and compatible with your audio interface.
Once you have gathered all the necessary equipment, you’re ready to move on to the next step: setting up the audio interface.
Step 2: Set Up the Audio Interface
Now that you have all the necessary equipment, it’s time to set up your audio interface. Follow these steps to get started:
- Read the Manual: Familiarize yourself with the audio interface by reading the instruction manual thoroughly. Understanding the features and functions of your specific model will make the setup process much easier.
- Connect the Power: Plug in the power adapter for your audio interface and connect it to a power source. Ensure that it is securely connected and powered on.
- Connect the USB Cable: Take the USB cable and connect one end to the USB port on your audio interface, and the other end to an available USB port on your computer. This will establish the connection between the audio interface and your computer.
- Install Drivers (if necessary): Some audio interfaces require specific drivers to be installed on your computer for proper communication. Check the manufacturer’s website for any required driver downloads and follow the installation instructions.
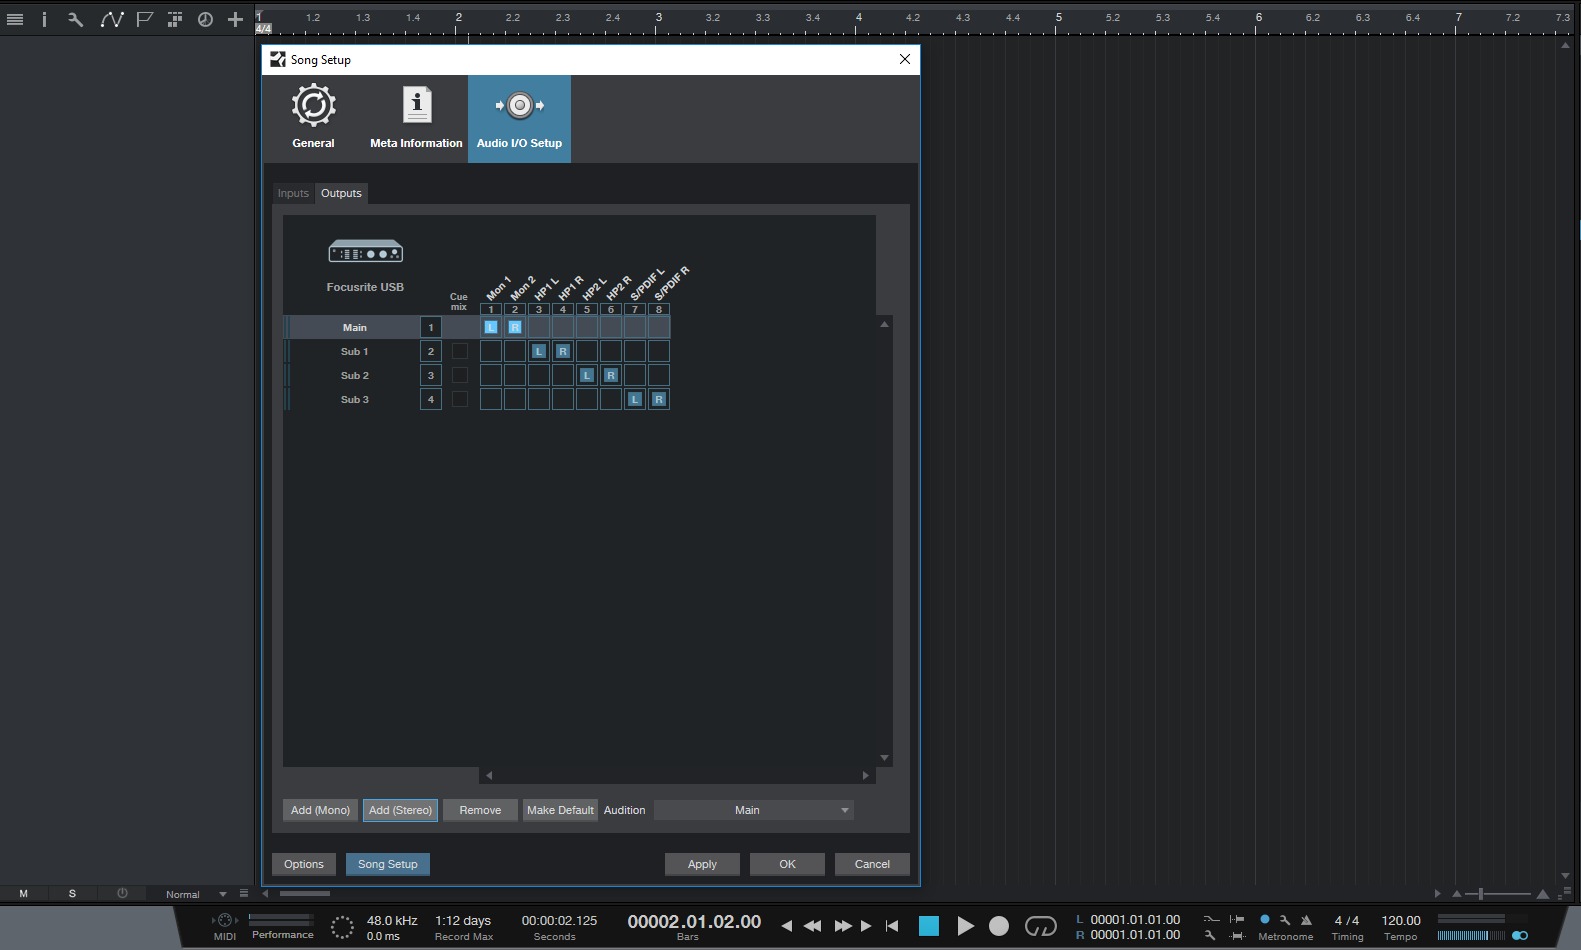
- Configure Audio Settings: Access the audio settings on your computer and ensure that your audio interface is selected as the default input and output device. Adjust the sample rate and buffer size settings according to your preferences and the capabilities of your computer.
- Test Audio Playback: Play a test audio file or open a music application on your computer to confirm that the audio is routing through your audio interface. Adjust the volume and ensure that you can hear the sound through your headphones or speakers connected to the audio interface.
- Check Input Levels: Use the gain control or input level meters on your audio interface to verify that the input levels from your turntable are proper. Adjust the gain control as needed to avoid clipping or distortion.
Once you have successfully set up your audio interface, it’s time to move on to the next step: connecting your turntable.
Step 3: Connect the Turntable to the Audio Interface
Now that your audio interface is set up, it’s time to connect your turntable. Follow these steps to make the necessary connections:
- Locate the Outputs on Your Turntable: Look for the RCA output jacks on the back of your turntable. Most turntables have two outputs, one for the left channel (usually labeled “L” or “Left”) and one for the right channel (usually labeled “R” or “Right”).
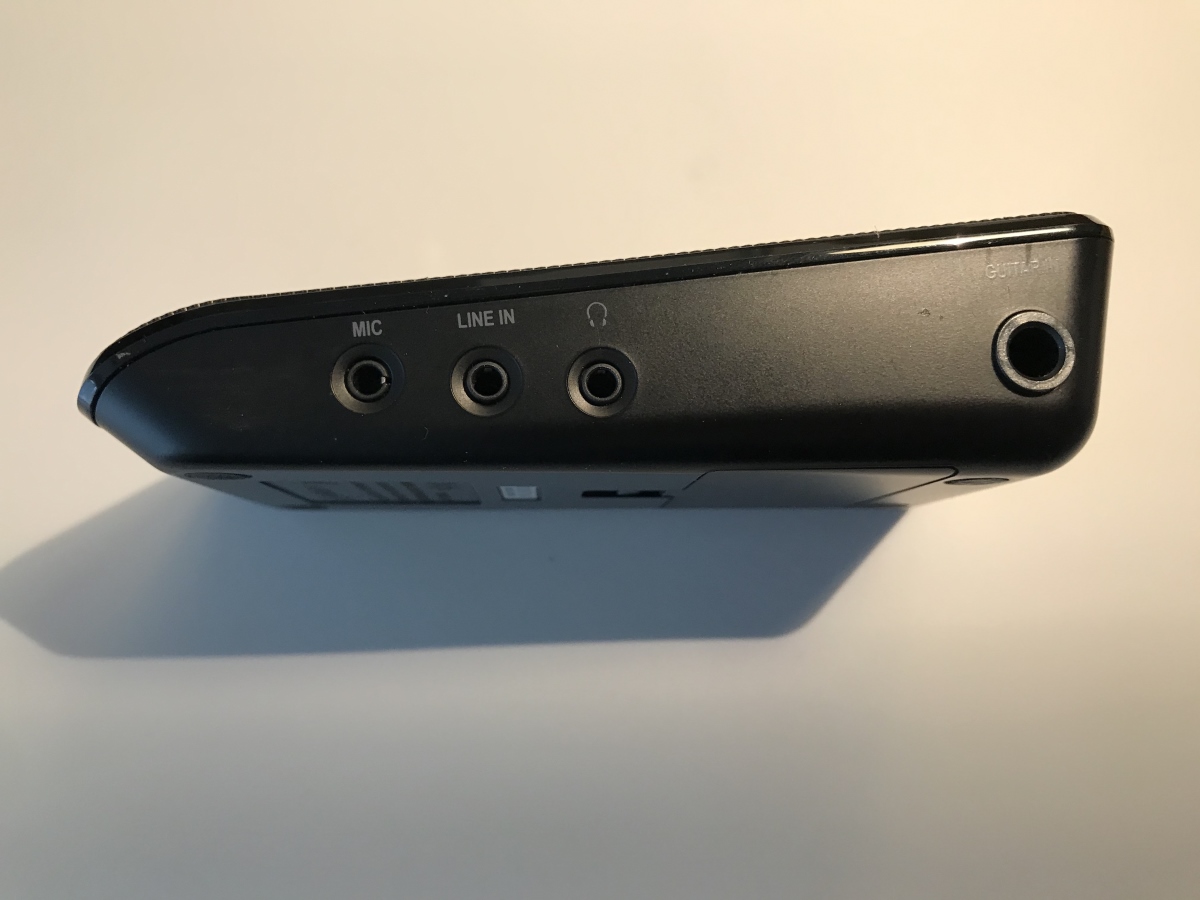
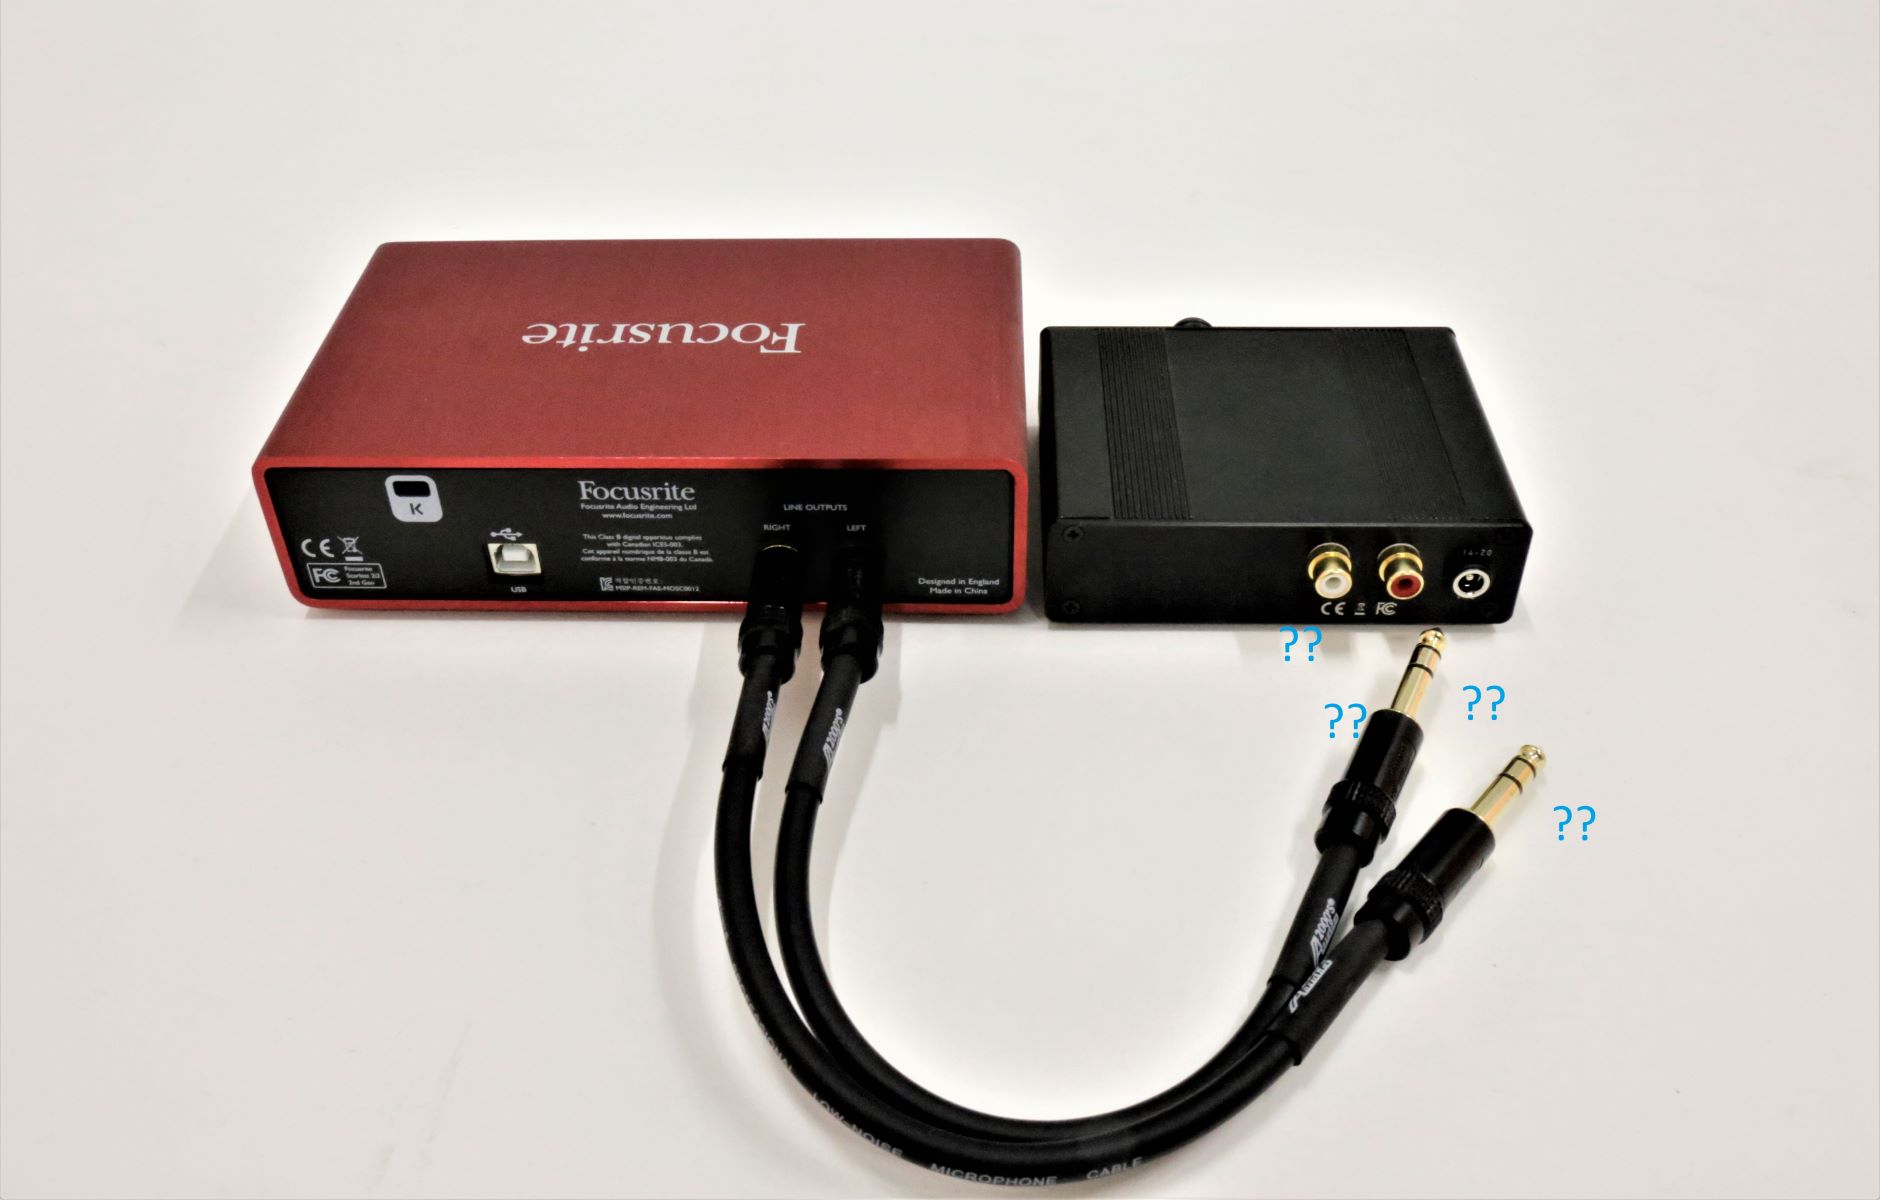
- Identify the Input Types on Your Audio Interface: Take a look at the inputs on your audio interface and determine which type they are. Common input types include RCA, XLR, and 1/4″ TRS. Ensure that you have the necessary cables to make the connection.
- Connect the Turntable to the Audio Interface: Take the RCA cables and connect the left channel (white or black) RCA plug to the input jack corresponding to the left channel on your audio interface. Then, connect the right channel (red) RCA plug to the input jack corresponding to the right channel on your audio interface.
- Ensure Secure Connections: Make sure that the RCA plugs are firmly inserted into the input jacks on your audio interface. Loose connections can result in poor sound quality or no audio signal at all.
- Grounding (if necessary): Some turntables may require grounding to minimize noise and interference. Check the instructions for your turntable to see if grounding is needed and follow the recommended grounding procedure.
Once you have connected your turntable to the audio interface, you’re almost ready to start enjoying your vinyl records. But before that, there are a few more steps to complete, including adjusting the settings on the audio interface, which we will cover in the next step.
Step 4: Adjust Settings on the Audio Interface
Now that your turntable is connected to the audio interface, it’s time to fine-tune the settings to ensure optimal sound quality and performance. Follow these steps to adjust the settings on your audio interface:
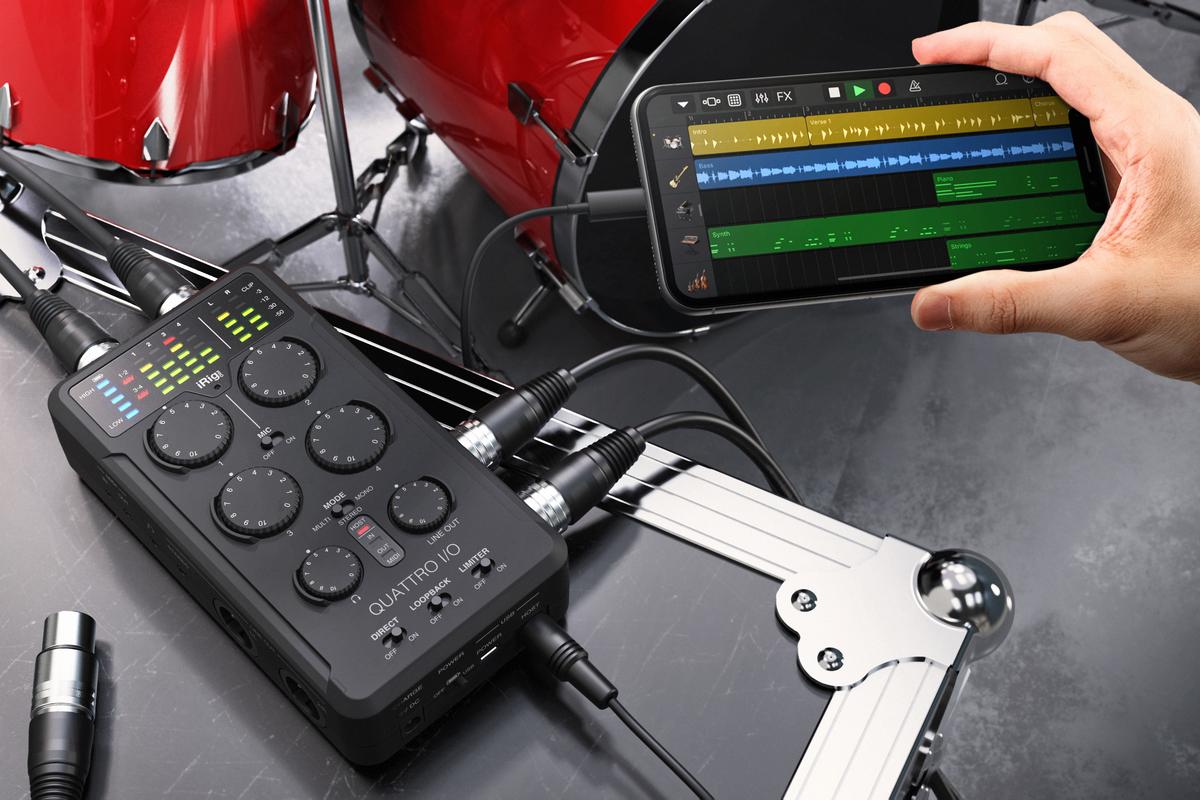
- Gain Control: Locate the gain control or input level knobs on your audio interface. These controls allow you to adjust the input sensitivity of the audio signal coming from your turntable. Start by setting the gain to a moderate level and make adjustments as needed to avoid distortion or clipping.
- Phono Preamp (if applicable): Some turntables require a phono preamp to amplify the low-level signal from the stylus. If your turntable does not have a built-in preamp, you may need to connect an external phono preamp between the turntable and the audio interface. Consult the instructions for your particular turntable and audio interface for more information.
- Mono or Stereo: Determine whether you want to listen in mono or stereo. Stereo playback provides a more immersive listening experience, while mono can be beneficial in situations where you want to minimize background noise or achieve a specific audio effect. Adjust the stereo/mono settings on your audio interface accordingly.
- Sample Rate and Bit Depth: Set the desired sample rate and bit depth for recording or playback on your audio interface. Higher sample rates and bit depths typically result in better audio quality but require more processing power and storage space. Choose the settings that best suit your needs and the capabilities of your computer.
- Monitoring Options: Most audio interfaces provide monitoring options, allowing you to listen to the audio signal in real-time. You can choose to monitor through headphones, connected speakers, or a combination of both. Experiment with different monitoring setups to find the one that works best for you.
Take your time to tweak and adjust the settings on your audio interface until you’re satisfied with the sound quality and performance. Remember that these settings may vary depending on your specific audio interface model, so refer to the instruction manual for detailed instructions and recommendations.
With the settings properly adjusted, it’s time to move on to the final step: testing the connection to ensure everything is working correctly.
Step 5: Test the Connection
Now that you have set up and adjusted the settings on your audio interface, it’s important to test the connection between your turntable and the audio interface to ensure everything is working correctly. Follow these steps to perform a test:
- Select a Vinyl Record: Choose a vinyl record from your collection that you would like to play. Ensure that it’s clean and free from any noticeable scratches or damages that could affect playback.
- Prepare the Record: Remove the vinyl record from its cover and carefully place it on the turntable platter. Make sure it is centered and properly aligned.
- Turn on the Equipment: Power on your turntable, audio interface, and your computer.
- Start Playback: Use your preferred software or application to initiate playback on your computer. This could be a music player or a recording software, depending on your specific needs.
- Listen for Audio: Put on your headphones or play the audio through your speakers connected to the audio interface. Ensure that you can hear the audio clearly and that it’s playing in stereo (if applicable). Adjust the volume as needed.
- Monitor Signal Levels: Keep an eye on the input and output level meters on your audio interface or software. Verify that the signal levels are appropriate and not clipping or distorting. Make adjustments to the gain control or input levels if necessary.
- Listen for Issues: Listen carefully to the audio playback and check for any issues such as pops, crackles, distortion, or imbalance between the left and right channels. If you encounter any issues, check the connections and settings to identify and resolve the problem.
If everything sounds good, congratulations! You have successfully connected your turntable to the audio interface and can now enjoy your vinyl records with high-quality sound. If you encounter any issues, refer back to the previous steps to ensure you have followed the instructions correctly.
Remember to always maintain and clean your vinyl records properly to ensure optimal playback quality and longevity. Additionally, regularly check the connections and settings on your audio interface to prevent any potential issues.
Now sit back, relax, and let the soothing sounds of vinyl transport you to a world of musical bliss!
Conclusion
Congratulations on successfully connecting your turntable to an audio interface! By following the steps outlined in this guide, you’ve learned how to gather the necessary equipment, set up the audio interface, connect the turntable, adjust the settings, and test the connection. Now, you can fully immerse yourself in the richness and depth of vinyl sound.
Listening to vinyl records brings a unique and nostalgic experience, allowing you to appreciate music in a way that digital formats simply cannot replicate. The warm tones, crackles, and imperfections create a sense of authenticity and intimacy that resonates with many music lovers.
Remember to take care of your vinyl records by keeping them clean and properly stored to ensure the best possible sound quality and longevity. Regularly maintain your turntable and audio interface to keep them in optimal condition and prevent any issues that may affect your listening experience.
Whether you’re digitizing your vinyl collection, recording vinyl mixes, or simply indulging in the pleasure of listening to vinyl, the connection between your turntable and audio interface plays a crucial role in capturing the true essence of the music.
Explore different genres, artists, and eras through your vinyl collection, and embrace the magic of analog sound. The journey of vinyl is full of surprises and hidden gems waiting to be discovered.
So, go ahead, put on your favorite vinyl record, sit back, and enjoy the soulful melodies that vinyl has to offer. Happy listening!