Home>Devices & Equipment>Yamaha>How To Turn On Yamaha Keyboard

Yamaha
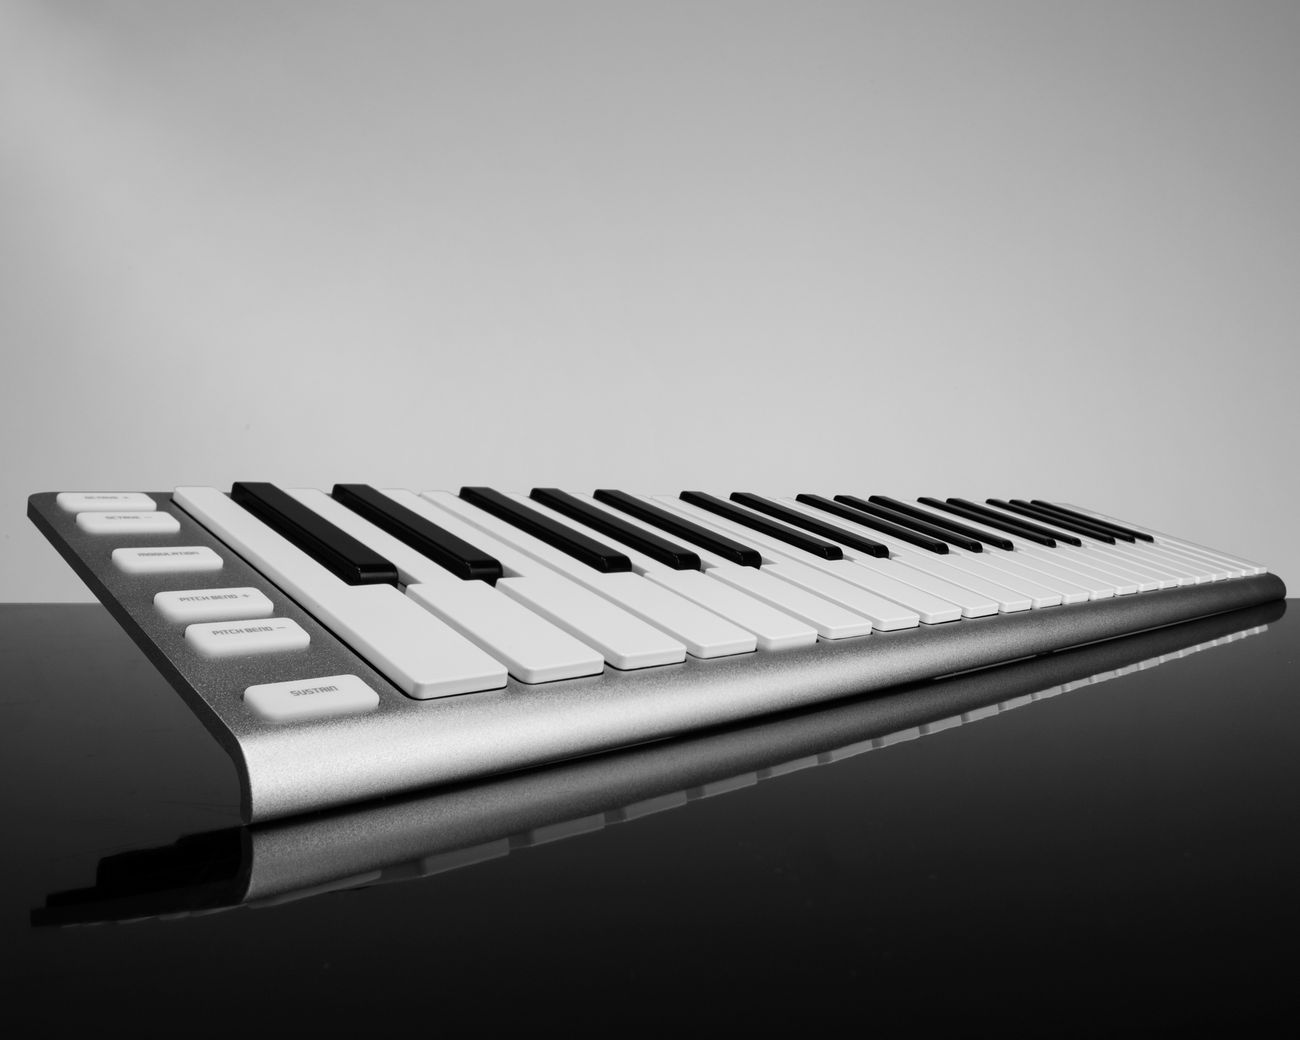
How To Turn On Yamaha Keyboard
Published: February 6, 2024
Learn how to turn on your Yamaha keyboard with our step-by-step guide. Discover the simple process to get started and start playing your favorite tunes today!
(Many of the links in this article redirect to a specific reviewed product. Your purchase of these products through affiliate links helps to generate commission for AudioLover.com, at no extra cost. Learn more)
Table of Contents
Introduction
Welcome to this comprehensive guide on how to turn on your Yamaha keyboard. Whether you have just purchased a brand new Yamaha keyboard or you are looking to revisit your musical skills, knowing how to power on your instrument is the first step towards creating beautiful music.
Yamaha is a renowned brand in the world of musical instruments, known for their high-quality keyboards that offer a wide range of sounds and features. From beginners to professional musicians, Yamaha keyboards are favored for their versatility, durability, and exceptional sound quality.
In this article, we will walk you through the step-by-step process of turning on your Yamaha keyboard, adjusting the volume, selecting a sound, playing the keyboard, and turning it off. Whether you are a complete beginner or need a refresher, by the end of this guide, you’ll have the confidence to power on your Yamaha keyboard and start exploring its potential.
So, without further ado, let’s dive in and learn how to unlock the captivating world of music on your Yamaha keyboard.
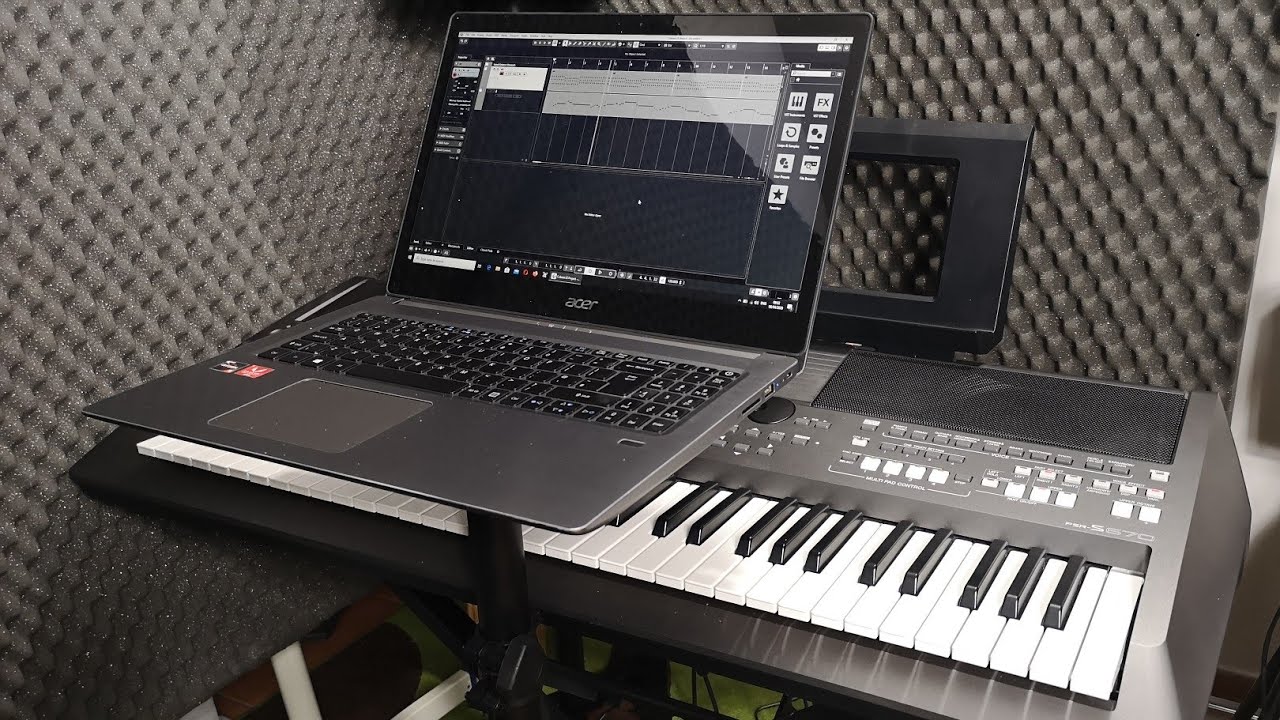
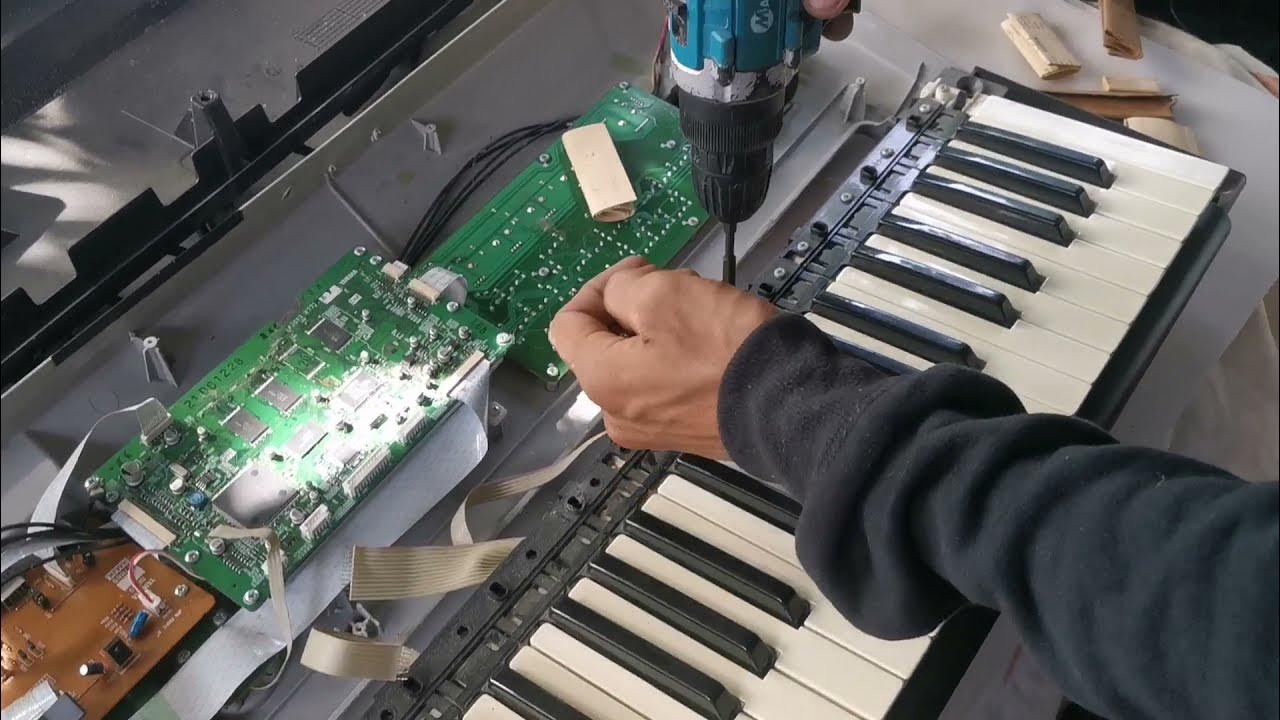
Step 1: Powering on the Yamaha Keyboard
Before you can start using your Yamaha keyboard, you need to power it on. Follow these steps to ensure a successful power-up:
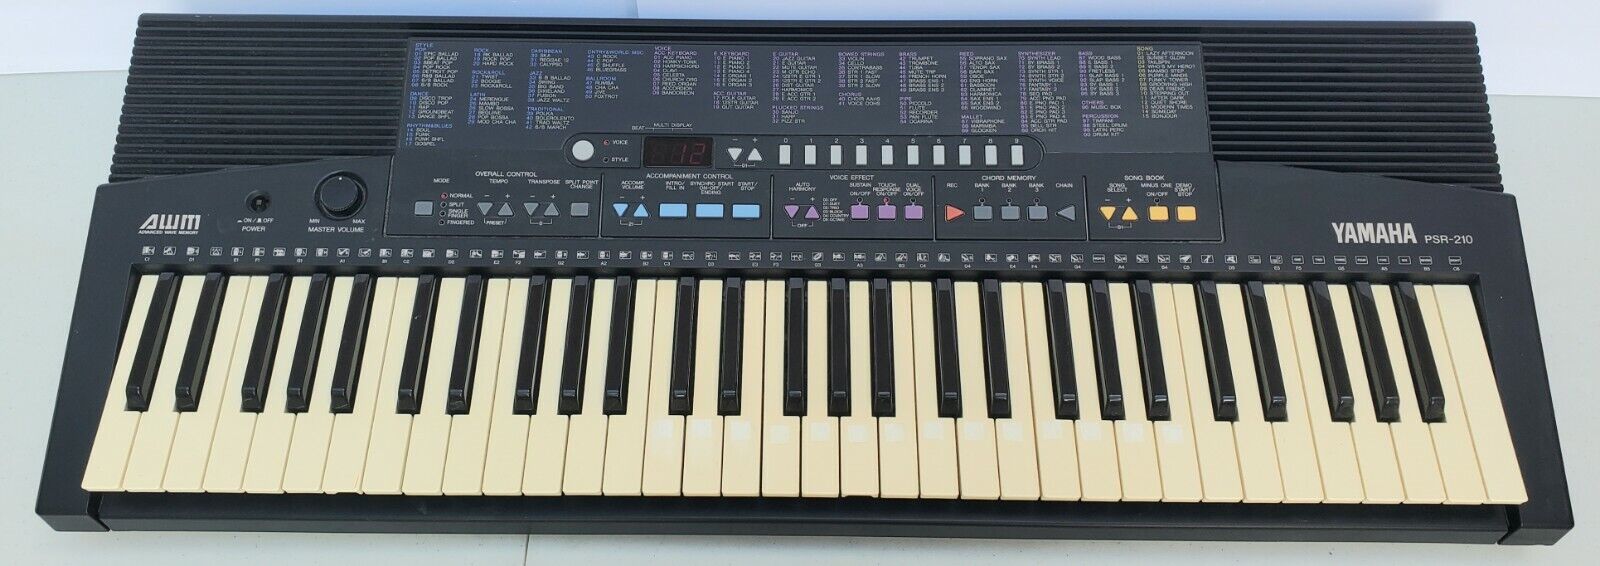
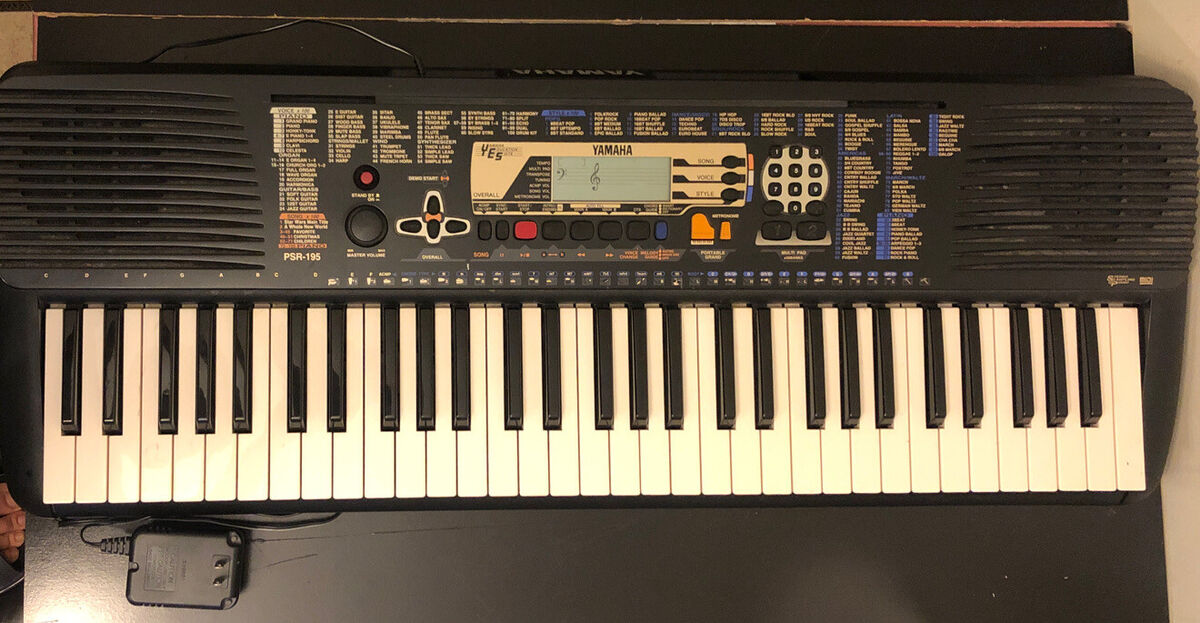
- Locate the power button: The power button is usually located on the top panel or the back of the keyboard. It is typically marked with a power symbol (a circle with a vertical line) or labeled “Power.”
- Connect the power adapter: If your Yamaha keyboard is not battery-powered, connect the power adapter to the appropriate power outlet on the keyboard. Make sure the adapter is securely plugged in.
- Switch on the power: Press the power button to turn on the keyboard. You may need to hold it down for a few seconds until you see the display screen light up or hear a startup sound.
- Check the display: Once the keyboard is powered on, check the display screen. It should illuminate and show any relevant information, such as the model name or a welcoming message.
Keep in mind that different models of Yamaha keyboards may have slight variations in their power-on process. Consult the user manual specific to your keyboard model for detailed instructions. Additionally, if your keyboard is battery-powered, make sure to have fresh batteries inserted before powering it on.
Now that your Yamaha keyboard is powered on, it’s time to move on to the next step: adjusting the volume.
Step 2: Adjusting the Volume
Once your Yamaha keyboard is powered on, you may want to adjust the volume to your desired level. Follow these simple steps to adjust the volume:
- Locate the volume control: The volume control is usually located on the top panel of the keyboard, near the side or front. It may be a knob, slider, or buttons labeled with “+” and “-” symbols.
- Turn the knob or slide the slider: If your keyboard has a knob or slider, simply turn it clockwise to increase the volume and counterclockwise to decrease it. If your keyboard has buttons, press the “+” button to increase the volume and the “-” button to decrease it.
- Listen and adjust: As you adjust the volume, listen carefully to the sound output from your keyboard. Find the level that suits your preference, neither too loud nor too soft.
- Consider using headphones: If you prefer to practice or play silently, many Yamaha keyboards have a headphone jack. Simply connect your headphones, adjust the volume to a comfortable level, and enjoy playing without disturbing others.
Remember, the location and design of the volume control may vary depending on your Yamaha keyboard model. Refer to the user manual for specific instructions related to your keyboard’s volume control.
Now that you’ve adjusted the volume, let’s move on to the next step: selecting a sound to play on your Yamaha keyboard.
Step 3: Selecting a Sound
Yamaha keyboards offer a wide range of sounds, from traditional piano tones to orchestral instruments, synthesizers, and more. Here’s how you can select a sound on your Yamaha keyboard:
- Explore the sound bank: Most Yamaha keyboards have a dedicated sound bank or voice library where you can access different instrument sounds. This can often be accessed through buttons or a menu on the keyboard’s control panel.
- Navigate the sound categories: Yamaha keyboards typically organize their sounds into categories such as piano, organ, strings, brass, etc. Use the buttons or navigation controls on your keyboard to scroll through these categories.
- Select a sound: Once you’ve found a category, use the navigation controls to select a specific sound within that category. Yamaha keyboards often indicate the selected sound on the display screen or with LED lights.
- Experiment with variations: Some Yamaha keyboards offer variations of each sound, allowing you to customize and tweak the tone to your liking. You can often access these variations through additional buttons or controls on the keyboard.
Don’t be afraid to explore and experiment with different sounds on your Yamaha keyboard. Whether you want to play a grand piano, mimic a saxophone, or create your own unique sound, the versatility of Yamaha keyboards allows you to do so.
Now that you’ve selected a sound, let’s move on to the next step: playing the Yamaha keyboard.
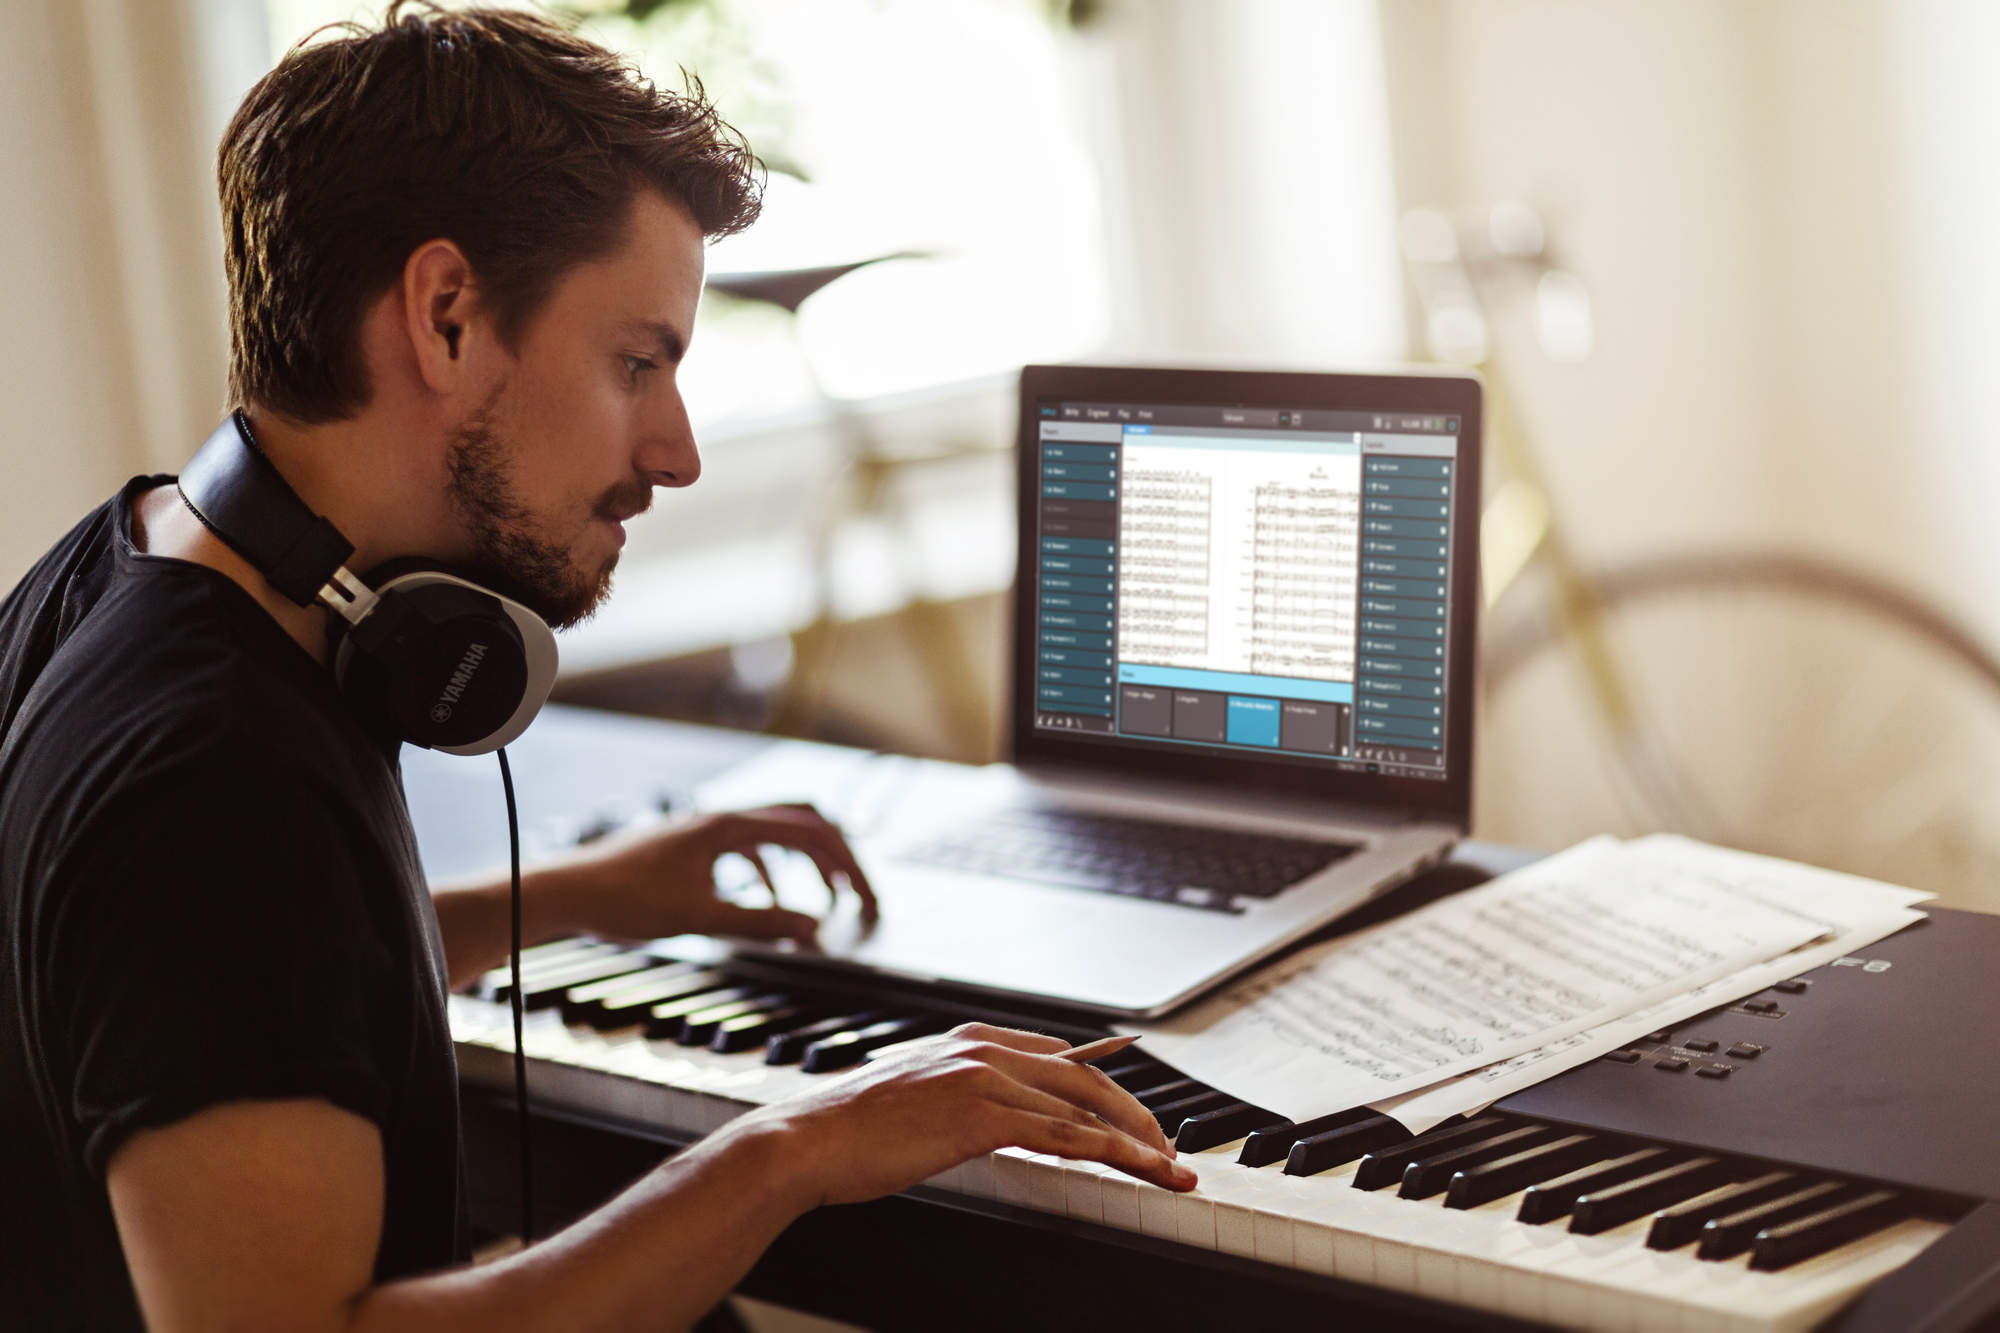
Step 4: Playing the Yamaha Keyboard
Now that you have your Yamaha keyboard powered on, volume adjusted, and sound selected, it’s time to start playing! Follow these steps to get started:
- Position yourself and the keyboard: Sit in a comfortable position in front of your Yamaha keyboard. Ensure that your fingers can easily reach all the keys.
- Understand the layout: Yamaha keyboards typically have 88 keys, similar to a traditional piano. The white keys represent the natural notes (A through G), while the black keys represent the sharps and flats.
- Play single notes: Start by pressing individual keys with your fingers. Each key corresponds to a specific note, allowing you to play melodies or single notes.
- Play chords: Experiment with playing multiple keys simultaneously to create chords. A chord is formed when you play three or more notes together.
- Explore different playing techniques: Yamaha keyboards often offer features such as touch sensitivity and different playing modes. Familiarize yourself with these features to add nuances to your playing.
- Follow tutorials or use learning resources: If you’re a beginner or want to learn specific songs, consider using Yamaha’s built-in tutorials, online resources, or instructional books to enhance your playing skills.
Remember, playing the Yamaha keyboard is a journey of exploration and learning. Take your time, practice regularly, and enjoy the process of making music.
Now that you’re comfortable with playing the keyboard, let’s move on to the final step: turning off the Yamaha keyboard.
Step 5: Turning off the Yamaha Keyboard
After a satisfying session of playing your Yamaha keyboard, it’s important to properly turn it off to conserve power and ensure its longevity. Follow these steps to turn off your Yamaha keyboard:
- Finish your playing: Before turning off the keyboard, make sure you have finished your playing session and saved any changes or settings you may have made.
- Stop any playback: If you were using any playback or accompaniment features on your Yamaha keyboard, make sure to stop them before proceeding to turn off the keyboard.
- Check for sustain pedal: If you have been using a sustain pedal, release it and ensure that the keyboard is no longer sustaining any notes before proceeding.
- Locate the power button: Just as in the power-on process, locate the power button on your Yamaha keyboard. It is usually marked with a power symbol or labeled “Power.”
- Press and hold the power button: To turn off the keyboard, press and hold the power button for a few seconds. You may see the display screen turn off or hear a shutdown sound, indicating that the keyboard is powering down.
- Unplug the power adapter (if applicable): If your Yamaha keyboard is connected to a power adapter, unplug it from the power outlet or the keyboard itself.
By following these steps, you ensure that your Yamaha keyboard is turned off in a controlled manner, reducing the risk of any potential damage or data loss.
Congratulations! You have successfully learned how to turn on, adjust the volume, select a sound, play, and turn off your Yamaha keyboard. Now it’s time to continue exploring the endless possibilities of music and unlock your creativity with this remarkable instrument.
Feel free to revisit this guide whenever you need a refresher, and don’t hesitate to experiment and discover new features on your Yamaha keyboard.
Happy playing!
Conclusion
Congratulations! You have now learned the essential steps to power on, adjust the volume, select a sound, play, and turn off your Yamaha keyboard. This comprehensive guide has equipped you with the knowledge needed to unleash your musical potential and create beautiful melodies.
Yamaha keyboards are renowned for their high-quality sound, versatility, and user-friendly interfaces. Whether you are a beginner or an experienced musician, these instruments provide endless opportunities for creativity and expression.
Remember to always refer to the specific user manual for your Yamaha keyboard model, as the exact features, buttons, and functions may vary. Additionally, don’t hesitate to explore the multitude of resources available, such as online tutorials, forums, and books, to further enhance your skills and understanding of your Yamaha keyboard.
Now that you have mastered the basics, the journey of musical exploration awaits you. Whether you choose to play classical pieces, experiment with modern styles, or compose your own music, your Yamaha keyboard is a canvas for your imagination.
So, power on your keyboard, adjust the volume to the perfect level, select a sound that resonates with your creativity, and let your fingers dance across the keys. Immerse yourself in the joy of making music and embrace the endless possibilities that your Yamaha keyboard offers.
Enjoy every note, every chord, and every melody that you create. Embrace the art of playing the Yamaha keyboard, and let your passion for music shine through.
Now, go ahead, power on your Yamaha keyboard, and let the music flow!