Home>Devices & Equipment>Yamaha>How To Connect IPad To Yamaha Keyboard
Yamaha
How To Connect IPad To Yamaha Keyboard
Modified: February 22, 2024
Connect your iPad to your Yamaha keyboard easily with these simple steps. Enjoy seamlessly playing and controlling your Yamaha instrument right from your iPad.
(Many of the links in this article redirect to a specific reviewed product. Your purchase of these products through affiliate links helps to generate commission for AudioLover.com, at no extra cost. Learn more)
Table of Contents
- Introduction
- Step 1: Gather the necessary equipment
- Step 2: Connect the iPad to the Yamaha keyboard using a USB cable
- Step 3: Install and set up any required apps on the iPad
- Step 4: Adjust the MIDI settings on the Yamaha keyboard and iPad
- Step 5: Test the connection and start playing
- Troubleshooting tips
- Conclusion
Introduction
Welcome to our guide on how to connect your iPad to a Yamaha keyboard! If you’re a musician or aspiring to be one, this article will provide you with the necessary steps to establish a connection between your iPad and Yamaha keyboard, allowing you to unlock a world of creative possibilities.
The Yamaha keyboard is a versatile instrument that offers a wide range of sounds and features, and by connecting it to your iPad, you can enhance your musical experience even further. Whether you want to use your iPad as a controller, access a variety of digital instruments, or record your performances, this guide will walk you through the process.
With the advancements in technology, connecting your iPad to a Yamaha keyboard has become easier than ever. By utilizing the MIDI (Musical Instrument Digital Interface) capabilities of both devices, you can establish a seamless connection and unleash your creativity.
In the following sections, we will go through each step of the process, from gathering the necessary equipment to testing and troubleshooting the connection. So, let’s dive in and get started on unlocking the potential of your iPad and Yamaha keyboard!
Step 1: Gather the necessary equipment
Before you can connect your iPad to a Yamaha keyboard, you’ll need to gather a few essential pieces of equipment. Here’s what you’ll need:
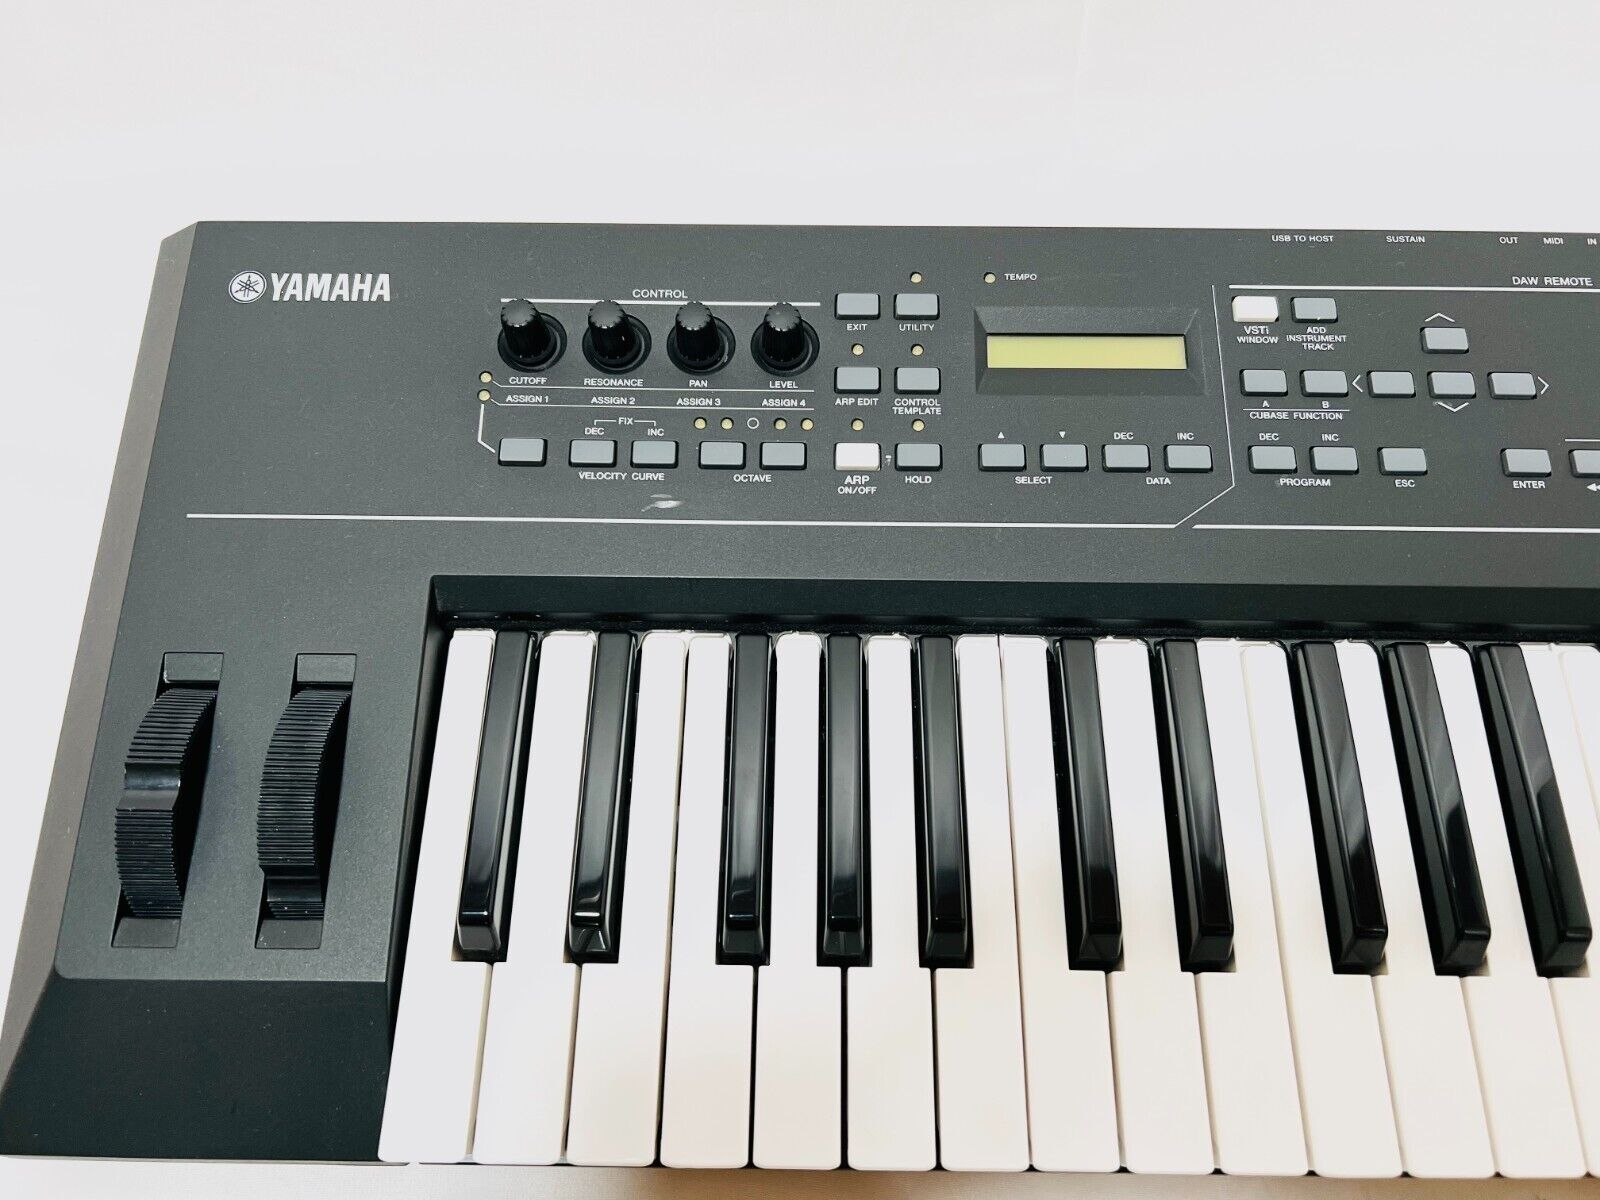
- Yamaha keyboard: Ensure that your Yamaha keyboard has MIDI connectivity options. Most modern Yamaha keyboards come equipped with a USB MIDI port, which makes it easier to connect to your iPad.
- iPad: You’ll need an iPad that supports MIDI connections. Any iPad model with a Lightning or USB-C port will work. It’s also important to update your iPad to the latest version of iOS for optimal compatibility.
- USB cable: Depending on the type of USB port on your iPad, you may need a Lightning to USB or USB-C to USB cable. Ensure that the cable is in good condition and provides a stable connection.
- MIDI interface (optional): If your Yamaha keyboard doesn’t have a USB MIDI port, you’ll need a MIDI interface to connect the keyboard to your iPad. A MIDI interface acts as a bridge between the keyboard’s MIDI ports and the iPad’s USB or Lightning port.
Once you have all the necessary equipment, you’re ready to move on to the next step of the process. Make sure to double-check that you have everything listed above to avoid any interruptions later on. Now, let’s proceed to connecting your iPad to the Yamaha keyboard!
Step 2: Connect the iPad to the Yamaha keyboard using a USB cable
Now that you have gathered the necessary equipment, it’s time to connect your iPad to the Yamaha keyboard using a USB cable. Follow these steps:
- Ensure that both the iPad and Yamaha keyboard are powered off before making any connections.
- Locate the USB port on your Yamaha keyboard. If your keyboard has a USB MIDI port, you can simply connect the USB cable directly into the port. Otherwise, if your keyboard has standard MIDI ports, you’ll need to connect the MIDI interface to the keyboard first.
- Connect one end of the USB cable to the USB MIDI port on the Yamaha keyboard or to the MIDI interface. The other end of the cable should be plugged into the appropriate port on your iPad. For iPads with a Lightning port, use a Lightning to USB cable, and for iPads with a USB-C port, use a USB-C to USB cable.
- Power on both your iPad and the Yamaha keyboard.
Once the iPad and Yamaha keyboard are powered on and connected, they should establish a MIDI connection automatically. You may notice a prompt on your iPad asking for permission to connect to the Yamaha keyboard. Simply grant the permission, and the connection will be established.
It’s worth noting that some older models of Yamaha keyboards may require additional setup or configuration. In such cases, refer to the user manual of your specific model or visit the official Yamaha website for detailed instructions.
With the iPad and Yamaha keyboard successfully connected, you’re now ready to move on to the next step, which involves installing and setting up any required apps on your iPad. Read on to learn more!
Step 3: Install and set up any required apps on the iPad
After successfully connecting your iPad to the Yamaha keyboard, the next step is to install and set up any required apps on your iPad. These apps will enable you to utilize the full potential of the MIDI connection and explore a wide range of musical possibilities. Follow these steps:
- Open the App Store on your iPad and search for music production or MIDI controller apps. There are numerous options available, such as GarageBand, Korg Gadget, and Cubasis.
- Choose the app that best suits your musical needs and preferences. Read the app reviews and descriptions to get an idea of its features and functionality.
- Tap on the “Get” or “Install” button to download and install the app on your iPad. If the app is not free, you may need to make a purchase or enter your Apple ID password to proceed.
- Once the app is installed, locate it on your iPad’s home screen and open it. Follow any on-screen instructions that appear to set up the app and customize your preferences.
- Explore the app’s features and familiarize yourself with its user interface. Most music production apps allow you to access a variety of digital instruments, effects, and recording capabilities.
- Check the app’s settings or preferences menu to ensure that it recognizes the MIDI connection with your Yamaha keyboard. You may need to select the appropriate MIDI input and output devices.
Keep in mind that the specific steps for installation and setup may vary depending on the app you choose. It’s always a good idea to consult the app’s documentation or online resources for detailed instructions.
Once you have installed and configured the necessary apps on your iPad, you’re ready to move on to the next step, which involves adjusting the MIDI settings on your Yamaha keyboard and iPad. Read on to learn more!
Step 4: Adjust the MIDI settings on the Yamaha keyboard and iPad
Now that you have installed the required apps on your iPad, it’s time to adjust the MIDI settings on both the Yamaha keyboard and the iPad. This step ensures that the devices communicate seamlessly and allows you to make the most out of your musical experience. Here’s what you need to do:
- On your Yamaha keyboard, locate the MIDI settings menu. The exact location of this menu may vary depending on your keyboard’s model. Refer to the user manual or consult the Yamaha website for specific instructions.
- In the MIDI settings menu, ensure that the MIDI channels are properly configured. MIDI channels allow you to control different instruments or devices independently. Set the MIDI channel of your keyboard to match the MIDI channel settings of the app you are using on your iPad.
- Depending on your preferences and requirements, you may also need to adjust other MIDI settings on your Yamaha keyboard, such as velocity sensitivity, pedal assignments, or modulation settings. Experiment with these settings to find the configuration that suits your style of playing.
- On your iPad, open the app that you installed in the previous step. Navigate to the MIDI settings or preferences menu within the app. Look for options to select the MIDI input and output devices.
- In the MIDI settings menu of the app, select the Yamaha keyboard as the MIDI input device. This step ensures that the app receives MIDI signals from your keyboard.
- Similarly, select the Yamaha keyboard as the MIDI output device. This step allows the app to send MIDI signals to your keyboard, triggering sounds or controlling parameters.
It’s important to note that the MIDI settings menus may vary between different apps and Yamaha keyboard models. It’s recommended to consult the documentation provided with your keyboard and app for specific instructions.
Once you have adjusted the MIDI settings on both the Yamaha keyboard and the iPad, you’re ready to move on to the next step, which involves testing the connection and starting to play. Keep reading to find out more!
Step 5: Test the connection and start playing
After setting up the MIDI settings on both your Yamaha keyboard and iPad, it’s time to test the connection and start playing music. This final step ensures that everything is working correctly and allows you to dive into the world of creativity. Follow these instructions:
- Ensure that both your iPad and Yamaha keyboard are powered on.
- Open the app on your iPad that you installed earlier and configured to work with your Yamaha keyboard.
- Select a digital instrument or sound within the app. By pressing the keys on your Yamaha keyboard, you should hear the corresponding sounds from the selected instrument in the app.
- Experiment with different sounds, effects, and settings within the app. The MIDI connection with your Yamaha keyboard allows you to access a wide variety of virtual instruments and powerful editing capabilities.
- Try playing music on your Yamaha keyboard while recording in the app. Most music production apps offer recording functionality, allowing you to capture your performances and create multi-track compositions.
- Throughout the process, pay attention to the responsiveness and accuracy of the MIDI connection. If you experience any issues, double-check the settings on both devices and ensure that the cables are securely connected.
Remember, the MIDI connection between your iPad and Yamaha keyboard opens up endless possibilities for creativity. Don’t be afraid to experiment, explore different sounds, and create beautiful music using this powerful setup.
Congratulations! You have successfully connected your iPad to a Yamaha keyboard and are now ready to unleash your musical talents. Enjoy playing, recording, and exploring the world of music with this powerful combination.
In case you encounter any issues or face challenges during the process, please refer to the troubleshooting tips section or consult the user manual of your Yamaha keyboard and app for further assistance.
Troubleshooting tips
While connecting your iPad to a Yamaha keyboard is generally a straightforward process, you may encounter some issues along the way. Here are some common troubleshooting tips to help you resolve any potential problems:
- Check the cable connections: Ensure that the USB cable is securely plugged into both your Yamaha keyboard and iPad. A loose connection can lead to MIDI signal dropouts or intermittent issues.
- Restart your devices: Try powering off both your Yamaha keyboard and iPad, then turn them back on. This simple step can resolve many software glitches or temporary connection issues.
- Update iOS and apps: Make sure your iPad is running the latest version of iOS and that your music production apps are up to date. Developers often release updates that address compatibility issues or bug fixes.
- Verify MIDI settings: Double-check the MIDI settings on both your Yamaha keyboard and the app you’re using. Ensure that the MIDI input and output devices are correctly selected and that the MIDI channels match between the devices.
- Try a different USB cable or MIDI interface: If you’re experiencing connection issues, it’s possible that the USB cable or MIDI interface might be faulty. Try using a different cable or interface to see if the problem persists.
- Reset MIDI settings: If you’ve made changes to the MIDI settings on your Yamaha keyboard and are experiencing issues, you can try resetting the MIDI settings to their default values. Refer to the user manual for instructions on how to perform a factory reset.
- Update Yamaha keyboard firmware: Check the Yamaha website for any available firmware updates for your keyboard model. Updating the firmware can often resolve compatibility issues or add new features.
- Consult the user manual or support: If you’ve tried all the troubleshooting tips and are still facing issues, refer to the user manual of your Yamaha keyboard or reach out to the manufacturer’s support for further assistance.
By following these troubleshooting tips, you should be able to overcome most common issues that may arise when connecting your iPad to a Yamaha keyboard. Remember, persistence and patience are key, and don’t hesitate to seek help if needed.
Conclusion
Congratulations on successfully connecting your iPad to a Yamaha keyboard! By following the step-by-step guide and troubleshooting tips provided in this article, you have unlocked a world of creative possibilities. The MIDI connection between your iPad and Yamaha keyboard allows you to explore a wide range of digital instruments, effects, and recording capabilities.
With the ability to control virtual instruments and record your performances, you can now unleash your creativity and take your music production to new heights. Whether you’re a beginner looking to learn and experiment or a professional musician seeking a versatile setup, the combination of an iPad and Yamaha keyboard offers endless opportunities for musical expression.
Keep in mind that as you continue to explore and use your iPad and Yamaha keyboard, there may be additional functionalities and features to discover. Take the time to experiment with different apps, sounds, effects, and settings to find your unique musical style.
Should you encounter any difficulties or have specific questions about your Yamaha keyboard or the apps you use, always refer to the user manual or the manufacturer’s support resources. They can provide you with detailed and accurate information tailored to your specific setup.
Now, it’s time to let your creativity soar. Get lost in the melodies, harmonies, and rhythms that your iPad and Yamaha keyboard can create together. Whether you’re a seasoned musician or just starting your musical journey, this powerful combination will surely inspire you to create beautiful music.
Enjoy the connection, the musical exploration, and the joy of making music with your iPad and Yamaha keyboard!