Home>Events & Info>Playback>How To Record Playback With Audacity

Playback
How To Record Playback With Audacity
Modified: January 22, 2024
Learn how to record and playback audio with Audacity. Discover essential tips and techniques for enhancing your audio playback experience.
(Many of the links in this article redirect to a specific reviewed product. Your purchase of these products through affiliate links helps to generate commission for AudioLover.com, at no extra cost. Learn more)
Table of Contents
Introduction
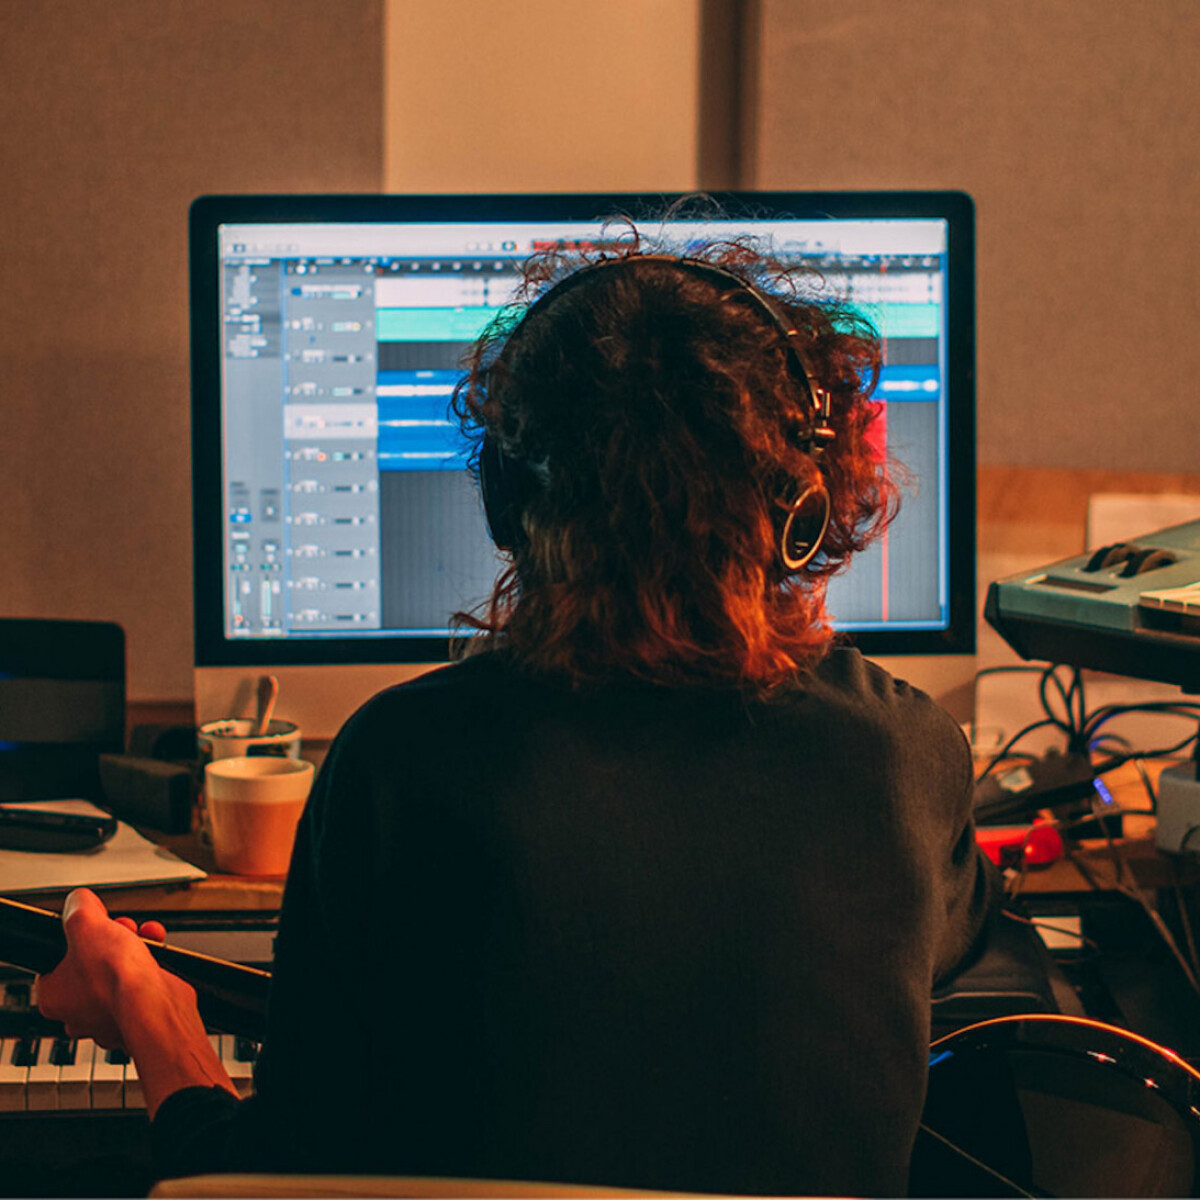
Welcome to the world of Audacity! If you are an audio enthusiast, a musician, or simply someone who enjoys recording and editing audio, you have come to the right place. Audacity is a powerful and free open-source audio editor and recorder that allows you to capture, manipulate, and enhance audio recordings with ease.
One of the key features of Audacity is the ability to record playback. This means that you can record any sound that is playing on your computer, whether it’s a song, a podcast, or even a video soundtrack. This feature is particularly useful if you want to save a favorite song from a streaming music service, capture audio from a video game, or create a mixtape of your favorite tracks.
With Audacity, you can not only record playback, but also edit and enhance the recorded audio to achieve the desired results. Whether it’s removing background noise, adjusting volume levels, or applying various effects, Audacity provides you with a wide range of tools to perfect your recordings.
In this article, we will guide you through the process of recording playback with Audacity, step by step. We will cover everything from installing Audacity on your computer to adjusting the recording settings and saving the recorded playback. So, let’s dive in and discover how to unleash the full potential of Audacity!
Installing Audacity
Before you can start recording playback with Audacity, you need to have the software installed on your computer. Thankfully, Audacity is available for free and is compatible with Windows, macOS, and Linux operating systems. Follow these steps to install Audacity:
- Visit the official Audacity website at https://www.audacityteam.org/.
- Click on the “Download” button on the homepage to access the download page.
- On the download page, you will see different options depending on your operating system. Choose the appropriate version for your computer and click on the corresponding download link.
- Once the download is complete, locate the downloaded file on your computer and double-click on it to start the installation process.
- Follow the on-screen instructions to complete the installation. Make sure to read and accept the license agreement, choose the installation location, and select any additional options if prompted.
- Once the installation is finished, you can launch Audacity by double-clicking on its icon.
Congratulations! You have successfully installed Audacity on your computer. Now you’re ready to start recording playback and exploring all the amazing features this versatile audio editor has to offer.
Setting up Playback Devices
Before you can start recording playback with Audacity, it’s important to make sure that your playback devices are set up correctly. These devices determine where the audio output is directed, and Audacity needs to be configured to record from the appropriate playback device. Follow these steps to set up your playback devices:
- Open Audacity on your computer.
- Click on the “Edit” tab in the top menu bar and select “Preferences” from the drop-down menu. This will open the Audacity Preferences window.
- In the left panel of the Preferences window, click on the “Devices” category.
- Under the “Playback” section, you will see a drop-down menu labeled “Playback Device”. Click on the drop-down menu and select the playback device you want Audacity to use for recording playback. Usually, this will be your computer’s default playback device.
- Click on the “OK” button to save the changes.
By setting up the correct playback device in Audacity, you ensure that the software captures the audio from the desired source. This is especially important if you have multiple playback devices connected to your computer or if you want to record audio from a specific application.
It’s worth noting that Audacity also provides the option to set up separate devices for recording and playback. This can be useful if you have a dedicated audio interface or if you want to record from one device while monitoring through another. In such cases, you can navigate to the “Recording” section in the Audacity Preferences window and choose the appropriate recording device.
Now that you have set up your playback device in Audacity, you are ready to adjust the recording settings and start capturing the audio playback. In the next section, we will guide you through the process of configuring the recording settings in Audacity.
Adjusting Recording Settings
Before you start recording playback with Audacity, it’s important to ensure that the recording settings are properly configured. These settings control various aspects of the recording process, such as the input source, sample rate, and recording channels. Here’s a step-by-step guide on how to adjust the recording settings in Audacity:
- Open Audacity on your computer if it’s not already open.
- Click on the “Edit” tab in the top menu bar and select “Preferences” from the drop-down menu. This will open the Audacity Preferences window.
- In the left panel of the Preferences window, click on the “Devices” category.
- Under the “Recording” section, you will see a drop-down menu labeled “Recording Device”. Click on the drop-down menu and select the recording device you want Audacity to use. This should be the same device you selected for the playback device in the previous section.
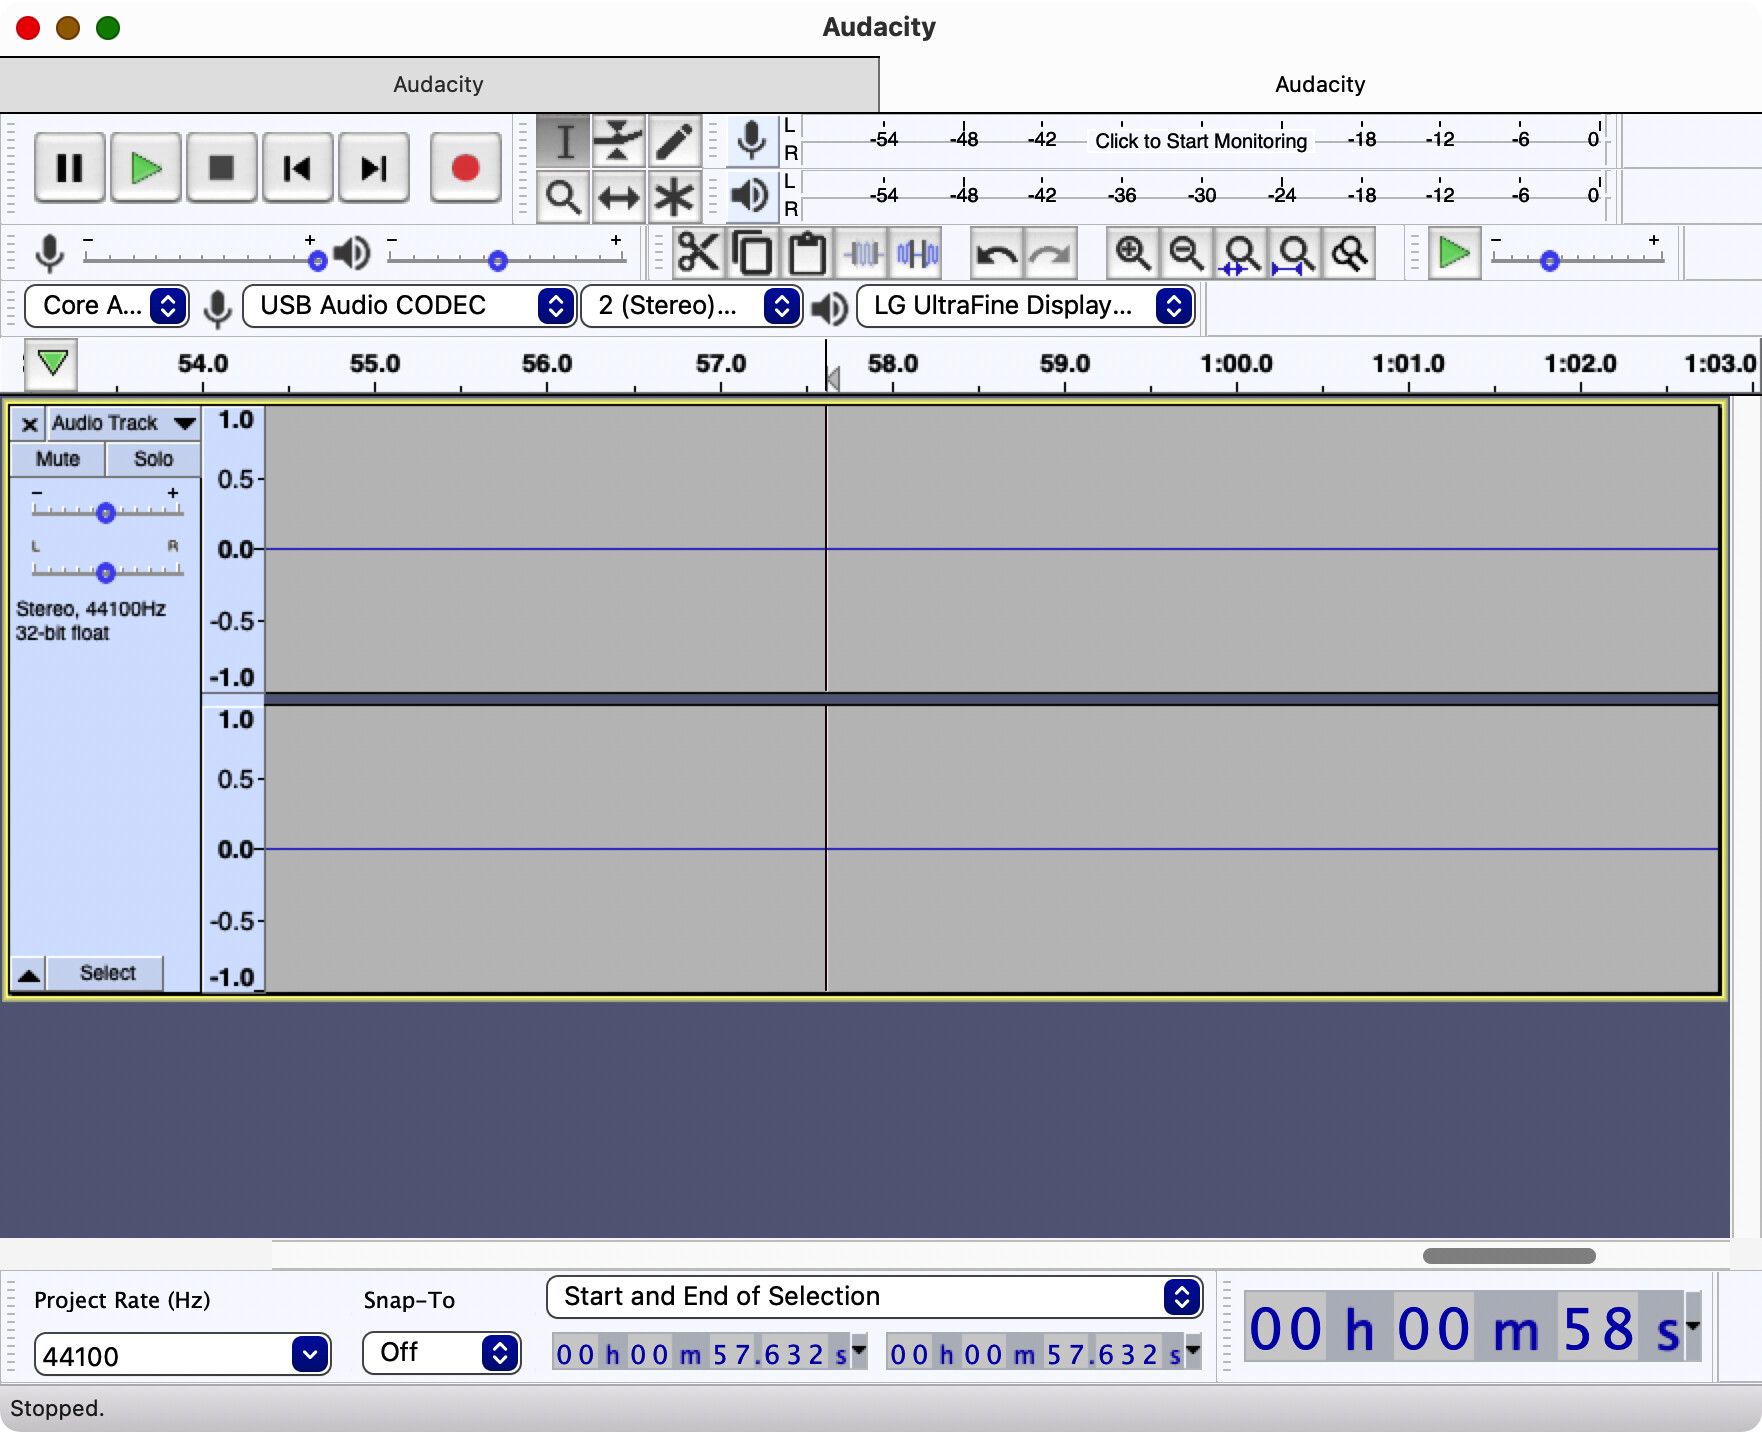
- Next, adjust the “Channels” and “Sample Rate” settings according to your requirements. The number of channels refers to the number of audio channels that will be recorded (mono or stereo), while the sample rate determines the number of samples captured per second, affecting the audio quality. For most recordings, stereo and a sample rate of 44100 Hz (CD quality) is sufficient.
- If you want to apply any special effects or filters during the recording process, you can enable the “Software Playthrough” option. This allows you to hear the effects in real-time while recording.
- Once you have adjusted the recording settings, click on the “OK” button to save the changes.
By adjusting the recording settings in Audacity, you ensure that the software captures the audio with the desired specifications. It’s important to choose the appropriate recording device and adjust the channels and sample rate based on your specific needs.
Now that your recording settings are properly configured, you are ready to start recording the playback with Audacity. In the next section, we will guide you through the process of recording playback in Audacity.
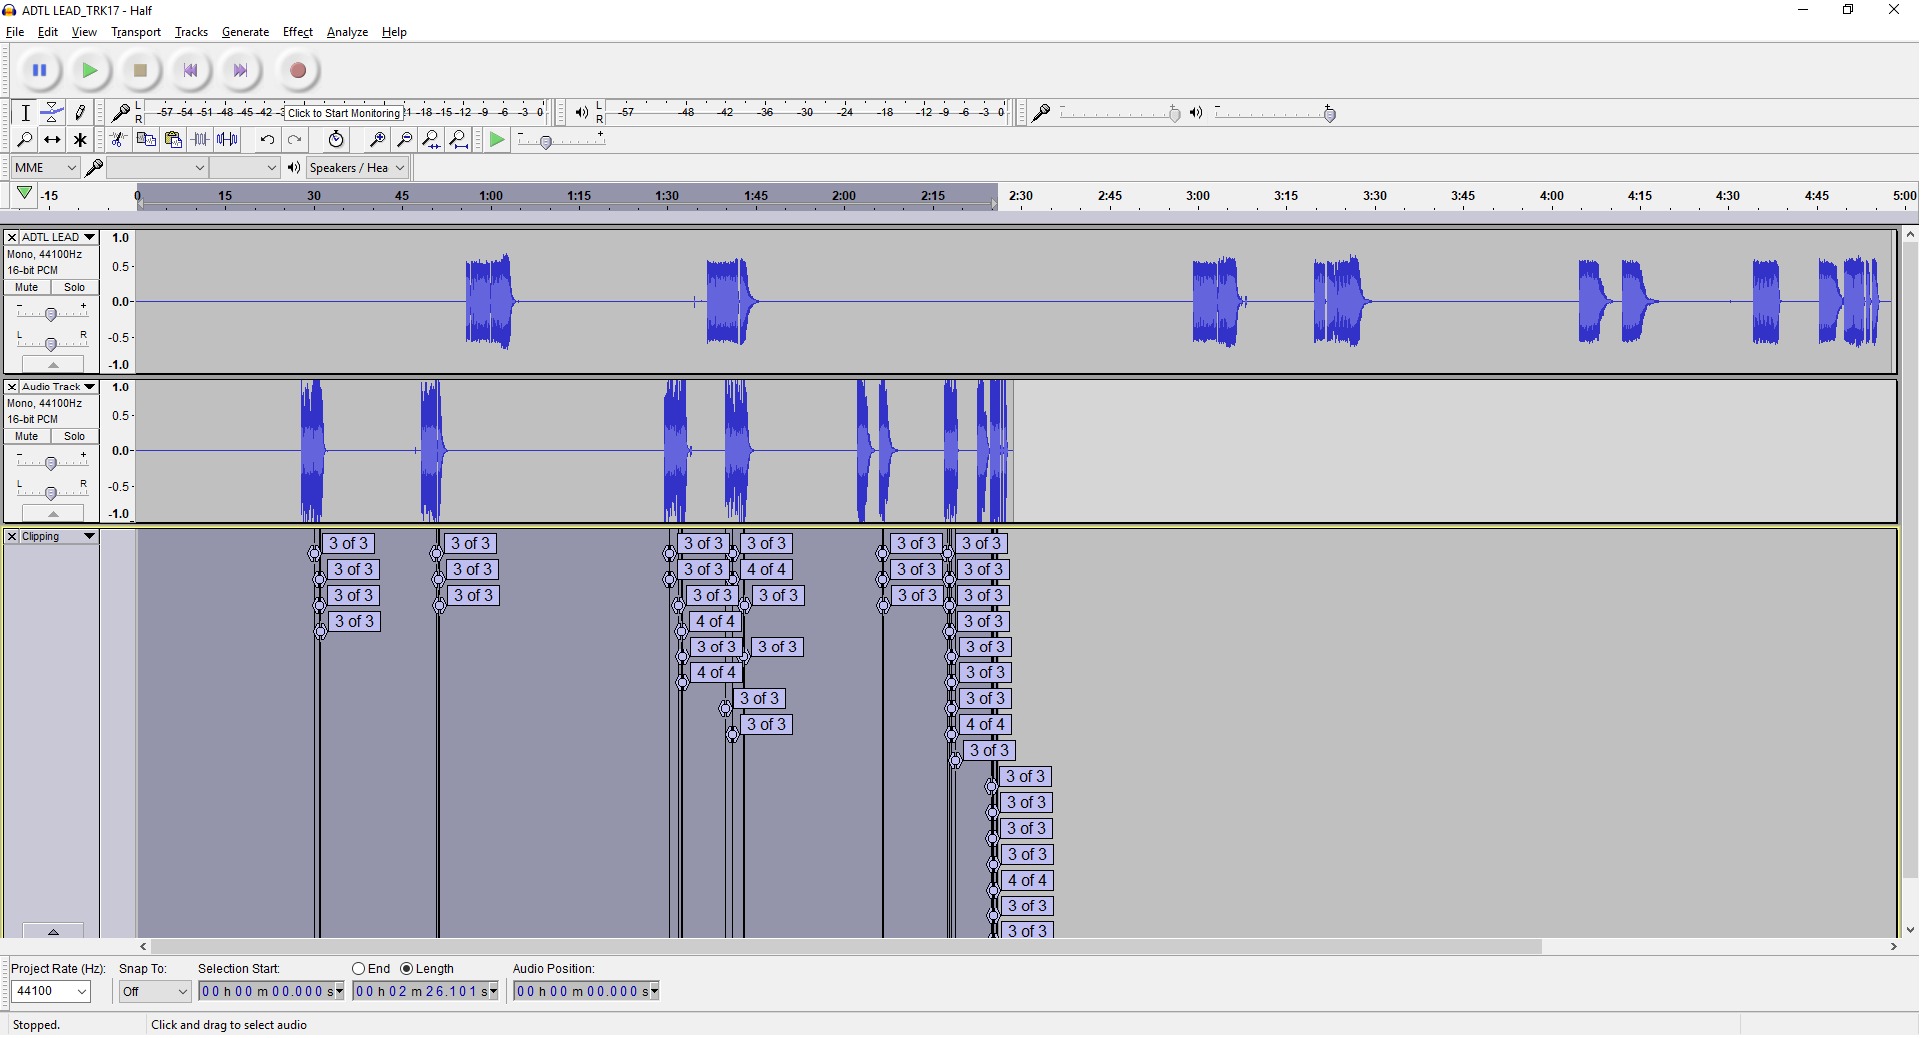
Recording Playback with Audacity
Now that you have set up your playback devices and adjusted the recording settings in Audacity, let’s dive into the process of actually recording the playback. Here’s a step-by-step guide on how to record playback with Audacity:
- Open the audio or media file that you want to record playback from. This could be a song, a podcast, a video, or any other audio source.
- In Audacity, click on the red circular Record button in the top menu toolbar. Audacity will start capturing the audio playback.
- While the playback is being recorded, you can monitor the audio levels using the microphone icon in the top toolbar. Make sure the levels are not clipping and adjust the volume accordingly.
- Once you have finished recording the playback, click on the square Stop button to stop the recording.
That’s it! You have successfully recorded the playback using Audacity. The recorded audio will now be displayed as a waveform in the Audacity workspace, allowing you to further edit and manipulate the recording as desired.
While recording playback, it’s important to ensure that no other audio sources interfere with the recording process. Close any unnecessary applications or mute any background processes that could potentially generate unwanted audio during the recording.
It’s also worth mentioning that Audacity provides some additional features to enhance the recording process. For example, you can manually pause and resume the recording if needed, or use keyboard shortcuts for a more efficient workflow. Exploring the different Audacity functions and tools can help you optimize your recording experience.
Now that you have recorded the playback, let’s move on to the next section and learn how to edit and save the recording in Audacity.
Editing and Saving the Recorded Playback
Once you have recorded the playback in Audacity, you have the flexibility to edit and enhance the recorded audio to achieve the desired results. Audacity provides a wide range of tools and features to make precise edits, remove background noise, adjust volume levels, apply effects, and more. Follow these steps to edit and save the recorded playback:
- Select the portion of the recorded audio that you want to edit by clicking and dragging your cursor over the waveform. You can select the entire recording or specific sections depending on your requirements.
- Once you have made the selection, you can perform various editing operations such as cutting, copying, pasting, and deleting using the options in the Edit menu or the corresponding keyboard shortcuts.
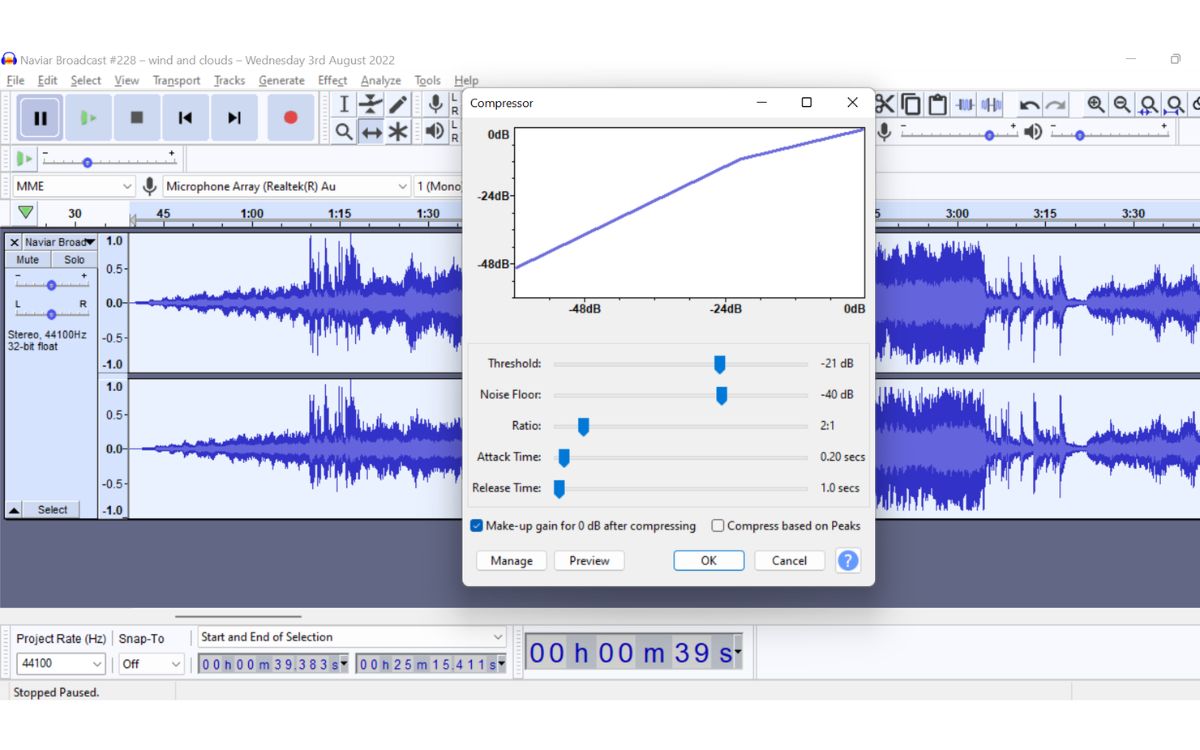
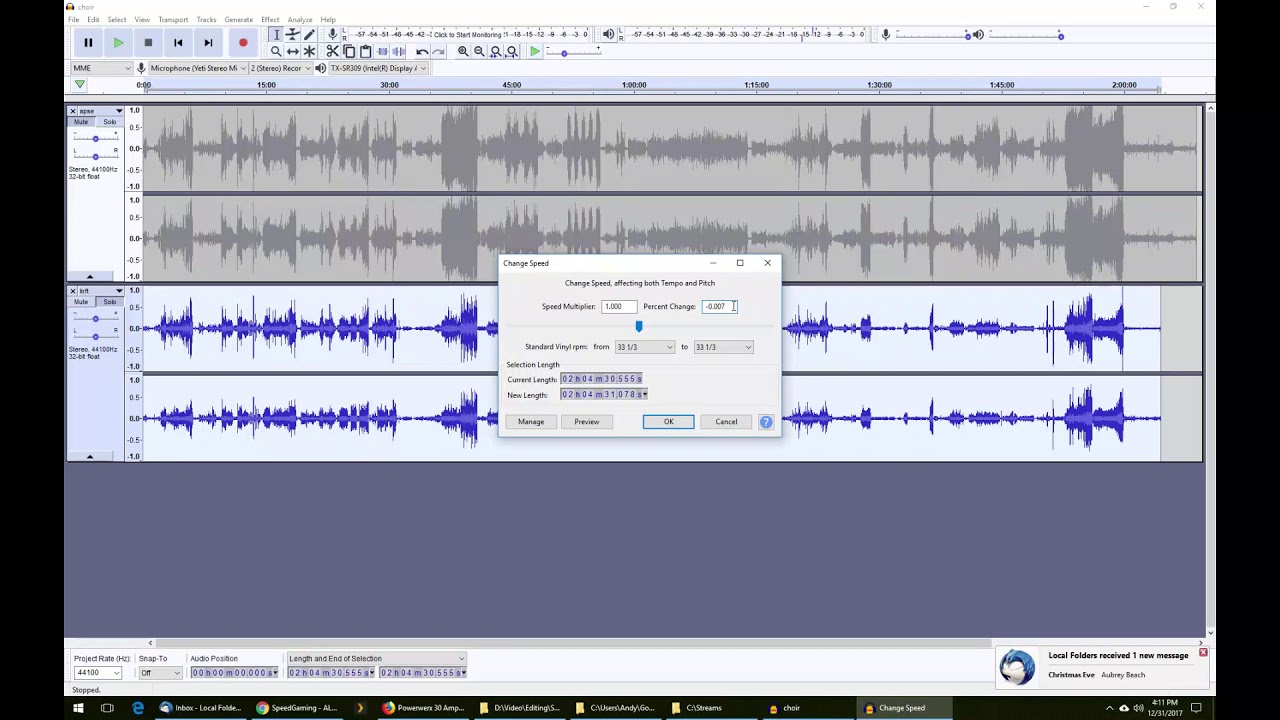
- To remove background noise or apply effects, select the portion of the audio you want to modify and navigate to the Effects menu. Here, you can choose from a variety of options like noise reduction, equalization, compression, and more.
- After editing the recording, you can listen to the modified audio by clicking on the Play button in the top toolbar. This allows you to preview the changes before saving.
- Once you are satisfied with the edits, it’s time to save the recorded playback. Go to the File menu and select the “Export” option. Choose the desired file format (such as WAV or MP3) and select the location where you want to save the file.
- Provide a name for the file and click on the Save button. You can also choose various options regarding the quality and settings before saving, depending on your preferences.
That’s it! You have edited and saved the recorded playback in Audacity. You now have a polished and refined audio recording ready for further use, whether it’s for personal enjoyment or professional projects.
Remember to save your project file in Audacity’s native format (“.aup”) if you plan to make further edits in the future. This allows you to retain all the layers, edits, and effects applied to the recording for easy modification.
Now that you have successfully edited and saved the recorded playback, let’s move on to the final section and learn how to export the recorded audio in Audacity.
Exporting the Recorded Playback
After editing and refining the recorded playback in Audacity, it’s time to export the final audio file. Exporting allows you to save the recording in a format that can be easily shared, uploaded, or played on different devices. Follow these steps to export the recorded playback in Audacity:
- Make sure you have the edited recording open in Audacity.
- Go to the File menu and select the “Export” option.
- In the export window, choose the desired file format for your exported audio file. Audacity supports a variety of formats, such as WAV, MP3, FLAC, and more.
- Select the location where you want to save the exported file. Choose a name for the file, keeping it descriptive and relevant.
- Configure any additional export options based on your preferences. This may include selecting the audio quality, bit rate, sample rate, or other parameters specific to the chosen file format.
- Click on the Export button to initiate the export process.
- Audacity may prompt you to provide additional information or settings depending on the chosen file format. Follow the instructions and make the necessary selections.
- Once the export is complete, you will have a standalone audio file with the edited and finalized recorded playback. You can now use this file for various purposes, such as sharing it with others, uploading it to online platforms, or integrating it into larger audio projects.
It’s worth noting that Audacity also provides the option to export multiple tracks or a selection of tracks as separate audio files. This can be useful if you have recorded multiple sources or if you want to export individual sections of your project.
Congratulations! You have successfully exported the recorded playback in Audacity. Your polished and refined audio file is now ready for distribution and enjoyment.
Before concluding, it’s a good practice to listen to the exported audio file to ensure that the quality and settings meet your expectations. Make any necessary adjustments and re-export if needed.
In the next section, we will wrap up our guide and summarize the key steps and benefits of recording playback with Audacity.
Conclusion
Recording playback with Audacity opens up a world of possibilities for capturing and manipulating audio from various sources on your computer. Whether you are a musician, a podcaster, or simply someone who enjoys working with audio, Audacity provides you with a powerful and versatile platform to unleash your creativity.
In this guide, we covered the necessary steps to record playback with Audacity, starting from the installation process and setting up playback devices to adjusting recording settings and actually recording the playback. We also explored how to edit and save the recorded playback, as well as export the final audio file in various formats.
By following these steps, you can create high-quality recordings of your favorite songs, capture audio from videos or games, and even produce professional-level podcasts. Audacity offers a range of editing tools and effects that allow you to refine and enhance your recordings, ensuring that you achieve the desired results.
Remember, Audacity is a powerful tool, but it’s important to practice and experiment to fully understand its features and capabilities. Don’t be afraid to explore the different options and try out new techniques to push the boundaries of your audio recordings.
So, what are you waiting for? Dive in, start recording playback with Audacity, and let your creativity soar. Whether you’re capturing the perfect song or adding audio to your latest video project, Audacity is here to help you achieve your audio recording goals.
Happy recording!