Home>Events & Info>Playback>How To Enable Mic Playback
Playback
How To Enable Mic Playback
Modified: January 22, 2024
Learn how to enable mic playback on your device and enhance your audio experience. Follow our step-by-step guide to enable playback easily and effectively.
(Many of the links in this article redirect to a specific reviewed product. Your purchase of these products through affiliate links helps to generate commission for AudioLover.com, at no extra cost. Learn more)
Table of Contents
Introduction
Welcome to this comprehensive guide on how to enable mic playback. Mic playback, also known as “listen to this device,” allows you to hear your own voice or any other sounds captured by your microphone through your speakers or headphones. This feature can be incredibly useful in various situations, such as recording audio, participating in video conferences, or simply monitoring the quality of your microphone input.
Enabling mic playback may vary depending on the operating system you are using. In this article, we will provide step-by-step instructions for enabling mic playback on different platforms, including Windows, macOS, and Linux. Whether you’re a content creator, gamer, or someone who relies heavily on audio input, this guide will help you unlock the full potential of your microphone by allowing you to listen to its output in real time.
Before we dive into the specifics of enabling mic playback, it’s important to note that not all sound cards or devices support this feature. Make sure to check your device specifications or consult the manufacturer’s documentation to confirm compatibility. If your device supports mic playback, let’s get started on how to enable it and start enjoying the benefits of hearing your microphone’s output!
Step 1: Accessing Sound Settings
The first step in enabling mic playback is to access the sound settings on your operating system. The process for accessing sound settings may vary slightly depending on your platform, but we will provide instructions for the most common operating systems: Windows, macOS, and Linux.
On Windows:
- Right-click on the speaker icon in the system tray located at the bottom right corner of your screen.
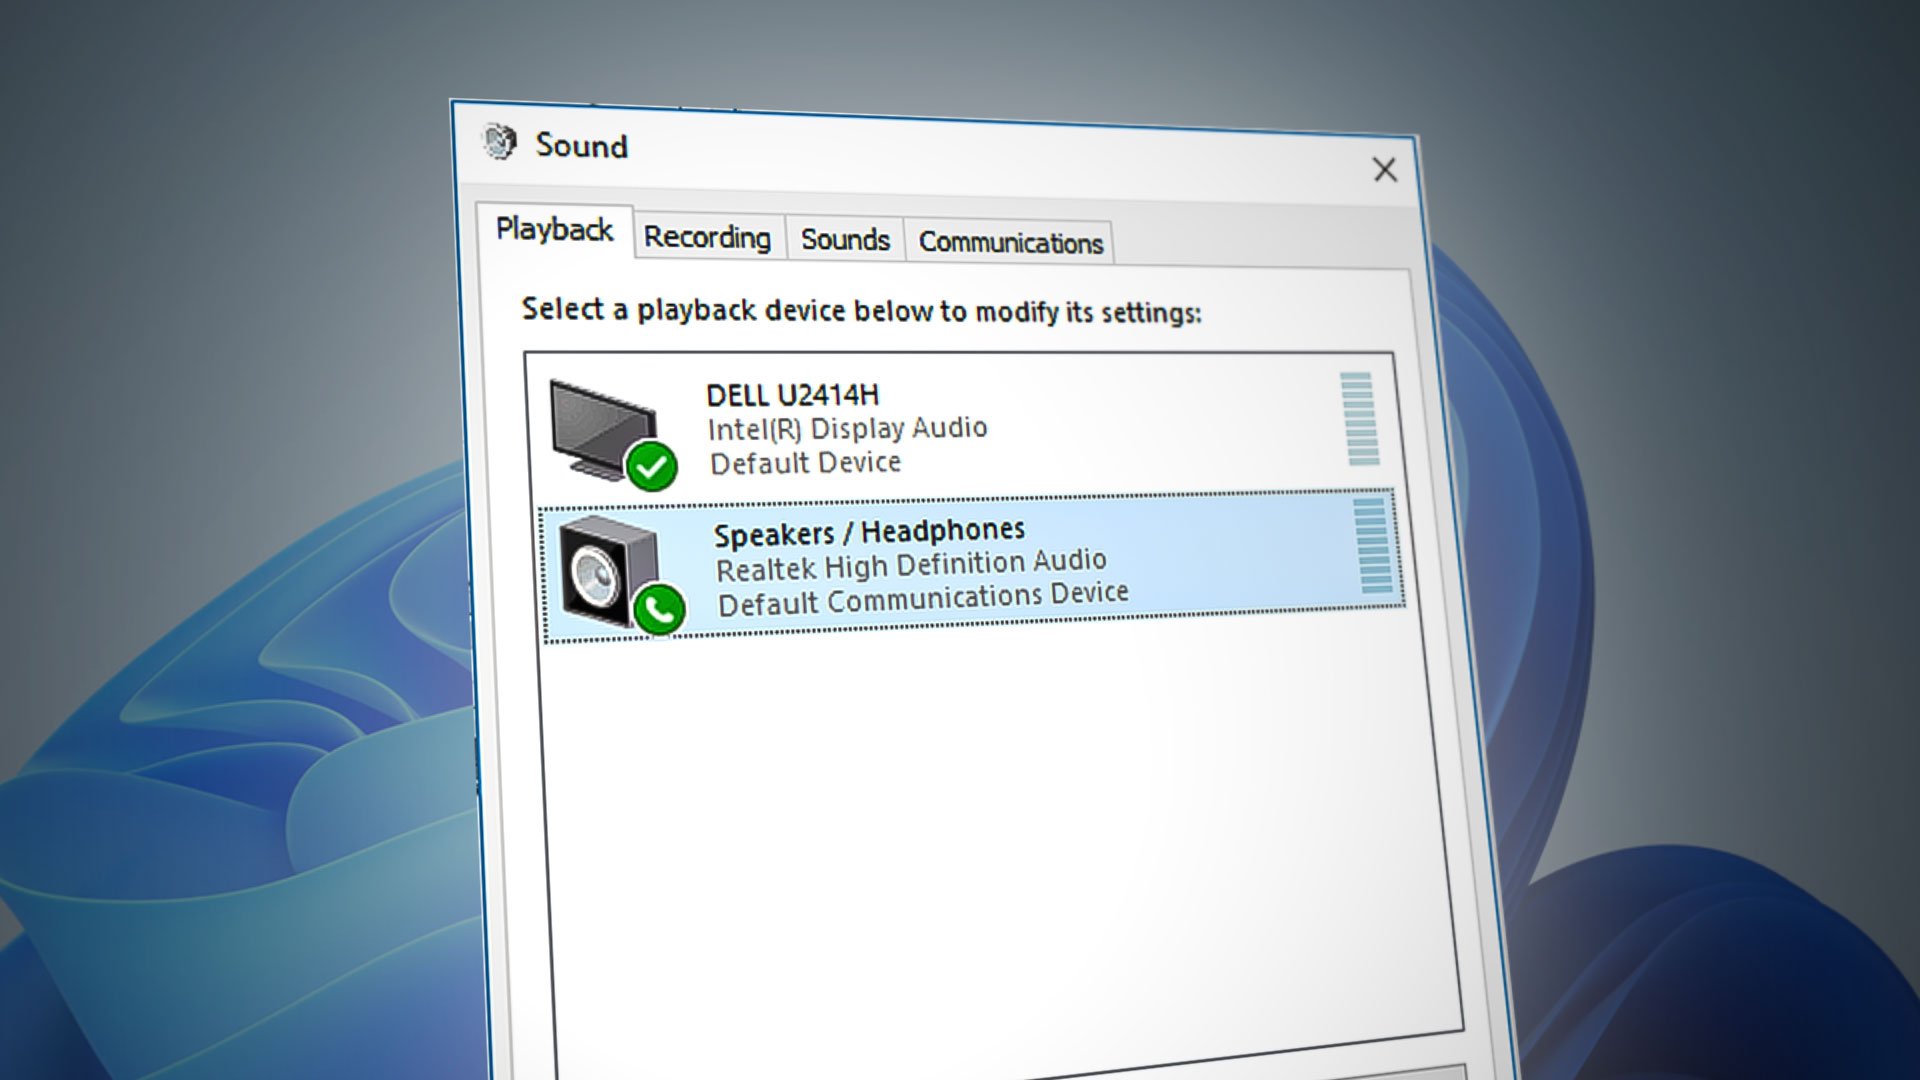
- Select “Sounds” from the context menu. This will open the Sound settings window.
- Navigate to the “Recording” tab.
On macOS:
- Click on the Apple menu icon at the top left corner of your screen.
- Select “System Preferences” from the drop-down menu.
- In the System Preferences window, click on “Sound”.
- Navigate to the “Input” tab.
On Linux:
- Access the “Settings” menu, usually located in the taskbar or system tray.
- Look for an option related to sound, audio, or volume settings.
- Choose the “Input” tab or a similar option.
Once you have successfully accessed the sound settings, you are ready to move on to the next step of enabling mic playback. Continue reading to find out how to turn on this feature on your specific operating system.
Step 2: Enabling Mic Playback
Now that you have accessed the sound settings, it’s time to enable mic playback. The process for enabling mic playback may vary depending on your operating system, but we will provide instructions for Windows, macOS, and Linux.
On Windows:
- In the Sound settings window, navigate to the “Recording” tab.
- Find your microphone in the list of devices.
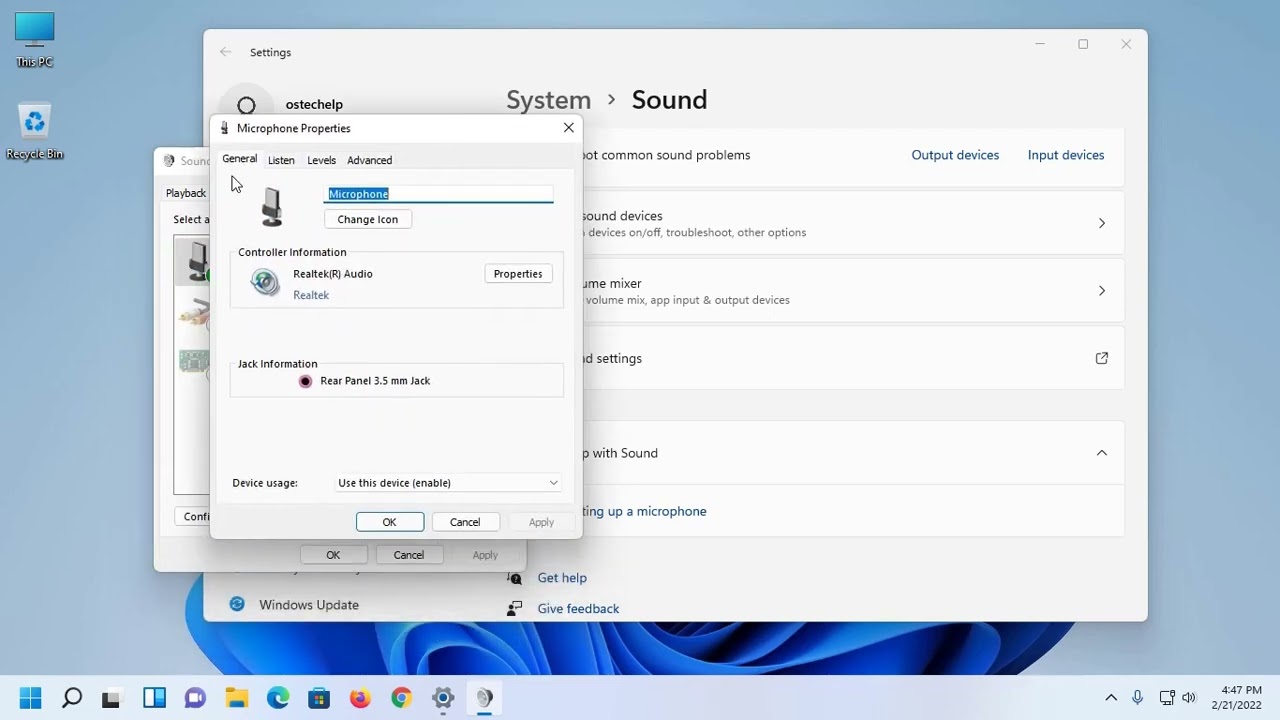
- Right-click on your microphone and select “Properties” from the context menu.
- In the Microphone Properties window, go to the “Listen” tab.
- Check the box that says “Listen to this device”.
- Click on “Apply” and then “OK” to save the changes.
On macOS:
- In the Sound settings window, navigate to the “Input” tab.
- Select your microphone from the list of input devices.
- Check the box that says “Use ambient noise reduction” if available.
- Adjust the input volume slider to your desired level.
On Linux:
- In the sound settings, locate your microphone in the list of input devices.
- Click on your microphone to select it.
- Look for an option or checkbox that says “Listen to this device” or similar.
- Enable the “Listen to this device” option.
Once you have enabled mic playback, you will be able to hear the output from your microphone through your speakers or headphones. In the next step, we will discuss how to adjust the volume of your mic playback to ensure optimal audio levels.
Step 3: Adjusting Mic Playback Volume
After enabling mic playback, it’s important to adjust the volume to ensure the optimal listening experience. Here’s how you can adjust the mic playback volume on different operating systems: Windows, macOS, and Linux.
On Windows:
- Go back to the Sound settings window and navigate to the “Recording” tab.
- Find your microphone in the list of devices.
- Right-click on your microphone and select “Properties” from the context menu.
- In the Microphone Properties window, go to the “Levels” tab.
- Adjust the “Microphone” slider to increase or decrease the mic playback volume.
- Click on “Apply” and then “OK” to save the changes.
On macOS:
- In the Sound settings window, navigate to the “Input” tab.
- Locate the input volume slider for your microphone.
- Move the slider to the right to increase the mic playback volume or to the left to decrease it.
On Linux:
- In the sound settings, locate your microphone in the list of input devices.
- Click on your microphone to select it.
- Look for a volume slider or a similar option to adjust the mic playback volume.
- Move the slider to the right to increase the volume or to the left to decrease it.
Make sure to test the volume by speaking into your microphone and monitoring the output through your speakers or headphones. Adjust the volume until it reaches the desired level where you can clearly hear yourself without distortion or any other audio issues.
Once you have adjusted the mic playback volume, you’re ready to move on to the final step – testing the mic playback to ensure it is functioning properly.
Step 4: Testing Mic Playback
Now that you have enabled mic playback and adjusted the volume, it’s time to test whether it is functioning properly. Testing your mic playback ensures that you can hear the output from your microphone through your speakers or headphones without any issues. Here’s how you can test mic playback on different operating systems: Windows, macOS, and Linux.
On Windows:
- Open any application or program that allows you to record audio or make voice calls.
- Ensure that the input device is set to your microphone.
- Start recording or make a test voice call.
- Speak into your microphone and listen for the playback through your speakers or headphones.
- Adjust the mic playback volume if necessary to achieve the desired audio levels.
On macOS:
- Open any application or program that allows you to record audio or make voice calls.
- Check the settings within the application to ensure that the input device is set to your microphone.
- Start recording or make a test voice call.
- Speak into your microphone and listen for the playback through your speakers or headphones.
- Adjust the mic playback volume if necessary.
On Linux:
- Open any application or program that allows you to record audio or make voice calls.
- Check the settings within the application to ensure that the input device is set to your microphone.
- Start recording or make a test voice call.
- Speak into your microphone and listen for the playback through your speakers or headphones.
- Adjust the mic playback volume if necessary.
During the testing phase, it’s important to ensure that the mic playback is clear, without any distortions, echoes, or other audio issues. If you encounter any problems, double-check your settings, connections, and volume levels to troubleshoot the issue.
Congratulations! You have successfully enabled mic playback and tested its functionality. Now you can enjoy the convenience of hearing your microphone’s output in real time. Remember to adjust the volume and settings according to your preferences and requirements for the best listening experience.
Now that you know how to enable mic playback, you can utilize this feature in various situations, from recording audio to participating in video conferences. Make the most of your microphone by taking advantage of mic playback, and elevate your audio experience to a new level.
Conclusion
Enabling mic playback can greatly enhance your audio experience, whether you’re recording content, participating in online meetings, or simply monitoring the quality of your microphone input. It allows you to hear your own voice or any other sounds captured by your microphone through your speakers or headphones in real time.
In this comprehensive guide, we’ve covered the steps to enable mic playback on various operating systems, including Windows, macOS, and Linux. By accessing the sound settings, enabling mic playback, adjusting the volume, and testing the functionality, you can ensure a seamless and optimal listening experience.
Remember to check the compatibility of your sound card or device before attempting to enable mic playback. Not all devices support this feature, so it’s important to verify compatibility to avoid any disappointments.
Now that you have the knowledge and tools to enable mic playback, you can unleash the full potential of your microphone. Whether you’re a content creator, gamer, or someone who relies on audio input, mic playback can provide an added layer of convenience and control over your sound output.
So go ahead, follow the steps outlined in this guide, and start enjoying the benefits of mic playback. Hear your own voice and fine-tune your audio settings to create high-quality recordings, engage in productive meetings, or simply enjoy a better audio experience during your online activities.
Thank you for reading and happy mic playback enabling!